
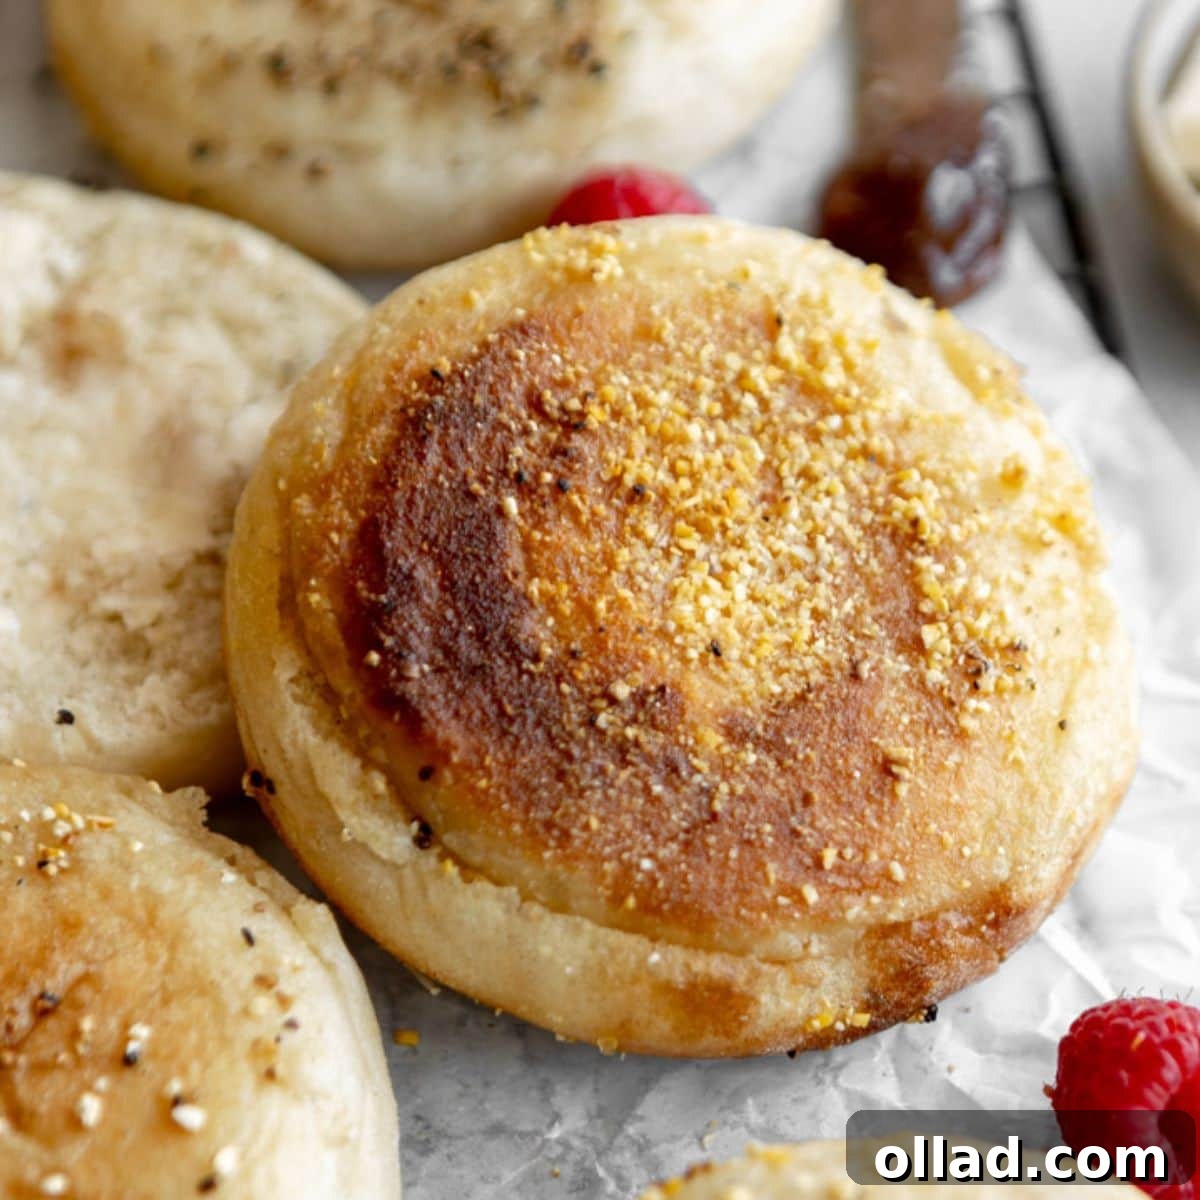
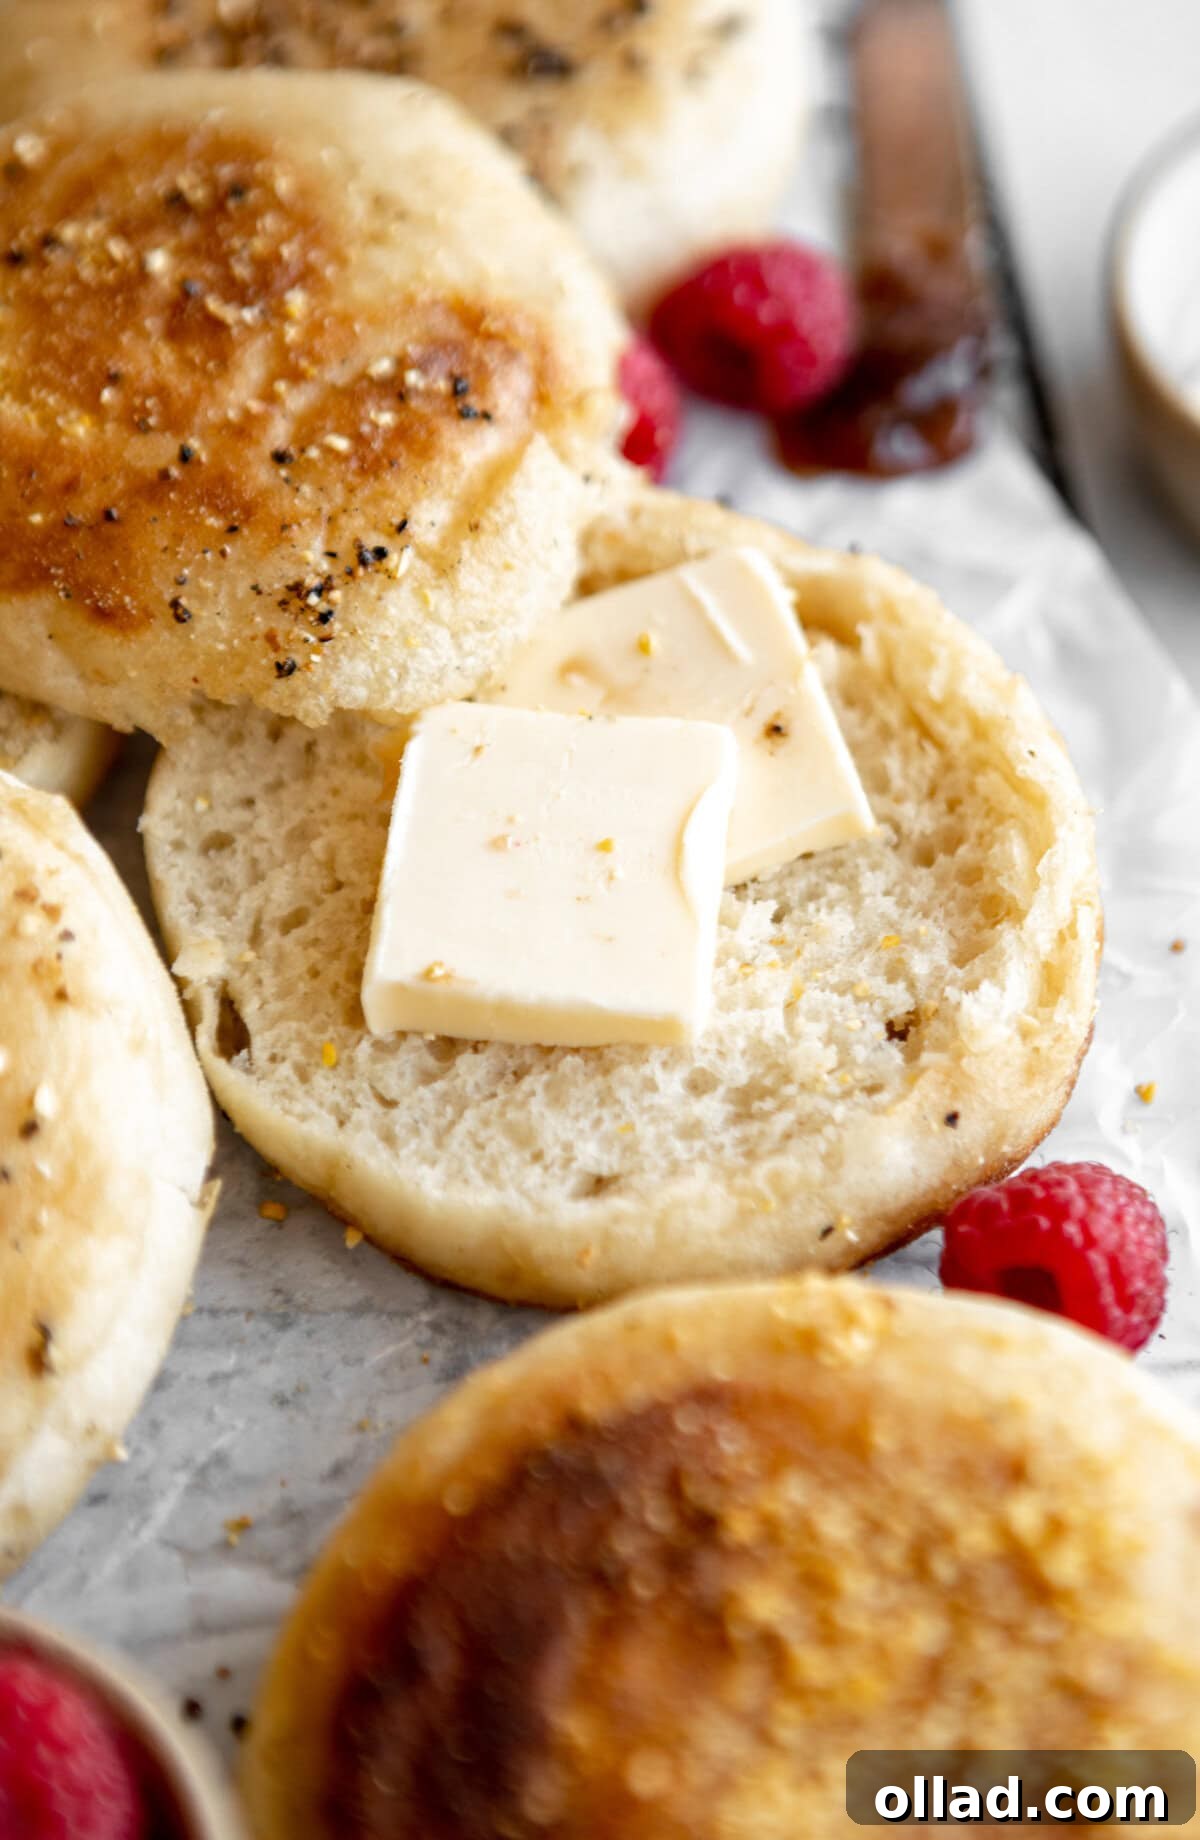
Imagine waking up to the irresistible aroma of freshly baked English muffins, perfectly golden, with that signature crispy exterior and an incredibly soft, chewy interior riddled with delightful nooks and crannies. Now, imagine all of this being completely gluten-free! This isn’t just a dream; it’s a delicious reality you can achieve right in your own kitchen with our easy-to-follow recipe for homemade gluten-free English muffins. Forget bland, crumbly imitations – these muffins are a true breakfast revelation, ready to become a beloved staple in your home.
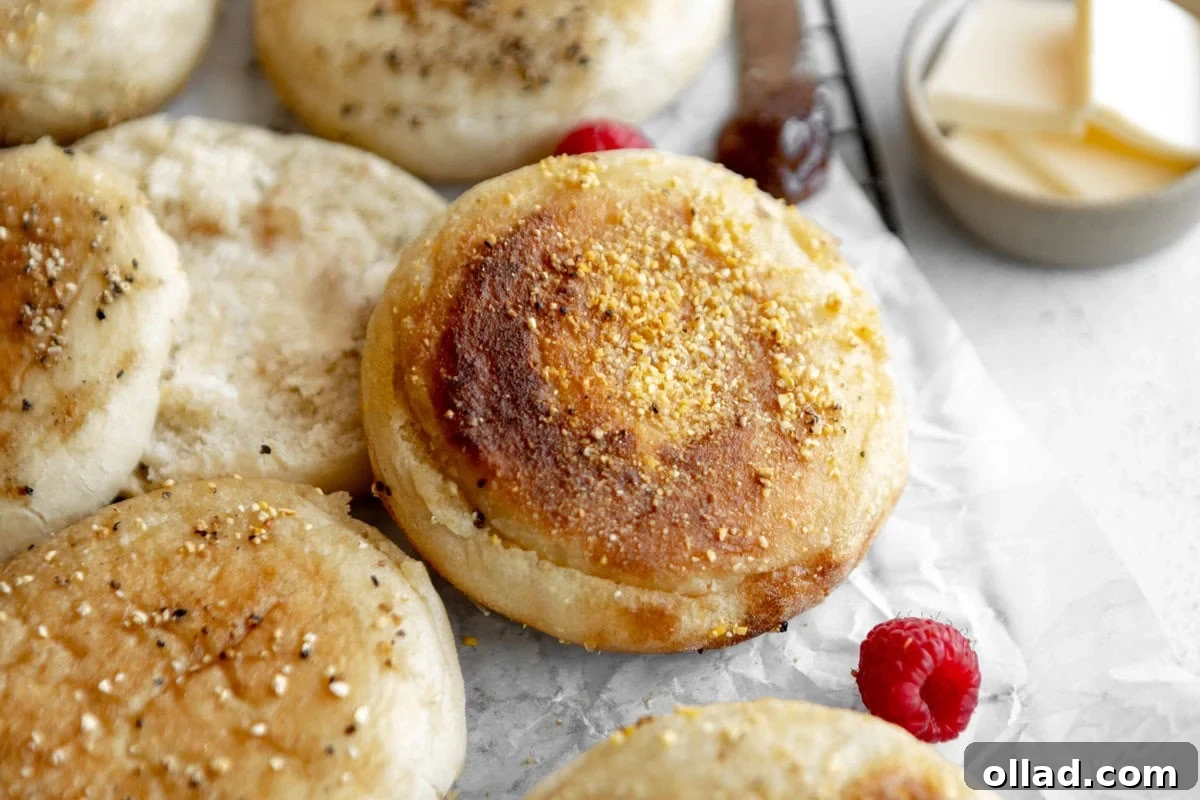
Homemade Gluten-Free English Muffins: Your New Breakfast Obsession
Crafting gluten-free baked goods that truly rival their traditional counterparts can sometimes feel like a culinary quest. But when it comes to English muffins, we’ve cracked the code! This recipe is meticulously designed to deliver that quintessential English muffin experience – light, airy, and boasting those essential “nooks and crannies” that hold melted butter and jam so perfectly. We harness the power of instant yeast for a reliable, fluffy rise and incorporate gluten-free cornmeal for that authentic, slightly crunchy exterior. Whether you’re assembling a hearty breakfast sandwich with a fried egg and cheese, or simply enjoying them slathered with your favorite spread, these versatile muffins are sure to brighten any morning. With simple ingredients and straightforward instructions, you can easily prepare a batch to savor throughout the week, making busy mornings a little more gourmet.
Why These Gluten-Free English Muffins Stand Out
- Authentic Texture: Say goodbye to dense, crumbly gluten-free bread. Our recipe creates a soft, chewy crumb with plenty of “nooks and crannies” that absorb butter and jam beautifully.
- Easy to Make: Designed for home bakers, this recipe simplifies the process of making English muffins, even for those new to gluten-free yeast baking.
- Versatile Delight: Perfect for sweet toppings like jam and honey, or savory creations like breakfast sandwiches with eggs and bacon.
- Fresh & Wholesome: Enjoy the satisfaction of homemade goodness, free from preservatives often found in store-bought options.
- Customizable: Easily adapt for dairy-free diets without compromising on flavor or texture.
Essential Ingredients for Perfect Gluten-Free English Muffins
The secret to fantastic gluten-free English muffins lies in selecting the right ingredients and understanding their role. Here’s a breakdown of what you’ll need and why each component is crucial:
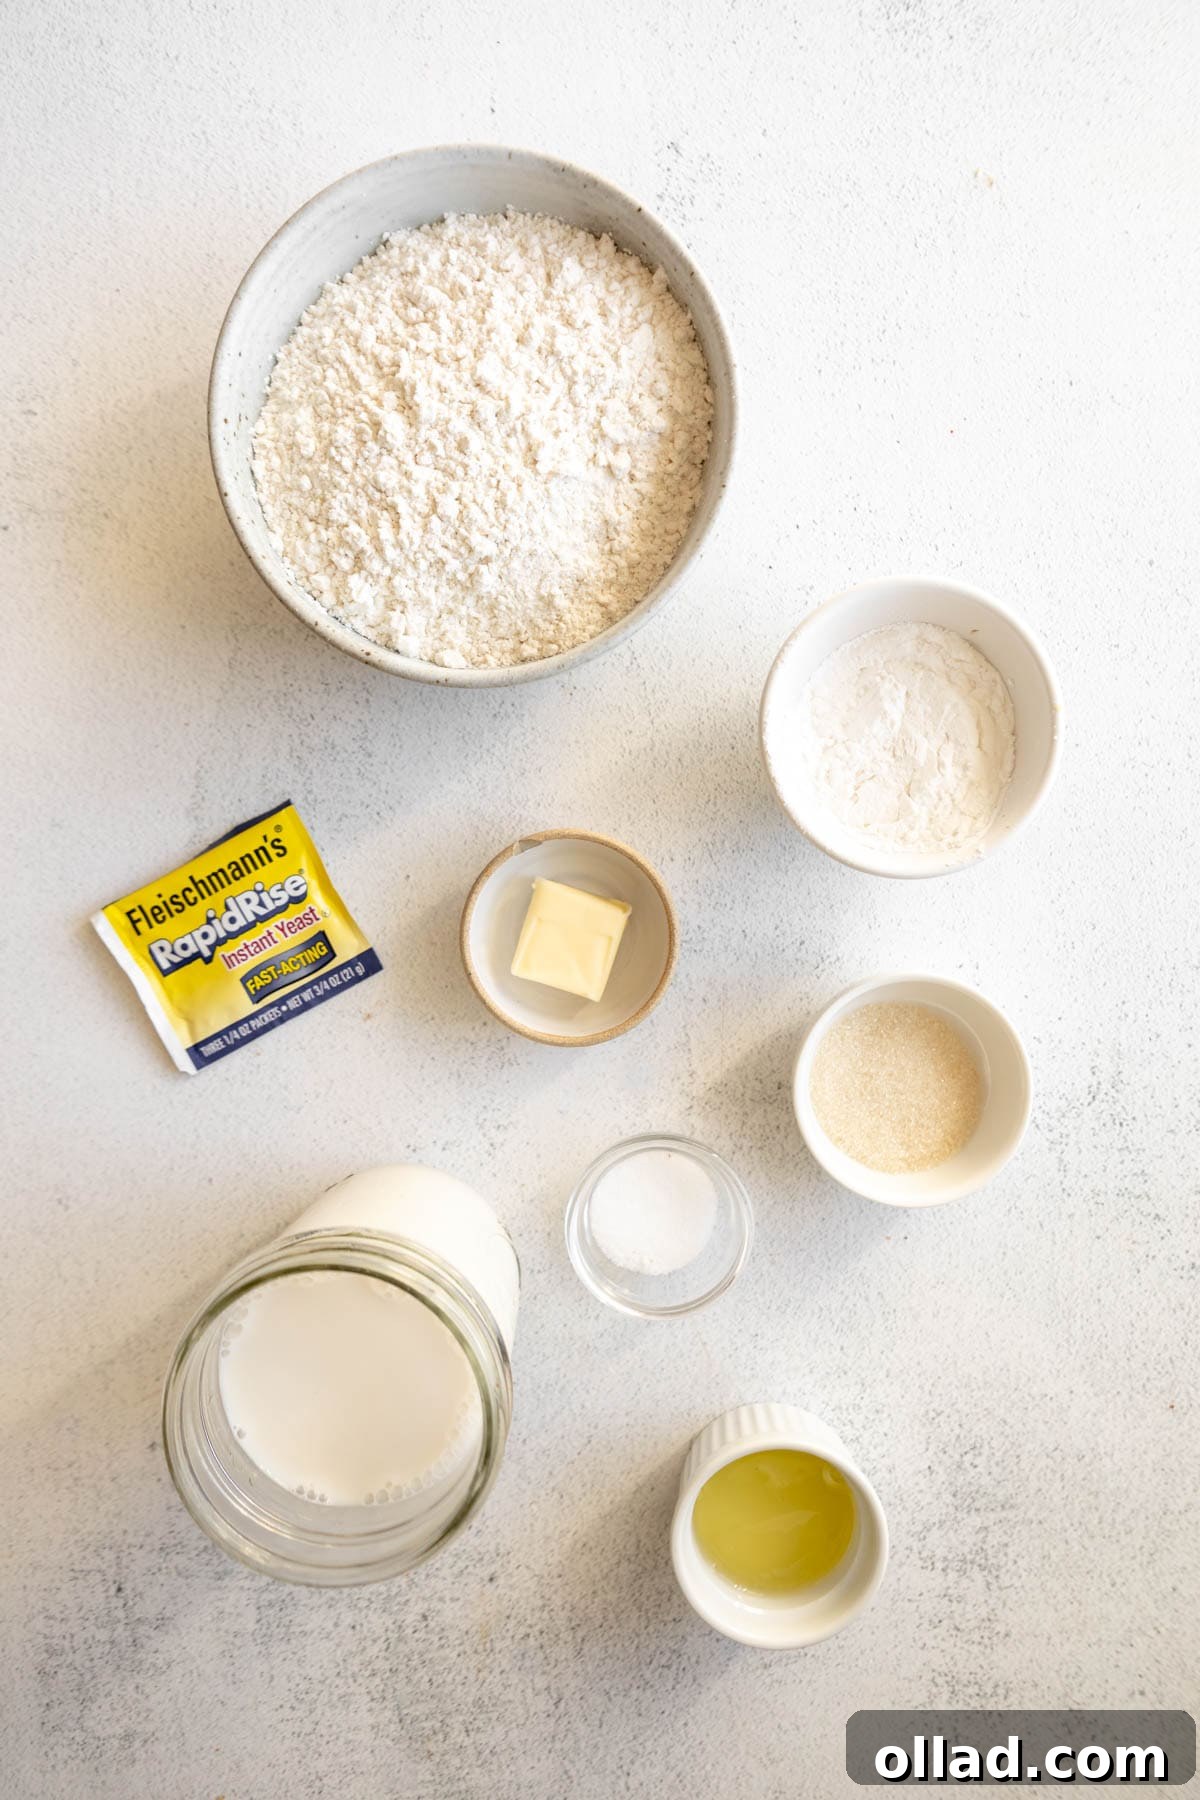
- Gluten-Free All-Purpose Flour with Xanthan Gum: This is the foundation of our muffins. A high-quality gluten-free all-purpose flour blend that already includes xanthan gum is essential for yeast baking, providing structure and elasticity that gluten-free flours typically lack. We highly recommend reliable brands like Pillsbury Gluten-Free or Better Batter gluten-free flour, as not all gluten-free flours are formulated to perform well with yeast. Using a blend specifically designed for yeast baking helps ensure a successful, fluffy rise and good crumb structure.
- Tapioca Flour: Also known as tapioca starch, this ingredient is key for enhancing the dough’s elasticity. It contributes significantly to the characteristic soft and chewy texture of English muffins, preventing them from becoming dry or crumbly. Tapioca flour helps mimic the stretchiness of gluten, resulting in a more pleasant mouthfeel.
- Granulated Sugar: A small amount of granulated sugar serves two important purposes. Firstly, it adds a subtle hint of sweetness to the dough, balancing the flavors. Secondly, and perhaps most importantly, it acts as food for the instant yeast, promoting a strong and consistent rise for beautifully fluffy muffins.
- Instant Yeast: The leavening agent responsible for giving our English muffins their airy texture. Instant yeast is convenient because it can be mixed directly with dry ingredients without prior proofing, saving time and simplifying the baking process. It ensures a quick and effective rise, vital for light and tender results.
- Salt: Far from just a seasoning, salt plays a critical role in enhancing the overall flavor of the muffins. It also helps to regulate the yeast activity, ensuring the dough rises at an optimal pace and contributes to a balanced taste profile, preventing the muffins from tasting flat.
- Milk: Adds essential moisture and richness to the dough, contributing to a tender crumb and a more flavorful muffin. For those with dairy sensitivities or dietary preferences, your favorite dairy-free milk alternative (such as almond milk, soy milk, or oat milk) can be used as a seamless substitute without impacting the final texture or taste.
- Egg White: Provides crucial structure and protein to the dough, helping the muffins maintain their shape during baking. The egg white also contributes to the desired golden-brown crust, giving the muffins an appetizing appearance and a slight crispness on the outside.
- Unsalted Butter: Incorporating unsalted butter adds a layer of richness and depth to the flavor of the English muffins, making them incredibly satisfying. If you need a dairy-free option, Smart Balance butter or another high-quality dairy-free butter substitute works wonderfully, maintaining the desired texture and richness.
- Gluten-Free Cornmeal: This ingredient is integral for achieving the signature crunchy texture on the exterior of English muffins. It also acts as a natural non-stick agent, preventing the dough from sticking to the pan during cooking. Make sure to use gluten-free certified cornmeal to maintain the integrity of the recipe.
- Vegetable Oil: Used for greasing the pan, vegetable oil prevents the muffins from sticking and aids in achieving a beautiful, even browning on the griddle or cast-iron pan. Its neutral flavor ensures it doesn’t interfere with the delicate taste of the muffins.
Step-by-Step Guide: Crafting Your Own Gluten-Free English Muffins
Follow these detailed steps to create perfectly craggy, delicious gluten-free English muffins right in your kitchen.
Step 1: Prepare the Dry Ingredients
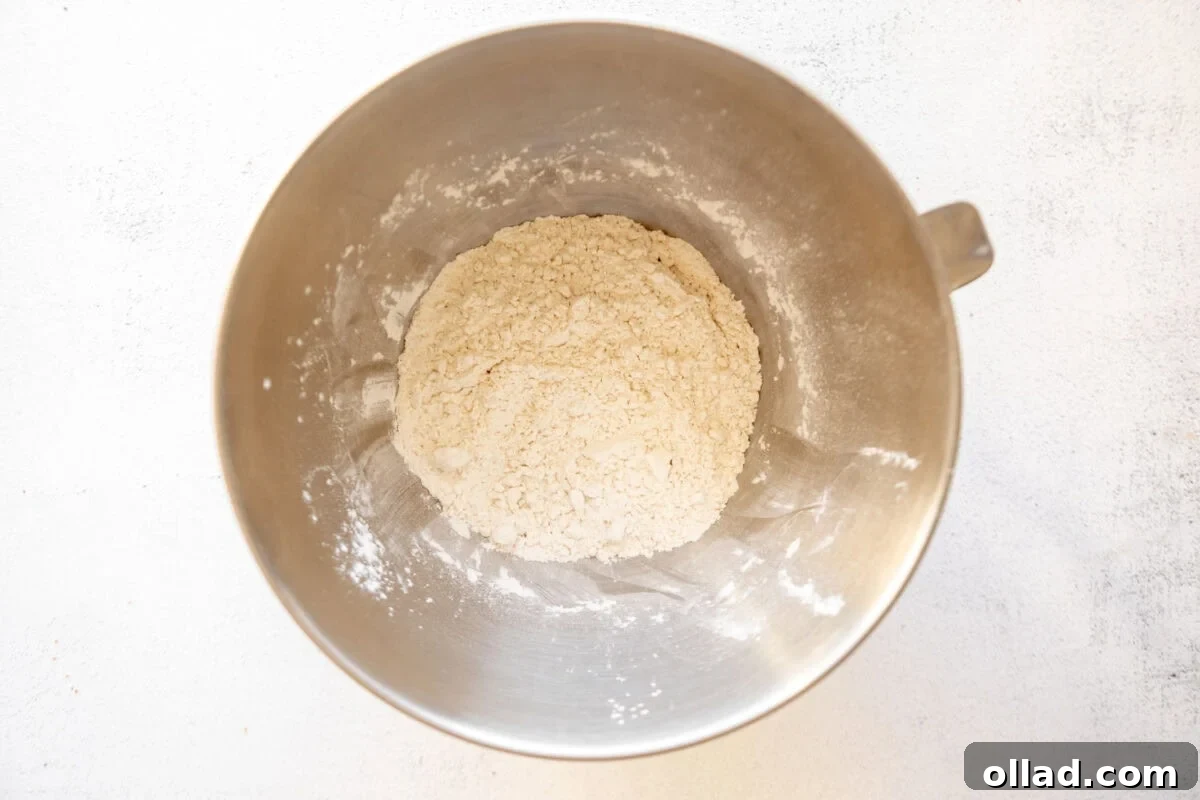
In the spacious bowl of a stand mixer, fitted with the paddle attachment, meticulously combine the dry ingredients: 2¾ cups of gluten-free all-purpose flour (ensuring it contains xanthan gum), ¼ cup of tapioca flour, 1 tablespoon of granulated sugar, 2¼ teaspoons of instant yeast, and 1½ teaspoons of salt. Whisk them together thoroughly until all ingredients are evenly distributed. Set this dry mixture aside while you prepare the wet components.
Step 2: Warm the Milk and Combine Wet Ingredients
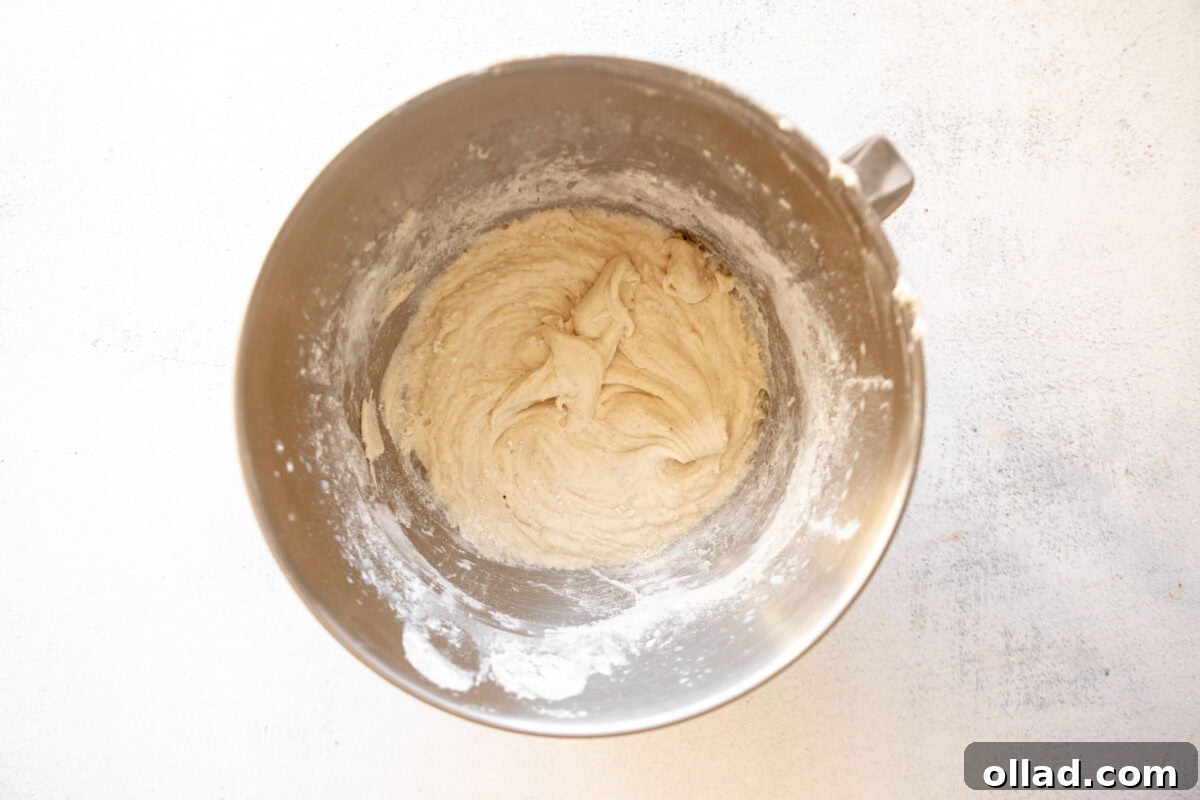
Gently warm 1½ cups of milk until it reaches approximately 110°F (43°C). This can be done quickly in a microwave or by heating it in a saucepan over low heat, being careful not to scald it. The ideal temperature is warm to the touch, but not hot. With your stand mixer running on a low speed, gradually pour the warm milk into the dry ingredients. Follow with 1 large egg white, ensuring it’s at room temperature for better incorporation, and 1 tablespoon of melted unsalted butter. Allow the mixer to run for about 5 minutes, stopping occasionally to scrape down the sides of the bowl to ensure all ingredients are fully incorporated into a cohesive dough.
Step 3: First Rise and Chill
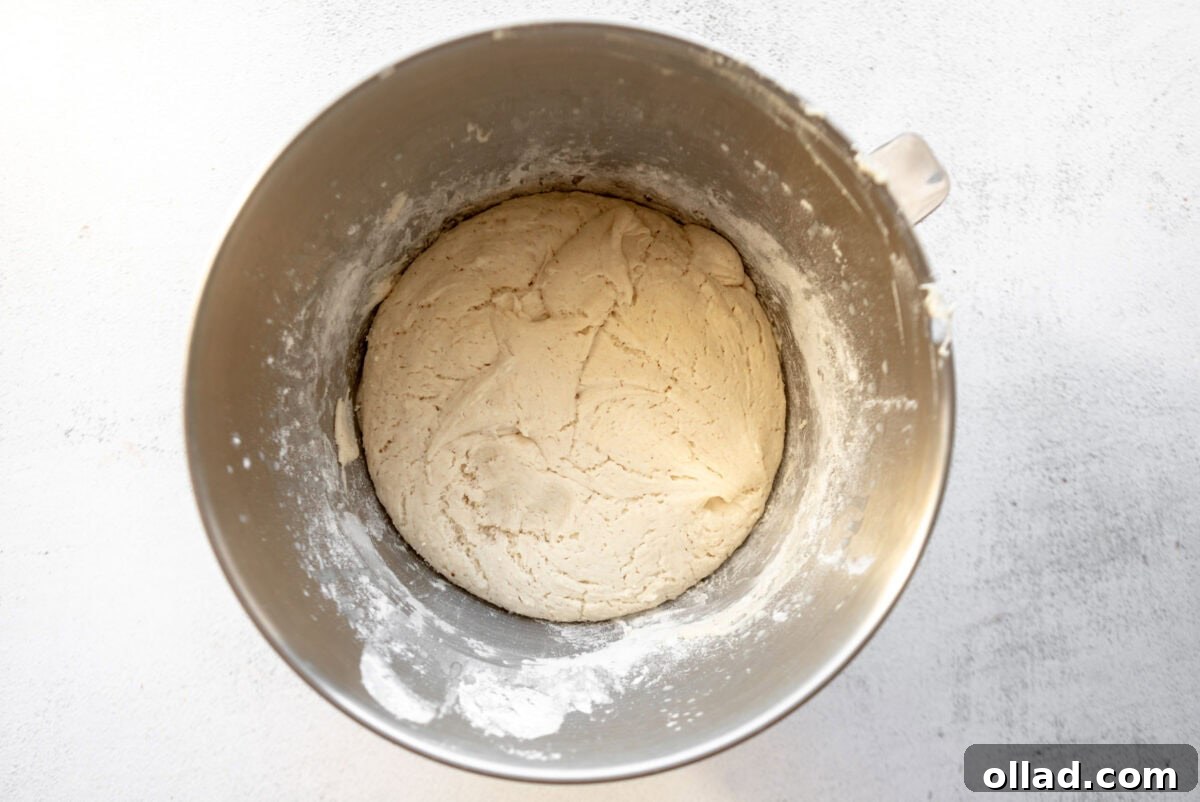
Once the dough is thoroughly mixed, cover the bowl with plastic wrap or a clean kitchen towel. Allow the dough to undergo its initial rise at room temperature for 60 minutes. After this, transfer the covered bowl to the refrigerator for an additional 30 minutes. This chilling step is crucial, as gluten-free dough tends to be softer and more shapeless than traditional dough. Chilling helps the dough firm up, making it much easier to handle and shape in the subsequent steps, ensuring your muffins hold their form.
Step 4: Shape the Muffins and Second Rise
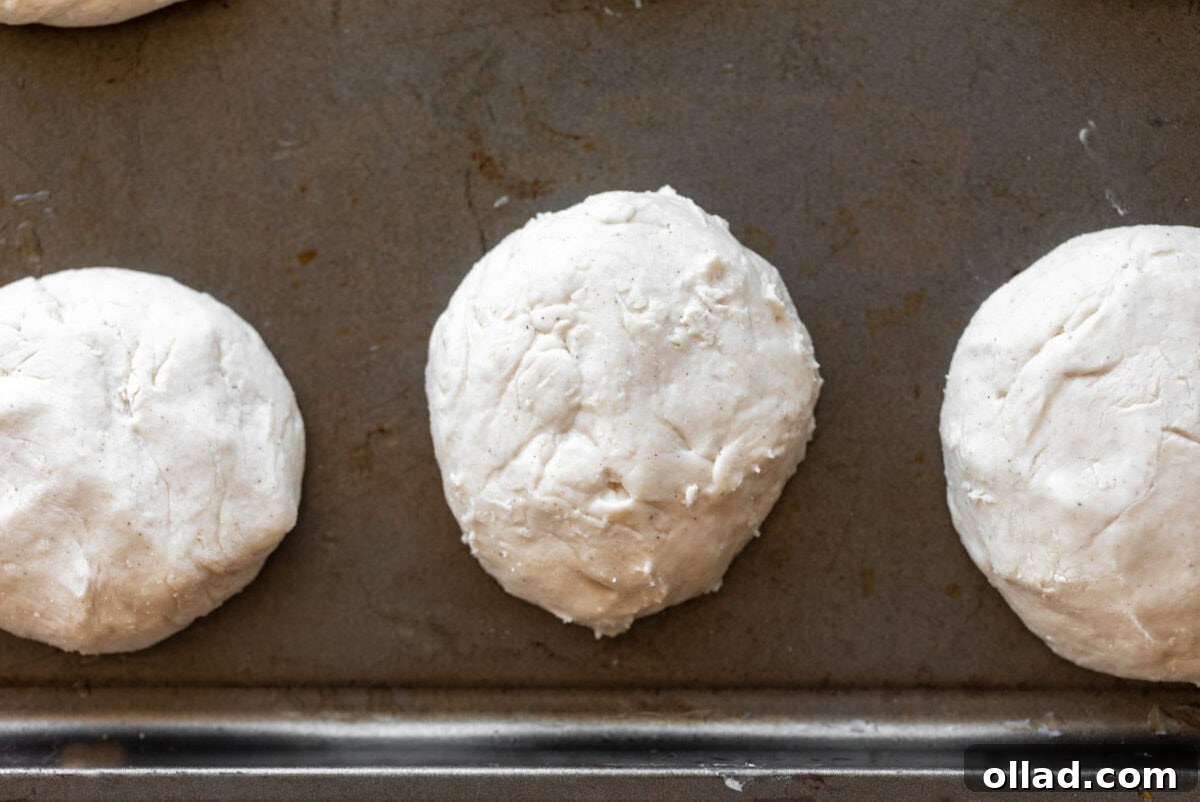
After the chilling period, gently remove the dough from the bowl. Divide the dough into 6 equal pieces. Lightly flour your hands if the dough feels sticky, then roll each piece into a neat ball. Arrange these dough balls on a lightly floured surface or a baking sheet lined with parchment paper. Allow them to rest and rise for an additional 30 minutes at room temperature. During this time, preheat your oven to 350°F (175°C), preparing for the final baking stage.
Step 5: Dust and Fry on the Stovetop
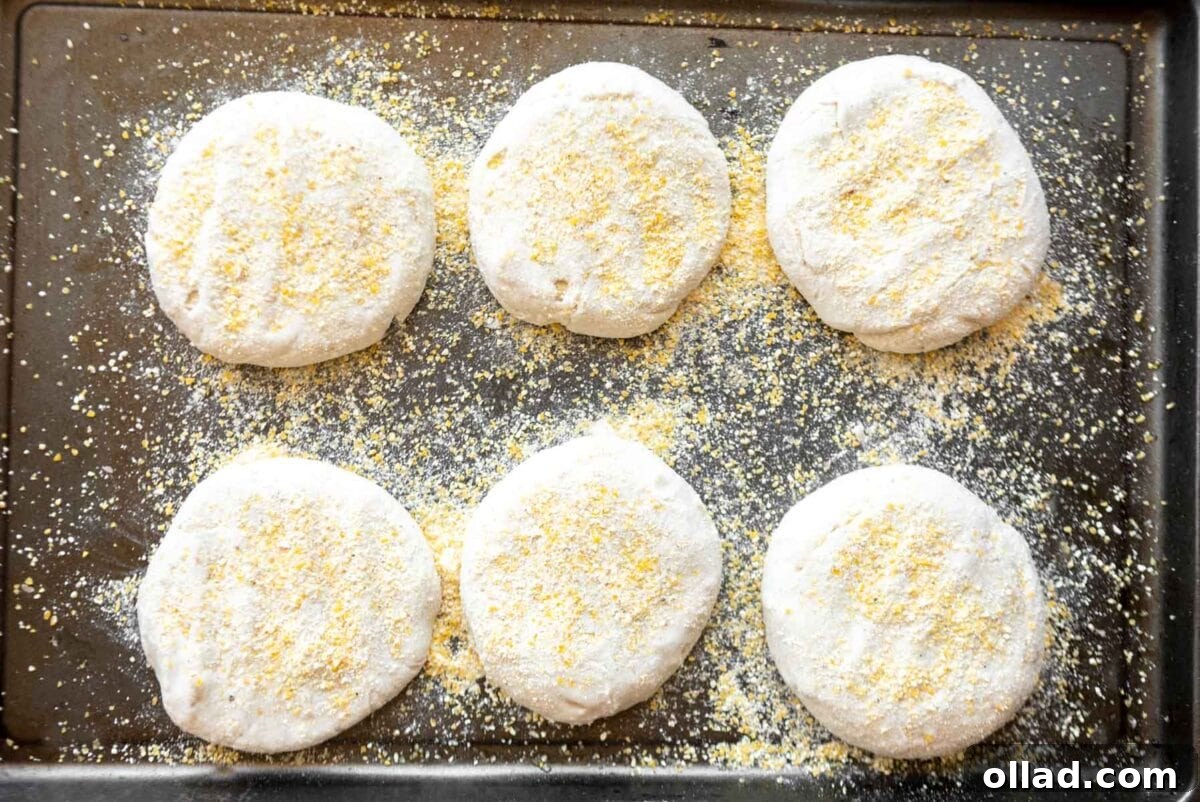
Lightly dust each dough ball generously with gluten-free cornmeal (you’ll use about ¼ cup total for all six muffins), then gently press down on each to form a slightly flattened disc, characteristic of English muffins. Grease a cast iron pan or a heavy-bottomed skillet with about 2 tablespoons of vegetable oil and place it over medium-low heat. Once the pan is heated, carefully place the cornmeal-dusted dough discs into the pan, ensuring they are not overcrowded. Fry each side for 3 to 5 minutes, or until they achieve a beautiful golden-brown color and a satisfyingly crispy crust. Avoid flipping too frequently to allow for even browning.
Step 6: Finish Baking in the Oven and Enjoy
Once both sides are golden and crisp from frying, transfer the pan directly into your preheated 350°F (175°C) oven. Bake for an additional 5 minutes. This crucial step ensures that the muffins cook through completely in the center, without burning the exterior. After baking, remove the pan from the oven and let the English muffins cool slightly before handling. For the best, craggy texture, use a fork to poke holes around the sides of each muffin, then gently pry it open along the middle, rather than slicing with a knife. Serve warm and savor every bite!
Expert Tips for Gluten-Free English Muffin Success
Achieving bakery-quality gluten-free English muffins at home is entirely possible with a few insider tips:
- Choosing Your Gluten-Free Flour: The type of gluten-free all-purpose flour blend you use can significantly impact your baking results. Not all gluten-free flours are created equal, especially when it comes to yeast-based recipes. Some blends may contain too much starchy flour or not enough binder (like xanthan gum) to support the yeast. For this recipe, we’ve had excellent results with Pillsbury Gluten-Free flour, as it provides a good balance of ingredients for yeast baking. Experimentation with other trusted brands specifically designed for yeast breads might yield similar success, but be aware that results can vary.
- Precise Flour Measurement: The “spoon & level” method is paramount for measuring gluten-free flour accurately. Instead of scooping your measuring cup directly into the flour bag (which compacts the flour and results in too much), use a spoon to lightly scoop the flour into your measuring cup. Once the cup is overflowing, use the flat back of a knife or a straight edge to level off the top. This method prevents over-measuring, which can lead to a dense, dry muffin.
- Mastering the Heat for Perfect Browning: When frying your English muffins on the stovetop, it’s essential to cook them over medium-low heat. This allows the muffins to cook gently and evenly brown without burning the exterior before the interior has a chance to set. Resist the urge to flip them too frequently; let each side develop a beautiful golden crust before turning. Patience is key for that perfect exterior texture.
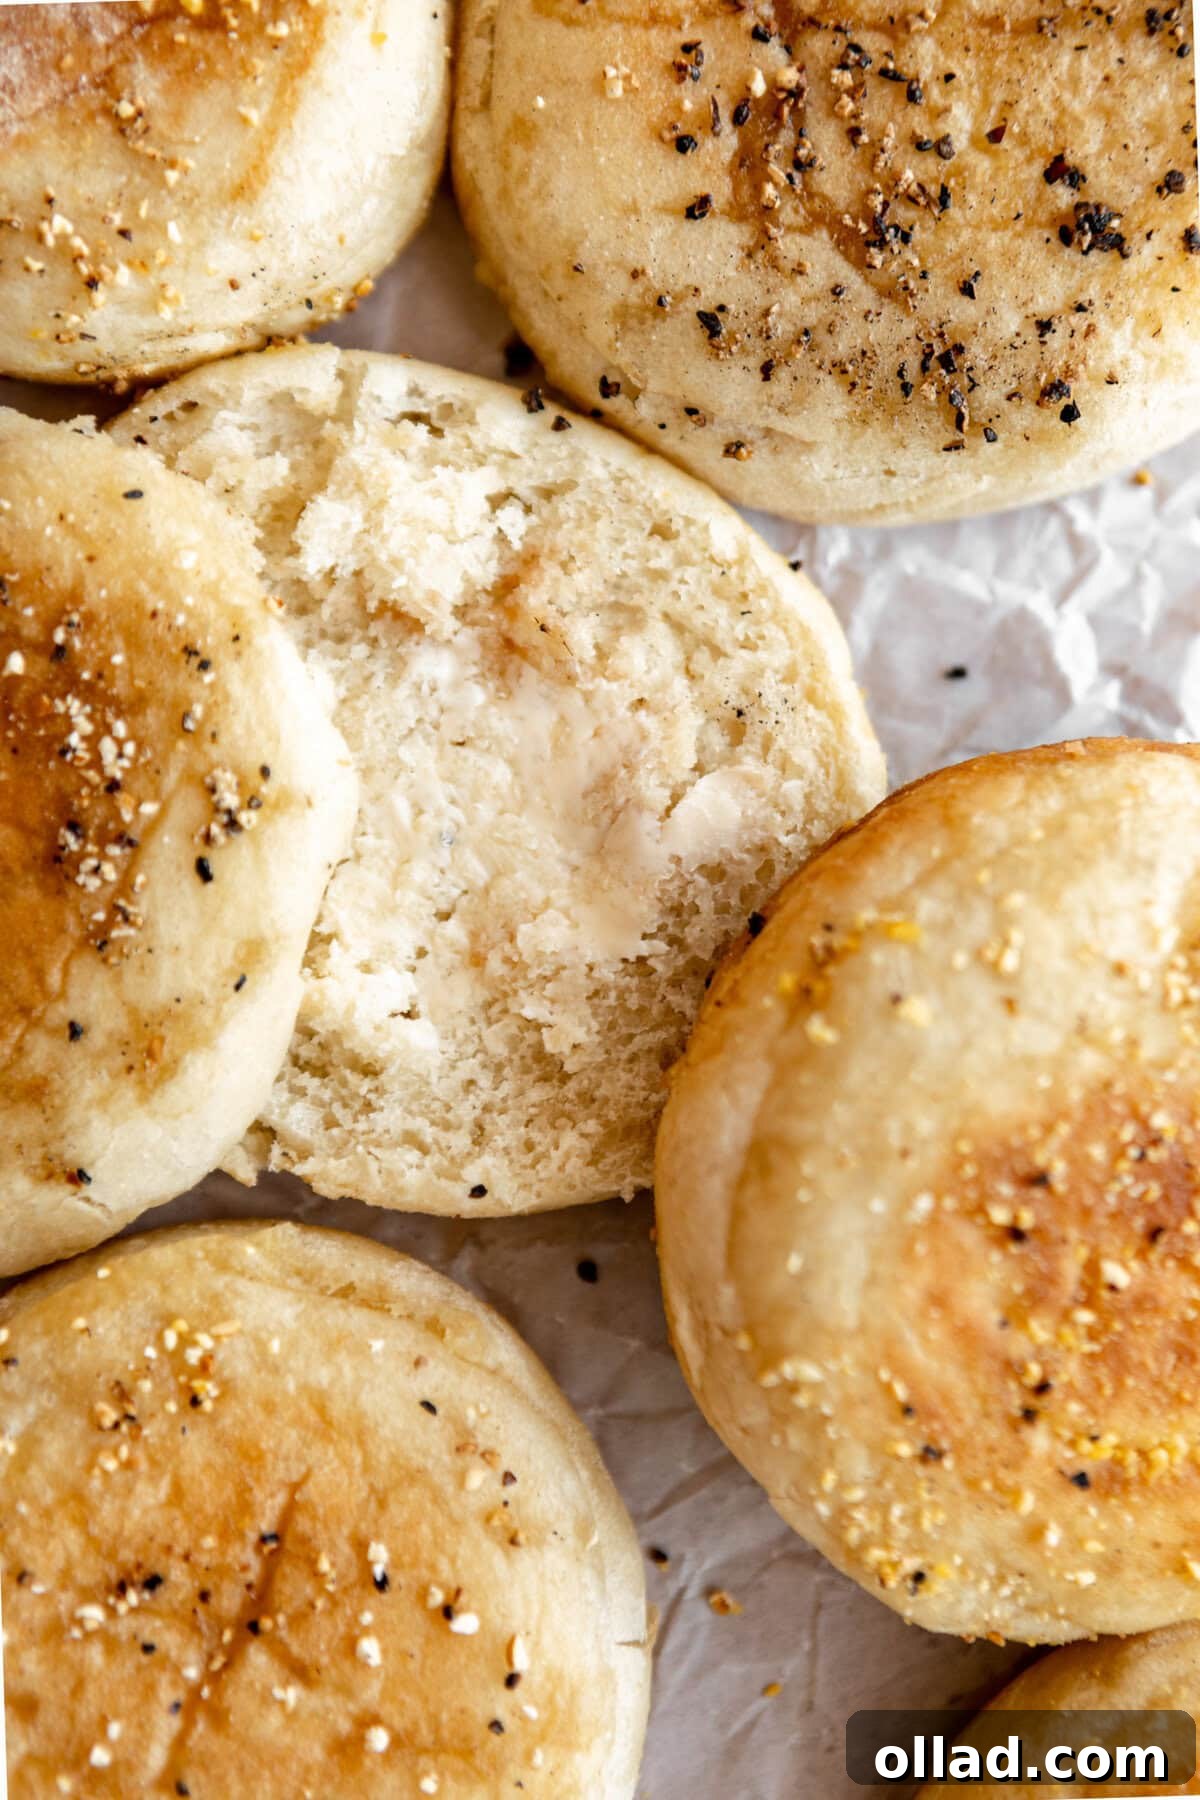
- The Art of Fork-Splitting: To truly appreciate the iconic craggy texture (those magical “nooks and crannies”) of an English muffin, avoid slicing it with a knife. Instead, use a fork to gently pierce around the circumference of the muffin, then use your hands to pull it apart. This technique preserves the irregular, porous interior, which is ideal for soaking up butter, jam, or the delicious fillings of a breakfast sandwich. Remember to allow the muffins to cool slightly before attempting to fork-split them; trying to split them when too hot can result in a gummy texture.
- The Importance of Chilling the Dough: Gluten-free dough can be notoriously soft and somewhat unstructured. The chilling period in the refrigerator after the initial rise is a critical step that helps to firm up the dough. This makes it significantly easier to handle, shape into uniform discs, and ensures that the muffins hold their form during the frying process, preventing them from spreading too much.
Frequently Asked Questions About Gluten-Free English Muffins
Here are some common questions you might have when making these delicious gluten-free English muffins:
- Do I Need Rings To Make English Muffins?
Absolutely not! While metal English muffin rings are traditionally used to achieve perfectly round shapes, they are not strictly necessary for this recipe. If you properly chill the dough as instructed, these muffins will beautifully hold their shape on their own. For those who prefer a more uniform, perfectly round appearance, you can use cookie cutters or even the lids of mason jars as impromptu molds during the frying process to guide their shape.
- Can I Cook These On A Griddle Instead of a Cast Iron Pan?
Yes, certainly! A griddle works just as effectively as a cast iron pan for cooking these English muffins. The key is to maintain a consistent medium-low heat to ensure even browning and thorough cooking without burning. Whether you use a griddle or a cast iron pan, the goal is a golden-brown, crispy exterior before transferring to the oven.
- What Does It Mean To Fork-Split English Muffins?
Fork splitting is a time-honored method for preparing an English muffin that preserves its unique internal texture. Instead of using a knife to slice the muffin in half, you use the tines of a fork to poke holes all the way around its perimeter. Then, you gently pull the two halves apart. This technique creates a rough, craggy surface with deep crevices, often referred to as “nooks and crannies,” which are ideal for holding butter, jam, or other toppings. Slicing with a knife results in a much smoother surface, missing out on this delightful texture.
- Why Did My Gluten-Free English Muffins Not Rise?
Several factors can affect the rise of gluten-free yeast dough. Ensure your instant yeast is fresh and active (check the expiration date). The milk temperature is also crucial; it should be warm (around 110°F/43°C) to activate the yeast, but not too hot, which can kill it. Cold milk will slow down or prevent activation. Also, verify that your gluten-free flour blend is suitable for yeast baking, as some blends are not formulated for it. Finally, ensure your rising environment is warm and free from drafts.
- Can I Make These English Muffins Dairy-Free?
Yes, this recipe is easily adaptable for dairy-free diets! Simply substitute regular milk with your favorite dairy-free milk alternative, such as almond milk, soy milk, or oat milk. For the butter, use a high-quality dairy-free butter substitute like Smart Balance or a similar plant-based spread. These substitutions will not compromise the delicious taste or texture of your gluten-free English muffins.
Storage and Freezing Instructions
Proper storage ensures your homemade gluten-free English muffins remain fresh and delicious for as long as possible:
- Room Temperature Storage: Once completely cooled, gluten-free English muffins can be stored in an airtight container at room temperature for up to 2 days. This helps maintain their soft interior and prevents them from drying out.
- Refrigeration: For slightly extended freshness, you can store them in an airtight container in the refrigerator for up to 5 days. Reheat gently in a toaster or pan before serving for best texture.
- Freezer for Longer-Term Storage: For the ultimate convenience and to enjoy your muffins for weeks to come, they freeze exceptionally well. Allow the cooked muffins to cool completely. Then, tightly wrap each individual muffin in plastic wrap, ensuring no air exposure, and place them in a freezer-safe bag or container. They will last in the freezer for up to 3 months. When you’re ready to enjoy, simply remove a frozen muffin and toast it directly from frozen, or thaw at room temperature before toasting.
Delicious Ways to Enjoy Your Gluten-Free English Muffins
The beauty of homemade English muffins lies in their versatility. Here are just a few ideas to get you started:
- Classic Breakfast: Toasted to perfection and slathered with butter and your favorite jam, marmalade, or honey.
- Savory Sandwiches: The ideal base for a hearty breakfast sandwich with a fried egg, crispy bacon or sausage, and melted cheese. They also make excellent lunch sandwiches.
- Sweet Treats: Top with cream cheese and fruit, or a sprinkle of cinnamon sugar.
- Mini Pizzas: A quick and easy snack or light meal – split, toast lightly, top with sauce, cheese, and your favorite pizza toppings, then broil until bubbly.
- Avocado Toast: Upgrade your avocado toast by using a craggy English muffin as the base for creamy avocado, a sprinkle of everything bagel seasoning, and a pinch of red pepper flakes.
More Gluten-Free Breakfast Delights to Try!
If you loved making these English muffins, be sure to explore more of our delightful gluten-free breakfast recipes:
- Gluten-Free Buttermilk Biscuits
- Gluten-Free Cinnamon Rolls
- Gluten-Free Waffles
- Gluten-Free Pancakes
Gluten-Free English Muffins Recipe Card
Gluten-Free English Muffins

This easy gluten-free English muffin recipe yields crispy, yet craggy rounds that are delicious any way you enjoy the breakfast staple.
Servings: 6 English muffins
Prep Time: 30 mins
Cook Time: 15 mins
Rise Time: 2 hrs
Total Time: 2 hrs 45 mins
Ingredients
- 2¾ cups gluten-free all-purpose flour with xanthan gum (We recommend Pillsbury gluten-free, as not all brands work for yeast baking.)
- ¼ cup tapioca flour
- 1 tablespoon granulated sugar
- 2¼ teaspoons instant yeast
- 1½ teaspoons salt
- 1½ cups milk, warm (Use dairy-free milk for a dairy-free option)
- 1 large egg white, room temperature
- 1 tablespoon unsalted butter, melted (Use Smart Balance for a dairy-free option)
- ¼ cup gluten-free cornmeal, for dusting
- 2 tablespoons vegetable oil, for frying
Instructions
- In the bowl of a stand mixer fitted with the paddle attachment, combine the gluten-free all-purpose flour, tapioca flour, sugar, instant yeast, and salt. Set aside.
- Warm the milk to about 110°F using the microwave or a saucepan set over low heat.
- With the mixer running on low speed, pour in the warm milk, egg white, and melted butter. Scrape down the sides as needed. Let the mixer run for about 5 minutes until a cohesive dough forms.
- Cover the dough and let it rise for 60 minutes at room temperature, then transfer to the fridge for an additional 30 minutes. Chilling is important for the dough to firm up and hold its shape.
- After rising and chilling, cut the dough into 6 equal pieces and gently roll each into a ball. If the dough is sticky, lightly flour your hands. Allow the shaped dough balls to rise for an additional 30 minutes.
- While the dough rises for the second time, preheat your oven to 350°F (175°C).
- Dust each dough ball generously with gluten-free cornmeal (about ¼ cup total) and gently press down on each to flatten slightly.
- Grease a cast iron pan or heavy-bottomed skillet with 2 tablespoons of vegetable oil, then place over medium-low heat. Fry the muffins on each side for 3 to 5 minutes, or until golden brown and crispy.
- Once fried, place the pan directly into the preheated oven and bake for 5 minutes. This ensures the centers are cooked through.
- Let the muffins cool slightly. For best texture and those iconic nooks and crannies, use a fork to poke holes around the sides of each muffin, then gently pull them apart instead of slicing with a knife. Enjoy!
Notes
- Flour Choice: Not all gluten-free flours are recommended for yeast baking. You may experience different baking results depending on the specific gluten-free flour blend you choose. Pillsbury gluten-free flour is a good choice for this recipe.
- Measuring Flour: Always use the “spoon & level” method for gluten-free flour. Scoop flour into the measuring cup with a spoon, then level off the top with the back of a knife. Avoid scooping directly from the bag to prevent compaction.
- Cooking Heat: Cook the muffins over medium-low heat to ensure even browning and to prevent burning. Do not flip too often.
- Fork-Splitting: For the best craggy texture, use a fork to poke holes around the sides of the muffin, then split it open. Allow muffins to cool a bit before attempting to fork-split.
- Storage: Store gluten-free English muffins in an airtight container at room temperature for up to 2 days, or in the refrigerator for up to 5 days.
- Freezing: For longer storage, tightly wrap individual English muffins in plastic wrap and place in a freezer-safe bag for up to 3 months. Toast directly from frozen.
Nutrition
- Serving: 1 English muffin
- Calories: 344 kcal
- Carbohydrates: 56 g
- Protein: 11 g
- Fat: 11 g
- Saturated Fat: 3 g
- Polyunsaturated Fat: 3 g
- Monounsaturated Fat: 3 g
- Trans Fat: 0.1 g
- Cholesterol: 12 mg
- Sodium: 617 mg
- Potassium: 166 mg
- Fiber: 7 g
- Sugar: 7 g
- Vitamin A: 157 IU
- Vitamin C: 0.01 mg
- Calcium: 115 mg
- Iron: 2 mg
Nutrition information is automatically calculated and should be used as an approximation.
Additional Info
Cuisine: American
Tried this recipe? Mention @mamaknowsglutenfree or tag #mamaknowsglutenfree!
Embrace the joy of gluten-free baking and treat yourself to these sensational English muffins. They prove that you don’t have to compromise on taste or texture when avoiding gluten. With their soft interior, crispy exterior, and incredible versatility, they are bound to become a celebrated addition to your breakfast table. Happy baking!