
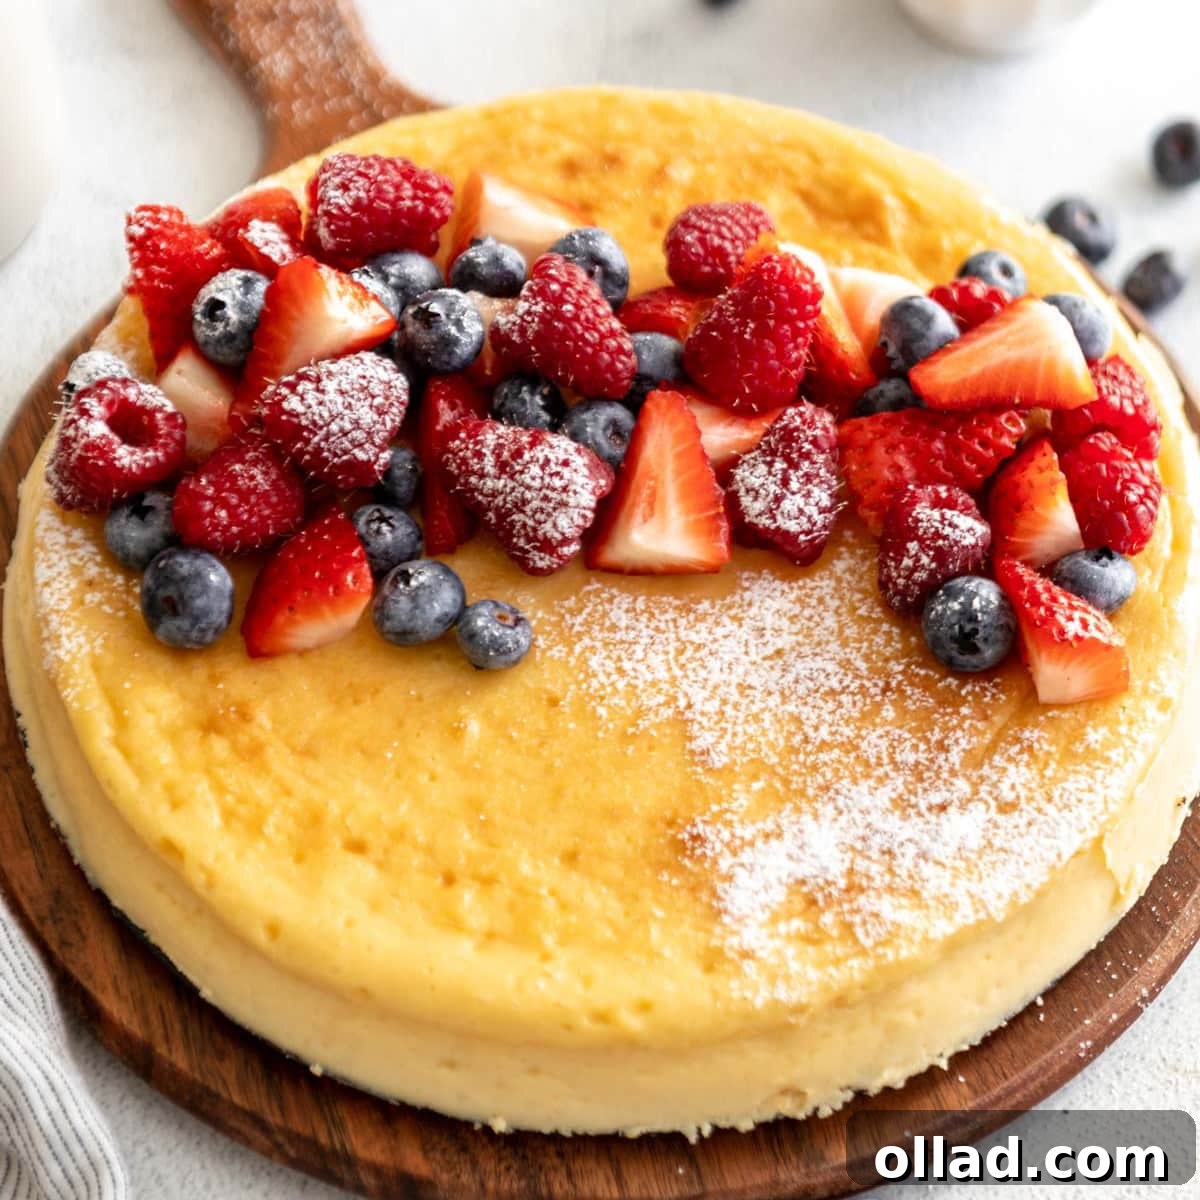
Welcome to the ultimate guide for creating an incredibly delicious and unbelievably easy crustless cheesecake! This recipe is a game-changer for anyone seeking a rich, creamy, and perfectly tangy dessert without the hassle of a traditional crust. By design, it’s naturally gluten-free, making it an ideal choice for those avoiding wheat or simply looking for a lighter, yet utterly satisfying, sweet treat. Forget complicated baking techniques and lengthy ingredient lists; this straightforward recipe proves that gourmet desserts can be accessible to every home baker. Prepare to impress your family and friends with a cheesecake that’s as effortless to make as it is delightful to devour.
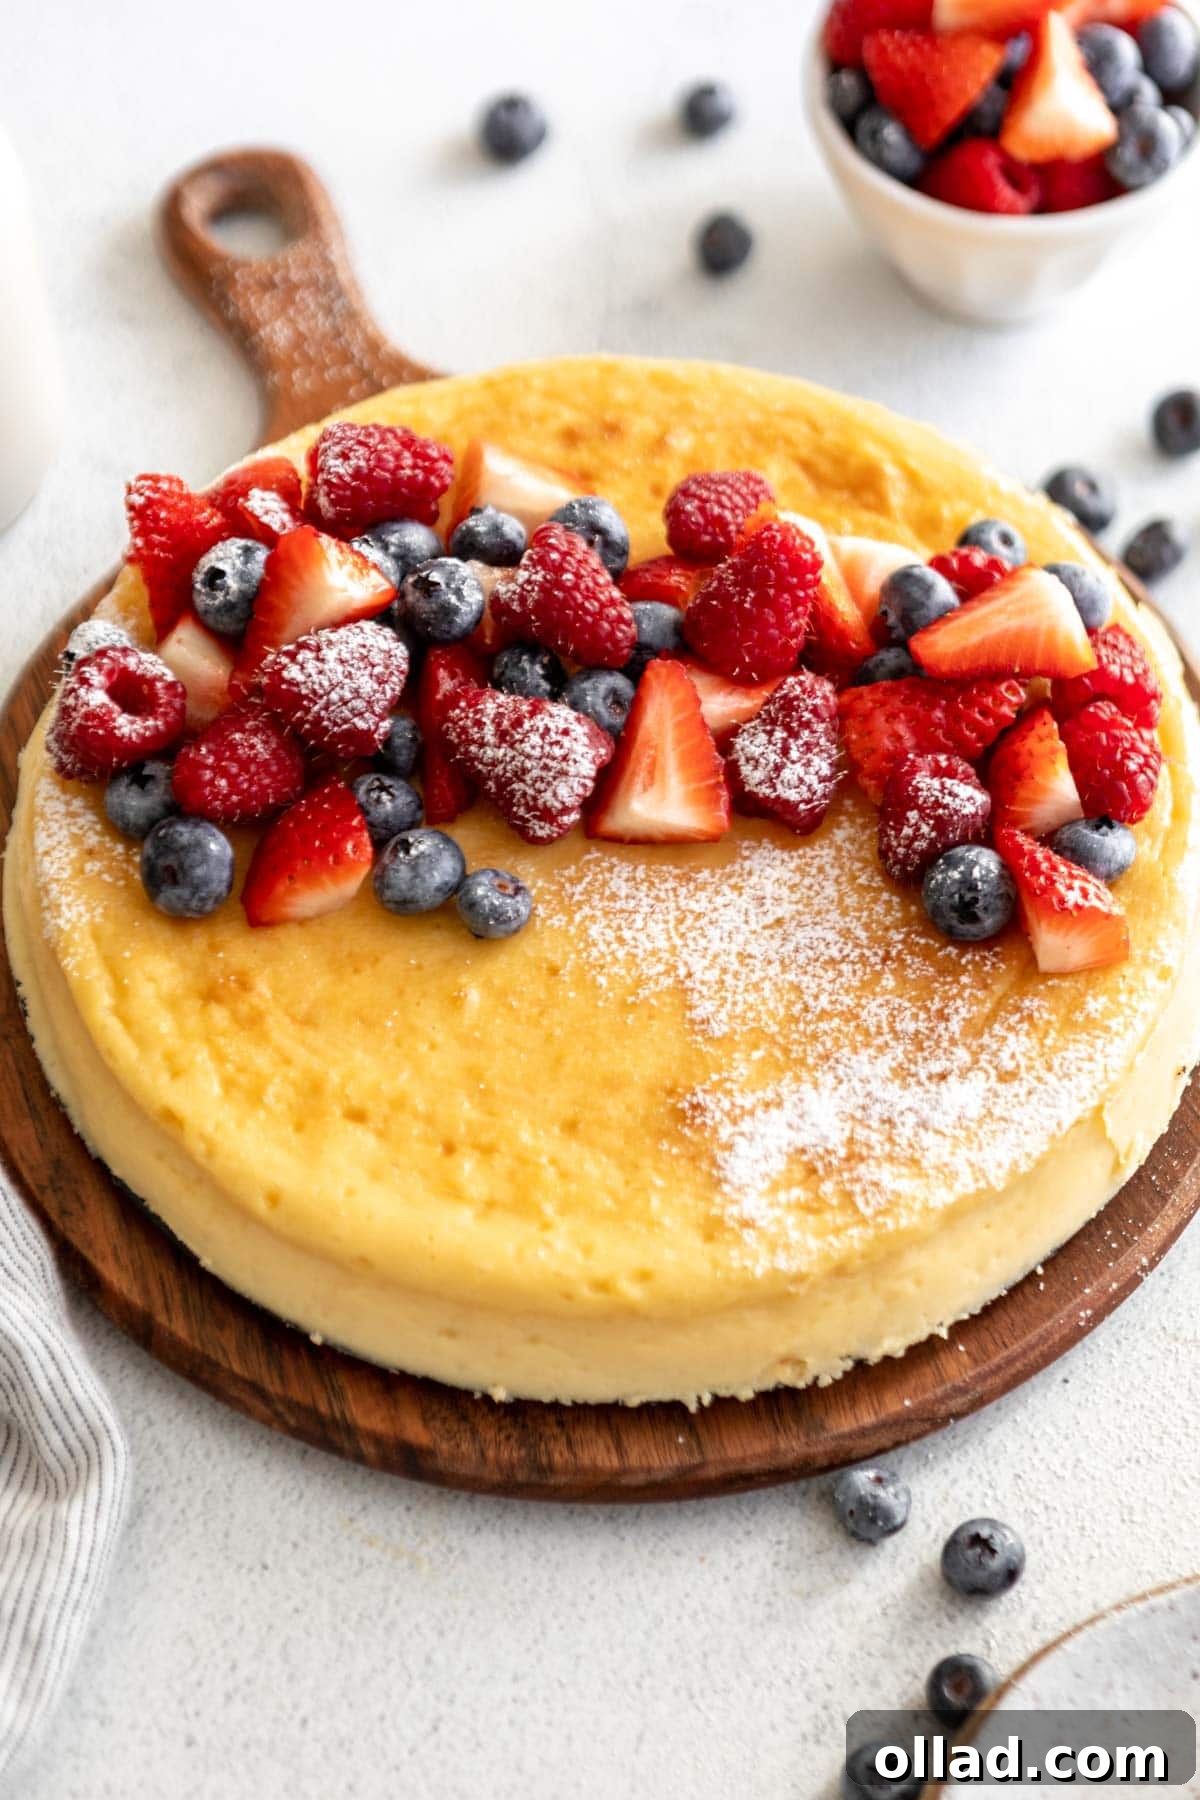
Crustless Cheesecake Recipe: The Ultimate Gluten-Free Dessert
This crustless cheesecake recipe is renowned for its smooth, velvety texture and satisfying richness, instantly becoming a favorite for any occasion. Whether you’re celebrating holidays, birthdays, or simply indulging a sudden craving, this dessert consistently delivers. What makes it truly stand out is its simplicity: you only need 5 core ingredients and a basic mixing method. The magic happens during a gentle bake in a water bath, a technique that ensures an incredibly creamy, crack-free finish every time. It’s always a crowd-pleaser and remarkably easy to customize with your favorite toppings. If you ever find yourself in the mood for a cheesecake with a delightful crust, be sure to check out my equally simple and delicious gluten-free cheesecake recipe.
Crustless Cheesecake Recipe
Claire Cary
12 slices
10 mins
1 hr 30 mins
4 hrs
5 hrs 40 mins
Print Recipe
Share by Email
Pin Recipe
An easy recipe for gluten-free crustless cheesecake. This crustless cheesecake recipe is rich, creamy, and tangy – plus, it’s naturally gluten-free!
Ingredients
- 24 ounces full-fat cream cheese, softened to room temperature (block style, not spreadable cream cheese)
- 1 cup granulated sugar
- ¾ cup sour cream, room temperature
- 4 large eggs, room temperature
- 1 tablespoon pure vanilla extract
Instructions
- Preheat the oven to 325°F (160°C).
- Grease and line a 9-inch (23 cm) springform pan with parchment paper. Wrap the outside of the pan with a layer of parchment paper and then aluminum foil to ensure the bottom and sides are all tightly covered, creating a watertight seal for the water bath. Set aside.
- In a large bowl, beat the softened cream cheese on high speed for 30 seconds until it’s smooth and creamy.
- Add the granulated sugar and pure vanilla extract to the cream cheese mixture and beat until well blended and lump-free.
- Incorporate the room-temperature sour cream into the mixture and beat again until the batter is perfectly smooth.
- Add the large eggs into the cream cheese mixture one at a time, beating on low speed after each addition just until combined. Use a spatula to scrape down the sides of the bowl frequently to ensure everything is fully incorporated. Be careful not to overmix, as this can introduce too much air, leading to cracks in the finished cheesecake.
- Pour the prepared batter into your parchment-lined springform pan. Gently tap the pan on the counter a couple of times to release any trapped air bubbles, which helps achieve an even texture.
- Prepare your water bath: Place the springform pan into a larger roasting pan or baking dish. Carefully pour hot water into the larger pan, filling it halfway up the sides of the springform pan. This water bath helps to regulate the oven temperature and create a moist environment, preventing cracks and ensuring a silky-smooth texture.
- Bake for 75-90 minutes. The cheesecake is done when the outside edges appear set and slightly puffed, but the center 2-3 inches (5-7.5 cm) of the cheesecake still has a slight wobble when gently shaken. This subtle movement indicates perfect doneness; it will continue to set as it cools.
- Remove the cheesecake from the water bath and let it cool at room temperature for at least 30 minutes. This gradual cooling prevents sudden temperature changes that can cause cracking.
- Once cooled to room temperature, transfer the cheesecake to the refrigerator and chill for a minimum of 4 hours, or ideally overnight. Proper chilling is crucial for the cheesecake to fully set and achieve its firm, sliceable consistency.
- Once thoroughly chilled, slice and serve this exquisite crustless cheesecake.
Notes
- While not essential, using good-quality cream cheese, vanilla, and eggs significantly enhances the overall flavor and texture of your cheesecake. Invest in premium ingredients for the best results.
- Grease the pan well: Thoroughly greasing the springform pan, even without a crust, is vital for easy release and a pristine presentation.
- Line with parchment if preferred: Lining the bottom of the springform pan with parchment paper provides an extra layer of insurance against sticking and makes transferring the cheesecake much simpler.
- Room Temperature Ingredients are Key: Ensure all cold ingredients like cream cheese, sour cream, and eggs are brought to room temperature before mixing. This allows them to combine smoothly and evenly, preventing lumps and ensuring a consistent, creamy batter.
- Don’t Overmix: After adding the eggs, mix on low speed just until they are incorporated. Overmixing introduces too much air, which can cause the cheesecake to puff up excessively in the oven and then crack as it cools.
- The Water Bath Advantage: The water bath is crucial for even baking and a creamy texture. It insulates the cheesecake, preventing the edges from baking too quickly and cracking the top.
Nutrition
Serving: 1 slice
Calories: 179 kcal
Carbohydrates: 22 g
Protein: 11 g
Fat: 5 g
Saturated Fat: 2 g
Polyunsaturated Fat: 0.5 g
Monounsaturated Fat: 1 g
Trans Fat: 0.01 g
Cholesterol: 77 mg
Sodium: 426 mg
Potassium: 201 mg
Sugar: 20 g
Vitamin A: 210 IU
Vitamin C: 0.1 mg
Calcium: 223 mg
Iron: 0.4 mg
Nutrition information is automatically calculated, so should only be used as an approximation.
Additional Info
Dessert
American
Once you’ve experienced the ease and incredible flavor of this crustless cheesecake, you’ll understand why it’s a staple in many kitchens. It’s perfect for those moments when you crave something sweet and elegant but don’t want to spend hours in the kitchen. The rich, dense texture combined with the bright, tangy notes of cream cheese and sour cream creates a symphony of flavors that will leave everyone wanting another slice.
How to Make Crustless Cheesecake Step by Step
Creating this flawless crustless cheesecake is a straightforward process when you follow these simple steps. Each stage is designed to ensure a perfectly smooth, creamy, and delightful dessert, even for novice bakers. The key lies in careful preparation and understanding the role of each ingredient and technique.
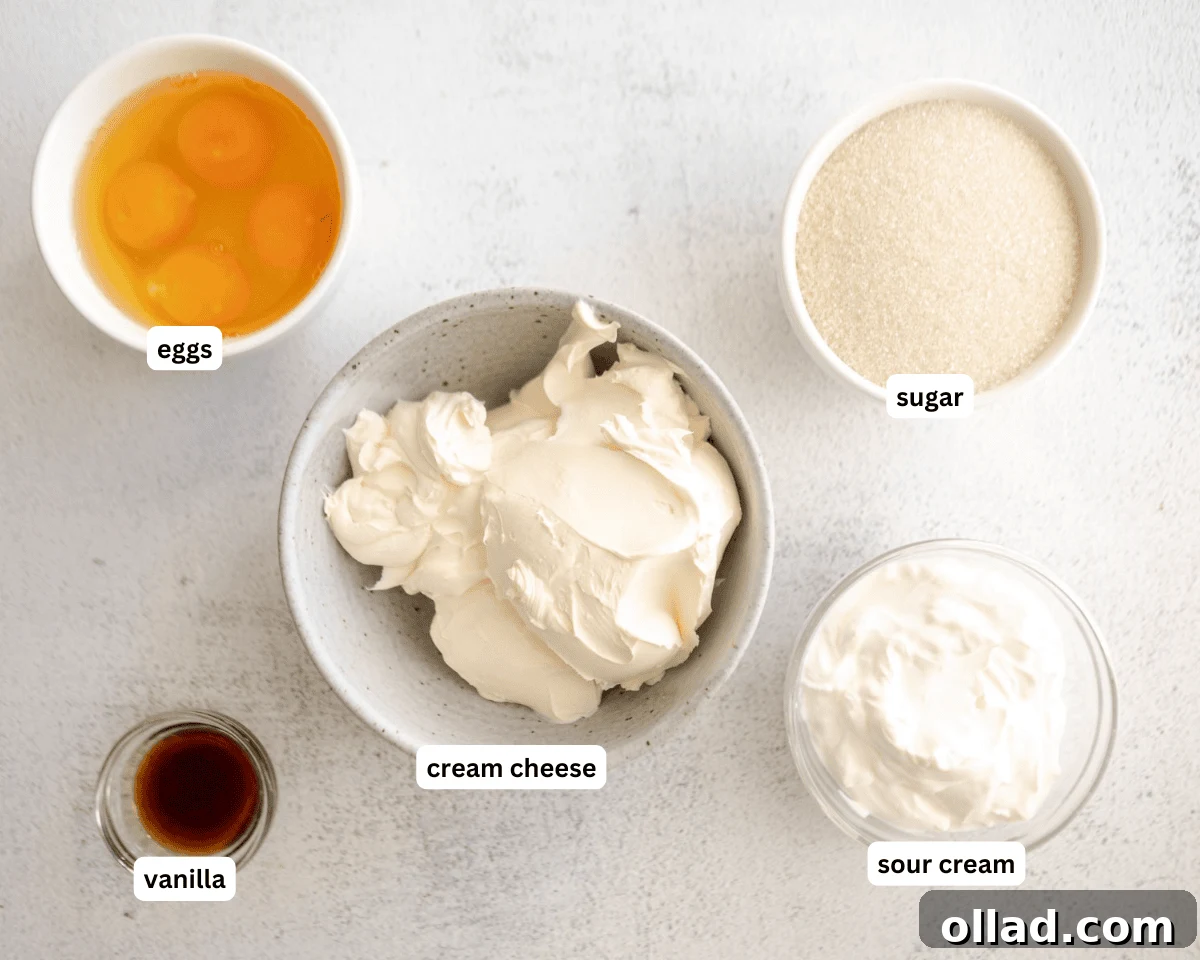
1. Gather Your Ingredients and Preheat: Begin by gathering all your ingredients and ensuring that refrigerated items like cream cheese, sour cream, and eggs have come to room temperature. This is a critical step as room-temperature ingredients emulsify better, creating a smoother, lump-free batter. Preheat your oven to 325°F (160°C). Prepare a 9-inch (23 cm) springform pan by greasing it thoroughly and lining the bottom with parchment paper. To create a watertight seal for the water bath, wrap the outside of the pan with a layer of parchment paper, then snugly wrap it with heavy-duty aluminum foil. This prevents any water from seeping into the cheesecake during baking. Set the prepared pan aside.
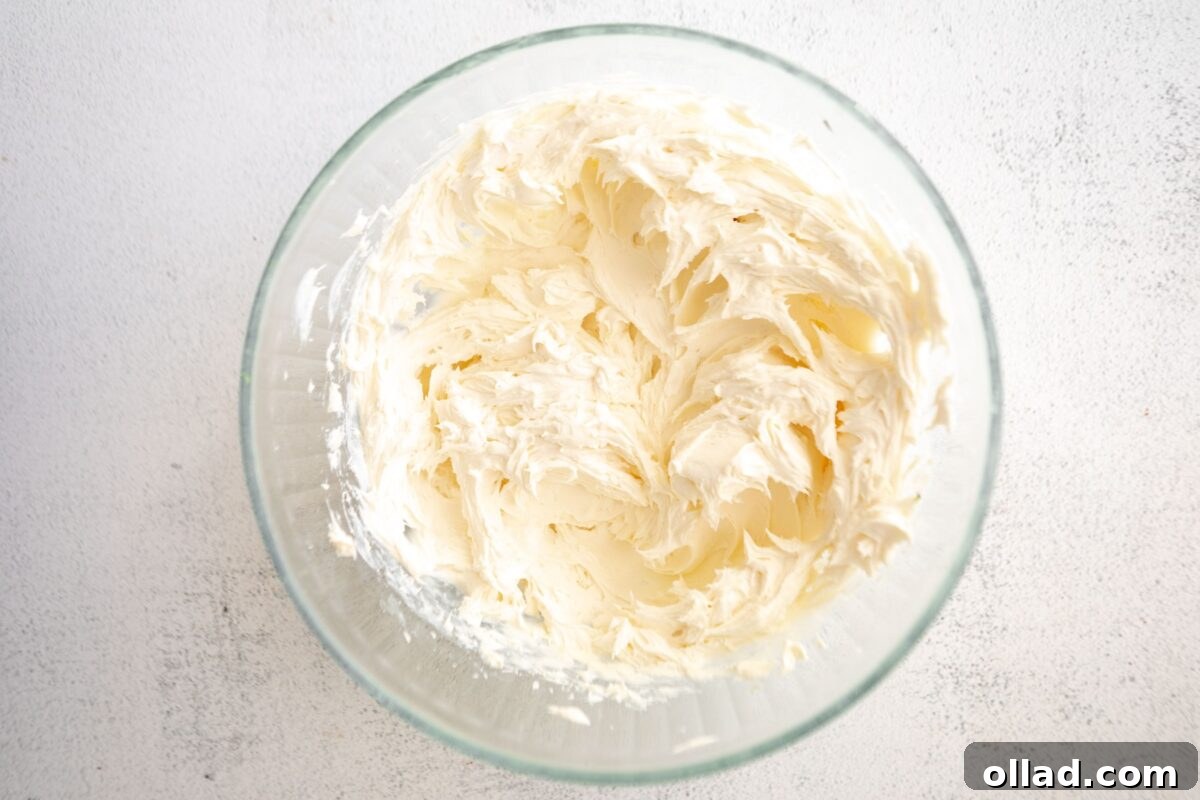
2. Beat the Cream Cheese: In a large mixing bowl, beat 24 ounces (approximately 3 blocks) of softened full-fat cream cheese on high speed for about 30 seconds. The goal here is to achieve a light, fluffy, and completely smooth consistency. Starting with soft cream cheese is essential to avoid lumps and ensure a uniform batter.
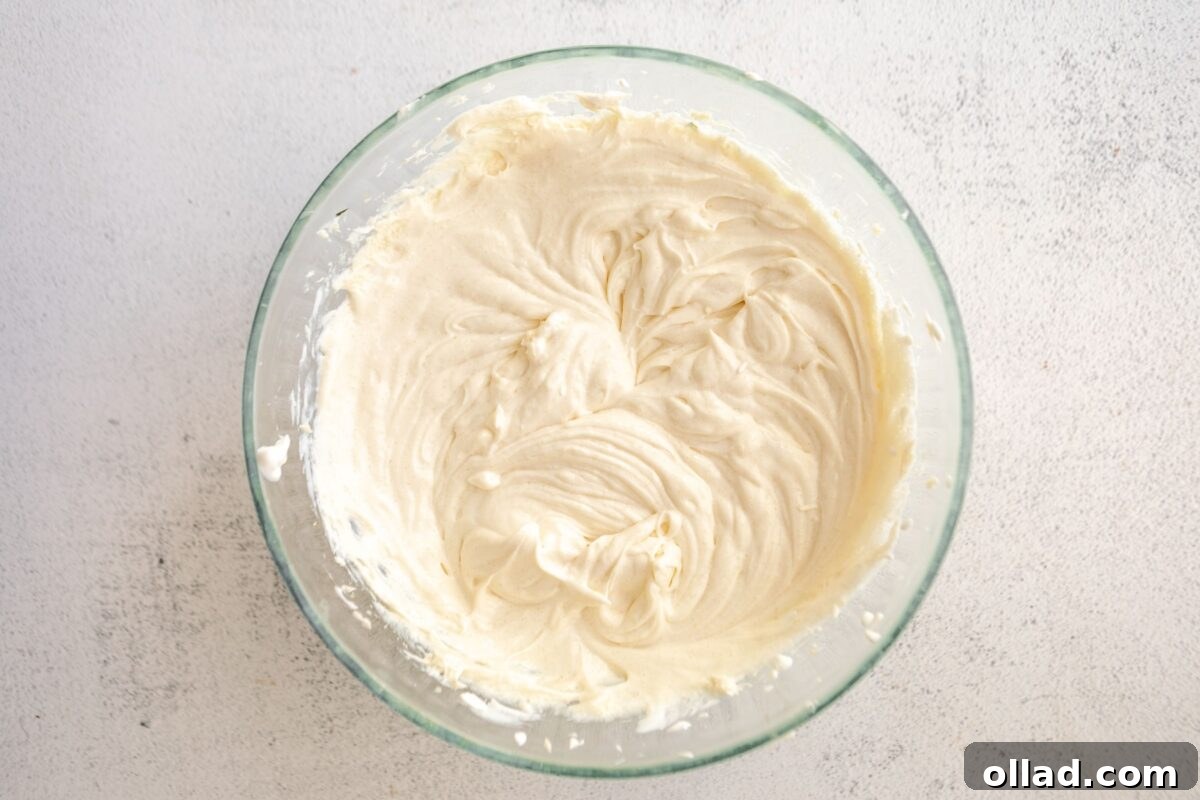
3. Incorporate Sugar, Vanilla, and Sour Cream: Add 1 cup of granulated sugar and 1 tablespoon of pure vanilla extract to the cream cheese. Beat the mixture until these ingredients are fully blended and the batter is smooth. Next, add ¾ cup of room-temperature sour cream. Continue beating until the entire mixture is uniform and silky. The sour cream adds a crucial tangy counterpoint to the sweetness and contributes significantly to the cheesecake’s characteristic creamy texture.
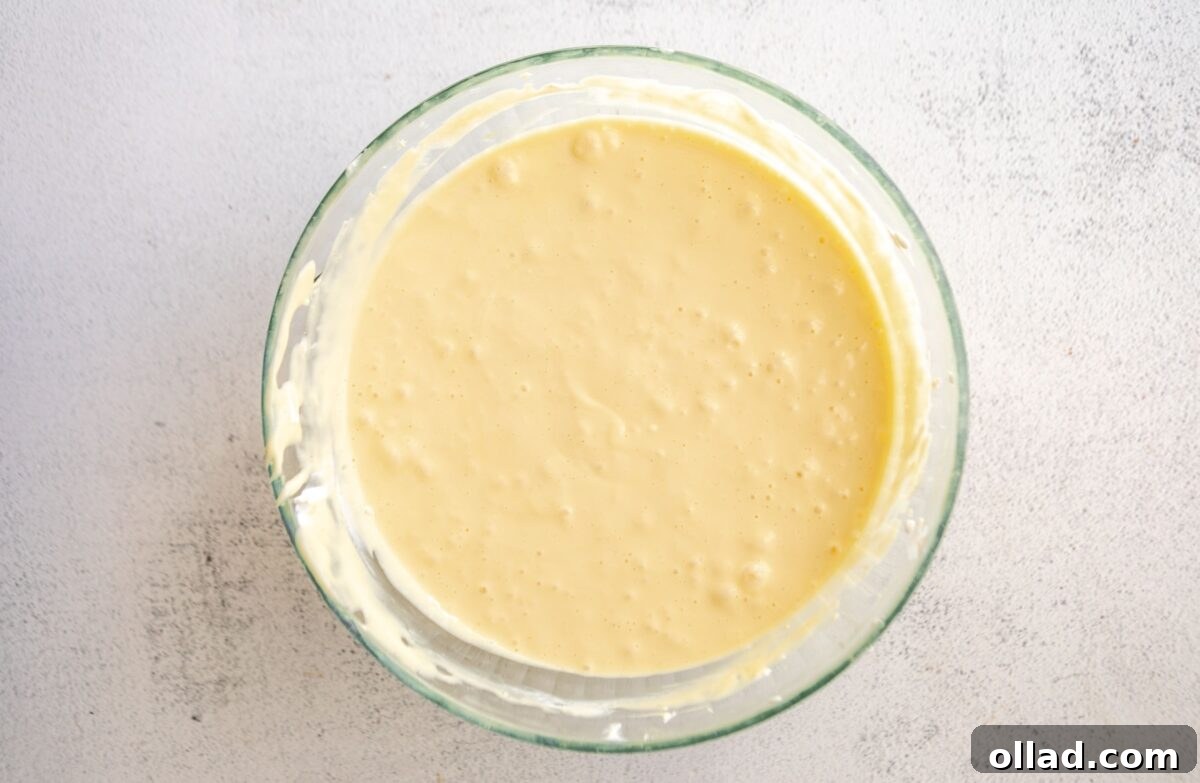
4. Gently Beat in the Eggs: Add the 4 large eggs one at a time, beating on low speed after each addition. It’s vital to scrape down the sides of the bowl between additions to ensure all ingredients are incorporated. Mix just until the egg yolk disappears into the batter; avoid overmixing at this stage. Overmixing introduces too much air, which can cause the cheesecake to rise rapidly during baking and then deflate and crack as it cools.
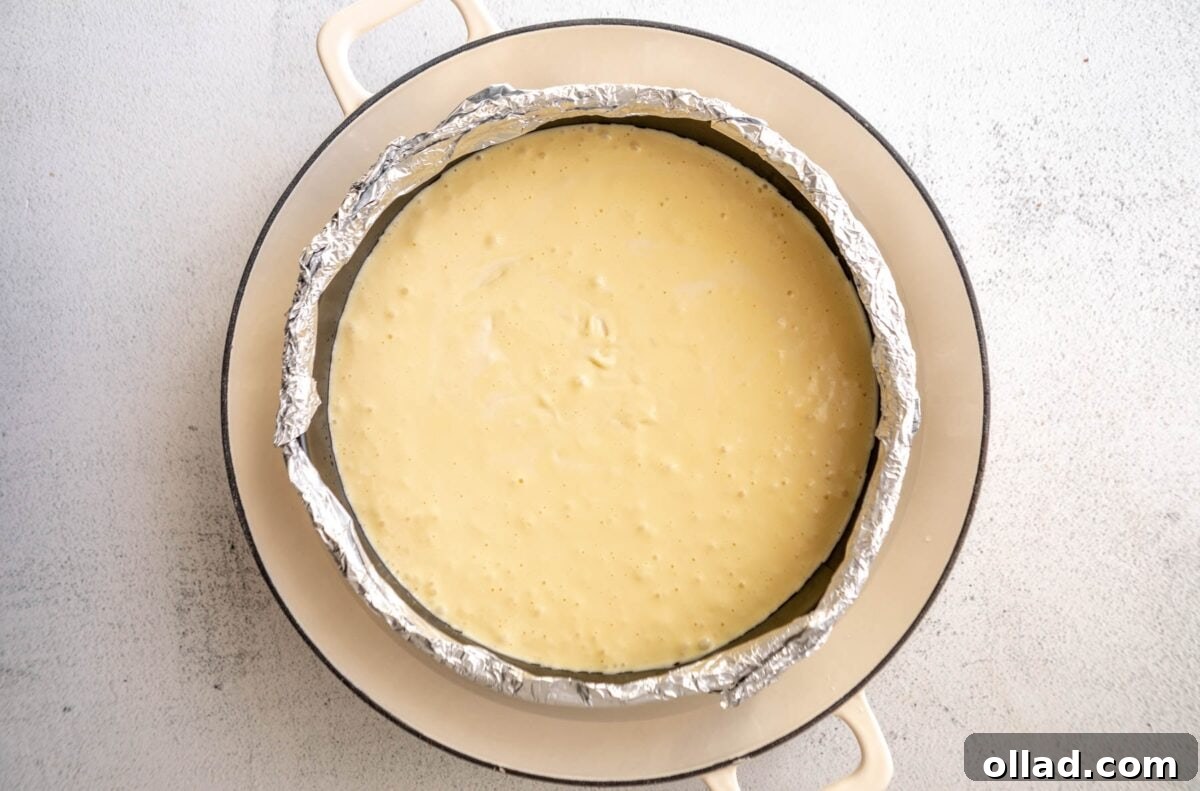
5. Fill the Pan and Prepare the Water Bath: Carefully pour the smooth cheesecake batter into your prepared springform pan. Gently tap the pan on the counter a few times to release any residual air bubbles, which helps create a dense and even crumb. Place the springform pan inside a larger baking dish or roasting pan. Then, carefully pour hot water into the outer dish, filling it about halfway up the sides of the springform pan. This water bath (bain-marie) is the secret to a perfectly baked cheesecake, providing a moist, even heat that prevents cracks and ensures a creamy, tender interior.
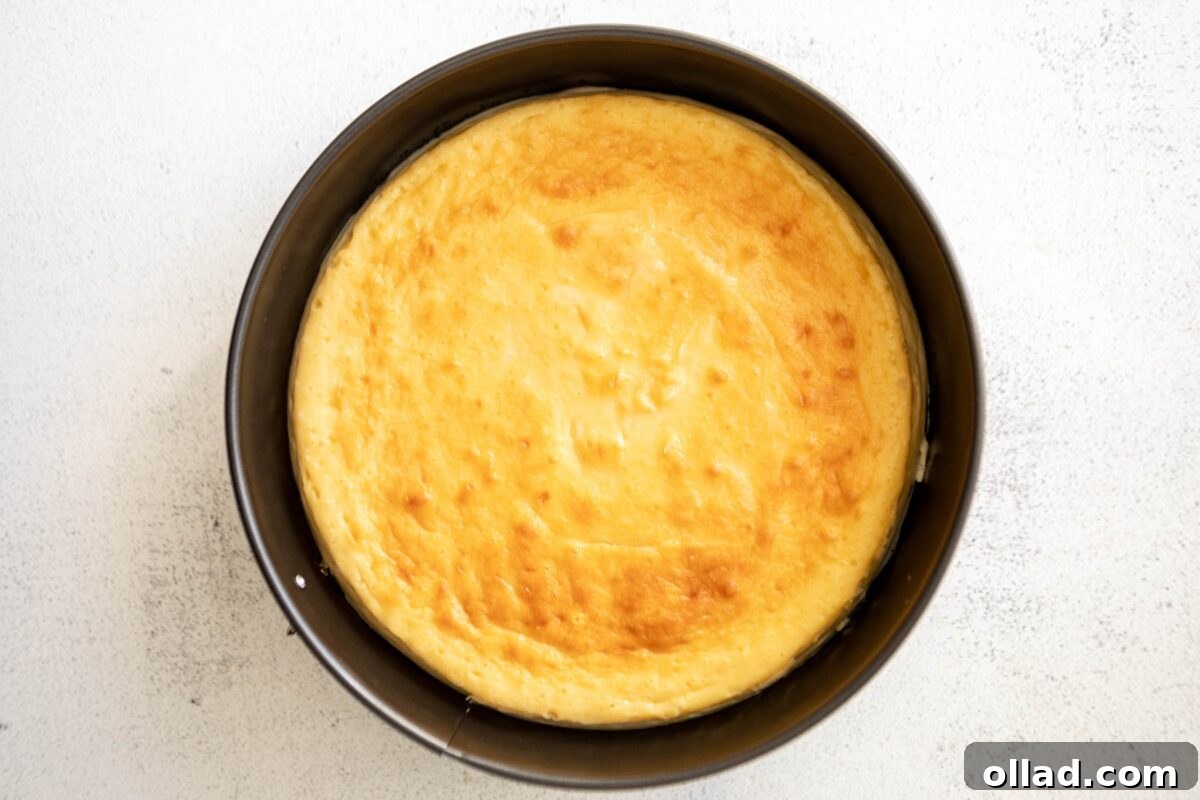
6. Bake the Cheesecake: Bake the cheesecake in the preheated oven for 75 to 90 minutes. You’ll know it’s done when the outer edges appear set and slightly puffed, but the center 2 to 3 inches (5 to 7.5 cm) still has a slight, delicate wobble when the pan is gently shaken. This slight movement is key; the cheesecake will continue to set as it cools, resulting in that signature creamy texture. Avoid overbaking, as this is a common cause of cracks in cheesecakes.
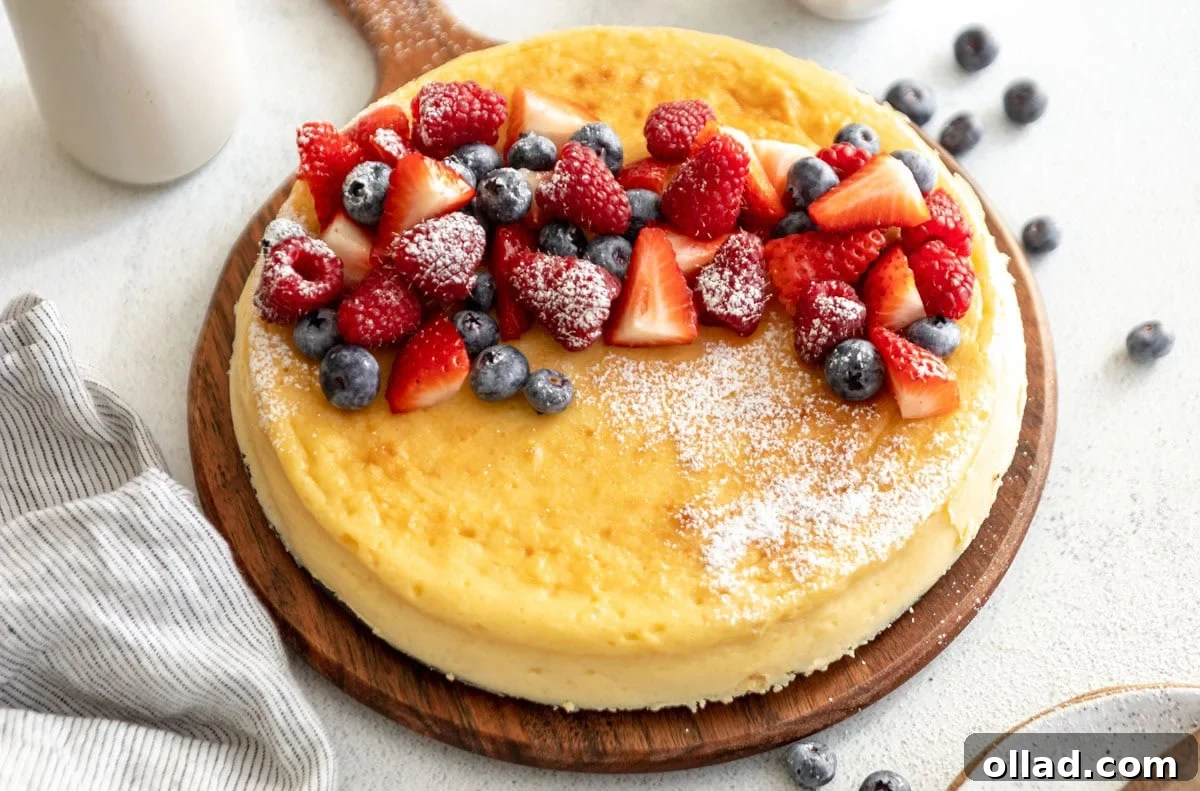
7. Cool and Serve: Once baked, carefully remove the springform pan from the water bath and place it on a wire rack to cool at room temperature for at least 30 minutes. This gradual cooling process helps prevent cracks. After reaching room temperature, transfer the cheesecake, still in its pan, to the refrigerator and chill for a minimum of 4 hours, or ideally overnight. This extended chilling time is crucial for the cheesecake to fully set and achieve its firm, sliceable consistency. Once thoroughly chilled, it’s ready to be served. Top with fresh fruit, a dollop of whipped cream, or any other desired garnishes, and enjoy this delightful, naturally gluten-free dessert!
Serving Suggestions for Your Crustless Cheesecake
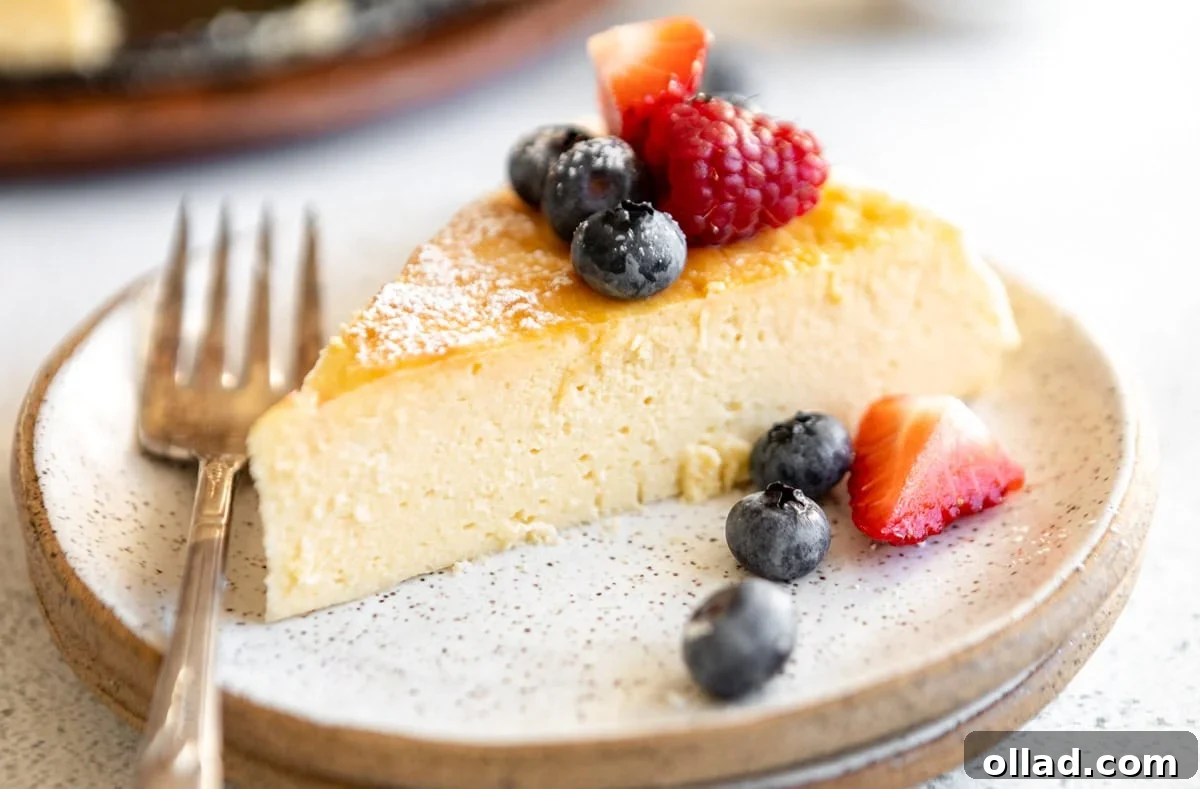
The beauty of this crustless cheesecake lies in its versatility. It’s wonderfully rich, creamy, and satisfying enough to be enjoyed entirely on its own, showcasing the pure, unadulterated flavor of the cheesecake itself. However, if you’re looking to elevate the experience or present it for a special occasion, there are countless ways to dress it up. Fresh berries like vibrant strawberries, plump blueberries, or tangy raspberries are always a classic and visually appealing choice, adding a burst of freshness and color. For a more sophisticated touch, you might spoon on a homemade raspberry coulis, a delicate fruit sauce that complements the cheesecake’s tanginess beautifully. A luxurious drizzle of warm caramel sauce or rich chocolate sauce can add a delightful layer of indulgence. And, of course, a generous dollop of freshly whipped cream is always a welcome addition, providing a light, airy contrast to the dense cheesecake. Don’t hesitate to get creative with seasonal fruits or even a sprinkle of citrus zest for an extra bright note.
Tips for Success: Achieving the Perfect Crustless Cheesecake
- Prioritize Quality Ingredients: For a truly rich and creamy cheesecake, do not compromise on ingredient quality. Always use full-fat cream cheese (block style, not spreadable cream cheese) and high-quality pure vanilla extract. These ingredients form the backbone of the cheesecake’s flavor and texture. Substituting with low-fat alternatives will significantly impact the final result.
- Room Temperature is Non-Negotiable: This is perhaps the most crucial tip. Ensure all refrigerated ingredients—cream cheese, sour cream, and eggs—are softened to room temperature before you begin mixing. Cold ingredients do not emulsify properly, leading to a lumpy batter and a less smooth cheesecake. Cold cream cheese, in particular, will resist blending and result in undesirable chunks.
- Avoid Overmixing the Batter: Once you add the eggs, mix on the lowest speed possible and only until just combined. Overmixing introduces too much air into the batter, causing the cheesecake to puff up excessively during baking. This excess air creates structural weakness, often leading to unsightly cracks as the cheesecake cools and deflates. A gentle hand is key to a dense, creamy texture.
- Maintain Consistent Oven Temperature: Resist the temptation to open the oven door while the cheesecake is baking. Any sudden drop in temperature can shock the cheesecake, causing it to fall and crack. Trust the baking time and rely on visual cues (like the slight wobble) only towards the end of the baking process.
- Do Not Overbake: An overbaked cheesecake is a cracked cheesecake. Your crustless cheesecake is perfectly done when the outside edges are set and firm, but the middle 2 to 3 inches (5 to 7.5 cm) still exhibits a slight wobble when gently shaken. This jiggle indicates that the center is custardy and will continue to firm up beautifully as it cools. Overbaking dries out the cheesecake and is a primary culprit for cracks.
- Cool Gradually: After baking, allow the cheesecake to cool completely at room temperature on a wire rack before transferring it to the refrigerator. A rapid change in temperature can cause stress on the cheesecake structure, leading to cracks. Gradual cooling is essential for a smooth, unblemished surface.
- Chill Thoroughly: Patience is a virtue when it comes to cheesecake. Allow your crustless cheesecake to chill in the refrigerator for at least 4 hours, or preferably overnight. This extended chilling time is absolutely necessary for the cheesecake to fully set, firm up, and develop its optimal flavor and sliceable texture. Rushing this step will result in a soft, messy cheesecake.
Keep in mind that sometimes, despite your best efforts, crustless cheesecakes will develop small cracks. And that’s perfectly okay! This doesn’t affect the incredible taste at all, and you can easily cover up any imperfections with a generous topping of fresh berries, whipped cream, or a delicious sauce. Embrace the deliciousness, imperfections and all!
Removing Cheesecake from a Springform Pan
Once your crustless cheesecake has been thoroughly chilled and completely set, it’s time for the delicate task of removing it from the springform pan. First, gently run a thin, sharp knife around the inner edges of the pan. This helps to loosen any cheesecake that might be sticking to the sides, ensuring a clean release. Next, unclip the clamps on the side of the springform pan and carefully lift the side ring away from the cheesecake. If you lined the bottom with parchment paper, you can now use a large, flat spatula or pancake turner to gently slide the cheesecake off the base and onto your serving plate or cake stand. If you didn’t use parchment, carefully slide your knife underneath the cheesecake to fully separate it from the base before transferring. Take your time to preserve the beautiful shape of your dessert.
Storage Instructions
This delightful crustless cheesecake is perfect for making ahead and can be easily stored to enjoy later. Store any leftover cheesecake in an airtight container in the refrigerator for up to 5 days. Alternatively, you can wrap individual slices tightly in plastic wrap, then again in aluminum foil, to protect against moisture and odors. For long-term storage, cut the cheesecake into individual slices, wrap each slice securely in plastic wrap followed by aluminum foil, and place them into a freezer-safe bag. Frozen cheesecake slices can be stored for up to 2 months. To enjoy, simply thaw the frozen slices overnight in the refrigerator. Remember to add any fresh toppings just before serving for the best presentation and taste.
More Gluten-Free Dessert Recipes to Try!
- Classic Gluten-Free Cheesecake
- Gluten-Free Mini Cheesecakes
- Easy Gluten-Free Brownies
- Gluten-Free Strawberry Cake
- Gluten-Free Lemon Bars
- Soft Gluten-Free Chocolate Chip Cookies
This crustless cheesecake truly stands as a testament to how simple yet incredibly satisfying gluten-free baking can be. With its rich flavor, velvety texture, and straightforward preparation, it’s sure to become a beloved addition to your recipe collection. Enjoy the process of creating this delightful dessert and savor every single creamy bite!