
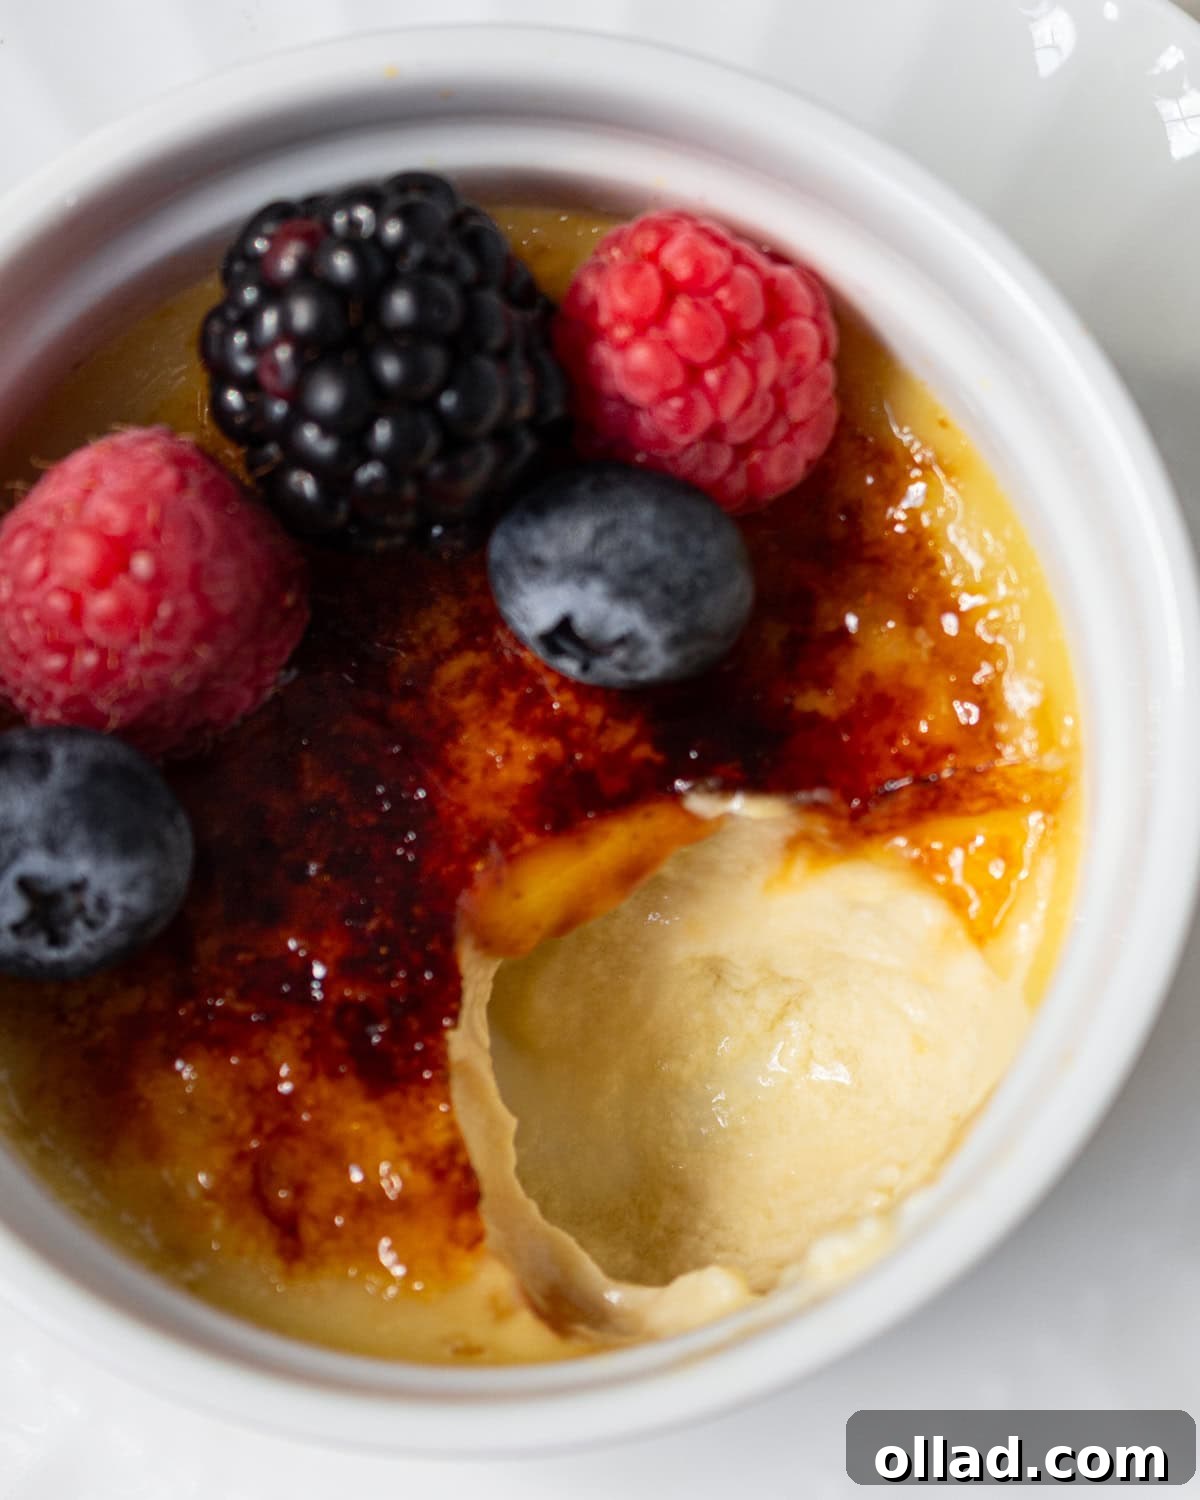
Indulge in the luxurious world of French desserts with this exquisite Dairy-Free Crème Brûlée. This recipe brings the elegance and sophisticated flavors of a classic French patisserie right into your own kitchen, all while catering to dairy-free dietary needs. Crafted with rich, full-fat coconut milk, this dessert boasts an incredibly smooth, creamy custard base that melts in your mouth, perfectly complemented by its signature crisp, caramelized sugar topping. With just a few simple ingredients and clear instructions, you can master this decadent treat, offering a delightful twist on a beloved classic that everyone can enjoy.
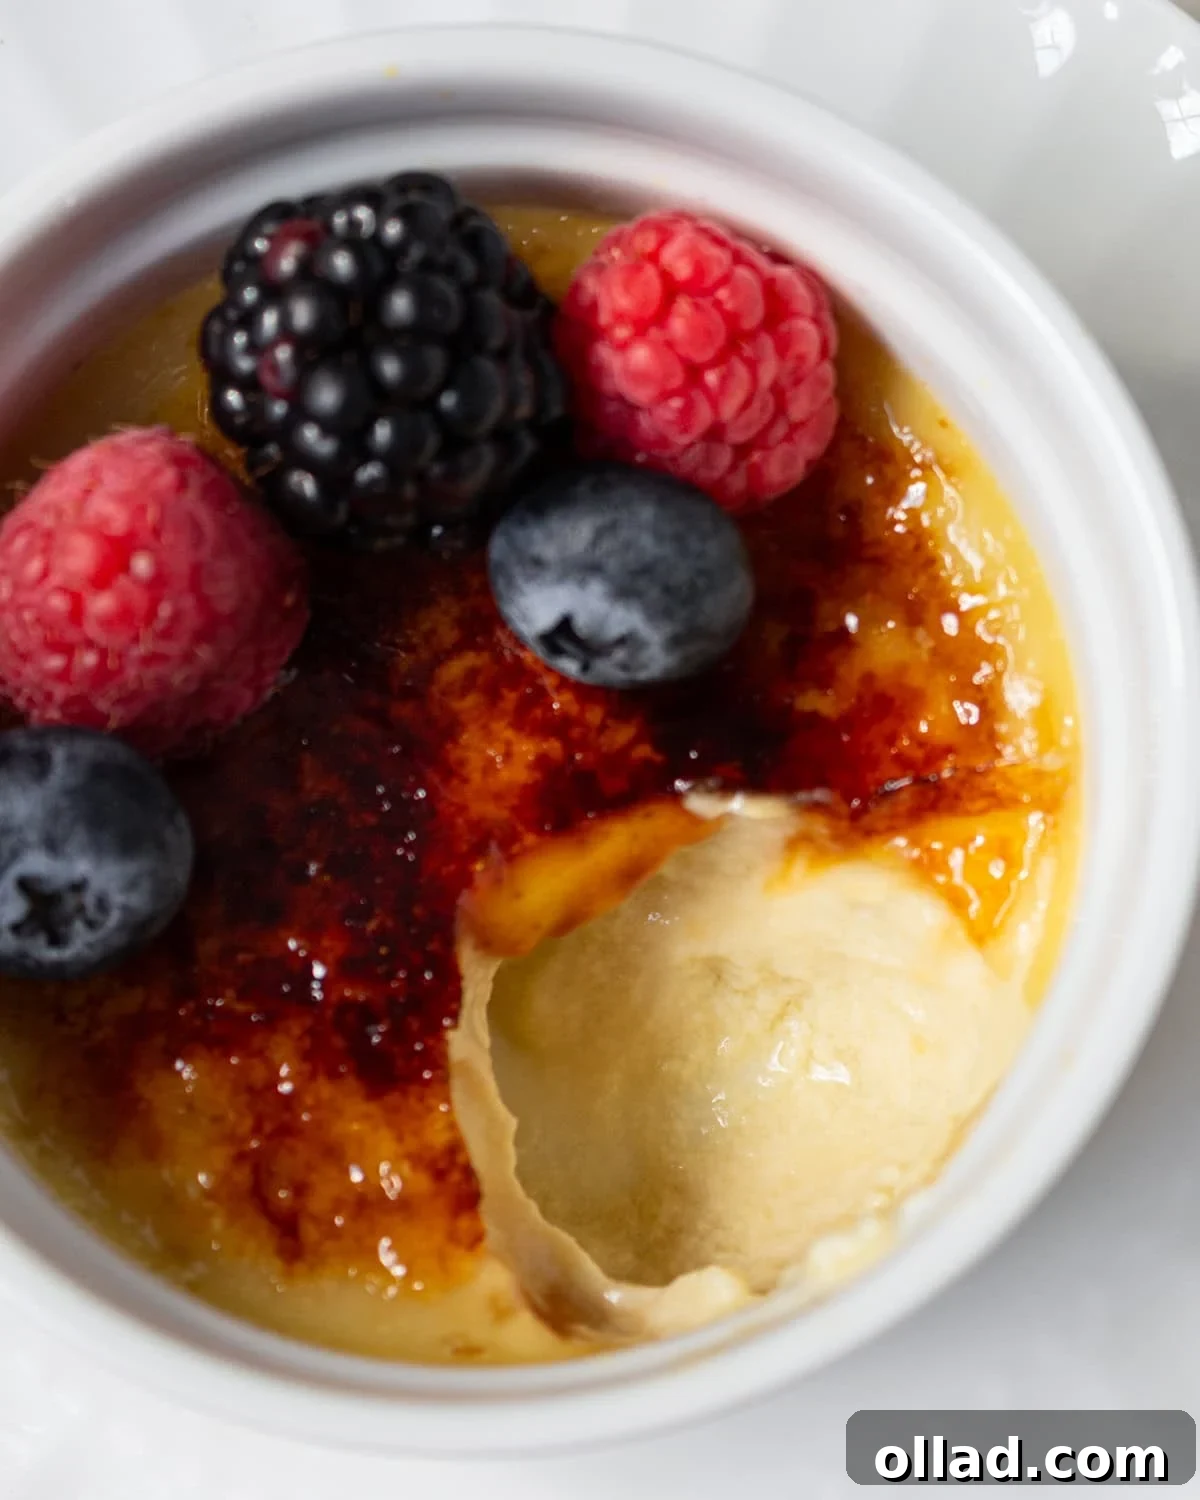
Crème brûlée has always held a special place in my heart – it’s the epitome of dessert perfection. The combination of a velvety, rich custard beneath a crisp, sugary shell is simply irresistible. For those of us who navigate dairy-free living, finding a substitute that truly lives up to the original can be a challenge. That’s why I poured my efforts into perfecting this dairy-free version, ensuring it delivers that same incredible experience without any dairy. The secret lies in using full-fat coconut milk, which imparts a luxurious creaminess that beautifully emulates traditional cream. Paired with an easy tempering method and the gentle, even heat of a water bath, you’ll achieve that classic silky texture every single time. The subtle coconut flavor blends harmoniously with the egg yolks and vanilla, creating a custard that’s both familiar and wonderfully unique. And the best part? The torching step, where the sugar transforms into that iconic crackly crust, is not only quick but incredibly fun. I truly believe this recipe will become a new favorite in your household. Please share your experiences and how your crème brûlée turns out in the comments below!
Why You’ll Adore This Dairy-Free Crème Brûlée
- Unbelievably Creamy Texture: Thanks to full-fat coconut milk, this dairy-free custard achieves a richness and silkiness that rivals its traditional counterpart.
- Signature Crackly Top: The caramelized sugar crust provides that satisfying “crack” with every spoonful, a hallmark of a perfect crème brûlée.
- Simple Ingredients, Elegant Results: Made with just four core ingredients, this recipe proves that sophisticated desserts don’t have to be complicated.
- Perfect for Dietary Needs: Ideal for those avoiding dairy, this recipe offers a delicious and inclusive option for dessert lovers.
- Impressive Yet Easy: While it looks incredibly impressive, the step-by-step process is straightforward, making it achievable for home bakers of all skill levels.
- Versatile Flavor Profile: The delicate coconut and vanilla base can be easily adapted with other extracts for different flavor variations.
Expert Tips for Perfect Dairy-Free Crème Brûlée
Achieving crème brûlée perfection, especially a dairy-free version, relies on a few key techniques. Follow these tips closely to ensure your custards are flawlessly smooth, creamy, and topped with that irresistible crackly shell.
- Temper Slowly and Delicately: This is arguably the most crucial step for a silky-smooth custard. When incorporating the warm coconut milk mixture into the egg yolks, pour it in a very slow, thin stream while whisking the yolks continuously and vigorously. This gradual introduction prevents the egg yolks from scrambling, ensuring a homogenous, velvety base free of lumps. Patience here will be rewarded with an impeccable texture.
- Embrace the Water Bath (Bain-Marie): A proper water bath is non-negotiable for evenly baked custards. Place your ramekins in a larger baking dish and carefully pour hot (but not boiling) water into the dish until it reaches about two-thirds of the way up the sides of the ramekins. The steam and gentle, indirect heat from the water bath prevent the edges of the custard from cooking too quickly or curdling, promoting a uniform set from edge to center and a tender texture.
- Know When to Stop Baking: Overbaking is the enemy of creamy custard. Remove the ramekins from the oven when the centers still have a slight, gentle jiggle. The edges should appear set, but the middle will still be soft. If the center feels firm or completely set in the oven, it will likely become rubbery once cooled. A digital thermometer reading around 175°F (79°C) in the center is a reliable indicator of doneness.
- Chill Thoroughly for Best Results: It’s essential that your custards are completely chilled before you even think about brûléeing the sugar. This takes patience – typically at least 4 hours, or even overnight. A fully chilled custard ensures that when the hot torch hits the sugar, the topping will crisp up beautifully without warming or affecting the delicate custard underneath. Cold custard provides the perfect contrast to the warm, brittle caramel.
- Master the Torching Technique: The caramelized sugar topping is what defines crème brûlée. Sprinkle the sugar evenly over the chilled custards. Keep your kitchen torch moving in small, continuous circles over the sugar. This ensures the sugar melts evenly without scorching in one spot. You want to see it bubble and transform into a deep golden-amber color. Once fully melted and browned, let it sit for a few minutes; it will cool and harden into that spectacular crisp, crackly shell. Avoid burning the sugar, as it will taste bitter.
Dairy-Free Crème Brûlée Recipe
Ashley Barbey
4 servings
30 minutes
45 minutes
6 hours
7 hours 15 minutes
Share by Email
Print Recipe
This dairy-free crème brûlée brings all the elegance of a French bakery to your own kitchen. Coconut milk creates a smooth, creamy custard, and the caramelized sugar topping gives it that signature crackly finish. It’s a decadent dessert made from just four simple ingredients, perfect for anyone who needs a dairy-free twist on a classic.
Equipment
- 4 4-6 oz Ramekins
- Medium baking dish (e.g., 9×9 inch square or similar)
- Medium saucepan
- Whisk
- Kitchen torch
- Kettle for boiling water
- Digital thermometer (optional, but recommended for precision)
Ingredients
- 13.5 oz (400ml) full-fat unsweetened coconut milk, 1 can (ensure it’s full-fat for the best creamy texture)
- 5 large egg yolks
- ⅓ cup (67g) granulated sugar, plus extra for sprinkling on top
- 1½ tsp vanilla bean paste or extract (use paste for classic speckled look and richer aroma)
Instructions
- Prepare your oven and ramekins: Preheat your oven to 300°F (150°C). Arrange four 6-ounce ramekins inside a medium baking dish (a 9×9 inch pan works well). This setup is crucial for the water bath method.
- Infuse the coconut milk: In a medium saucepan, combine 1 cup of the full-fat coconut milk (reserve the rest for later) with the ⅓ cup granulated sugar. Bring this mixture to a gentle boil over medium heat, stirring frequently to ensure the sugar fully dissolves into the milk. Once it reaches a boil, remove the saucepan from the heat immediately and stir in the vanilla bean paste or extract. Cover the saucepan with a lid and let it steep for 10 minutes. This allows the vanilla flavor to deeply infuse into the warm coconut milk.
- Prepare the water and remaining milk: While the vanilla steeps, bring a kettle of water to a boil. After the 10-minute steeping period, stir the remaining coconut milk (from the can) into the warm vanilla-infused coconut milk mixture in the saucepan. This step helps to cool the mixture slightly, making it safer for tempering the egg yolks.
- Whisk the egg yolks: In a separate medium-sized bowl, whisk the 5 egg yolks until they are smooth and lightly colored. You want them well combined before you begin tempering.
- Temper the yolks: This is a delicate process to prevent the eggs from scrambling. Slowly and steadily stream the warm coconut milk mixture into the whisked egg yolks while continuously whisking the yolks. Pouring too quickly will cook the eggs, resulting in a lumpy custard. Continue whisking until the entire mixture is smooth and thoroughly combined.
- Fill ramekins and set up the water bath: Carefully divide the tempered custard mixture evenly among the four prepared ramekins in the baking dish. Then, pour the freshly boiled water from your kettle into the baking dish, taking care not to splash water into the custards. The hot water should reach about two-thirds of the way up the sides of the ramekins.
- Bake the custards: Transfer the baking dish with the ramekins to the preheated oven. Bake for approximately 30-35 minutes. The custards are done when a digital thermometer inserted into the center reads around 175°F (79°C) and the center still has a slight, delicate jiggle when gently shaken. The edges should appear set.
- Cool and chill: Once baked, carefully remove the baking dish from the oven. Allow the ramekins to cool completely in the water bath at room temperature for about 2 hours. This gradual cooling prevents cracking. After cooling, transfer the ramekins to the refrigerator and chill for a minimum of 4 hours, or preferably overnight, until they are thoroughly cold and fully set.
- Prepare for brûléeing: Just before serving, sprinkle each chilled crème brûlée with about 2 teaspoons of additional granulated sugar, creating an even layer across the top.
- Caramelize the sugar: Using a kitchen torch, carefully heat the sugar layer. Keep the flame moving constantly in small circles to ensure the sugar melts evenly. Heat until all the sugar is dissolved, bubbly, and caramelized to a beautiful golden-brown color. Watch carefully to avoid burning it, which can make it bitter.
- Final chill and serve: For the perfect experience, chill the brûléed custards again in the refrigerator for about 30 minutes before serving. This allows the caramelized topping to fully set and become crisp, while ensuring the custard underneath remains wonderfully cold and silky. Enjoy your homemade dairy-free masterpiece!
Notes
- Coconut Milk Choice: Always use full-fat unsweetened coconut milk for this recipe. Light coconut milk will not provide the necessary richness and creamy texture, leading to a thinner, less satisfying custard.
- Flavor Variations: While vanilla bean paste offers a classic, speckled look and robust flavor, you can experiment! Swap it out for almond extract for a nutty twist, or a hint of orange zest for a brighter profile.
- Sugar for Topping: Granulated sugar is best for the caramelized topping as it melts and hardens perfectly. Coconut sugar works well within the custard but is not suitable for the brûlée topping, as its composition prevents it from melting and hardening in the same way.
- Faster Chilling: If you’re short on time, consider using shallow, wider ramekins. A thinner custard layer will chill faster, cutting down on the overall refrigeration time.
- Dealing with Coconut Cream Separation: If your can of full-fat coconut milk has separated, with a thick cream on top and water below, simply whisk the contents together thoroughly before measuring to ensure a consistent, creamy mixture.
Nutrition
Nutrition information is automatically calculated, so should only be used as an approximation.
Serving:
1 serving
Calories:
333 kcal
Carbohydrates:
21 g
Protein:
6 g
Fat:
26 g
Saturated Fat:
20 g
Polyunsaturated Fat:
1 g
Monounsaturated Fat:
4 g
Cholesterol:
243 mg
Sodium:
23 mg
Potassium:
235 mg
Sugar:
18 g
Vitamin A:
324 IU
Vitamin C:
1 mg
Calcium:
46 mg
Iron:
4 mg
Additional Info
Dessert
French
Step-by-Step: Crafting Your Dairy-Free Crème Brûlée
Creating this elegant dairy-free crème brûlée is a rewarding process. Follow these detailed steps, accompanied by visual guidance, to achieve a perfectly smooth custard and a beautiful, crackly topping.
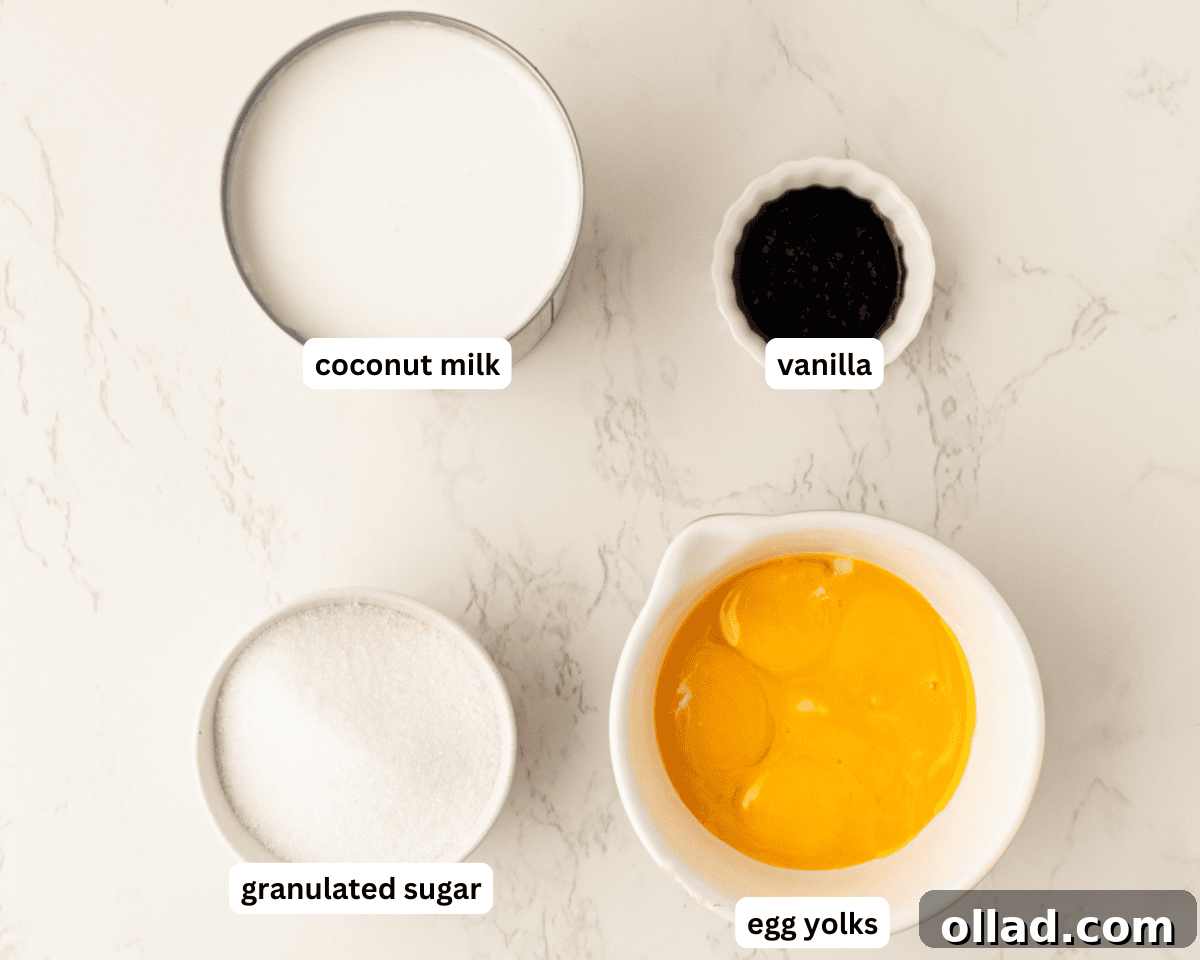
Step 1: Gather Your Ingredients. Before you begin, ensure you have all four main ingredients ready: full-fat unsweetened coconut milk, egg yolks, granulated sugar, and vanilla bean paste or extract. Having everything measured and at hand streamlines the cooking process, often referred to as ‘mise en place.’
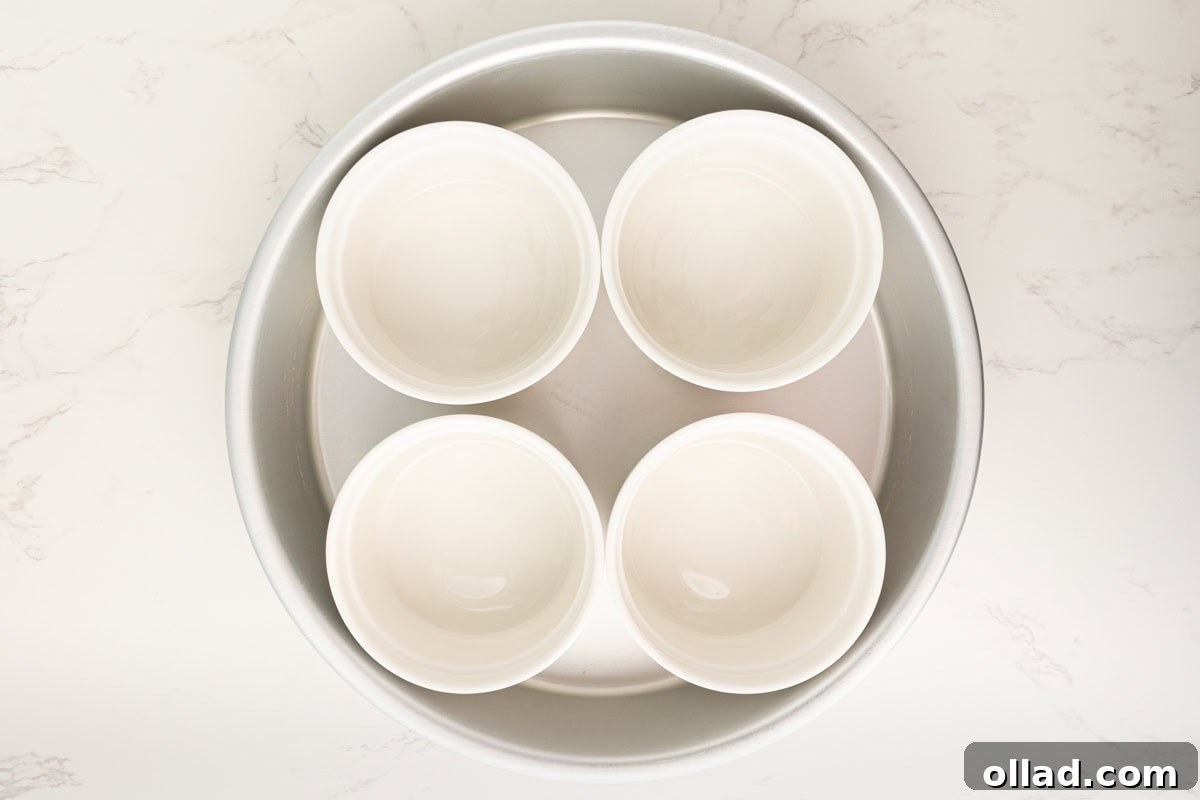
Step 2: Preheat and Prep Ramekins. Begin by preheating your oven to a precise 300°F (150°C). This lower temperature is key for gentle baking. Next, carefully place your four 6-ounce ramekins into a larger baking dish, such as a 9×9-inch pan. This setup will be used for the crucial water bath, which ensures even cooking and prevents the custard from curdling.
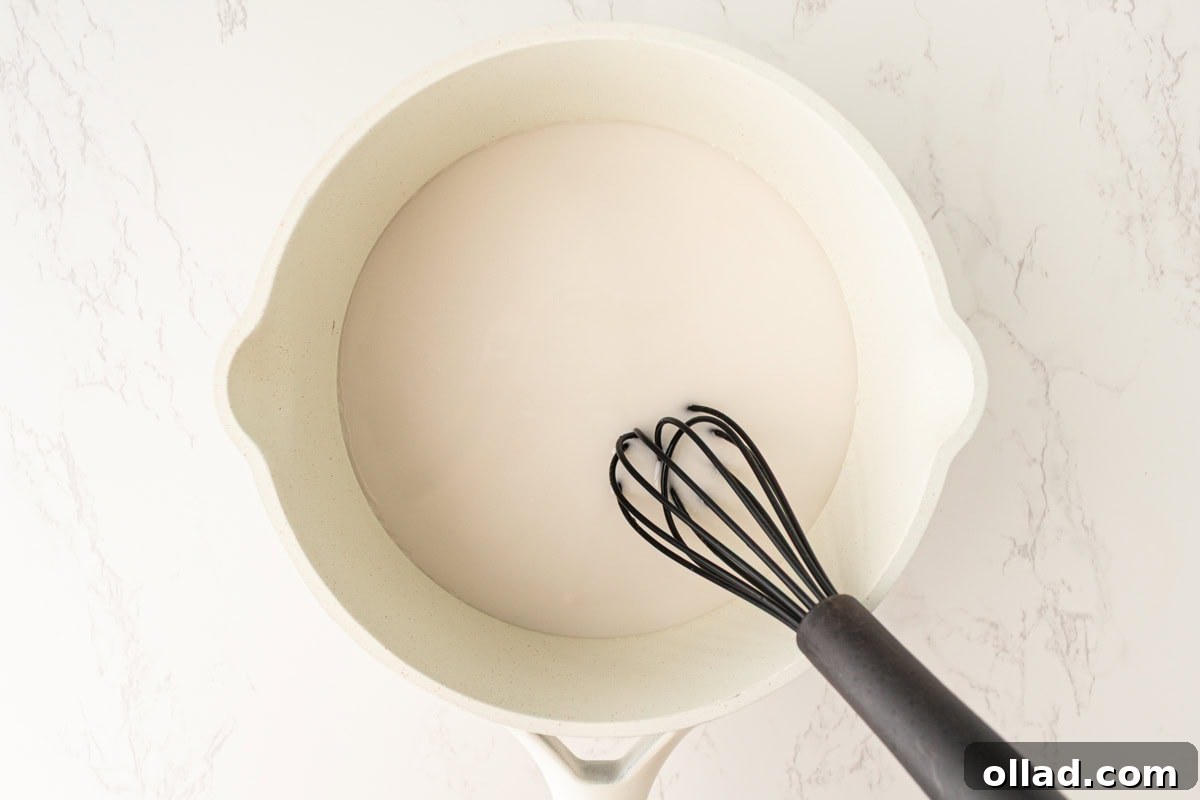
Step 3: Heat Coconut Milk and Sugar. In a medium saucepan, combine 1 cup of the full-fat coconut milk with the ⅓ cup (67g) of granulated sugar. Place the saucepan over medium heat and bring the mixture to a gentle boil, stirring frequently. This consistent stirring ensures that the sugar completely dissolves, creating a smooth base. As soon as it reaches a boil, remove it from the heat. Stir in the 1½ teaspoons of vanilla bean paste or extract, then cover the saucepan and allow it to steep for 10 minutes. This infusion step deepens the vanilla flavor in the custard.
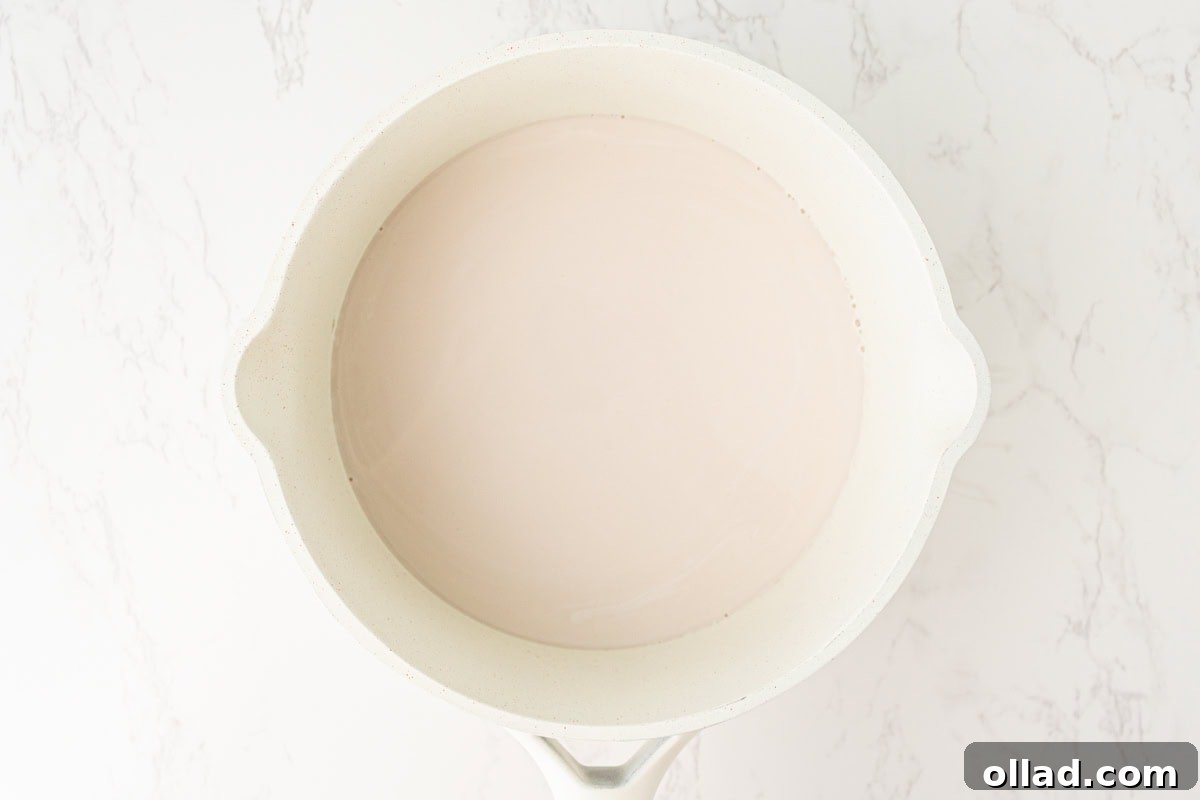
Step 4: Finish the Milk Mixture. While your vanilla-infused coconut milk is steeping, start boiling water in a kettle. Once the 10 minutes of steeping are complete, stir the remaining coconut milk from the can into the warm mixture in the saucepan. This addition helps to slightly cool down the milk, bringing it to an ideal temperature for tempering the egg yolks without scrambling them.
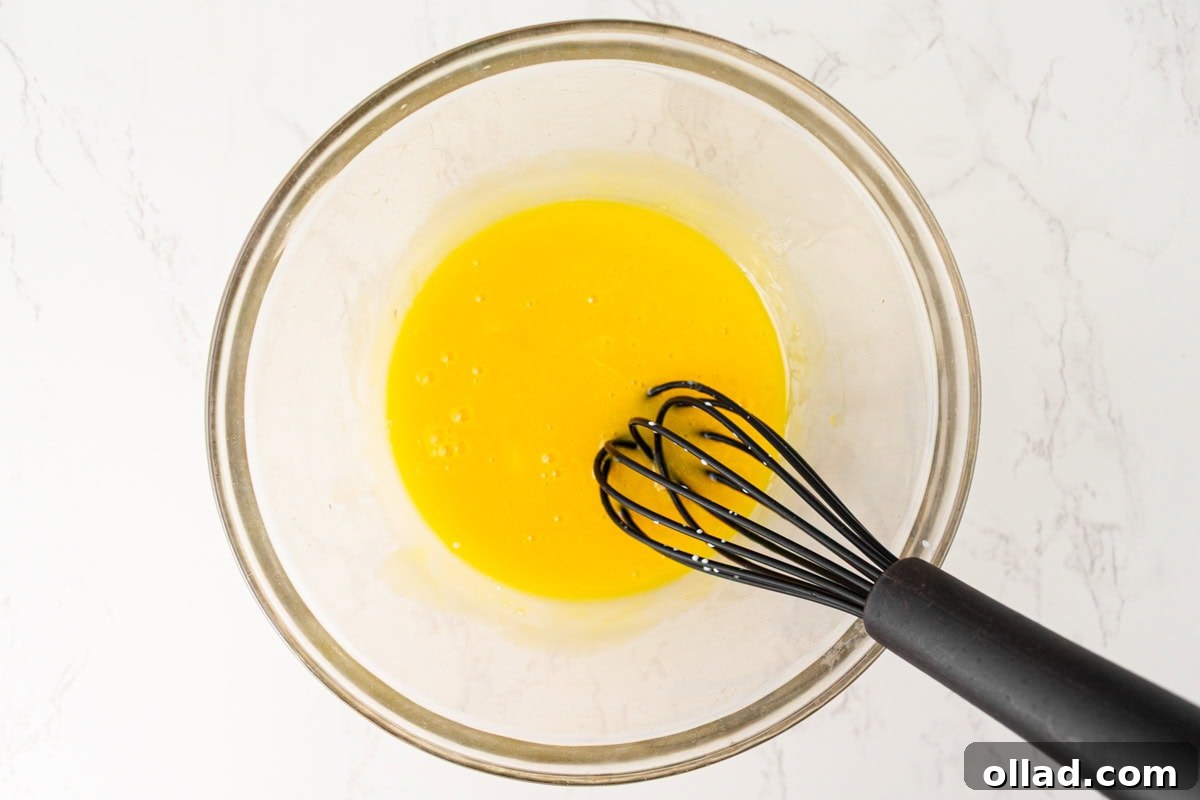
Step 5: Whisk the Egg Yolks. In a separate medium bowl, place the 5 egg yolks. Using a whisk, beat the yolks until they are smooth and uniformly colored. This step prepares the yolks to receive the warm coconut milk mixture, helping them to incorporate without clumping or cooking prematurely.
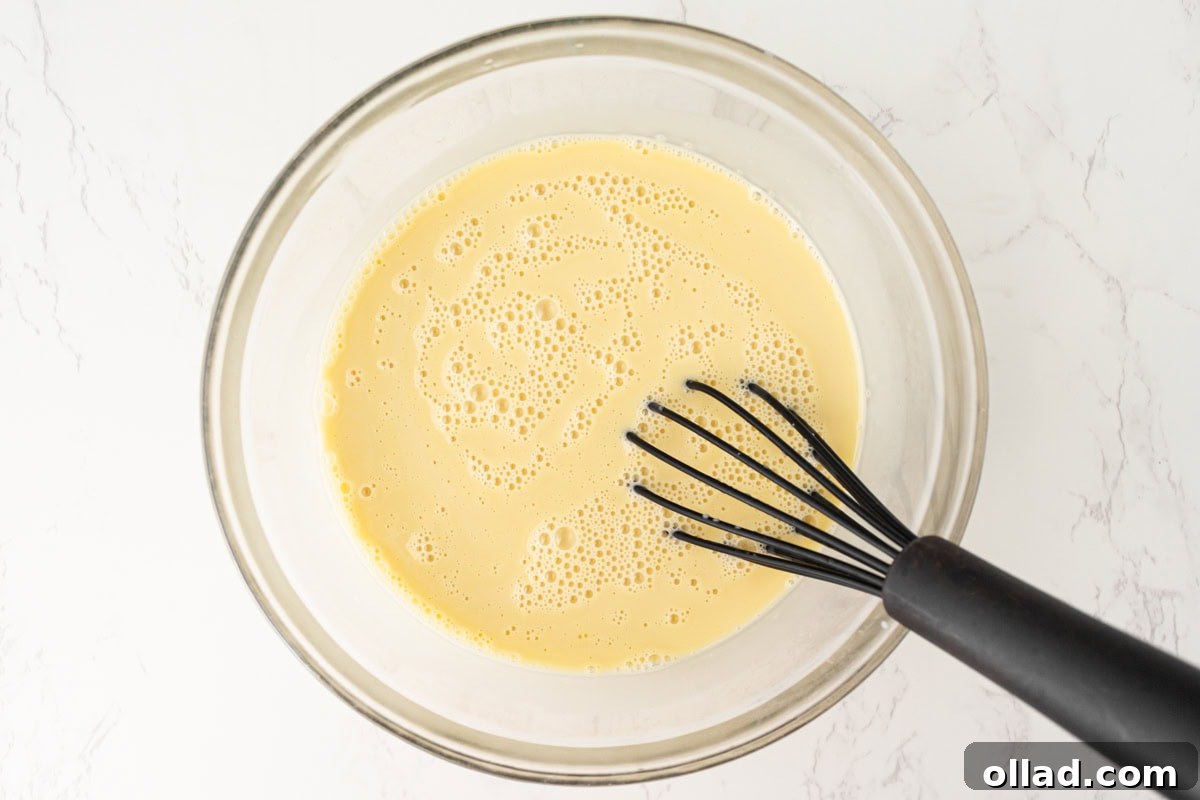
Step 6: Temper the Yolks. This is a critical step for a smooth custard. While continuously whisking the egg yolks, slowly stream the warm coconut milk mixture into the bowl. The key is to pour it in a very thin, steady stream, allowing the yolks to gradually warm up to the temperature of the milk. Pouring too quickly will cause the yolks to scramble. Continue whisking until the entire mixture is smooth, homogenous, and fully combined, free of any streaks of yolk or milk.
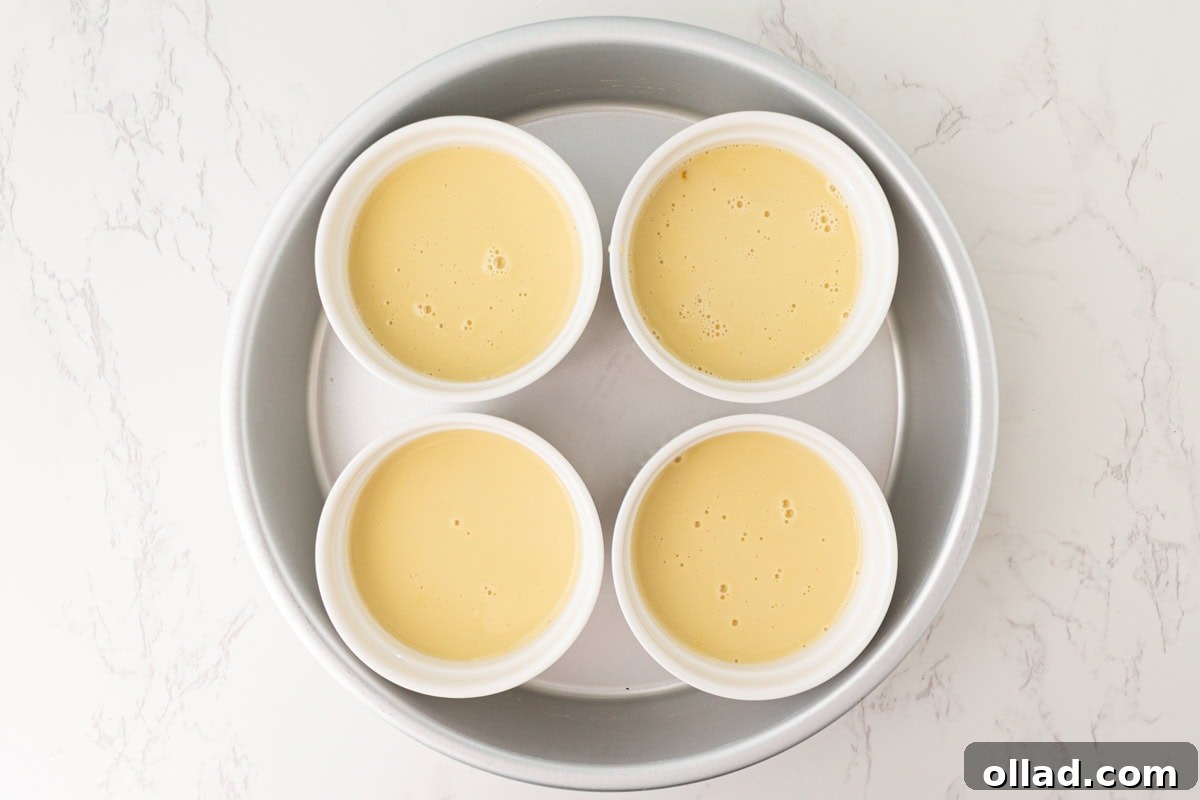
Step 7: Fill Ramekins and Prepare Water Bath. Carefully divide the tempered custard mixture evenly among the four ramekins that are already positioned in your baking dish. Next, gently pour the boiling water from your kettle into the baking dish, being careful not to splash any water into the custards themselves. The hot water should reach approximately two-thirds of the way up the sides of the ramekins. This water bath is essential for slow, even baking.
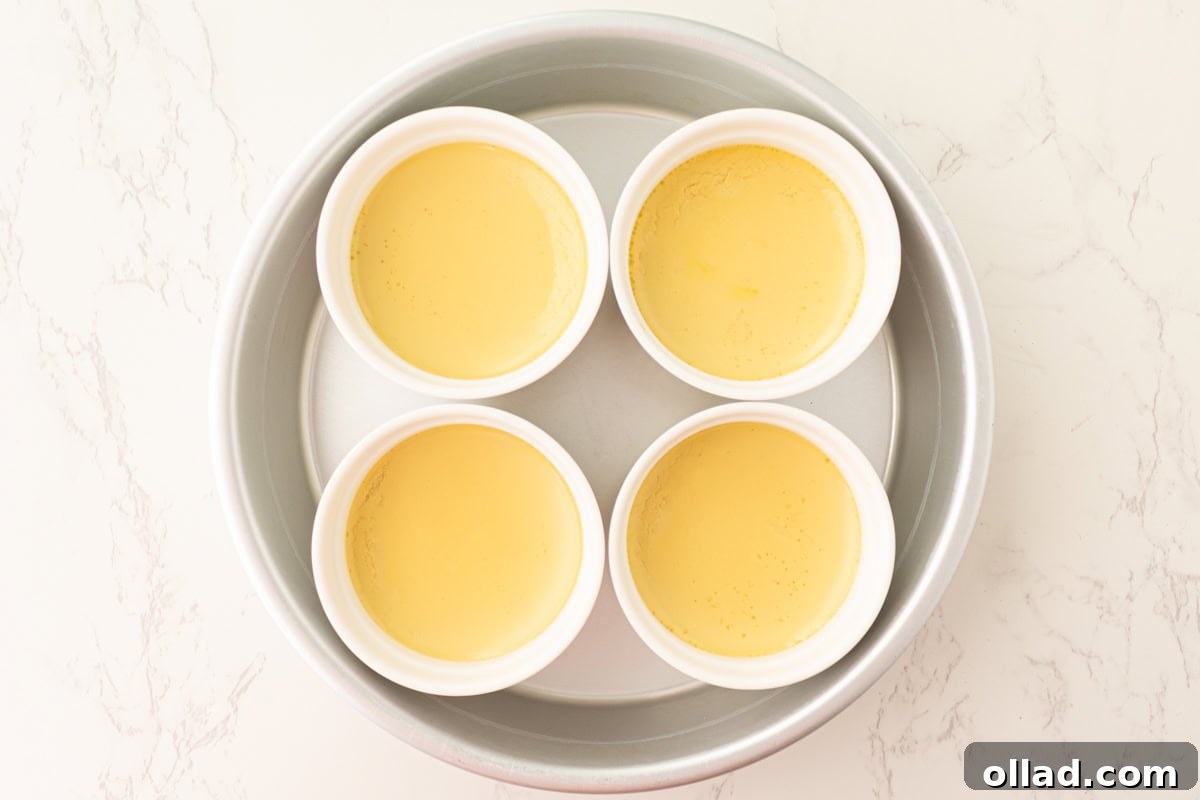
Step 8: Bake and Chill the Custards. Carefully transfer the baking dish with the ramekins to your preheated oven. Bake for 30–35 minutes, or until the centers of the custards reach 175°F (79°C) on a digital thermometer and still have a slight, delicate jiggle when gently shaken. Overbaking will lead to a rubbery texture. Once baked, remove the pan from the oven and allow the ramekins to cool completely in the water bath at room temperature for about 2 hours. This gradual cooling prevents cracking. Afterward, transfer them to the refrigerator and chill for a minimum of 4 hours, or preferably overnight, until they are thoroughly cold and fully set. This extended chill time is crucial for the ideal creamy texture and prepares them for the next step.
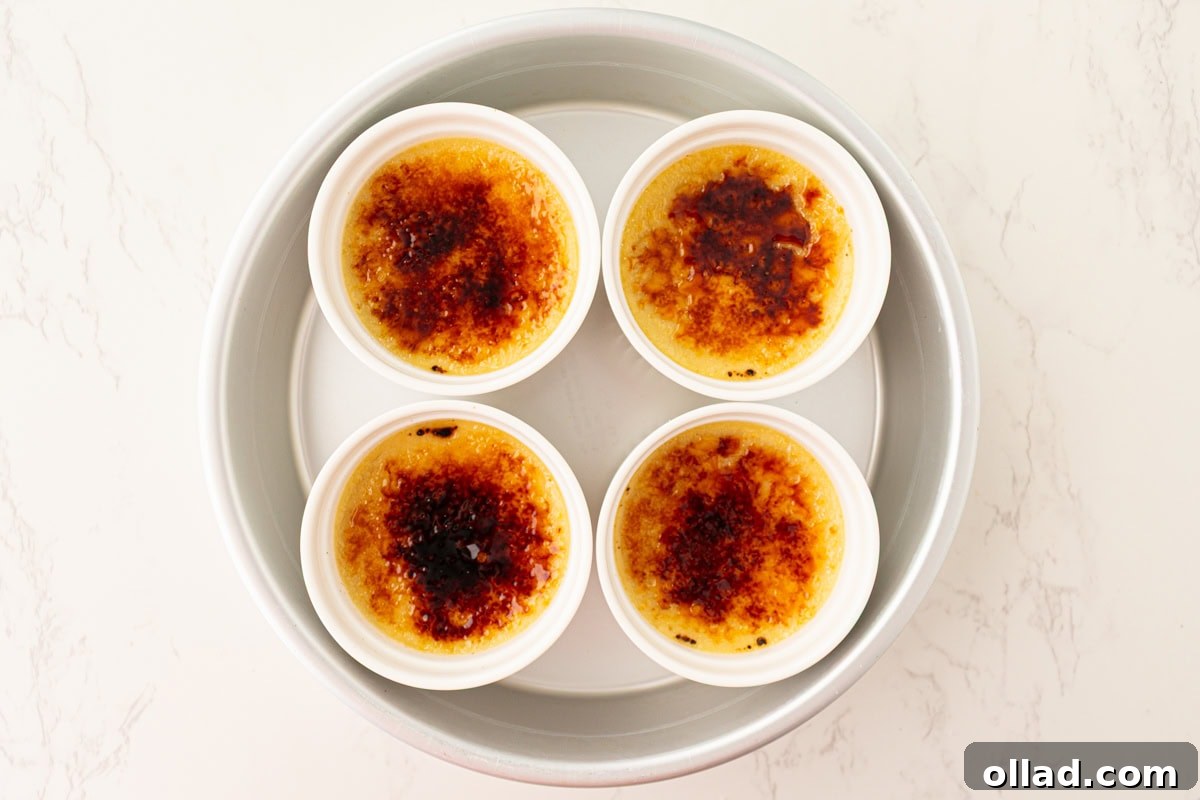
Step 9: Brûlée the Sugar Top. Once your custards are thoroughly chilled, it’s time for the signature crackly topping. Sprinkle each custard evenly with about 2 teaspoons of granulated sugar, forming a thin, consistent layer. Using a kitchen torch, carefully heat the sugar. Keep the flame moving constantly in small, circular motions over the sugar. This ensures even melting and prevents burning. Continue torching until all the sugar is completely dissolved, bubbling, and transforms into a beautiful golden-brown caramel. The intense heat from the torch instantly creates that hard, brittle shell.
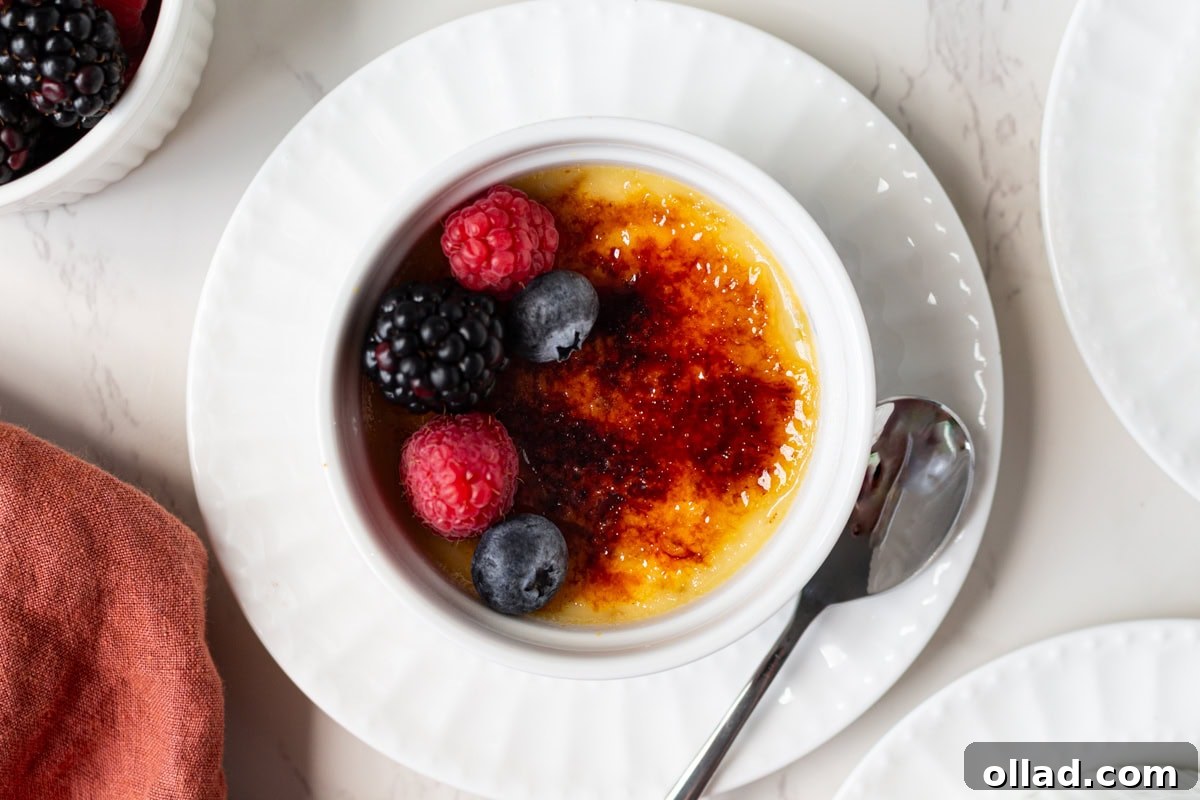
Step 10: Chill and Serve. For the ultimate crème brûlée experience, allow the brûléed custards to chill in the refrigerator for an additional 30 minutes before serving. This brief final chill allows the caramelized sugar topping to fully harden and cool, creating that perfect crisp texture, while ensuring the creamy custard beneath remains delightfully cold. Now, crack through the sugar with a spoon and enjoy every decadent bite!
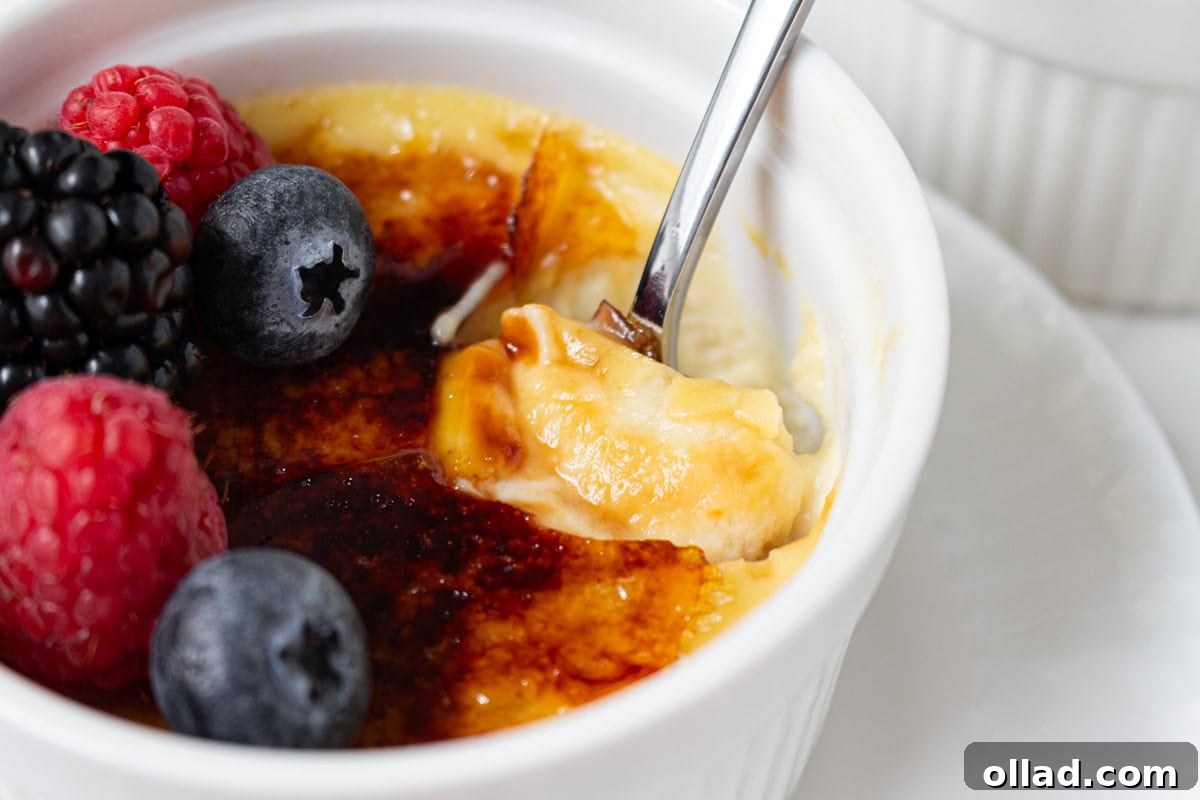
Common Troubleshooting for Crème Brûlée Perfection
Even with careful attention, sometimes things don’t go exactly as planned. Here are solutions to common issues you might encounter when making dairy-free crème brûlée, ensuring your dessert is always a success.
- Custard Turned Grainy: This typically occurs when the egg yolks cook too quickly during the tempering process. To prevent this, make sure to drizzle the warm coconut milk mixture into the yolks very slowly while whisking constantly and vigorously. Also, ensure your oven temperature is accurate (300°F/150°C) for gentle baking, as high heat can also contribute to a grainy texture.
- Custard Overcooked or Rubbery: An overbaked custard loses its signature silky texture and becomes rubbery or tough. The key is to remove the ramekins from the oven when the center still has a slight, delicate jiggle. The edges should be set, but the very middle should still appear soft. A digital thermometer is your best friend here, aiming for 175°F (79°C) in the center.
- Custard Cracked on Top: Cracking is often a sign of uneven or too-rapid cooking, or insufficient steam in the water bath. Double-check that the hot water in your baking dish reaches at least two-thirds of the way up the sides of the ramekins. This ensures consistent, gentle heat distribution. Rapid temperature changes during cooling can also cause cracks; always let the custards cool in the water bath at room temperature before refrigerating.
- Curdling Around the Edges: If you notice a curdled texture specifically around the edges of your custard, it indicates that those parts got too hot. This can happen if the water bath isn’t high enough, or if the oven temperature is too high. Using a digital thermometer to confirm doneness and ensuring a deep water bath are the best preventative measures.
- Sugar Topping Didn’t Harden (or Burned): If the sugar doesn’t harden, it might not have been heated enough or evenly. Ensure the entire sugar layer is melted, bubbling, and turns a golden-amber color. If it burned, the torch was likely held too close or in one spot for too long. Keep the torch moving constantly to prevent scorching and bitterness.
Creative Serving Suggestions for Your Dairy-Free Treat
This dairy-free crème brûlée is a star on its own, a truly satisfying dessert that needs no embellishment. However, for those special occasions or when you simply want to elevate the experience, here are a few delightful serving suggestions:
- Fresh Berries: A classic pairing, fresh berries like raspberries, blueberries, or sliced strawberries add a vibrant burst of color, a refreshing tartness, and a juicy contrast to the rich, creamy custard and crisp caramel. Simply scatter a few on top or alongside the ramekin.
- Coffee & Espresso: Serve alongside a freshly brewed cup of coffee or a shot of rich espresso. The bitterness of the coffee beautifully complements the sweetness and creaminess of the crème brûlée, making for an elegant after-dinner treat.
- Light Cookies: Pair your crème brûlée with something delicate that won’t overpower its flavor. My gluten-free shortbread cookies or gluten-free vanilla wafers are perfect choices, offering a subtle crunch and complementary sweetness.
- Fruit Coulis: A drizzle of raspberry or passion fruit coulis (a thin fruit sauce) can add an extra layer of flavor and a beautiful presentation. The tartness cuts through the richness of the custard.
- A More Substantial Pairing: If you’re looking for something a bit more filling to accompany it, a thin slice of my gluten-free pound cake provides a wonderful textural contrast and adds a comforting element.
Storage Tips for Dairy-Free Crème Brûlée
Proper storage is essential to maintain the quality and texture of your dairy-free crème brûlée. Here’s how to keep your delicious dessert fresh:
- Initial Cooling (Uncovered): After baking and cooling in the water bath, once you transfer the ramekins to the refrigerator, leave them uncovered for the first hour. This crucial step prevents condensation from forming on the surface of the custard, which could soften the caramelized sugar crust later.
- Covering for Storage: After the initial uncovered hour in the fridge, loosely cover each ramekin with plastic wrap. Avoid sealing it tightly against the surface of the custard, as this can still lead to moisture buildup. The loose cover protects the custard from absorbing odors from the refrigerator while allowing some air circulation.
- Refrigeration Lifespan: Stored correctly in the refrigerator, your dairy-free crème brûlée will maintain its quality for up to 3 days. Beyond this, the custard may start to lose its optimal texture.
- Brûlée Just Before Serving: For the absolute best experience, I highly recommend brûléeing the sugar topping right before you plan to serve. While you can caramelize the sugar ahead of time, the crunchy topping will naturally soften over time in the refrigerator due to moisture. A freshly torched crust guarantees that satisfying “crack.”
- Freezing is Not Recommended: Unfortunately, crème brûlée does not freeze well. The delicate custard base, especially one made with coconut milk, tends to become grainy and separates once thawed, significantly compromising its smooth, luxurious texture. It’s best enjoyed fresh within its recommended refrigeration period.
Frequently Asked Questions About Dairy-Free Crème Brûlée
Here are answers to some common questions you might have when preparing this delightful dairy-free dessert:
Can I use light coconut milk instead of full-fat?
No, it’s highly recommended to use full-fat unsweetened coconut milk for this recipe. Light coconut milk contains a higher water content and less fat, which will result in a much thinner, less creamy, and less rich custard that won’t set properly or have the desired luxurious mouthfeel.
What if I don’t have a kitchen torch?
While a kitchen torch provides the best and most even caramelization, you can use your oven’s broiler as an alternative. Place the sugared custards on a baking sheet and put them under a preheated broiler (high heat) for about 1-2 minutes. Watch them *very* closely, as sugar can burn quickly under a broiler. Remove them as soon as the sugar is bubbly and golden brown. Be aware that this method can sometimes slightly warm the custard, and may not give as even a crust as a torch.
Can I make this crème brûlée ahead of time?
Absolutely! The custard can be prepared and chilled for up to 3 days in advance. However, for the best crackly topping, it’s strongly recommended to sprinkle with sugar and brûlée right before serving. The caramelized sugar tends to soften in the refrigerator over time.
Is this recipe vegan?
No, this recipe is dairy-free but not vegan, as it uses egg yolks. For a vegan crème brûlée, you would typically need to replace the egg yolks with a plant-based alternative or use a different thickening agent, which would significantly alter the recipe.
Why did my custard turn out runny?
A runny custard can be due to several factors: insufficient baking time (it didn’t reach 175°F/79°C), not enough egg yolks (which act as a thickener), or an issue with the water bath (not providing enough gentle heat). Ensure you bake until the center slightly jiggles and is at the correct temperature, and that your water bath is deep enough.
Can I add other flavors?
Certainly! While vanilla is classic, you can get creative. Try adding a pinch of cinnamon or cardamom to the coconut milk while steeping for a spiced version. A hint of orange zest or a small amount of coffee extract can also add wonderful depth of flavor. Just be mindful not to overdo it, to let the delicate custard shine.
Explore More Dairy-Free Delights
If you’re looking for more delicious dairy-free dessert options, be sure to explore these other fantastic recipes:
- Dairy-Free Hot Chocolate
- Vegan Chocolate Mousse
- Vegan White Chocolate
- Dairy-Free Chocolate Pudding