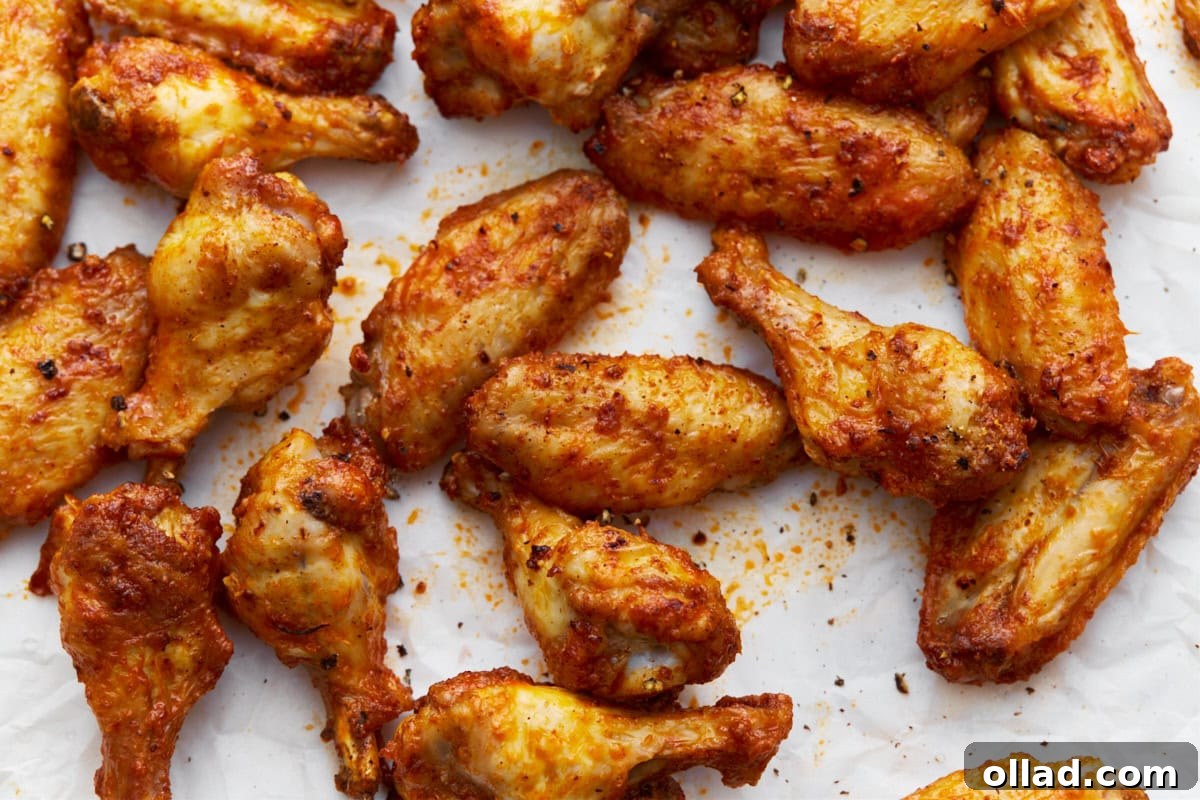
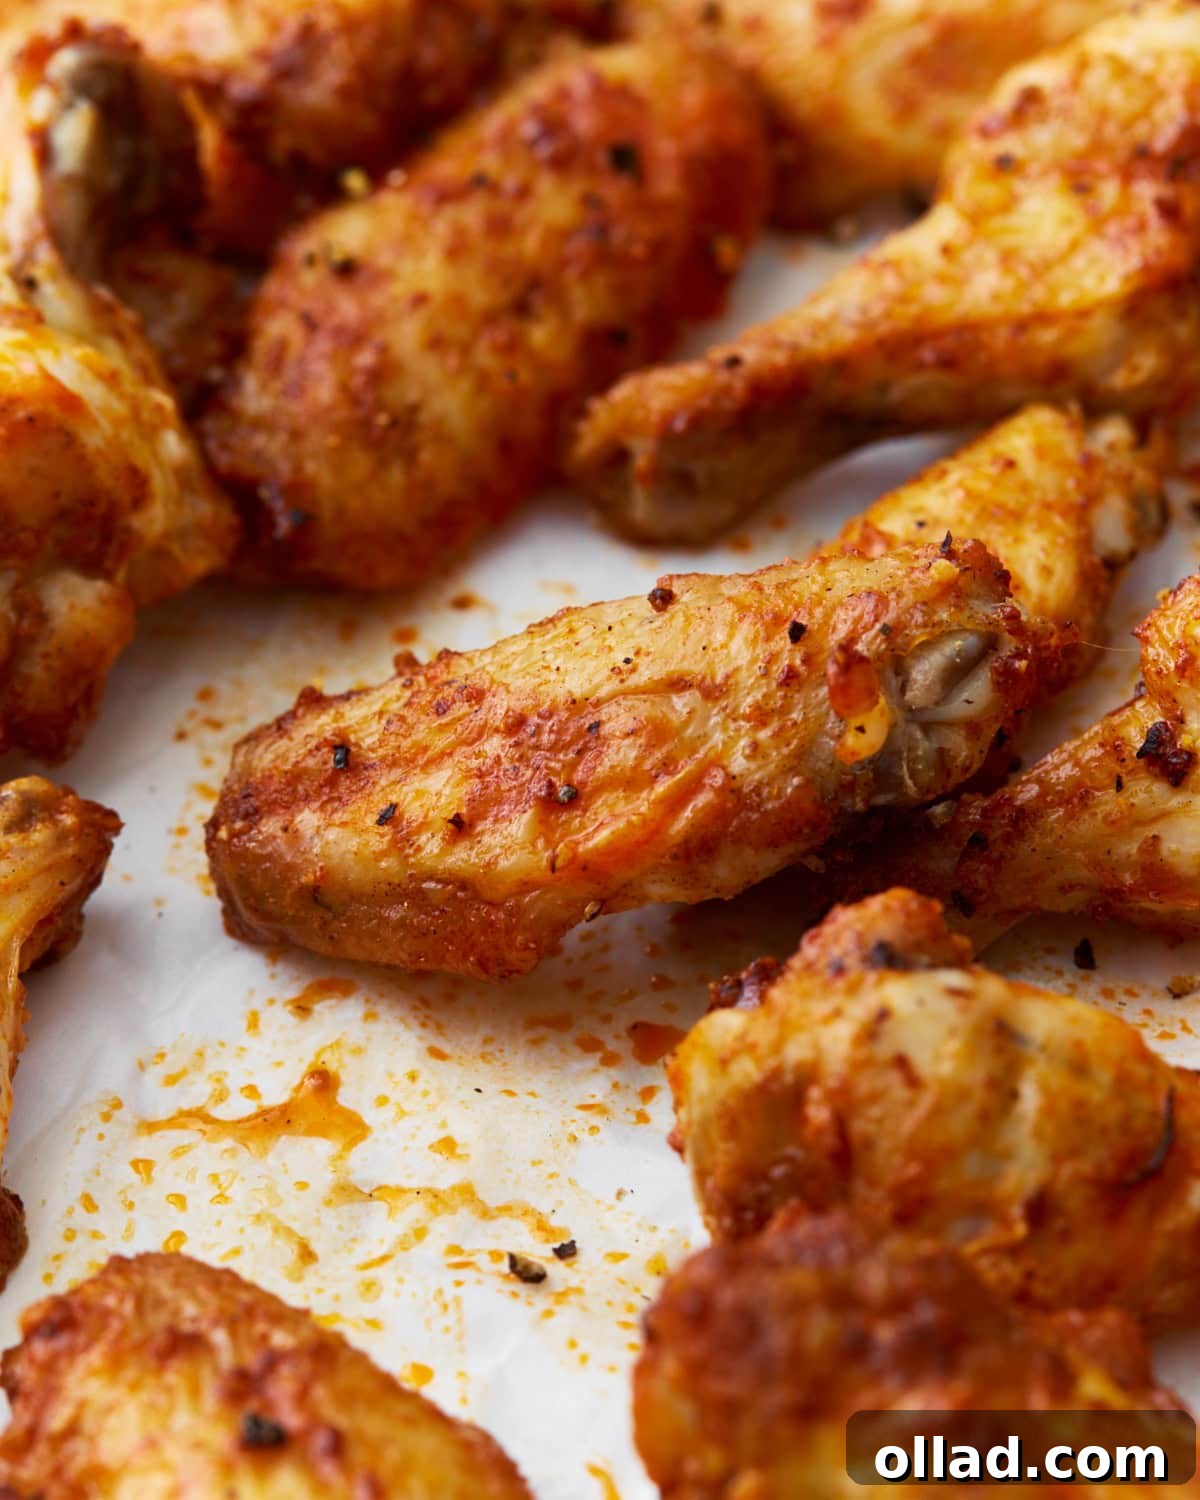
Craving an appetizer that’s both incredibly delicious and perfectly suited for dietary needs? Look no further than these utterly crispy, oven-baked gluten-free chicken wings! Forget the flour and deep fryers; this recipe delivers perfectly golden, succulent wings every time, making them a guaranteed crowd-pleaser for game days, holiday gatherings, or any occasion. Infused with a blend of savory spices and coated in your choice of sauce – perhaps our irresistible buttery buffalo sauce for that classic spicy kick – these wings are about to become your new kitchen MVP. Easy to prepare and quick to bake, they are the ideal solution for serving up a favorite comfort food without compromise.
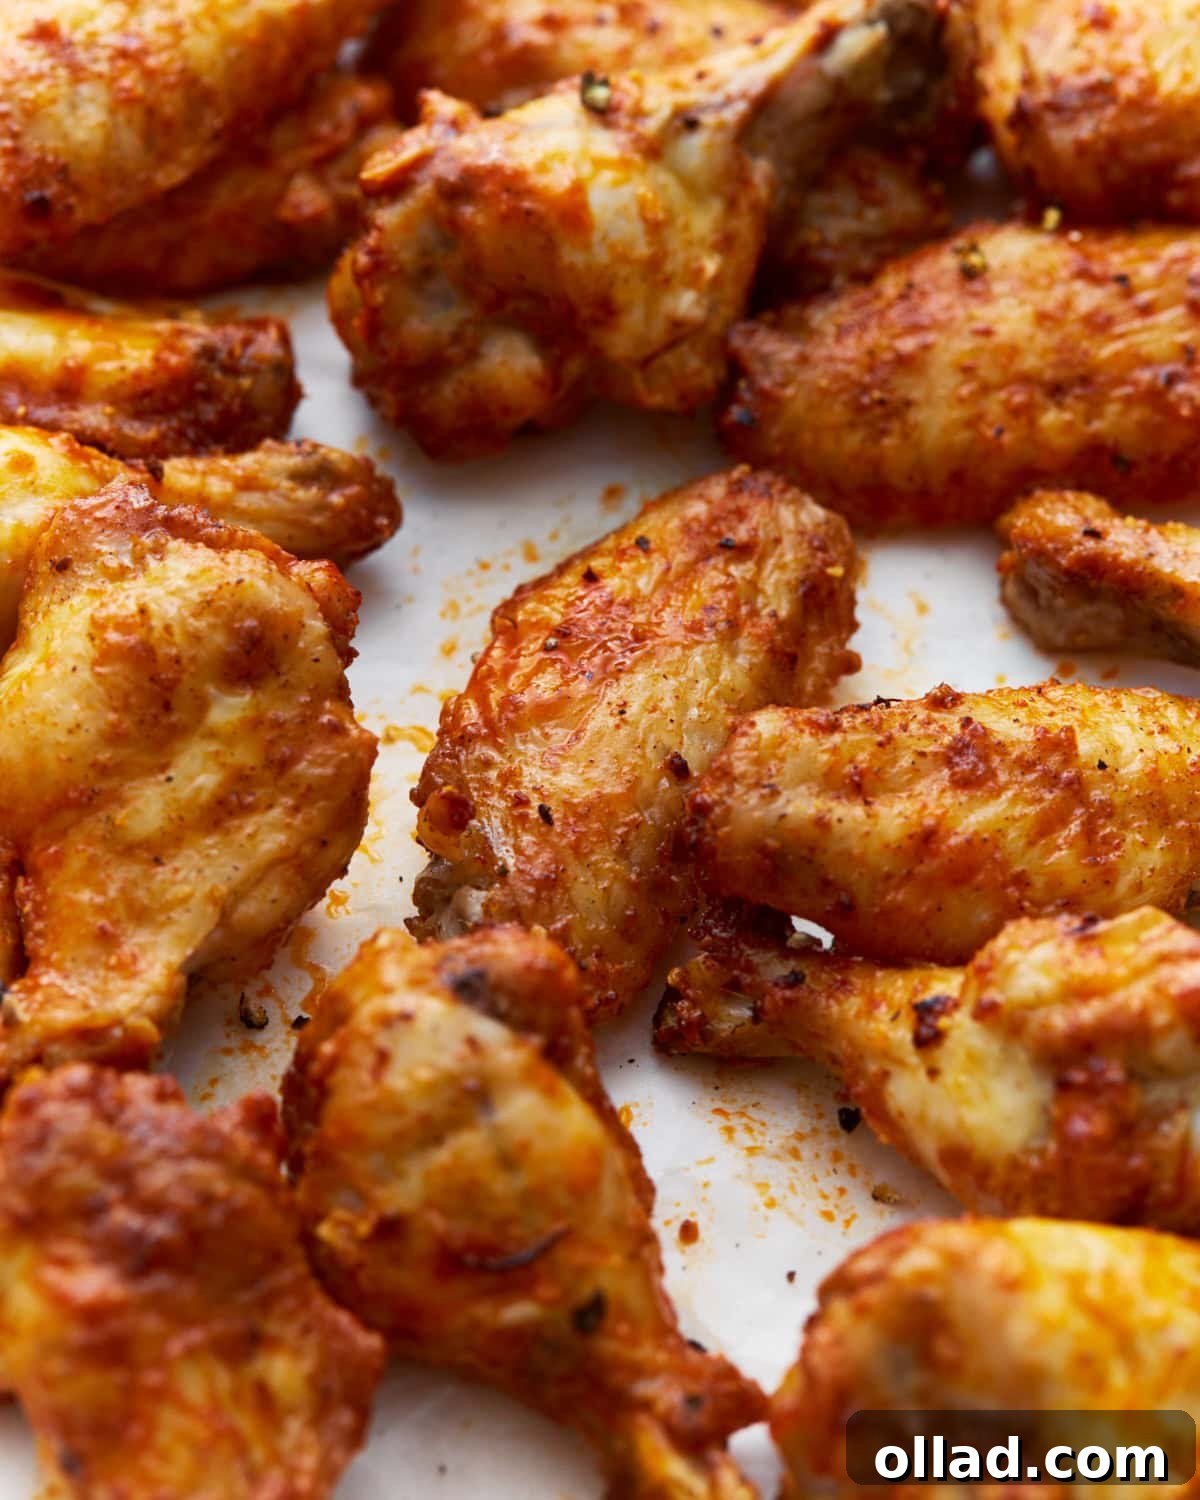
The Ultimate Crispy Gluten-Free Chicken Wings Recipe
Chicken wings hold a special place in the hearts of many, serving as the quintessential appetizer for countless social events. From energetic game days to festive holiday parties, or simply a casual get-together with friends, wings are always a hit. The only thing better than a good chicken wing is a spectacularly crispy one – and if it’s gluten-free, even better! This recipe is meticulously crafted to show you just how effortlessly you can achieve that sought-after crispy texture in your own oven, using simple, gluten-free ingredients that ensure everyone can indulge without worry.
The secret to our success lies in a few straightforward techniques and a surprising ingredient that works wonders without any flour. We’ll guide you through each step, from preparing the wings to baking them to golden perfection, and finally tossing them in a luscious homemade buffalo sauce. While our buffalo sauce offers a traditional and beloved flavor, these versatile wings are designed to pair beautifully with any of your favorite dipping sauces or glazes. Get ready to impress your guests and satisfy those wing cravings with a recipe that is not only safe for gluten-sensitive individuals but also incredibly delicious for all.
Why Choose Gluten-Free Wings?
For those managing gluten sensitivities, celiac disease, or simply choosing a gluten-free lifestyle, finding delicious appetizers that are safe and satisfying can sometimes be a challenge. Traditional fried chicken wings often rely on flour-based coatings for crispiness, making them off-limits. This recipe eliminates that concern entirely, proving that you don’t need gluten to achieve an exceptionally crispy exterior. By opting for gluten-free ingredients, you open up a world of flavor and enjoyment for a wider audience, ensuring that no one misses out on the fun. Moreover, baking instead of deep-frying reduces fat content, making these a slightly lighter option while still delivering maximum flavor and crunch.
Essential Ingredients for Perfect Gluten-Free Wings
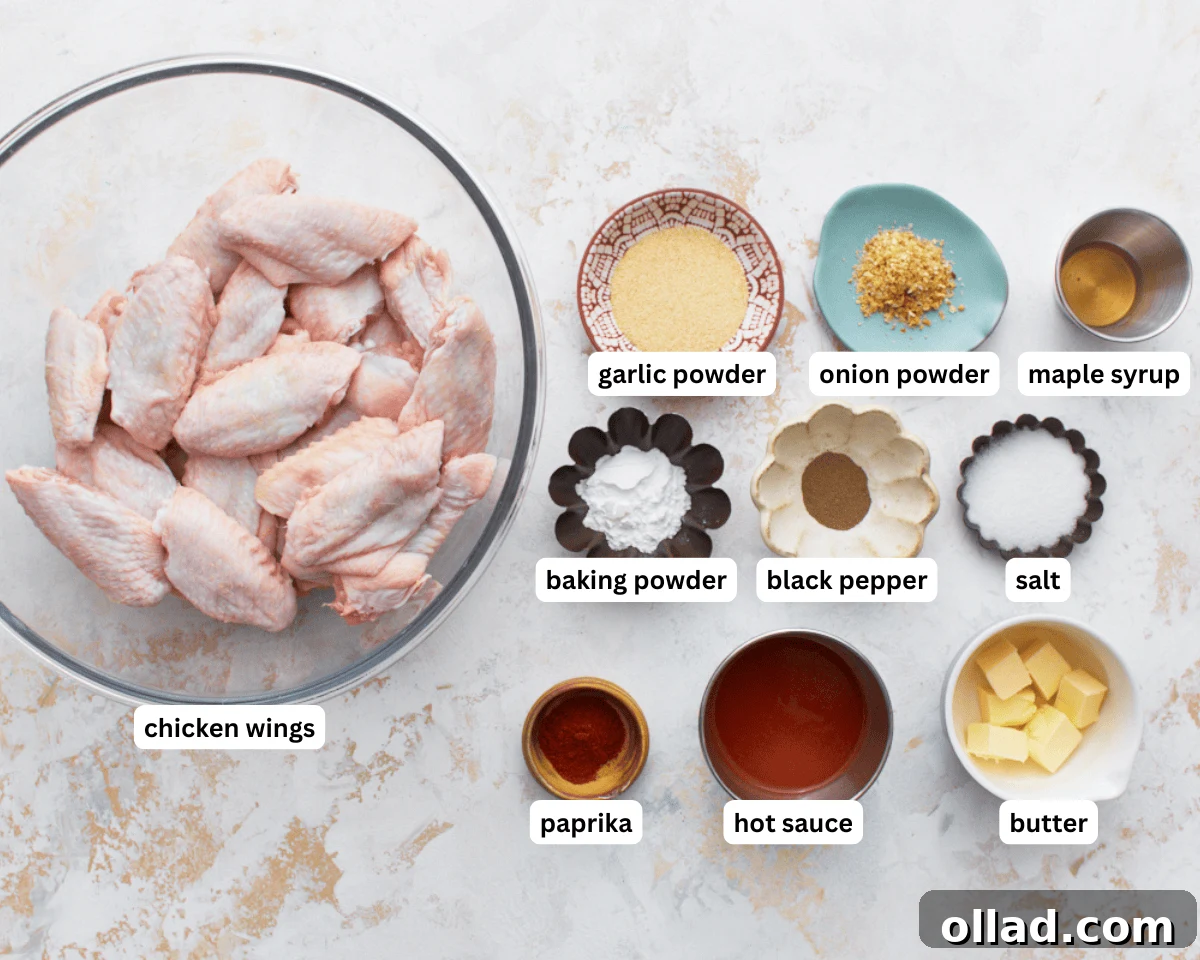
Crafting the perfect gluten-free crispy chicken wings begins with selecting quality ingredients that contribute to both flavor and texture. Each component plays a vital role in achieving that sought-after golden-brown crispness and a rich, satisfying taste. Here’s a detailed look at what you’ll need:
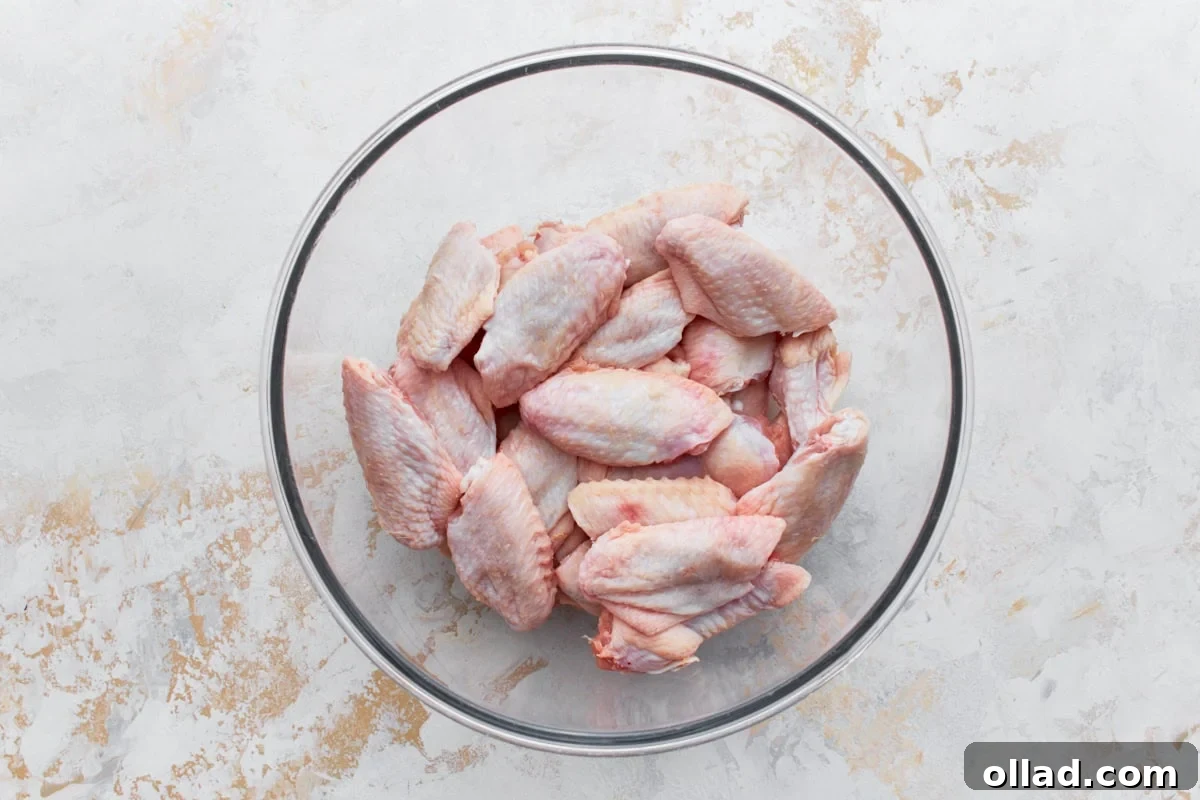
- Chicken Wings: We recommend using a mix of drumettes and flats for variety, as they offer different textures and appeal. While fresh wings are ideal, frozen wings can also be used; just ensure they are fully thawed overnight in the refrigerator before preparation. Proper thawing is crucial for even cooking and optimal crispiness.
- Baking Powder (Gluten-Free): This is the secret ingredient for achieving unparalleled crispiness without flour. Baking powder helps to raise the pH level of the chicken skin, breaking down proteins and promoting the Maillard reaction (browning). It also draws out moisture, which is essential for that coveted crunchy texture. Always double-check the label to ensure your baking powder is certified gluten-free, as some brands may have traces of gluten due to manufacturing processes.
- Garlic Powder & Onion Powder: These aromatic spices form the flavorful foundation of our wing seasoning. They provide a savory depth that complements the natural taste of chicken, creating a rich and inviting aroma during baking. Their finely milled texture ensures even distribution and adherence to the wing surface.
- Smoked Paprika: A pinch of smoked paprika introduces a subtle, earthy, and smoky undertone that elevates the overall flavor profile. It adds a layer of complexity that distinguishes these wings from a basic seasoning, enhancing the savory notes without being overpowering.
- Salt & Black Pepper: Fundamental to any savory dish, salt enhances all other flavors, while freshly ground black pepper adds a mild piquancy. Adjust these to your personal taste, but remember they are crucial for bringing out the best in your chicken.
Ingredients for Our Signature Buttery Buffalo Sauce
No plate of wings is complete without a tantalizing sauce! Our homemade buffalo sauce strikes the perfect balance of heat, tang, and richness. Here’s what you’ll need for this classic:
- Hot Sauce: Frank’s RedHot is our preferred choice due to its iconic flavor and consistent gluten-free status. Many hot sauces are naturally gluten-free, but it’s always prudent to check the ingredient label for any hidden gluten-containing additives or potential cross-contamination warnings. The quality of your hot sauce will significantly impact the final taste of your buffalo wings.
- Butter: Unsalted butter adds a luxurious creaminess and richness to the sauce, mellowing the heat of the hot sauce and creating that signature velvety texture that clings beautifully to the wings. It also contributes to the indulgent flavor profile.
- Maple Syrup: A touch of pure maple syrup (or honey) provides a subtle sweetness that perfectly balances the spice and tang of the hot sauce. It creates a well-rounded flavor that is both spicy and sweet, catering to a wider range of palates.
Expert Tips for Achieving the Ultimate Crispy Wings
Making truly crispy chicken wings is an art, but with a few expert tips, you can achieve restaurant-quality results in your home kitchen every time. These suggestions are designed to maximize crunch, enhance flavor, and simplify your cooking process:
- Pat Them Dry, Dry, Dry: This is arguably the most critical step for crispiness. Excess moisture on the chicken skin will steam instead of crisp. Use plenty of paper towels to thoroughly pat down each wing until it feels completely dry to the touch. You might even consider air-drying them in the refrigerator for an hour or two (or overnight) on a wire rack for superior results.
- The Magic of Baking Powder: As mentioned, gluten-free baking powder is key. It works by raising the skin’s pH, which promotes browning and crisping. Ensure it’s evenly distributed for consistent results across all wings. Do not confuse baking powder with baking soda; they are not interchangeable in this recipe.
- Use a Wire Rack: Baking the wings on a wire rack set over a foil-lined baking sheet is non-negotiable for maximum crispiness. This setup allows hot air to circulate completely around each wing, ensuring all sides get evenly exposed to the heat and preventing the bottom from becoming soggy. The foil below catches any drippings for easier cleanup.
- Don’t Overcrowd the Pan: Give your wings space! Arrange them in a single layer with a little room between each piece. Overcrowding the pan traps steam, which inhibits crisping and can lead to rubbery wings. If necessary, use two baking sheets.
- Preheat Your Oven Thoroughly: A properly preheated oven ensures that the wings start cooking at the ideal temperature from the moment they enter, contributing to consistent crispiness. Don’t rush this step.
- Air Fryer Alternative: For an even quicker and highly effective method, these wings are fantastic in an air fryer. Preheat your air fryer to 400°F (200°C) and cook for 20-25 minutes, shaking the basket vigorously halfway through to ensure even cooking and browning. This method often yields exceptional crispness with less effort.
- Seasoning Ahead of Time (with Caution): While you can season the wings and refrigerate them overnight, be aware that salt and spices can draw out moisture from the skin. If doing this, make sure to pat them extremely dry again just before baking to prevent them from becoming less crispy.
- Timing the Sauce: For truly crispy wings, always toss them in the sauce immediately before serving. Adding sauce too early can re-moisturize the skin, making them soft.
Serving Suggestions and Delicious Pairings
These crispy gluten-free chicken wings are incredibly versatile and can be served with a wide array of sides and dips to complete your meal or appetizer spread. For a classic game-day experience, our family loves to serve them with crisp celery sticks and generous bowls of creamy dairy-free ranch or tangy blue cheese dressing. The cool, refreshing crunch of the celery and the rich, creamy dips provide a perfect counterpoint to the spicy, savory wings.
Beyond the traditional, consider these delightful pairings:
- Alternative Sauces: While our homemade buffalo sauce is a star, these wings are a blank canvas for other flavors. Try tossing them in my homemade gluten-free teriyaki sauce for a sweet and savory glaze, or experiment with a sticky honey garlic sauce, a zesty lemon pepper rub (applied before baking), or a rich garlic parmesan coating.
- Cooling Sides: A simple garden salad, a refreshing coleslaw, or even some crisp cucumber slices can help balance the heat and richness of the wings.
- Heartier Accompaniments: For a more substantial offering, pair these wings with sweet potato fries, crispy baked potato wedges, or even a side of fluffy gluten-free rice.
- Appetizer Spread: These wings shine as part of a larger appetizer spread. Combine them with other gluten-free party favorites like gluten-free pigs in a blanket, veggie platters, or even a gluten-free bruschetta for an unforgettable feast.
Storage and Reheating Instructions
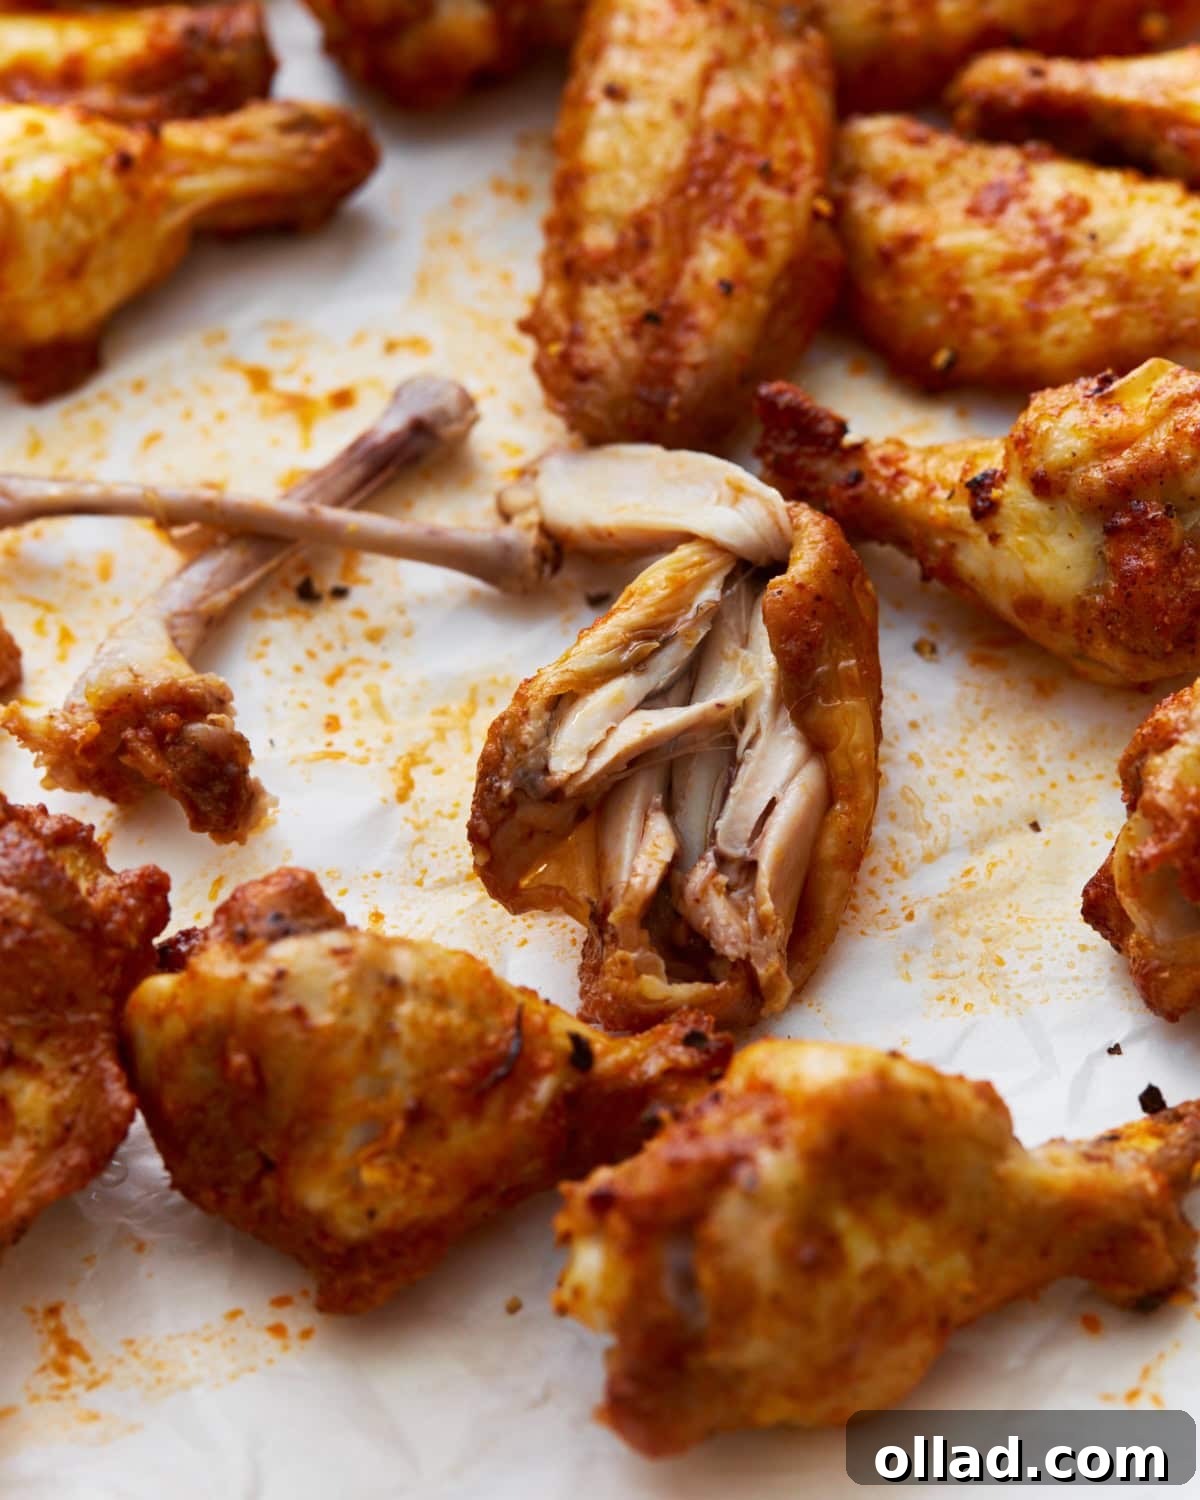
While these crispy wings are best enjoyed fresh out of the oven, any leftovers can be stored and reheated to maintain their deliciousness, though they may lose a touch of their initial crispiness. To store, allow the wings to cool completely to room temperature. Then, transfer them to an airtight container and refrigerate for up to 3 days. This prevents moisture from building up and keeps them fresh.
When you’re ready to enjoy them again, reheating is simple:
- Oven Method: Preheat your oven to 375°F (190°C). Arrange the leftover wings in a single layer on a wire rack set over a baking sheet. Heat for 10-15 minutes, or until thoroughly heated through and re-crisped. The wire rack is crucial here to help bring back some of that initial crunch.
- Air Fryer Method: For the best results in regaining crispiness, the air fryer is your friend. Place the wings in a single layer in the air fryer basket (do not overcrowd). Reheat at 350°F (175°C) for 5-8 minutes, shaking the basket once or twice, until hot and crispy again.
Avoid reheating in the microwave, as this will result in soggy wings and an undesirable texture.
More Irresistible Gluten-Free Game-Day Appetizer Recipes
If you’re planning a gluten-free spread for your next game day or party, these wings are just the beginning! Explore these other fantastic gluten-free appetizer recipes that are sure to be a hit:
- Gluten-Free Corn Dogs
- Gluten-Free Southern Fried Chicken
- Gluten-Free Cheez Its Copycat
- Gluten-Free Empanadas
- Gluten-Free Onion Rings
Gluten-Free Chicken Wings
Sabine Venier
4
servings
10
30
40
Ingredients
Chicken Wings
-
2
pounds
chicken wings,
split into drumettes and flats -
1
tablespoon
baking powder,
gluten-free -
1
teaspoon
garlic powder -
1
teaspoon
onion powder -
1/2
teaspoon
smoked paprika -
1/2
teaspoon
salt -
1/2
teaspoon
black pepper
Homemade Buffalo Sauce
-
1/4
cup
hot sauce,
such as Frank’s Red Hot -
2
tablespoons
butter -
1
teaspoon
honey or maple syrup
Instructions
-
Preheat the oven to 425°F (220°C). Line a large baking sheet with aluminum foil for easy cleanup, then place a wire rack on top. Lightly grease the wire rack to prevent the wings from sticking. Set this prepared pan aside.
-
Thoroughly pat the chicken wings dry with paper towels. This step is crucial, as removing excess moisture from the skin is the key to achieving maximum crispiness. Once dry, transfer the wings to a large mixing bowl.
-
In a separate small bowl, combine the gluten-free baking powder, garlic powder, onion powder, smoked paprika, salt, and black pepper. Whisk these spices together until well combined. Sprinkle this dry rub mixture evenly over the chicken wings in the large bowl, tossing them thoroughly to ensure every wing is coated on all sides.
-
Arrange the seasoned wings in a single layer on the prepared wire rack, ensuring there is space between each wing. This allows for optimal air circulation, which is vital for crispiness. Do not overcrowd the pan.
-
Bake for 35-40 minutes in the preheated oven. Halfway through the baking time (around 17-20 minutes), carefully flip each wing to ensure even browning and crisping on both sides. Continue baking until the wings are deeply golden brown and incredibly crispy.
-
While the wings are baking, prepare the homemade buffalo sauce (if desired). In a small saucepan, combine the hot sauce, butter, and maple syrup (or honey). Heat over medium-high heat, stirring continuously, until the butter has completely melted and all ingredients are well combined into a smooth sauce. Remove from heat and allow the sauce to cool for 5-10 minutes; this allows it to thicken slightly.
-
Once the wings are baked to perfection and the sauce has cooled slightly, transfer the hot wings to a large bowl. Pour the buffalo sauce over the wings and toss gently but thoroughly until each wing is evenly coated. Serve immediately with your favorite dipping sauce and enjoy the irresistible crunch!
Notes
- These wings can easily be made in the air fryer as well. Preheat the air fryer to 400°F (200°C) and cook for 20-25 minutes, shaking the basket halfway through. They’ll come out crispy and delicious.
- You can season the wings ahead of time and refrigerate them overnight. However, be mindful that the spices can draw moisture from the skin, which may slightly reduce crispiness when baked. Pat them very dry just before baking if you choose this method.
- Pat the chicken wings extremely dry before seasoning them. Any excess moisture on the skin will prevent the wings from becoming truly crispy and will result in a steamed texture.
- The wire rack on top of the sheet pan is essential. It allows hot air to circulate around the entire wing, ensuring consistent crispiness on all sides and preventing the bottom from becoming soggy.
- Leftover wings can be stored in an airtight container in the fridge for up to 3 days. Reheat them in the oven (375°F for 10-15 mins) or air fryer (350°F for 5-8 mins) until heated through and re-crisped; avoid the microwave for best results.
Nutrition
Serving:
1
wing
Calories:
336
kcal
Carbohydrates:
4
g
Protein:
23
g
Fat:
25
g
Saturated Fat:
9
g
Polyunsaturated Fat:
4
g
Monounsaturated Fat:
9
g
Trans Fat:
0.5
g
Cholesterol:
109
mg
Sodium:
1141
mg
Potassium:
239
mg
Fiber:
0.3
g
Sugar:
2
g
Vitamin A:
504
IU
Vitamin C:
12
mg
Calcium:
198
mg
Iron:
2
mg
Nutrition information is automatically calculated, so should only be used as an approximation.
Additional Info
Appetizer, Snack
American
Step-by-Step: How to Make Gluten-Free Chicken Wings
Follow these simple steps to prepare your own batch of incredibly crispy, gluten-free chicken wings. The process is straightforward, ensuring delicious results even for novice cooks.
Step 1: Prepare Your Baking Setup. Begin by preheating your oven to 425°F (220°C). This high temperature is crucial for achieving that desirable crispy skin. Line a sturdy baking sheet with aluminum foil – this will make cleanup significantly easier by catching any drippings. On top of the foil-lined sheet, place a wire rack. Lightly grease the wire rack with a neutral cooking spray or oil to prevent the chicken wings from sticking. This setup is key for allowing air to circulate around the wings, ensuring they crisp up evenly on all sides. Once prepared, set your baking sheet aside.
Next, take your chicken wings (whether fresh or thoroughly thawed if previously frozen) and pat them absolutely dry with paper towels. This step cannot be emphasized enough; removing all excess moisture from the chicken skin is the single most important factor for achieving superior crispiness. Moisture causes the wings to steam rather than crisp. After thoroughly drying, place the wings into a large mixing bowl.
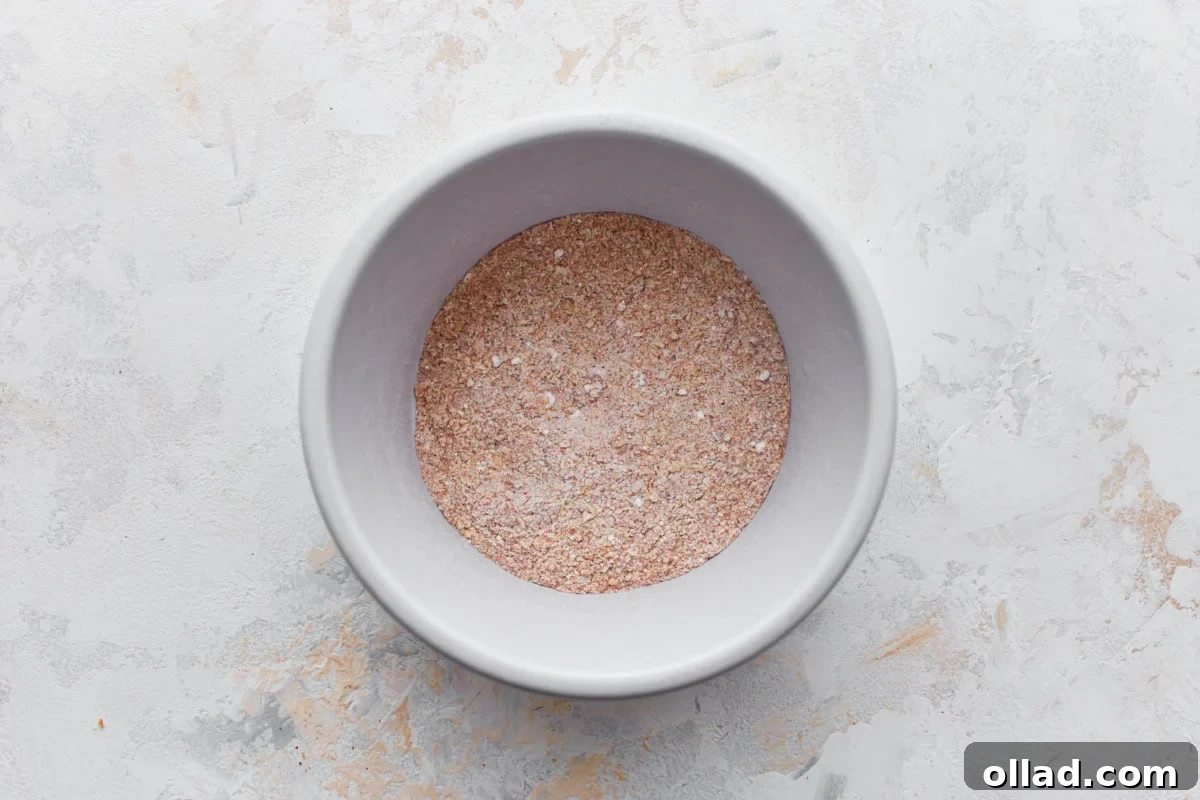
Step 2: Create the Crispy Spice Rub. In a separate, smaller bowl, measure out your dry seasoning ingredients: 1 tablespoon of gluten-free baking powder (ensure it’s not baking soda), 1 teaspoon of garlic powder, 1 teaspoon of onion powder, ½ teaspoon of smoked paprika, ½ teaspoon of salt, and ½ teaspoon of black pepper. Use a whisk or a small spoon to mix these spices thoroughly. The goal is to have a well-combined, aromatic dry rub that will adhere evenly to the chicken wings and contribute significantly to both flavor and texture.
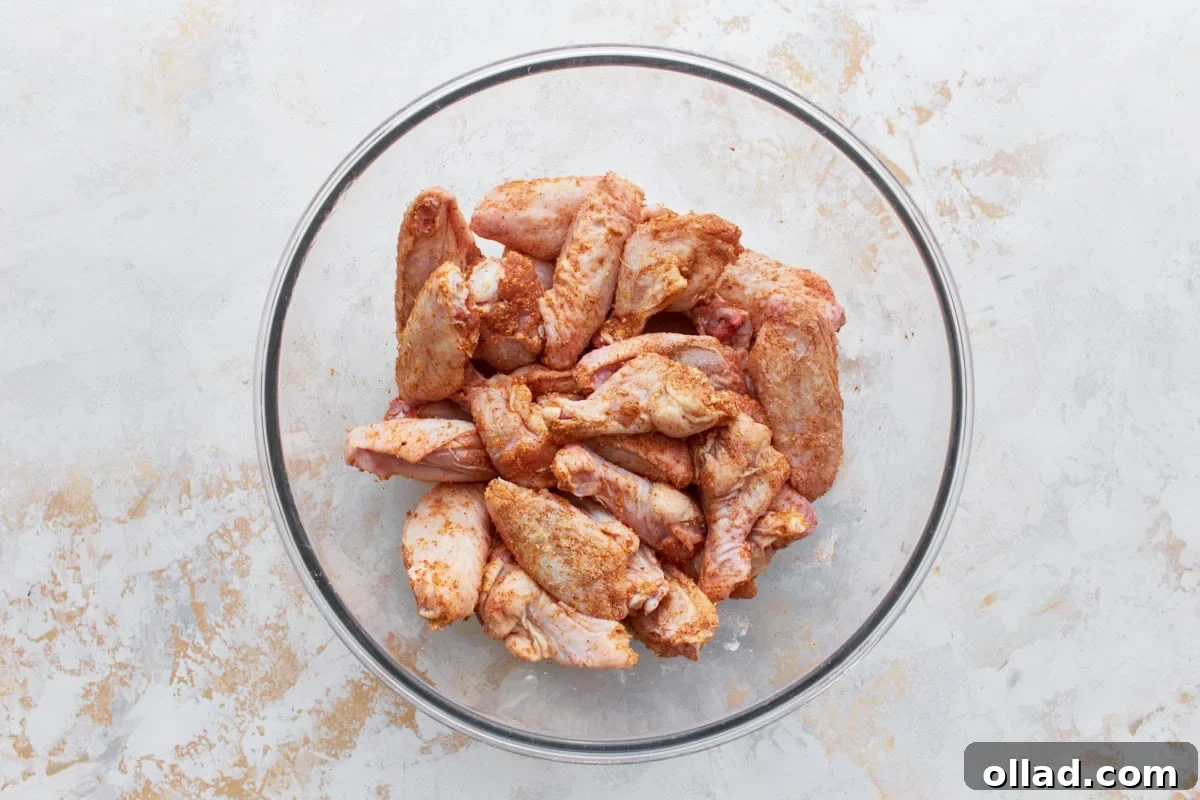
Step 3: Season the Wings Generously. Take the prepared spice mixture and sprinkle it evenly over the dried chicken wings in the large bowl. Once sprinkled, use your hands or tongs to toss the wings thoroughly, ensuring that every single wing is completely coated with the dry rub. Pay attention to both sides and all crevices. A generous and even coating is essential for consistent flavor and the crispy texture we’re aiming for. This seasoning forms the base flavor and is critical for the baking powder to work its magic.
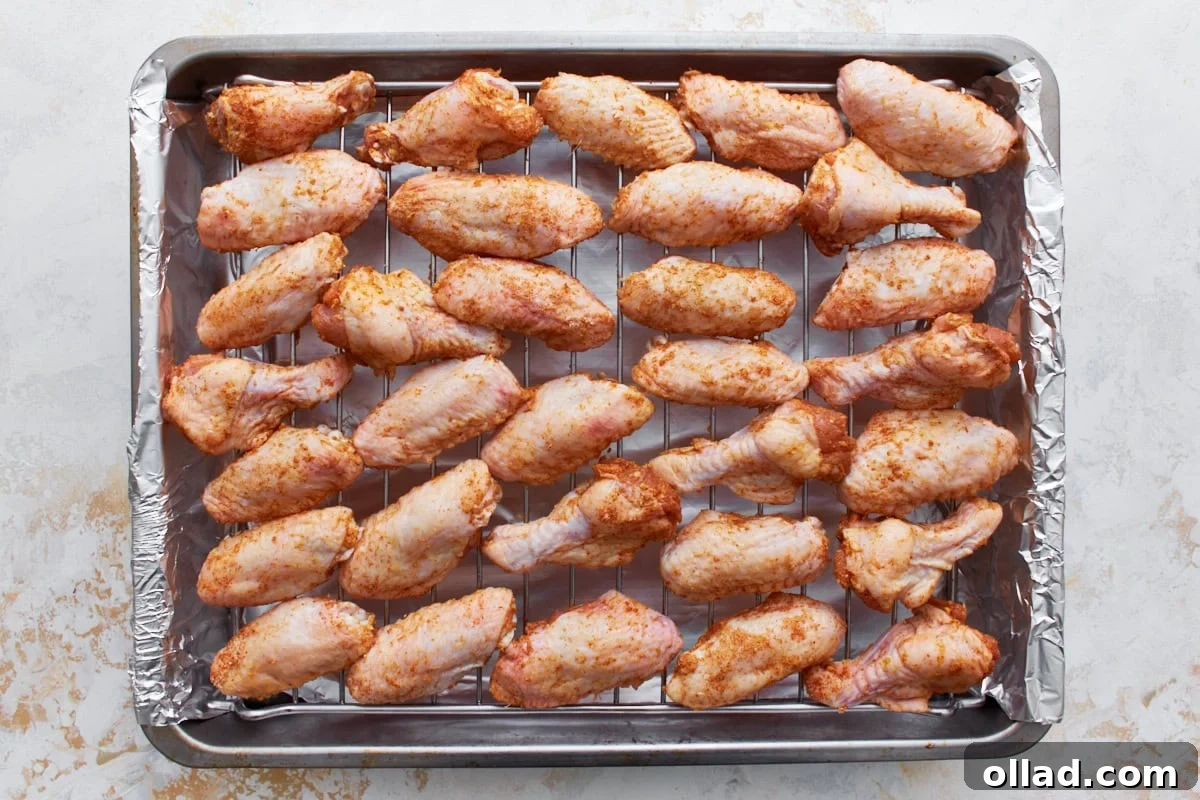
Step 4: Arrange for Optimal Crisping. Carefully place the coated chicken wings onto the greased wire rack on your baking sheet. It is vital to arrange them in a single layer, ensuring that no wings are touching or overlapping. This spacing allows hot air to circulate freely around each wing, which is absolutely necessary for them to become uniformly crispy and golden brown. Overcrowding the pan will lead to steaming, resulting in soggy rather than crisp wings.
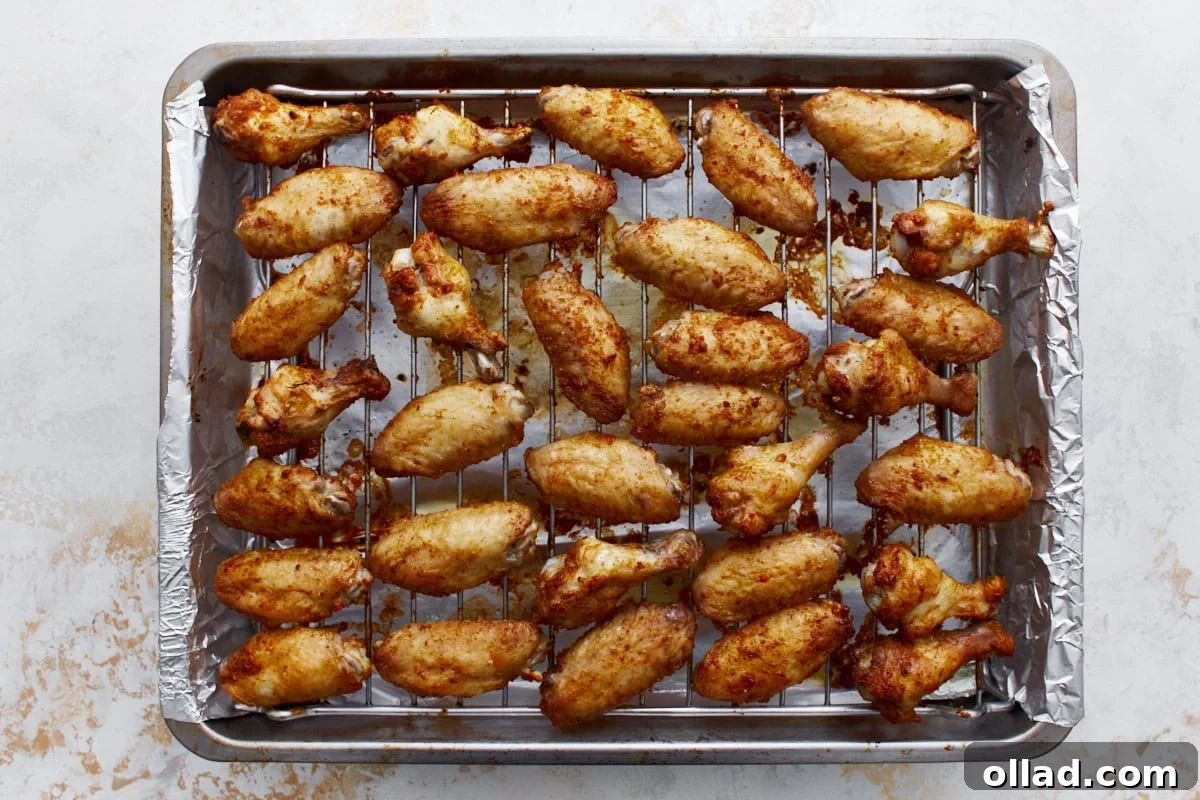
Step 5: Bake to Golden Perfection. Place the baking sheet with the arranged wings into your preheated 425°F (220°C) oven. Bake for a total of 35-40 minutes. Halfway through the baking time (after about 17-20 minutes), use tongs to carefully flip each wing over. This ensures that both sides are exposed to the direct heat, allowing them to brown evenly and develop a consistent crisp exterior. Continue baking until the wings are deep golden brown, visibly crispy, and cooked through to an internal temperature of 165°F (74°C).
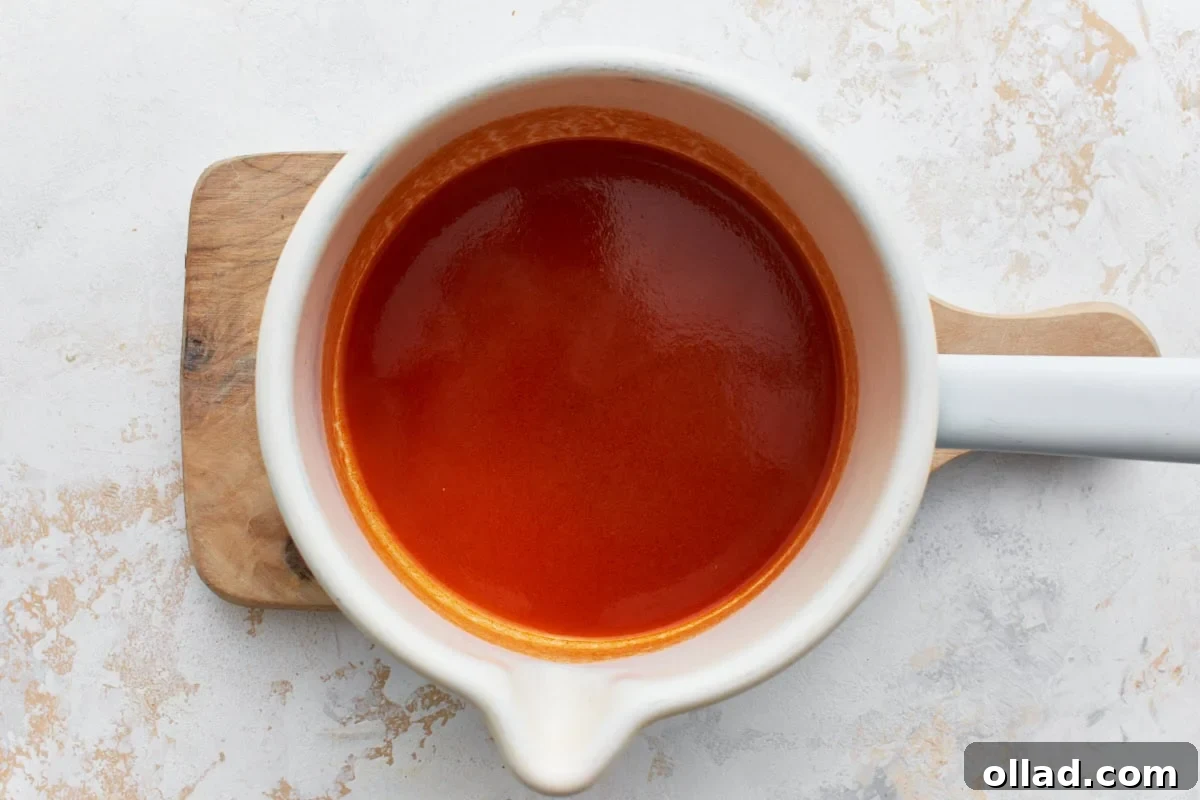
Step 6: Prepare the Buttery Buffalo Sauce (Optional). While your wings are in the oven, you can prepare the delicious homemade buffalo sauce. In a small saucepan, combine ¼ cup of your favorite hot sauce (like Frank’s RedHot, ensuring it’s gluten-free), 2 tablespoons of unsalted butter, and 1 teaspoon of maple syrup (or honey). Place the saucepan over medium-high heat. Stir the mixture continuously until the butter has completely melted and all the ingredients are thoroughly combined, creating a smooth, glossy sauce. Remove the saucepan from the heat and allow the sauce to cool for 5-10 minutes. This cooling period allows the sauce to slightly thicken, helping it cling better to the crispy wings.
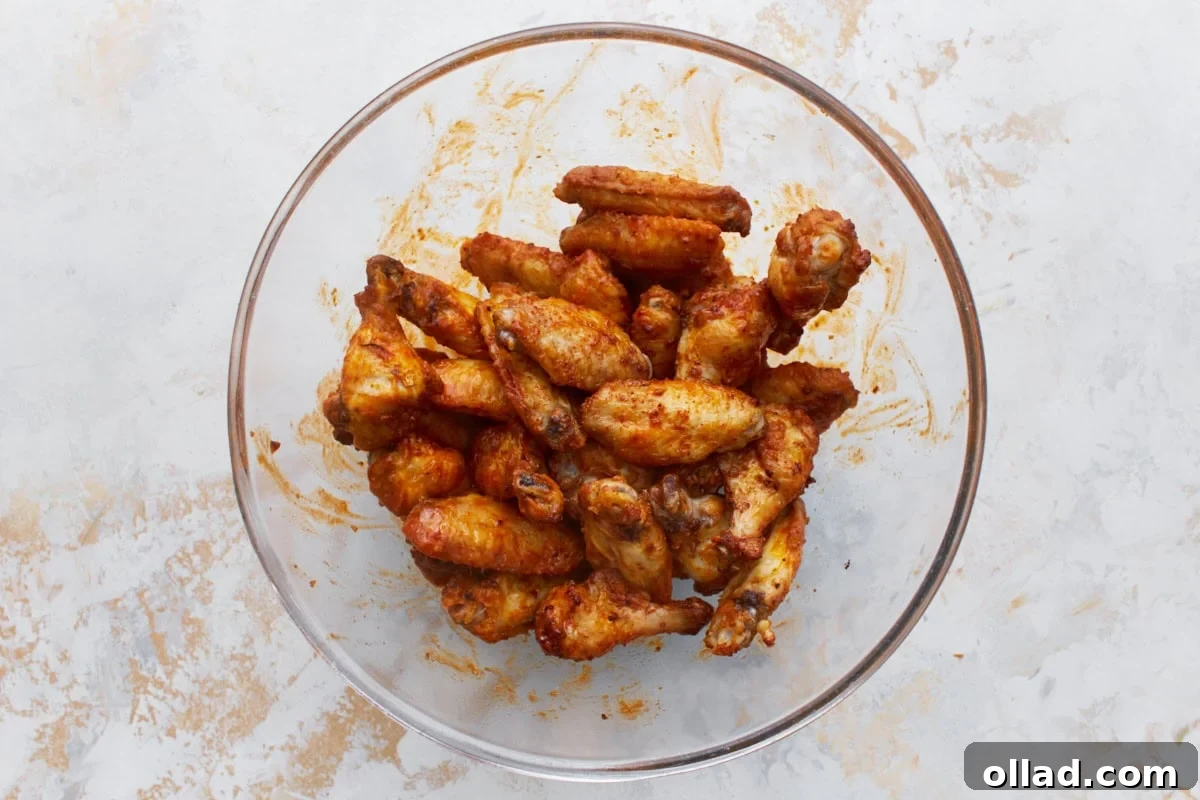
Step 7: Sauce and Serve. Once the chicken wings are baked to crispy perfection and the buffalo sauce has cooled slightly, transfer the hot wings from the baking rack into a large mixing bowl. Pour the prepared buffalo sauce over the wings. Using tongs, gently but thoroughly toss the wings until each piece is beautifully and evenly coated with the rich, spicy sauce. The key is to do this just before serving to maintain maximum crispiness. Serve these irresistible gluten-free buffalo chicken wings immediately with your favorite dips – ranch or blue cheese are classic choices – and fresh celery sticks. Enjoy the satisfying crunch and explosive flavor!