
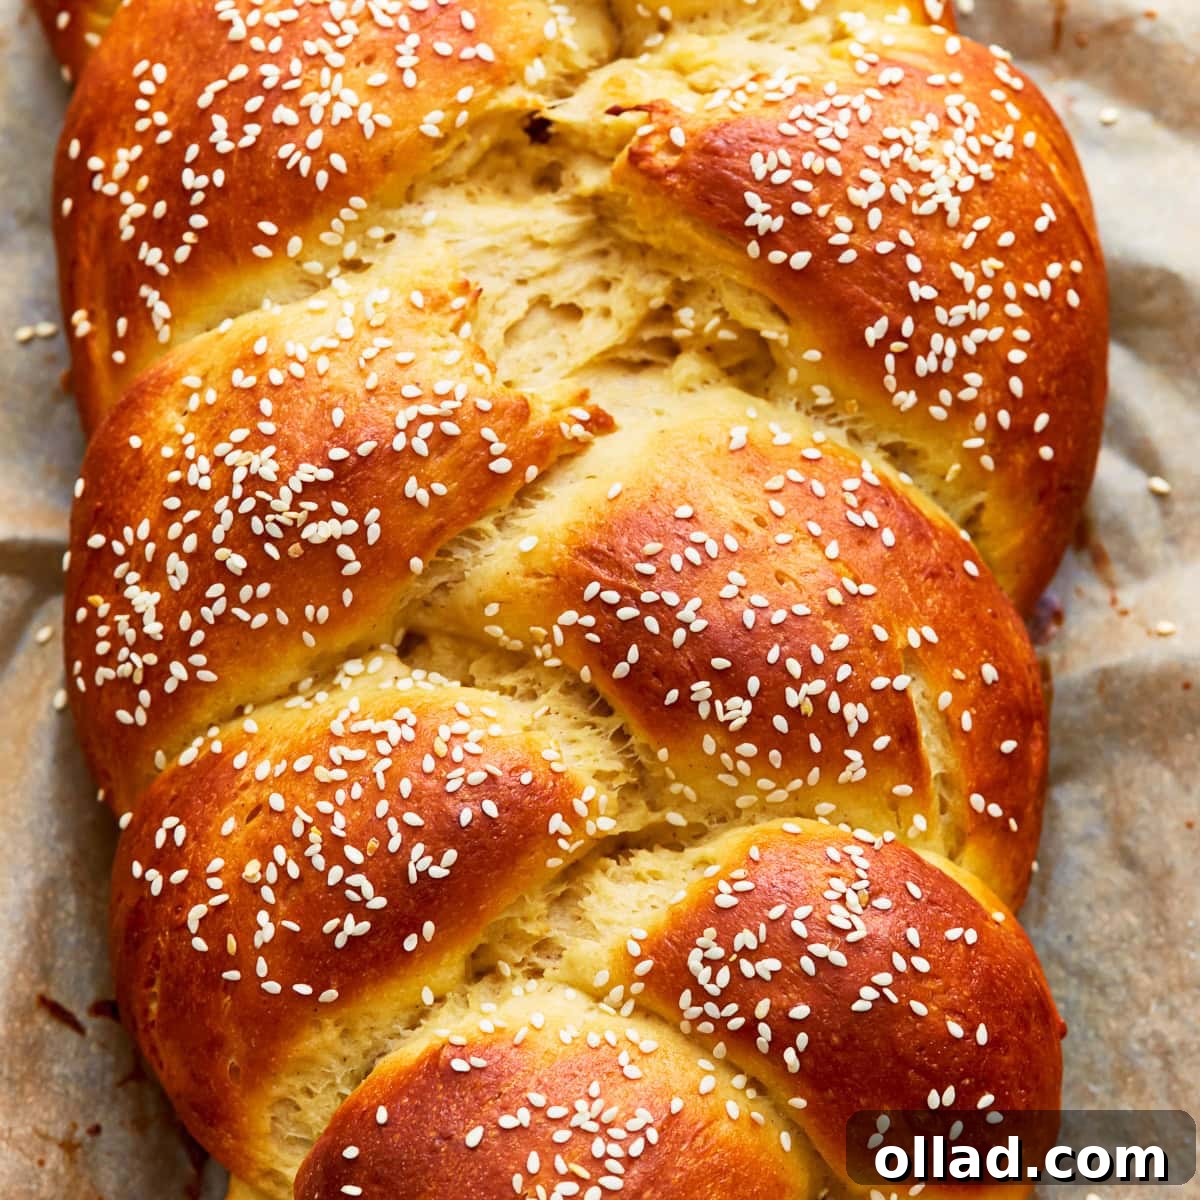
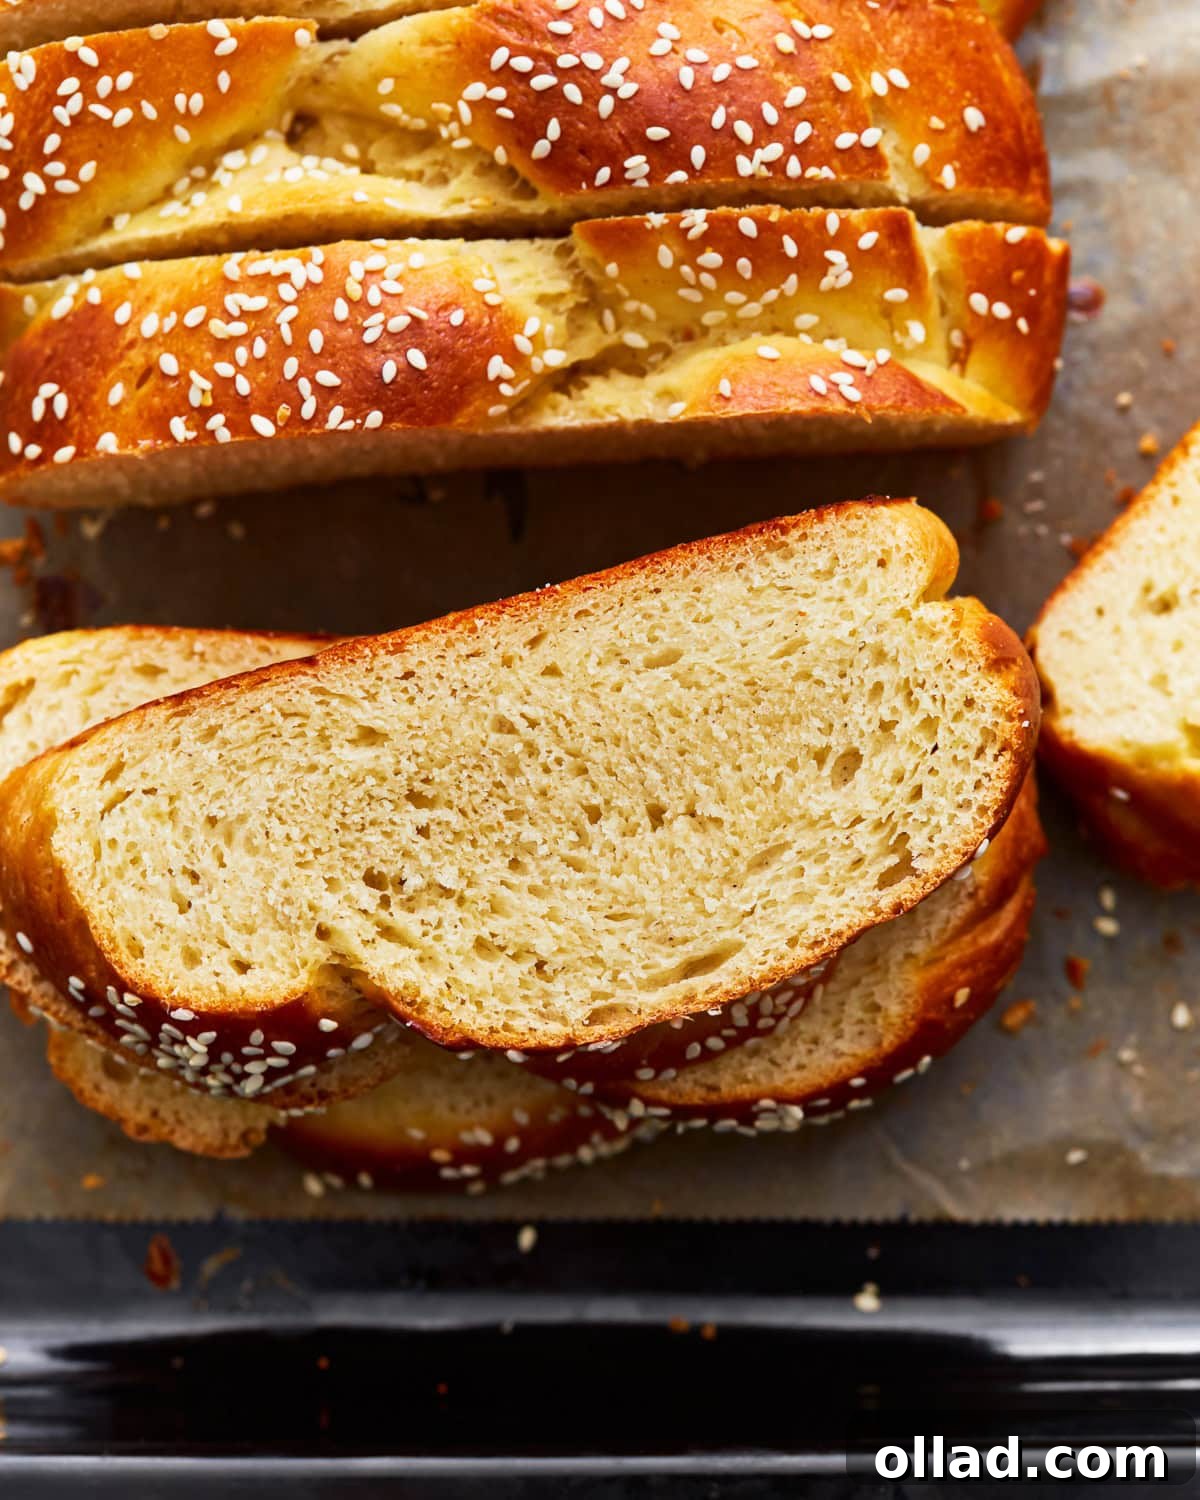
Experience the joy of baking and savoring a truly exceptional homemade treat with this incredible gluten-free challah bread recipe. Perfectly soft, delightfully easy to braid, and boasting that signature slightly sweet, golden crust, this loaf captures everything you cherish about traditional challah, entirely without gluten. Forget the need for specialized loaf pans; this recipe guides you through a simple braiding technique that bakes beautifully on a standard baking sheet, holding its elegant shape every time. Crafted with accessible ingredients, this recipe is designed for bakers of all skill levels, making it simple to achieve professional-quality results right in your own kitchen. As an added bonus, it’s also dairy-free and can be easily adapted to be kosher-friendly, catering to a wider range of dietary needs and preferences. Prepare to impress your family and friends with a challah that’s not just gluten-free, but truly extraordinary.
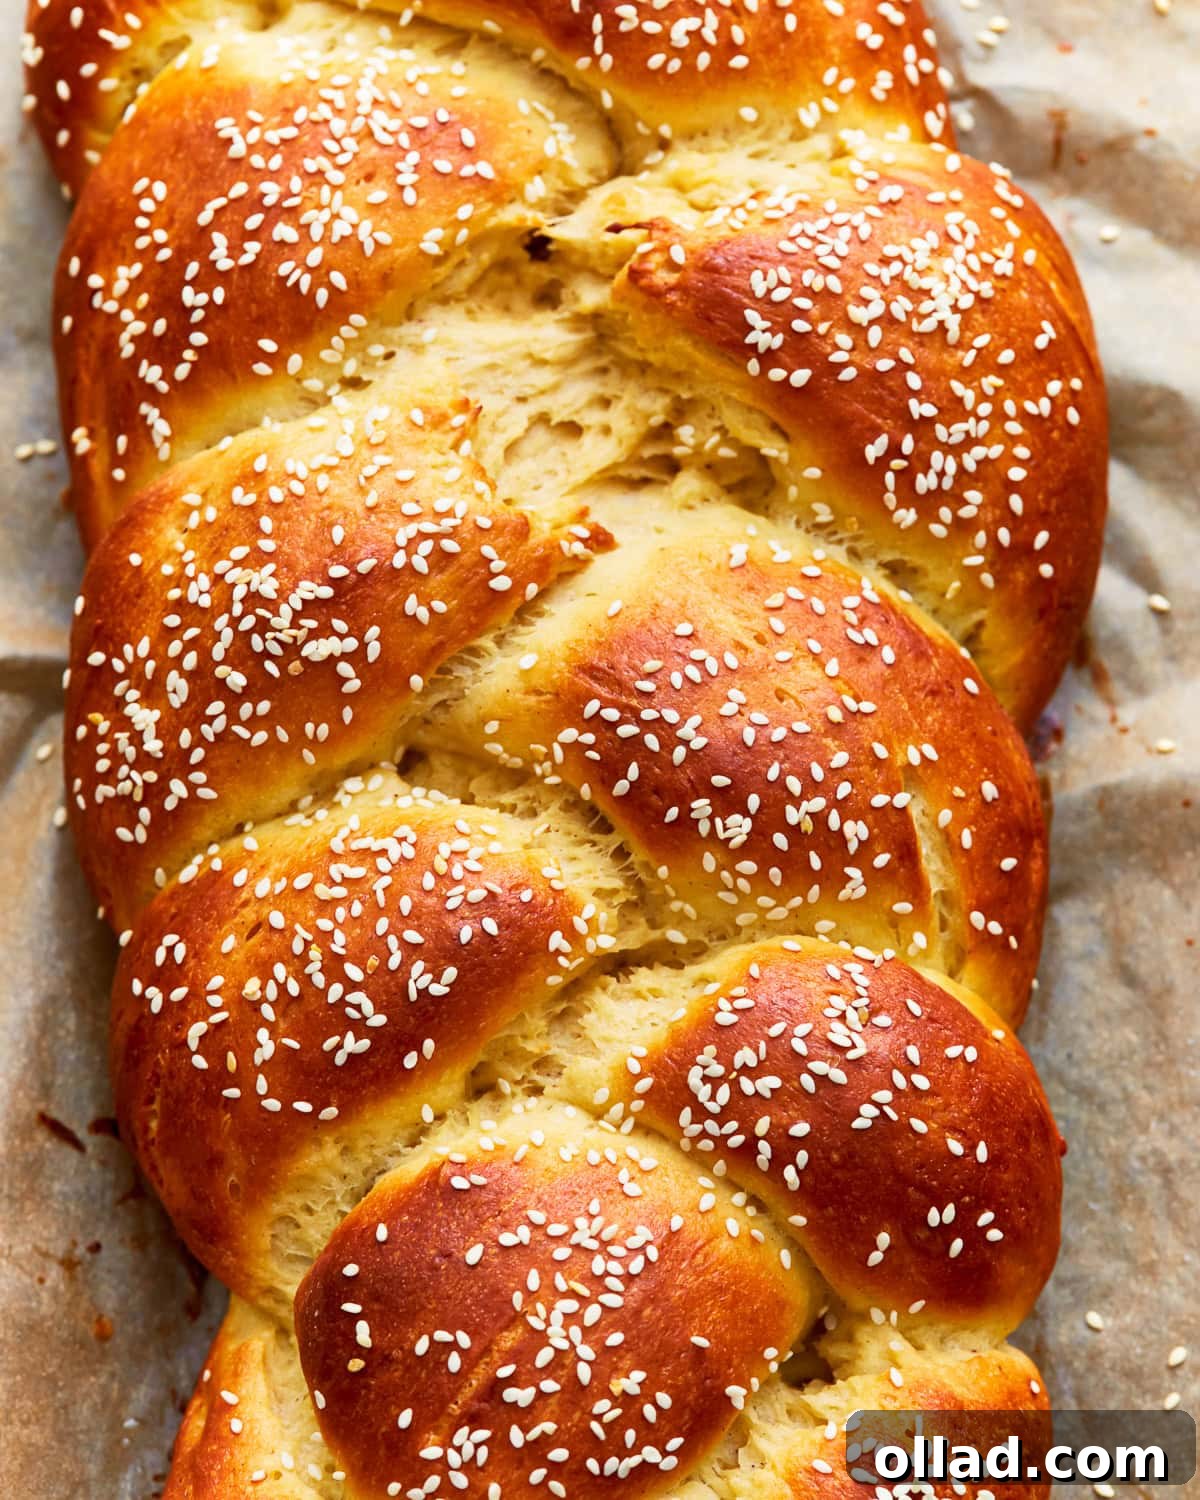
Homemade Gluten-Free Challah: A Culinary Triumph
Challah is more than just bread; it’s a cherished symbol of celebration, tradition, and comfort within Jewish culture, frequently gracing tables on special occasions, Shabbat, and holidays. Known for its distinct braided appearance and rich, slightly sweet flavor, this egg-enriched bread typically relies on wheat flour for its characteristic texture and structure. However, this innovative recipe redefines challah by utilizing a carefully selected blend of gluten-free flour and tapioca starch. The result is a delicious, gluten-free loaf that beautifully replicates the moist crumb and satisfying chewiness of its traditional counterpart, without compromising on taste or texture.
Unlike many other enriched breads, such as a classic brioche, this recipe is also completely dairy-free, making it an excellent choice for those with dairy allergies or for maintaining a kosher diet alongside meat dishes. Having perfected this recipe through countless trials, I’ve discovered two non-negotiable tips for achieving the best possible results: always use room-temperature eggs to ensure even mixing and a superior texture, and allow the dough to undergo two distinct rises. This double-proofing process is crucial for developing flavor and achieving a light, airy gluten-free bread that truly delights.
Why Choose Gluten-Free Challah?
Opting for gluten-free challah opens up a world of culinary possibilities for many. For individuals with celiac disease, gluten sensitivity, or those simply choosing a gluten-reduced diet, this recipe allows them to partake in a beloved tradition without dietary compromise. It means everyone at the table, regardless of their gluten status, can enjoy a piece of this comforting, symbolic bread. Beyond health considerations, some find gluten-free grains easier to digest, making this challah a gentle yet delicious option. This recipe specifically addresses the common challenges of gluten-free baking—often resulting in dense or crumbly textures—by employing specific ingredients and techniques to deliver a bread that is soft, pliable, and holds its shape beautifully.
Essential Ingredients for Perfect Gluten-Free Challah
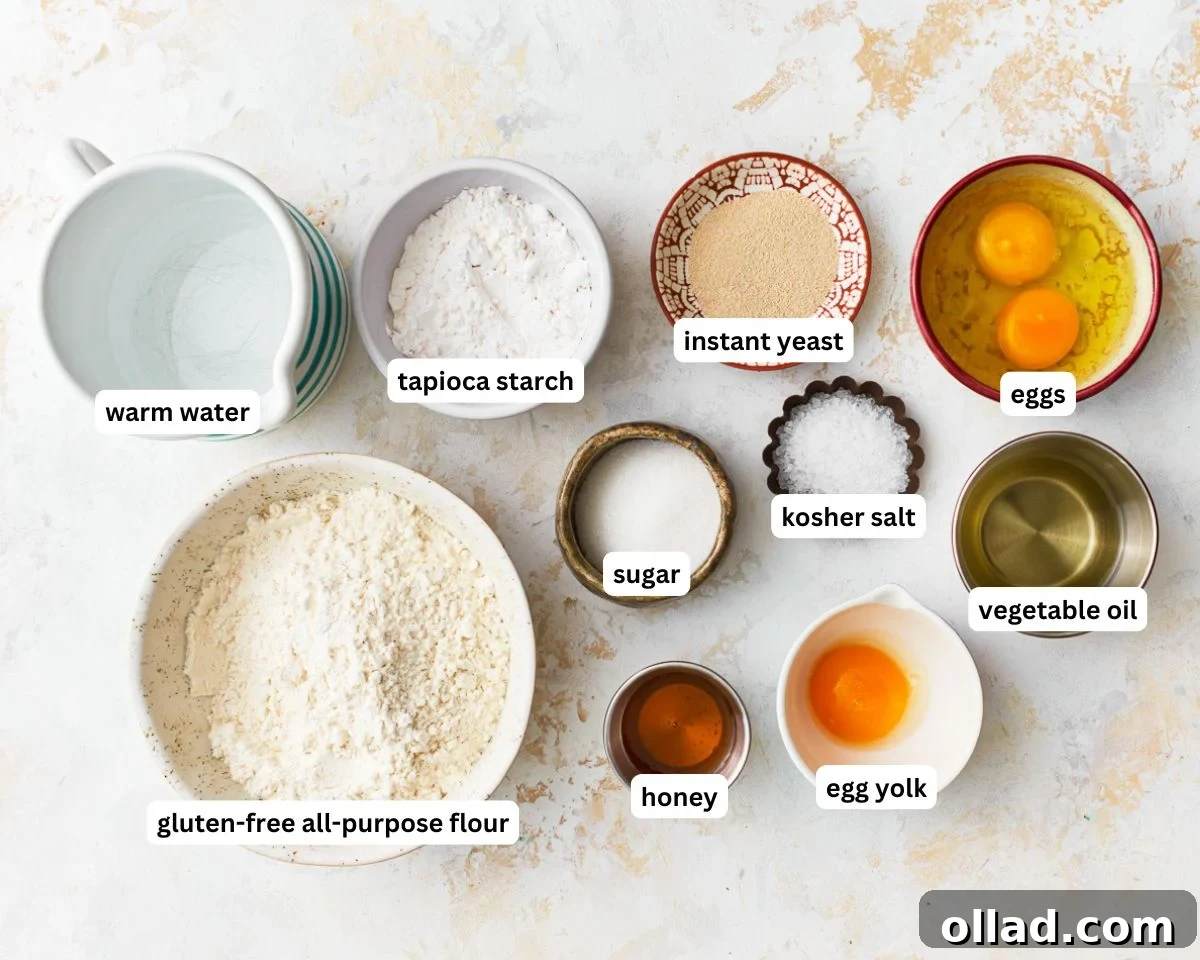
Crafting exceptional gluten-free challah begins with understanding the role each ingredient plays. Here’s a detailed look at what you’ll need to create this magnificent loaf:
- Gluten-Free All-Purpose Flour with Xanthan Gum: The foundation of our gluten-free challah. It’s crucial to select a high-quality blend specifically designed for yeast baking. Most good quality gluten-free flour blends suitable for bread making will already contain xanthan gum. If your chosen blend does not include it, be sure to add 1 teaspoon to the dry ingredients. Xanthan gum is vital in gluten-free baking as it acts as a binder, mimicking the elasticity and structure that gluten provides in traditional wheat flour, preventing your bread from crumbling.
- Tapioca Starch: This ingredient is a game-changer for gluten-free bread. Tapioca starch contributes significantly to the bread’s texture, imparting a wonderful chewiness and a light, airy crumb that can often be challenging to achieve without gluten. It helps to create that appealing internal structure.
- Sugar: More than just a sweetener, sugar plays a dual role in this recipe. Firstly, it provides essential nourishment for the yeast, allowing it to activate and produce the carbon dioxide needed for the dough to rise. Secondly, it adds that characteristic hint of sweetness to the challah, enhancing its overall flavor profile and contributing to a beautiful golden-brown crust.
- Instant Yeast: I highly recommend instant yeast for its convenience. It can be mixed directly into the dry ingredients without prior activation, saving you time. However, if active dry yeast is what you have on hand, simply dissolve it in a small amount of lukewarm water with a pinch of sugar. Let it sit for about 10 minutes until it becomes foamy, indicating it’s active, before incorporating it into your dry ingredients.
- Kosher Salt: A fundamental flavor enhancer in any bread recipe, kosher salt balances the sweetness and brings out the nuanced flavors of the other ingredients. Don’t skip it, as it significantly impacts the final taste.
- Eggs: As an “egg-enriched” bread, eggs are absolutely central to challah. They contribute to the dough’s structure, provide moisture, add richness, and aid in browning. This recipe uses 2 large eggs and an additional large egg yolk in the dough itself, with the extra yolk further boosting richness and color. For the shiny, golden finish, an egg wash made with 1 large egg and 1 tablespoon of water is brushed over the top of the bread before baking. Ensure your eggs are at room temperature for optimal mixing.
- Warm Water: The perfect temperature of warm water is essential for activating the yeast, allowing it to thrive and efficiently leaven the dough. It also plays a crucial role in hydrating the gluten-free flour mixture to achieve the correct dough consistency.
- Vegetable Oil: To keep this recipe entirely dairy-free while ensuring a moist and tender crumb, vegetable oil is used instead of butter. It adds necessary fat content, contributing to the bread’s softness and helping it stay fresh longer.
- Honey: Beyond the granulated sugar, honey introduces a layer of natural, subtle sweetness and contributes to the beautiful golden hue of the crust. Its distinct flavor complements the other ingredients wonderfully.
- Sesame or Poppy Seeds (optional): These seeds are more than just a garnish; they add a delightful nutty flavor and a pleasing texture to the crust, alongside making your challah visually appealing. I highly recommend including them for that authentic challah look and taste.
Expert Tips and Suggestions for Gluten-Free Challah Success
Baking gluten-free bread can sometimes feel intimidating, but with these expert tips, you’ll achieve a magnificent challah every time. Precision and patience are your best friends in gluten-free baking:
- Measure Flour Accurately: The “spoon & level” method is paramount for gluten-free flour. Instead of scooping flour directly with your measuring cup, gently spoon the flour into the cup until it overflows, then level it off with the flat edge of a knife. This prevents overpacking, which can lead to a dry, dense loaf.
- Embrace Sticky Dough: Gluten-free challah dough will inherently feel stickier and wetter than traditional wheat-based dough. This is completely normal and desirable for a moist, tender crumb. Don’t be tempted to add more flour; instead, lightly oil your hands before handling the dough. This simple trick makes it much easier to manage and shape.
- The Importance of Chilling: Do not skip the chilling step! After its first rise, transferring the dough to the fridge for 30 minutes allows it to firm up. This makes the dough significantly easier to handle, roll into strands, and braid without tearing or sticking excessively.
- Room Temperature Eggs Are Key: Ensure all eggs (including the extra yolk) are at room temperature before adding them to the dough. Room temperature eggs emulsify more easily with other ingredients, creating a smoother, more uniform dough, which translates to a better overall texture in your finished bread. The extra egg yolk is not merely for color; it adds richness and aids in achieving that beautiful golden-brown crust.
- Prep Your Work Surface: To prevent the dough from adhering to your countertop during braiding, lay a piece of parchment paper down onto your work surface. This creates a non-stick area and allows for effortless transfer of the braided loaf to the baking sheet.
- Patience with Proofing: Gluten-free dough can sometimes take longer to rise than traditional dough. Be patient and allow the dough to rise properly, in a warm, draft-free spot. It’s well worth the wait! After the first rise, the dough should have visibly doubled in size. The second rise will show a noticeably puffed-up loaf, ready for the oven.
- The Golden Egg Wash: For that signature shiny, golden-brown challah crust, always brush your risen loaf with an egg wash before baking. It’s a simple step that makes a dramatic difference in appearance and subtle texture.
- Creative Customization: Feel free to personalize your challah! You can knead in dried fruits like raisins or cranberries, chopped nuts, gluten-free chocolate chips, or warm spices such as cinnamon or cardamom into the dough. For toppings, experiment with sunflower seeds, pumpkin seeds, or a sprinkle of coarse sugar for extra sparkle and crunch.
- Always Double-Check Labels: If you are baking for someone with severe allergies or specific dietary restrictions (like celiac disease or kosher), diligently verify that all your ingredients are certified gluten-free, dairy-free, and kosher-friendly.
Can I Make This Gluten-Free Challah Recipe Without Eggs?
Replacing the eggs in this challah recipe presents a significant challenge because challah is an “enriched” dough, heavily reliant on eggs for its unique structure, moisture, and richness. The eggs act as a crucial binding agent and leavening aid, contributing to the bread’s tender crumb and ability to hold its braided shape. While you could attempt substitutions like flax eggs (1 tablespoon flaxseed meal + 3 tablespoons water per egg) or commercial egg replacers, it’s important to set expectations that the resulting texture and structure may differ significantly from the original recipe. The bread might be denser, less moist, or not rise as effectively. For the authentic challah experience, eggs are highly recommended.
Exploring Different Braiding Styles for Your Gluten-Free Challah
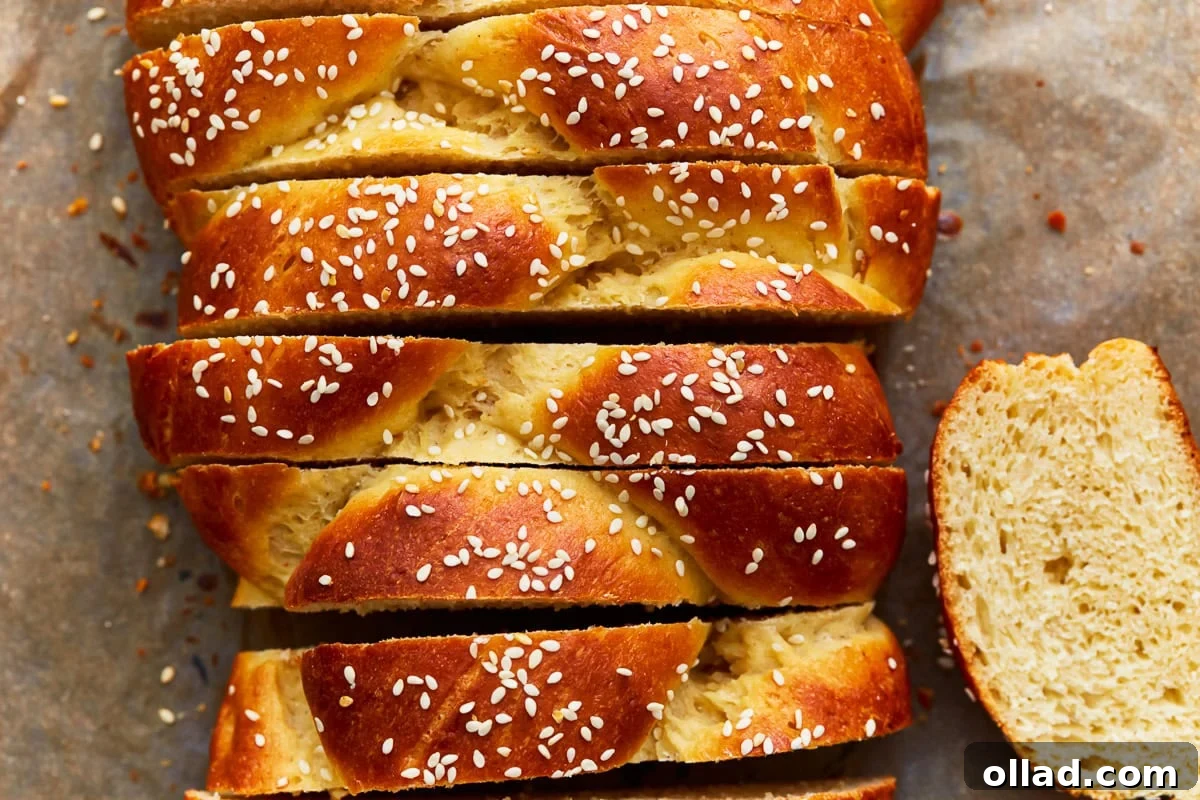
Absolutely! The beauty of challah lies not only in its taste but also in its iconic braided appearance. While I opted for a straightforward 3-strand braid for simplicity in this recipe, feel free to unleash your creativity with more intricate designs. You can experiment with 4, 5, or even 6-strand braids to create a truly stunning loaf. For holidays like Rosh Hashanah, shaping the dough into a round challah (symbolizing the circle of life and a sweet new year) is a popular and meaningful choice. Keep in mind that more complex braiding methods might slightly alter the baking time, so always monitor your loaf closely towards the end of baking. There are many online tutorials available that can guide you through various braiding techniques, allowing you to personalize your challah further.
Delightful Serving Suggestions for Your Gluten-Free Challah
Your freshly baked gluten-free challah is incredibly versatile and can be enjoyed in countless ways, from simple pleasures to elaborate dishes. Its slightly sweet profile makes it suitable for both sweet and savory pairings. I particularly love slicing a warm piece and drizzling it with a generous amount of honey, allowing its natural sweetness to shine. Here are a few more delicious ideas to inspire you:
- Savory Spreads: Pair slices with savory dips and spreads like creamy hummus, a rich olive tapenade, or a vibrant pesto for a delightful appetizer or snack.
- Kosher-Friendly Main Course Companion: Since this recipe is dairy-free, it’s an ideal bread to serve alongside hearty meat dishes, making it perfectly suitable for anyone adhering to a kosher diet. It’s excellent with a slow-cooker pot roast or a roasted chicken.
- Gourmet Avocado Toast: Slice and toast the challah, then top with mashed avocado, a sprinkle of red pepper flakes, and everything bagel seasoning for an elevated breakfast or brunch.
- Decadent French Toast: Its rich, eggy texture makes challah an unparalleled choice for gluten-free French toast. Soak thick slices in a cinnamon-spiced egg batter and pan-fry until golden for an indulgent morning meal.
- Comforting Bread Pudding: Transform leftover challah into a comforting gluten-free bread pudding. The challah’s rich crumb absorbs custards beautifully, creating a luscious dessert.
- Classic Toppings: Enjoy it simply toasted with your favorite jam, a dollop of peanut butter, or a decadent gluten-free chocolate nut spread for a quick and satisfying snack.
Storage and Freezing Instructions
To preserve the delicious freshness of your homemade gluten-free challah, store it in an airtight container at room temperature for up to 2 days. After this period, it may begin to dry out and lose its optimal texture. For longer storage, freezing is an excellent option. To freeze, ensure the loaf is completely cooled, then wrap it tightly in plastic wrap, followed by a layer of aluminum foil or a freezer-safe bag. It can be stored in the freezer for up to 3 months. When you’re ready to enjoy it again, simply thaw the challah at room temperature. You can gently reheat it in the oven for a few minutes to restore some of its fresh-baked warmth and softness.
More Delicious Gluten-Free Bread Recipes to Explore!
If you’ve enjoyed baking this gluten-free challah, you’ll be delighted to discover other fantastic gluten-free bread recipes that are equally satisfying and easy to make. Expand your baking repertoire with these wonderful options:
- Homemade Gluten-Free Bread
- Gluten-Free Bread Machine Bread
- Gluten-Free Sweet Cornbread
- Gluten-Free Sourdough Bread
- Gluten-Free Dinner Rolls
Gluten-Free Challah Bread Recipe
By: Sabine Venier
Servings: 1 loaf
Prep: 20 minutes | Cook: 35 minutes | Rise and Chill Time: 2 hours 45 minutes | Total: 3 hours 40 minutes
This easy gluten-free challah bread recipe is soft, easy to braid, and has a perfectly golden, slightly sweet crust. It’s also dairy-free!
Ingredients
Main Dough
- 2 ½ cups gluten-free all-purpose flour with xanthan gum (use a blend suitable for yeast baking)
- ½ cup tapioca starch
- 3 tablespoons sugar
- 2 teaspoons instant yeast
- 2 teaspoons kosher salt
- 2 large eggs, at room temperature
- 1 large egg yolk, at room temperature
- 1 cup water, lukewarm
- ¼ cup vegetable oil
- 2 tablespoons honey
- 1-2 tablespoons sesame or poppy seeds, optional
Egg Wash
- 1 large egg
- 1 tablespoon water
Instructions
- In a large mixing bowl, whisk together the gluten-free all-purpose flour, tapioca starch, sugar, instant yeast, and kosher salt.
- Add the eggs, egg yolk, warm water, vegetable oil, and honey. Mix using a stand mixer with a paddle attachment on medium speed until a sticky dough forms, about 5 minutes.
- Cover the bowl and let rise for about 45 minutes or until doubled in size. Then, transfer the bowl to the fridge and chill the dough for 30 minutes.
- Lightly oil your hands. Divide the chilled dough into 3 equal portions. Roll each portion into a long strand, approximately 12-14 inches in length.
- Lay the three strands side by side on a parchment-lined baking sheet. Pinch the ends of the strands together firmly at one end to secure them.
- Carefully braid the strands, then tuck the other end of the braid underneath the loaf to secure its shape.
- Loosely cover the braided dough with plastic wrap or a damp cloth and allow it to rise in a warm place for 1 to 1 ½ hours, or until it has visibly puffed up and increased in size.
- While the dough is completing its second rise, preheat your oven to 350°F (175°C).
- In a small bowl, whisk together the egg and water for the egg wash until well combined. Gently brush the top and sides of the risen dough with the egg wash. If desired, sprinkle the sesame or poppy seeds evenly over the top of the loaf.
- Bake in the preheated oven for 20-25 minutes, or until the challah is a beautiful golden brown and sounds hollow when tapped on the bottom.
- Allow the baked challah to cool completely on a wire rack before slicing and serving. Enjoy your homemade gluten-free challah!
Notes
- Add 1 teaspoon of xanthan gum to the dry ingredients if your gluten-free flour blend does not already contain it.
- Always use the “spoon & level” method to measure your gluten-free flour for the most accurate results.
- To Store: Keep your gluten-free challah in an airtight container at room temperature for up to 2 days to maintain its freshness.
- To Freeze: For longer storage, wrap the entire loaf or individual slices tightly in plastic wrap, then place them in a freezer-safe bag or another layer of foil. Freeze for up to 3 months. Thaw at room temperature before serving.
- Mama always says, “Make sure you check all your labels!” to ensure all ingredients meet your dietary needs.
- The nutritional information provided below includes 2 tablespoons of sesame seeds (optional).
Nutrition
Serving: 1 loaf
Calories: 2386 kcal
Carbohydrates: 356 g
Protein: 65 g
Fat: 93 g
Saturated Fat: 16 g
Polyunsaturated Fat: 40 g
Monounsaturated Fat: 26 g
Trans Fat: 0.4 g
Cholesterol: 742 mg
Sodium: 4901 mg
Potassium: 565 mg
Fiber: 39 g
Sugar: 81 g
Vitamin A: 1057 IU
Vitamin C: 0.3 mg
Calcium: 482 mg
Iron: 18 mg
Nutrition information is automatically calculated, so should only be used as an approximation.
Additional Info
Course: Baking, Side Dish
Cuisine: Jewish
How to Make Gluten-Free Challah Bread: A Step-by-Step Visual Guide
Follow these detailed steps, accompanied by images, to confidently bake your perfect gluten-free challah from scratch. Each stage is crucial for achieving that soft, braided masterpiece.
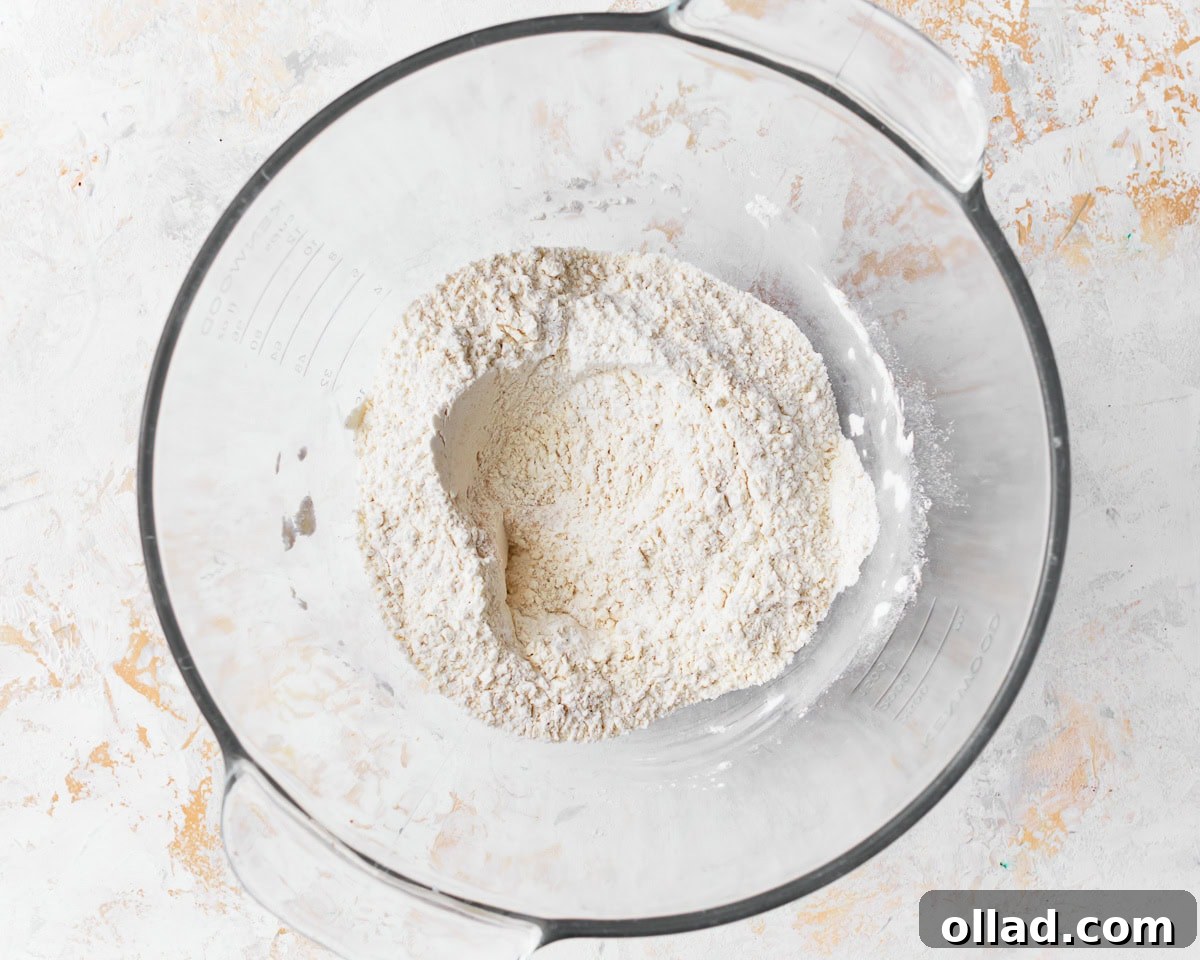
Step 1: Combine Dry Ingredients. In a spacious mixing bowl, meticulously whisk together 2 ½ cups of gluten-free all-purpose flour (ensure it contains xanthan gum or add 1 tsp separately), ½ cup of tapioca starch, 3 tablespoons of sugar, 2 teaspoons of instant yeast, and 2 teaspoons of kosher salt. Whisking ensures all dry ingredients are thoroughly combined and evenly distributed.
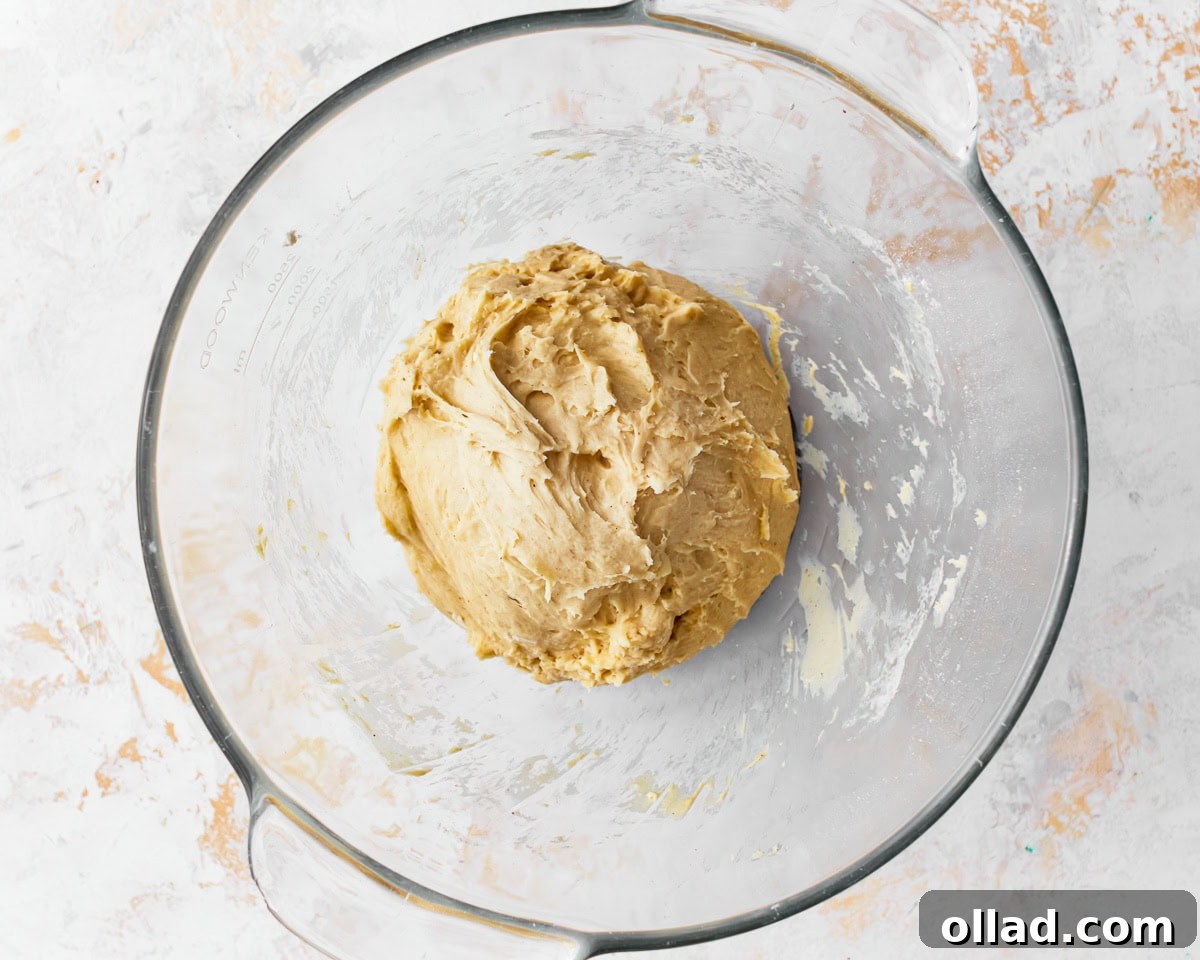
Step 2: Mix Wet Ingredients into Dry. Add 2 large eggs, 1 large egg yolk (all at room temperature), 1 cup of warm water, ¼ cup of vegetable oil, and 2 tablespoons of honey to the dry mixture. Using a stand mixer fitted with a paddle attachment, mix on medium speed for approximately 5 minutes until a cohesive, sticky dough forms. The dough will be softer and stickier than traditional wheat dough, which is perfectly normal for gluten-free bread.
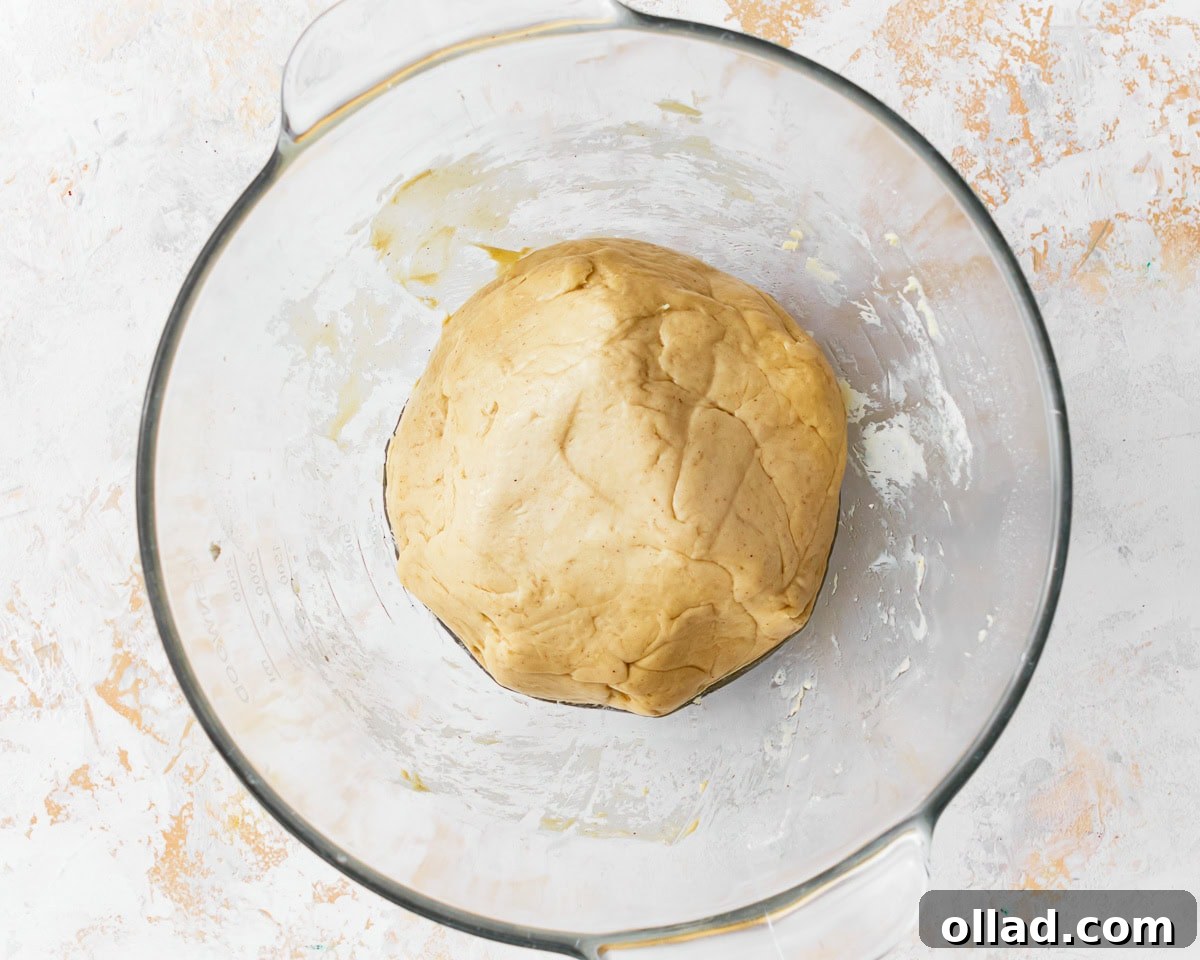
Step 3: First Rise and Chill. Cover the bowl with plastic wrap or a clean kitchen towel and allow the dough to rise in a warm, draft-free place for about 45 minutes, or until it has visibly doubled in size. This first rise develops critical flavor and texture. After the rise, transfer the bowl to the refrigerator and chill the dough for 30 minutes. Chilling is essential as it firms up the sticky gluten-free dough, making it much easier to handle and braid in the next steps.
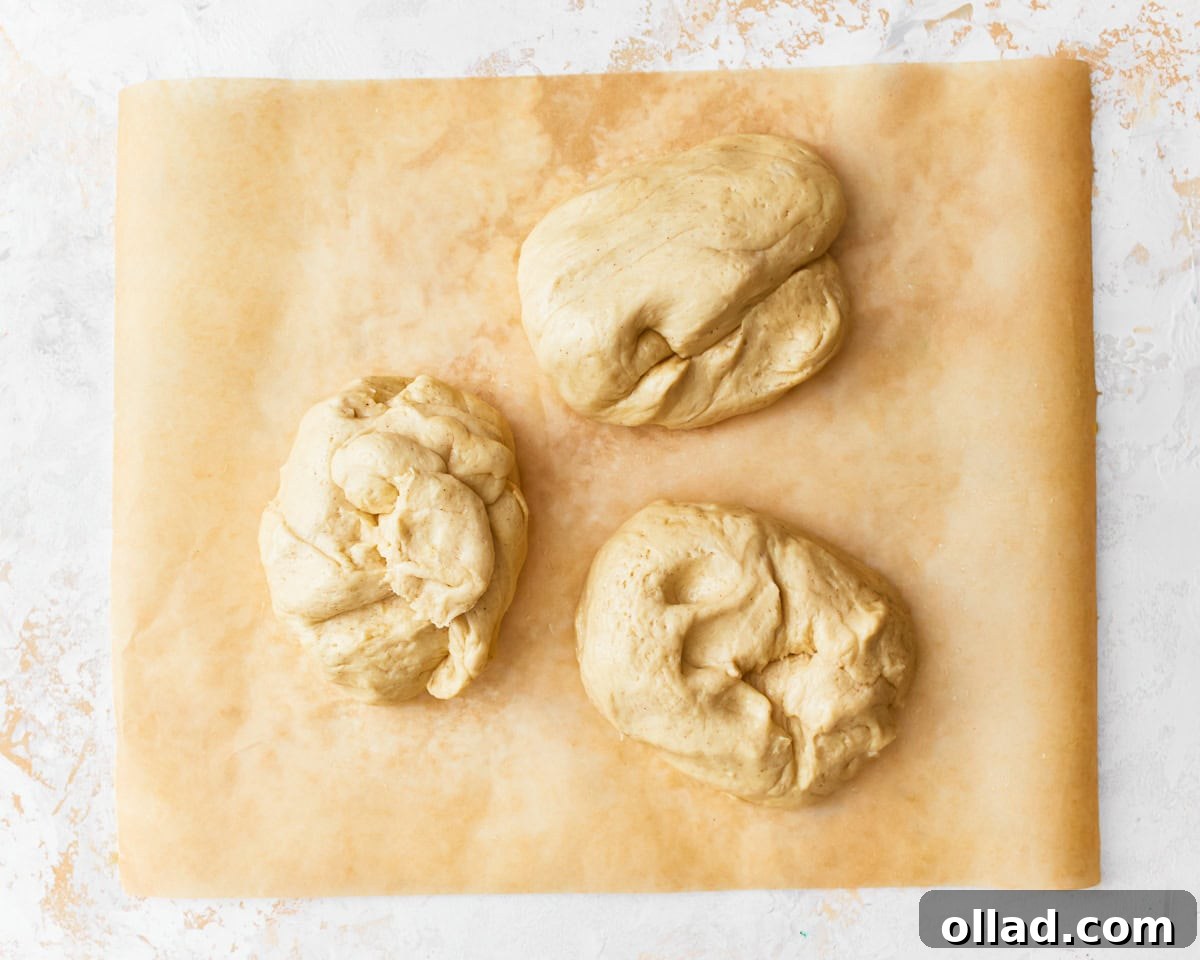
Step 4: Divide and Roll the Dough. Lightly oil your hands to prevent sticking. Turn the chilled dough out onto a parchment-lined work surface. Divide the dough into 3 equal portions. This uniform division ensures your braids will be consistent in size.
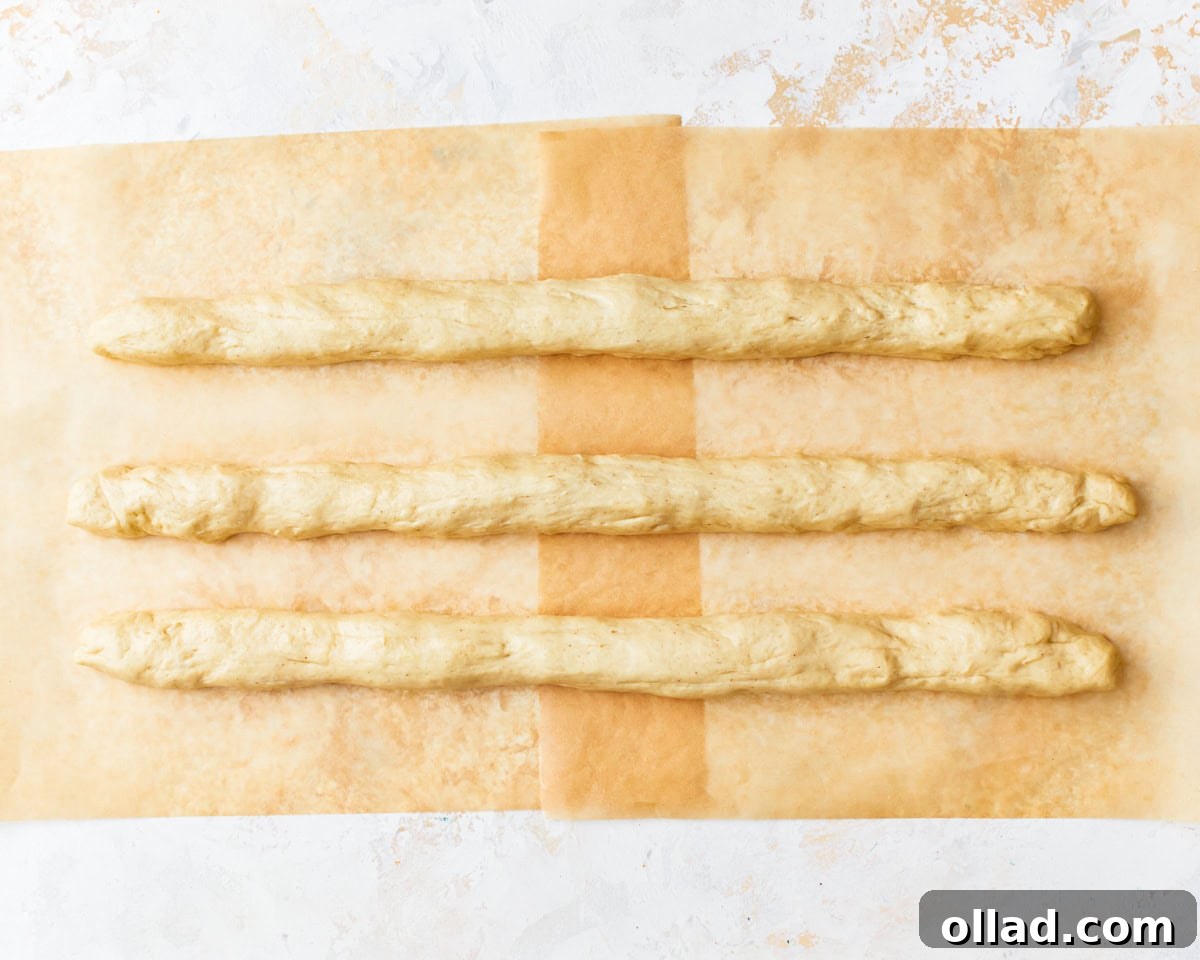
Step 5: Form the Strands. Roll each of the three dough portions into a long, even strand, approximately 12-14 inches in length. Aim for consistency in thickness along the entire length of each strand for an aesthetically pleasing braid.
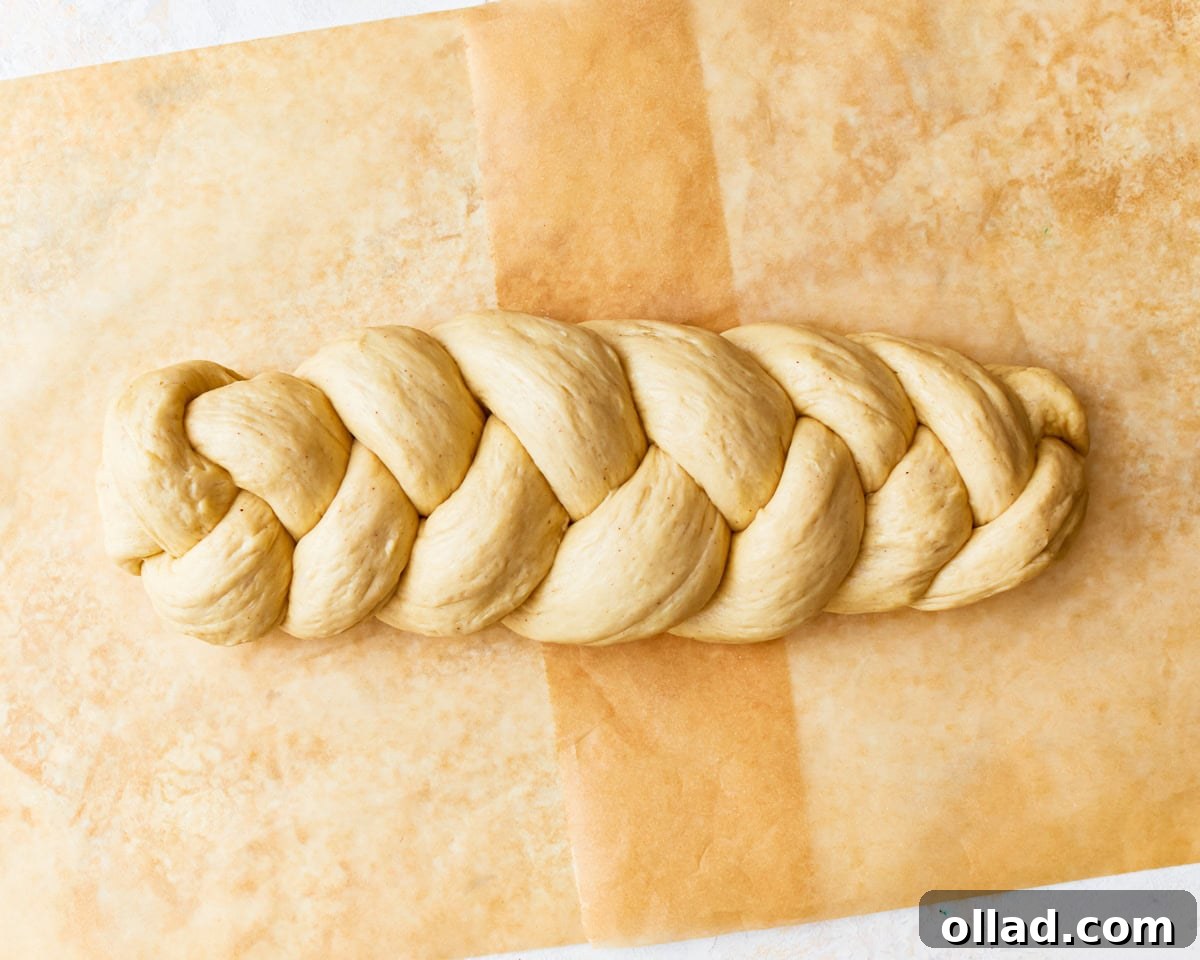
Step 6: Begin Braiding. Lay the three dough strands side by side on your parchment-lined baking sheet. Firmly pinch the ends together at one end of the strands to create a secure starting point for your braid. This holds the strands in place as you work.
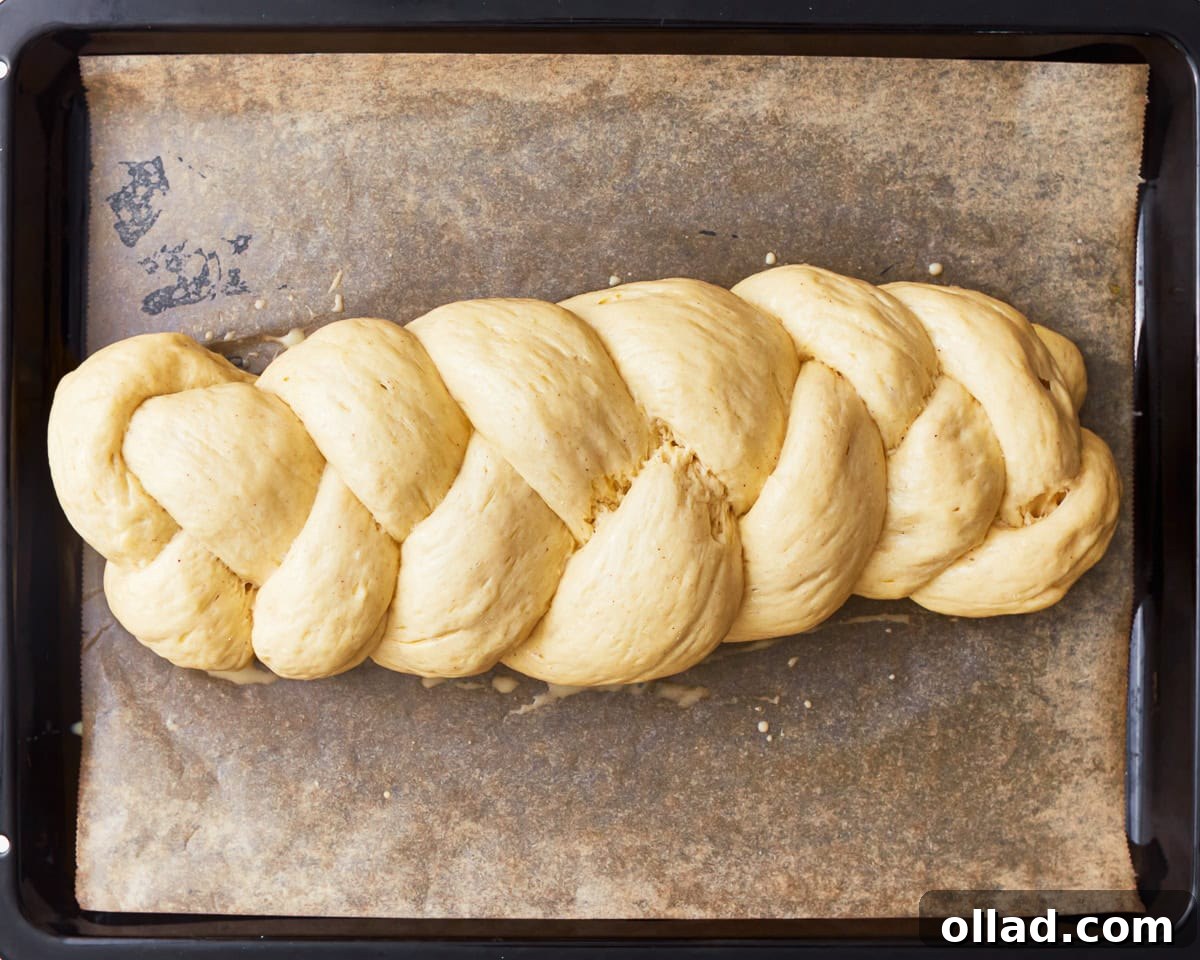
Step 7: Complete the Braid and Second Rise. Carefully braid the three strands together. Once you reach the end, pinch the remaining ends together and tuck them neatly underneath the loaf to secure the braid. Cover the braided dough loosely with plastic wrap or a damp cloth and let it rise in a warm spot for another 1 to 1 ½ hours, or until it has visibly puffed up and looks airy. This second rise ensures a light texture in your final bread.
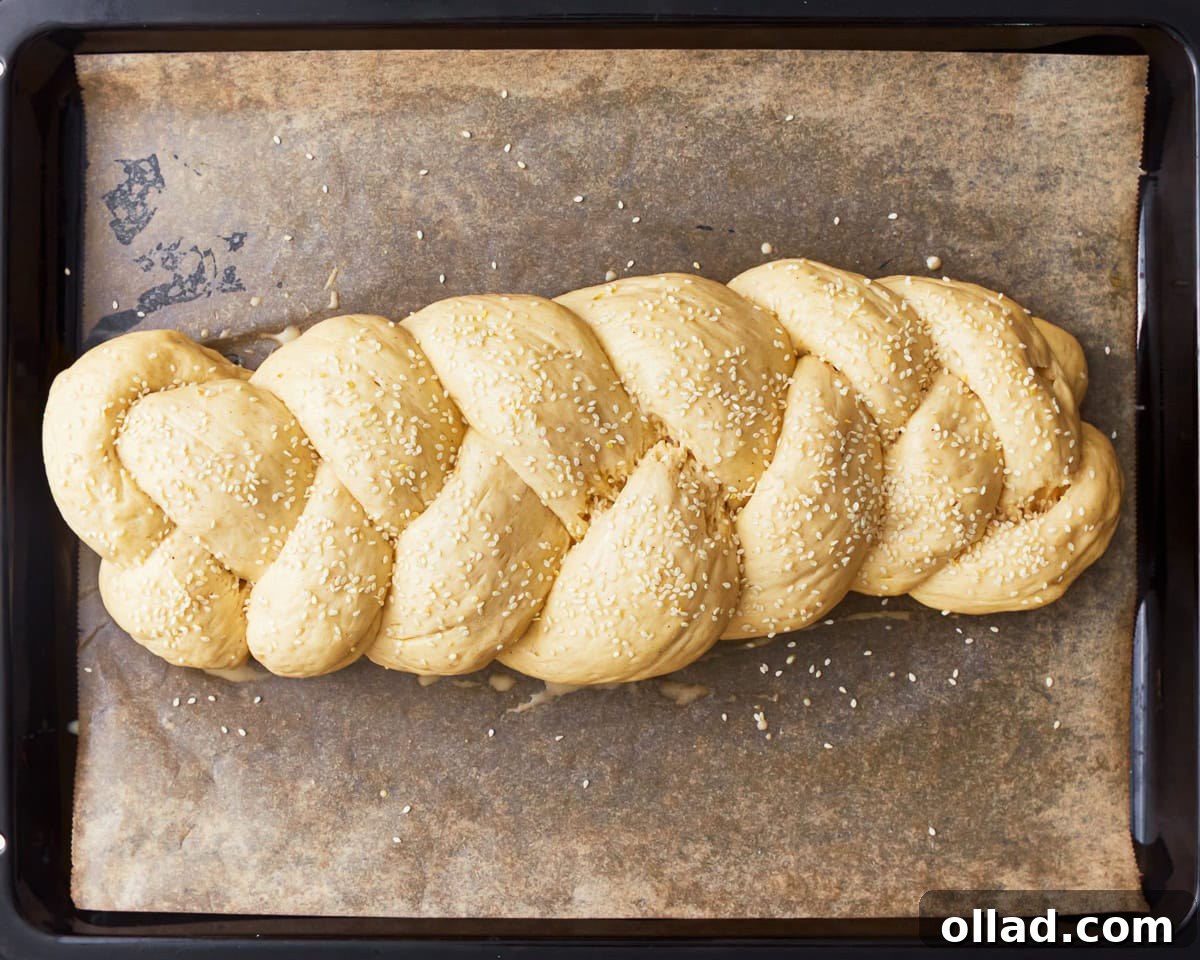
Step 8: Prepare for Baking. While the dough is on its second rise, preheat your oven to 350°F (175°C). In a small bowl, whisk together 1 large egg and 1 tablespoon of water to create the egg wash. Once the dough has finished rising, gently brush the entire top surface of the puffed-up loaf with the egg wash. If desired, sprinkle 1-2 tablespoons of sesame or poppy seeds evenly over the top for added flavor and visual appeal.
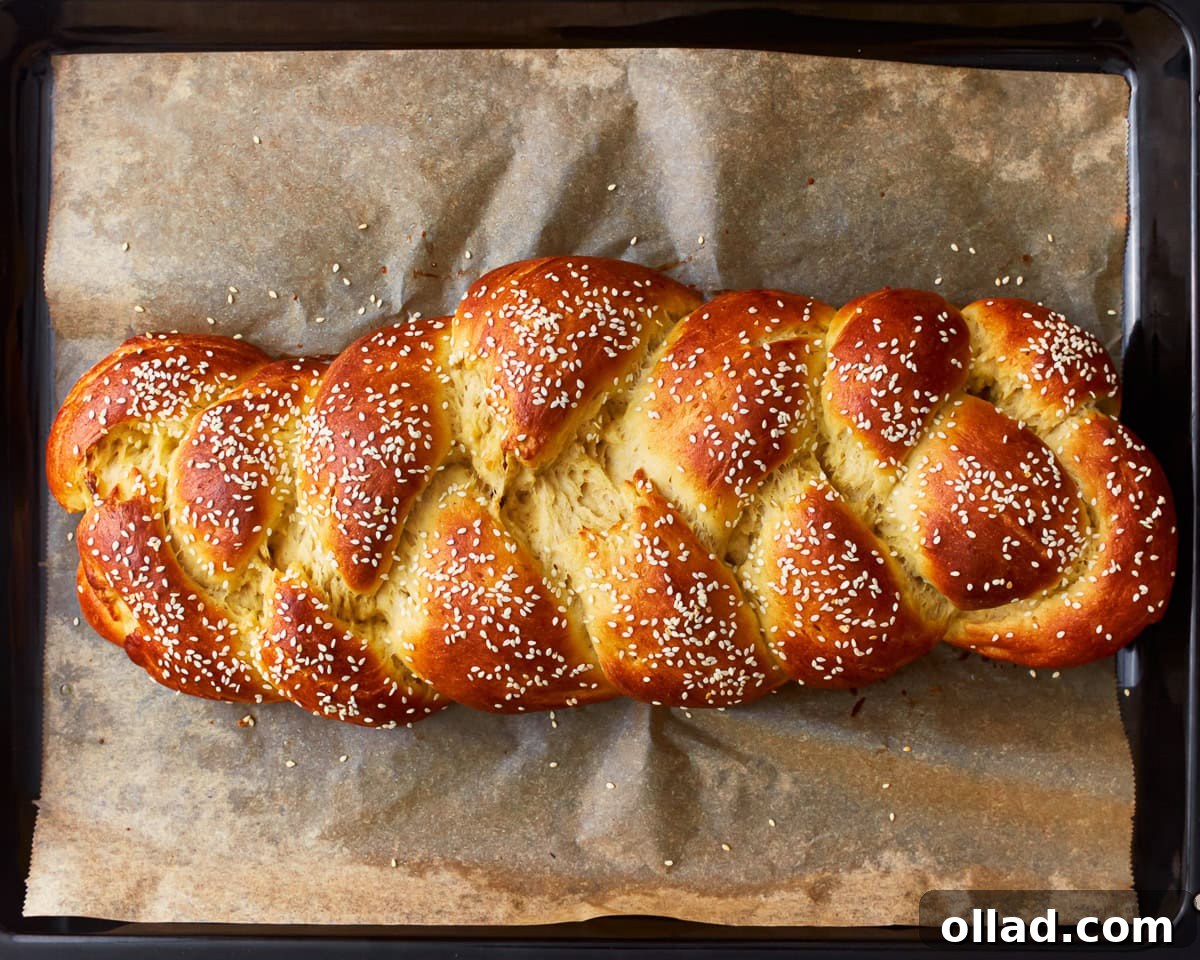
Step 9: Bake and Cool. Bake the challah in the preheated oven for 20-25 minutes, or until the bread achieves a beautiful golden-brown color and sounds hollow when gently tapped on the bottom. Once baked, transfer the challah to a wire rack and allow it to cool completely before slicing and serving. Cooling ensures the internal structure sets properly. Enjoy your wonderfully soft and delicious homemade gluten-free challah!