
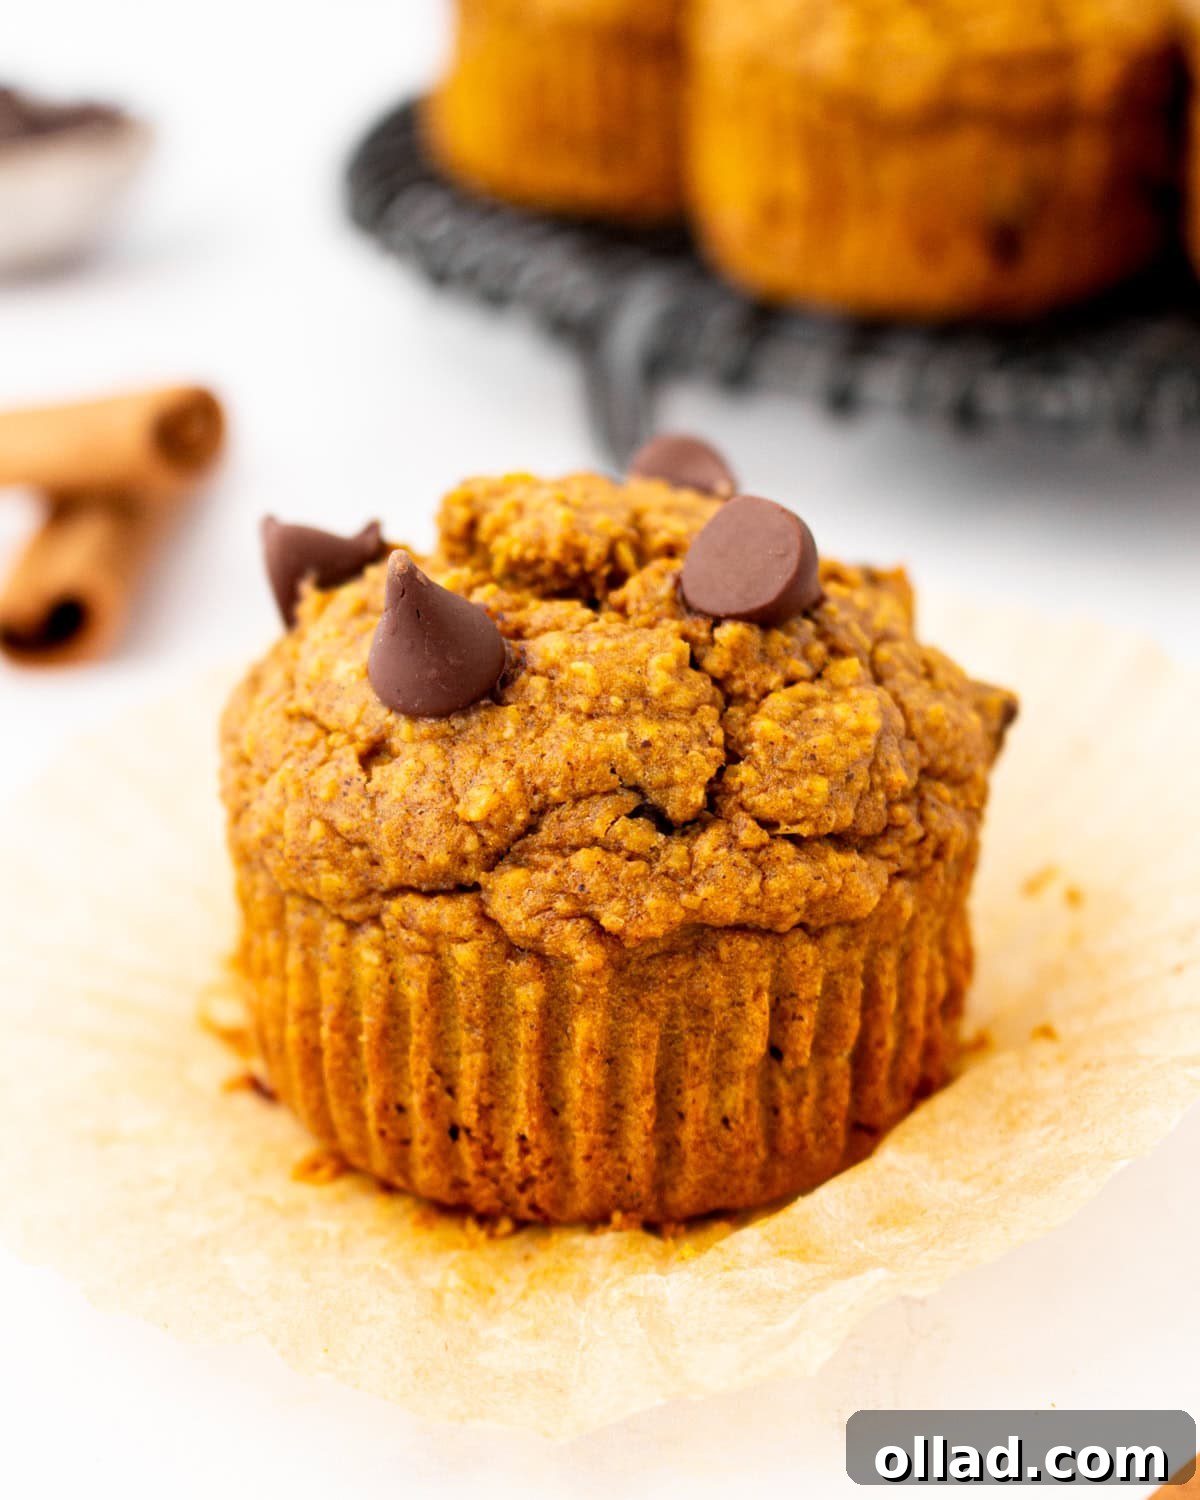
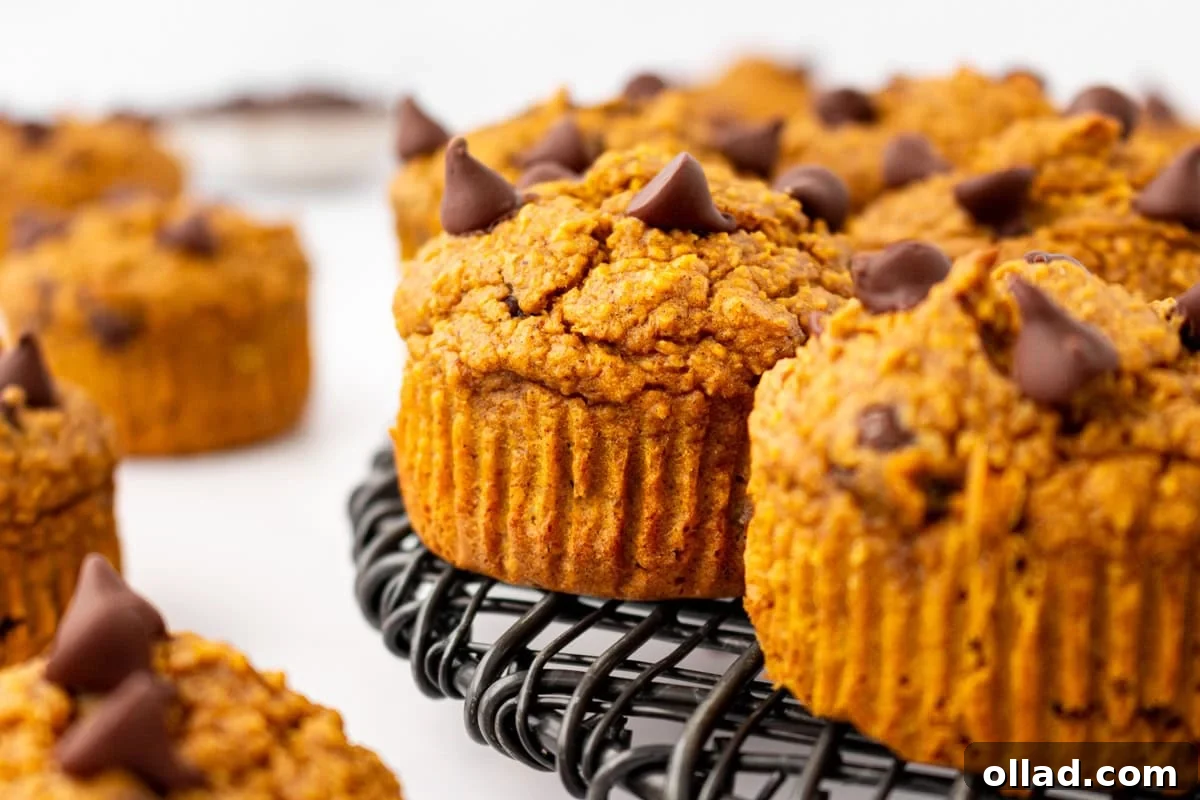
When the crisp air of autumn arrives, there’s an undeniable call for all things pumpkin. Among my most cherished fall rituals is baking, and these extraordinary Flourless Pumpkin Muffins stand out as a beloved, healthy treat. They embody everything comforting about the season: a luxuriously soft texture, an inviting warmth, and an abundant infusion of pumpkin spice flavor, all achieved without a single speck of traditional flour. Their natural sweetness and incredible moisture come from wholesome pumpkin puree, giving them a delightful character that perfectly bridges the gap between a classic muffin and a rich pumpkin bread.
What makes these muffins even more appealing is their sheer simplicity. Crafted effortlessly in a blender, this is a quick 30-minute mix-and-bake recipe designed to streamline your mornings and fill them with delicious goodness. Whether you’re looking for a wholesome breakfast on a busy weekday, a satisfying afternoon snack, or a delightful addition to your brunch spread, these flourless wonders are guaranteed to please. They are not just gluten-free by nature but also packed with nourishing ingredients, making them a smart choice for anyone seeking a healthier indulgence.
The Beauty of Flourless Baking: A Gluten-Free Delight
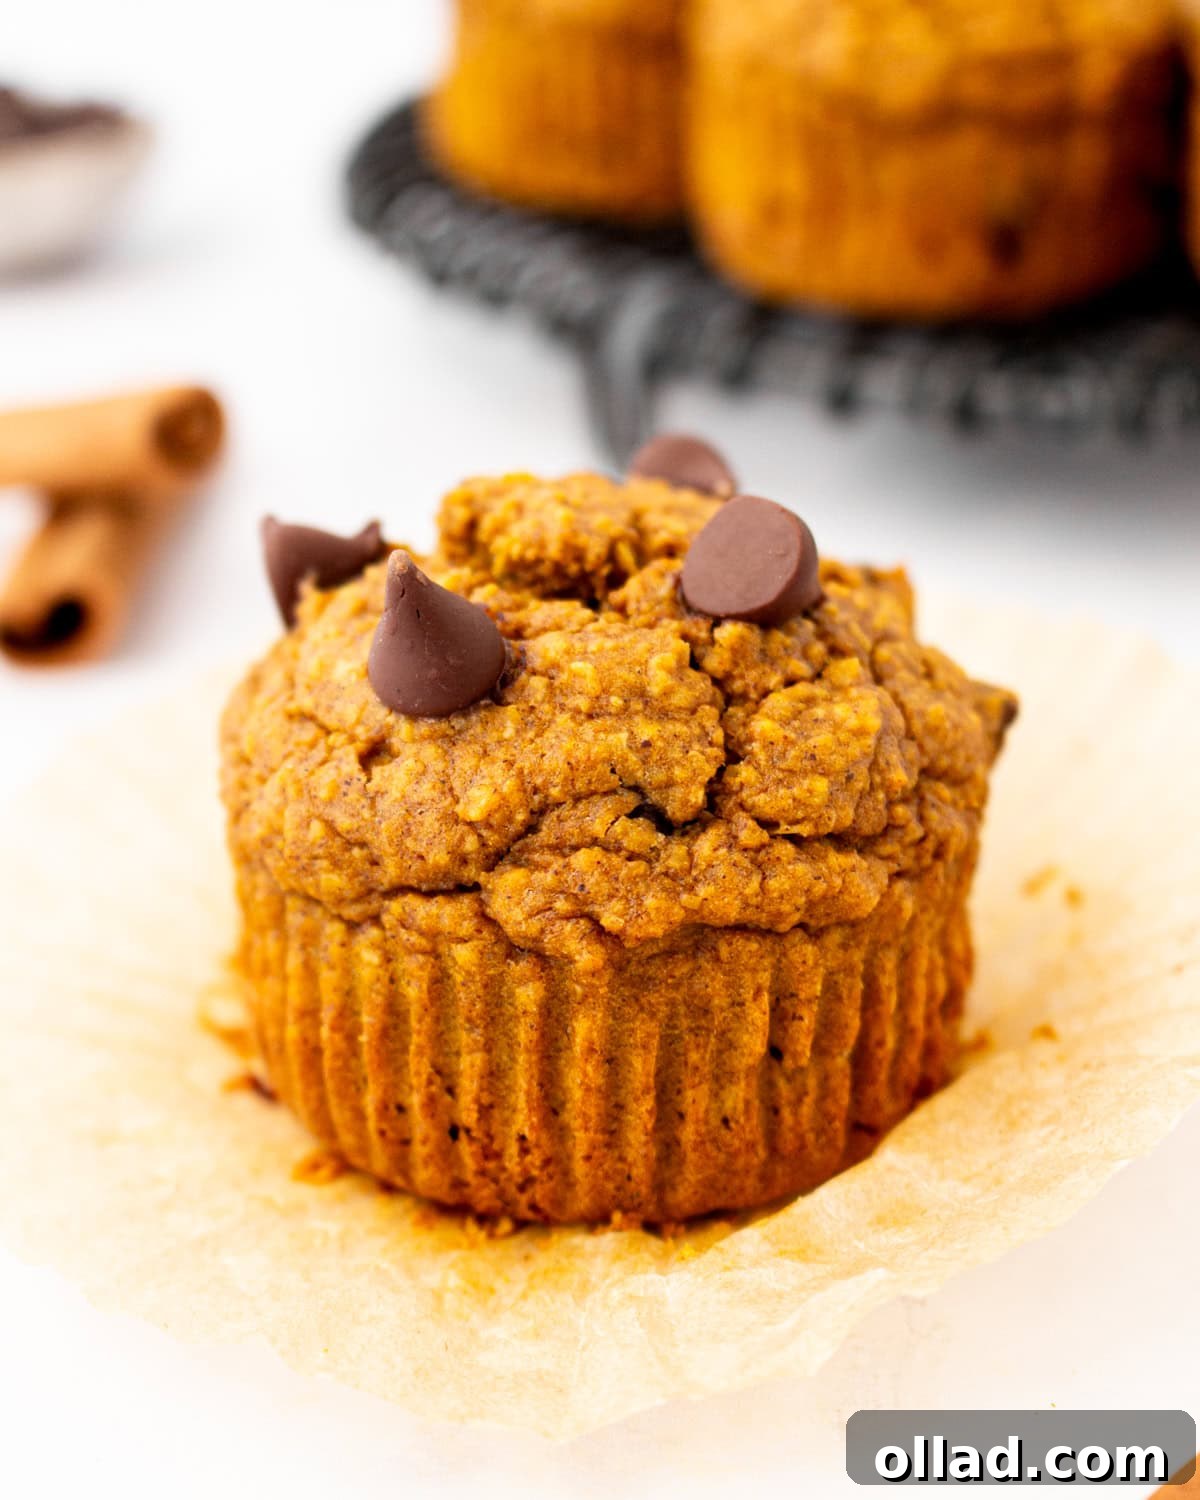
My passion for pumpkin knows no bounds, and that certainly extends to delightful gluten-free pumpkin muffins. While pumpkin season traditionally ushers in fall, there’s truly no wrong time to enjoy the comforting flavors of this versatile squash. However, there’s a unique joy in baking a fresh batch of these flourless pumpkin muffins when the leaves begin to change and a crispness fills the air, ready to be shared with cherished friends and family. I decided to venture into a completely flourless version, and the results exceeded all expectations. The ease and deliciousness of these muffins are simply unparalleled.
These aren’t just any muffins; they are a thoughtfully crafted blend of warm, aromatic spices, wholesome oats that provide a hearty texture, and a beneficial boost of protein. This combination makes them an incredibly simple yet satisfying bake. I often prepare a batch to keep in the freezer, ensuring a convenient and healthy breakfast option for those hectic mornings when time is of the essence. Alternatively, on a leisurely weekend, there’s nothing quite like savoring one with a steaming cup of coffee, enjoying the moment of quiet indulgence. Feel free to customize them with your favorite additions – a sprinkle of crunchy nuts, decadent chocolate chips (as I love to do!), or anything else your heart desires. Don’t forget to share your unique variations in the comments below; I always enjoy hearing how you make these recipes your own!
Essential Tips for Perfect Flourless Muffins
Baking flourless muffins, especially with oats, has a few unique considerations to ensure they turn out perfectly moist, fluffy, and full of flavor. These expert tips will guide you to muffin success every time:
- Ensure Light & Airy Texture: The secret to avoiding dense, heavy muffins lies in your leavening agents. Always check the freshness of your baking powder and baking soda. Expired leaveners will fail to provide the necessary lift, resulting in flat muffins. Additionally, when blending the batter, process the oats just until combined and smooth. Over-processing the oats can break them down too much, leading to a gummy or overly dense texture. A perfectly blended batter will contribute to that coveted fluffy interior.
- Prevent Sinking Centers: For muffins that rise beautifully and hold their shape, proper mixing and oven preparation are key. Blend your wet ingredients until completely smooth, then incorporate the dry ingredients, blending just enough to combine. Excessive blending after adding the oats can overdevelop their gluten-like properties, making the batter heavy and prone to sinking during baking. Crucially, always ensure your oven is fully preheated to the specified temperature before placing the muffins inside. A hot oven helps activate the leaveners quickly, promoting an excellent rise and preventing collapse.
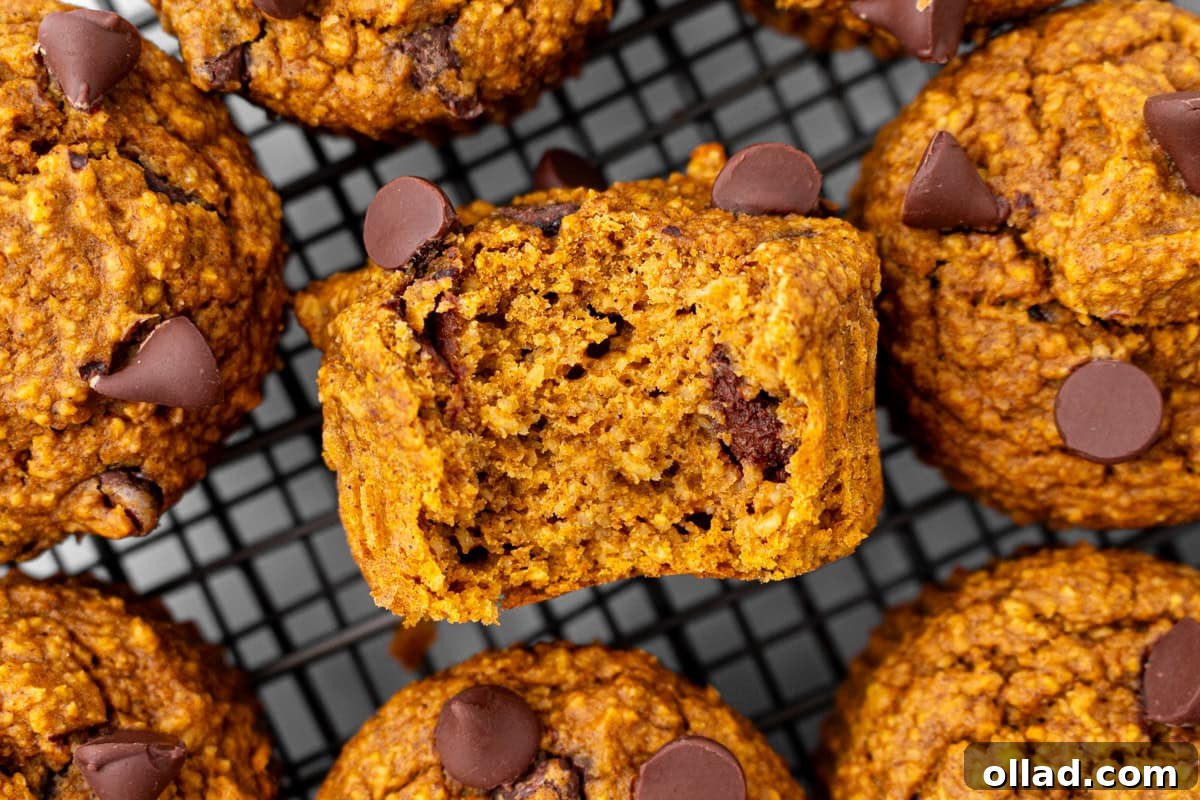
- Master the Baking Time: Overbaking is the enemy of moist muffins. Begin checking for doneness around the 18-minute mark. The ideal moment to pull them from the oven is when a toothpick inserted into the center comes out with a few moist crumbs attached, but no wet batter. Remember that muffins continue to cook slightly from residual heat as they cool in the pan, so a little underdone is better than overdone. This technique ensures a tender, moist crumb that melts in your mouth.
- Use Certified Gluten-Free Oats: While oats are naturally gluten-free, they can often be cross-contaminated during processing. If you are baking for someone with Celiac disease or a severe gluten sensitivity, always opt for oats specifically labeled “certified gluten-free” to ensure safety.
- Ingredient Temperature Matters: For the smoothest batter and best consistency, ensure your eggs and milk are at room temperature. This helps them emulsify better with the other ingredients, leading to a more uniform and well-risen muffin.
- Don’t Overfill Muffin Cups: Filling muffin cups about two-thirds to three-quarters full allows the muffins enough space to rise without overflowing, creating that classic domed top.
Flourless Pumpkin Muffins
By: Ashley Barbey
Yields: 12 muffins
Prep Time: 10 mins
Cook Time: 20 mins
Total Time: 30 mins
Enjoy these wholesome and deliciously spiced flourless pumpkin muffins! Perfect for breakfast, snack, or a healthy dessert.
Pin Recipe | Email Recipe | Print Recipe
These soft, cozy, and perfectly spiced flourless pumpkin muffins are a healthy fall treat. Naturally sweet and moist, they are quick to make in a blender and are ideal for simple, delicious mornings. Enjoy them warm with melted chocolate chips for an irresistible experience!
Want to save this recipe?
Just enter your email and get it sent to your inbox! Plus you’ll get new recipes from us every week!
Equipment
- 1 muffin tin
- Muffin liners
- High-powered blender or food processor
- Mixing spoon or spatula
Ingredients
Makes 12 muffins. (To adjust servings, simply scale ingredients accordingly.)
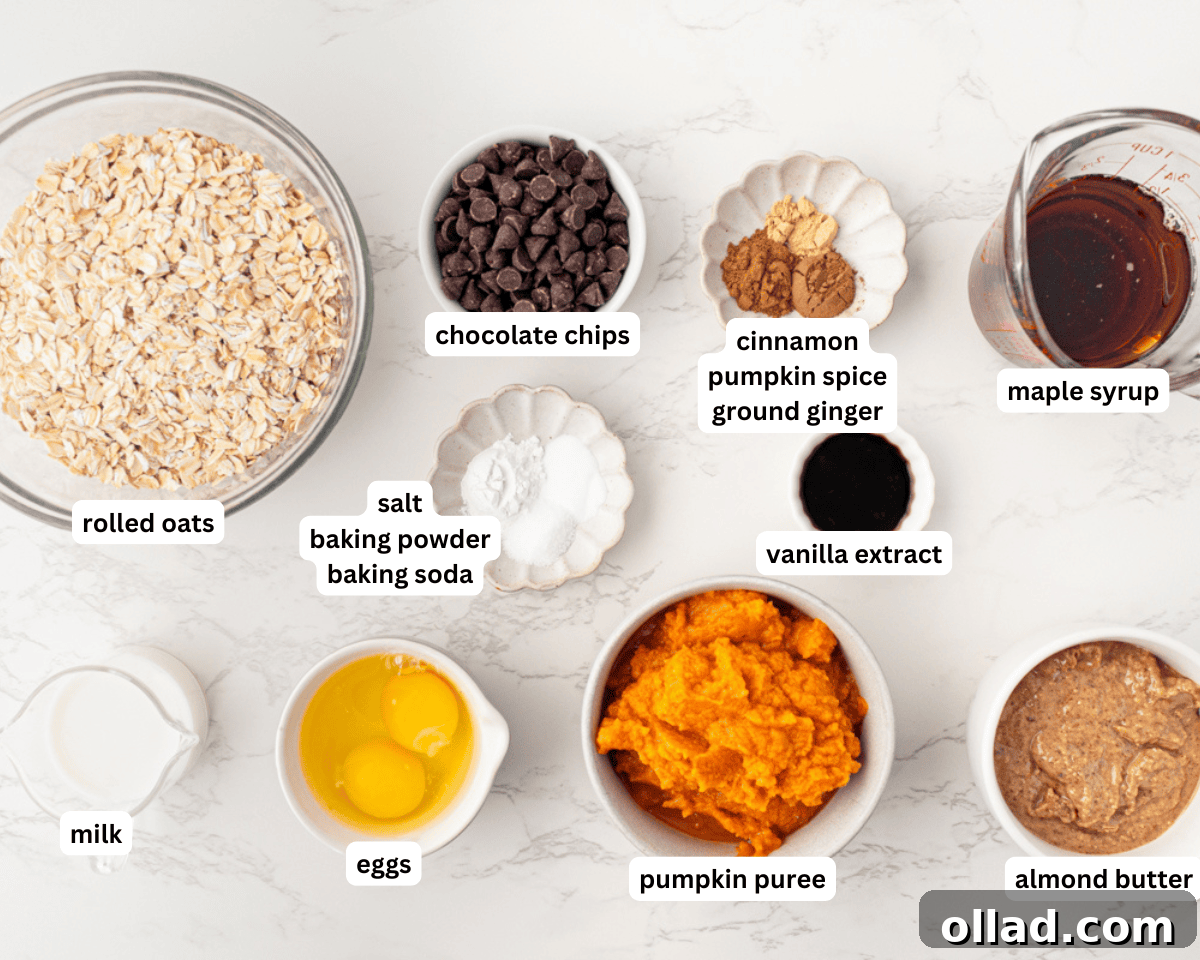
- 1¼ cup pumpkin puree
- ½ cup almond butter
- ¼ cup milk of choice (regular or dairy-free)
- 2 large eggs
- ½ cup maple syrup
- 2 tsp vanilla extract
- 2¼ cups rolled oats (certified gluten-free if needed)
- 1 tsp baking powder
- ¾ tsp cinnamon
- ¾ tsp pumpkin spice
- ¼ tsp ground ginger
- ½ tsp baking soda
- ½ tsp salt
- ⅓ cup chocolate chips + more for topping (use dairy-free like Enjoy Life if desired)
Instructions
- Prepare Oven and Muffin Tin: Preheat your oven to 350°F (177°C). Line a 12-cup muffin pan with paper liners to ensure easy removal and clean-up.
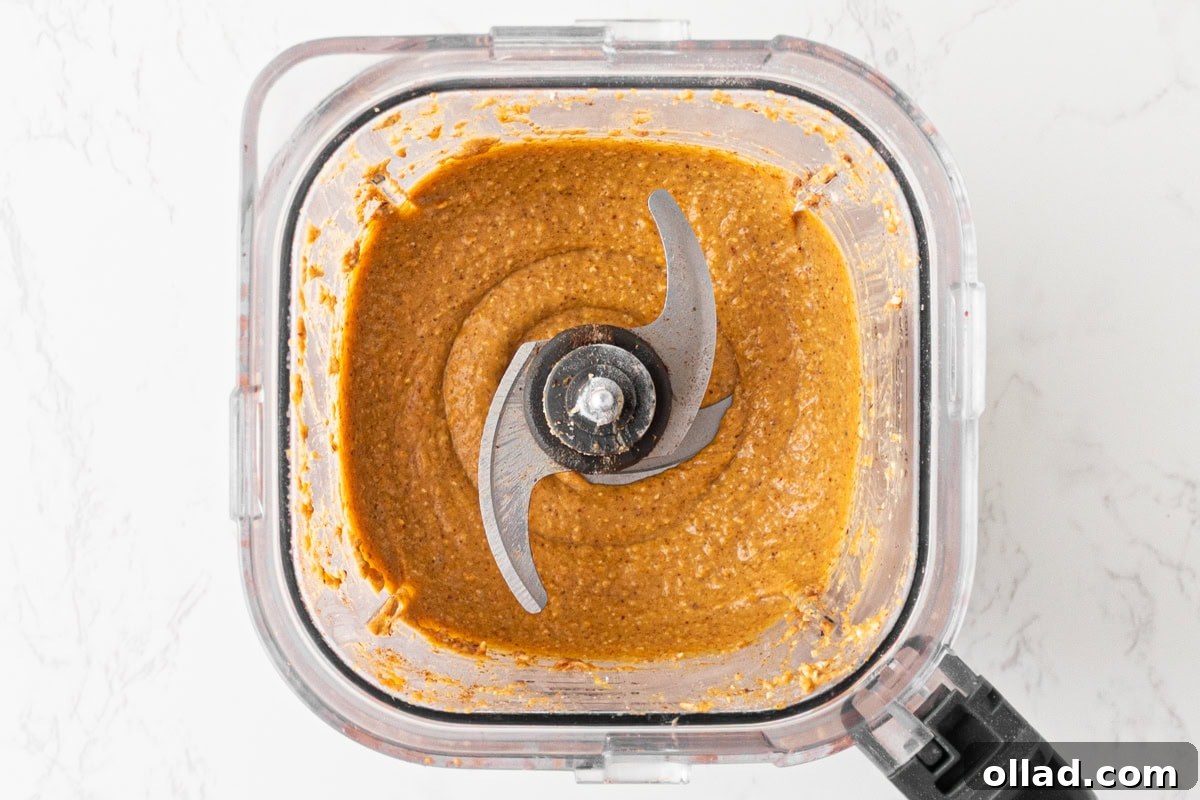
- Blend Wet Ingredients: In a high-powered blender or food processor, combine the pumpkin puree, almond butter, milk of choice, large eggs, maple syrup, and vanilla extract. Blend these ingredients until the mixture is completely smooth and creamy. Scrape down the sides if necessary to ensure everything is well incorporated.
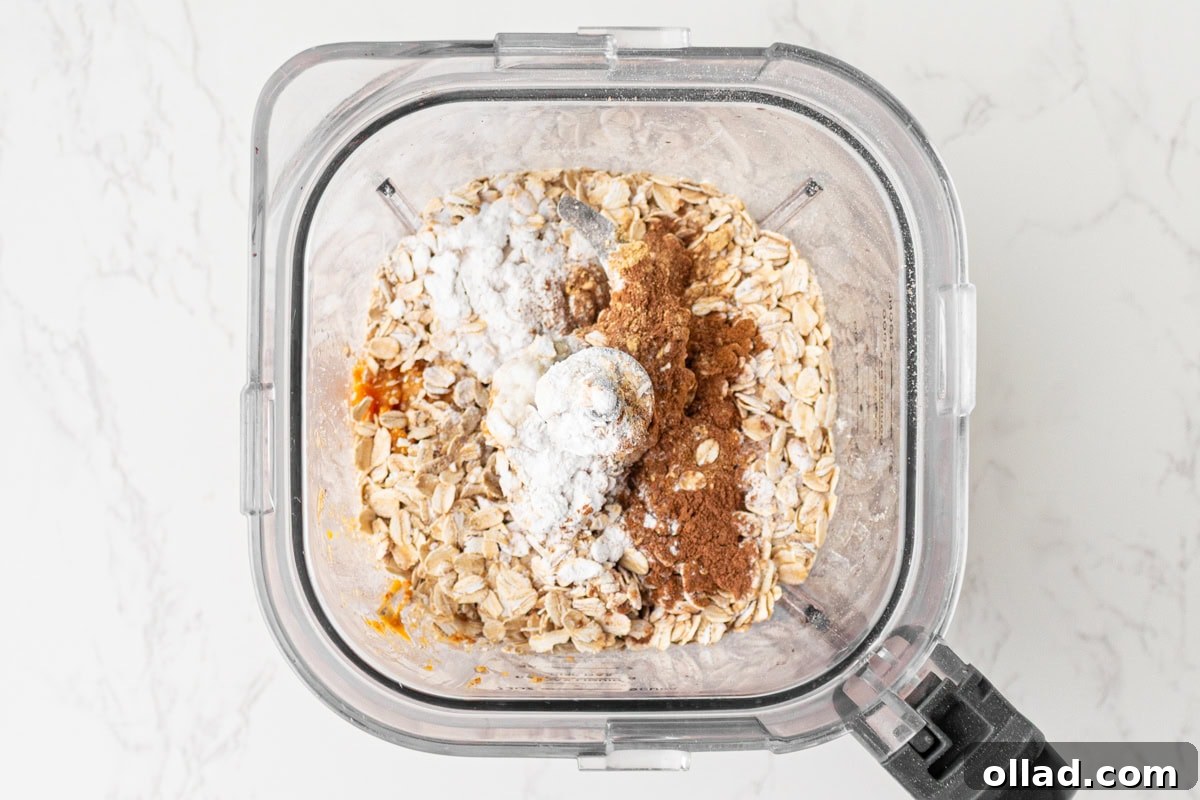
- Add Dry Ingredients & Blend: Carefully add the rolled oats, baking powder, cinnamon, pumpkin spice, ground ginger, baking soda, and salt to the blender. Blend again until the mixture is uniform and smooth. Avoid over-blending at this stage, as it can affect the texture of the finished muffins.
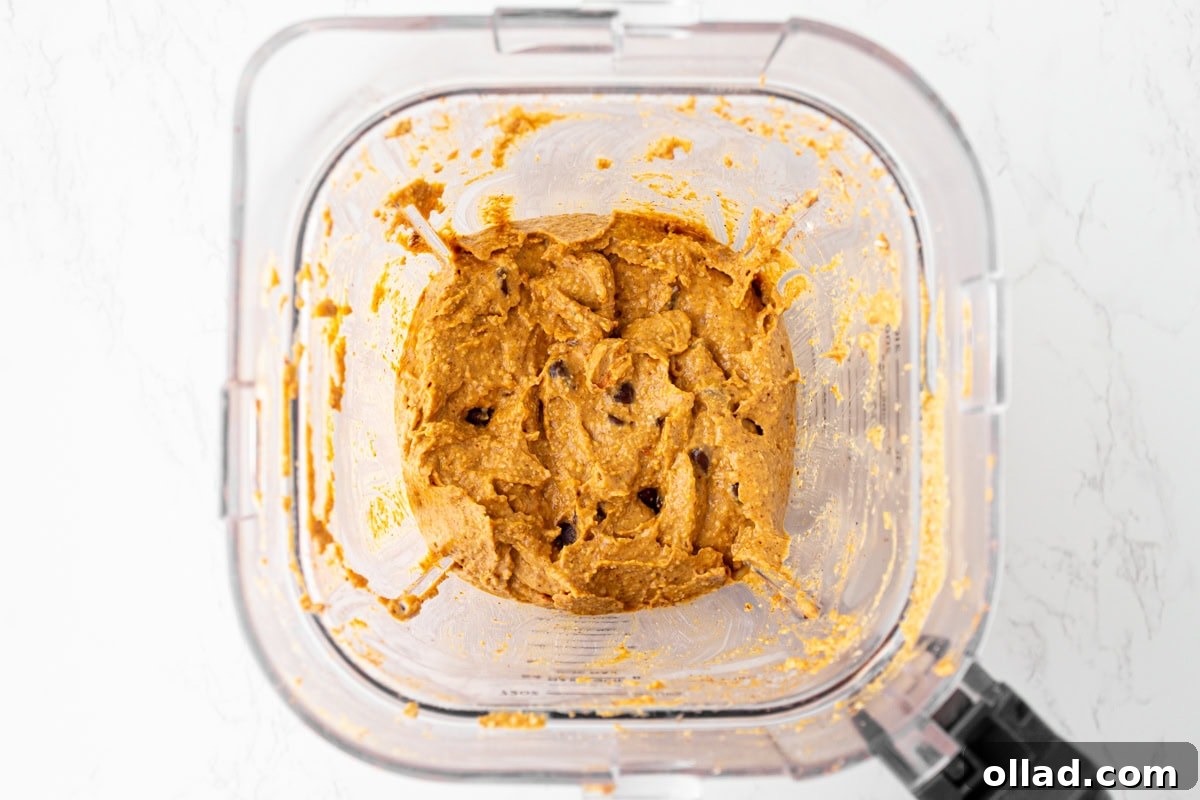
- Fold in Chocolate Chips: Remove the blender jar from its base. Using a spoon or spatula, gently stir in the ⅓ cup of chocolate chips. Distribute them evenly throughout the thick, creamy pumpkin batter. It’s always a good idea to reserve a few extra chocolate chips for sprinkling on top before baking.
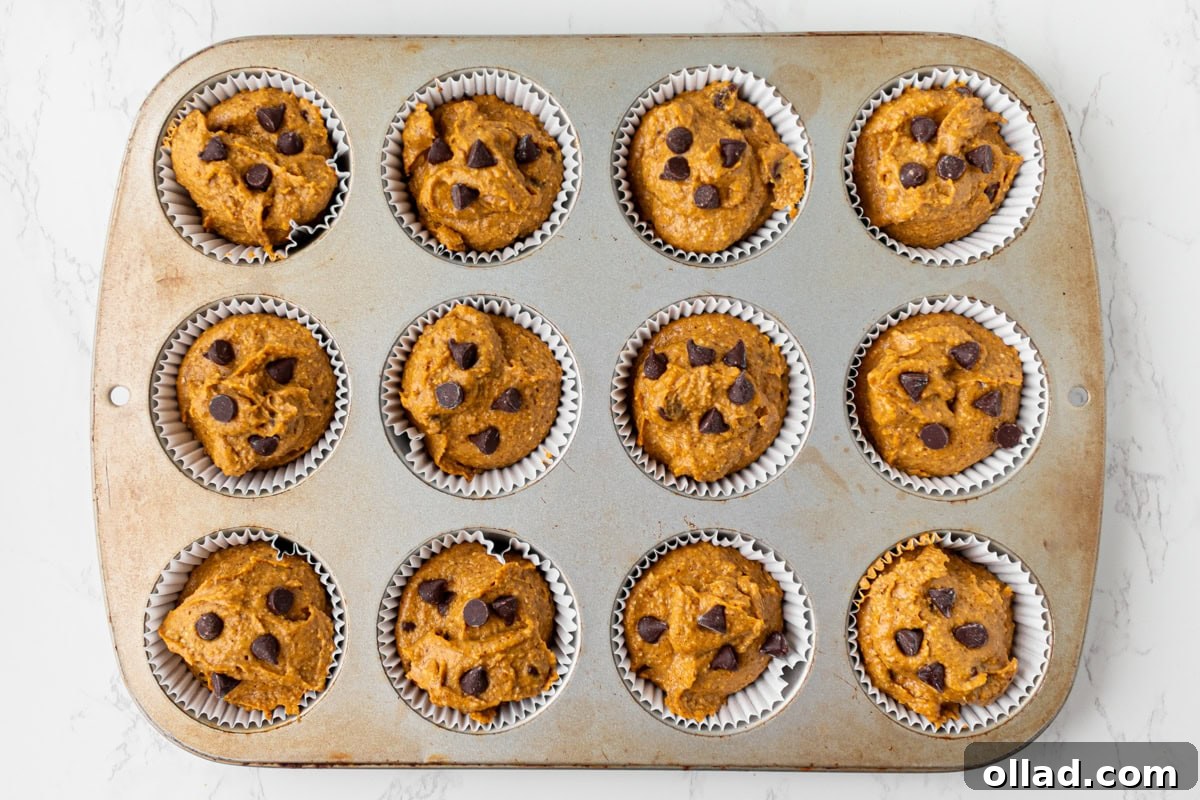
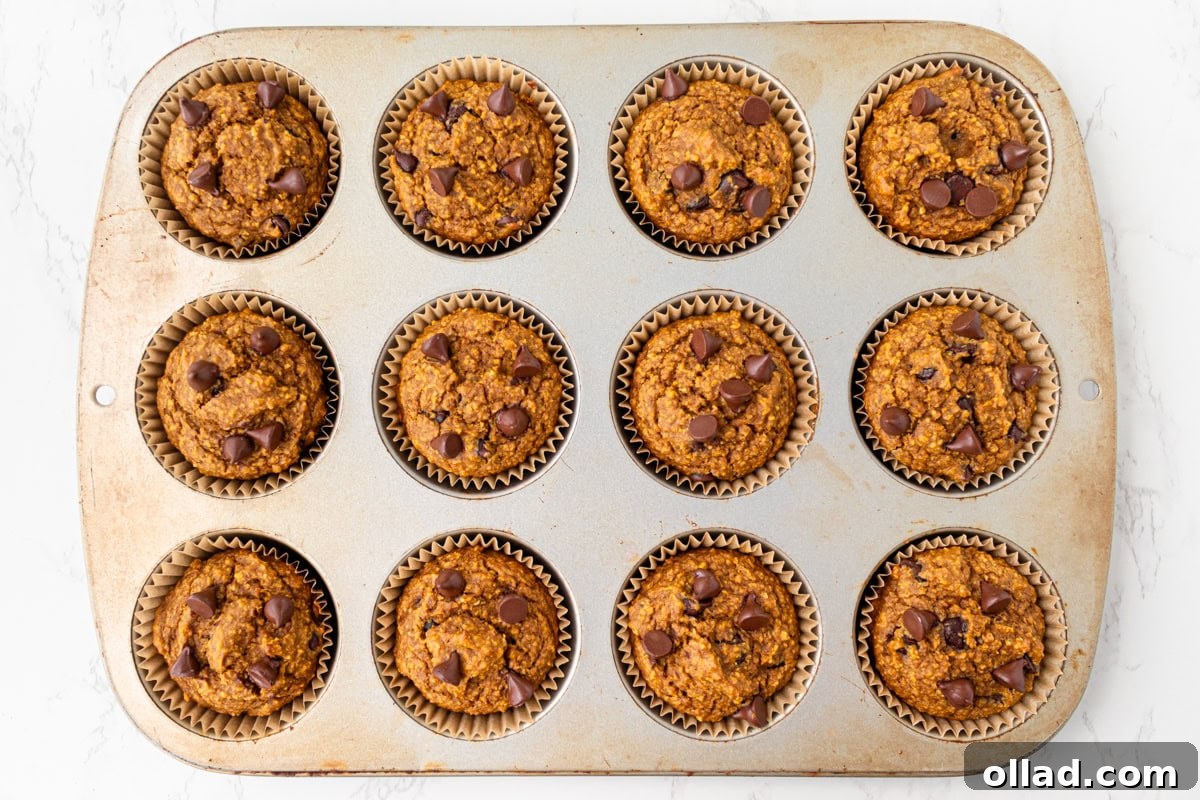
- Fill Muffin Cups: Divide the prepared batter evenly among the 12 lined muffin cups. Aim to fill each cup approximately ¾ full, allowing ample room for the muffins to rise beautifully without overflowing. This also helps create that classic domed muffin top. If you reserved some, now is the time to sprinkle those extra chocolate chips generously on top of each filled cup.
- Bake to Perfection: Place the muffin tin in the preheated oven and bake for 18-20 minutes. Begin checking for doneness around the 18-minute mark. The muffins are ready when a toothpick inserted into the center comes out with a few moist crumbs attached, but no wet batter. A clean toothpick indicates overbaking, which can lead to dry muffins. The surface should be golden brown and slightly firm to the touch.
- Cool and Serve: Once baked, remove the muffin pan from the oven and allow the muffins to cool in the pan for about 10 minutes. This cooling period is important as it allows the muffins to firm up and makes them much easier to remove without breaking. After 10 minutes, transfer them to a wire rack to cool completely. Serve them warm for the ultimate cozy experience, or enjoy them at room temperature. The melted chocolate chips will be gooey and irresistible when warm!
Notes & Expert Tips
- Oat Flour vs. Whole Oats: For an even finer crumb, you can replace the whole rolled oats with oat flour. If using oat flour, you can mix the batter by hand or with a hand mixer until smooth. The texture will be slightly different, perhaps a bit more cake-like, but still wonderfully soft and delicious. Important: Steel-cut oats are not recommended for this recipe. Their coarse texture means they won’t blend smoothly, which can result in gritty, underbaked muffins. Always stick to rolled or quick oats for the best texture and consistency.
- Boost Your Protein: If you’re looking to add a nutritional punch, you can replace up to ¼ cup of the oats with your favorite protein powder. Keep in mind that incorporating protein powder might make the muffins bake up a little denser and less fluffy than the original recipe. Adjust liquid slightly if the batter becomes too thick.
- Dairy-Free & Vegan Options: This recipe is already easily made dairy-free by using a plant-based milk (like almond or oat milk) and dairy-free chocolate chips. To make it vegan, replace the 2 large eggs with 2 “flax eggs” (2 tablespoons ground flaxseed mixed with 6 tablespoons water, let sit for 5 minutes until thickened).
- Spice It Up: Feel free to adjust the amount of cinnamon, pumpkin spice, and ginger to your preference. For an extra kick, a pinch of nutmeg or cloves can be added to enhance the autumnal flavors.
Nutrition Facts (per muffin)
Nutrition information is automatically calculated, so should only be used as an approximation.
- Serving: 1 muffin
- Calories: 205 kcal
- Carbohydrates: 27g
- Protein: 5g
- Fat: 9g
- Saturated Fat: 2g
- Polyunsaturated Fat: 2g
- Monounsaturated Fat: 4g
- Trans Fat: 0.003g
- Cholesterol: 27mg
- Sodium: 193mg
- Potassium: 243mg
- Fiber: 3g
- Sugar: 12g
- Vitamin A: 4012 IU
- Vitamin C: 1mg
- Calcium: 95mg
- Iron: 2mg
Additional Info
Course: Baking, Breakfast, Snack
Cuisine: American
Dietary: Gluten-Free, Flourless, Healthy
Tried this delicious recipe?
Share your creation! Mention @mamaknowsglutenfree or tag #mamaknowsglutenfree on Instagram!
How to Make Flourless Pumpkin Muffins: A Step-by-Step Visual Guide
Making these flourless pumpkin muffins is incredibly straightforward, especially with the help of a blender. Follow these steps for perfect, warmly spiced treats every time. Each image illustrates a key stage in the process, ensuring your baking journey is smooth and successful.
Creative Serving Suggestions for Your Pumpkin Muffins
These versatile flourless pumpkin muffins are a delight on their own, but they also serve as a wonderful canvas for various toppings and pairings. They are perfect for a quick breakfast on the go, a wholesome afternoon pick-me-up, or even a healthy, satisfying dessert. Here are some of my favorite ways to enjoy them:
- Classic Warm & Buttery: I absolutely love mine served warm, perhaps with a tiny pat of butter melting into the tender crumb, or a generous spread of creamy nut butter like almond or cashew. A delicate drizzle of extra maple syrup can elevate the sweetness and add a touch of indulgence.
- Balanced Breakfast: For a more substantial start to my day, I often pair one of these delicious muffins with a jar of chia seed pudding or a slice of savory frittata. This combination offers a balanced meal that’s both satisfying and packed with nutrients, keeping me energized throughout the morning.
- Cozy Beverage Pairings: Enhance the autumnal experience by pairing your muffin with a warm beverage. A classic cup of coffee is always a winner, but for a true fall treat, consider a spiced chai latte or your favorite pumpkin spice latte. Hot apple cider also makes a delightful companion.
- Dessert Transformation: To turn these healthy muffins into a more decadent dessert, try warming them slightly and serving them with a scoop of vanilla ice cream or a dollop of whipped cream. A sprinkle of toasted pecans or a caramel drizzle would make them truly irresistible.
- On-the-Go Snack: Their convenient size and wholesome ingredients make them an ideal portable snack for busy days, school lunches, or pre-workout fuel.
Storage Instructions for Freshness and Convenience
One of the best qualities of these flourless pumpkin muffins is how well they store, making them excellent for meal prepping or simply ensuring you always have a healthy treat on hand. Proper storage will keep them soft, moist, and flavorful for days, or even months!
- Room Temperature: Once your muffins have completely cooled to room temperature, you can store them in an airtight container for up to 2 days. To prevent them from becoming soggy, you might place a paper towel at the bottom of the container to absorb any excess moisture.
- Refrigeration: For longer freshness, transfer the cooled muffins to an airtight container and store them in the refrigerator for up to 5 days. This method is particularly recommended in warmer climates or if your home is quite humid.
- Freezing for Long-Term Enjoyment: Freezing these muffins is incredibly easy and truly one of my favorite features. It ensures you always have a delicious, healthy option readily available. To freeze, arrange the completely cooled muffins in a single layer in a freezer-safe bag or container. They will stay fresh and flavorful in the freezer for up to 2 months.
- Thawing and Reheating: When you’re ready to enjoy a frozen muffin, you have a couple of convenient options:
- Quick Microwave Thaw: For a warm, ready-to-eat muffin in a flash, simply pop it into the microwave for 20–30 seconds. The exact time may vary depending on your microwave’s power.
- Overnight Thaw: For a more gradual thaw, transfer a muffin from the freezer to the refrigerator the night before you plan to eat it. By morning, it will be perfectly thawed and ready to enjoy at room temperature or gently warmed.
- Oven Reheating: For a crisper exterior and warm interior, you can reheat muffins in a preheated oven at 300°F (150°C) for about 5-10 minutes, or until warmed through.
Frequently Asked Questions (FAQ)
- Can I use quick oats instead of rolled oats?
- Yes, quick oats can be used as a substitute for rolled oats in this recipe. They are pre-steamed and cut into smaller pieces, which means they will blend even more quickly into a smooth batter. The final texture might be slightly softer and less hearty than with rolled oats, but they will still yield delicious muffins.
- Are these muffins dairy-free?
- Yes, these muffins are easily made dairy-free! Simply choose a plant-based milk (such as almond milk, oat milk, or soy milk) and ensure your chocolate chips are dairy-free (brands like Enjoy Life offer great options). The rest of the ingredients are naturally dairy-free.
- Can I make these muffins vegan?
- Absolutely! To make this recipe vegan, you will need to replace the eggs. A great substitute is “flax eggs”: for two eggs, combine 2 tablespoons of ground flaxseed meal with 6 tablespoons of water. Let this mixture sit for 5-10 minutes until it thickens to a gel-like consistency, then use it in place of the eggs. Also, ensure you use plant-based milk and dairy-free chocolate chips.
- What if I don’t have almond butter? Can I use another nut butter?
- Yes, you can substitute almond butter with other creamy nut butters like cashew butter or peanut butter. Keep in mind that the flavor profile will change slightly depending on the nut butter you choose. Peanut butter will lend a more pronounced peanut flavor. Ensure the nut butter is natural and creamy (not too thick or stiff) for the best blending results.
- Why do you blend the oats instead of using oat flour directly?
- Blending whole rolled oats creates a fresh oat flour directly in your batter, which contributes to the unique moist and slightly chewy texture of these muffins. While you *can* use pre-made oat flour (as mentioned in the notes), blending fresh oats offers a slightly different result and simplifies the ingredient list if you don’t keep oat flour on hand. It also adds a bit more fiber. Just be careful not to over-blend.
- Can I add other mix-ins to the muffins?
- Definitely! These muffins are very adaptable. Besides chocolate chips, consider adding:
- Chopped nuts (pecans, walnuts)
- Dried cranberries or raisins
- Shredded coconut
- A swirl of cream cheese (dairy or non-dairy) before baking
- A pinch of nutmeg or allspice for extra warmth
Just be mindful not to add too many wet ingredients that could alter the batter consistency.
More Delicious Gluten-Free Pumpkin Treats to Bake
If you love the warm, comforting flavors of pumpkin as much as I do, you’ll be thrilled to explore these other fantastic gluten-free pumpkin recipes. From festive rolls to everyday breads and delightful breakfast options, there’s something here to satisfy every pumpkin craving:
- Gluten-Free Pumpkin Roll: A show-stopping dessert perfect for holidays or special occasions, featuring a tender pumpkin cake rolled with a creamy, sweet filling.
- Classic Gluten-Free Pumpkin Bread: The quintessential fall quick bread, moist, spiced, and utterly delicious. Perfect for breakfast or a snack with coffee.
- Almond Flour Pumpkin Bread: A grain-free variation that offers a slightly denser, rich texture with all the beloved pumpkin spice flavor.
- Fluffy Gluten-Free Pumpkin Waffles: Elevate your weekend brunch with these tender, golden waffles, infused with pumpkin and cinnamon. They are a delightful way to start any crisp morning.
I hope you enjoy baking and savoring these flourless pumpkin muffins as much as my family and I do. They truly bring the cozy essence of fall right into your kitchen. Happy baking!