
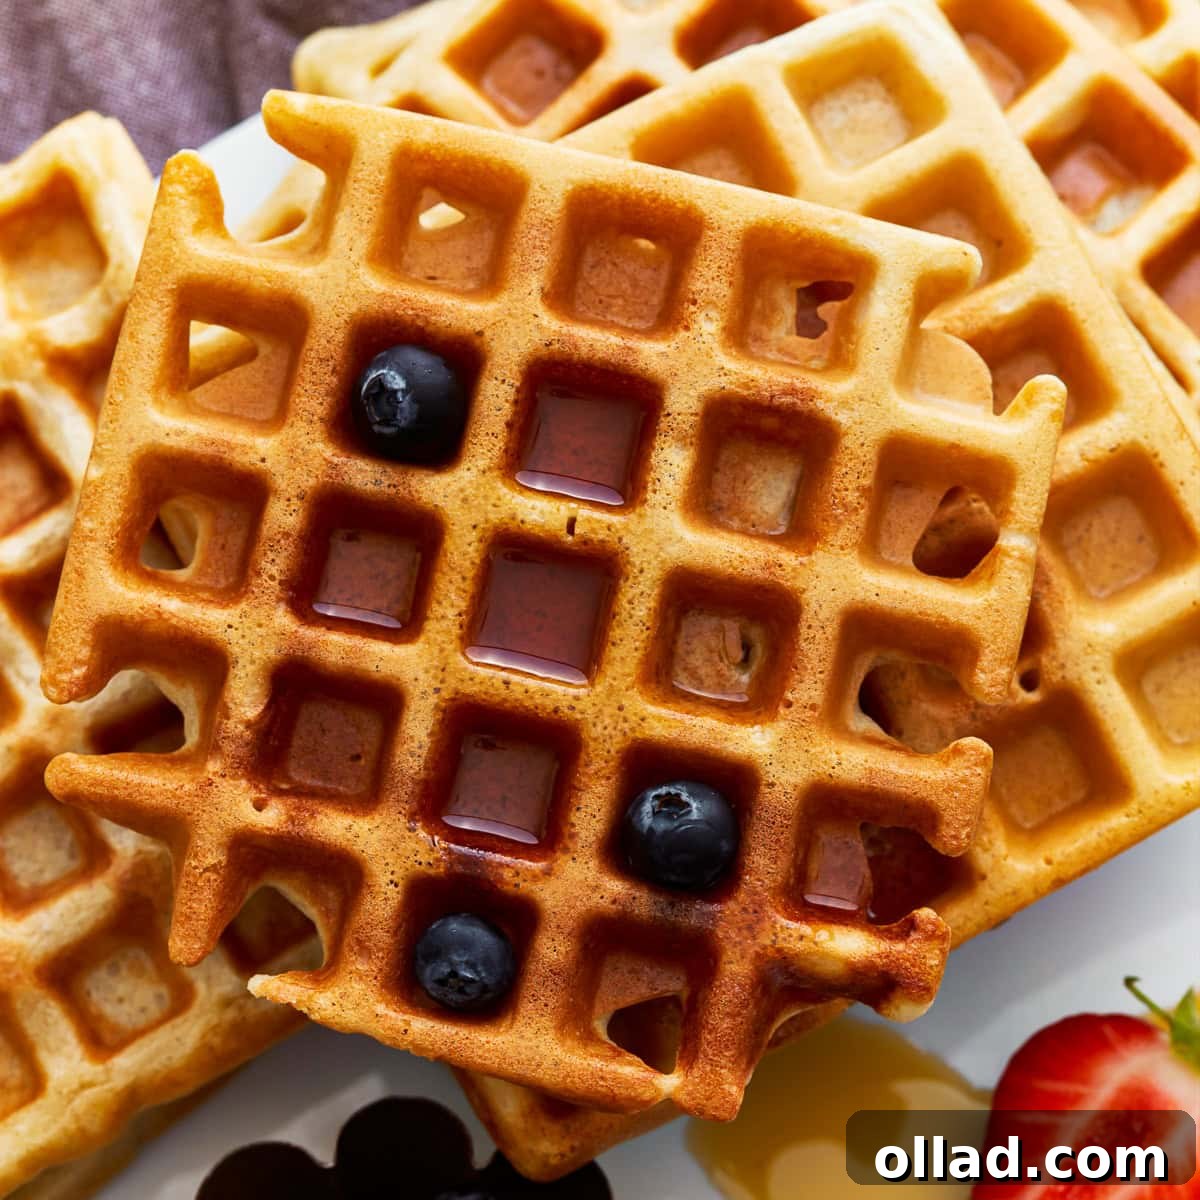
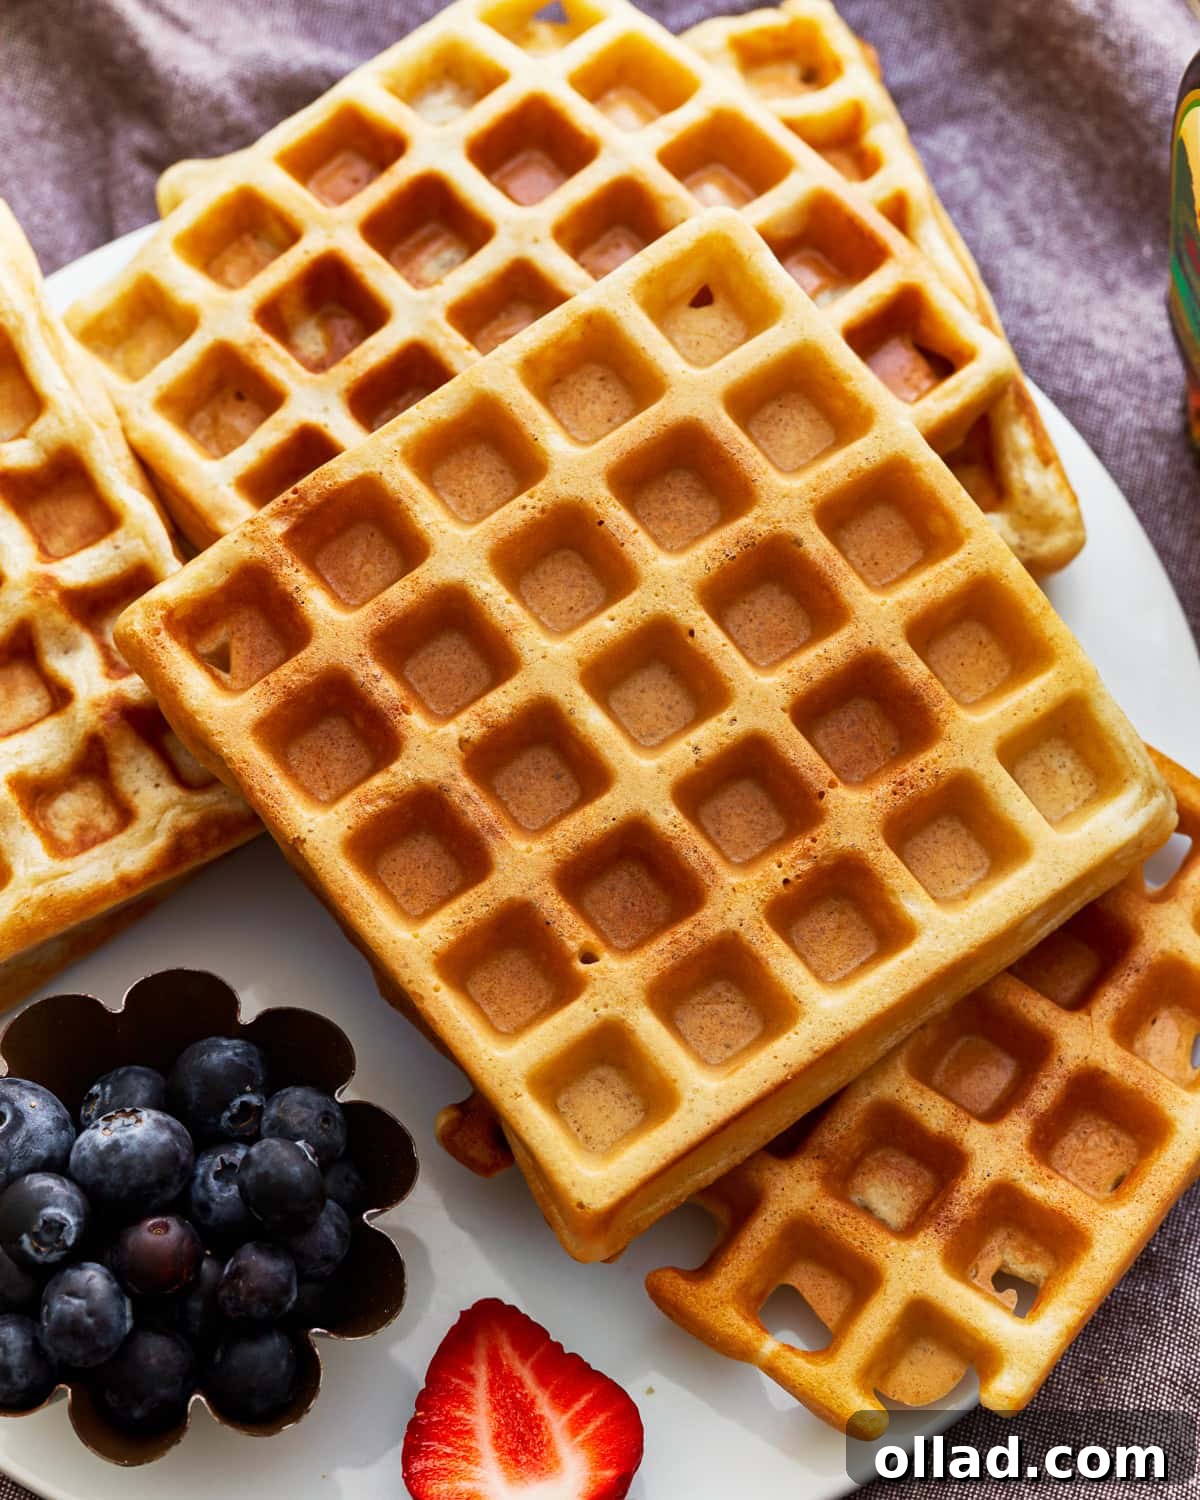
Welcome to your new favorite breakfast tradition! If you’ve been searching for the ultimate gluten-free waffle recipe that consistently delivers on taste and texture, your quest ends here. For years, I’ve perfected these homemade waffles, turning weekend breakfasts into a delightful celebration. My family raves about them, and I promise yours will too. Forget about dry, crumbly, or rubbery gluten-free alternatives; these waffles are incredibly fluffy, irresistibly soft on the inside, and wonderfully crispy on the outside, creating a perfect symphony of textures with every bite.
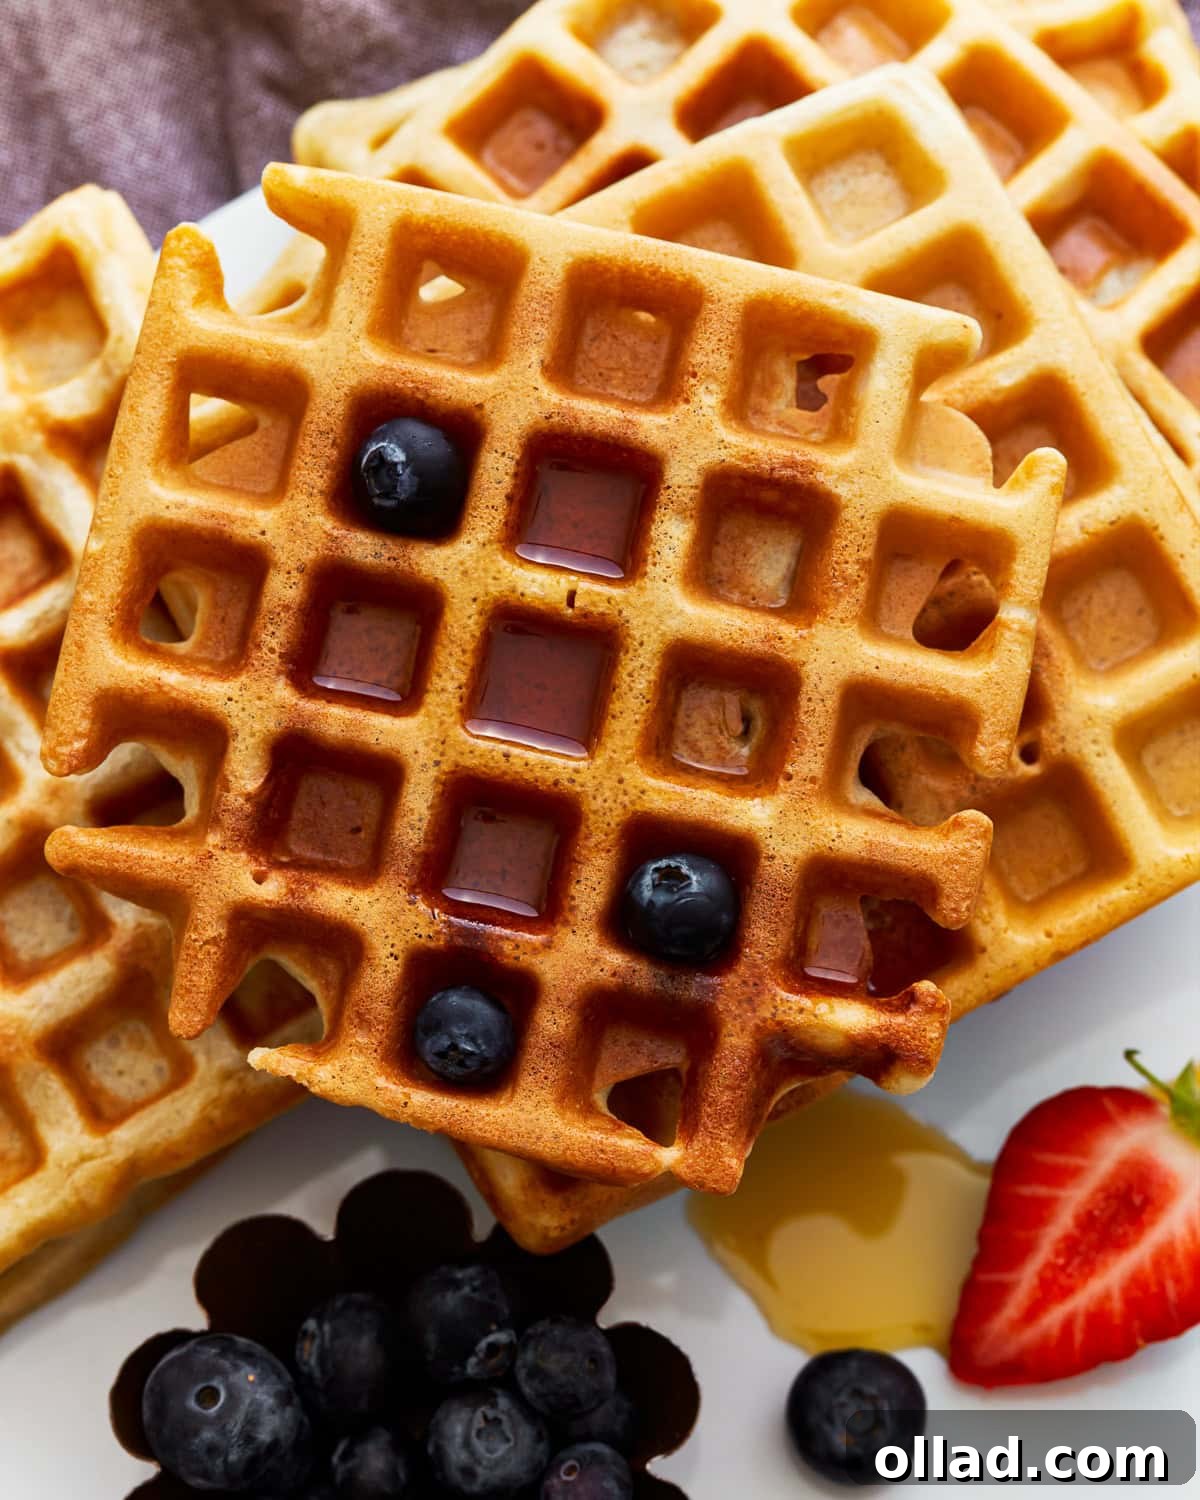
The Best Gluten-Free Waffle Recipe for Fluffy, Crispy Waffles
Many readers often ask if my Easy Gluten-Free Pancakes recipe can be adapted for waffles. While both are breakfast favorites, waffles require a slightly different batter consistency to achieve their signature airy interior and crispy exterior. That’s why I dedicated time to developing this specific gluten-free waffle recipe, ensuring it’s optimized for your waffle maker and delivers superior results every time.
One of the best features of this recipe is its make-ahead potential. I love to prepare a large batch of the dry ingredients and store it in an airtight container in my pantry. This means that on busy mornings or spontaneous weekend brunches, all I need to do is add the wet ingredients, and I have fresh, homemade gluten-free waffles in a jiffy. It’s truly a game-changer for effortless, delicious breakfasts.
Why This Gluten-Free Waffle Recipe Stands Out
What makes these gluten-free waffles so exceptional? It’s a combination of carefully selected ingredients and precise ratios that work harmoniously to counteract the common challenges of gluten-free baking. We aim for that perfect balance: a light, tender crumb that doesn’t feel heavy or dense, and a golden-brown crunch that holds up beautifully under a cascade of syrup. This recipe avoids the dreaded “gummy” texture often associated with gluten-free baked goods, offering a truly satisfying experience that even those without dietary restrictions will adore.
Key Ingredients for Perfect Gluten-Free Waffles
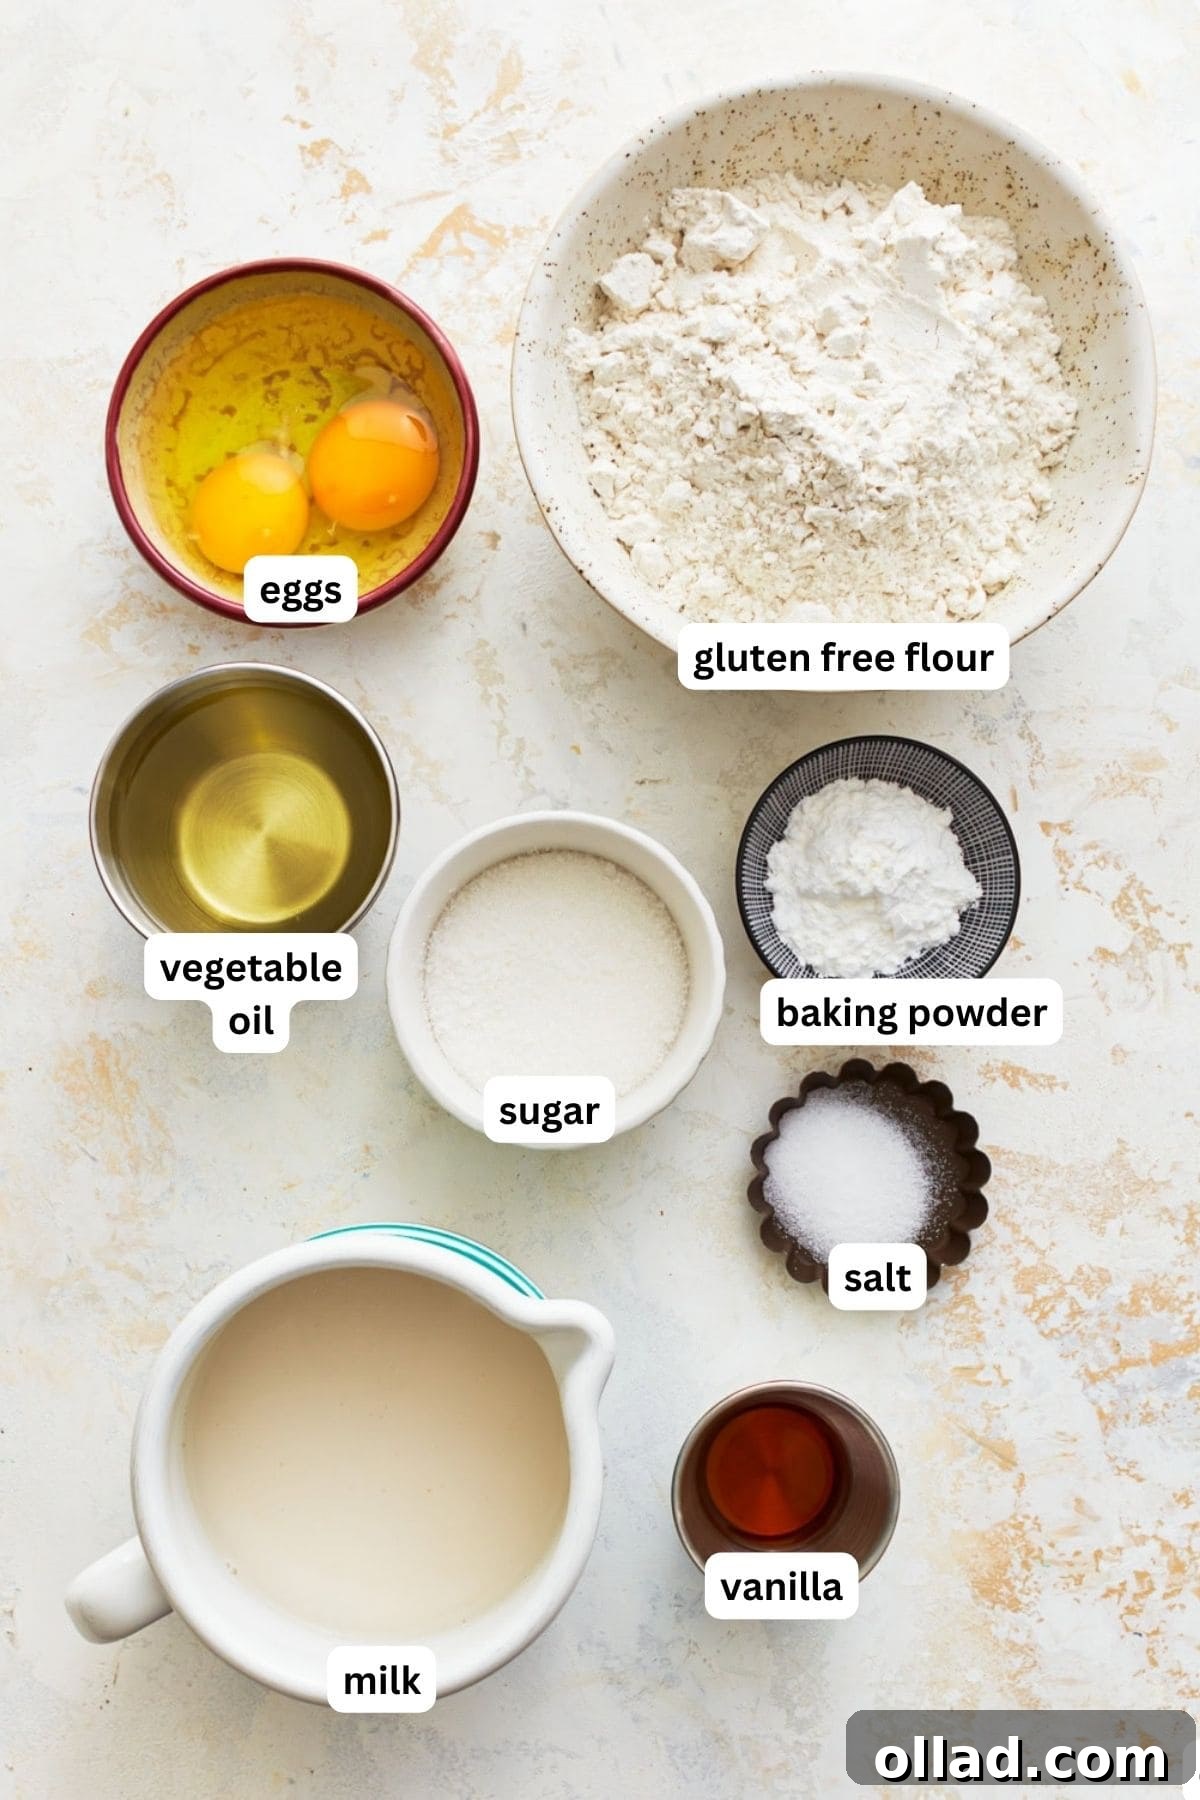
Understanding the role of each ingredient is essential for achieving the best results with your gluten-free waffles. Here’s a breakdown of what makes this recipe so successful:
- Granulated Sugar: Beyond just sweetening, sugar contributes to the browning of the waffles, giving them a lovely golden hue and a subtle crispness. It also helps tenderize the crumb.
- Vegetable Oil: This is key for moisture and tenderness. It helps create a rich, smooth batter and ensures the waffles don’t dry out during cooking, contributing to that desirable soft interior.
- Pure Vanilla Extract: A crucial flavor enhancer, vanilla extract adds depth and warmth, complementing the sweetness of the waffles and elevating their overall taste. Don’t skip it!
- Gluten-Free All-Purpose Flour with Xanthan Gum: The foundation of our gluten-free success. I highly recommend using a high-quality, pre-mixed gluten-free all-purpose flour blend that already contains xanthan gum. Brands like Pillsbury gluten-free flour often yield excellent results. Be aware that not all gluten-free flours are created equal; blends vary significantly in their composition and absorbent properties. If your chosen flour blend does not contain xanthan gum, you’ll need to add it separately to achieve the correct structure and elasticity (see the recipe card for precise amounts).
- Baking Powder: The leavening agent responsible for giving our waffles their characteristic puff and fluffiness. Fresh baking powder is critical for optimal rise, so ensure yours isn’t expired.
- Salt: A pinch of salt might seem small, but it’s mighty! It balances the sweetness, enhances the natural flavors of the other ingredients, and prevents the waffles from tasting bland.
- Milk: Provides necessary liquid to hydrate the flour and create a smooth batter. It also contributes to the rich, moist texture. For a dairy-free option, unsweetened almond, cashew, or coconut milk work beautifully without compromising flavor or consistency.
- Eggs (or Egg Replacer): Eggs bind the ingredients, add richness, and contribute to the structure and tenderness of the waffles. They also help with browning.
Expert Tips and Suggestions for Waffle Perfection
- Preheat Your Waffle Maker: Always allow your waffle maker to fully heat up before adding batter. A hot waffle iron ensures an even cook and those beautiful, crispy edges we all love.
- The “Spoon & Level” Method for Flour: Gluten-free flours can be tricky to measure accurately. The best method is to lightly spoon the flour into your measuring cup until it’s overflowing, then use the back of a knife or a straight edge to level off the top. Avoid scooping directly from the bag, as this compacts the flour and can result in too much flour, leading to dry, dense waffles.
- Prepare Gluten-Free Waffle Mix Ahead: As mentioned, mix all the dry ingredients (flour, sugar, xanthan gum if needed, baking powder, salt) and store them in an airtight container. When you’re ready to make waffles, simply whisk in the wet ingredients. This makes weekday mornings or spontaneous brunch gatherings incredibly easy.
- Grease Your Waffle Maker Liberally: Even non-stick waffle makers benefit from a light coating of gluten-free cooking spray for every single waffle. This prevents sticking and ensures a perfectly golden, crispy finish.
- Portion with an Ice Cream Scoop: For consistently sized and perfectly cooked waffles, use a greased ice cream scoop to portion your batter. This helps prevent overfilling and ensures each waffle cooks evenly. My waffle maker typically takes two scoops, but adjust based on your specific appliance.
- Add Flavorful Mix-Ins: Elevate your waffles with your favorite additions! Chocolate chips, fresh blueberries, a swirl of brown sugar and cinnamon, or even finely chopped cooked bacon can be folded into the batter for an extra layer of deliciousness.
- Keep Waffles Warm: If you’re making a batch of waffles for a crowd and want to serve them all warm, place cooked waffles on a parchment-lined baking sheet in a preheated oven at 200°F (93°C). This keeps them warm and slightly crisp without overcooking.
- Check Your Syrup: Always ensure your maple syrup or other toppings are certified gluten-free, especially if you have sensitivities. Pure maple syrup is naturally gluten-free and a classic choice.
- Don’t Overmix the Batter: Mix until just combined. Overmixing can develop the starches in gluten-free flour, potentially leading to a tougher waffle. A few small lumps are perfectly fine.
- Rest the Batter: If you have time, letting the batter rest for 5-10 minutes allows the gluten-free flour to fully hydrate, resulting in a more tender and evenly cooked waffle.
Can I Make Gluten-Free Waffles Without Eggs?
Absolutely! I understand the need for dietary flexibility. My husband recently discovered an egg sensitivity, prompting me to experiment with egg-free baking. For this recipe, I’ve successfully used Bob’s Red Mill Gluten-Free Egg Replacer, and the results were fantastic! The waffles remained fluffy, moist, and delicious. By combining an egg replacer with dairy-free milk options (like unsweetened almond, cashew, or coconut milk), these waffles can easily be transformed into a completely vegan and gluten-free delight, making them suitable for a wider range of dietary needs.
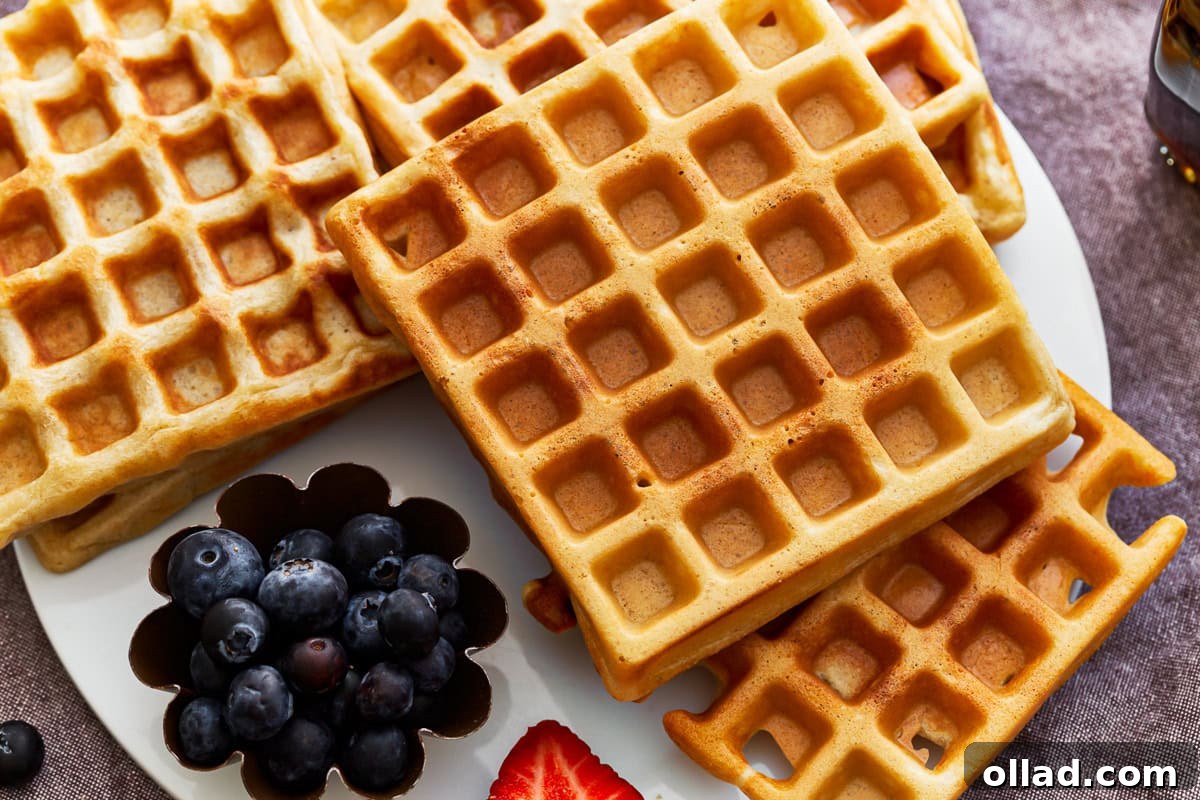
What Mix-Ins Can I Add to Gluten-Free Waffles?
Waffles are wonderfully versatile, offering a blank canvas for your culinary creativity. Feel free to fold your favorite mix-ins directly into the batter just before cooking. Some popular and delicious options include:
- Chocolate Chips: Mini or regular, dark or milk chocolate – always a crowd-pleaser.
- Fresh Berries: Blueberries, raspberries, or chopped strawberries add a burst of freshness and natural sweetness.
- Brown Sugar and Cinnamon: For a comforting, spiced twist.
- Chopped Cooked Bacon: For a savory-sweet combination that’s unexpectedly delightful.
- Nut Butters: Swirl in a tablespoon of peanut butter or almond butter for a nutty flavor.
- Zest: Lemon or orange zest can brighten the flavor profile considerably.
What Are The Best Toppings for Gluten-Free Waffles?
The fun doesn’t stop with the mix-ins! The right toppings can transform your waffles from a simple breakfast into an extraordinary meal. Here are some of my go-to suggestions:
- Classic Maple Syrup: Pure maple syrup is a timeless favorite.
- Fresh Berries and Whipped Cream: A light and elegant combination that never disappoints.
- Peanut Butter or Almond Butter: For a protein-packed and satisfying topping.
- Chocolate Sauce or Nutella: Indulgent options for a dessert-like treat.
- Fruit Syrups or Compotes: Homemade or store-bought, like strawberry, cherry, or peach.
- Sliced Bananas: Great on their own or paired with chocolate.
- Powdered Sugar: A simple dusting for a touch of sweetness and elegant presentation.
- Ice Cream: Yes, for a decadent dessert waffle!
- Yogurt and Granola: For a healthier, textured topping.
Storage Instructions for Gluten-Free Waffles
Batch cooking and proper storage mean you can enjoy these delicious gluten-free waffles throughout the week. Store any leftover waffles in an airtight container:
- Refrigerator: They will stay fresh for up to 3 days. Reheat in a toaster, toaster oven, or microwave for a quick meal.
- Freezer: For longer storage, freeze them for up to 3 months. To freeze, allow the waffles to cool completely, then place them on a parchment-lined baking sheet and flash freeze for about 10-15 minutes. This prevents them from sticking together. Once firm, transfer them to a freezer-safe bag or an airtight container. You can reheat frozen waffles directly in a toaster for crispness or in the microwave for a softer texture.
More Delicious Gluten-Free Breakfast Recipes To Try!
If you loved these waffles, you’re in for a treat! Explore other delightful gluten-free breakfast options from my kitchen:
- Gluten-Free Crepes
- Gluten-Free Cinnamon Rolls
- Gluten-Free Biscuits
- Easy Gluten-Free Blueberry Banana Muffins
Gluten-Free Waffles
By: Audrey Roberts
Servings: 6 servings
Prep Time: 10 mins | Cook Time: 2 mins | Total Time: 12 mins
This is my family’s favorite tried and true gluten-free waffle recipe. They’re soft and fluffy on the inside and crispy on the outside!
Ingredients
- 2 large eggs
- 1/4 cup granulated sugar
- 2 teaspoons pure vanilla extract
- 1/2 cup vegetable oil
- 2 cups gluten-free all-purpose flour with xanthan gum
- 1/2 teaspoon xanthan gum (leave out if your flour blend already has it)
- 4 teaspoons gluten-free baking powder
- 1/4 teaspoon salt
- 1 3/4 cup milk
Instructions
- In a large bowl, whisk the eggs (or egg replacer), granulated sugar, pure vanilla extract, and the vegetable oil together until well combined.
- Add the gluten-free flour, xanthan gum (if not already in your flour blend), gluten-free baking powder, and salt to the egg mixture. Mix until fully combined, being careful not to overmix.
- Stir in the milk until the batter is smooth. A few small lumps are acceptable.
- Using a greased ice cream scoop, pour the batter onto a preheated and greased waffle maker.
- Cook the waffles according to your waffle maker’s instructions, or until they are beautifully golden brown and crispy.
- Serve immediately with butter, syrup, or your favorite toppings. Store any leftovers in an airtight container.
Notes
- For best results, use a quality gluten-free all-purpose flour blend. I prefer Pillsbury gluten-free flour. Remember that different blends can yield varying results.
- Measure gluten-free flour using the “spoon & level” method: spoon flour into the measuring cup and level with a knife. Do not scoop directly from the bag.
- To make these waffles dairy-free, use unsweetened almond, cashew, or coconut milk.
- For an egg-free and vegan option, use gluten-free Bob’s Red Mill Egg Replacer in place of eggs.
- Get creative with mix-ins like blueberries, chocolate chips, or a dash of cinnamon.
- Always ensure your syrup is gluten-free. Pure maple syrup is an excellent choice.
- Leftovers can be stored in an airtight container for up to 3 days in the refrigerator or frozen for up to 3 months. Flash freeze waffles on a parchment-lined baking sheet for 10 minutes before transferring to a freezer bag to prevent sticking.
Nutrition
Serving: 1 waffle
Calories: 403 kcal
Carbohydrates: 44g
Protein: 8g
Fat: 23g
Saturated Fat: 16g
Cholesterol: 77mg
Sodium: 168mg
Potassium: 928mg
Fiber: 4g
Sugar: 13g
Vitamin A: 215IU
Calcium: 464mg
Iron: 2.4mg
Nutrition information is automatically calculated, so should only be used as an approximation.
Additional Info
Course: Breakfast
Cuisine: American
How To Make Gluten-Free Waffles: A Step-by-Step Guide
Let’s walk through the simple process of creating these delectable gluten-free waffles. Visualizing each step makes the baking process even easier and more enjoyable.
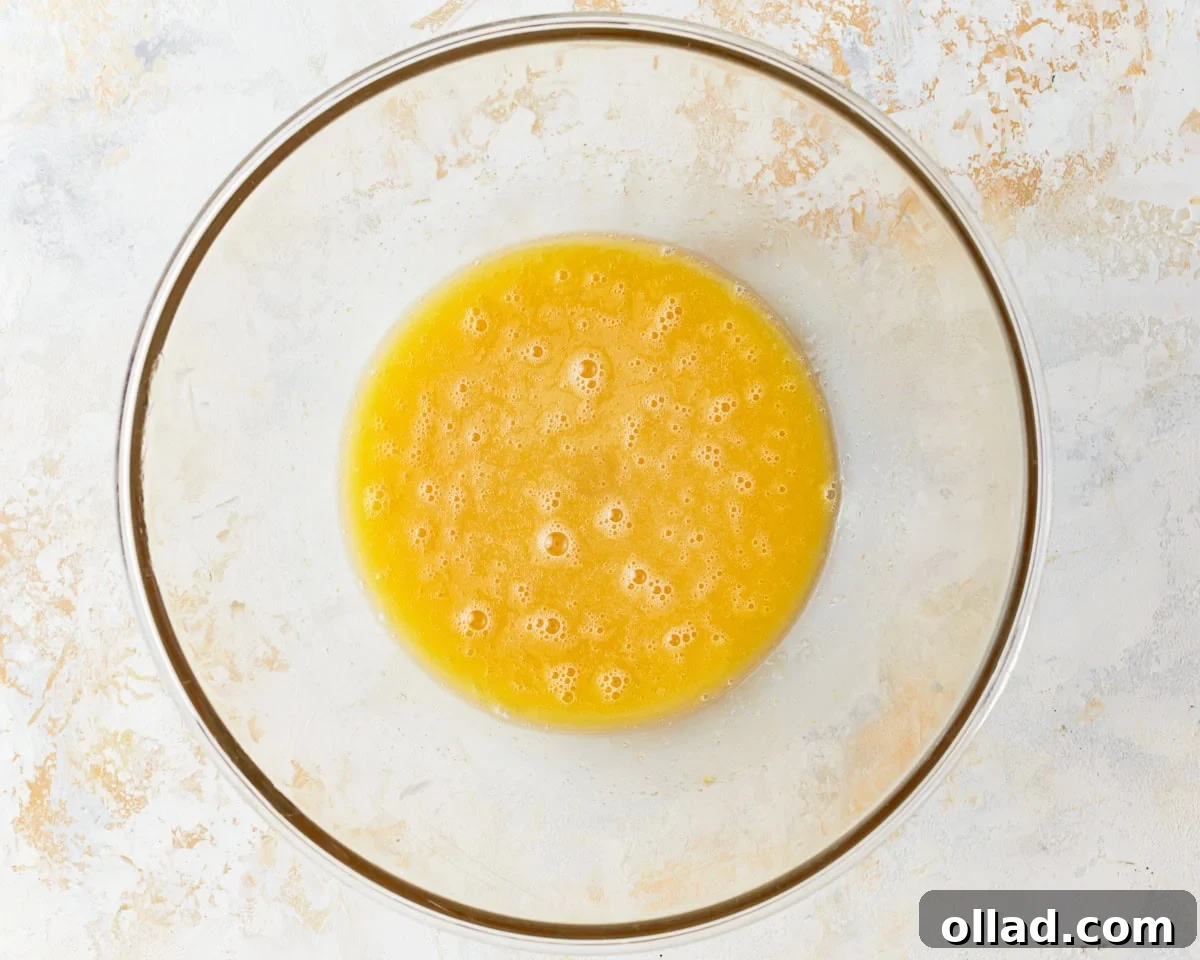
Step 1: Combine Wet Ingredients. In a spacious mixing bowl, gently whisk together 2 large eggs (or your preferred egg replacer), 1/4 cup of granulated sugar, 2 teaspoons of pure vanilla extract, and 1/2 cup of vegetable oil. Continue whisking until the mixture is smooth and well incorporated. This forms the essential liquid base for our waffle batter.
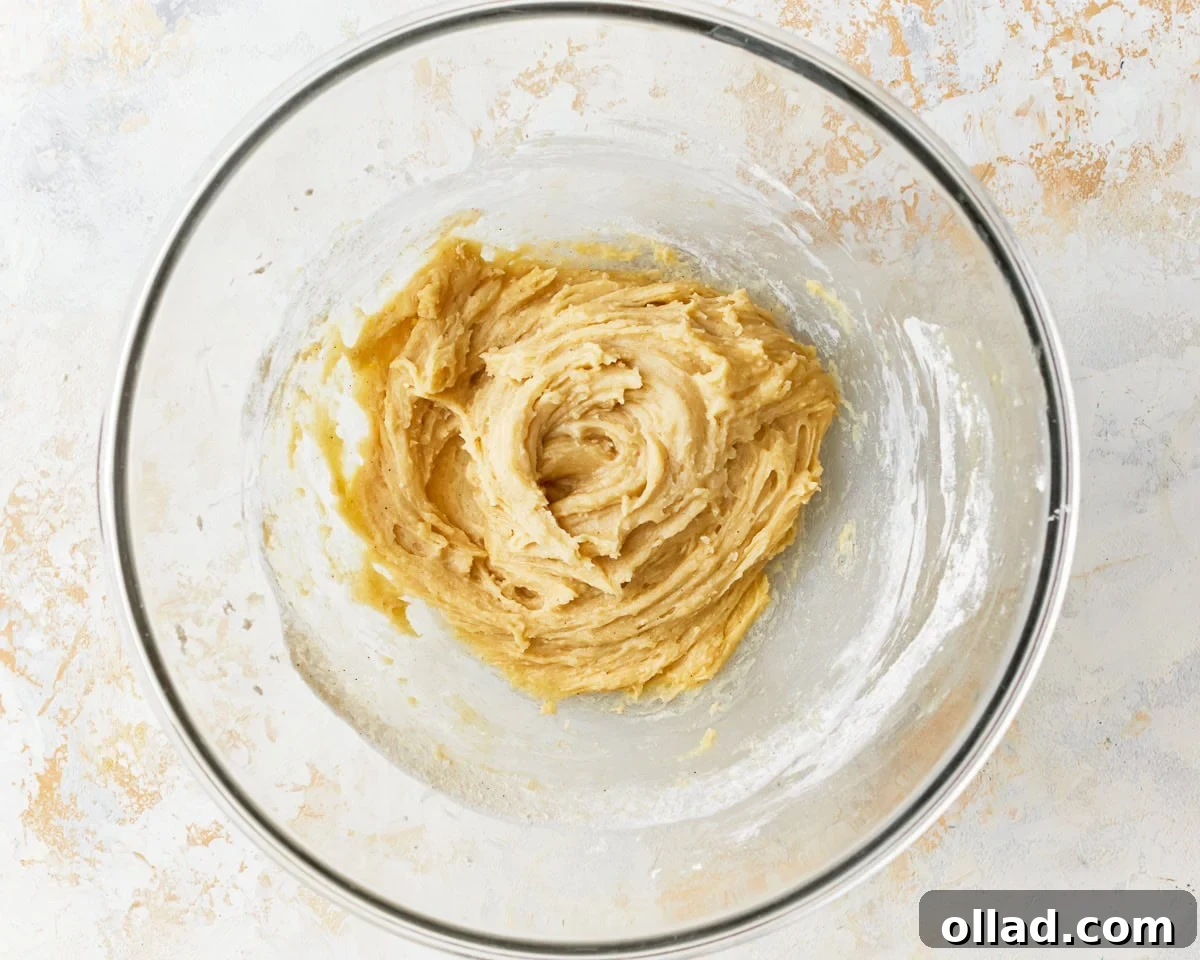
Step 2: Incorporate Dry Ingredients. Carefully add 2 cups of your chosen gluten-free all-purpose flour, 1/2 teaspoon of xanthan gum (only if your flour blend doesn’t already contain it), 4 teaspoons of gluten-free baking powder, and 1/4 teaspoon of salt to the wet mixture. Mix thoroughly until all the dry ingredients are just combined with the wet. Be mindful not to overmix; a few small lumps are perfectly normal and help ensure a tender waffle.
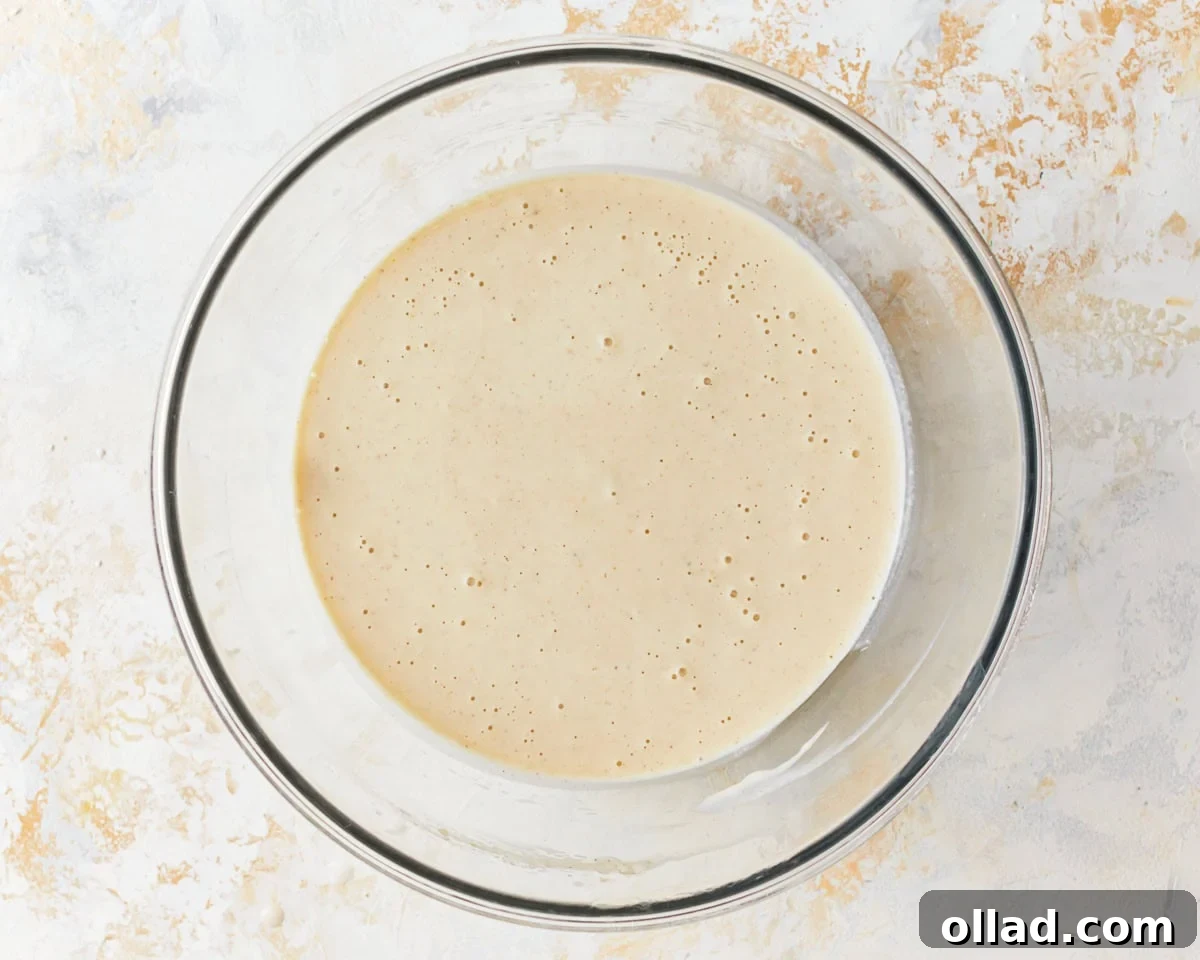
Step 3: Add Milk and Finish Batter. Gently stir in 1 3/4 cups of milk (dairy or dairy-free alternative) until the batter reaches a smooth, pourable consistency. Again, avoid overmixing. Allow the batter to rest for 5-10 minutes if you have the time; this hydration period often leads to an even better texture.
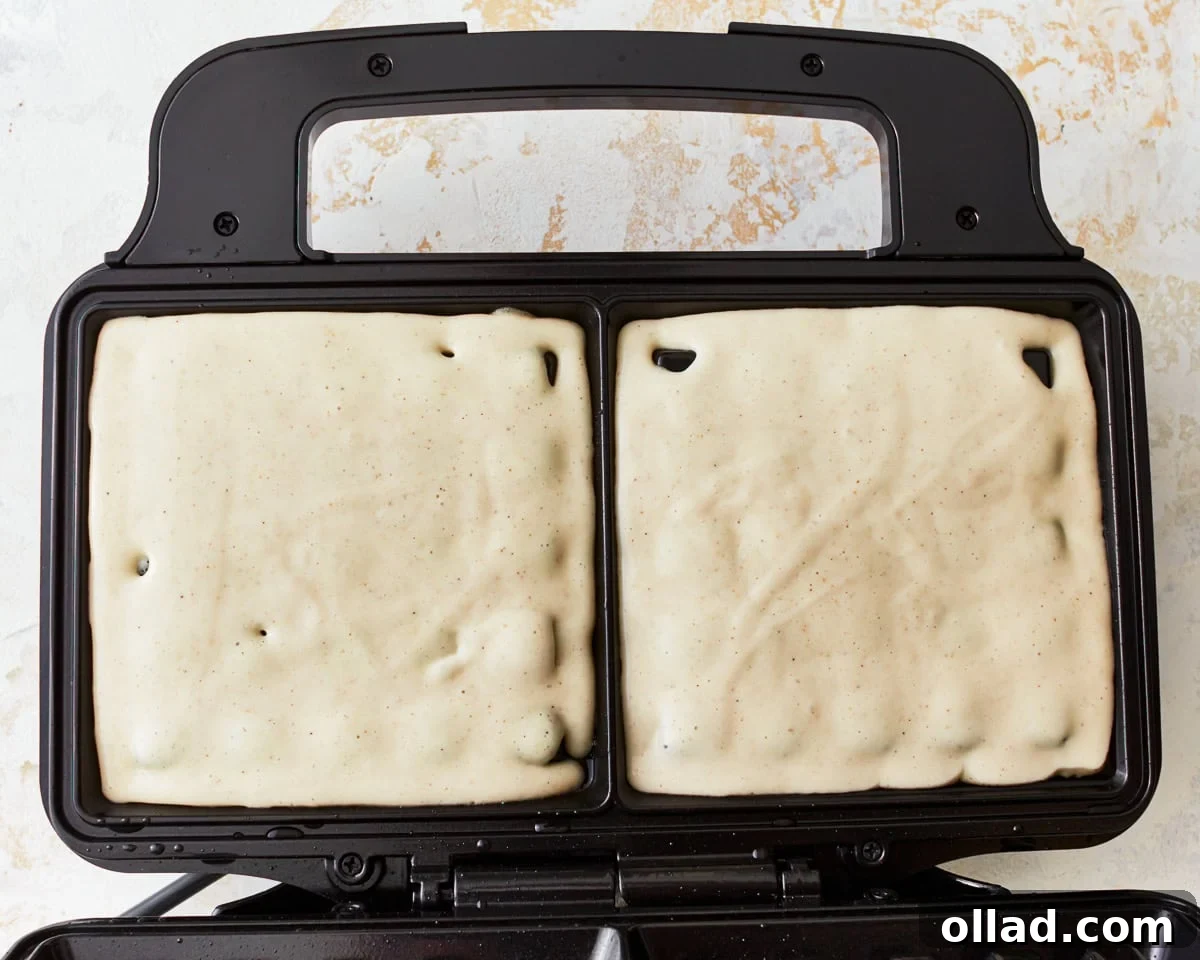
Step 4: Cook Your Waffles. Ensure your waffle maker is fully preheated and lightly greased with gluten-free cooking spray. Using a greased ice cream scoop or ladle, pour the batter onto the hot waffle grids. Use enough batter to fill the grids without overflowing. Typically, two scoops are sufficient for most standard waffle makers.
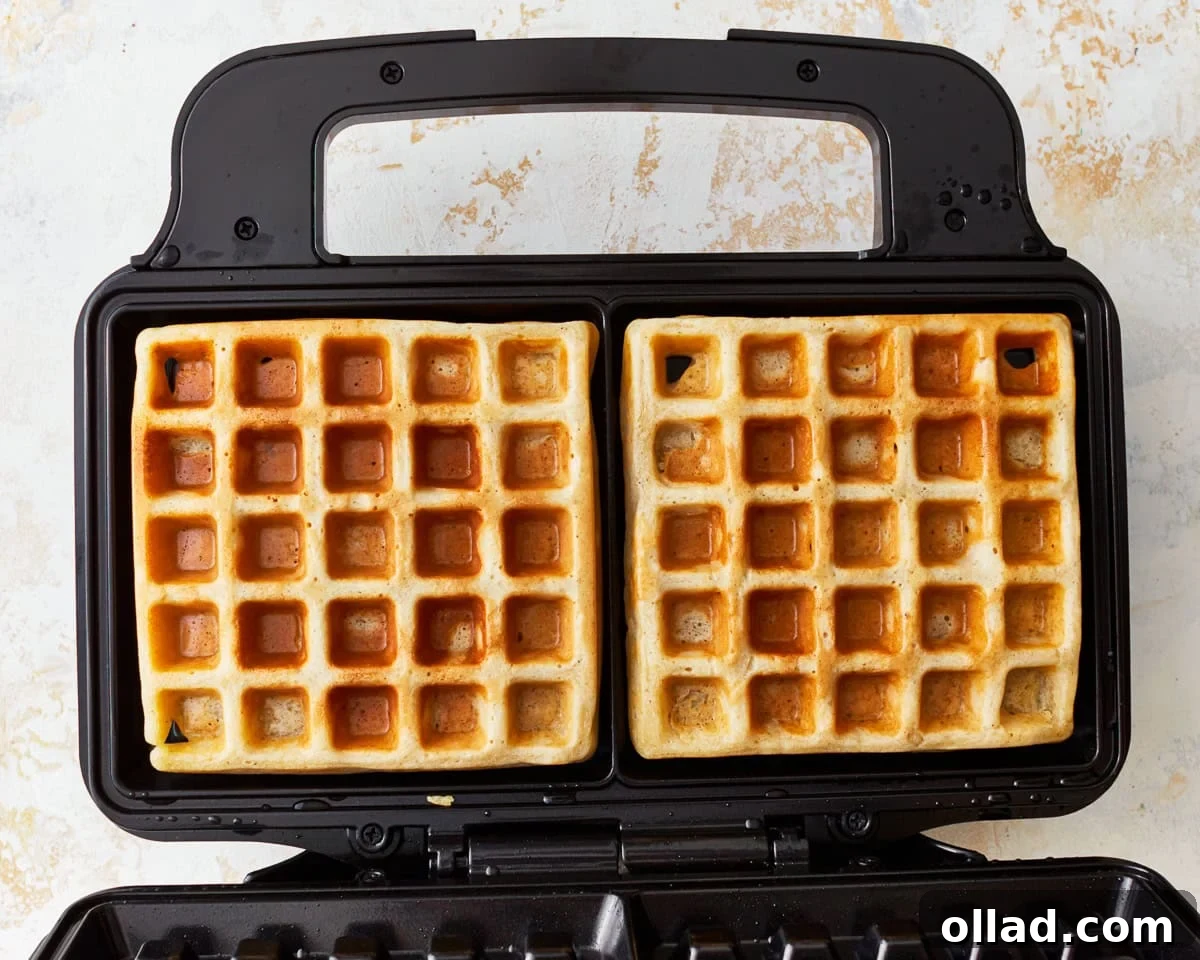
Step 5: Serve and Enjoy! Cook the waffles according to your waffle maker’s instructions, or until they achieve a beautiful golden-brown color and are crispy to the touch. Once done, carefully remove them and serve immediately. Top with a dollop of butter, a generous drizzle of your favorite syrup, or any of the delicious toppings discussed earlier. Enjoy the pure bliss of homemade gluten-free waffles! Store any cooled leftovers in an airtight container for future enjoyment.
Troubleshooting Common Gluten-Free Waffle Issues
Even with the best recipe, sometimes things don’t go exactly as planned. Here are some solutions to common gluten-free waffle dilemmas:
- Waffles are too dry or crumbly: This often means too much flour or not enough liquid. Ensure you’re using the “spoon & level” method for measuring flour. Your flour blend might also be particularly absorbent; try adding an extra tablespoon or two of milk next time.
- Waffles are gummy or dense: This can be due to overmixing the batter, which can activate starches in gluten-free flours, or insufficient baking powder. Also, ensure your baking powder is fresh. A brief rest for the batter (5-10 minutes) can also help prevent gumminess by allowing flour to fully hydrate.
- Waffles stick to the iron: The waffle maker might not be hot enough, or it wasn’t greased sufficiently between waffles. Always preheat thoroughly and spray with cooking oil for each waffle.
- Waffles aren’t crispy: Again, preheating is key. Also, avoid opening the waffle maker too early. Let them cook until steam stops escaping, which indicates they’re fully cooked and dried out for crispness. Some waffle irons produce crispier results than others; a cast iron waffle maker often gives the best crunch.
- Waffles are not browning evenly: Your waffle maker might have hot spots, or the batter isn’t spread evenly. Use a scoop for consistent portions and ensure the waffle maker is fully preheated.
Conclusion: Your Go-To Gluten-Free Waffle Recipe
Crafting the perfect gluten-free waffle doesn’t have to be a challenge. With this tried-and-true recipe, you can confidently create breakfast masterpieces that are light, fluffy, and delightfully crispy. Whether you’re navigating dietary restrictions or simply seeking a delicious alternative, these waffles are designed to impress. So go ahead, dust off that waffle iron, mix up a batch, and transform your mornings into a moment of pure, gluten-free joy. Enjoy the process, savor the flavor, and make cherished memories around the breakfast table!