
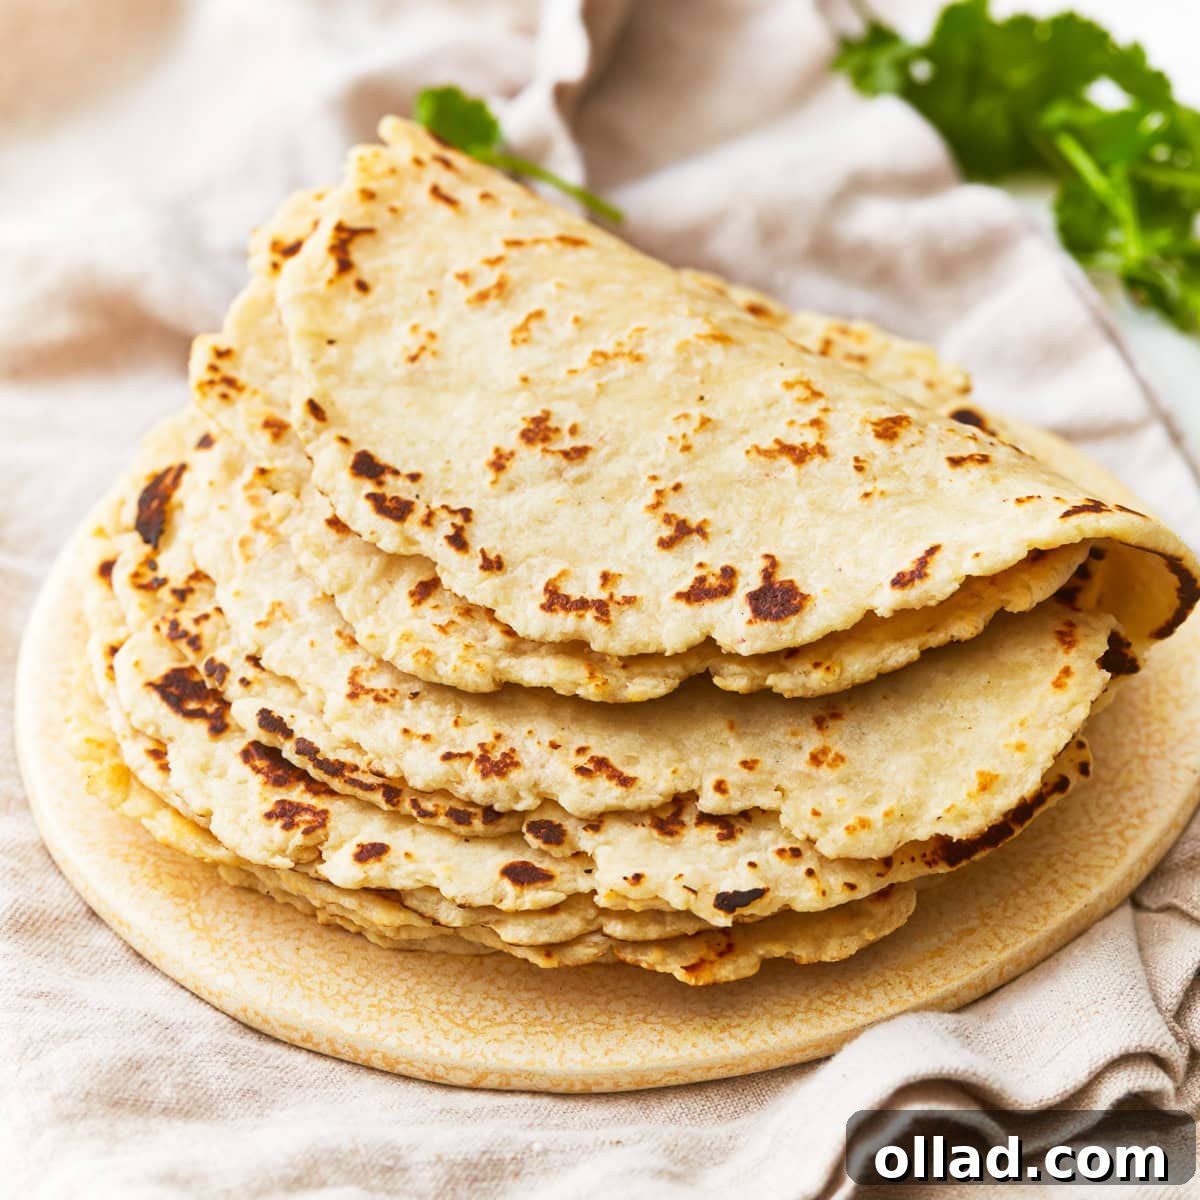
Discover the secret to crafting homemade almond flour tortillas that are not only incredibly easy and quick to prepare but also delightfully pliable and sturdy. These protein-packed tortillas are a game-changer for anyone seeking a healthier alternative to traditional wraps, perfect for meal prepping a week’s worth of lunches or satisfying snacks. My unique blend of almond and coconut flour creates a texture that holds together beautifully, making them ideal for all your favorite fillings. Best of all, this simple recipe is naturally gluten-free, dairy-free, vegan, and egg-free, catering to a wide range of dietary needs without compromising on taste or quality.
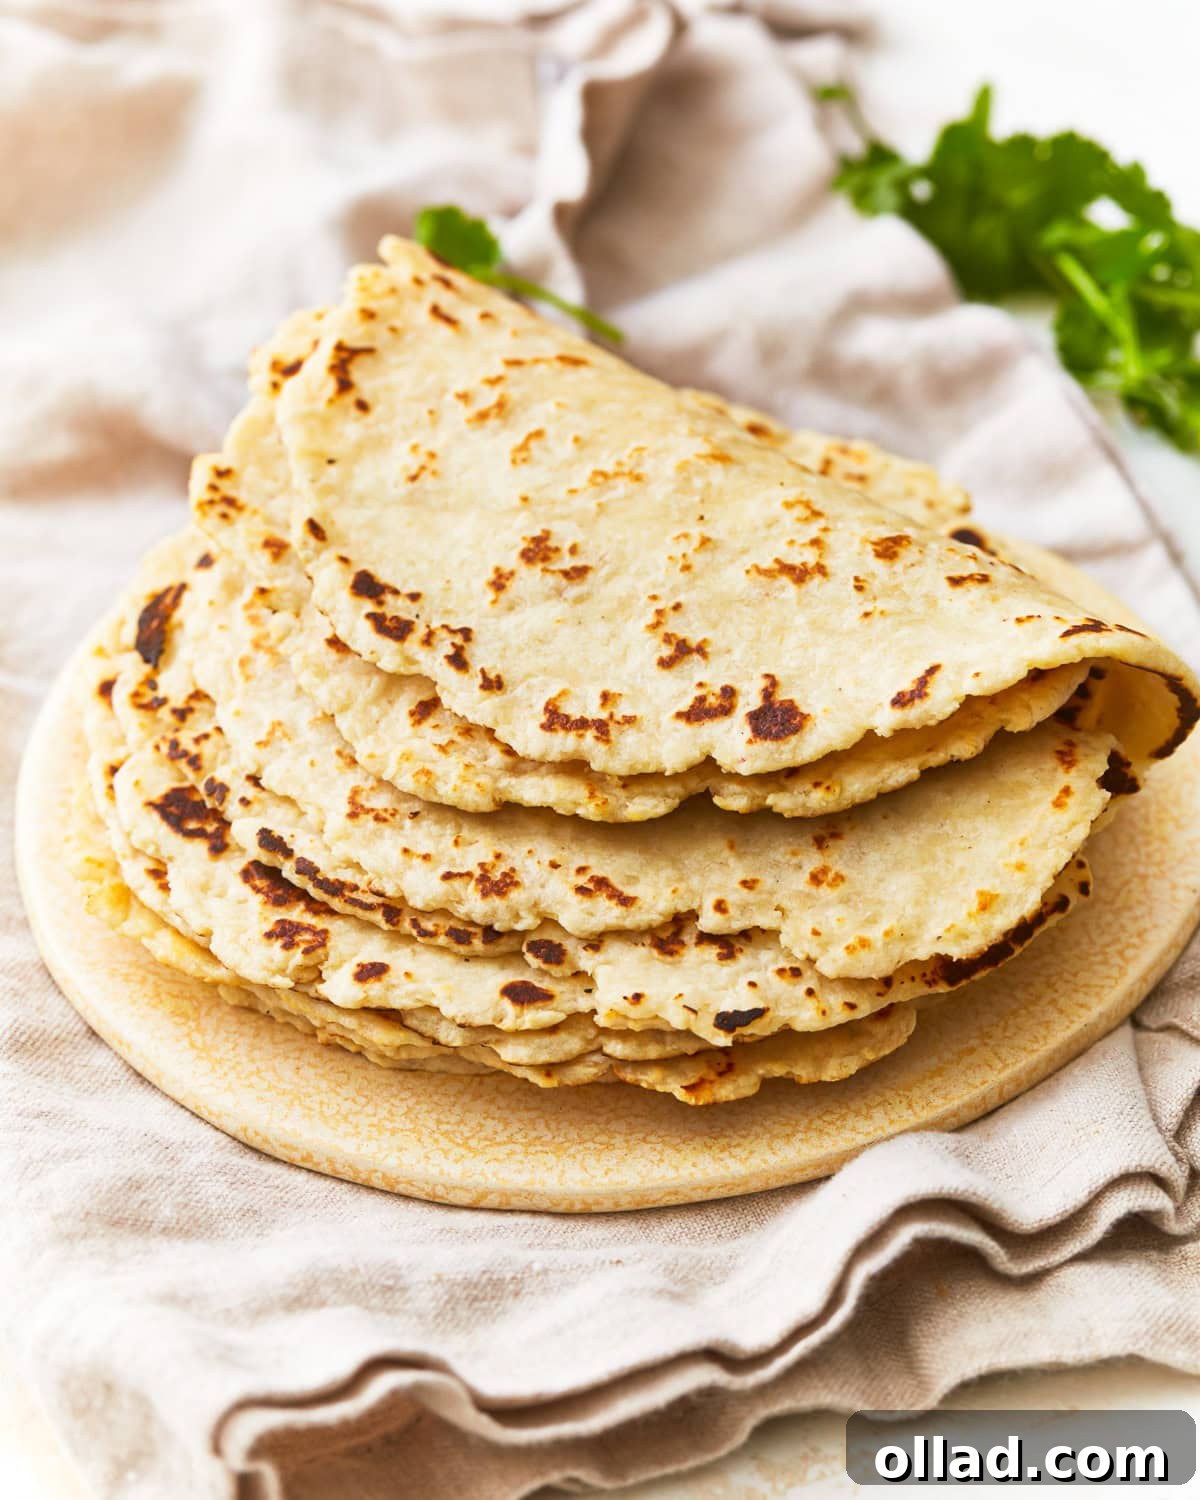
The Ultimate Guide to Homemade Almond Flour Tortillas
While I cherish my classic gluten-free tortillas, these almond flour versions offer distinct advantages, especially for those mindful of their carbohydrate intake. They are significantly lower in carbs and boast a rich fiber content, contributing to a more balanced and fulfilling meal. What truly sets them apart is their remarkable texture: they bend, fold, and roll out like a dream, mirroring the flexibility of conventional flour tortillas. This exceptional pliability is achieved through a thoughtful combination of super fine almond flour, coconut flour, a touch of xanthan gum, and a hint of oil. You won’t need any specialized kitchen gadgets to whip up a batch; a simple rolling pin and some parchment paper are all that’s required to craft these culinary masterpieces.
Why Choose Almond Flour Tortillas?
In a world brimming with diverse dietary preferences and health goals, almond flour tortillas stand out as a superior choice. Here’s why they might just become your new pantry staple:
- Gluten-Free & Allergy-Friendly: For individuals with celiac disease or gluten sensitivity, these tortillas offer a safe and delicious alternative, eliminating wheat entirely. Their dairy-free and egg-free nature further broadens their appeal to those with common allergies or following vegan lifestyles.
- Low-Carb & Keto-Friendly: Traditional tortillas can be carb-heavy. Almond flour tortillas significantly reduce the carbohydrate count, making them an excellent option for keto, paleo, or low-carb diets without sacrificing the joy of a wrap or taco.
- Rich in Fiber & Protein: Almond flour is a nutritional powerhouse, packed with dietary fiber and plant-based protein. This means your tortillas will not only keep you fuller for longer but also contribute to your daily nutrient intake, promoting digestive health and muscle maintenance.
- Incredibly Versatile: From savory breakfast burritos to hearty lunch wraps, crispy quesadillas, or even homemade tortilla chips, their neutral flavor profile and robust texture make them suitable for almost any meal.
- Easy to Make at Home: Forget store-bought versions filled with unnecessary additives. This recipe simplifies the process, empowering you to create fresh, wholesome tortillas in your own kitchen with minimal effort.
Essential Ingredients for Perfect Almond Flour Tortillas
Crafting these delectable tortillas requires just a handful of straightforward ingredients. Each component plays a crucial role in achieving the desired texture, flavor, and pliability. Here’s a closer look at what you’ll need:
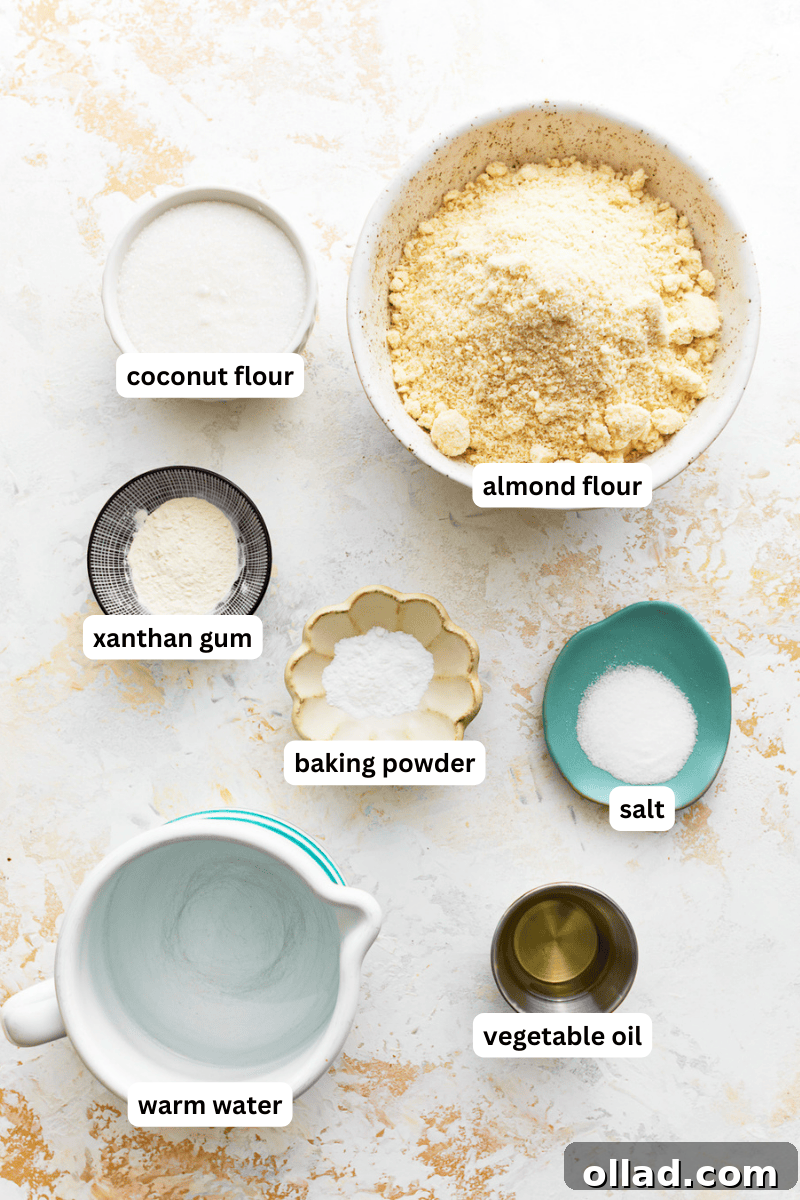
- Almond Flour: The foundation of our tortillas! It’s crucial to use super fine blanched almond flour, not almond meal. Blanched almond flour has had its skins removed and is ground to a much finer consistency, resulting in tortillas that are smoother, more pliable, and less grainy. This fine texture is key to mimicking traditional flour tortillas.
- Coconut Flour: A small but mighty addition, coconut flour provides essential structure and absorbency. Without it, almond flour tortillas can sometimes be too delicate. Coconut flour helps prevent them from being overly fragile, contributing to their sturdiness and making them easier to handle and fill without tearing.
- Xanthan Gum: This natural gum is a gluten-free baker’s best friend. In the absence of gluten, xanthan gum acts as a powerful binding agent, providing elasticity and preventing the tortillas from becoming crumbly. It’s what gives the dough its stretch and contributes significantly to the bendable, foldable nature of the finished product. If you absolutely don’t have xanthan gum, you *could* try guar gum or omit it, but be aware that the texture may differ, as the recipe is specifically developed with xanthan gum in mind.
- Baking Powder: Just a teaspoon of baking powder provides a subtle lift, creating a slightly softer tortilla that is easier to fold without cracking. It helps to achieve that light, airy texture that is desirable in a good tortilla.
- Salt: A pinch of salt is essential for enhancing the overall flavor profile of your tortillas. It balances the sweetness of the flours and brings out the best in whatever fillings you choose.
- Vegetable Oil: Oil is vital for adding moisture and increasing the pliability of the dough. It helps create a tender, soft tortilla that won’t dry out. I typically use canola oil due to its neutral flavor, but any mild-tasting vegetable oil, like light olive oil or sunflower oil, will work beautifully.
- Warm Water: The temperature of the water is important here. It should be warm, but definitely not boiling. Warm water helps to activate the xanthan gum and ensures that all the dry ingredients hydrate properly, leading to a cohesive and workable dough.
Expert Tips for Mastering Almond Flour Tortillas
Achieving perfectly pliable and delicious almond flour tortillas is simple, but a few key techniques can elevate your results from good to exceptional. Pay attention to these expert tips for a flawless batch every time:
- Achieving the Right Dough Consistency: Before introducing any liquids, always combine all your dry ingredients thoroughly. This critical step ensures that the xanthan gum, in particular, is evenly distributed throughout the flours, which prevents clumping and guarantees uniform elasticity in your dough.
- The Importance of Resting Time: Do not underestimate the power of letting your dough rest. After mixing, covering the dough balls and allowing them to sit for about 10 minutes is crucial. This period gives the almond and coconut flours ample time to fully absorb the moisture, resulting in a significantly more pliable and less sticky dough that is much easier to roll out without tearing. This rest is a key reason why you won’t need a specialized tortilla press!
- Precise Flour Measurement: The accuracy of your flour measurements is paramount in gluten-free baking. I highly recommend using the ‘spoon and measure’ method for both almond and coconut flour. Instead of scooping the flour directly from the bag, which can pack it densely and lead to excess flour, use a spoon to lightly fill your measuring cup, then level it off with the straight edge of a knife. This technique ensures you get the exact amount needed for the perfect dough consistency.
- Rolling Technique for Even Tortillas: The dough for these tortillas, while forgiving, still benefits from the right rolling technique. Always roll out your dough portions by placing them between two sheets of parchment paper or plastic wrap. Attempting to roll directly on a countertop or with an uncovered rolling pin will almost certainly result in the dough sticking and tearing. The protective layers allow for a smooth, thin, and even roll every single time.
- Optimal Cooking Surface: The type of skillet you use can make a difference. I prefer a well-seasoned cast iron pan or a high-quality ceramic non-stick skillet. These surfaces provide even heat distribution and naturally prevent sticking. If your skillet is not non-stick, you might need to add a very light brush of oil before cooking each tortilla to ensure they don’t adhere to the pan.
- Always Check Your Labels: While every ingredient in this recipe is inherently gluten-free, it’s always a good practice to double-check the labels, especially if you have severe gluten sensitivities or Celiac disease. Some brands may process their products on shared equipment or in facilities that also handle wheat or gluten-containing ingredients, leading to potential cross-contamination.
The Health Benefits of Almond Flour Tortillas
Beyond their delightful taste and versatility, almond flour tortillas offer a wealth of health advantages that set them apart from their traditional counterparts. They are a smart choice for a conscious lifestyle, contributing positively to your well-being in several ways.
Firstly, these tortillas are significantly lower in carbohydrates compared to wheat-based tortillas, making them an excellent staple for ketogenic, paleo, or general low-carb diets. This reduction in net carbs helps in managing blood sugar levels and can contribute to sustained energy throughout the day.
Secondly, almond flour is a powerhouse of nutrition. It’s naturally rich in protein and dietary fiber. The protein content helps in muscle repair and growth, while the fiber is crucial for digestive health, promoting regularity and contributing to a feeling of fullness. This satiety factor means you’re less likely to overeat, aiding in weight management.
Moreover, almond flour is packed with healthy monounsaturated fats, similar to those found in olive oil and avocados. These fats are known to support heart health and can help lower bad cholesterol levels. Almonds are also a great source of essential vitamins and minerals, including Vitamin E (a potent antioxidant), magnesium, and calcium, all of which play vital roles in overall bodily function, from bone health to immune support.
Finally, the fact that this recipe is gluten-free, dairy-free, and egg-free makes these tortillas an inclusive option for many. Whether you have specific dietary restrictions, allergies, or simply prefer plant-based ingredients, these tortillas ensure that everyone can enjoy a delicious and wholesome meal without compromise. Incorporating them into your diet is a simple step towards a more nutritious and mindful eating journey.
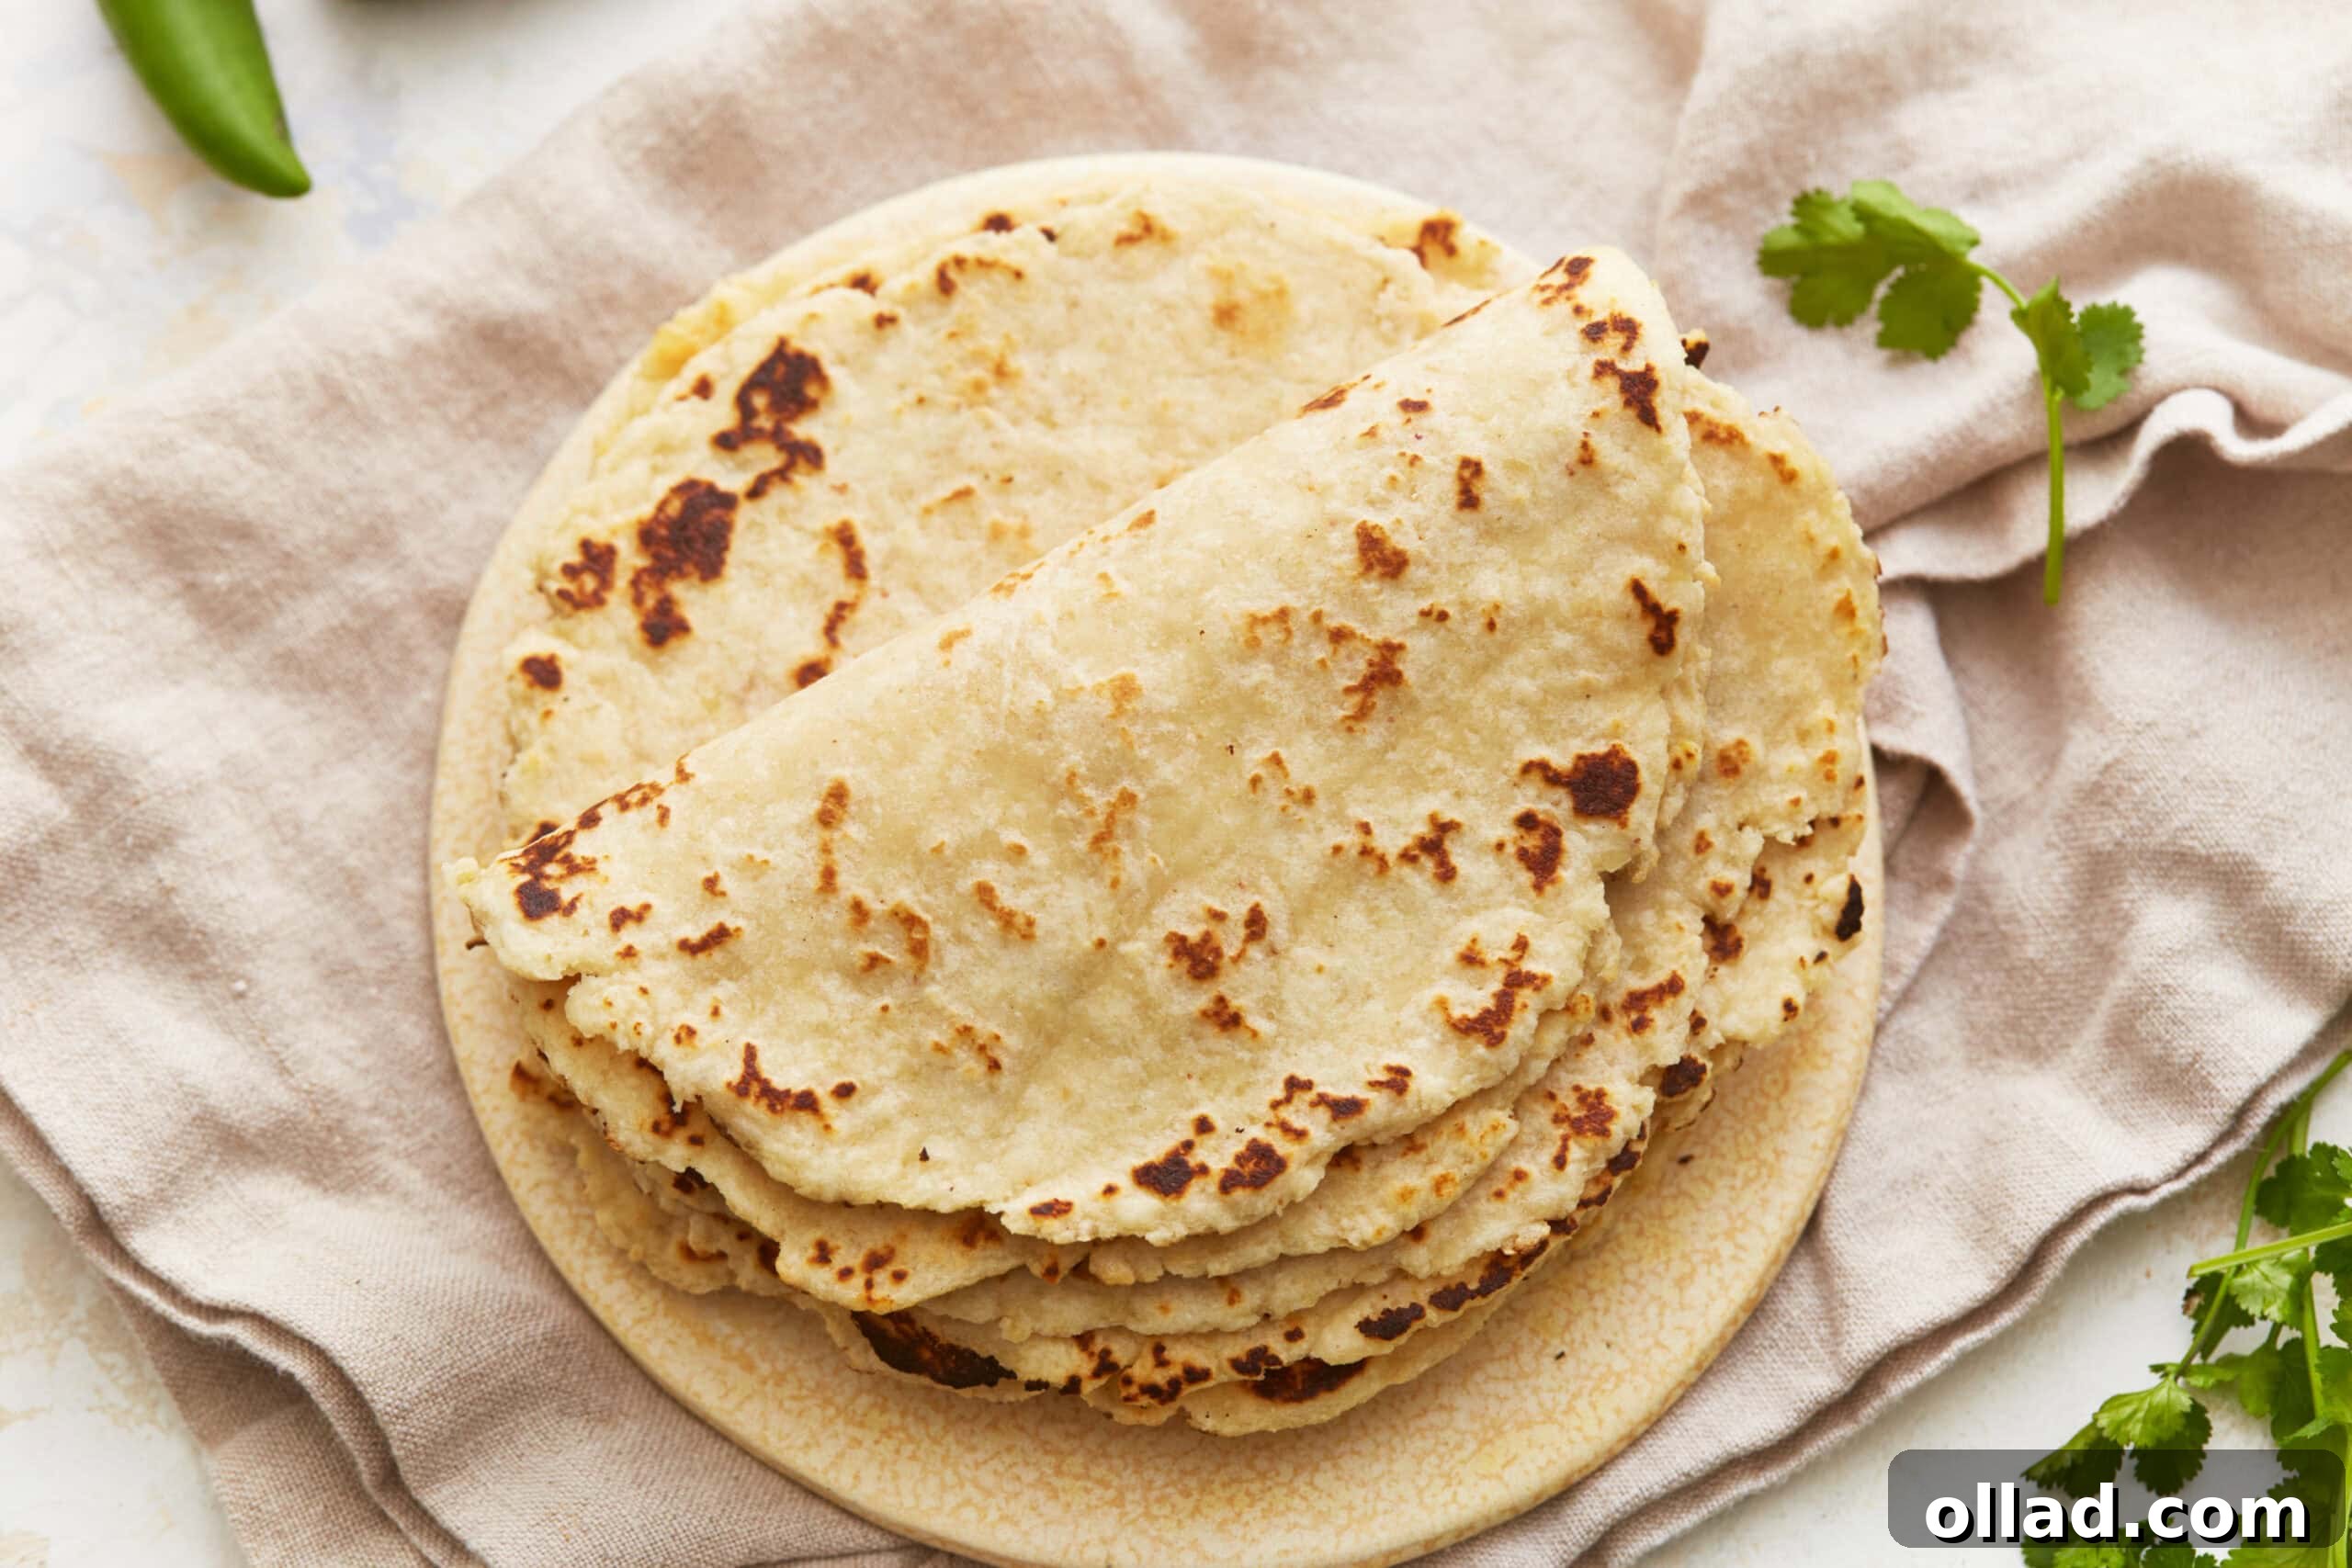
Culinary Versatility: Beyond Basic Wraps
The beauty of these homemade almond flour tortillas lies not just in their healthy composition but also in their incredible versatility. They are far more than just a vessel for your taco night; their sturdy yet pliable nature opens up a world of culinary possibilities. Here are some fantastic ways to integrate them into your meal rotation:
- Homemade Tortilla Chips: This is a favorite in my household! Simply cut your cooked tortillas into triangles, brush lightly with oil, sprinkle with salt or your favorite seasoning, and either bake them until crispy or fry them lightly in a skillet for a few minutes. They make fantastic, healthier chips for dipping into salsa or guacamole.
- Mini Pizzas & Quesadillas: Use these tortillas as a low-carb crust for individual pizzas. Spread with a little tomato sauce, sprinkle with cheese and your favorite toppings, then bake until bubbly and golden. For quick quesadillas, simply fill with cheese and other ingredients, fold in half, and cook in a skillet until the cheese is melted and gooey.
- Breakfast Wraps & Lunch Burritos: Start your day with a nutritious breakfast wrap filled with scrambled eggs, avocado, and salsa. For lunch, load them up with your preferred protein, fresh veggies, and a flavorful sauce for a satisfying and easy-to-pack meal.
- Savory Tacos & Enchiladas: Of course, they are perfect for classic tacos! Fill with seasoned ground meat or plant-based alternatives, crisp lettuce, cheese, and a dollop of sour cream or a vegan equivalent. They also hold up wonderfully when lightly warmed and filled for simple, gluten-free enchiladas.
- Sweet Dessert Wraps: Don’t limit yourself to savory! Warm a tortilla, spread with nut butter, sliced banana, and a drizzle of honey or maple syrup for a quick, wholesome dessert or snack.
Their neutral flavor profile means they’ll beautifully complement both bold and subtle ingredients, making them an indispensable component of a creative and healthy kitchen.
Can You Make Your Own Almond Flour?
Absolutely! Making your own almond flour at home is a rewarding process and ensures you have the freshest ingredients for your tortillas. It’s also a great way to save money and have more control over the fineness of your flour. I’ve developed a comprehensive guide on how to make almond flour right in your own kitchen. This detailed tutorial covers all my tried-and-true tips and tricks, from blanching the almonds to achieving the perfect fine consistency, ensuring you get the best results every time. It’s easier than you think and can be a fantastic way to elevate your gluten-free baking.
Storing and Freezing Your Homemade Tortillas
One of the many benefits of making these almond flour tortillas is their excellent shelf life and freezer-friendliness, making them perfect for meal prepping. Proper storage ensures they retain their fresh taste and pliable texture for days or even months:
- For Short-Term Storage (Refrigeration): Once your almond flour tortillas have cooled completely to room temperature (this is crucial to prevent moisture buildup and sogginess), simply stack them in an airtight container or a resealable bag. They will keep beautifully in the refrigerator for 3-4 days. When you’re ready to use them, a quick reheat will bring them back to their soft, pliable best.
- For Long-Term Storage (Freezing): These tortillas are fantastic for freezing, allowing you to have a ready supply whenever cravings strike. To prevent them from sticking together in the freezer, place a piece of parchment paper between each cooled tortilla before stacking. Then, transfer the stack to a freezer-safe bag or container. They can be frozen for an impressive 2-3 months.
- Reheating Frozen Tortillas: To reheat, you have a couple of options. You can transfer them from the freezer to the refrigerator to thaw overnight. For a quicker thaw, briefly microwave them until they are warm and pliable again. For the best texture, especially if you want a slight crispness, gently warm individual tortillas in a dry skillet over medium heat for about 20-30 seconds per side. Alternatively, a quick 20-second zap in the microwave will also do the trick to warm them up.
Always remember the golden rule: ensure your tortillas are completely cool before storing them. This small step makes a significant difference in preventing unwanted moisture and maintaining their perfect texture.
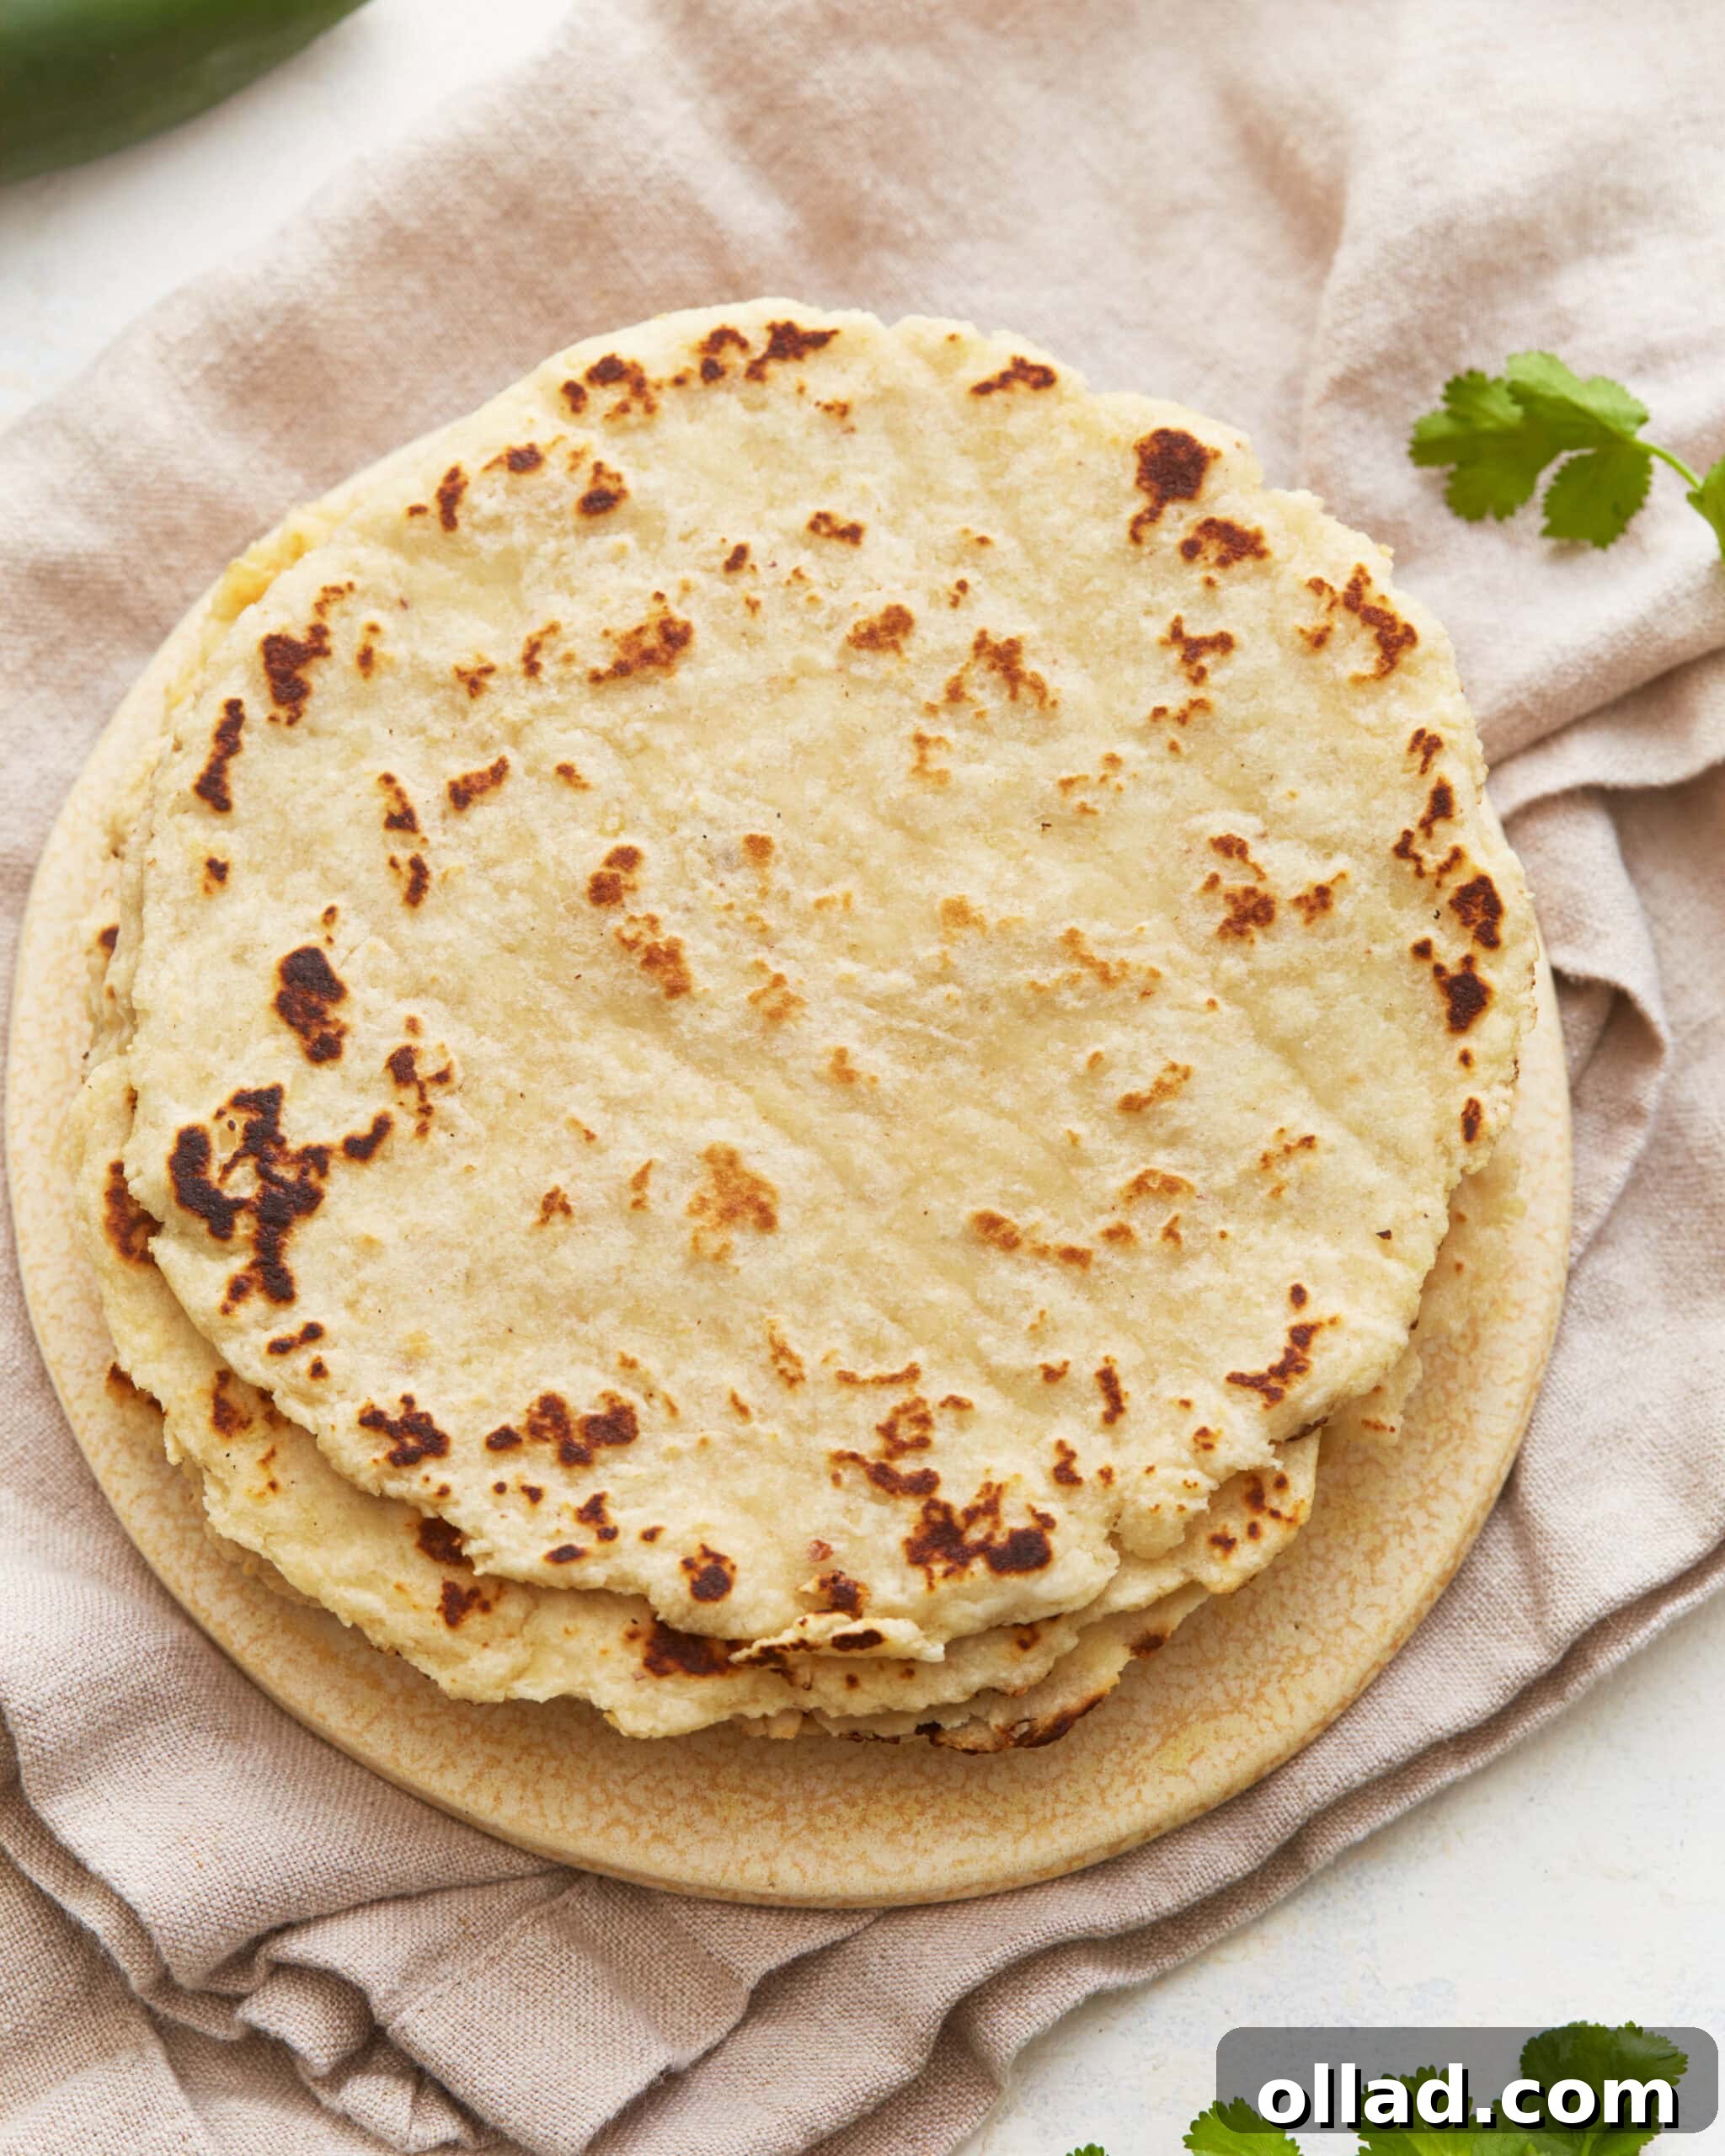
More Delicious Almond Flour Recipes to Explore
If you’ve fallen in love with the versatility and health benefits of almond flour through these tortillas, you’re in for a treat! Almond flour is a fantastic ingredient for a wide array of gluten-free recipes. Here are some more of my favorite almond flour creations that you might enjoy:
- Almond Flour Bread: A hearty and tender loaf, perfect for sandwiches or toast.
- Almond Flour Pumpkin Bread: A moist and flavorful seasonal delight.
- Almond Flour Pancakes: Fluffy and satisfying, ideal for a wholesome breakfast.
- Almond Flour Biscuits: Light, flaky, and perfect with any meal.
- … and many more Almond Flour Recipes await your discovery!
Almond Flour Tortillas: The Full Recipe Card
Almond Flour Tortillas
A simple, healthy, and versatile recipe for homemade gluten-free, dairy-free, and egg-free tortillas that are low in carbs and packed with protein. Perfect for quick lunches or meal prep!
- By: Sabine Venier
- Servings: 8 servings
- Prep Time: 20 minutes
- Cook Time: 10 minutes
- Total Time: 30 minutes
Ingredients
- 2 cups super fine blanched almond flour
- ¼ cup coconut flour
- 1 tablespoon xanthan gum
- 1 teaspoon baking powder
- ½ teaspoon salt
- 1 tablespoon vegetable oil (such as canola or light olive oil)
- 1 cup warm water (not boiling)
Instructions
- In a large mixing bowl, thoroughly whisk together the almond flour, coconut flour, xanthan gum, baking powder, and salt until all dry ingredients are evenly distributed.
- Pour the vegetable oil and warm water into the bowl with the dry ingredients. Stir comprehensively until a cohesive dough begins to form. You may need to use your hands to gently knead the dough to achieve a smooth and well-mixed consistency.
- Divide the dough into 8 equal portions. Roll each portion into a smooth ball, then gently flatten it into a disc shape. Cover these dough balls with a clean kitchen towel and allow them to rest for 10 minutes. This resting period is crucial for the flours to absorb moisture, making the dough more pliable and easier to roll out.
- After the resting time, take one dough ball and place it between two sheets of parchment paper or plastic wrap. Using a rolling pin, roll the dough out into a thin, round tortilla, aiming for a diameter of about 6-7 inches. Repeat this process for all remaining dough portions.
- Heat a non-stick skillet or a well-seasoned cast iron pan over medium heat. Once the pan is hot, carefully transfer one rolled tortilla onto the dry skillet. Cook for 1-2 minutes on each side, or until distinct golden-brown spots appear and the tortilla is lightly cooked through. Adjust the heat as needed to prevent any burning.
- Once cooked, stack the tortillas on a plate and cover them with a clean kitchen towel to keep them warm and soft until you are ready to serve. Fill these versatile tortillas with your favorite savory or sweet ingredients and enjoy!
Recipe Notes for Success
- Dry First: Ensure dry ingredients are well combined before adding liquids to prevent xanthan gum clumping.
- Prevent Sticking: Always roll dough between two sheets of parchment paper or plastic wrap.
- Don’t Skip the Rest: The 10-minute rest is vital for dough manageability.
- Accurate Flour Measurement: Use the ‘spoon and measure’ method for flours.
- Best Skillet: A well-seasoned cast iron or ceramic non-stick pan is ideal.
- Check Labels: Always verify labels for gluten-free certification if needed for strict dietary requirements.
Storage & Freezing Instructions
- To Store: Let cool completely, then store in an airtight container in the fridge for 3-4 days.
- To Freeze: Layer parchment paper between each cooled tortilla before freezing in a freezer-safe bag for 2-3 months.
- To Reheat: Thaw in the fridge or microwave briefly. Reheat in a dry skillet for 20-30 seconds per side, or microwave for 20 seconds.
Approximate Nutrition Facts (Per Serving)
- Serving: 1 tortilla
- Calories: 194 kcal
- Carbohydrates: 9g
- Protein: 6g
- Fat: 16g
- Saturated Fat: 2g
- Polyunsaturated Fat: 1g
- Monounsaturated Fat: 0.4g
- Trans Fat: 0.01g
- Sodium: 244mg
- Potassium: 4mg
- Fiber: 5g
- Sugar: 1g
- Calcium: 89mg
- Iron: 1mg
Please note: Nutrition information is an estimation calculated automatically and should be used as an approximation.
Recipe Details
- Course: Lunch, Side Dish
- Cuisine: Mexican
How To Make Almond Flour Tortillas: A Visual Guide
Follow these detailed steps, complete with visual cues, to ensure your almond flour tortillas turn out perfectly every time. From mixing the dough to cooking them on the skillet, we’ll walk you through the entire process.
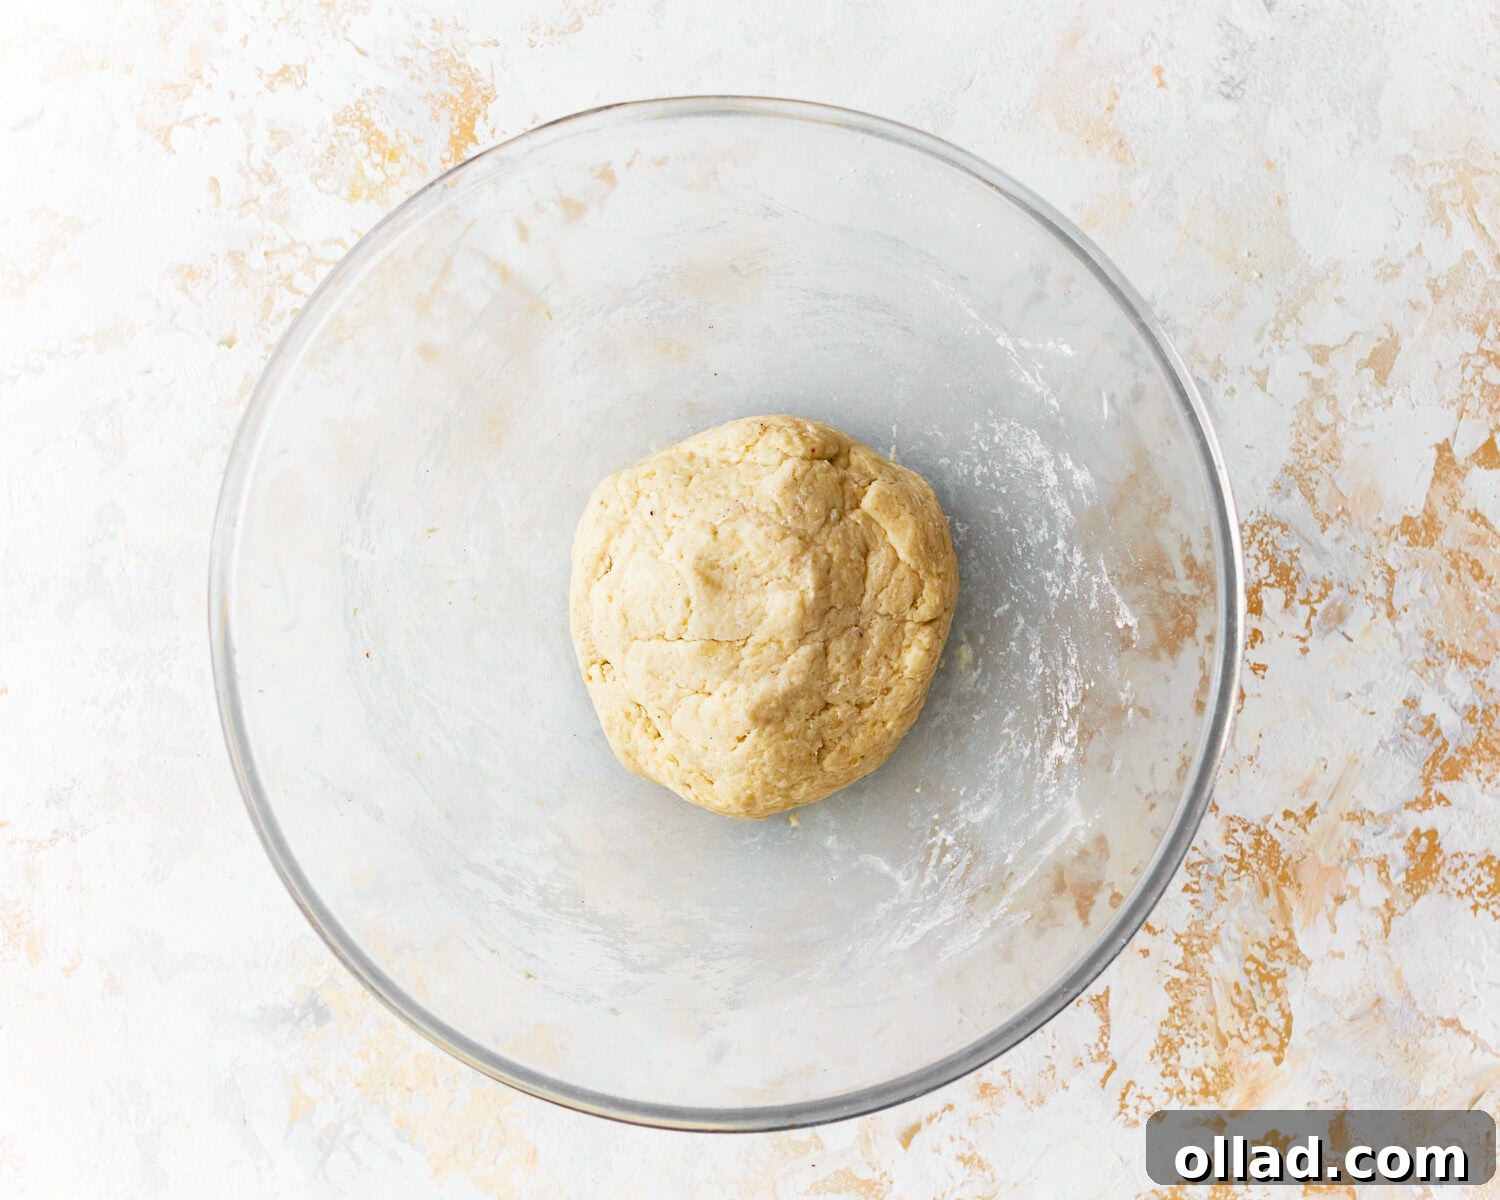
Step 1: Combine Dry and Wet Ingredients. Begin by taking a sizable mixing bowl. Into this bowl, add 2 cups of super fine blanched almond flour, 1/4 cup of coconut flour, 1 tablespoon of xanthan gum, 1 teaspoon of baking powder, and 1/2 teaspoon of salt. Using a whisk, thoroughly combine these dry ingredients, ensuring an even distribution, especially for the xanthan gum. Next, pour in 1 tablespoon of your chosen neutral vegetable oil and 1 cup of warm (ensure it’s not boiling, just comfortably warm) water. Stir the mixture well with a spoon or spatula until it starts to come together. For best results, use your hands to briefly knead the nascent dough. This hands-on step guarantees all components are perfectly incorporated, yielding a smooth, cohesive dough ready for the next stage.
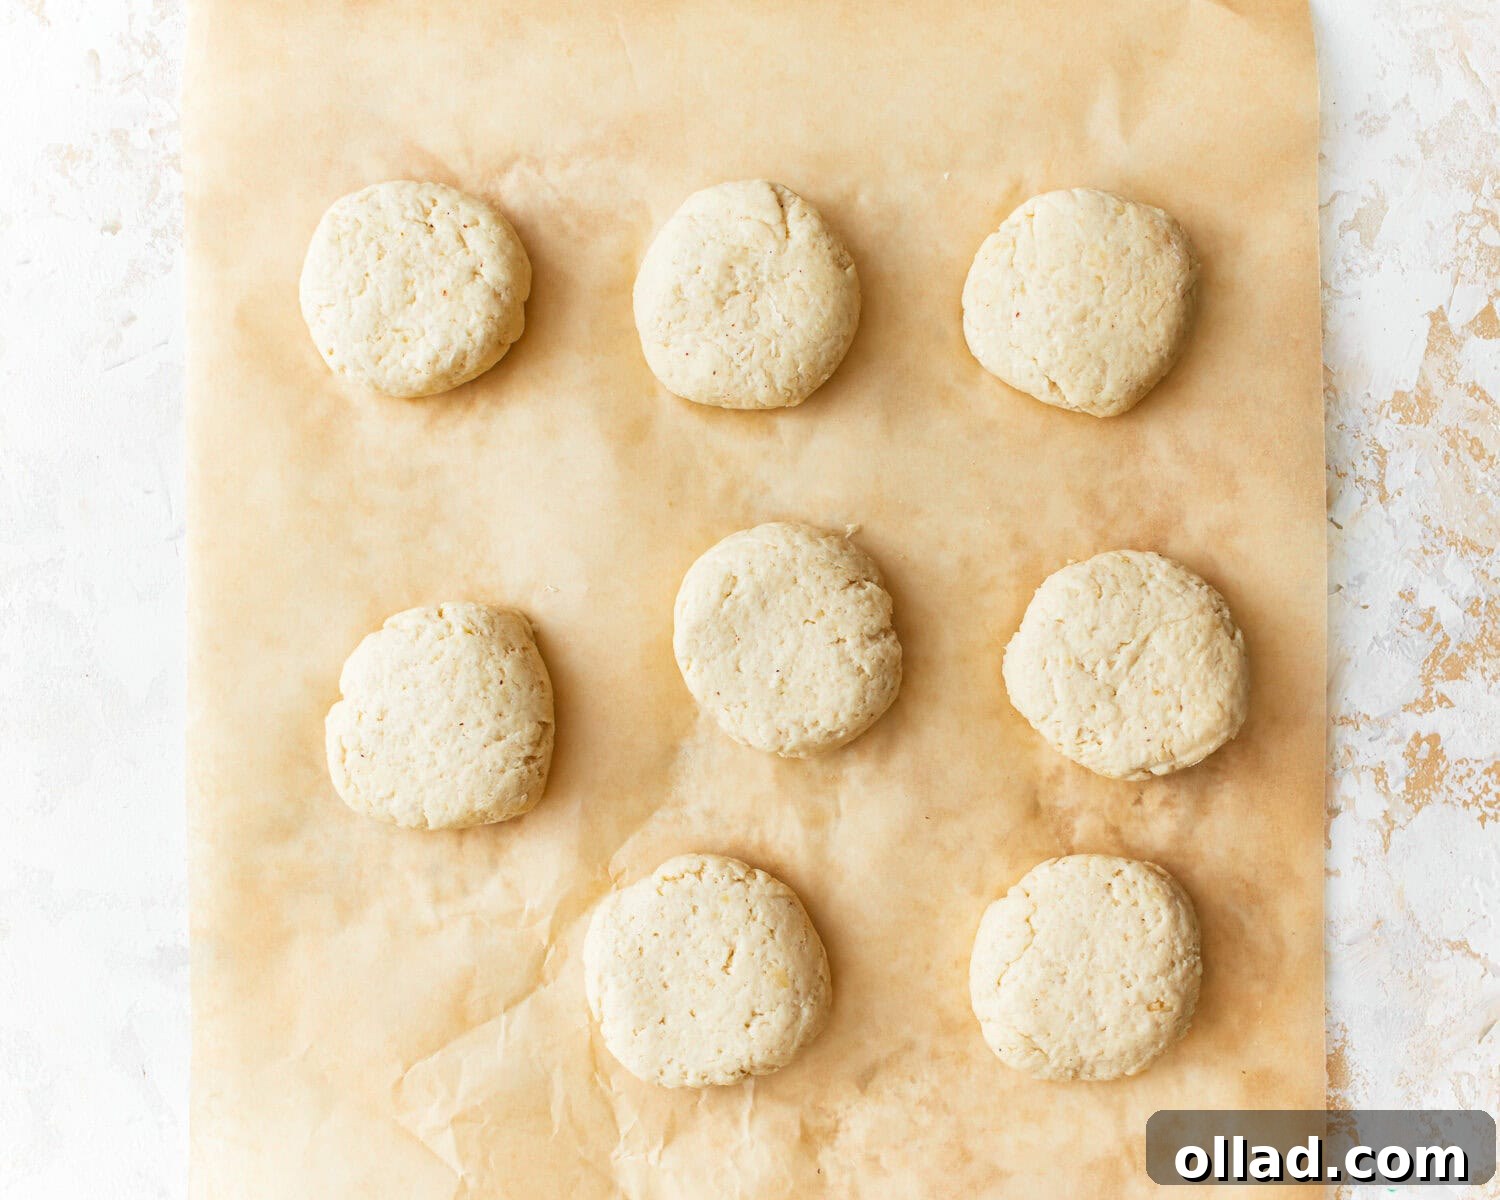
Step 2: Portion and Rest the Dough. Once your dough is smoothly mixed, it’s time to divide it. Carefully separate the dough into 8 equal portions. For precise and uniform tortillas, you might find it helpful to use a kitchen scale to ensure each portion weighs approximately the same. Roll each individual portion into a neat, tight ball between your palms, then gently flatten it into a small disc shape. Arrange these uniformly shaped dough discs onto a baking sheet that has been lined with parchment paper. Crucially, cover the dough balls with a clean, slightly damp kitchen towel. Allow them to rest undisturbed for a minimum of 10 minutes. This resting period is not optional; it’s essential for the flours to fully hydrate, transforming the dough into a more pliable, elastic, and significantly easier-to-roll consistency, which will prevent tearing later on.
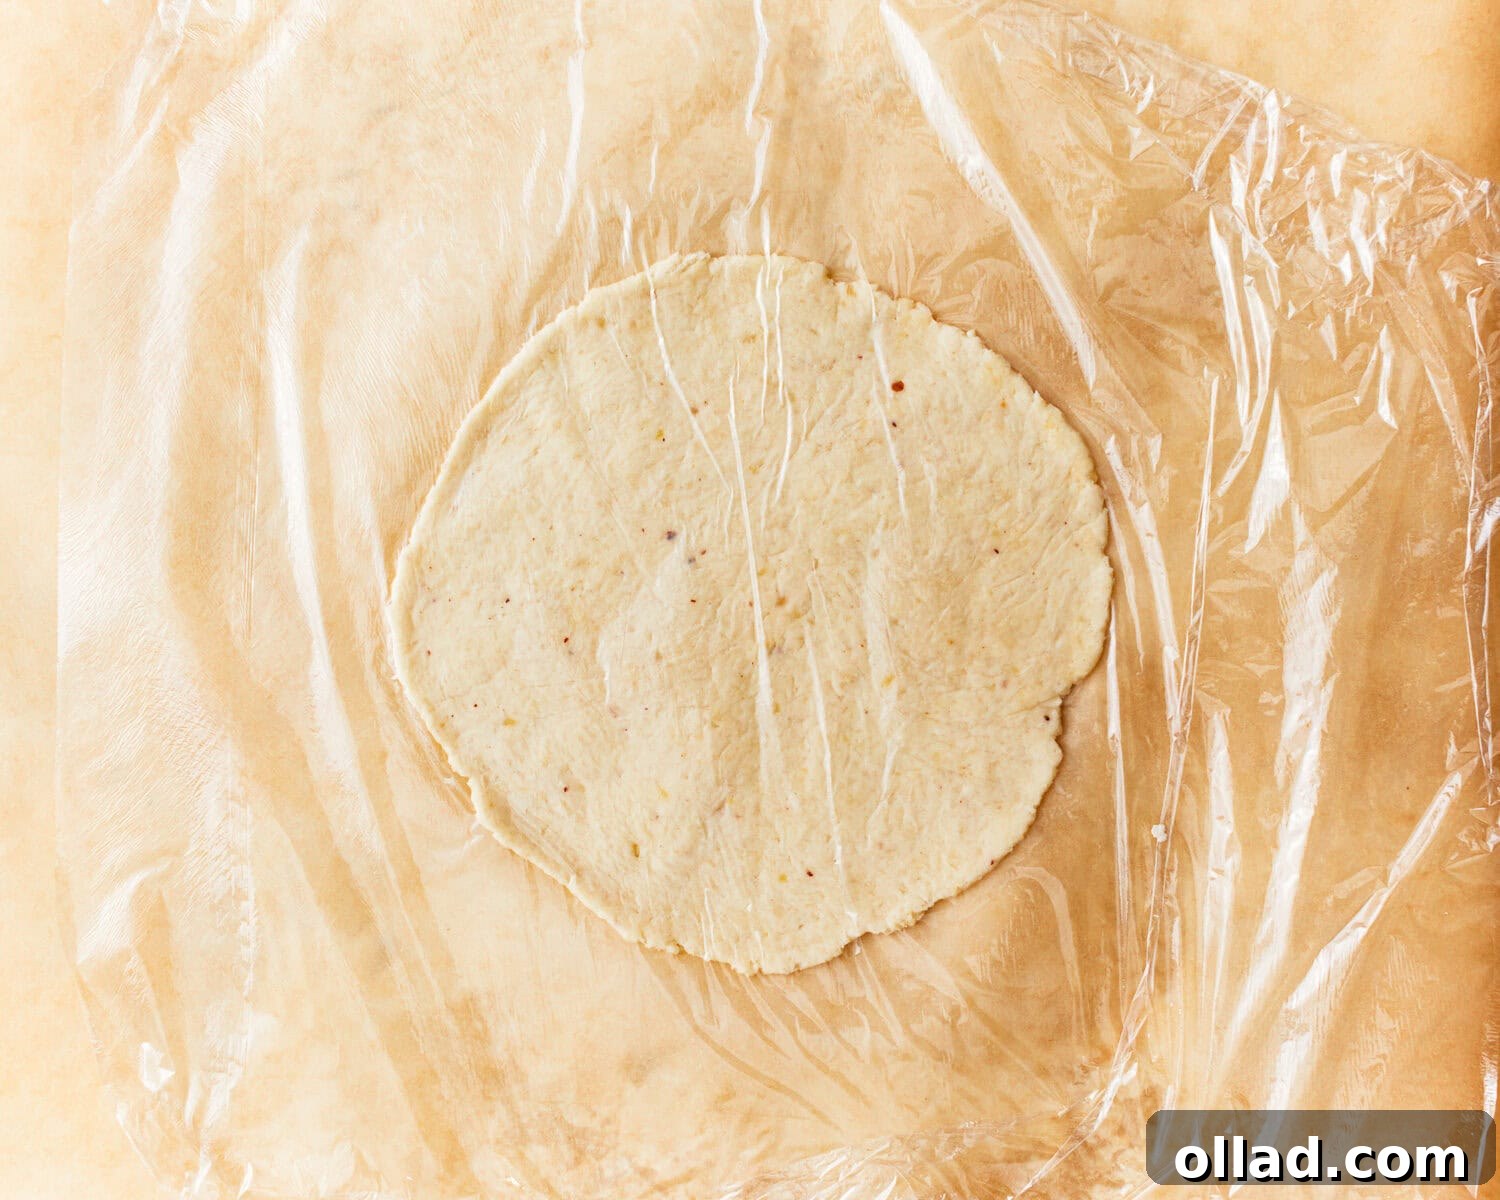
Step 3: Roll Out the Tortillas. With the resting period complete, your dough is now ready to be transformed into thin, round tortillas. Take one dough ball and place it carefully between two fresh sheets of parchment paper or plastic wrap. This specific technique is invaluable; it creates a non-stick barrier, preventing the dough from adhering to your rolling pin or the work surface and ensuring a smooth, even roll every time. Using a rolling pin, apply gentle, consistent pressure from the center outwards, rolling the dough into a thin, circular shape. Aim for a diameter of approximately 6-7 inches, which is the typical size for a soft taco or small wrap. Repeat this precise process for each of the remaining dough balls. To optimize your cooking time, you can start rolling out the next tortilla while the previous one is cooking on the skillet.
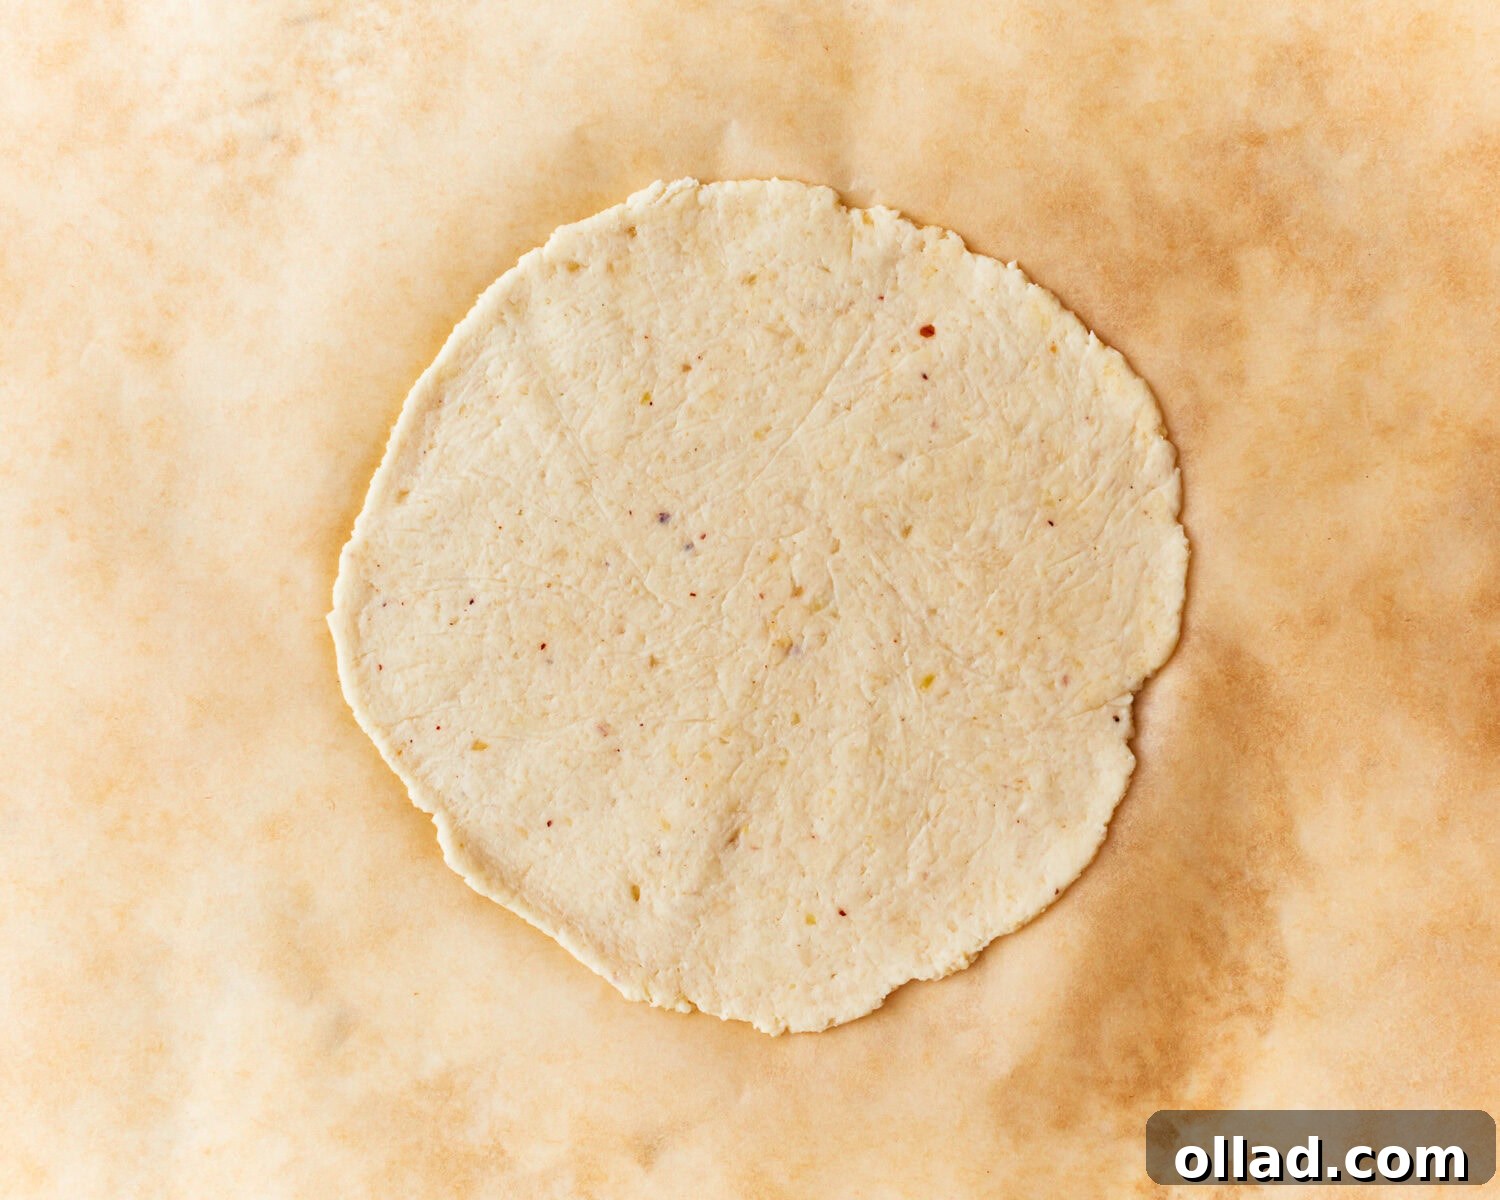
Step 4: Prepare for Cooking. Once you have successfully rolled out a tortilla, gently peel off the top layer of parchment paper or plastic wrap. You’ll be left with a beautifully thin and round tortilla disc, now ready for cooking. Continue this step for all your rolled tortillas, creating a neat stack. As mentioned in the previous step, establishing a workflow where you roll out one tortilla while another is cooking can significantly streamline the entire process. Remember to handle the delicate, rolled dough gently to maintain its perfect shape and prevent any tearing before it hits the heat.
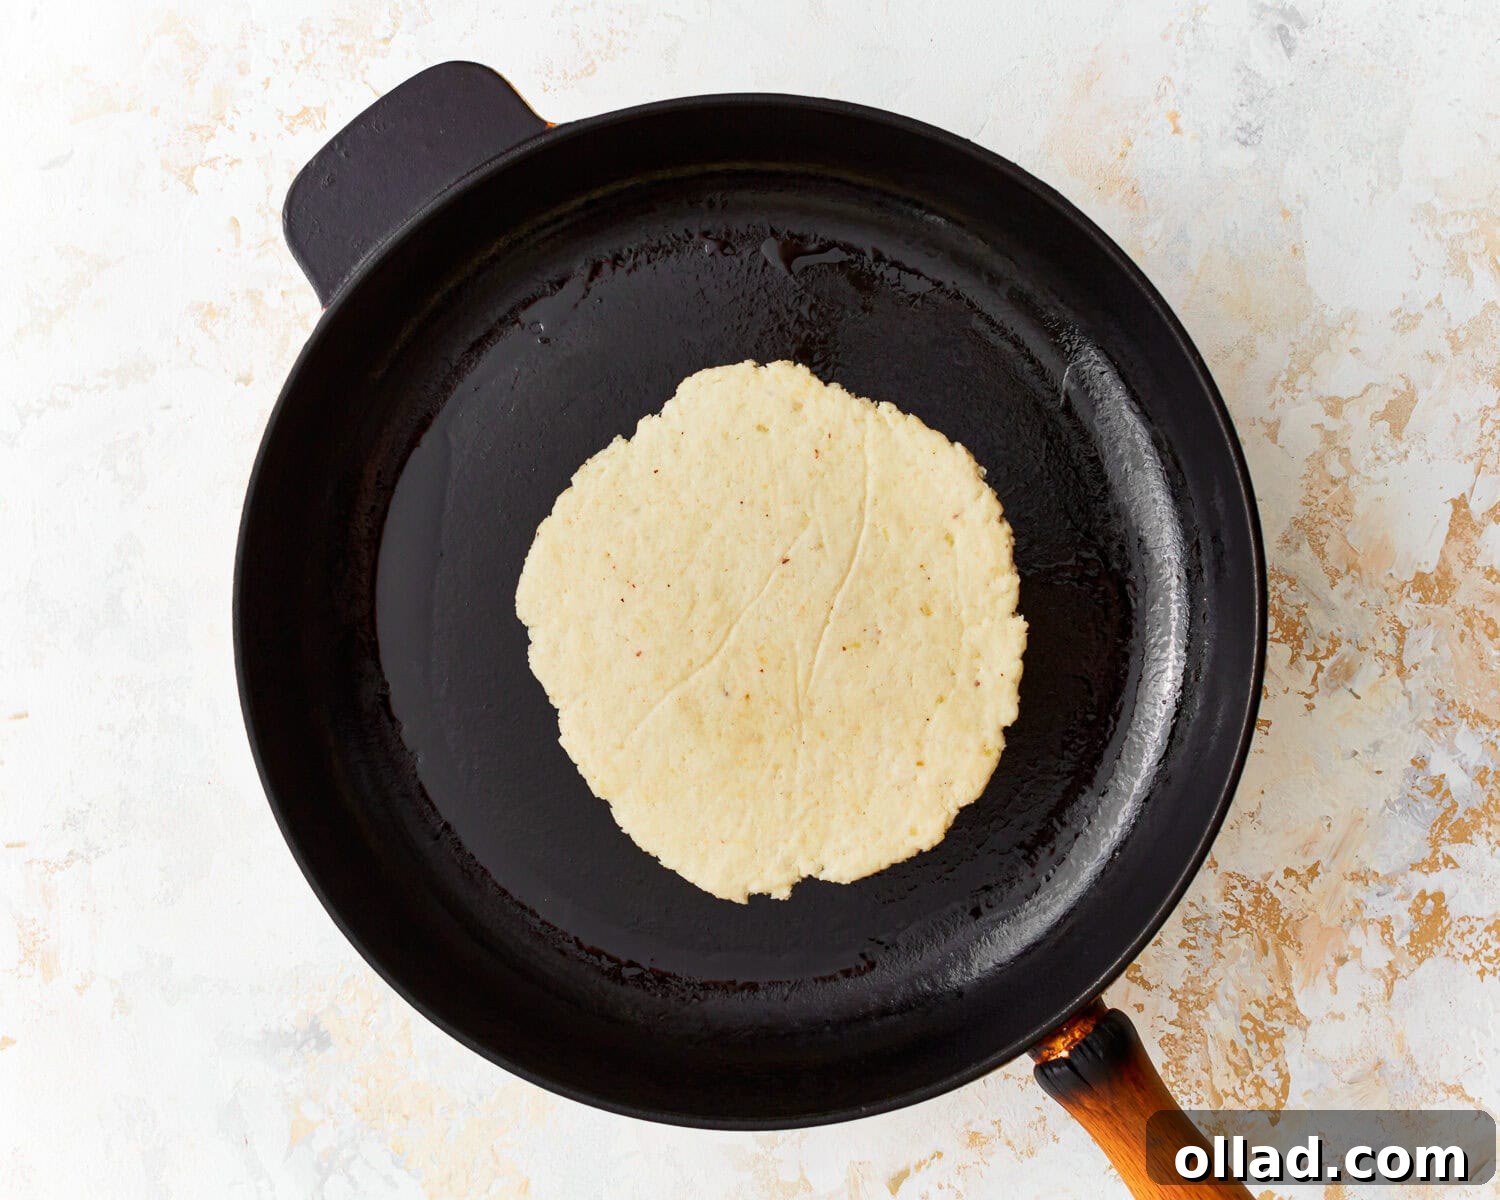
Step 5: Cook Each Tortilla to Perfection. Now for the cooking! Place a reliable non-stick skillet or a well-seasoned cast iron pan over medium-high heat. Allow the pan to preheat sufficiently; it should be hot enough to cook quickly but not so hot that it causes immediate scorching. Once the skillet has reached the ideal temperature, carefully transfer one of your rolled tortillas onto the dry cooking surface. Cook the tortilla for approximately 1-2 minutes on the first side. You’ll observe tell-tale signs that it’s ready to flip: delicate golden-brown spots will begin to appear on the underside, and the edges of the tortilla might start to curl slightly. This indicates that the dough is setting and developing flavor.
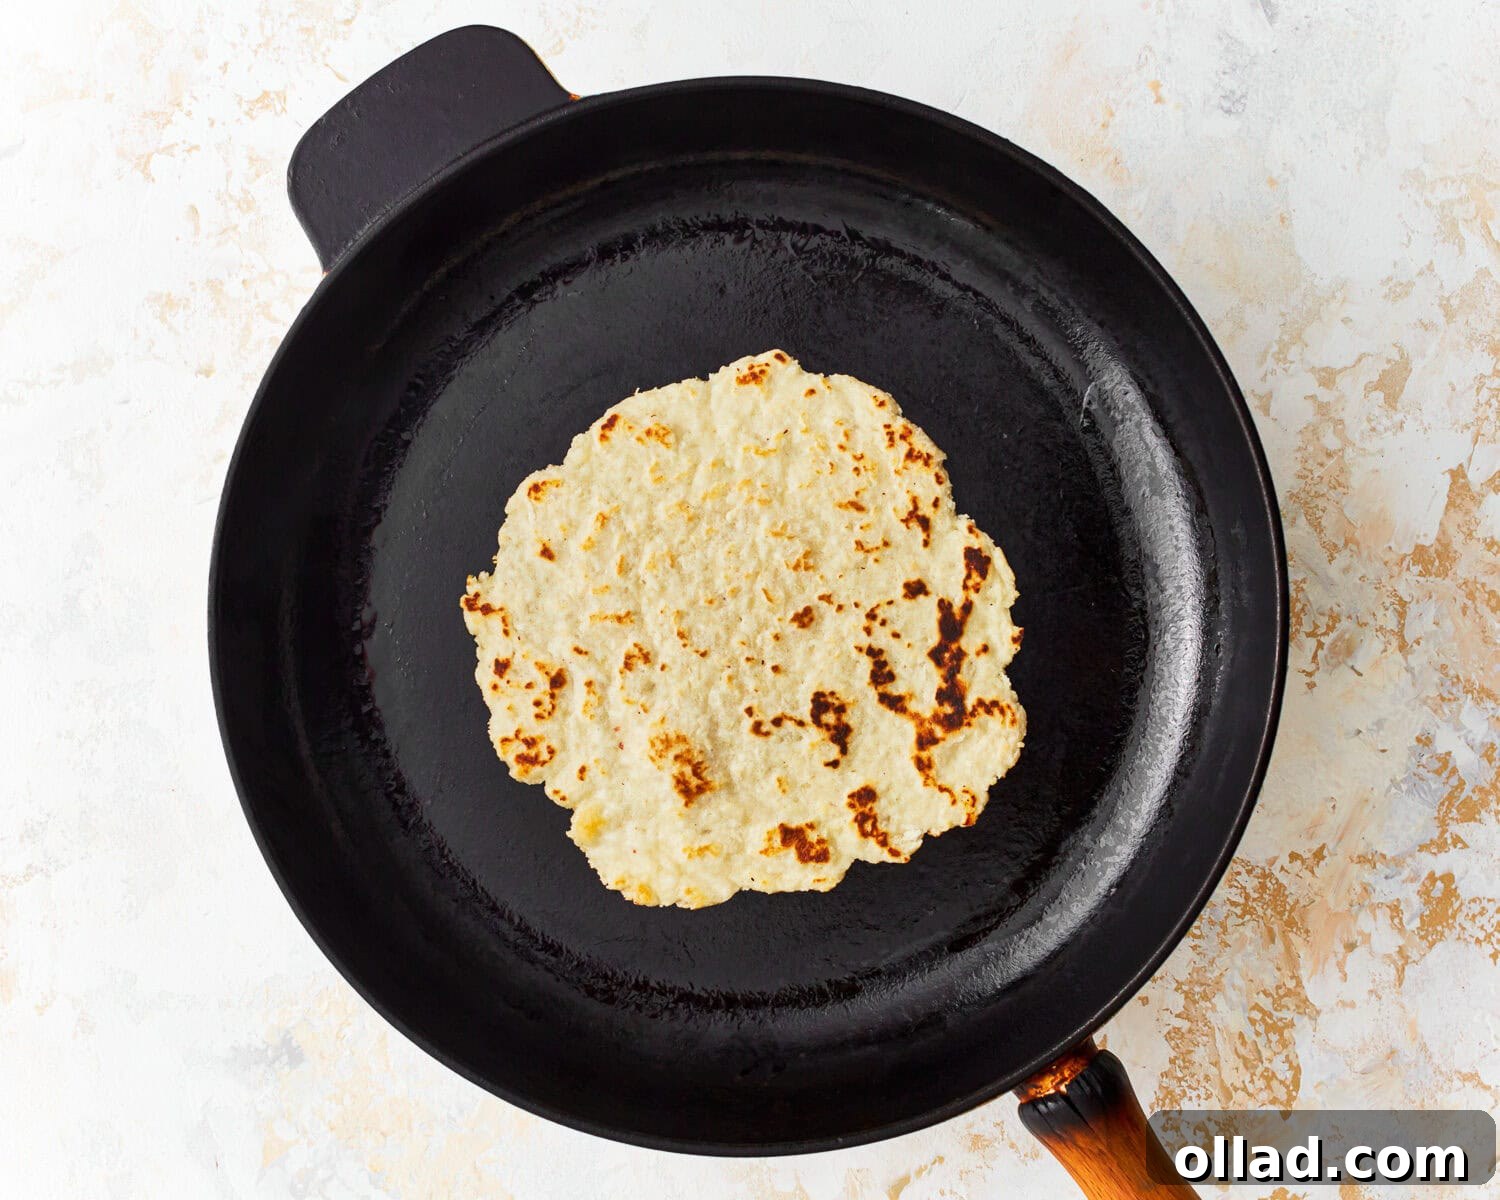
Step 6: Finish Cooking and Keep Warm. After cooking the first side, gently flip the tortilla to its other side using a spatula. Continue cooking for another 1-2 minutes, or until similar golden-brown spots form and the tortilla is fully cooked through and wonderfully pliable. Throughout this process, it’s important to monitor your pan’s temperature closely; adjust the heat as needed to prevent any burning or over-browning. Repeat this cooking procedure with all the remaining tortillas. As each tortilla is finished, immediately transfer it to a plate and cover the stack with a clean kitchen towel. This simple yet effective step traps the steam, ensuring your freshly made almond flour tortillas remain beautifully warm, soft, and ready to embrace your chosen fillings. Serve them immediately with your favorite ingredients and delight in the taste of homemade goodness!
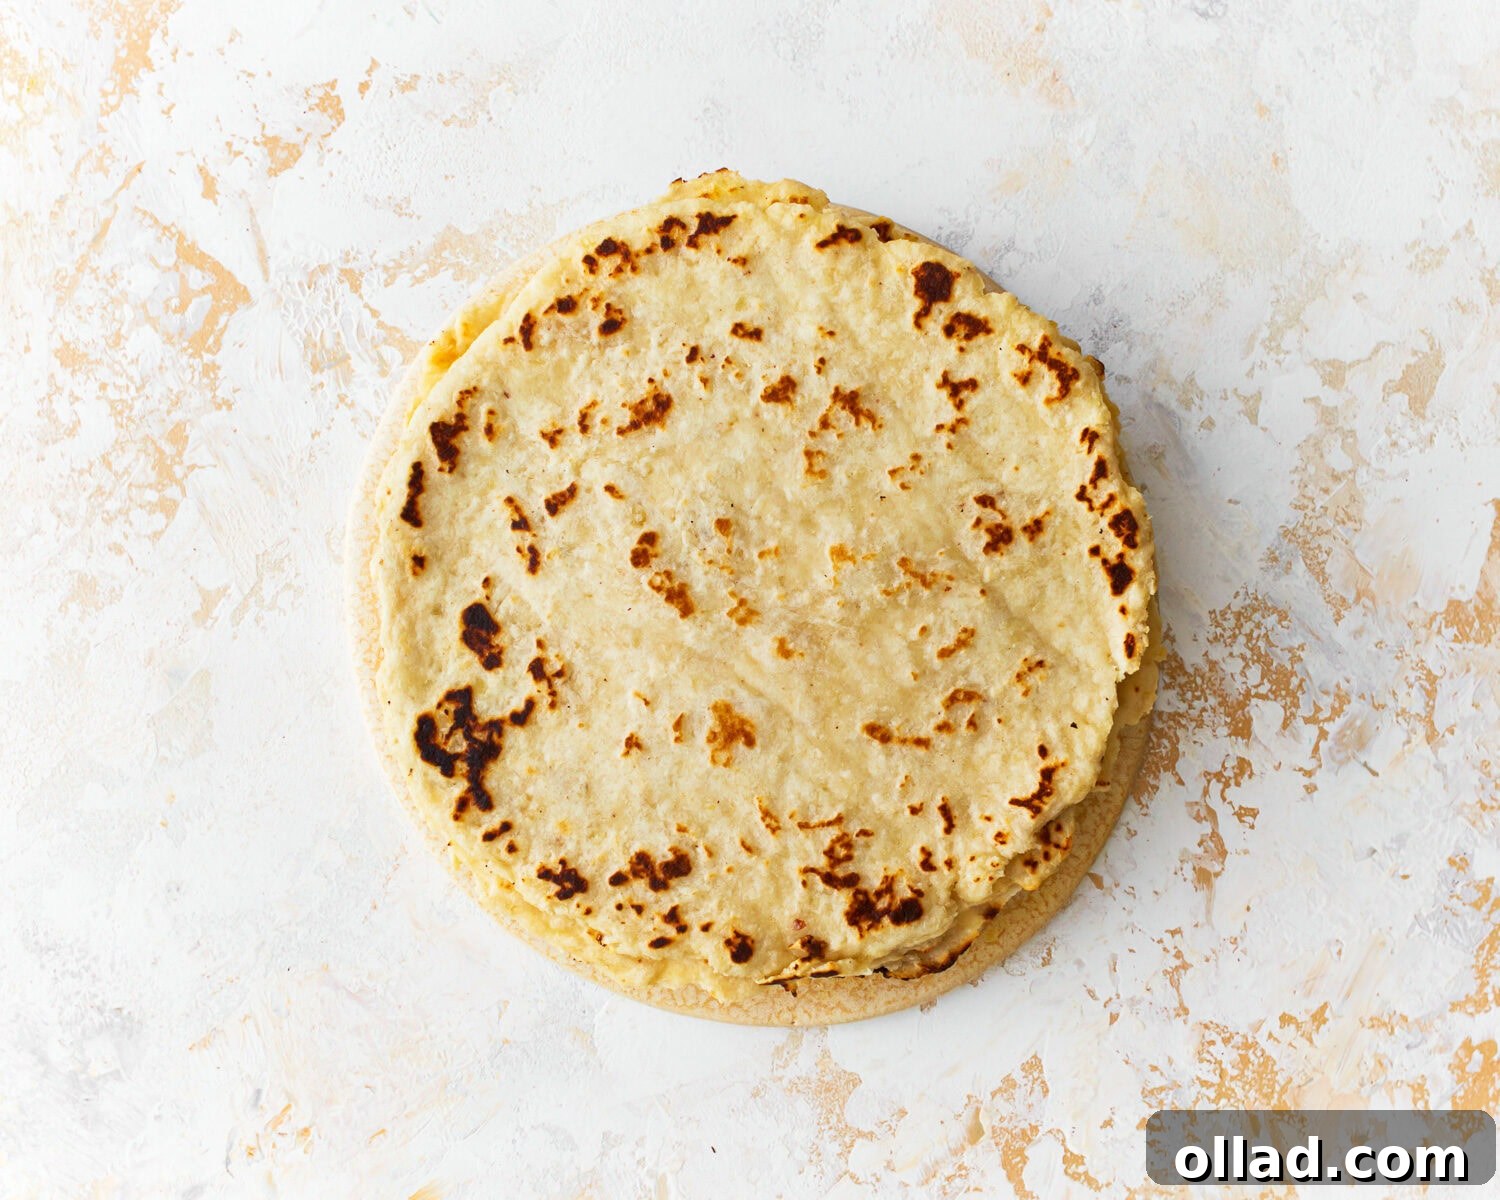
Once all your delicious almond flour tortillas are cooked, stacked, and covered, they are poised to become the star of countless culinary adventures. Their soft yet resilient texture and mild flavor make them the perfect foundation for everything from vibrant breakfast burritos and savory lunch wraps to quick weeknight tacos or even healthier homemade pizza bases. Enjoy the versatility and nutritional benefits of your freshly prepared, wholesome gluten-free tortillas!