
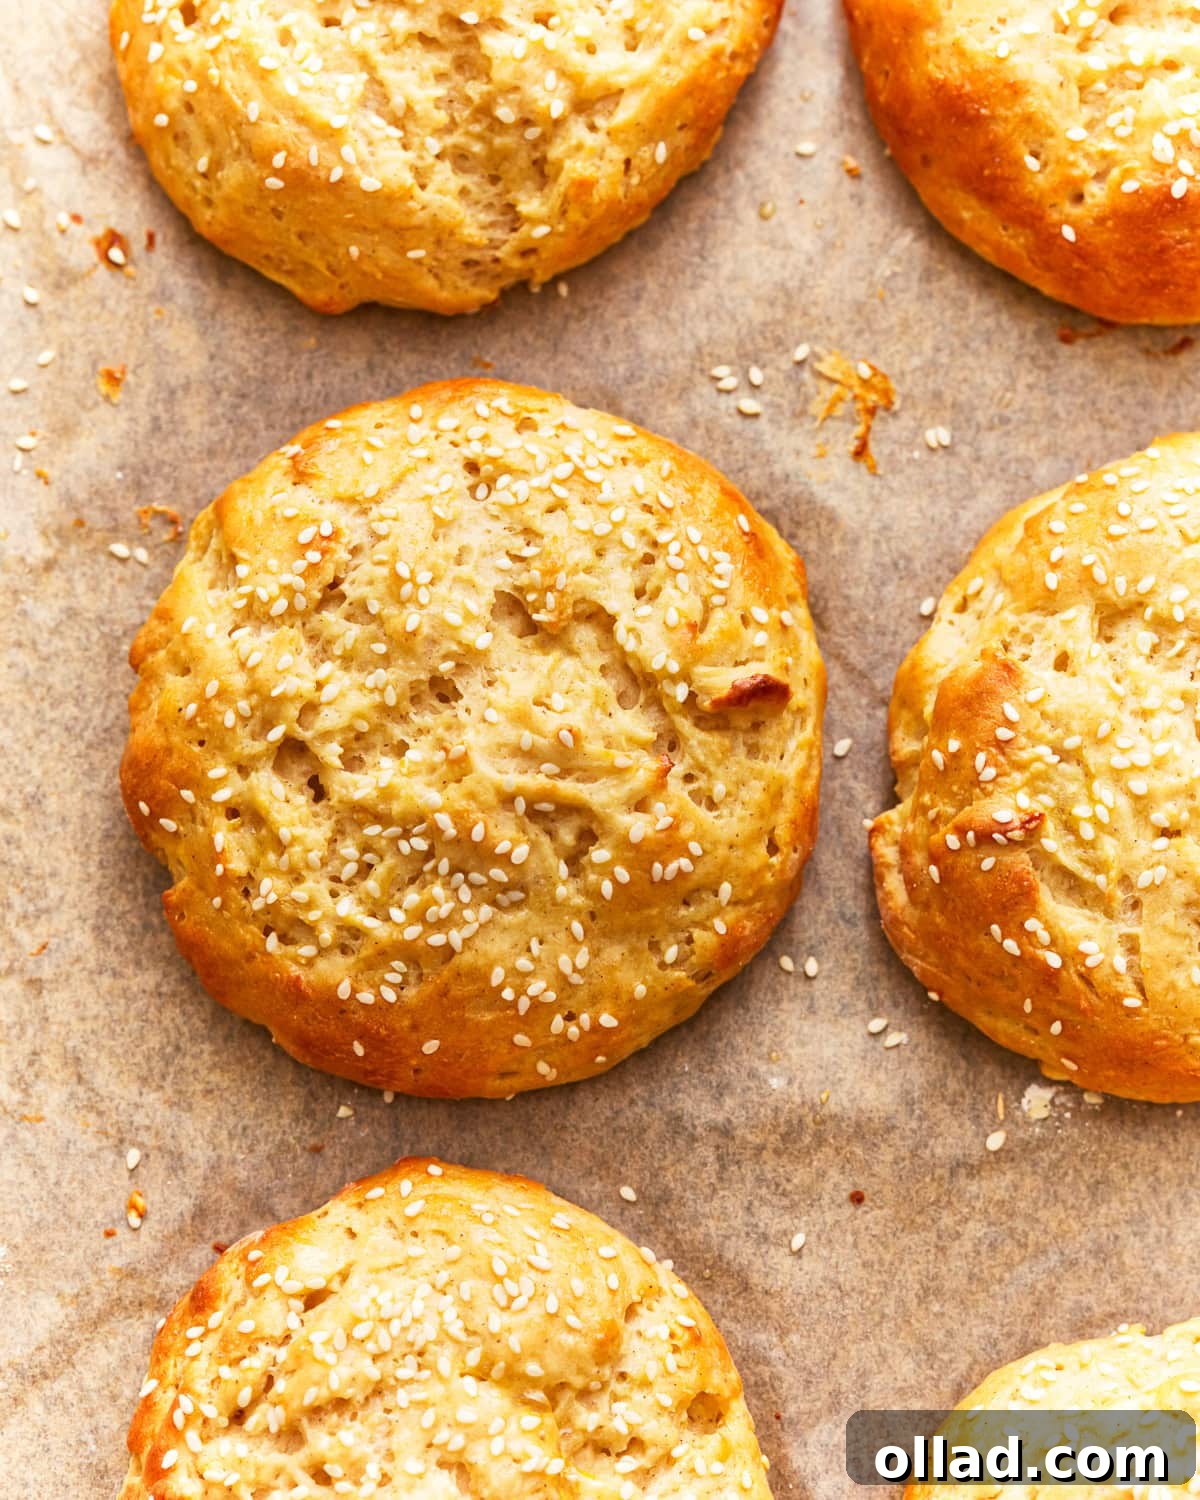
Welcome to grilling season! There’s nothing quite like biting into a juicy burger, but for those of us navigating the world of gluten-free eating, finding the perfect bun can be a challenge. Store-bought options often fall short in texture, flavor, and can be surprisingly expensive. That’s why I’m thrilled to share my go-to homemade gluten-free hamburger bun recipe. It’s incredibly easy to make, delivering consistently flavorful, wonderfully fluffy results that rival any traditional bun. These buns stay soft for days and can be effortlessly made dairy-free, ensuring everyone at your table can enjoy them. Say goodbye to bun-less burgers forever!
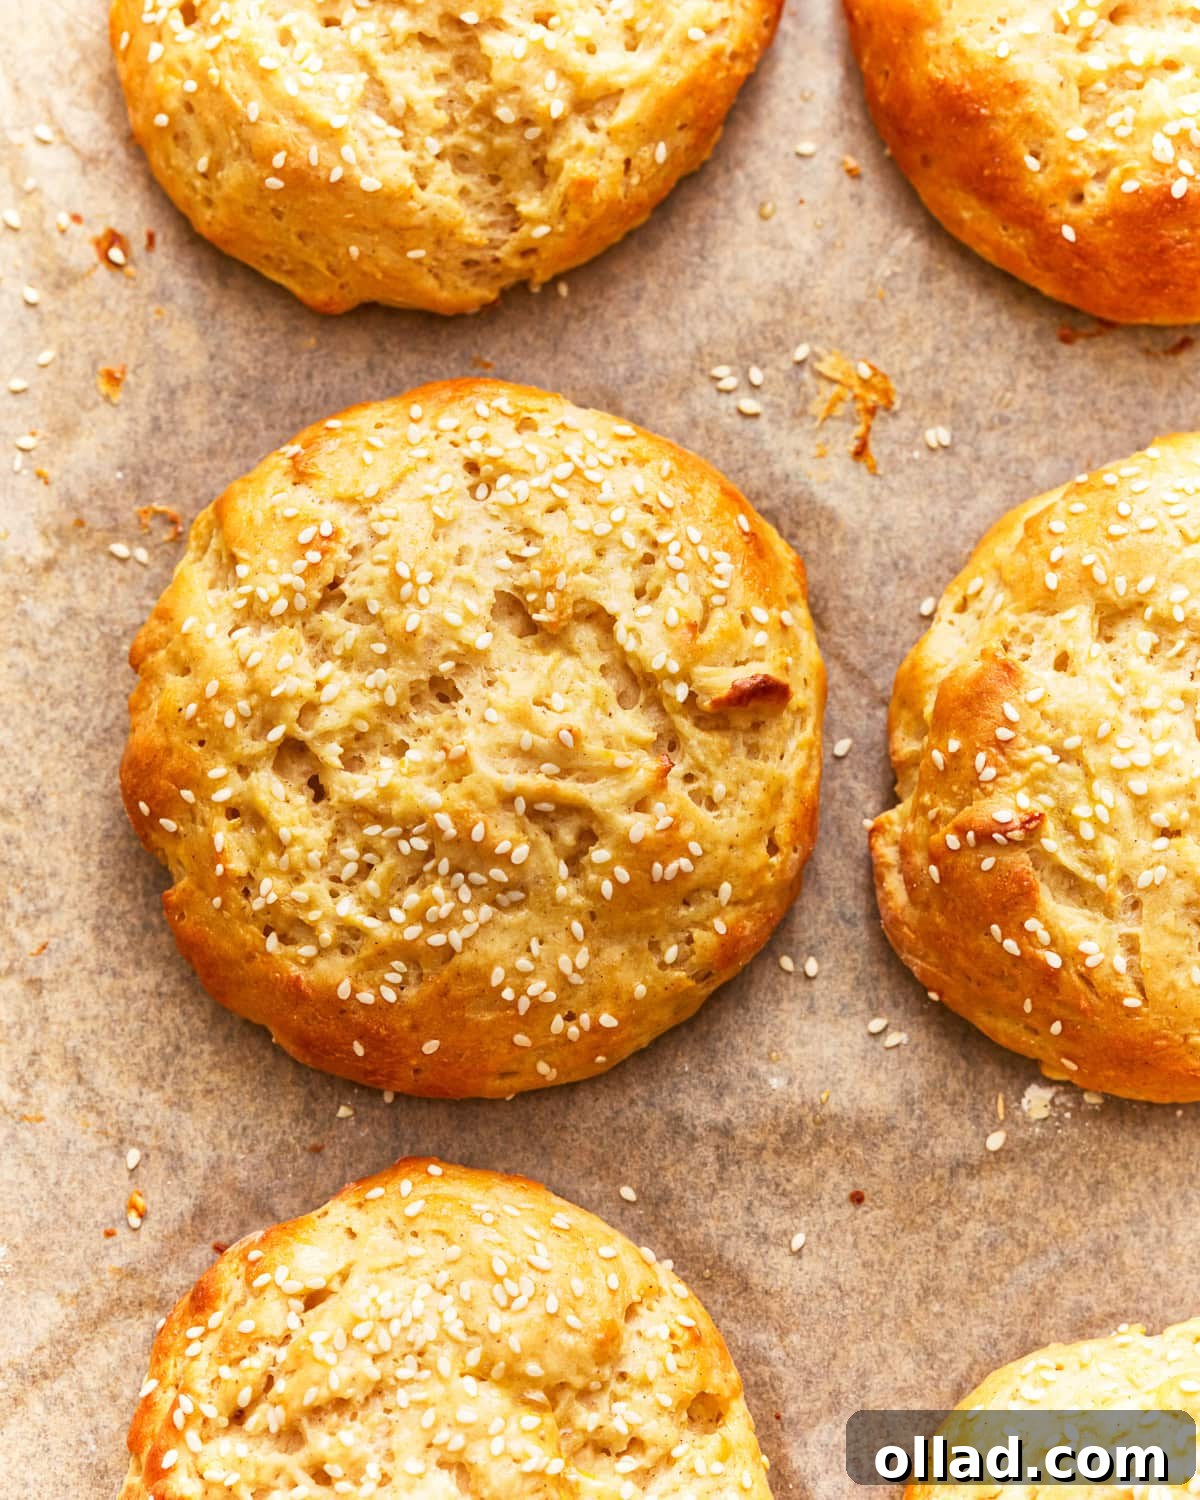
The Secret to Perfect Gluten-Free Hamburger Buns
Creating delicious, ultra-fluffy homemade bread rolls doesn’t have to be complicated, even when you’re baking gluten-free. This easy recipe proves that achieving that ideal soft, airy texture is well within reach, right in your own kitchen. I’ve carefully crafted this recipe to be not only gluten-free but also easily adaptable for those who need a dairy-free option. This thoughtful inclusion means that no one has to miss out on the joy of a perfectly constructed burger or a delightful slider at your next BBQ gathering.
Imagine having a stash of these incredibly soft, versatile buns ready in your freezer. They are truly a lifesaver for those impromptu weeknight sandwiches, quick sliders, or, of course, the main event: succulent burgers. For ultimate convenience, I highly recommend doubling this recipe. That way, you’ll always have a generous supply on hand, ensuring you’re prepared whenever the craving for a homemade gluten-free bun strikes. It’s a simple step that transforms meal prep and impromptu dining into a truly effortless experience.
Fluffy Homemade Gluten-Free Hamburger Buns Recipe
Sabine Venier
6 buns
1 hour 15 minutes
15 minutes
1 hour 30 minutes
Step-by-step photos can be seen below the recipe card.
Ingredients
Dough
- ▢ 3¼ cups gluten-free all-purpose flour with xanthan gum (recommended for yeast baking, such as Pillsbury or Better Batter Brand)
- ▢ 2 tbsp granulated sugar
- ▢ 1 tbsp instant yeast
- ▢ 1¼ tsp salt
- ▢ 1¼ cups water, lukewarm (around 100-110°F)
- ▢ 3 tbsp unsalted butter, melted (or dairy-free butter alternative)
- ▢ 2 large eggs, room temperature
Topping (Optional)
- ▢ 1 large egg, beaten with 1 tablespoon water (egg wash)
- ▢ 1 tbsp sesame seeds or poppy seeds
- ▢ 1 tbsp unsalted butter, melted (for brushing after baking)
Instructions
-
In a large mixing bowl, combine the gluten-free flour, sugar, instant yeast, and salt. Whisk these dry ingredients together thoroughly.
-
Add the lukewarm water, melted butter (or dairy-free alternative), and room temperature eggs to the dry ingredients. Mix with a sturdy spoon or stand mixer on low speed for about 2-3 minutes until a sticky, uniform dough forms. Avoid overmixing.
-
Lightly grease a clean bowl, then transfer the dough into it. Cover the bowl with plastic wrap or a clean kitchen towel. Allow the dough to rise in a warm, draft-free place for approximately 1 hour, or until it has visibly doubled in size.
-
Once the first rise is complete, gently deflate the dough to release the air. Divide the dough into 6 equal portions (a kitchen scale can help ensure even sizes). Shape each portion into a smooth, round ball and place them on a baking sheet lined with parchment paper, leaving ample space between each bun.
-
Cover the shaped buns again and let them rise for a second time, for another 30-45 minutes, until they appear slightly puffed up.
-
During the last 15 minutes of the second rise, preheat your oven to 375°F (190°C).
-
In a small bowl, whisk 1 large egg with 1 tablespoon of water to create an egg wash. Gently brush the tops of the risen buns with this egg wash.
-
If desired, sprinkle 1 tablespoon of sesame seeds or poppy seeds evenly over the egg-washed buns.
-
Bake for 15-20 minutes, or until the buns are beautifully golden brown on top. Immediately upon removing them from the oven, brush the tops with 1 tablespoon of melted butter (or dairy-free alternative).
-
Transfer the baked buns to a wire rack to cool completely before slicing and serving. Cooling allows the texture to set perfectly.
Notes for Success
- The total rise time for the dough is a guideline and will depend significantly on the ambient temperature of your kitchen. In a warmer environment, the dough will rise faster, while in a cooler kitchen, it will take longer. The key indicator for sufficient rising is that the dough has visibly doubled in size.
- For dairy-free buns, simply substitute the unsalted butter with a high-quality dairy-free butter alternative or coconut oil. Ensure it is melted as specified.
Nutrition
Calories: 344 kcal
Carbohydrates: 52g
Protein: 10g
Fat: 13g
Saturated Fat: 6g
Polyunsaturated Fat: 1g
Monounsaturated Fat: 4g
Trans Fat: 0.3g
Cholesterol: 113 mg
Sodium: 524 mg
Potassium: 50 mg
Fiber: 7g
Sugar: 6g
Vitamin A: 368 IU
Vitamin C: 0.002 mg
Calcium: 75 mg
Iron: 3 mg
Nutrition information is automatically calculated, so should only be used as an approximation.
Additional Info
Baking
American
How to Make Gluten-Free Hamburger Buns: A Detailed Step-by-Step Guide
Crafting these delectable gluten-free hamburger buns is a rewarding process, and with this detailed guide, you’ll find it surprisingly straightforward. Follow these steps, complete with visual cues, to ensure your buns turn out perfectly light, soft, and ready for your favorite fillings.
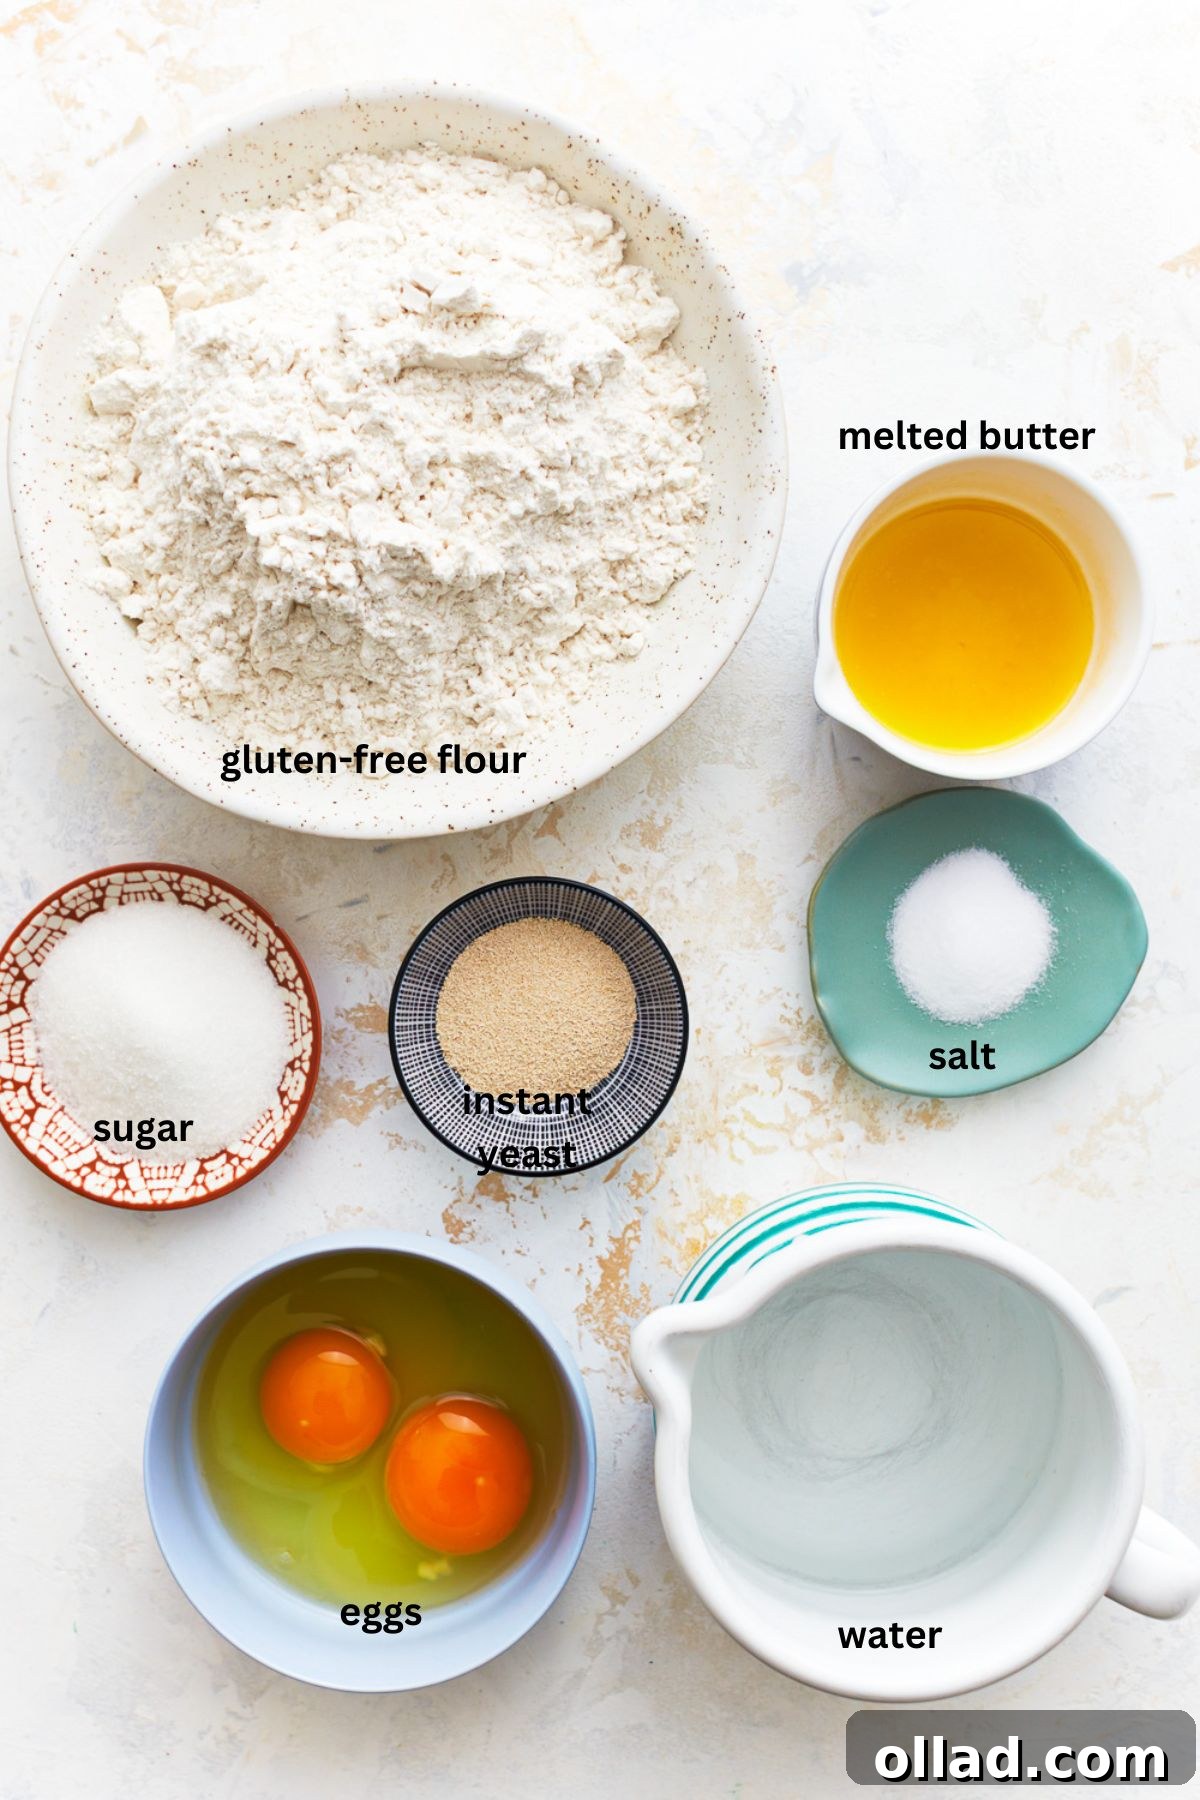
Step 1: Gather Your Ingredients. Before you begin, ensure all your ingredients are measured out and at the correct temperatures. Having everything prepped makes the baking process smooth and enjoyable.
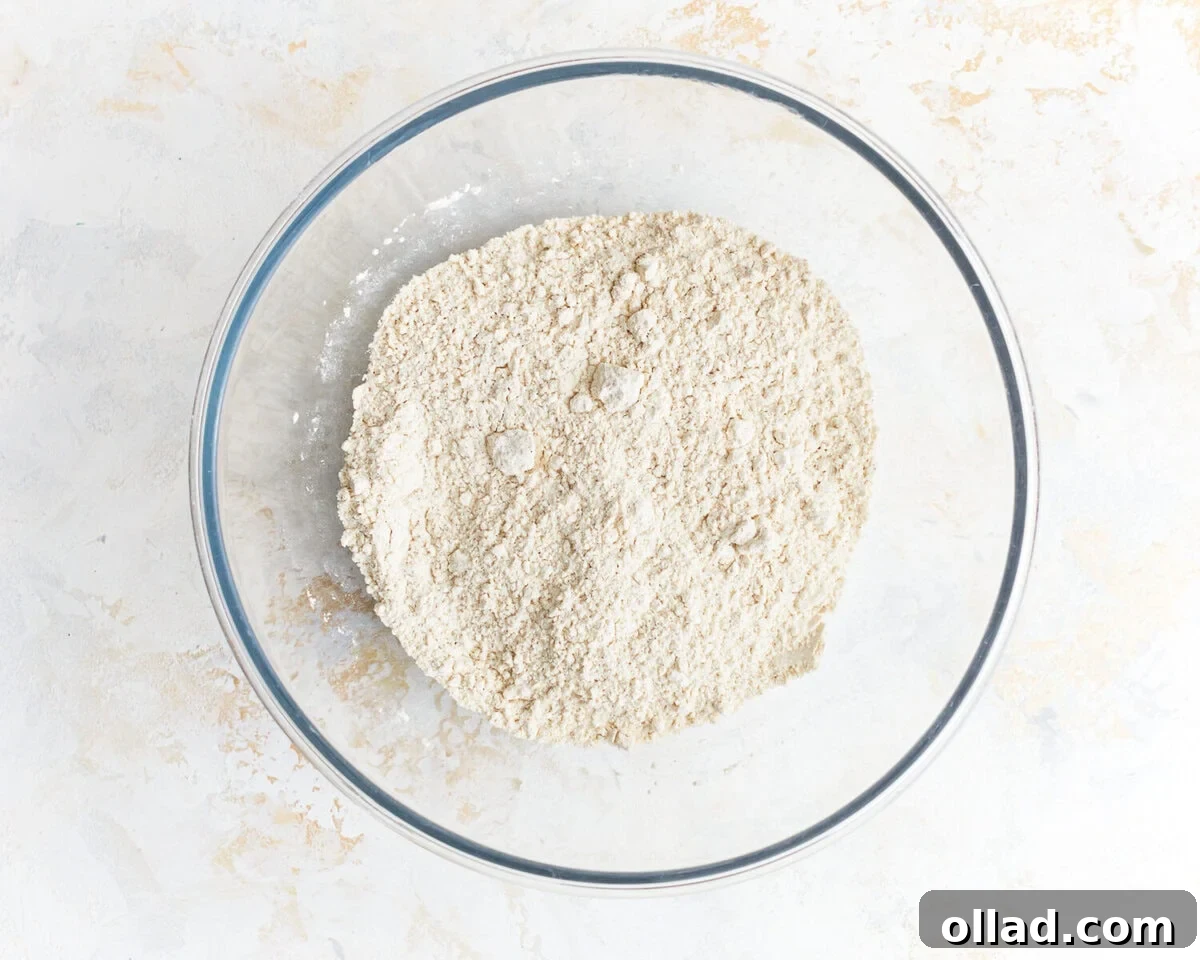
Step 2: Combine Dry Ingredients. In a large mixing bowl, thoroughly combine 3¼ cups of gluten-free all-purpose flour (ideally one that includes xanthan gum, such as Pillsbury or Better Batter brands, which are excellent for yeast baking), 2 tablespoons of granulated sugar, 1 tablespoon of instant yeast, and 1¼ teaspoons of salt. Whisk these dry components meticulously to ensure all ingredients are evenly distributed, which is crucial for uniform leavening and flavor.
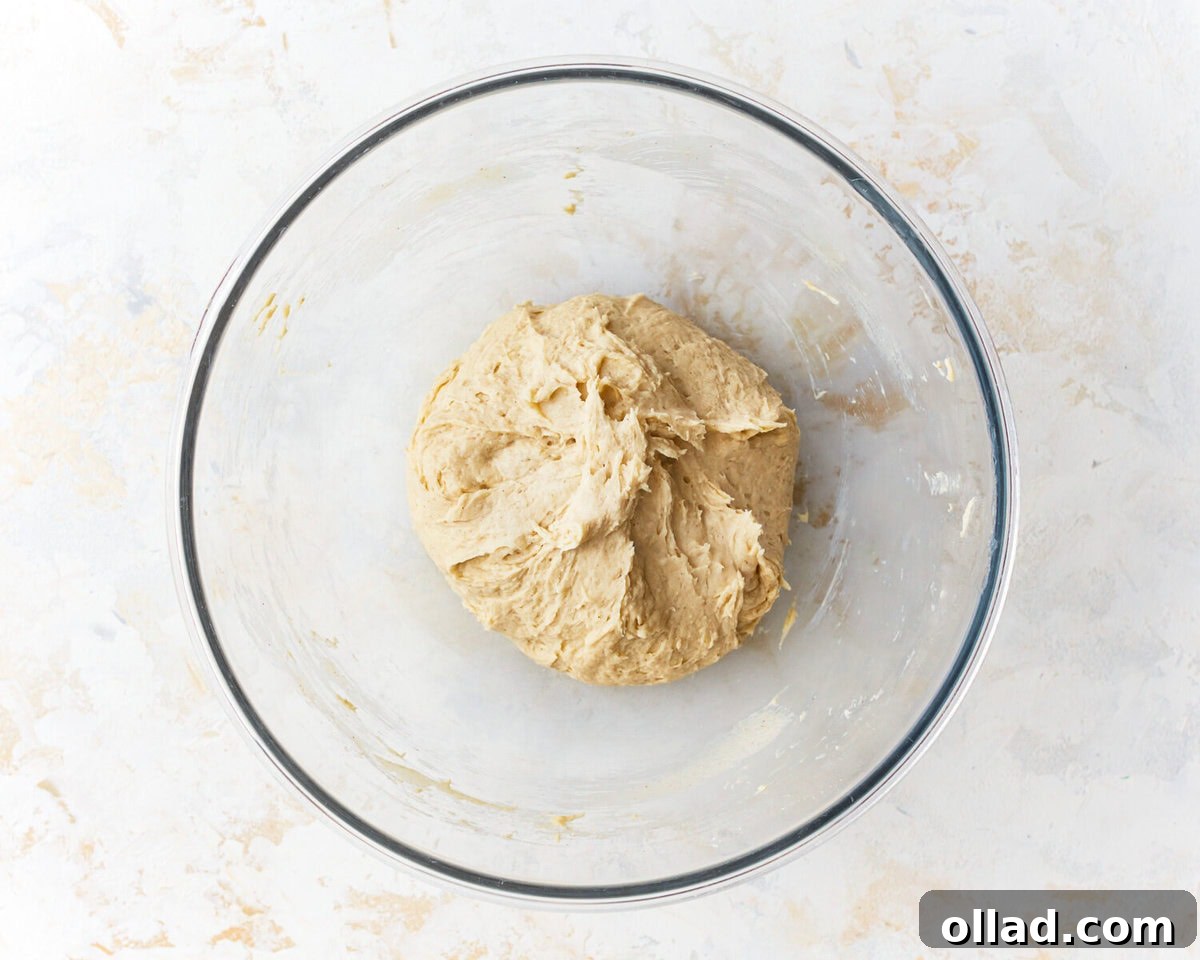
Step 3: Incorporate Wet Ingredients. Add 1¼ cups of lukewarm water (the ideal temperature is between 100°F and 110°F, warm to the touch but not hot, to activate the yeast without killing it), 3 tablespoons of melted unsalted butter (or your preferred dairy-free butter alternative), and 2 large eggs, ensuring they are at room temperature. Mix these ingredients into the dry mixture using a sturdy spoon or a stand mixer with a paddle attachment on low speed. Continue mixing for approximately 2-3 minutes until a cohesive, slightly sticky dough forms. Be careful not to overmix, as this can lead to a denser bun.
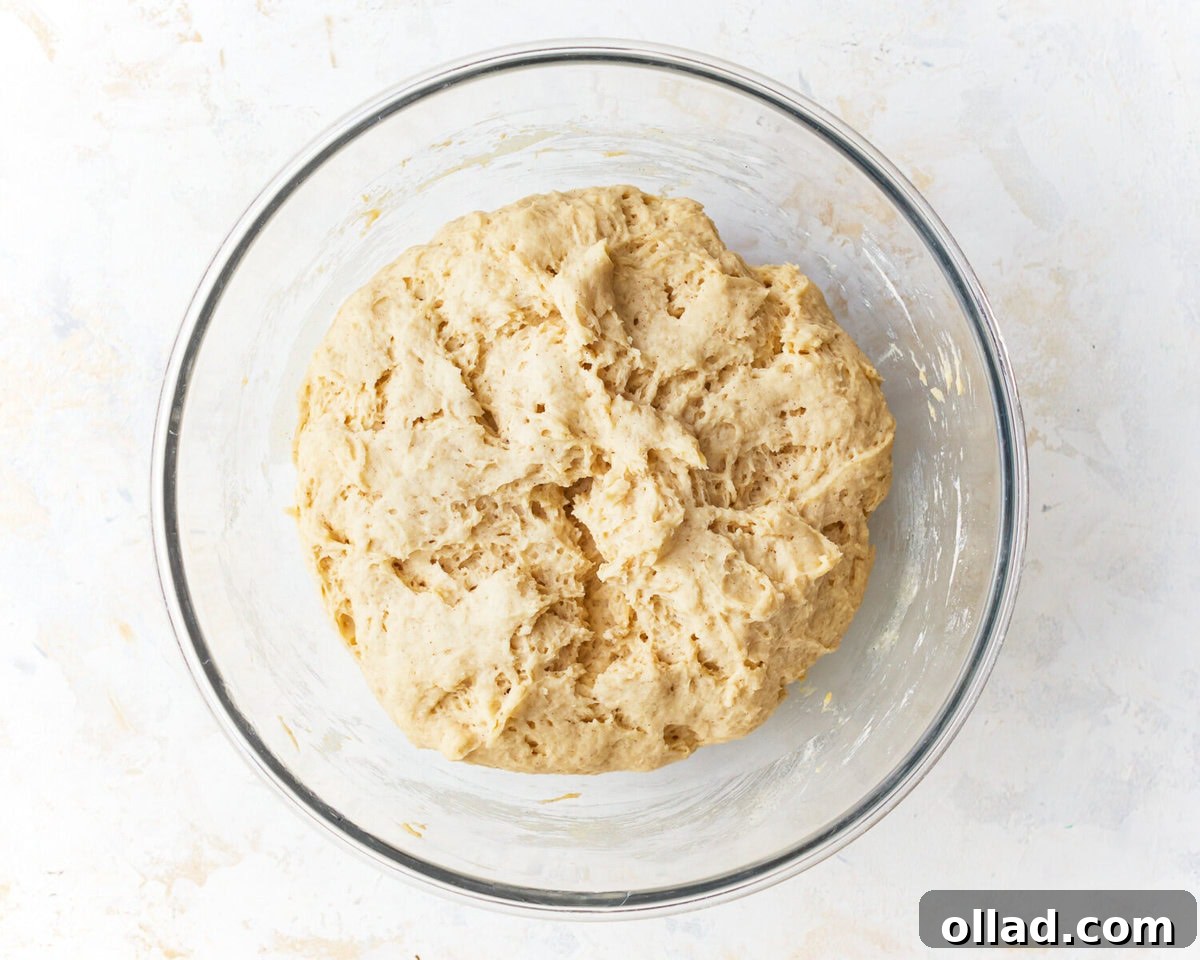
Step 4: First Rise (Proofing). Lightly grease a clean bowl with a little oil or cooking spray. Transfer the sticky dough into this bowl. Cover the bowl tightly with plastic wrap or a clean, damp kitchen towel. Place the covered dough in a warm, draft-free spot in your kitchen. Allow it to rise for about 1 hour, or until the dough has noticeably doubled in size. The exact rise time can vary depending on your kitchen’s temperature.
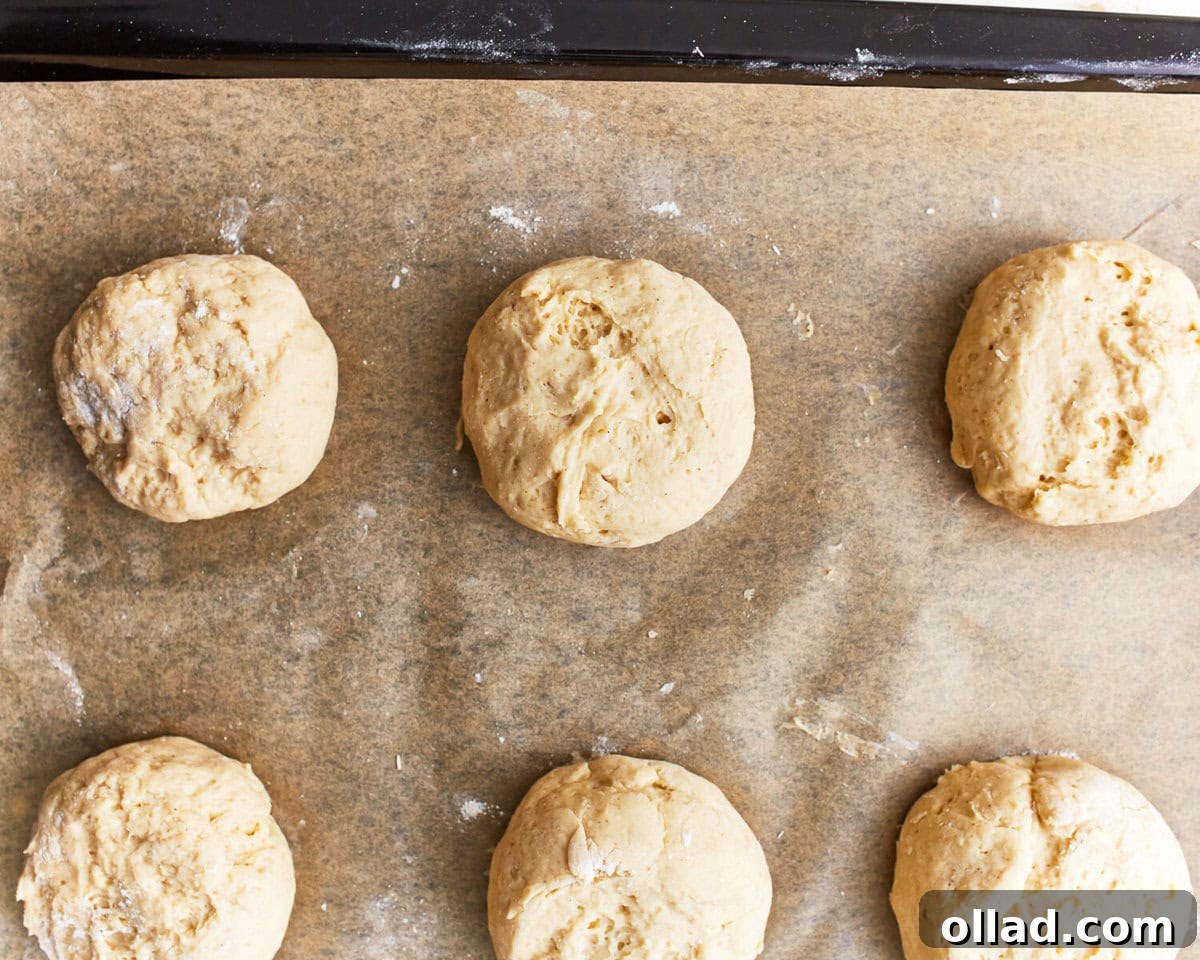
Step 5: Shape and Second Rise. After the first rise, gently deflate the dough to release the accumulated gases. Divide the dough into 6 equal portions; a kitchen scale can be helpful for precise division to ensure uniform bun sizes. Roll each portion into a smooth, round ball. Arrange these dough balls on a baking sheet that has been lined with parchment paper, making sure to leave enough space between each bun for them to expand during their second rise and baking.
Cover the shaped buns once more with plastic wrap or a towel and let them rise again for another 30-45 minutes, or until they look slightly puffed up and airy. While the buns are on their second rise, preheat your oven to 375°F (190°C) to ensure it’s ready when your buns are.
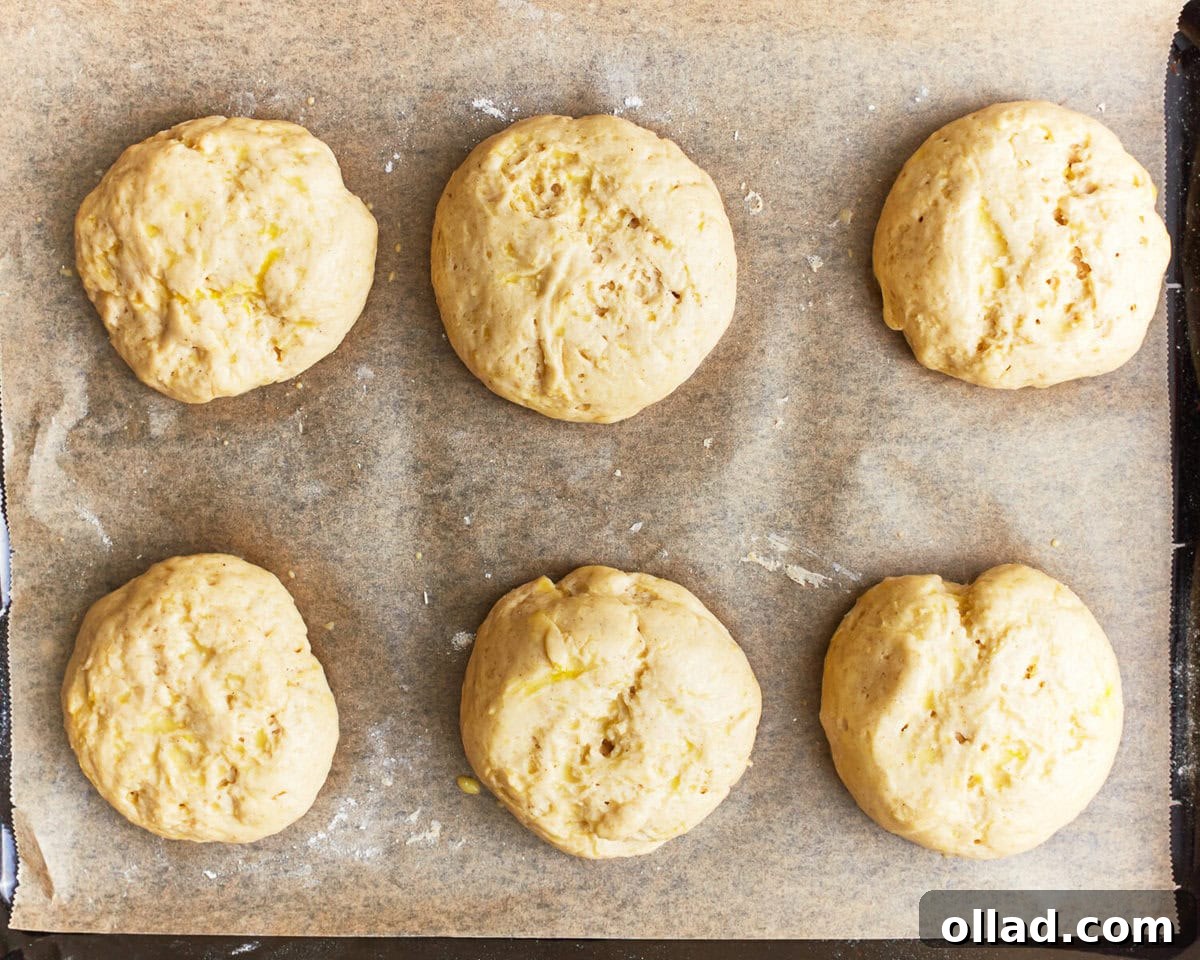
Step 6: Apply Egg Wash. Just before the buns go into the oven, prepare an egg wash by whisking 1 large egg with 1 tablespoon of water in a small bowl. Gently brush this mixture over the tops of each risen bun. This step is key for achieving a beautiful golden-brown color and a slightly crisp, shiny crust.
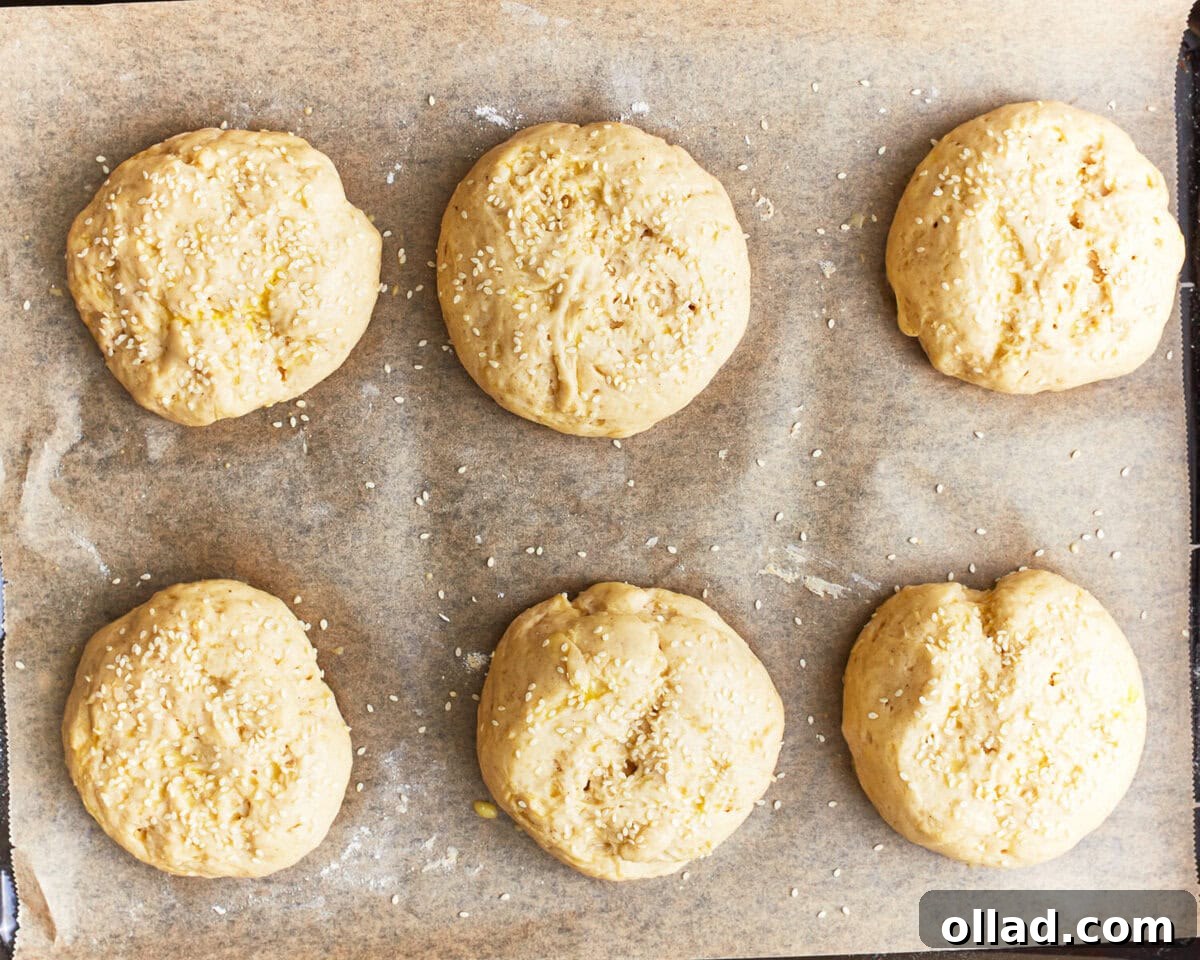
Step 7: Add Optional Topping. For that classic hamburger bun look and an extra layer of subtle flavor, sprinkle 1 tablespoon of sesame seeds or poppy seeds over the egg-washed buns, if desired. This adds both visual appeal and a pleasant texture.
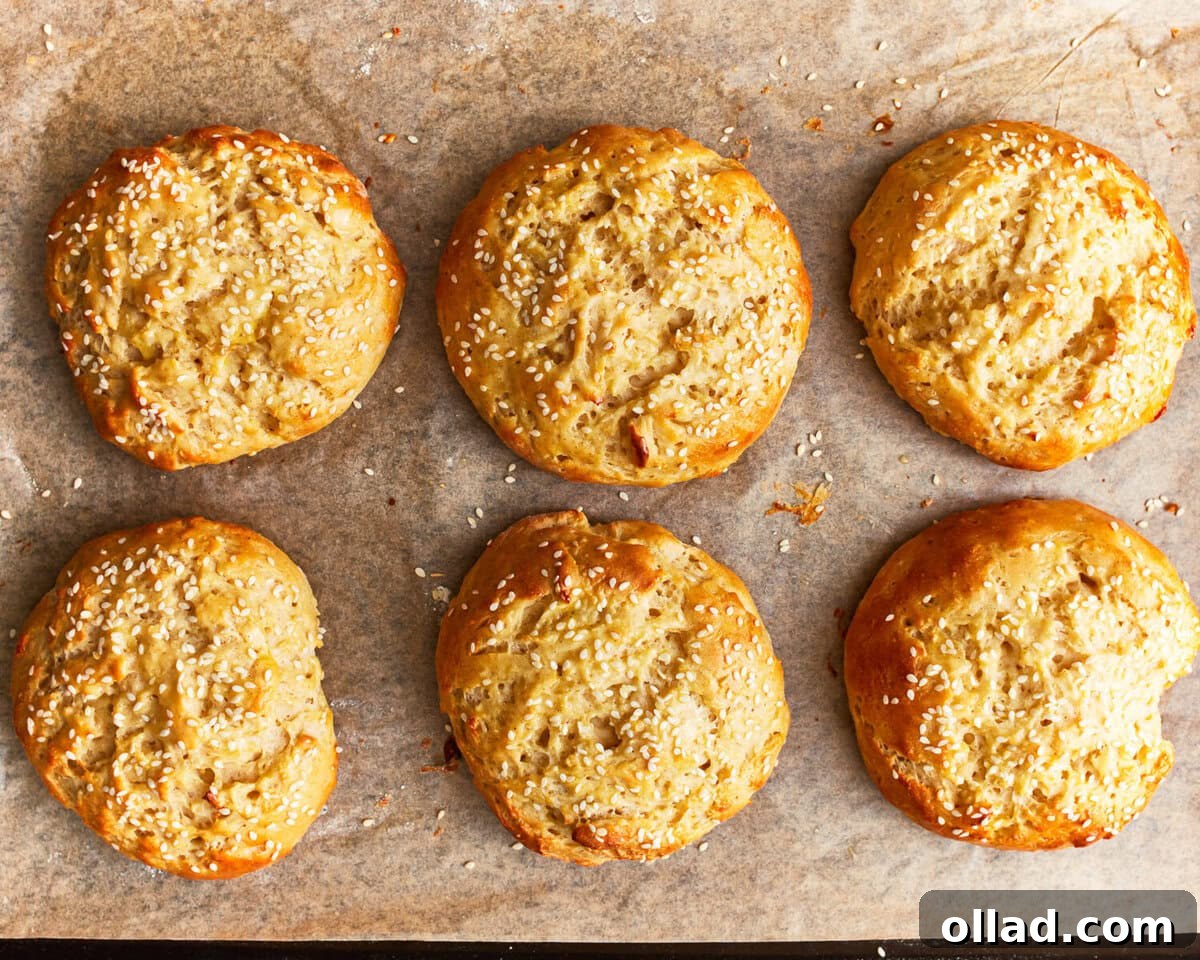
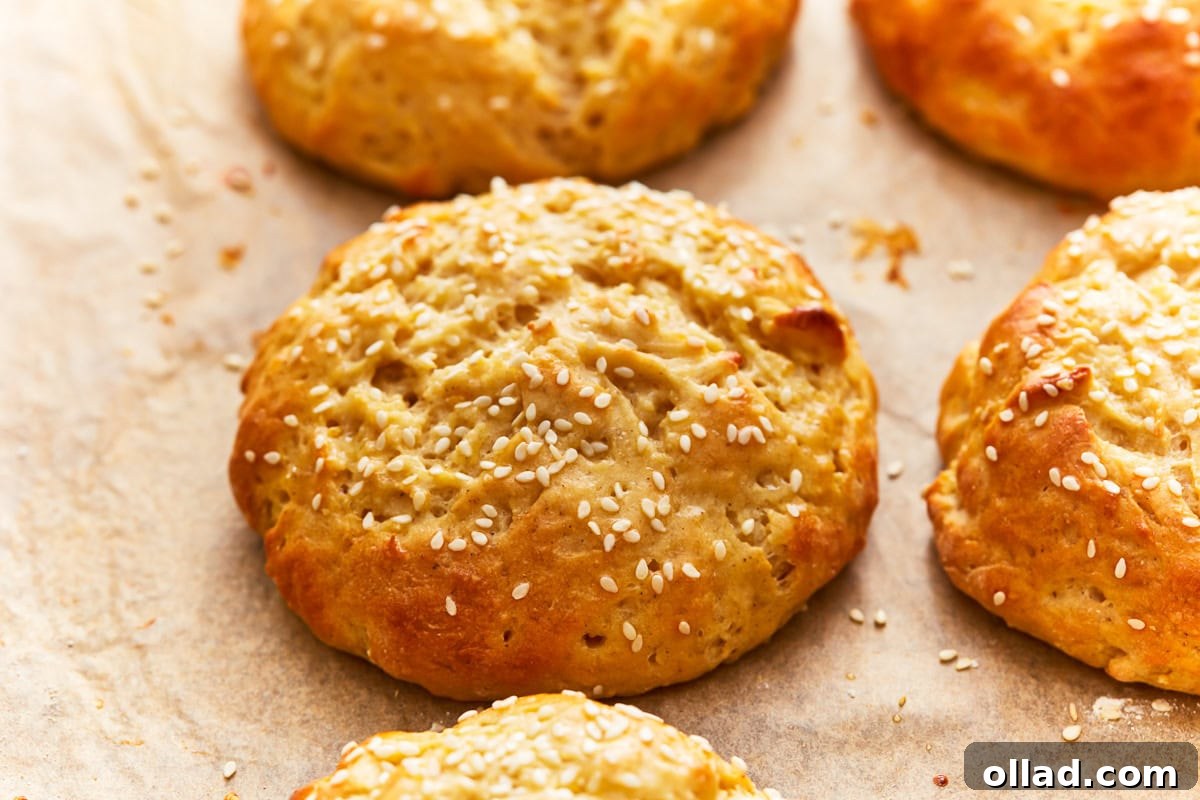
Step 8: Bake and Finish. Carefully transfer the baking sheet to your preheated oven. Bake for 15-20 minutes, keeping a close eye on them until they are gloriously golden brown. Baking times can vary slightly, so watch for that perfect color. Once baked, remove the buns from the oven and, while still warm, brush their tops with 1 tablespoon of melted unsalted butter (or dairy-free butter). This step adds richness and helps keep the crust soft. Transfer the warm buns to a wire rack and allow them to cool completely before slicing and serving. Proper cooling is essential for the structure and texture of gluten-free baked goods, preventing them from becoming gummy or collapsing.
Essential Gluten-Free Baking Tips for Success
Gluten-free baking often comes with its unique quirks, but with these tips, you’ll achieve perfect results every time. Understanding these nuances will help you navigate the process confidently and consistently produce delicious, fluffy buns.
- Embrace Room Temperature Ingredients: Always ensure your eggs are at room temperature. Cold eggs can stiffen melted fats and hinder proper emulsification with the flour, leading to clumps and an uneven dough. Similarly, lukewarm water (100°F-110°F) is critical for activating the yeast without scorching it. This creates the ideal environment for a lively, active dough.
- Master the Spoon-and-Level Flour Measurement: The way you measure gluten-free flour significantly impacts the outcome. Resist the urge to scoop flour directly from the bag, as this compacts it, potentially adding too much to your dough. Instead, use the “spoon-and-level” method: spoon flour lightly into your measuring cup until it overflows, then level off the excess with a straight edge (like a knife). This prevents overly dry, dense buns.
- Avoid Overworking the Dough: Unlike wheat-based doughs that benefit from extensive kneading to develop gluten, gluten-free doughs require a gentle touch. Overmixing can lead to a dense, tough texture, exactly what we want to avoid for fluffy buns. Mix just until the ingredients are combined and a sticky dough forms, typically 2-3 minutes.
- Monitor the Rise, Not Just the Clock: Rise times are estimates; the true indicator of a successful rise is visual. Your dough should visibly double in size during both the first and second proofing stages. If your kitchen is warm, the dough will rise faster. If it’s cooler, it will need more time. Be patient and let the dough guide you.
- Choose the Right Gluten-Free Flour Blend: The success of yeast-based gluten-free baking heavily relies on the flour blend. Opt for a high-quality gluten-free all-purpose flour specifically formulated for yeast baking, which typically includes xanthan gum. Xanthan gum acts as a binder, mimicking the elasticity of gluten, which is essential for trapping air and creating a light, airy texture. Brands like Pillsbury or Better Batter are excellent choices.
- Create a Warm Proofing Environment: Yeast loves warmth. If your kitchen is chilly, consider creating a warm spot for your dough to rise. You can briefly warm your oven to its lowest setting (around 100°F) then turn it off, placing the covered dough inside. Alternatively, use a proofing drawer or place the bowl near a sunny window.
- Parchment Paper is Your Ally: Gluten-free dough can be sticker than traditional dough. Lining your baking sheet with parchment paper is non-negotiable to prevent sticking and ensure your beautifully shaped buns can be easily removed without tearing.
- Cool Completely for Best Texture: It’s tempting to dive into warm, freshly baked buns, but patience is key for gluten-free bread. Allow the buns to cool completely on a wire rack. This allows the internal structure to set, preventing a gummy texture and ensuring the buns maintain their fluffy integrity.
Recipe Variations and Creative Twists
This versatile gluten-free bun recipe is a fantastic starting point, but don’t hesitate to get creative! Here are some ideas to customize your homemade buns for any occasion or dietary need:
- Explore Different Shapes and Sizes: This dough isn’t just for hamburger buns!
- Gluten-Free Hot Dog Buns: Roll the dough into elongated logs before the second rise. Adjust baking time as needed.
- Dinner Rolls: Divide the dough into smaller portions (e.g., 10-12) for charming dinner rolls. Reduce baking time accordingly, usually 12-15 minutes.
- Slider Buns: Create mini versions of hamburger buns for appetizers or smaller sandwiches. Again, reduce baking time and keep a close eye on them.
You’ll know they’re ready when they achieve a beautiful golden-brown color and sound hollow when tapped on the bottom.
- Active Dry Yeast Adaptation: While instant yeast is convenient, this recipe can also work with active dry yeast. If using active dry yeast, first activate it: in a small bowl, combine the lukewarm water, a pinch of sugar, and the active dry yeast. Let it sit for 5-10 minutes until it becomes frothy and bubbly, indicating the yeast is active. Then, proceed with adding it to the dry ingredients as per the recipe.
- Dairy-Free Delight: As mentioned, this recipe is incredibly simple to make dairy-free. Simply swap the unsalted butter for your favorite dairy-free butter alternative. Ensure it’s a brand suitable for baking and has a similar fat content to butter for best results. Coconut oil can also be used, but may impart a subtle flavor.
- Sweet Bun Sensations: For a delightful treat, increase the sugar slightly and add a pinch of cinnamon or cardamom to the dry ingredients. These buns could then be perfect for breakfast sandwiches or even as a base for a sweet slider with fruit and cream cheese.
- Savory Herb and Garlic Buns: Infuse your buns with savory flavors by adding a teaspoon of garlic powder, onion powder, or a tablespoon of finely chopped fresh herbs like rosemary or chives to the dry ingredients. These would be fantastic with a gourmet burger or a BBQ pulled pork sandwich.
- Beyond Sesame: Alternative Toppings:
- “Everything” Buns: Use everything bagel seasoning for a bold, savory topping.
- Plain and Simple: Skip the seeds entirely for a classic, smooth-topped bun.
- Flaky Sea Salt: A sprinkle of coarse sea salt before baking can enhance the flavor profile and add a textural crunch.
- Cheese Topping: A minute or two before the buns are done baking, sprinkle some shredded cheddar or parmesan cheese on top for a cheesy crust.
Storing and Enjoying Your Homemade Buns
While these homemade gluten-free hamburger buns are truly at their peak when enjoyed fresh on the day they’re baked, their softness and flavor can be preserved for future indulgence. To keep them fresh for a few days, allow them to cool completely, then store them in an airtight container or a resealable bag at room temperature for up to 2-3 days. If they start to lose a bit of their initial softness, a quick reheat in the microwave for a few seconds will work wonders, bringing back their tender texture.
For longer storage, this recipe freezes beautifully! Once the baked buns have cooled completely, transfer them to a freezer-safe bag or container, ensuring as much air as possible is removed to prevent freezer burn. They can be stored in the freezer for up to 3 months. When you’re ready to enjoy them, simply thaw the buns at room temperature, then reheat them gently in the oven, microwave, or a toaster oven until warmed through. This makes them an excellent option for meal prepping and ensures you always have a delicious gluten-free bun ready when the craving strikes.
Perfect Pairings: What to Serve with Your Fluffy Buns
These fluffy gluten-free hamburger buns are more than just a vessel; they’re an integral part of any great meal. Their soft texture and subtle flavor make them the ideal accompaniment to a wide array of dishes. Here are some delectable serving suggestions to elevate your next meal:
- Classic Beef Burgers: The ultimate pairing! A perfectly grilled beef patty, fresh lettuce, juicy tomatoes, and your favorite cheese nestled within these soft buns is pure perfection.
- Black Bean Burgers: For a fantastic vegetarian option, serve these buns with our flavorful black bean burger. The buns add the perfect balance of texture and a slight sweetness that complements the rich, savory patty.
- Pulled Pork or Chicken Sandwiches: Load these buns with tender, slow-cooked pulled pork or shredded BBQ chicken for a comforting, messy, and utterly delicious sandwich experience.
- BBQ Brisket Sandwiches: Elevate your BBQ game with succulent slices of smoked brisket piled high on these soft buns, perhaps with a dollop of coleslaw.
- Fried Chicken Sandwiches: A crispy fried chicken breast, a tangy pickle, and a slather of spicy mayo come alive on these homemade buns.
- Gourmet Grilled Cheese: For a delightful twist, slice these buns horizontally, fill with your favorite cheeses, and grill until golden and melty for an elevated grilled cheese sandwich.
- As a Side for Hearty Soups or Stews: While typically for burgers, these soft buns can also be served alongside a comforting bowl of soup or stew for dipping and soaking up delicious broths.
- Accompaniments: Complete your meal by pairing these with classic side dishes like our creamy Italian pasta salad, crispy sweet potato fries, a fresh garden salad, or a vibrant coleslaw.
Discover More Delicious Gluten-Free Bread Recipes!
If you’ve enjoyed making these hamburger buns, you’re in for a treat! The world of homemade gluten-free bread is vast and incredibly rewarding. Don’t stop here; explore more of our fantastic bread recipes designed to bring joy and deliciousness to your table without the gluten. From everyday loaves to specialty breads, we’ve got something for everyone.
- Easy Gluten-Free Bread
- Gluten-Free Bread Machine Bread
- Gluten-Free Sourdough Bread
- Gluten-Free Dinner Rolls
- Gluten-Free Focaccia
Happy baking, and enjoy your incredibly fluffy, homemade gluten-free buns!