
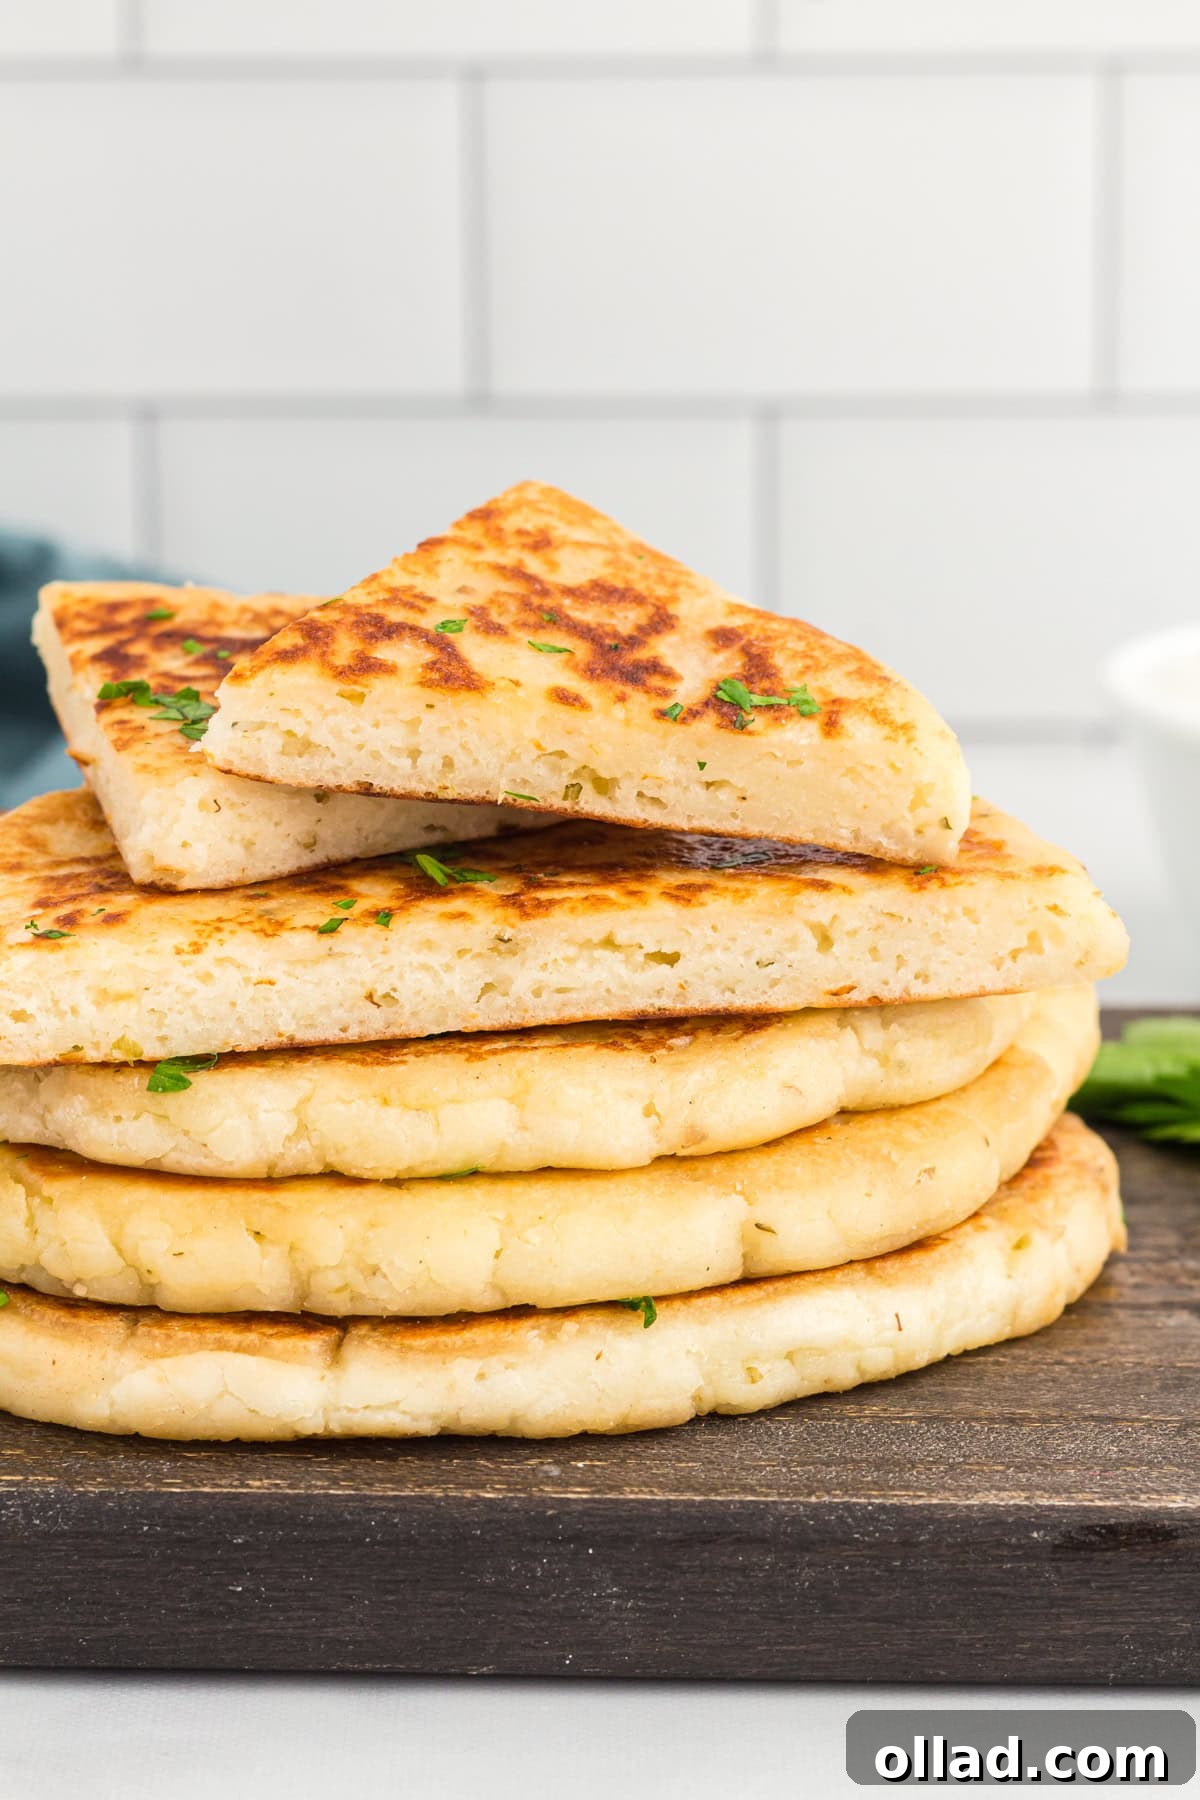
Imagine sinking your teeth into a warm, soft, and utterly delicious flatbread that’s not only incredibly easy to make but also completely gluten-free. This recipe will make you wonder why you ever settled for store-bought versions. Crafted with fewer than ten simple ingredients and ready from start to finish in approximately 35 minutes, these homemade flatbreads are a weekly staple for good reason. They emerge from your kitchen fresh, hot, and perfectly pliable, pairing seamlessly with nearly any meal. Whether you’re using them for scooping up savory dips, crafting quick wraps, or serving alongside your favorite curry, their versatility knows no bounds. Best of all, they are naturally egg-free and can be effortlessly adapted to be dairy-free and vegan, catering to a wide range of dietary needs.
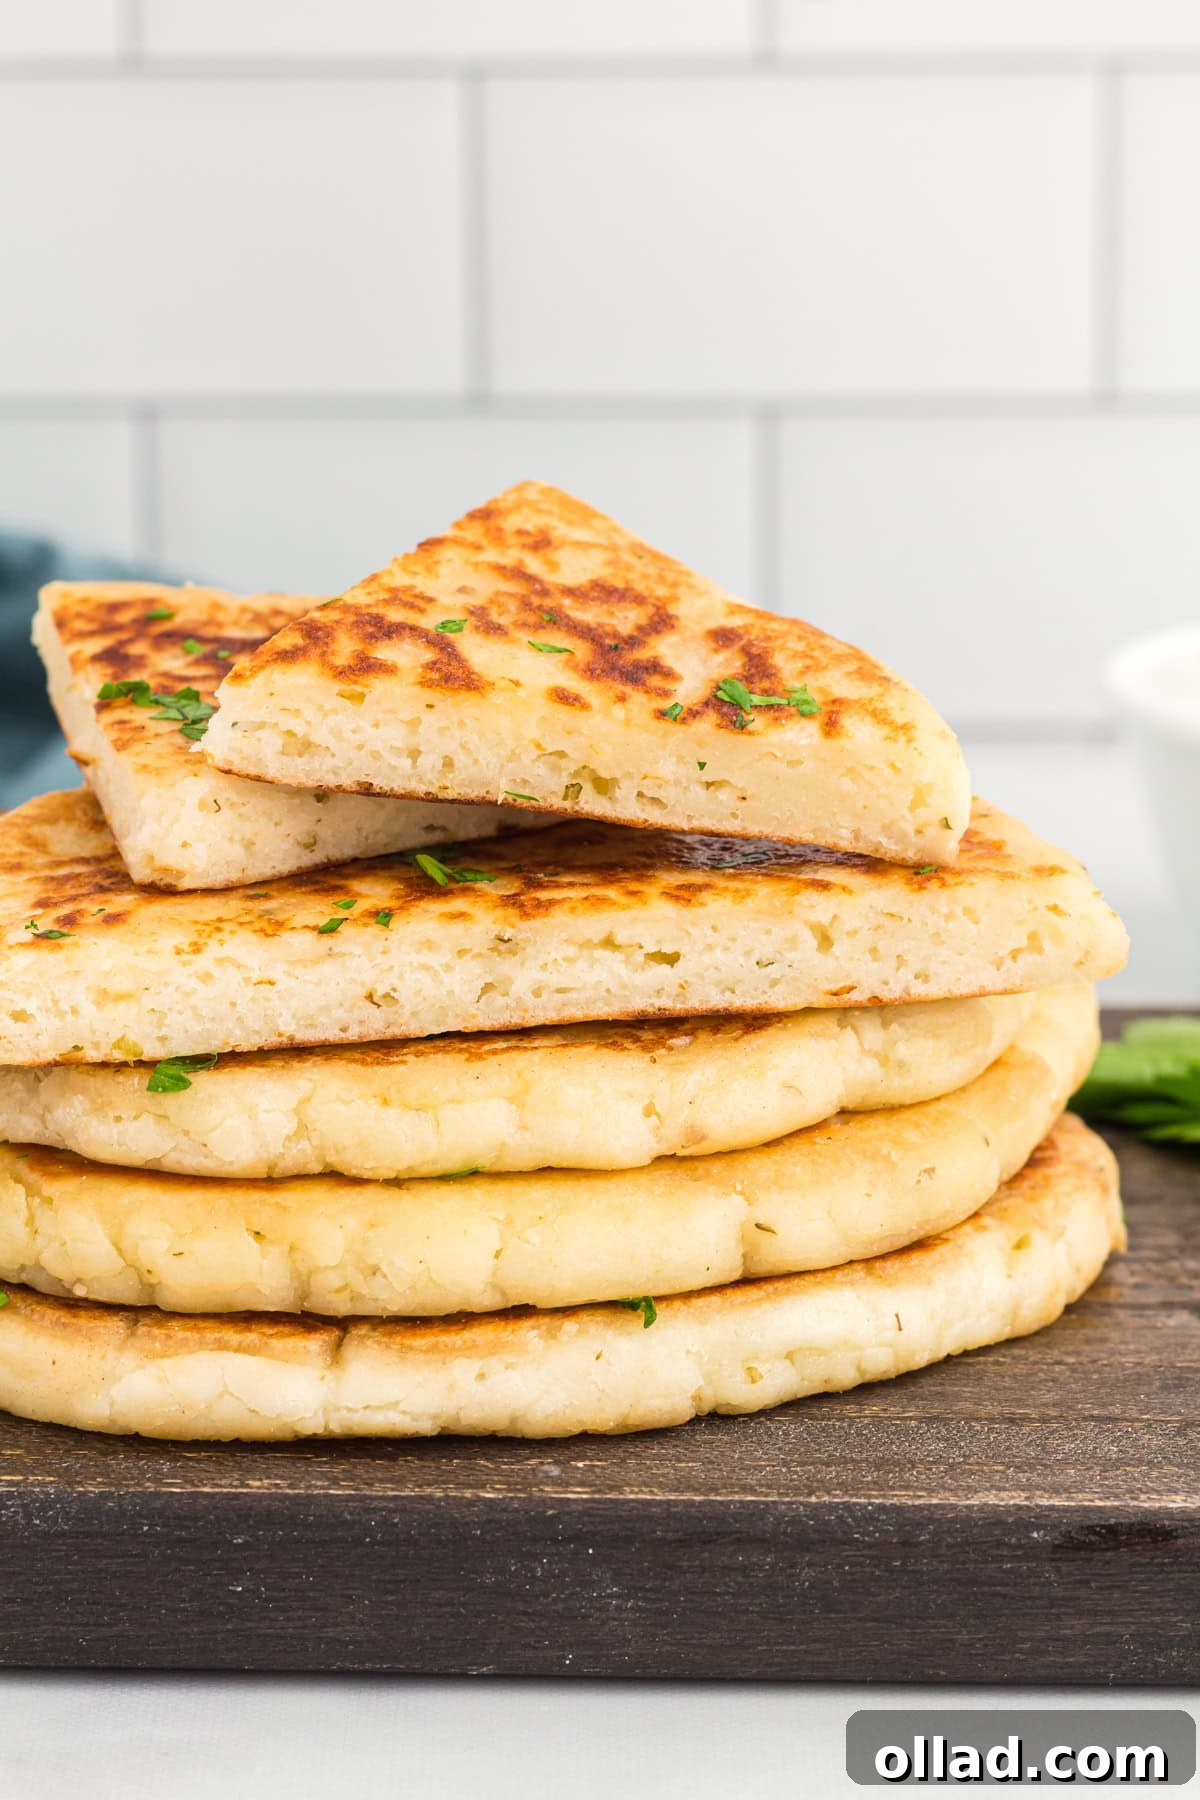
Mastering the Art of Gluten-Free Flatbread at Home
Creating flavorful, homemade gluten-free flatbread has never been simpler, and this recipe is truly a game-changer. Much like our popular gluten-free focaccia and gluten-free naan bread, these flatbreads are incredibly versatile, ready to complement a diverse array of culinary creations. The beauty of this recipe lies not just in its ease but also in its adaptability. It’s inherently egg-free, and with simple substitutions, it can be made entirely dairy-free and suitable for a vegan diet, ensuring everyone at your table can enjoy these delightful morsels.
Why You’ll Love This Easy Gluten-Free Flatbread Recipe
- Quick & Convenient: With a total time of just 35 minutes, including prep and cook time, you can have fresh, hot flatbreads on your table in under an hour. Perfect for busy weeknights or impromptu gatherings.
- Simple Ingredients: Utilizing less than ten pantry staples, this recipe proves that extraordinary flavor doesn’t require a complex shopping list.
- Incredibly Versatile: These flatbreads are a blank canvas for your culinary imagination. Serve them as a side dish, use them for dipping, make wraps, or even create individual mini pizzas.
- Dietary-Friendly: Naturally egg-free, this recipe is easily adaptable to be dairy-free and vegan, making it a fantastic option for various dietary preferences and allergies.
- Superior Flavor & Texture: Unlike some store-bought gluten-free options that can be dry or crumbly, these flatbreads are soft, fluffy, and full of savory flavor, offering a truly satisfying experience.
Essential Ingredients for Perfect Gluten-Free Flatbread
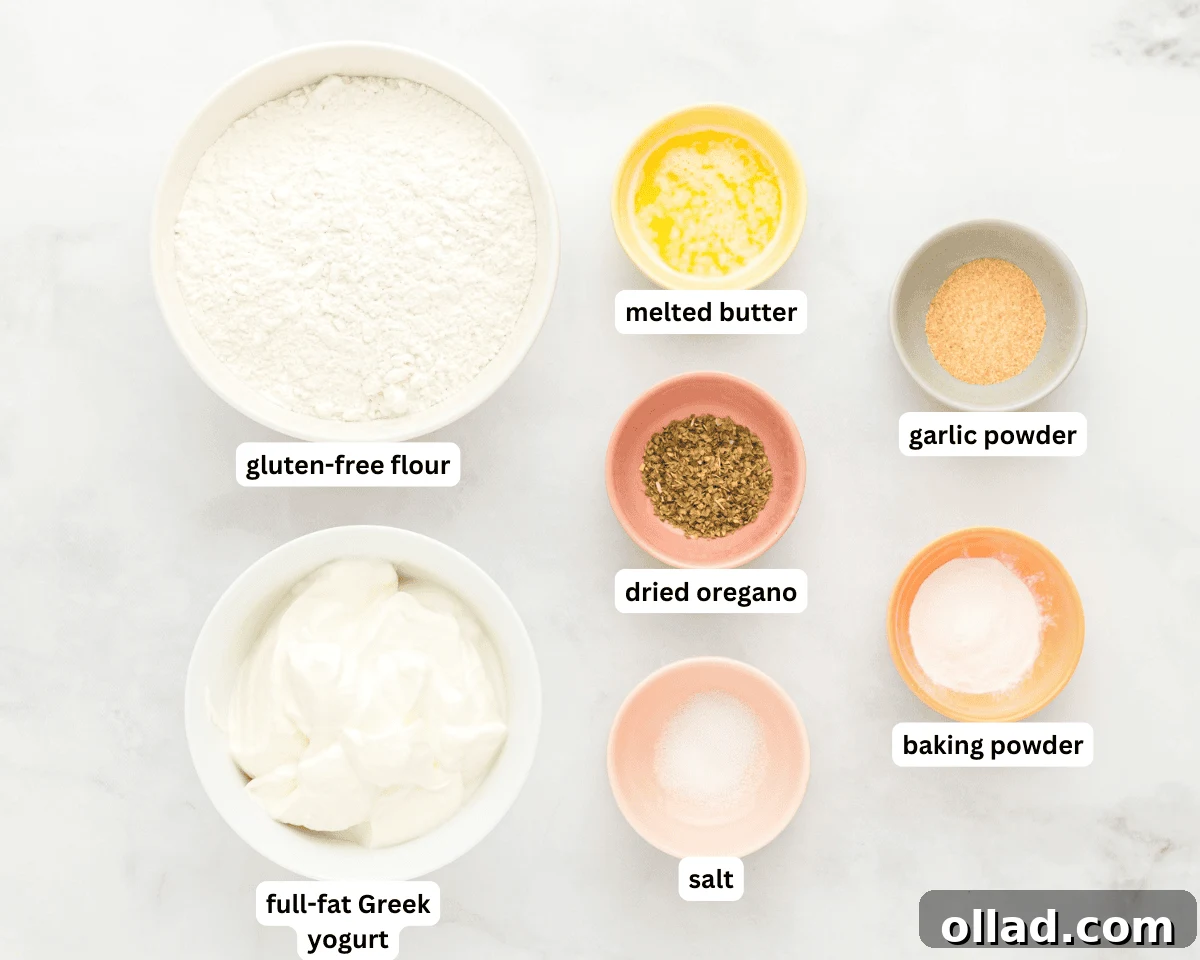
The magic of these gluten-free flatbreads comes from a carefully selected blend of simple, high-quality ingredients. Each component plays a vital role in achieving that desirable soft texture and rich flavor.
- Gluten-Free All-Purpose Flour: The foundation of our flatbread. I highly recommend using a high-quality, cup-for-cup gluten-free flour blend. Brands like Cup4Cup Multipurpose Flour Blend are excellent choices because they are formulated to mimic the properties of traditional wheat flour. It’s crucial to understand that not all gluten-free flour blends are created equal, and results can vary significantly. Some blends absorb more liquid than others, so a consistent brand is key for repeatable success. Ensure your chosen blend already contains xanthan gum, or you’ll need to add it separately.
- Xanthan Gum: This is a crucial ingredient in most gluten-free baking. It acts as a binder and thickener, compensating for the lack of gluten by providing elasticity and structure to the dough. Without it, gluten-free baked goods can be crumbly. Always check your gluten-free flour blend’s ingredient list; if it already includes xanthan gum, you can omit adding more.
- Baking Powder: A leavening agent that creates air bubbles in the dough, contributing to the flatbread’s light and fluffy texture as it cooks. It ensures a pleasant rise without the need for yeast.
- Garlic Powder: Infuses the flatbreads with a delightful earthy and savory aroma, enhancing their overall flavor profile and making them irresistible, especially for dipping.
- Dried Oregano: Adds a classic herbal note that complements the garlic beautifully. Its aromatic presence elevates the flatbreads, giving them a more sophisticated taste.
- Salt: Essential for balancing and enhancing all the other flavors in the dough. It brings out the subtle sweetness of the yogurt and butter while making the savory herbs pop.
- Full-Fat Plain Greek Yogurt: This is a superstar ingredient, providing incredible moisture, richness, and a subtle tang to the flatbreads. Its acidity also helps activate the baking powder, contributing to the dough’s softness and rise. For a dairy-free and vegan option, substitute with your favorite brand of full-fat plain dairy-free Greek yogurt.
- Unsalted Butter: Contributes a touch of richness and helps create a tender crumb. Using unsalted butter allows you to control the overall salt content of the recipe. If you prefer a dairy-free version, simply use your favorite dairy-free butter alternative.
Essential Equipment for Gluten-Free Flatbread Success
Having the right tools at hand makes the flatbread-making process even smoother. You likely have most of these items already in your kitchen:
- **Medium Mixing Bowl:** For combining your dry and wet ingredients.
- **Whisk:** To ensure your dry ingredients are well-mixed and free of clumps.
- **Electric Mixer (handheld or stand mixer):** Makes quick work of combining the dough ingredients to the right consistency without overmixing.
- **Spatula:** Useful for scraping down the sides of the bowl and ensuring all ingredients are incorporated.
- **Kitchen Scale (optional but recommended):** For precise flour measurement, which is crucial in gluten-free baking.
- **Parchment Paper:** Absolutely vital for rolling out the dough without it sticking to your work surface or rolling pin.
- **Rolling Pin:** To achieve an even thickness for your flatbreads.
- **Large Frying Pan or Cast Iron Skillet:** The best choices for evenly cooking the flatbreads to a golden perfection.
- **Non-stick Cooking Spray:** To prevent sticking in the pan.
Step-by-Step Guide: Crafting Your Gluten-Free Flatbread
Follow these detailed steps to create your perfect batch of homemade gluten-free flatbreads. The process is straightforward and yields fantastic results every time.
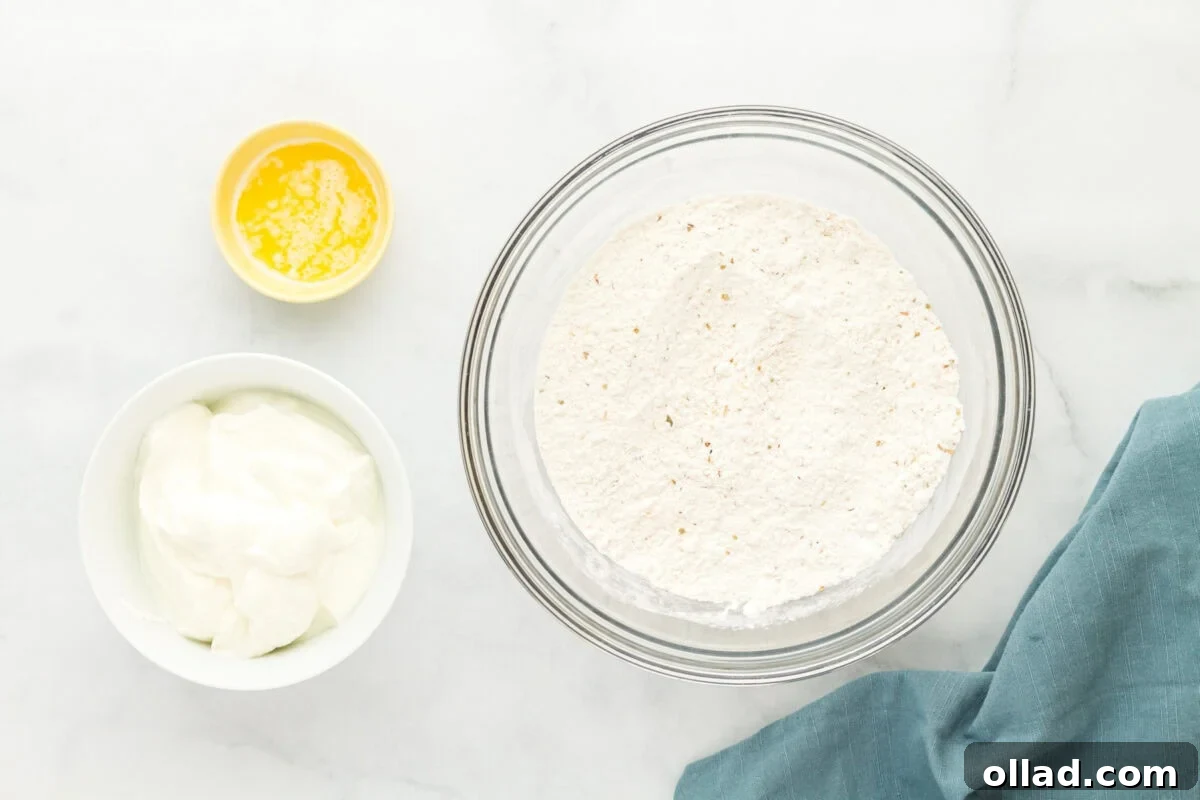
- Prepare the Dry Ingredients: In a medium-sized mixing bowl, thoroughly whisk together 2 cups of your chosen gluten-free all-purpose flour (ensure it contains xanthan gum, or add it separately), 2 teaspoons of baking powder, 1 teaspoon of garlic powder, 1 teaspoon of dried oregano, and 1/2 teaspoon of salt. Whisking ensures these dry ingredients are evenly distributed, which is important for consistent texture and flavor.
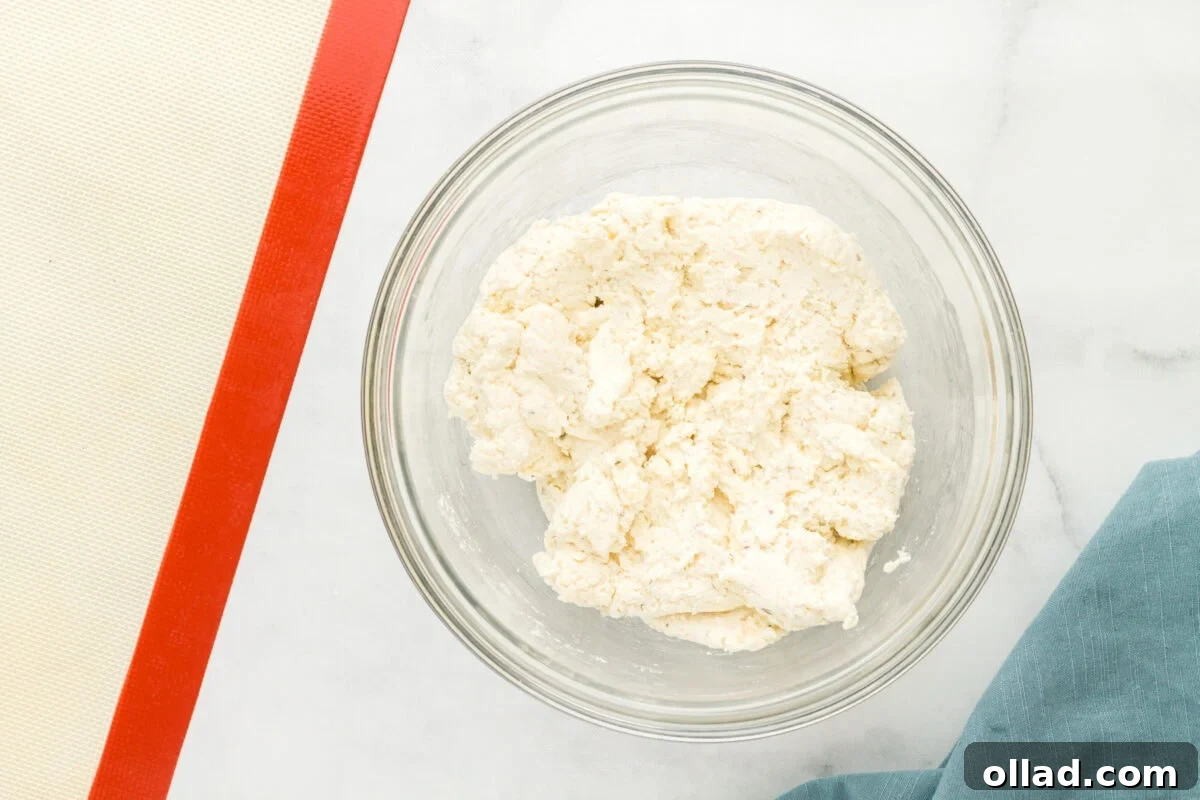
- Combine Wet and Dry: With an electric mixer set to low speed, gradually add 2 cups of full-fat plain Greek yogurt and 1 tablespoon of melted unsalted butter (ensure it’s melted but not hot) to the dry ingredient mixture. Beat on low speed just until all ingredients are combined, which usually takes about 1-2 minutes. Be careful not to overmix the dough, as this can lead to a tougher texture. Use a rubber spatula to scrape down the sides and bottom of the bowl, ensuring any lingering dry flour is incorporated into the dough. The dough should come together and be slightly tacky.
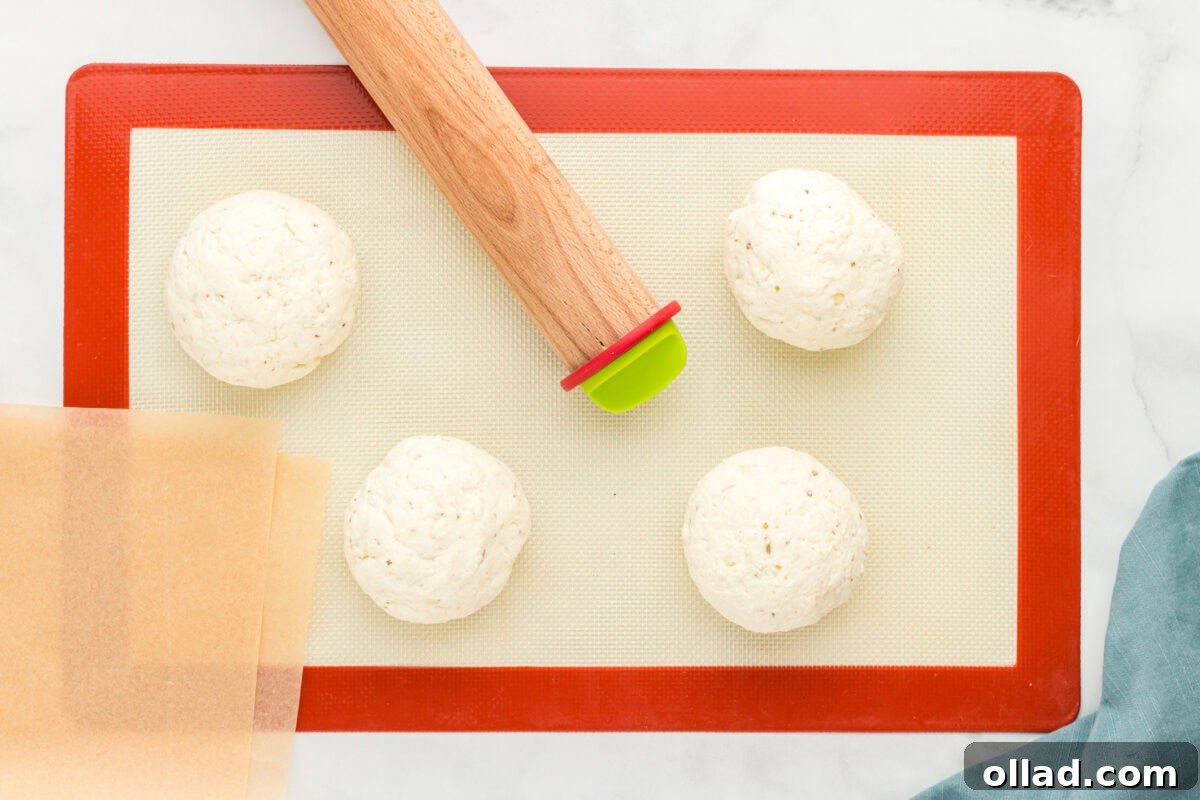
- Divide the Dough: Gently turn the dough out onto a lightly floured surface. Divide the dough into four equal parts. For precision, each portion should weigh approximately 165 grams. Forming them into rough balls will make the next step easier.
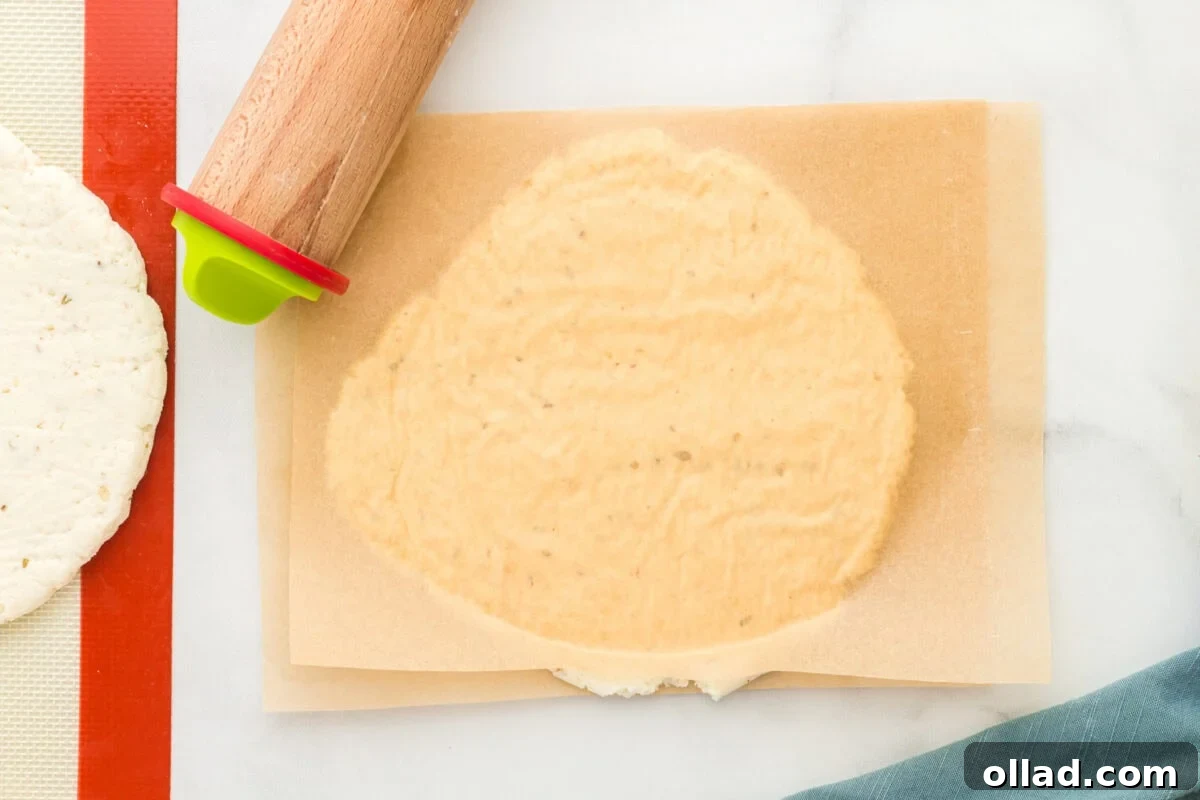
- Roll Out the Flatbreads: Take one portion of dough and place it between two sheets of parchment paper. This technique is key to preventing the sticky gluten-free dough from adhering to your rolling pin or work surface. Using your rolling pin, roll each ball of dough out to an approximate thickness of 1/4 inch. Don’t worry about achieving perfectly round shapes; rustic flatbreads are charming and just as delicious! If you desire smoother edges, you can gently shape them with a slightly damp finger.
- Preheat and Prepare the Pan: Place a large frying pan (a cast iron skillet or a good nonstick pan works best) on your stovetop and heat it over low-medium heat. Once the pan is heated, lightly spray it with non-stick cooking spray. It’s crucial to maintain a consistent, moderate temperature. If the oil begins to brown too quickly or burn, carefully wipe it out with a paper towel and re-spray the pan. Burnt oil will impart an unpleasant flavor and undesirable color to your flatbreads.
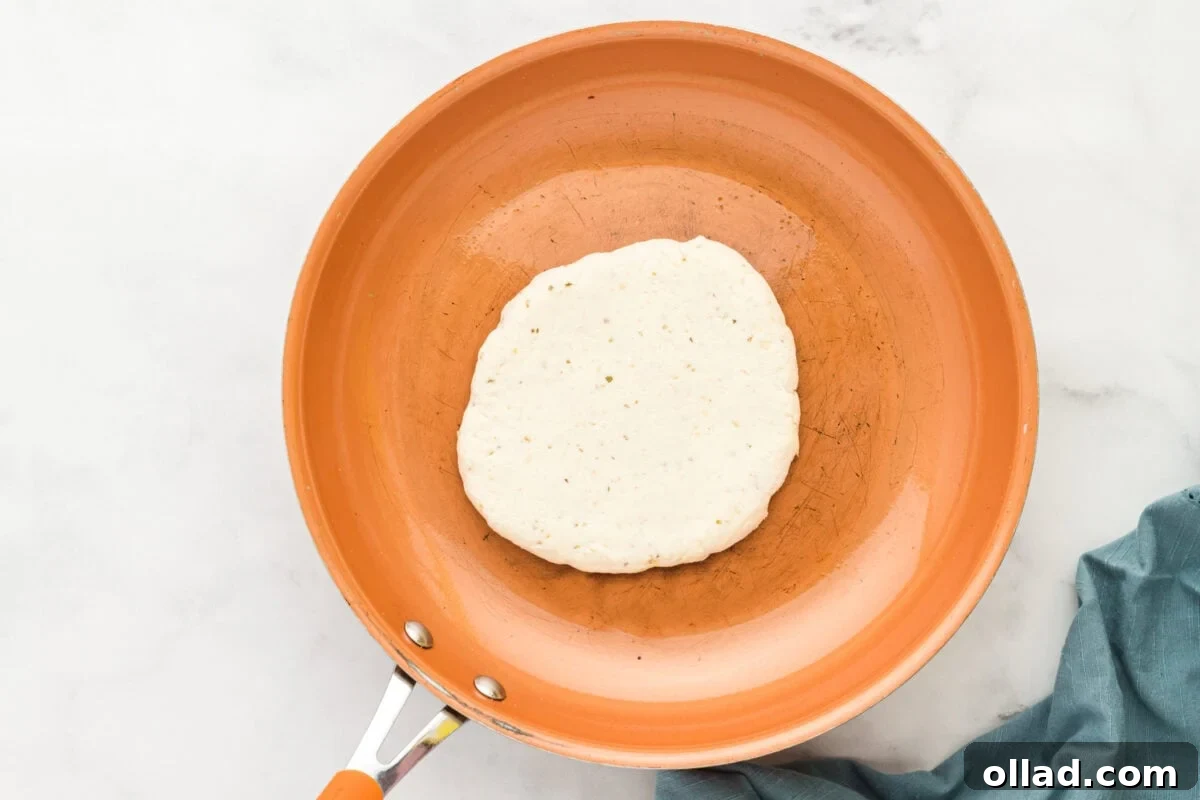
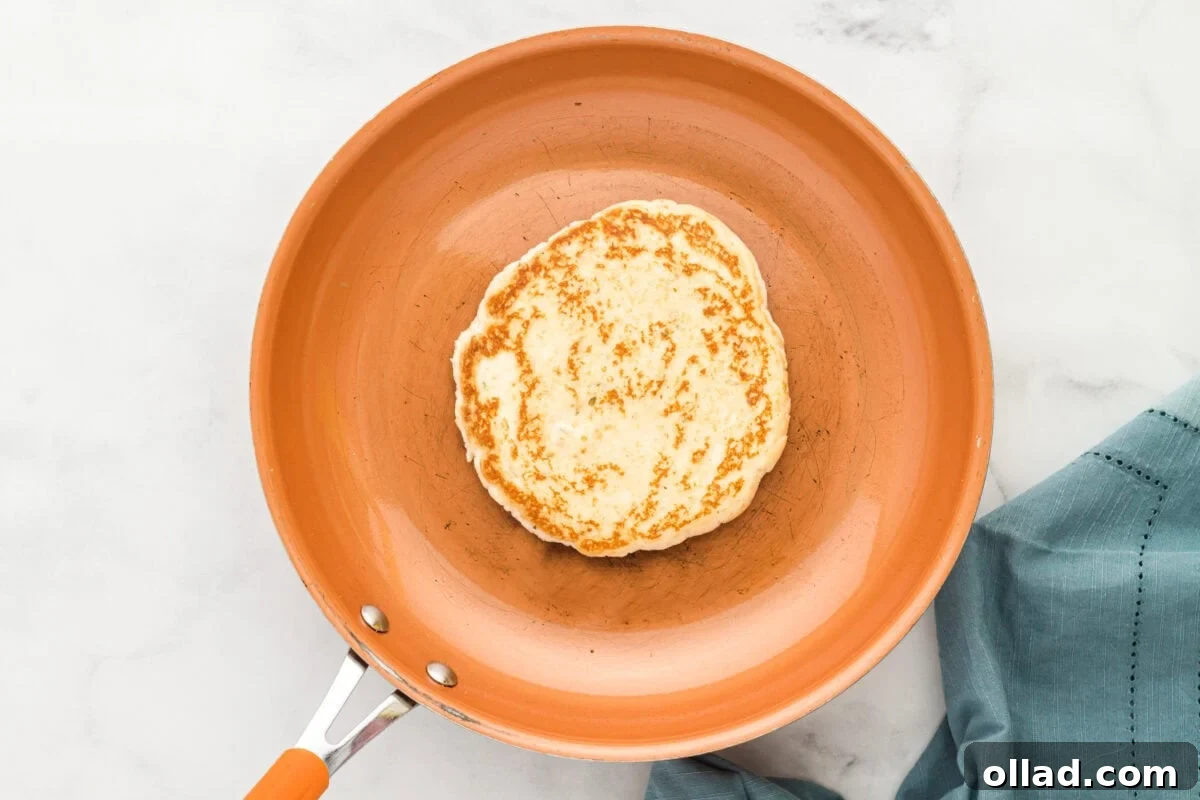
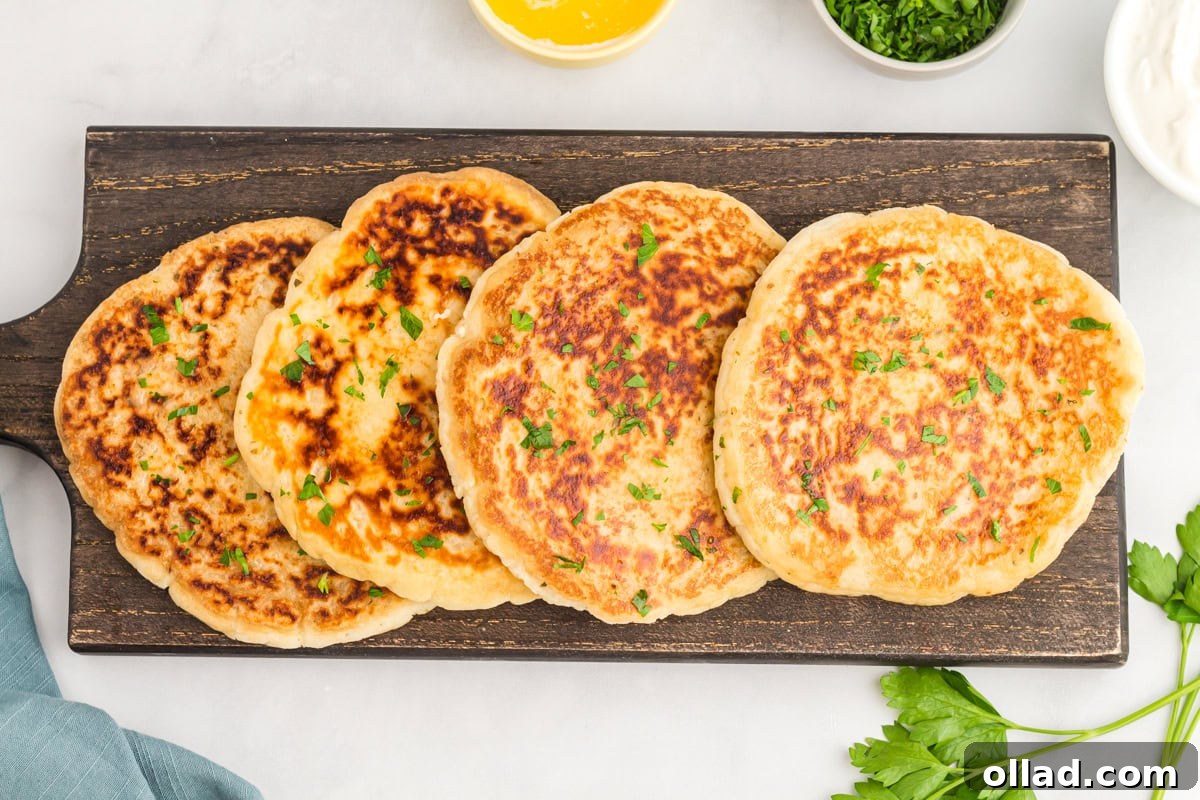
- Cook the Flatbreads: Carefully place one flattened flatbread dough into the heated frying pan. Cook it over low-medium heat for about 2 to 3 minutes, or until the bottom side has begun to brown slightly and develop some golden spots. Then, using a spatula, flip the flatbread and cook the other side for another 2 to 3 minutes, until it is fully cooked through and golden brown. Cooking at a low to medium heat is essential to ensure the flatbreads cook evenly without burning on the outside before the inside is done. They should be lightly browned all over, indicating proper cooking, but not scorched.
- Serve and Enjoy: Once cooked, remove the flatbread from the pan and serve immediately. Repeat the cooking process for the remaining dough portions. Enjoy your fresh, hot, homemade gluten-free flatbreads with your favorite meals!
Expert Tips for Flawless Gluten-Free Flatbread Every Time
Achieving perfectly soft and delicious gluten-free flatbreads is easy with a few key tips:
- Use Certified Gluten-Free Flour: Always ensure your all-purpose flour is certified gluten-free to avoid cross-contamination, especially for those with celiac disease or severe gluten sensitivities.
- Resist Extra Flour on Surfaces: Unlike traditional dough, avoid sprinkling extra gluten-free flour on your work surface when handling this dough. Adding more flour can dry out the dough, making it tough and difficult to work with, preventing it from sticking together properly.
- Handling Sticky Dough: If the dough feels a bit sticky on your hands, lightly wet your hands with a small amount of water. This helps prevent sticking without incorporating too much additional fluid into the dough, which could alter its consistency.
- Measure Flour Accurately: For the best results in gluten-free baking, precision is paramount. Measure your flour by weight using a kitchen scale (grams are ideal) or employ the “spoon-and-level” method. To do this, spoon flour into your measuring cup until it’s overflowing, then level it off with a straight edge (like the back of a knife) without packing it down. This prevents adding too much flour, which can lead to dry, dense flatbreads.
- Dough Consistency Check: The ideal dough consistency should be tacky but not overly sticky. If your dough is too wet, add a tablespoon of gluten-free flour at a time, mixing well after each addition, until it reaches a manageable consistency. Conversely, if it’s too dry and crumbly, add a tablespoon of water (or dairy-free milk/yogurt) at a time until it becomes pliable and holds together.
- No Rolling Pin? No Problem! If you don’t have a rolling pin, you can still make these flatbreads. Simply place each portion of dough between two pieces of parchment paper and use your hands to press and flatten it into the desired flatbread shape.
- Choose the Right Pan: For optimal cooking, a cast iron skillet or a high-quality nonstick pan works best. These pans distribute heat evenly, ensuring your flatbreads cook uniformly and achieve that beautiful golden-brown finish.
- Monitor Cooking Temperature: Cook the flatbreads over a consistent low-medium heat. This allows them to cook through thoroughly without burning the exterior. If the pan gets too hot, the outside will char before the inside is fully cooked, resulting in a raw or doughy center.
Serving Suggestions: Unlock the Versatility
These gluten-free flatbreads are incredibly versatile and can elevate almost any meal. Here are some delicious ways to enjoy them:
- Dipping Delight: They are perfect companions for a variety of dips like classic hummus, creamy tzatziki, smoky baba ghanoush, or a vibrant spinach and artichoke dip.
- Main Course Magic: Use them as a base for quick and easy wraps with grilled chicken, falafel, or roasted vegetables. Serve them alongside hearty curries, stews, or chili for scooping up every last drop of flavorful sauce. They also make excellent open-faced sandwiches or mini pizzas.
- Appetizer & Sides: Cut them into triangles and serve with a cheese board, or transform them into simple bruschetta by topping them with fresh tomatoes, basil, and a drizzle of balsamic glaze.
- Breakfast Booster: Pair them with eggs, avocado, and hot sauce for a unique and satisfying breakfast.
Storage and Freezing Instructions
Proper storage ensures your gluten-free flatbreads remain fresh and delicious for longer:
- Room Temperature Storage: Store any leftover gluten-free flatbreads in an airtight container at room temperature for up to 3 days. This helps maintain their soft texture and prevents them from drying out.
- Freezing for Longer Preservation: For extended storage, these flatbreads freeze beautifully. Place them in an airtight freezer-safe container or a Ziplock bag, making sure to separate each flatbread with a piece of parchment paper to prevent them from sticking together. They can be frozen for up to 3 months.
- Thawing and Reheating: When you’re ready to enjoy frozen flatbreads, simply let them thaw overnight in the refrigerator. Once thawed, you can reheat them gently in a microwave, a warm skillet, or a toaster oven until they are warm and pliable again.
Frequently Asked Questions (FAQs)
Here are answers to some common questions about making gluten-free flatbreads:
- Can I make this recipe vegan? Yes, absolutely! This recipe is already egg-free. To make it fully vegan, simply substitute the full-fat plain Greek yogurt with an equal amount of full-fat plain dairy-free Greek yogurt and use a dairy-free butter alternative.
- Can I add different herbs or spices? Yes, feel free to customize the flavor! Beyond garlic powder and dried oregano, you can experiment with dried basil, rosemary, thyme, onion powder, or a pinch of red pepper flakes for a bit of heat.
- Can I bake these flatbreads instead of pan-frying? While this recipe is optimized for pan-frying to achieve a soft and slightly chewy texture, you could experiment with baking them. Preheat your oven to a high temperature (around 400°F/200°C) and bake on a baking sheet until golden and cooked through, likely 8-12 minutes, flipping halfway. Keep in mind the texture might be slightly different.
- How thick should I roll the flatbreads? Aim for approximately 1/4-inch thickness. This allows them to cook evenly and remain soft without becoming too thin and crispy or too thick and doughy.
- Can I prepare the dough ahead of time? You can prepare the dough up to a day in advance. Store it in an airtight container in the refrigerator. Allow it to come closer to room temperature for about 15-20 minutes before rolling and cooking, as cold dough can be stiffer to work with.
More Delicious Gluten-Free Flatbread Recipes to Try!
If you loved this recipe, explore these other fantastic gluten-free flatbread options:
- Farinata
- Socca
- Arepas
Gluten-Free Flatbread
By: Cheryl Johnson
Servings: 4 flatbreads
Prep: 10 mins
Cook: 25 mins
Total: 35 mins
This gluten-free flatbread recipe is so quick and easy to make! Less than 10 ingredients and 35 minutes to fresh, hot flatbreads!
Ingredients
- 2 cups gluten-free all-purpose flour with xanthan gum
- 2 teaspoons baking powder
- 1 teaspoon garlic powder
- 1 teaspoon dried oregano
- ½ teaspoon salt
- 2 cups full-fat plain Greek yogurt
- 1 tablespoon unsalted butter, melted but not too hot
Instructions
- In a medium bowl, whisk together gluten-free flour with xanthan gum, baking powder, garlic powder, dried oregano, and salt.
- With an electric mixer on low speed, add yogurt and melted butter to the dry ingredients and beat on low just until combined (about 1-2 minutes). Do not overmix. Use a spatula to blend in any dry ingredients that may have settled in the bottom of the bowl.
- Separate the dough into 4 equal parts (this is about 165 grams of dough per flatbread).
- Using a rolling pin between two sheets of parchment paper (to avoid the dough sticking to the rolling pan and table), roll each ball of dough out to about ¼-inch thickness. They don’t have to be perfectly round but if you want to smooth out the edges you can with a slightly damp finger.
- Heat a large frying pan over low-medium heat on the stovetop. Once heated, spray with non-stick cooking spray. If the oil starts to brown too much into the pan, gently & carefully wipe it out and re-spray. Oil that’s starting to burn will transfer into the flatbread and turn the flatbread an unappetizing brown color.
- Place one flattened flatbread dough in the frying pan and heat over low-medium heat for about 2 to 3 minutes (until the bread has started to brown slightly) then flip and cook for another 2 to 3 minutes on the other side until it is fully cooked. It is important to cook these over a low-medium heat so that they don’t burn before they’re fully cooked through. They should be lightly browned all over but not starting to burn.
Notes
- Be sure to use certified gluten-free all-purpose flour.
- Do not sprinkle extra gluten-free flour on your work surface to prevent the dough from sticking. Extra flour will lead to the dough drying out and not sticking together.
- If the dough is sticking to your hands, wet your hands just slightly to prevent the dough from sticking. Not too much water though as you don’t want the dough soaking up extra fluid.
- Measure your flour in grams or using the spoon-and-level method to avoid dry flatbreads.
- To store: Place the flatbreads in an airtight container at room temperature for up to 3 days.
- To freeze: Place the flatbreads in an airtight container or Ziplock bag with parchment between them to prevent sticking for up to 3 months.
Nutrition
Serving: 1 flatbread
Calories: 293kcal
Carbohydrates: 49g
Protein: 17g
Fat: 5g
Saturated Fat: 2g
Polyunsaturated Fat: 0.5g
Monounsaturated Fat: 1g
Trans Fat: 0.1g
Cholesterol: 13mg
Sodium: 556mg
Potassium: 159mg
Fiber: 7g
Sugar: 5g
Vitamin A: 100IU
Vitamin C: 0.02mg
Calcium: 278mg
Iron: 3mg
Nutrition information is automatically calculated, so should only be used as an approximation.
Additional Info
Course: Baking
Cuisine: American
Conclusion: Embrace the Simplicity of Homemade Flatbread
Making your own gluten-free flatbreads at home is a rewarding experience that offers unparalleled freshness, flavor, and convenience. This recipe, designed for simplicity and speed, ensures that even on the busiest days, you can enjoy warm, delicious flatbreads that cater to various dietary needs. From the moment you whisk the ingredients to the first bite of a perfectly cooked flatbread, you’ll appreciate the ease and satisfaction of creating something so wonderful from scratch. So go ahead, give this recipe a try, and transform your meals with the delightful addition of homemade gluten-free flatbread!