
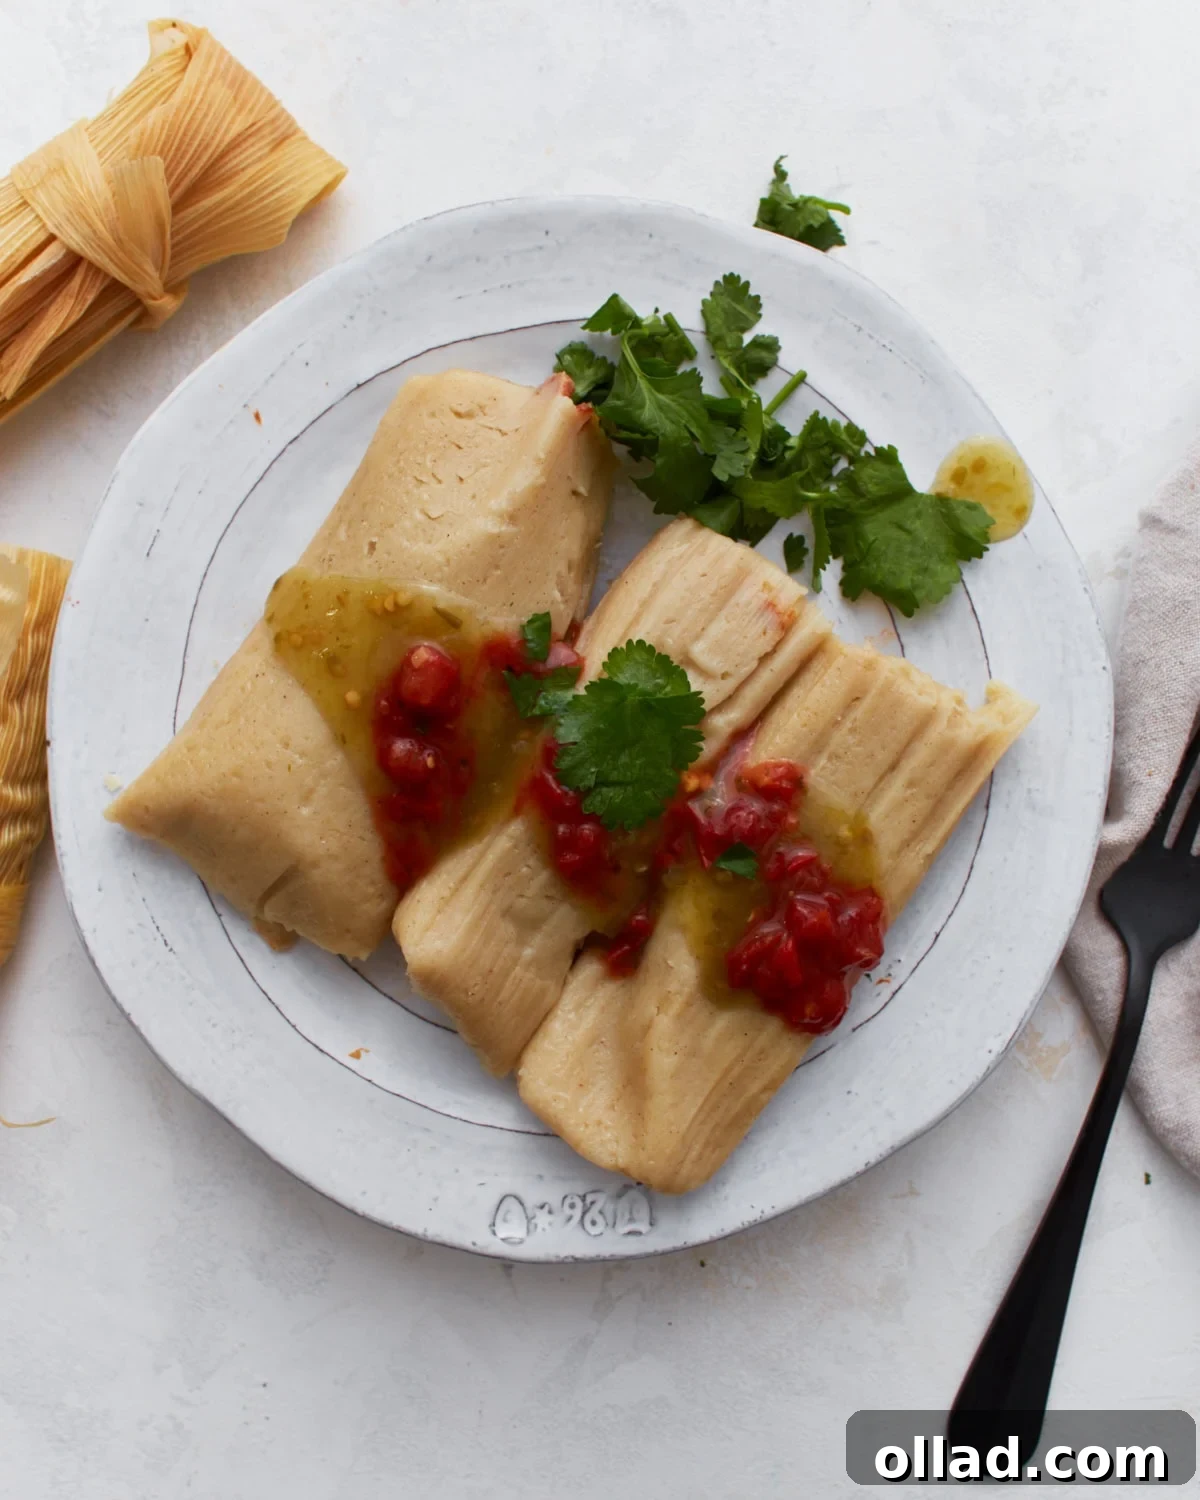
Embark on a culinary journey to Mexico with a dish that consistently delights: homemade tamales. Revered for their rich flavors and comforting essence, tamales are a staple that perfectly embodies the vibrant spirit of Mexican cuisine. This recipe offers a unique spin on the traditional favorite, crafting gluten-free tamales that don’t compromise on the authentic taste or tender texture you expect. Each delicate parcel of savory masa dough, lovingly filled and wrapped in a corn husk, is steamed to perfection, resulting in a supremely soft and flavorful bite. Whether you’re hosting a festive gathering or simply seeking a special dish to share, these tamales are guaranteed to be a crowd-pleaser and a memorable experience for everyone.
The art of making tamales, while appearing intricate at first glance, is a deeply rewarding and surprisingly relaxing process once you get into the rhythm. The foundation of these delectable treats is the masa dough, meticulously prepared with high-quality gluten-free masa harina to ensure that quintessential corn flavor. Combined with a judicious amount of broth and lard, the masa transforms into a smooth, pliable, and effortlessly spreadable consistency. What makes tamales truly extraordinary is the endless array of possibilities for fillings. From robust meat and cheese combinations to entirely vegetarian options bursting with beans and rice, there’s a tamale for every palate. The assembly is straightforward: spread the soft dough onto a corn husk, add your chosen filling, and fold it into a neat package. These ready-to-steam bundles offer a wonderful opportunity to involve family and friends in the kitchen, turning meal prep into a cherished communal activity that culminates in tender, incredibly flavorful tamales.
Why Choose Gluten-Free Tamales?
For those navigating a gluten-free lifestyle, traditional dishes can often be off-limits. However, tamales inherently lend themselves well to a gluten-free adaptation, primarily because masa harina, the core ingredient for the dough, is naturally gluten-free corn flour. This recipe ensures that everyone can enjoy the rich, authentic flavors of Mexican tamales without concern. Opting for gluten-free tamales means you can savor every bite of this classic comfort food, enjoying the tender masa and savory fillings, all while adhering to dietary needs. It opens up a world of flavorful possibilities, proving that dietary restrictions don’t mean sacrificing taste or tradition.
The Cultural Significance of Tamales
Tamales are more than just a meal; they are a symbol of celebration, community, and heritage in Mexican culture. Dating back to ancient Mesoamerican civilizations, tamales were often prepared for special ceremonies, religious festivities, and important gatherings. The process of making tamales, known as a “tamalada,” is itself a cherished tradition, bringing families together to share stories, laughter, and the labor of preparing this beloved dish. Each tamale, wrapped individually, represents the care and love poured into its creation. By making tamales at home, especially with a thoughtful gluten-free approach, you’re not just cooking; you’re participating in a rich cultural legacy, creating memories, and sharing a taste of history with your loved ones.
Essential Gluten-Free Tamale Making Tips
- Prepare Corn Husks Early: Begin soaking your dried corn husks in hot water well before you start mixing the masa dough. This ensures they become soft, pliable, and easy to handle when it’s time for assembly, preventing breakage and making the folding process smoother.
- Master the Masa Dough Texture: Achieving the perfect masa consistency is crucial. The dough should be light, fluffy, and spreadable, much like a thick hummus or soft peanut butter. If your dough feels too dry, crumbly, or cracks when you try to spread it, gradually add a tablespoon of warm broth at a time until it reaches the ideal smooth, workable texture.
- Avoid Overfilling Tamales: Resist the temptation to overload your tamales. A general guideline is about 2 tablespoons of masa dough and 1-2 tablespoons of filling. Overfilling can make folding difficult, lead to husks bursting, and cause the precious filling to leak out during the steaming process, affecting both taste and presentation.
- Proper Steaming Orientation: Always stand your tamales upright in the steamer with the open ends facing upwards. This allows steam to circulate evenly around each tamale, ensuring thorough cooking and preventing water from collecting inside the tamales, which could result in a soggy texture.
- Confirm Doneness: To check if your tamales are fully cooked, carefully remove one from the steamer. A perfectly cooked tamale will have masa that cleanly pulls away from the corn husk without sticking or feeling wet. If it’s still clinging to the husk, return it to the steamer for another 10-15 minutes.
- Allow Them to Rest: Patience is a virtue when it comes to tamales. After steaming, let the cooked tamales rest for at least 10 minutes before unwrapping and serving. This resting period allows the masa to firm up, making them easier to handle and ensuring they hold their beautiful shape and tender consistency.
Gluten-Free Tamales
Sabine Venier
20
tamales
1 hour
1 hour
2 hours
Share by Email
Print Recipe
Step-by-step photos can be seen below the recipe card.
Ingredients
Masa Dough
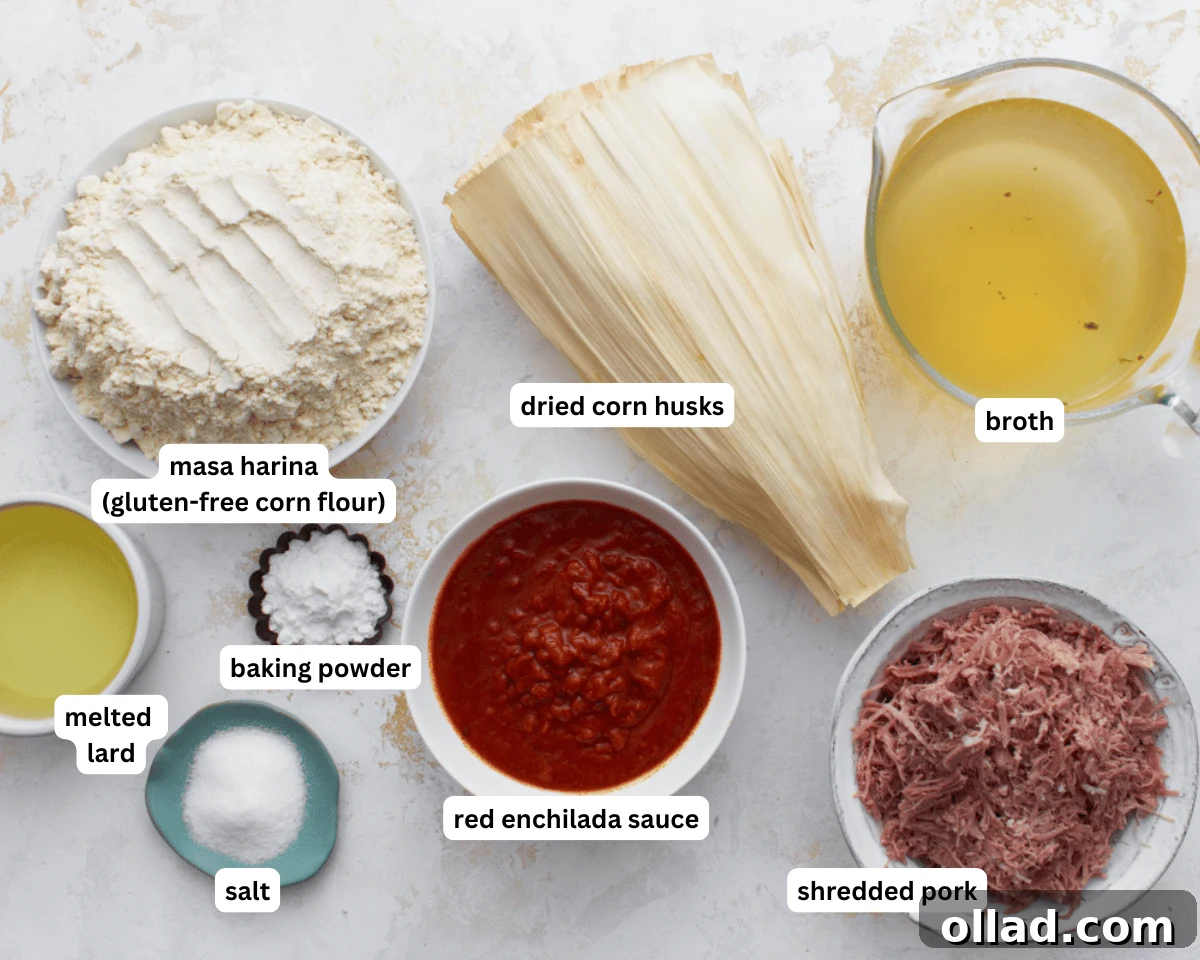
- 4 cups masa harina, gluten-free corn flour for tamales
- 2 tsp baking powder
- 2½ tsp salt
- 1 cup lard, melted
- 3½ cups warm broth, beef, chicken, or vegetable
For the Filling
- 3 cups cooked shredded pork or chicken
- 2 cups red enchilada sauce
Assembly
- 20 dried corn husks, soaked in hot water for 30 minutes until softened
Instructions
-
Soak the corn husks in a shallow bowl filled with hot water until softened, about 30 minutes. Keep them submerged by placing a plate on top. Then drain and dry.
-
In a large bowl, whisk together masa harina, baking powder, salt, and cumin.
-
Add lard and beat with an electric mixer until the mixture looks crumbly.
-
Slowly pour in warm broth, mixing until a soft, spreadable dough forms. It should feel like thick hummus and spread without cracking.
-
In a separate bowl, mix shredded pork with enchilada sauce until evenly coated.
-
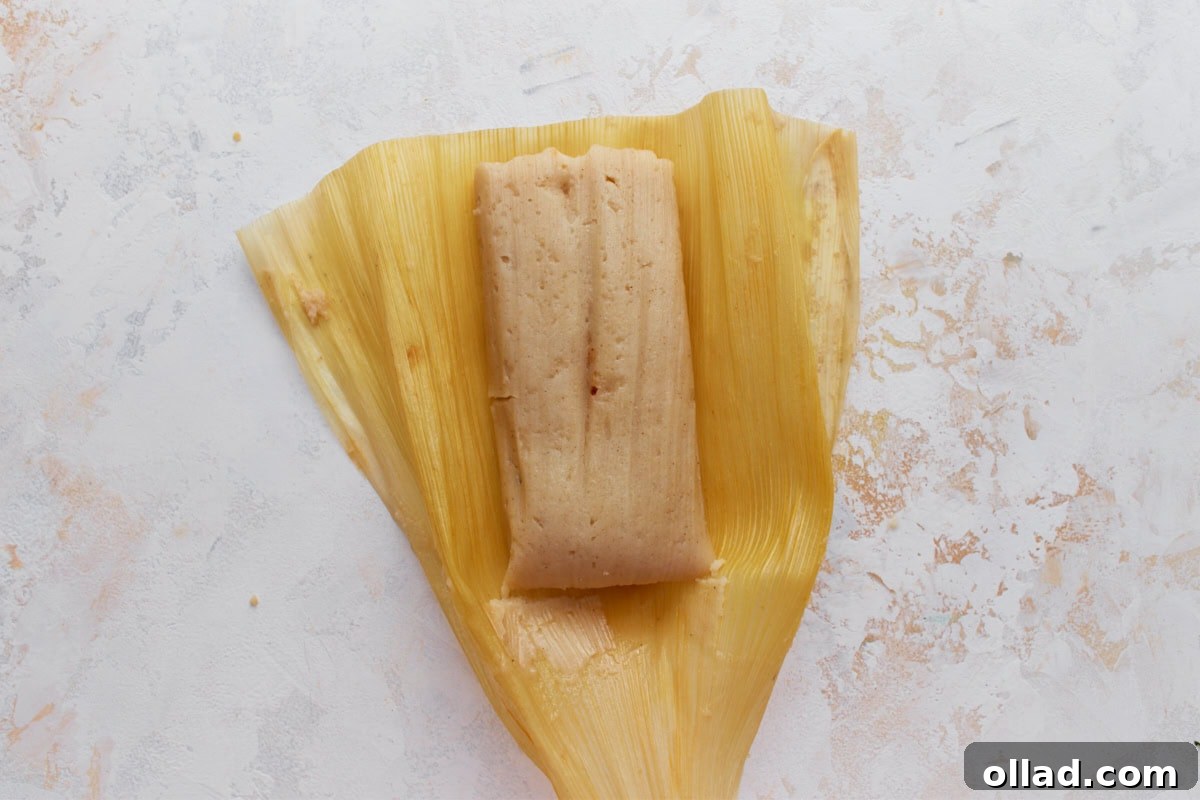
Lay a soaked corn husk flat, smooth side facing up (this will be the inside). Spread about 2 tbsp of masa dough in the center, leaving space at the sides and top. Add 1–2 tbsp of filling down the middle.
-
Fold the sides of the husk inward over the filling, like a book. Then fold a second time like a book. Then fold the bottom end up. Tie with a thin strip of husk if desired.
-
Instant Pot Method: Place a trivet or steamer basket inside the Instant Pot and add 1 cup of water. Place a few corn husks on top of the basket or trivet.
-
Stand tamales upright, open ends facing up. Seal the lid, set to Manual/Pressure Cook for 25 minutes on High Pressure. Let pressure release naturally for 10 minutes, then quick release any remaining pressure.
-
Steamer Method: Stand tamales upright in a large steamer pot with open ends facing up. Steam over simmering water for 1 hour or longer, adding more water as needed.
-
Tamales are done when the masa pulls away cleanly from the husk and feels firm. Let rest 10 minutes before serving. Enjoy!
Notes
- Make sure the masa harina (corn flour) is certified gluten-free to ensure no cross-contamination.
- Fold snugly but not too tightly. A gentle fold allows the masa to expand slightly while steaming, which is key to achieving a light and airy texture.
- Make it a group activity. The task of filling and folding tamales is not only faster but also much more enjoyable when shared with family or friends. It’s a perfect tradition for creating lasting memories.
- Try a test tamale first. Before committing to the entire batch, steam just one tamale to check the masa texture, seasoning, and overall doneness. This small step can save you from a batch of imperfect tamales.
- Keep extras warm. Once the tamales are cooked, it’s a good idea to cover the pot with a lid and a clean kitchen towel to effectively trap the heat. This method helps keep the tamales warm and moist until you are ready to serve them.
Nutrition
Serving: 1tamale
Calories: 162kcal
Carbohydrates: 26g
Protein: 7g
Fat: 4g
Saturated Fat: 1g
Polyunsaturated Fat: 0.4g
Monounsaturated Fat: 0.2g
Cholesterol: 16mg
Sodium: 907mg
Potassium: 71mg
Fiber: 2g
Sugar: 7g
Vitamin A: 353IU
Vitamin C: 2mg
Calcium: 78mg
Iron: 2mg
Nutrition information is automatically calculated, so should only be used as an approximation.
Additional Info
Tried this recipe?
Mention @mamaknowsglutenfree or tag #mamaknowsglutenfree!
How to Make Gluten-Free Tamales: A Step-by-Step Guide
Crafting delicious gluten-free tamales is an enjoyable process that yields incredible results. Follow these detailed steps to create your own batch of authentic Mexican tamales at home.
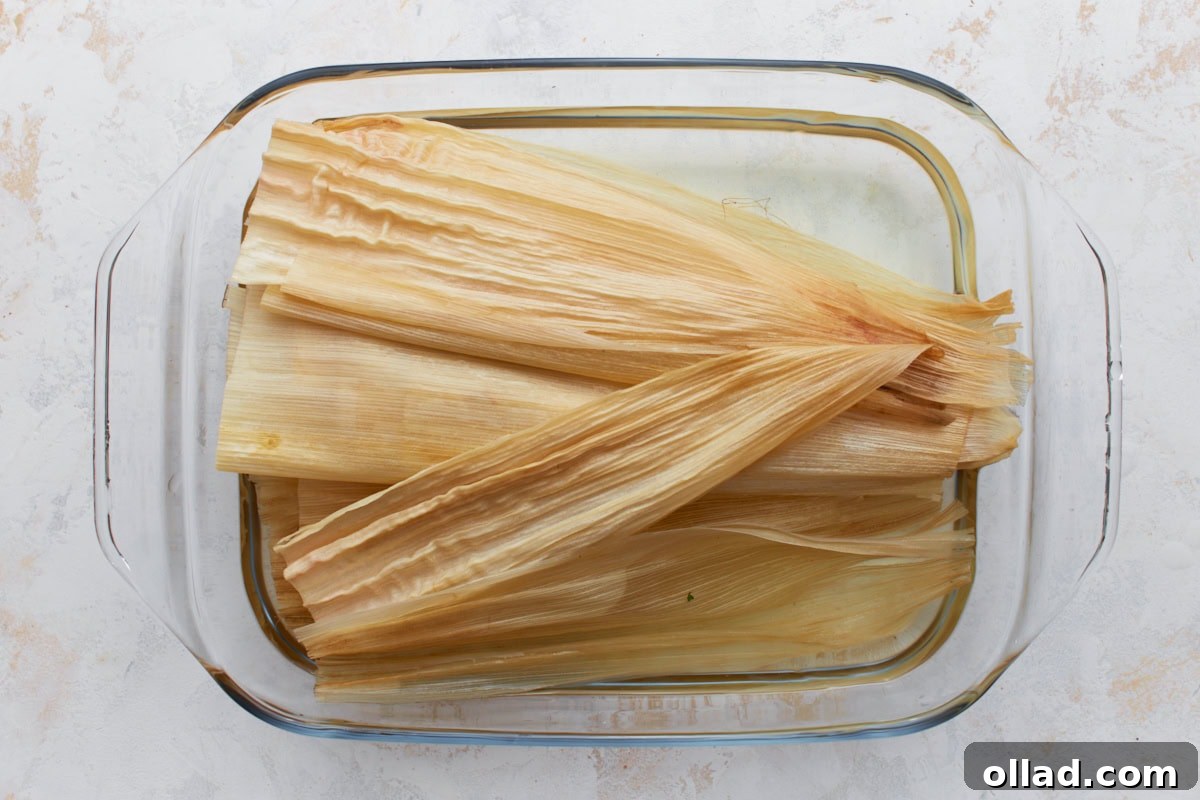
Step 1: Soak the Corn Husks. Begin by placing about 20 dried corn husks into a large, shallow bowl. Cover them completely with hot water. To ensure they remain submerged and soften uniformly, place a plate or another heavy object on top. Allow them to soak for approximately 30 minutes, or until they become fully softened and flexible enough to fold without tearing. Once ready, drain the water and gently pat the husks dry with a clean towel before you start assembling.
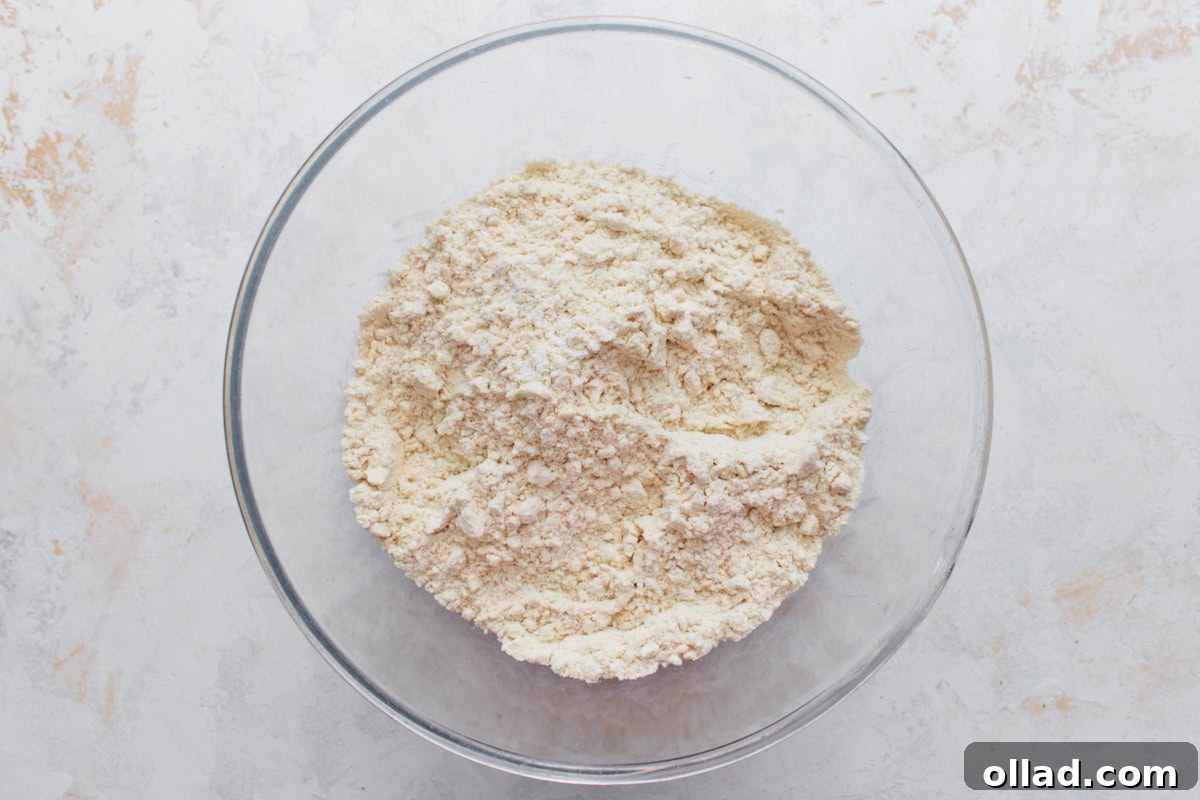
Step 2: Mix the Dry Ingredients for Masa. In a sizable mixing bowl, combine 4 cups of gluten-free masa harina (specifically designated for tamales), 2 teaspoons of baking powder, and 2½ teaspoons of salt. Whisk these dry ingredients thoroughly to ensure they are well combined and evenly distributed, laying the groundwork for a perfectly textured masa dough.
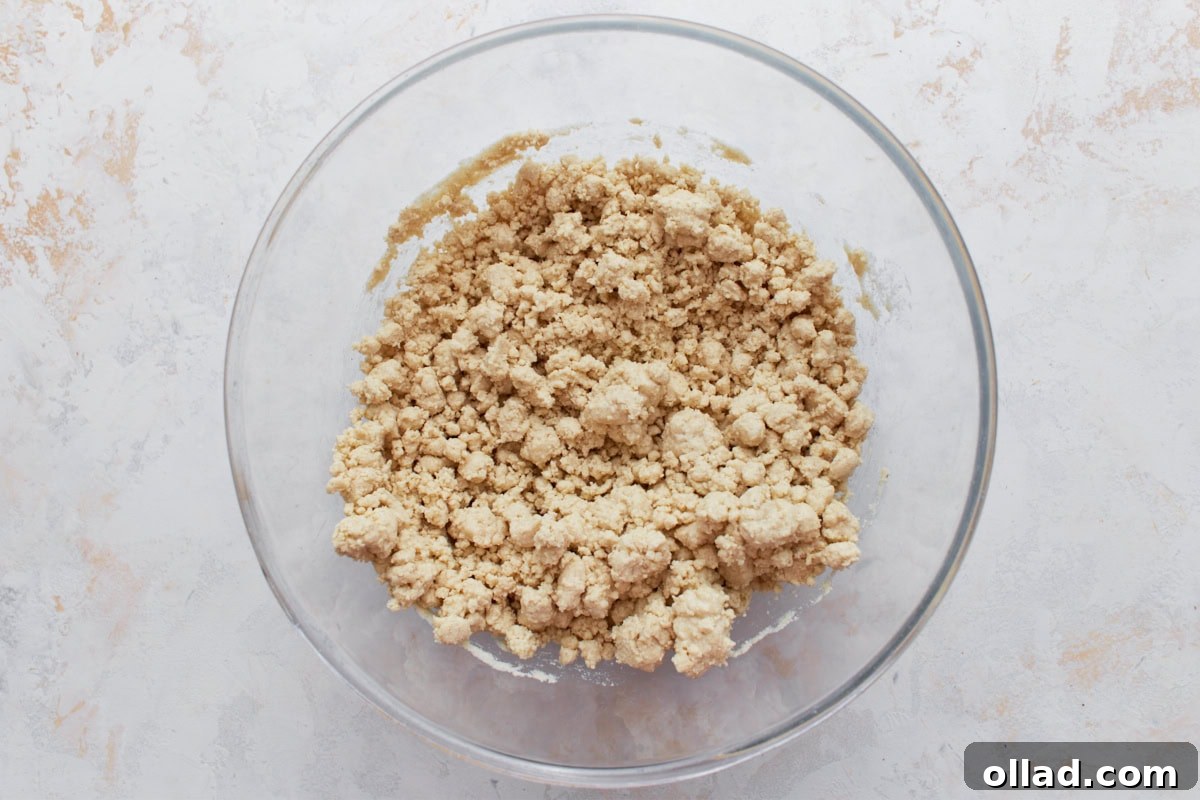
Step 3: Incorporate the Fat. Pour 1 cup of melted lard into the dry masa mixture. Using an electric mixer, beat the ingredients together until the mixture takes on a crumbly appearance, with the masa harina evenly coated by the lard. This step is crucial for achieving the rich flavor and tender texture characteristic of excellent tamales.
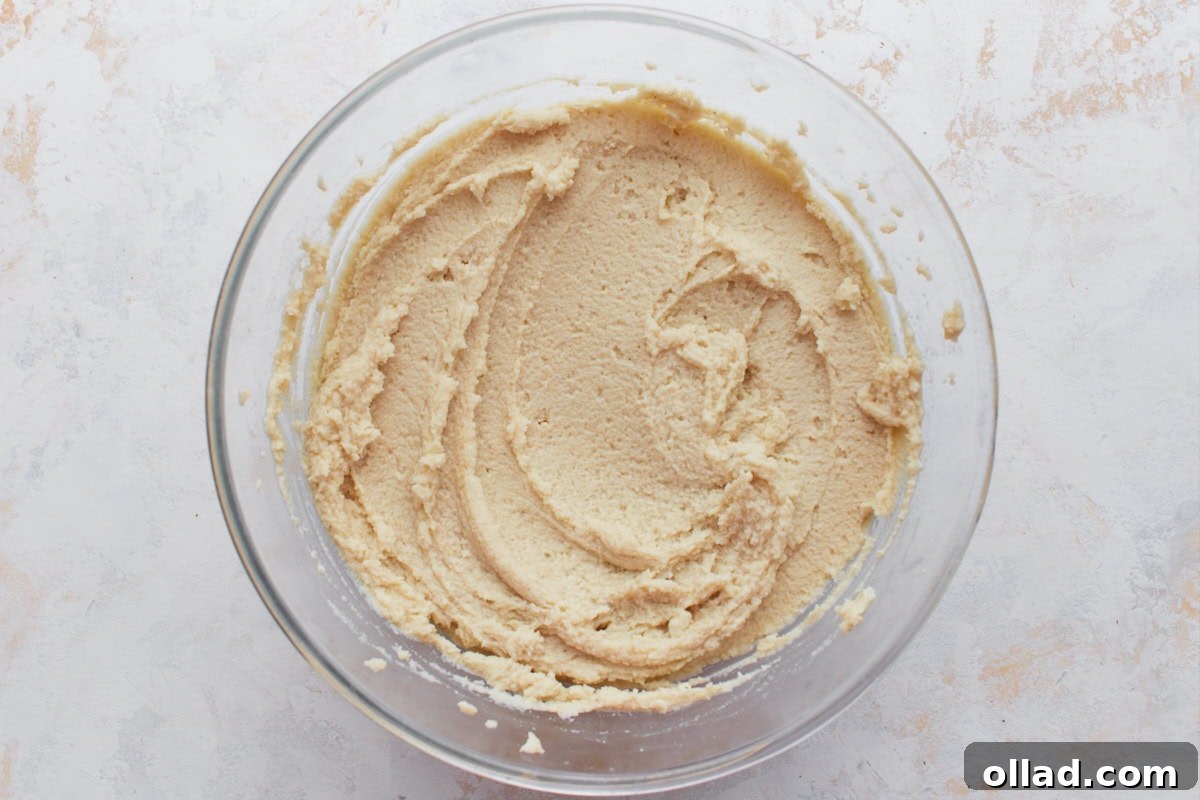
Step 4: Add the Liquid to Form Dough. Gradually introduce 3½ cups of warm broth (you can use beef, chicken, or vegetable broth to match your filling) into the masa mixture, adding a little at a time while continuously mixing. Continue until a soft, uniform, and easily spreadable dough forms. The ideal consistency should be similar to thick hummus – smooth, pliable, and without any cracks when spread, indicating it’s ready for tamale assembly.
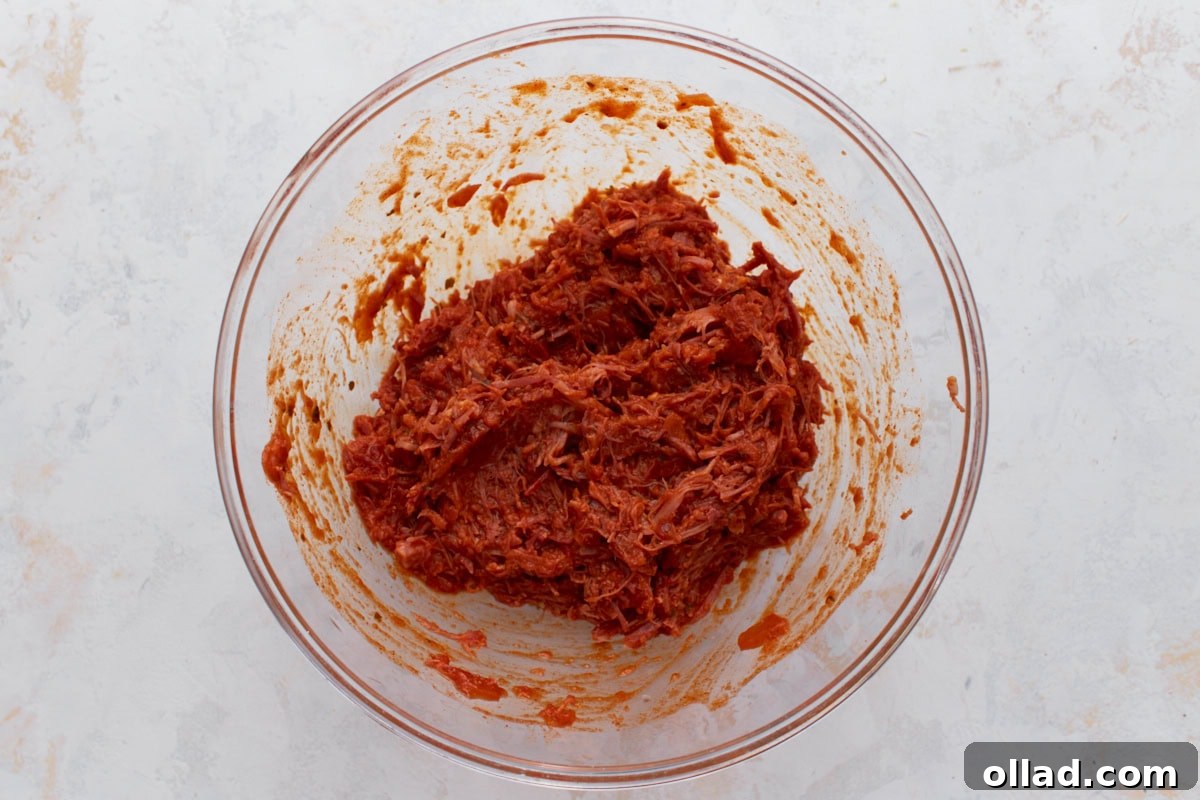
Step 5: Prepare the Savory Filling. In a separate bowl, combine 3 cups of your chosen cooked, shredded meat—pork or chicken work wonderfully. Pour in 2 cups of rich red enchilada sauce. Stir the mixture until the meat is thoroughly and evenly coated with the sauce, ensuring every bite of your tamale is packed with flavor.
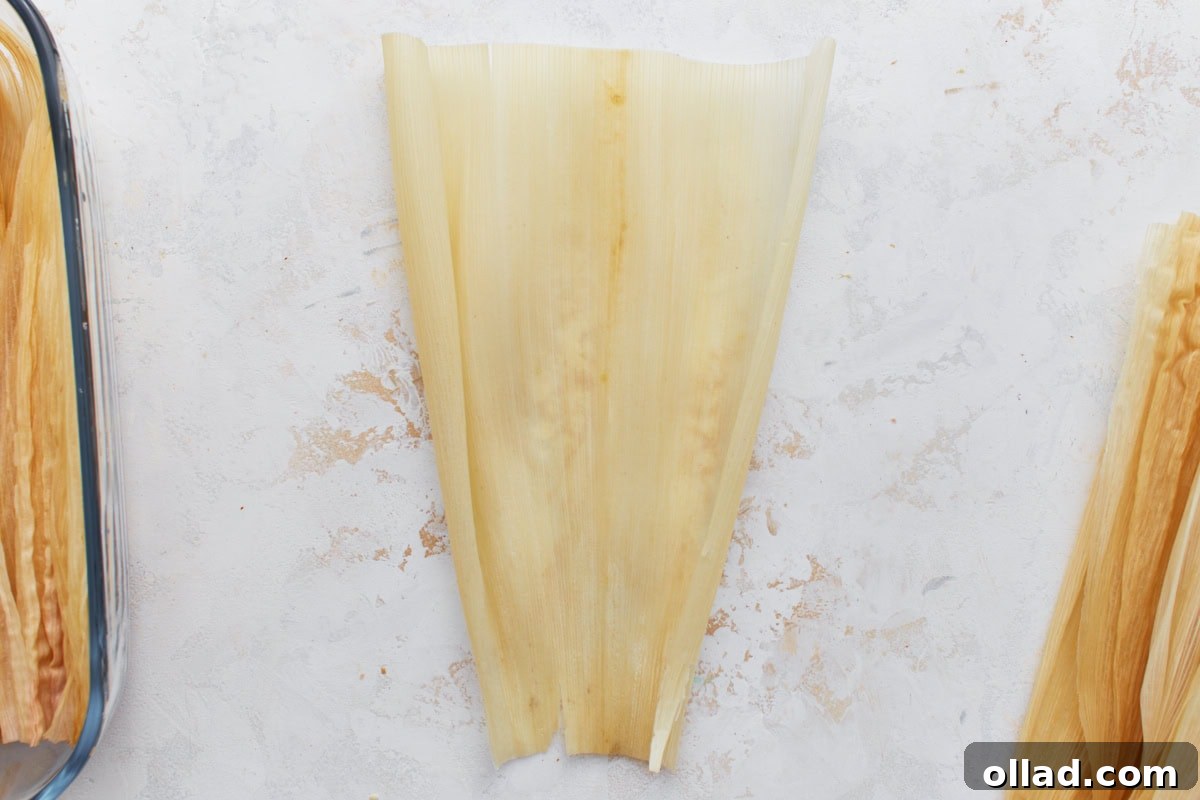
Step 6: Prep the Corn Husk for Filling. Take one of the softened corn husks and lay it flat on your clean work surface. Make sure the smoother side of the husk is facing upwards, as this will be the interior of your tamale and will come into direct contact with the masa dough.
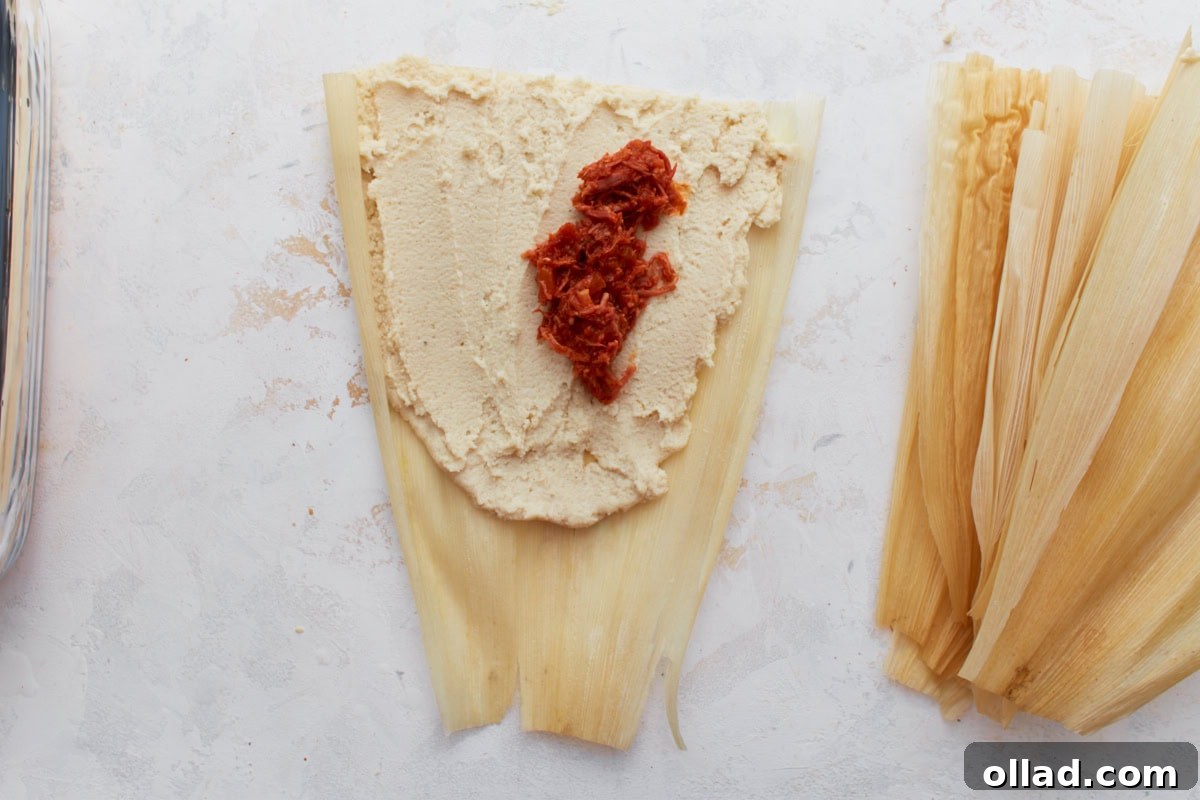
Step 7: Fill Each Tamale. Spread approximately 2 tablespoons of the prepared masa dough onto the center of the prepped corn husk. Leave a generous margin of space along the sides and at the top. Next, spoon 1-2 tablespoons of your savory filling down the middle of the masa dough. This careful placement ensures a perfect masa-to-filling ratio in every tamale.
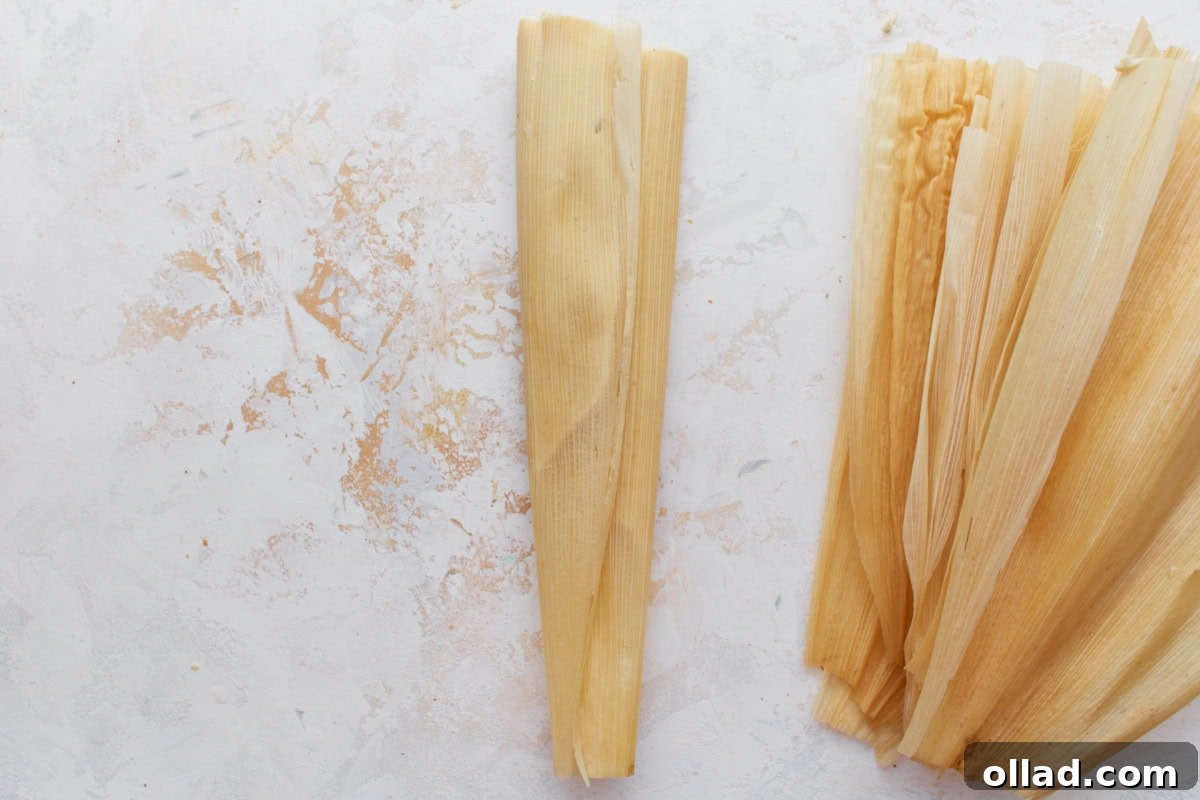
Step 8: Fold in the Sides. Carefully fold one side of the corn husk inward over the filling, then fold the other side over, much like closing a book. This encloses the filling securely within the masa dough. Ensure the fold is snug but not overly tight, allowing the masa room to expand during steaming.
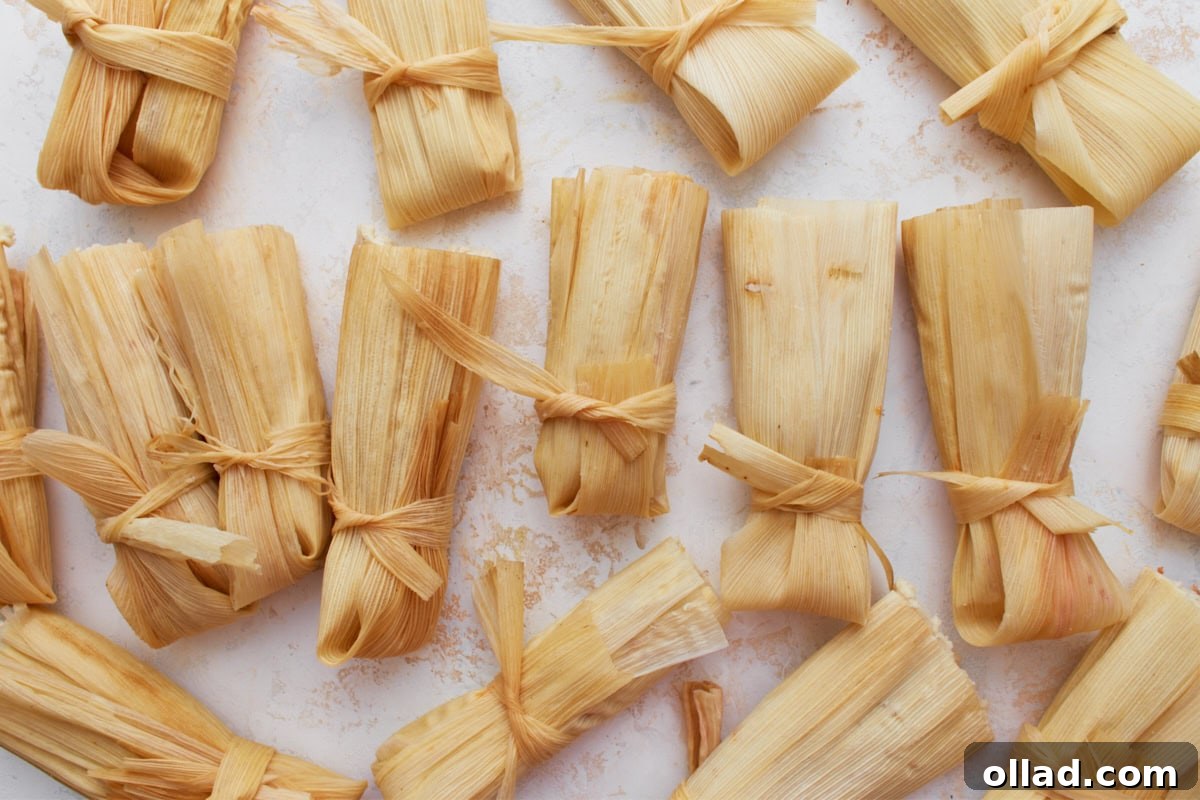
Step 9: Fold and Tie the Tamale. After folding the sides, fold the bottom end of the husk upwards. If you wish, you can secure the tamale by tying it with a thin strip of corn husk (tear a strip from a spare husk). Repeat this filling and folding process with the remaining masa dough and filling until all your tamales are assembled and ready for cooking.
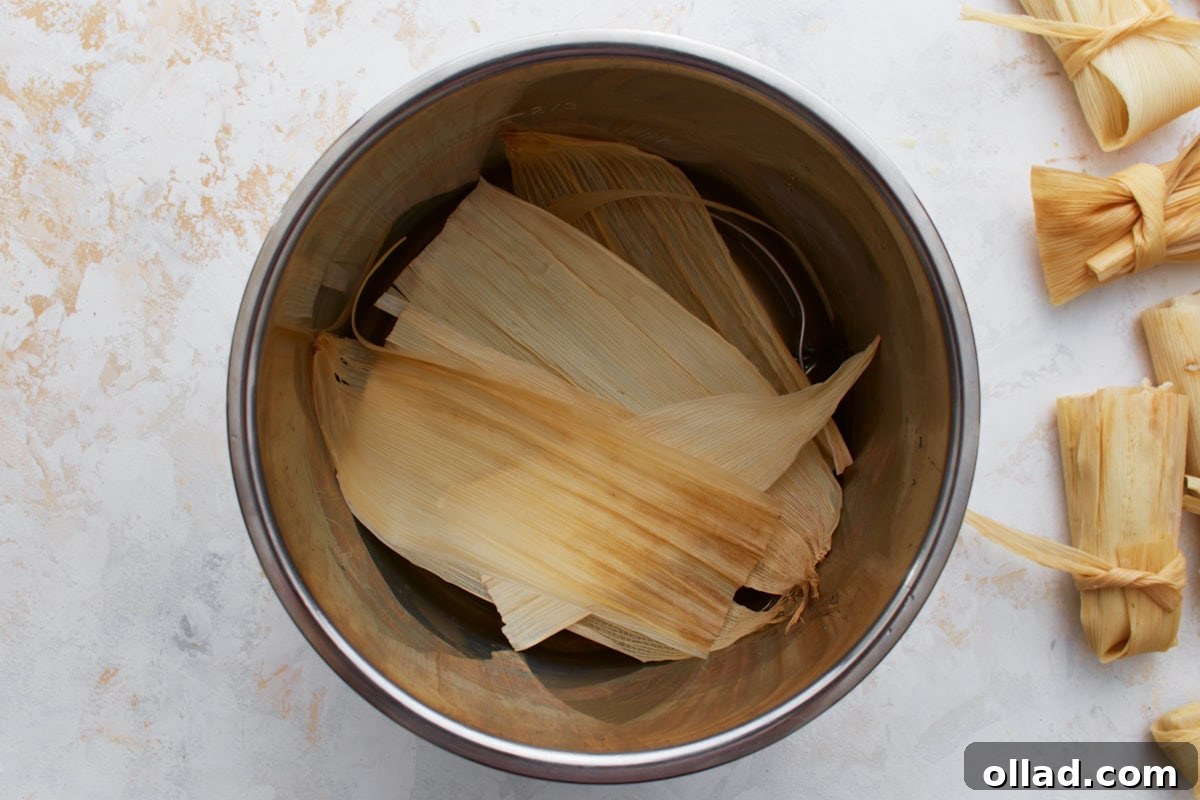
Step 10: Cook the Tamales. There are two excellent methods for cooking your tamales:
Instant Pot Method: Place a trivet or a steamer basket inside your Instant Pot, then add 1 cup of water. For added protection and flavor, lay a few extra corn husks on the bottom of the basket or trivet. Carefully arrange the tamales upright in the pot, ensuring their open ends face upwards. Seal the lid and set your Instant Pot to Manual/Pressure Cook for 25 minutes on High Pressure. Once cooking is complete, allow the pressure to release naturally for 10 minutes before performing a quick release for any remaining pressure.
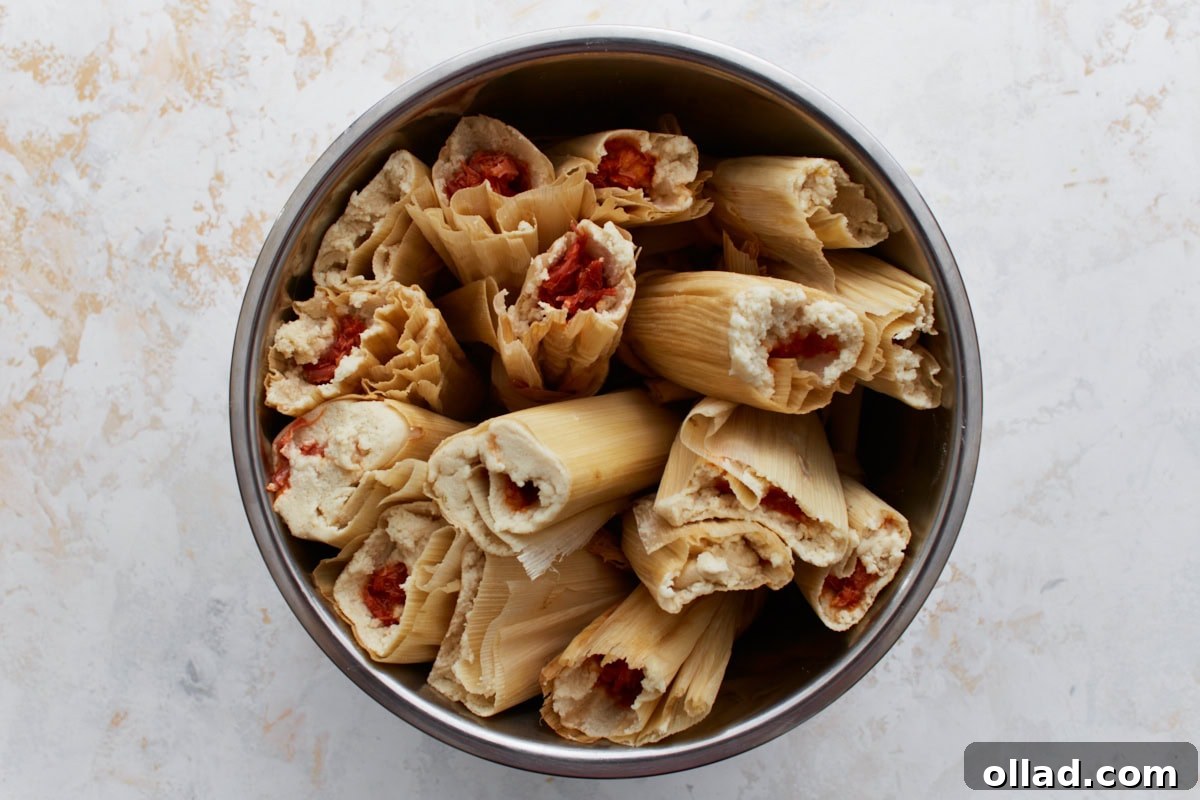
Steamer Pot Method: If you’re using a traditional steamer pot, stand the tamales upright with their open ends facing upwards. Ensure there’s enough water in the pot to generate steam but not touch the tamales directly. Steam over simmering water for at least 1 hour, or until fully cooked. Remember to check the water level occasionally and add more hot water as needed to prevent the pot from drying out.
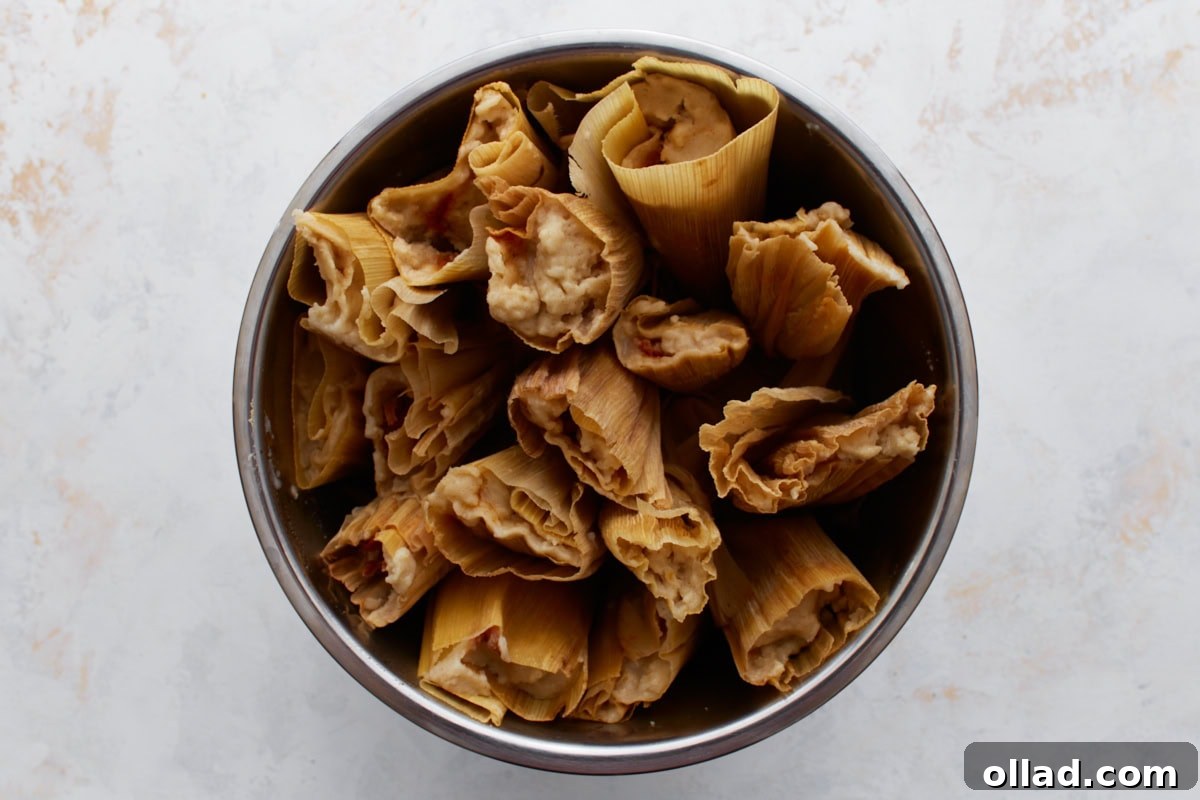
Step 11: Check for Doneness. Your tamales are ready when the masa dough easily pulls away cleanly from the corn husk. The masa should feel firm and not sticky. If it still clings or feels soft, continue steaming for a little longer, checking every 10-15 minutes.
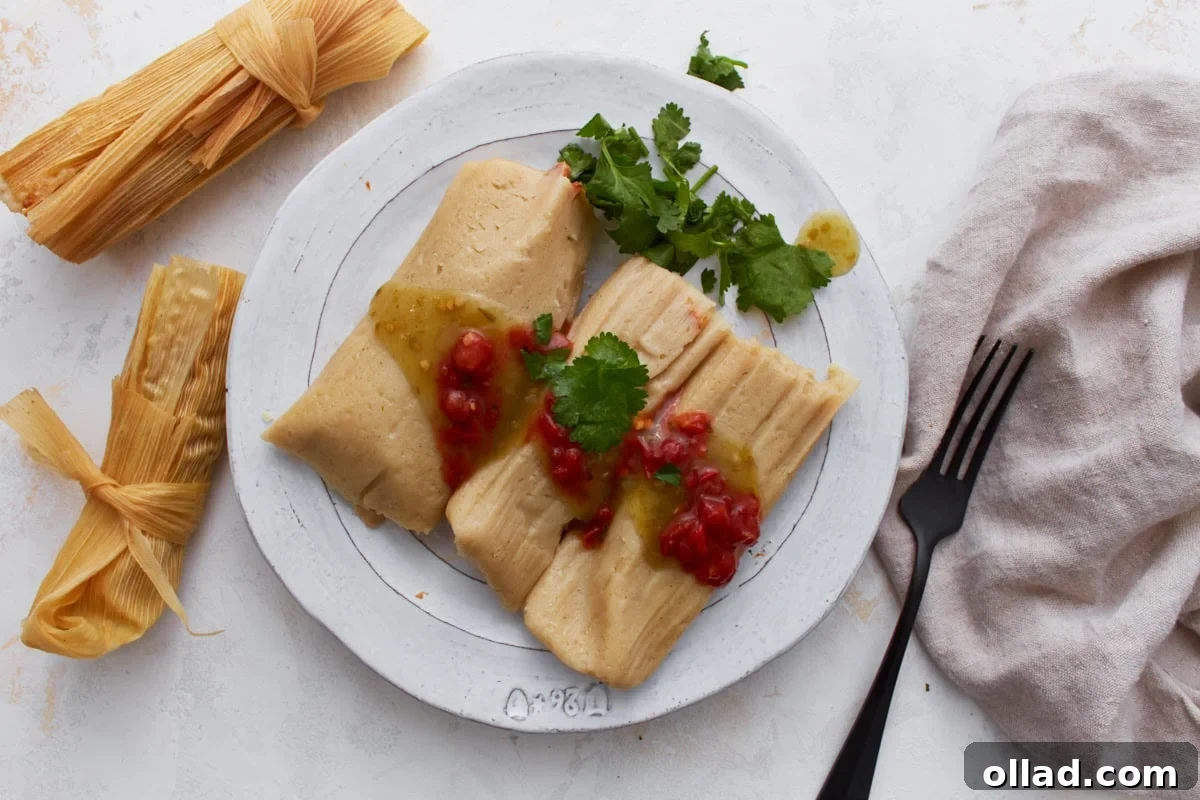
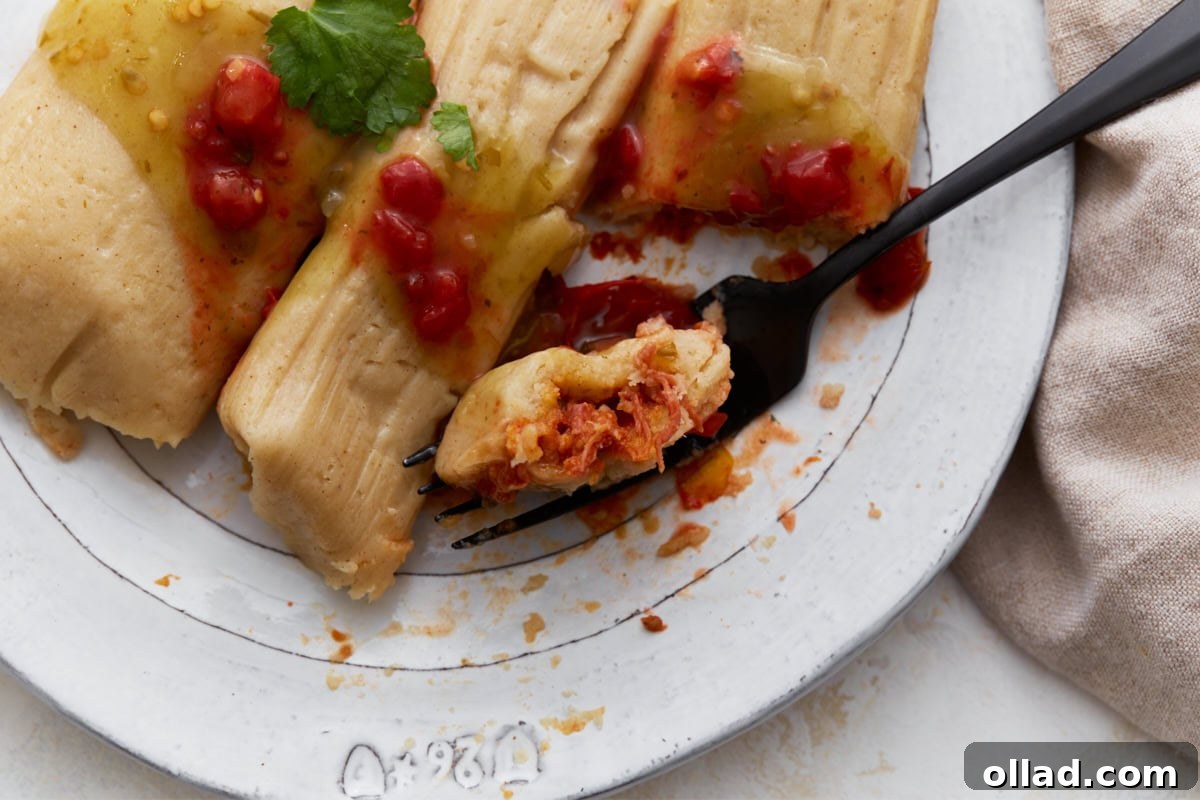
Step 12: Cool and Serve. Once cooked, allow the tamales to rest in the pot for about 10 minutes before unwrapping and serving. This resting period is important as it allows the masa to firm up further and hold its shape beautifully, enhancing the eating experience. Serve warm with your favorite toppings.
Creative Tamale Filling Variations
While shredded pork with red enchilada sauce is a classic for a reason, the beauty of tamales lies in their versatility. Don’t hesitate to experiment with different fillings to suit your taste or dietary preferences. Here are some fantastic ideas to get your culinary creativity flowing:
- Shredded Pork with Red Enchilada Sauce: The quintessential tamale filling, this combination delivers a deeply savory and richly flavored experience that is both comforting and authentically Mexican.
- Shredded Chicken with Salsa Verde: A lighter, yet equally delicious alternative, featuring tender chicken bathed in a bright, tangy, and slightly spicy green salsa. It offers a refreshing contrast.
- Hearty Beef with Chili Sauce: For those who love robust flavors, a filling of slow-cooked shredded beef combined with a smoky chili sauce provides a satisfying and deeply flavored option.
- Melted Cheese and Zesty Green Chiles: A fantastic vegetarian choice, this filling offers a mild, creamy texture with a gentle kick from diced green chiles, making it a favorite for many.
- Flavorful Beans and Cheese: A simple, budget-friendly, and hearty option that is naturally gluten-free. Refried beans or black beans mixed with a generous amount of cheese offer a comforting and filling experience.
- Roasted Vegetables with Rich Salsa Roja: A vibrant and lighter vegetarian option featuring a colorful mix of seasonal vegetables like bell peppers, onions, zucchini, and corn, tossed in a rich, homemade salsa roja.
- Sweet Corn and Cinnamon: For a delightful and unexpected twist, try a dessert-style tamale. The masa is sweetened, and a touch of cinnamon adds a warm, aromatic spice, creating a unique treat perfect after a meal.
Perfect Accompaniments and Serving Suggestions
These homemade gluten-free tamales are incredibly versatile and suitable for a variety of occasions, from festive holiday feasts and vibrant fiestas to relaxed weekend meals. To create a truly authentic Mexican dining experience, consider pairing them with traditional sides like fluffy Mexican rice and creamy refried beans. For a fresh contrast, a dollop of homemade guacamole and a vibrant pico de gallo add brightness and texture. For an intriguing twist, drizzle a bit of cashew cream over your tamales; its subtle nutty flavor complements the corn masa beautifully. Alternatively, elevate your tamales to restaurant-style perfection with an extra drizzle of rich enchilada sauce and a sprinkle of crumbled cotija cheese, adding a salty, creamy finish that is truly irresistible.
Storage and Reheating Tips for Tamales
Making a large batch of tamales is always a good idea, as they store exceptionally well, making future meals a breeze. Once your tamales have cooled completely, transfer them (still nestled in their corn husks) into an airtight container. They can be refrigerated for up to 3 days, ready for a quick and easy meal whenever you desire.
Tamales also freeze beautifully, offering a convenient make-ahead option. Simply place the cooled, wrapped tamales into a freezer-safe bag or container, ensuring they are tightly sealed to prevent freezer burn. They can be stored in the freezer for up to 3 months. When a craving strikes on a busy weeknight, you have several options for reheating. You can steam them directly from frozen until thoroughly heated through, which usually takes a bit longer than fresh. For a single tamale, wrap it in a damp paper towel and microwave until warm. There’s truly nothing more satisfying than pulling out a few homemade tamales from the freezer and having a comforting, flavorful dinner ready in mere minutes.
Explore More Gluten-Free Mexican Recipes
If you loved making these gluten-free tamales, you’ll be thrilled to discover more delicious and easy-to-make gluten-free Mexican recipes:
- Perfectly Soft Gluten-Free Tortillas
- Authentic Gluten-Free Tacos
- Flavorful Homemade Taco Seasoning
- Hearty Gluten-Free Enchiladas
- Delicious Gluten-Free Empanadas