
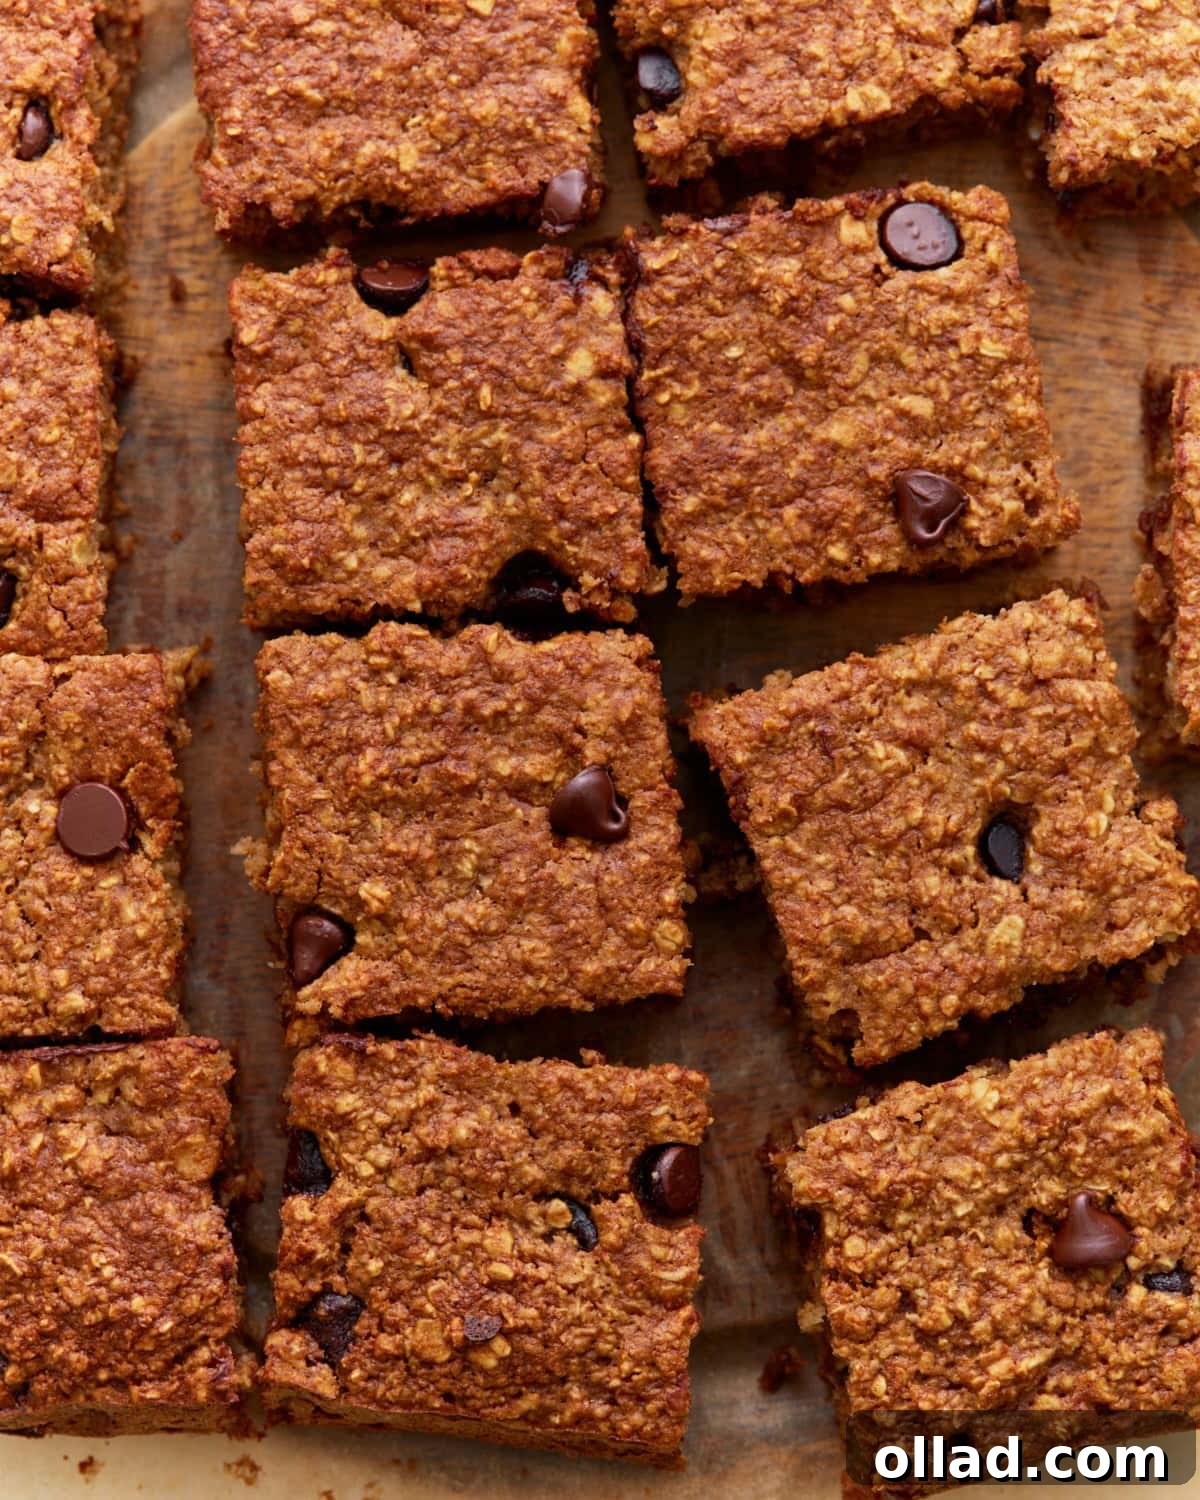
Delightful Gluten-Free Oatmeal Bars: Your Go-To Healthy Snack & Breakfast
Discover the ultimate recipe for soft, naturally dairy-free, and perfectly sweet gluten-free oatmeal bars. These easy-to-make treats are ideal for busy mornings, a satisfying afternoon snack, or a wholesome addition to any lunchbox. Crafted with simple pantry staples, you can whip up a batch in just 30 minutes, ensuring a delicious and healthy option is always within reach for the entire family.
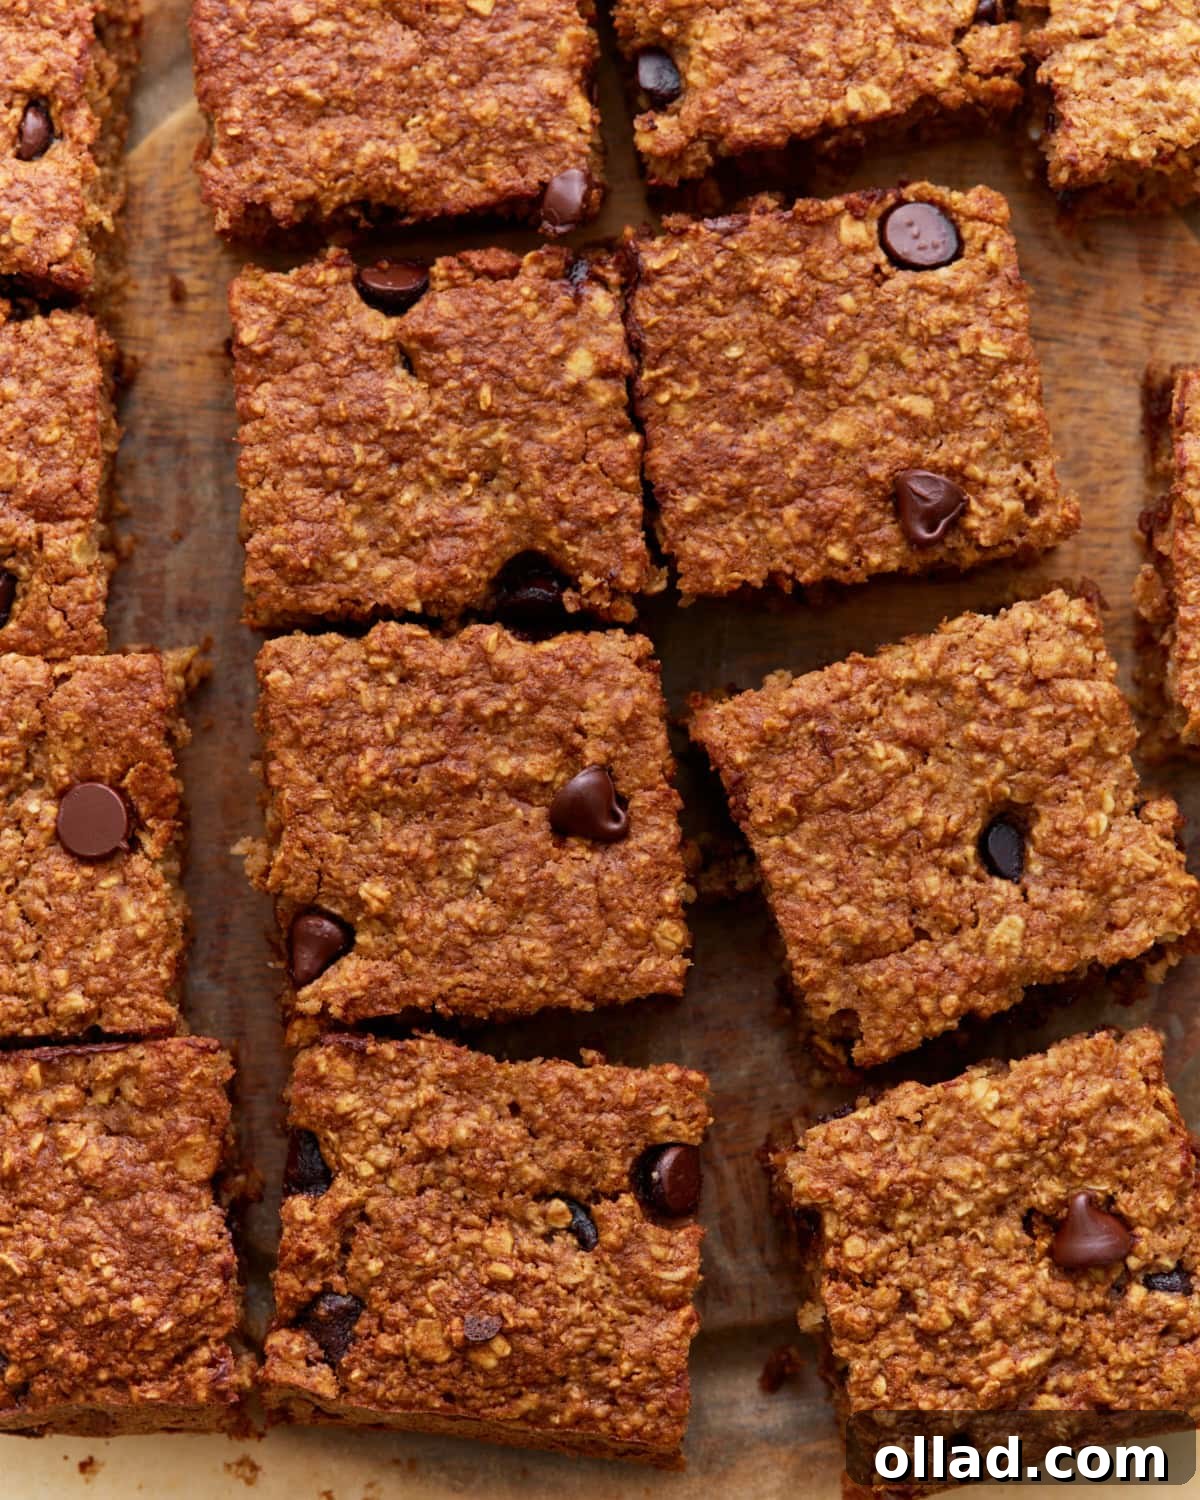
“Made them for a GF friend when she came for a play date. We all enjoyed them, including the kids. Thank you!”
– Kristina
The Perfect Oatmeal Bars Recipe: Healthy & Versatile
These baked oatmeal bars are more than just a recipe; they are a staple in our household for a quick, healthy breakfast or a much-needed snack. Just like our popular banana oatmeal bars, this recipe is designed for ease and enjoyment, requiring only everyday pantry items. They come together effortlessly, making them a lifesaver for frantic weekday mornings or a wholesome treat for after-school cravings.
Packed with the goodness of oats, these bars offer a hearty, satisfying experience, delivering essential fiber and plant-based protein to keep you feeling full and energized throughout your day. What truly sets this recipe apart is its incredible adaptability. Whether you’re navigating dietary restrictions or simply looking to experiment with flavors, these bars can be easily customized. Opt for certified gluten-free oats to ensure they are safe for those with celiac disease or gluten sensitivities. Swap regular milk for your favorite non-dairy alternative like almond or soy milk to make them dairy-free, or incorporate a flax egg as a simple substitute for a completely vegan option. The possibilities are endless, making this recipe a true culinary chameleon.
Classic Gluten-Free Oatmeal Bars
By: Audrey Roberts
Servings: 16 bars
Prep: 15 mins
Cook: 20-25 mins
Total: 35-40 mins
Email Recipe
Print Recipe
These homemade oatmeal bars are a simple, wholesome, and delicious option for breakfast or a satisfying snack. They are naturally dairy-free and can be easily adapted to be vegan. Step-by-step photos are available below for visual guidance.
Ingredients
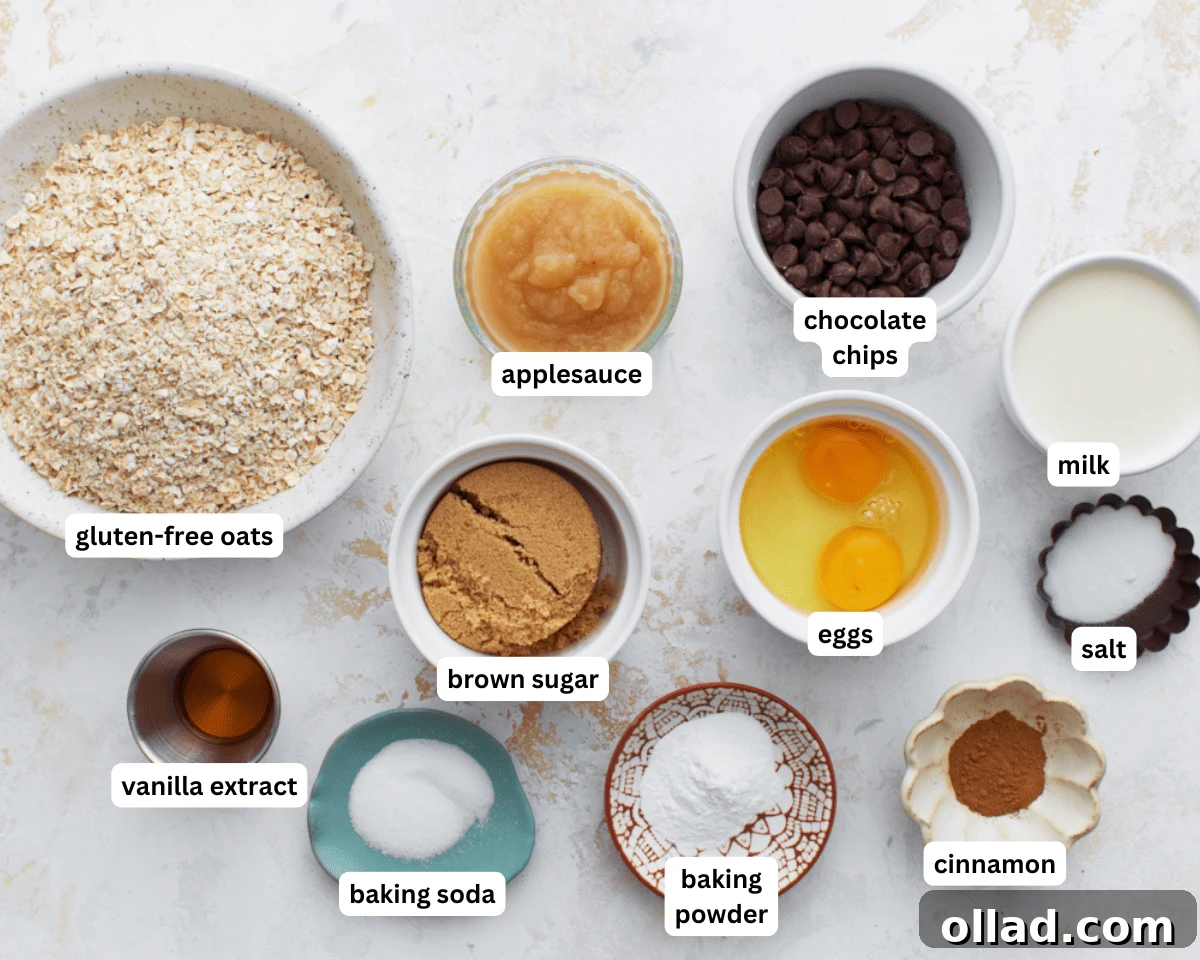
- 2 large eggs (for a vegan option, use flax eggs or a gluten-free egg replacer like Bob’s Red Mill; for a low-fat option, use 2/3 cup egg whites)
- ½ cup unsweetened applesauce (convenient individual snack cups, typically 1/2 cup each, work perfectly and can be stored in the pantry)
- ½ cup brown sugar (lightly packed for best results)
- 1 tsp pure vanilla extract
- ¾ cup milk (for dairy-free, low-fat, or vegan options, unsweetened almond milk is an excellent choice)
- 2½ cups gluten-free quick oats (ensure they are certified gluten-free for strict dietary needs)
- 1½ tsp baking powder
- ½ tsp baking soda
- ½ tsp salt
- 1 tsp ground cinnamon
- ½ cup chocolate chips (or any other favorite mix-in such as nuts, dried fruit, or sprinkles)
Watch the Recipe Video
For a visual guide, watch our step-by-step video on how to make these delicious oatmeal bars: Watch Video
Instructions
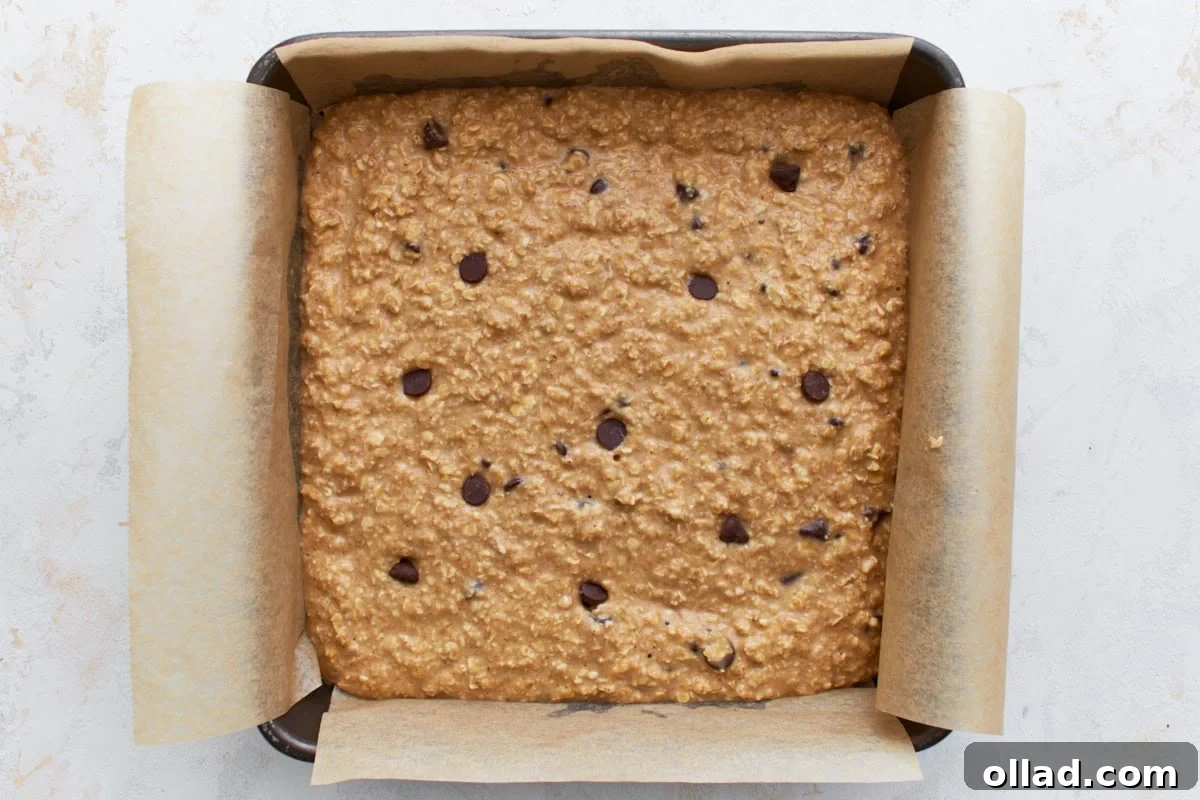
- Prepare Oven & Pan: Preheat your oven to 350°F (175°C). Lightly grease a 9×9-inch square baking pan with cooking spray or line it with parchment paper for easy removal.
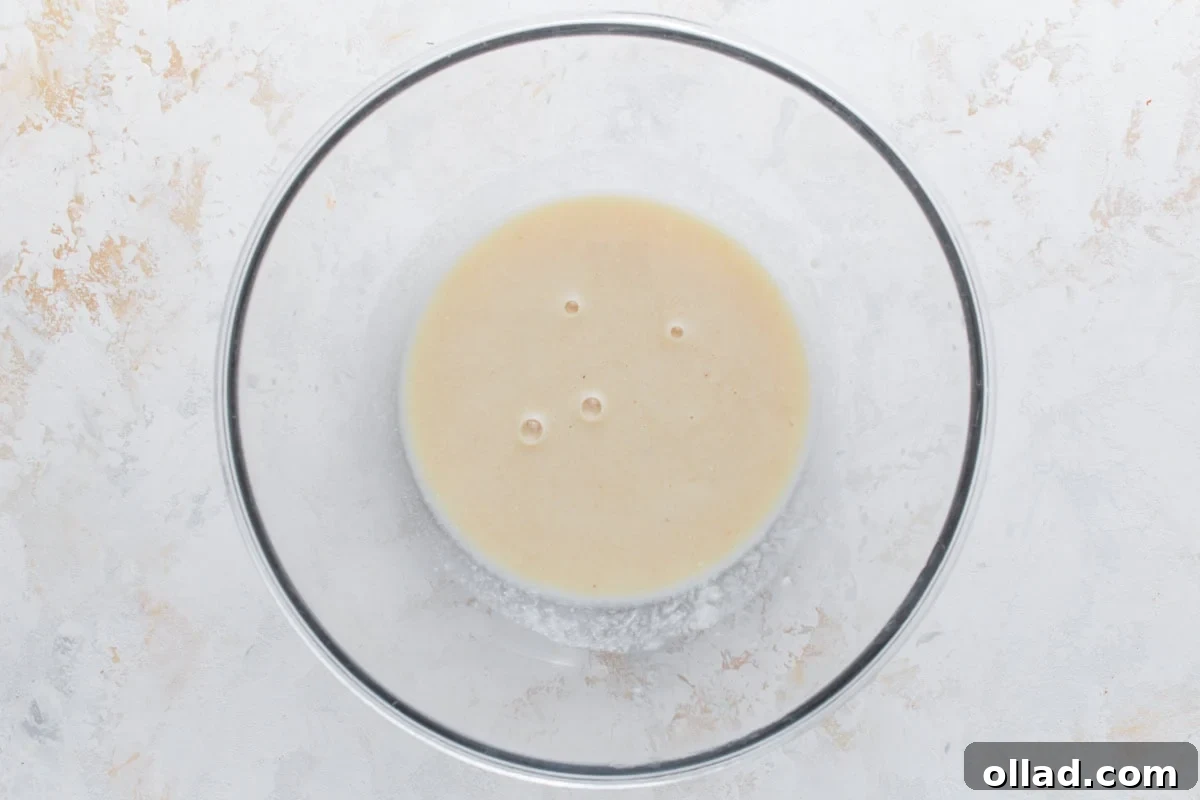
- Combine Wet Ingredients: In a large mixing bowl, thoroughly whisk together the eggs, milk, applesauce, brown sugar, and pure vanilla extract until the mixture is smooth and well combined.
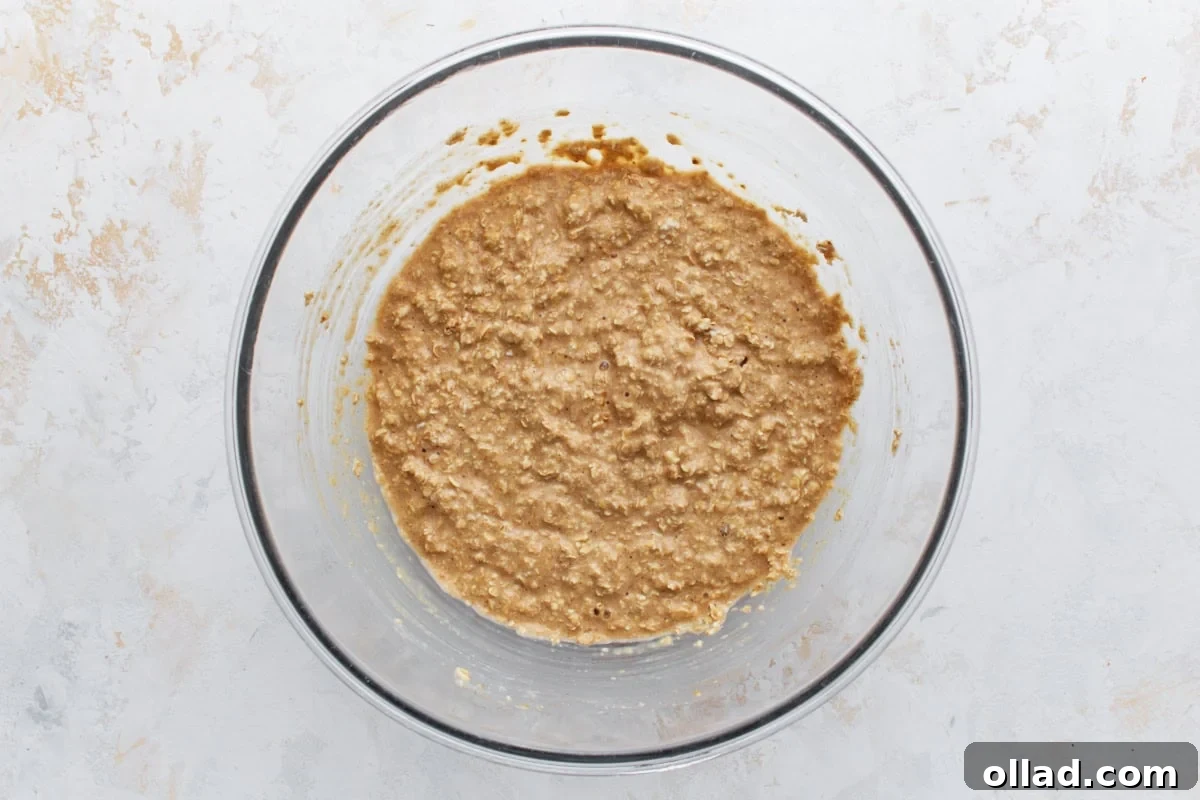
- Incorporate Dry Ingredients: Add the gluten-free quick oats, baking powder, baking soda, salt, and ground cinnamon to the wet ingredients. Stir gently until all ingredients are fully combined and no dry spots remain. Be careful not to overmix.
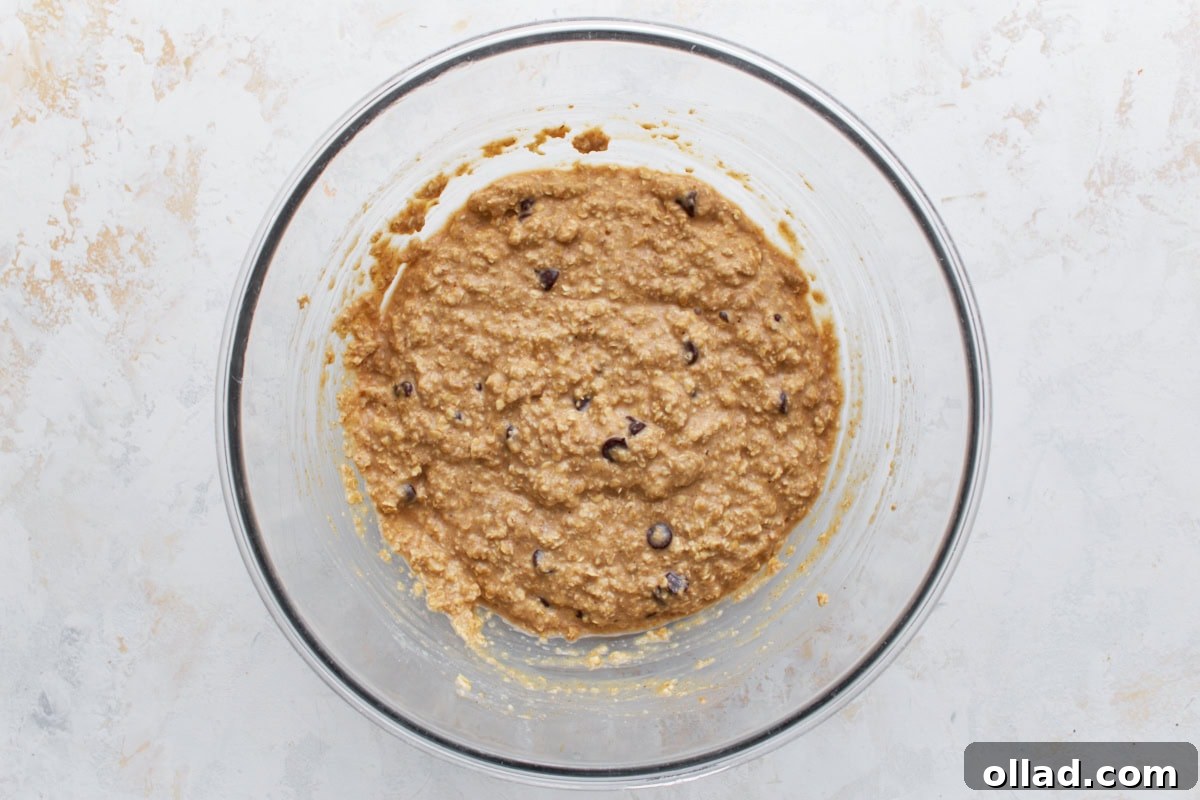
- Fold in Mix-ins: Gently fold in your chosen mix-ins, such as chocolate chips, raisins, or chopped nuts, ensuring they are evenly distributed throughout the batter.
- Transfer to Pan: Pour the prepared batter into the greased or parchment-lined baking pan. Use a spatula to spread the batter evenly to all corners of the pan.
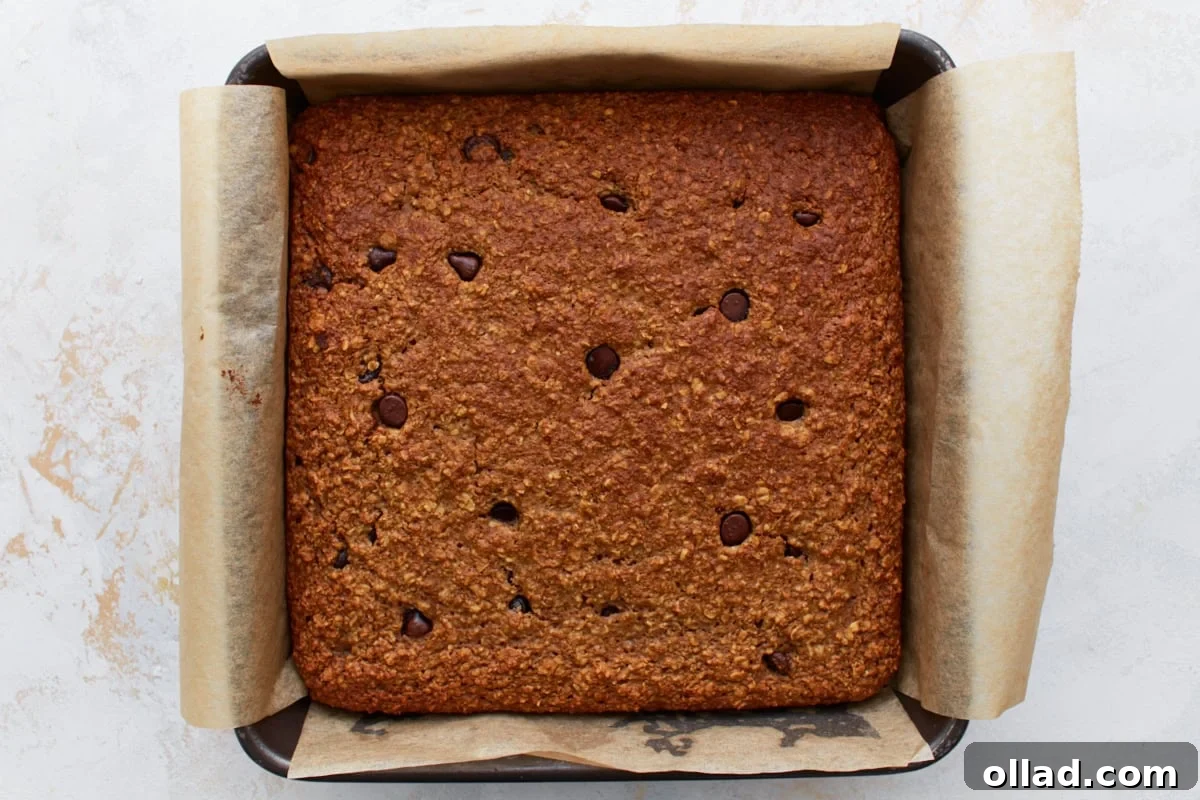
- Bake: Place the pan on the center rack of your preheated oven. Bake for 20-25 minutes, or until the edges are golden brown and a toothpick inserted into the center comes out clean, indicating the bars are fully set.
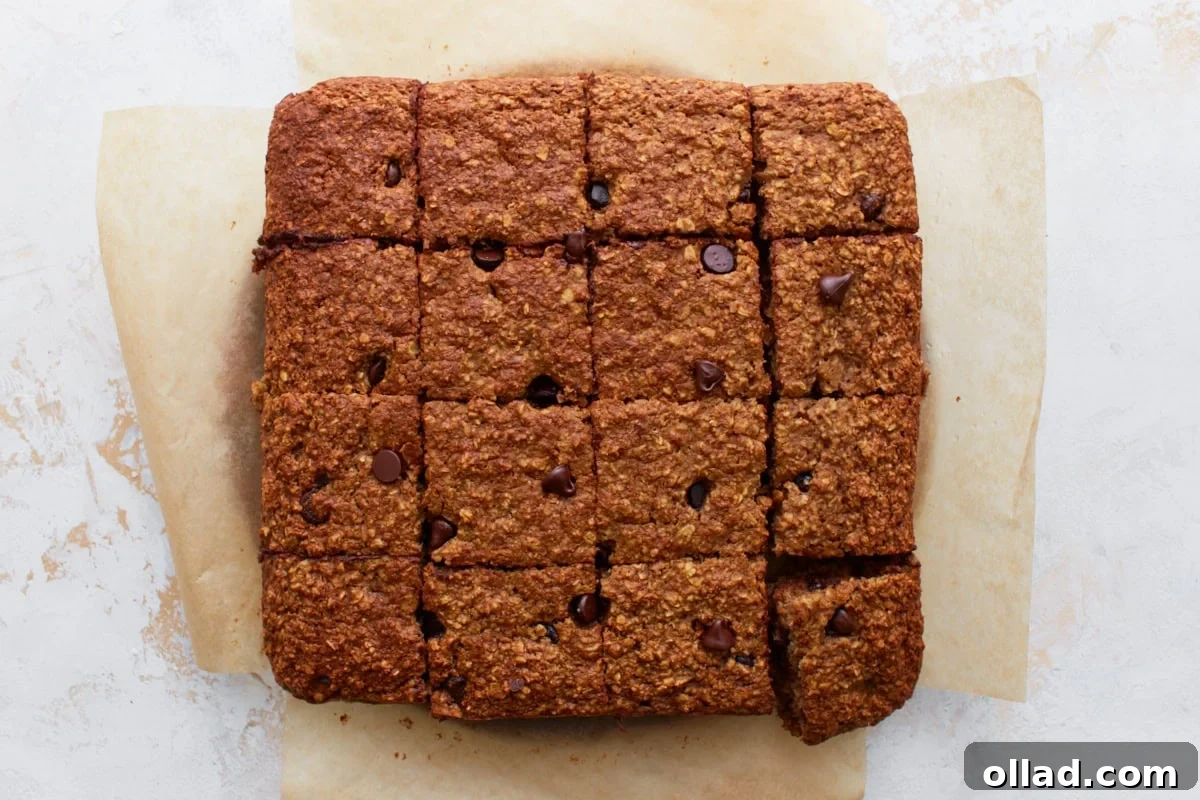
- Cool & Serve: Allow the baked oatmeal bars to cool in the pan for at least 5-10 minutes before slicing. This helps them firm up and makes for cleaner cuts. Once slightly cooled, cut them into 16 evenly sized bars and enjoy warm or at room temperature.
Expert Tips for Perfect Oatmeal Bars
- Certified Gluten-Free Oats are Key: While oats are naturally gluten-free, cross-contamination can occur during processing. Always look for brands explicitly labeled as “certified gluten-free” to ensure your bars are safe for those with gluten sensitivities or celiac disease.
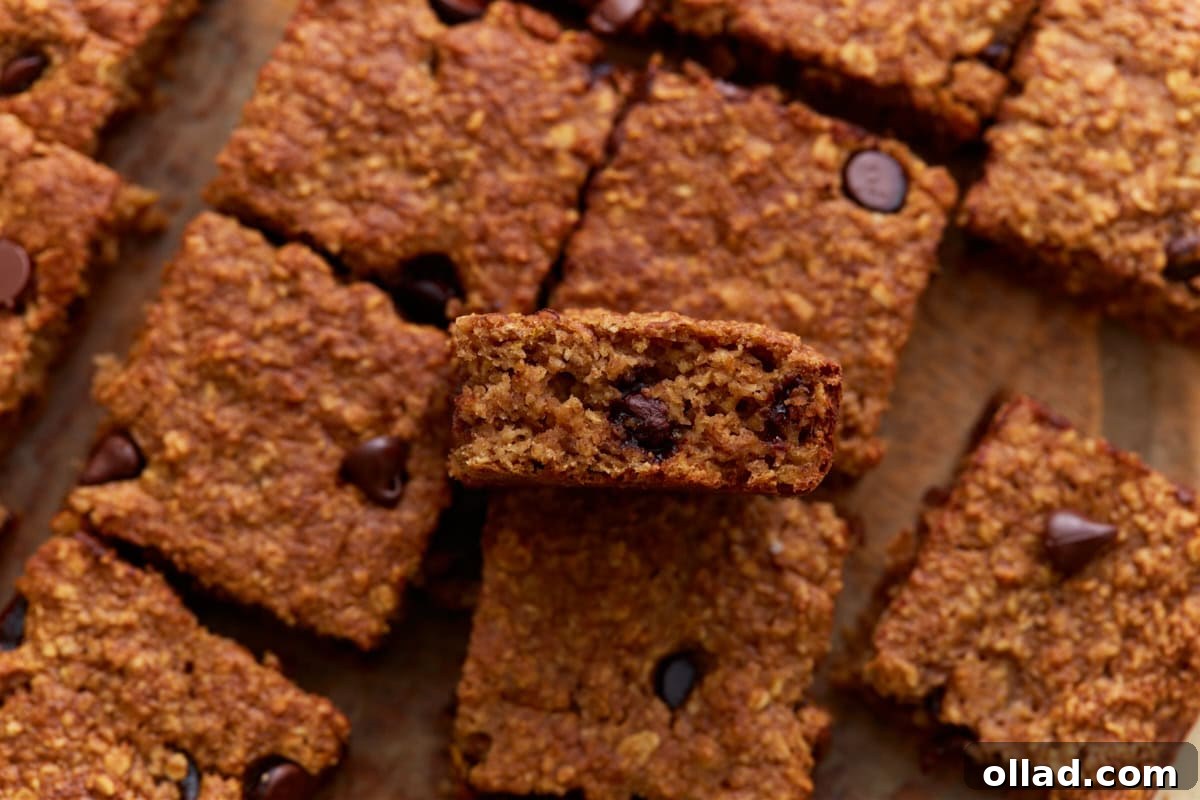
- Achieve Chewy Perfection: For delicious, chewy oatmeal bars, be mindful not to overbake them. Remove the pan from the oven as soon as the edges turn lightly golden brown. The center might still seem slightly soft, but it will set as it cools, resulting in a perfectly moist and chewy texture.
- For Cleaner Slices: If your bars feel too soft or crumbly when cutting, chill them in the refrigerator for at least 30 minutes before slicing. This firming up process will yield much cleaner, more defined bars.
- Customization is Encouraged: Feel free to experiment with different mix-ins! Beyond chocolate chips, consider adding dried cranberries, chopped walnuts or pecans, shredded coconut, or even a swirl of nut butter before baking.
- Storage for Freshness: Store any leftover bars in an airtight container at room temperature for up to 3 days, or in the refrigerator for up to 5 days to maintain freshness and extend shelf life.
Nutrition Information
Serving: 1 bar
Calories: 95 kcal
Carbohydrates: 18 g
Protein: 3 g
Fat: 2 g
Saturated Fat: 1 g
Polyunsaturated Fat: 0.4 g
Monounsaturated Fat: 1 g
Trans Fat: 0.003 g
Cholesterol: 24 mg
Sodium: 122 mg
Potassium: 154 mg
Fiber: 2 g
Sugar: 7 g
Vitamin A: 46 IU
Vitamin C: 0.003 mg
Calcium: 46 mg
Iron: 1 mg
Nutrition information is an approximation provided for convenience and should not be considered a substitute for professional dietary advice.
Additional Info
Course: Breakfast, Snack
Cuisine: American
Tried this recipe? We’d love to see your creations! Mention @mamaknowsglutenfree or tag #mamaknowsglutenfree on Instagram!
How to Make Gluten-Free Oatmeal Bars: A Step-by-Step Visual Guide
Follow these easy steps with accompanying photos to master the art of baking perfect gluten-free oatmeal bars every time. From gathering your ingredients to the final slice, we’ll guide you through each stage to ensure delicious results.
Serving Suggestions & Creative Variations
These versatile gluten-free oatmeal bars are delightful on their own, but they also serve as an excellent base for countless serving ideas and flavor variations. For a comforting afternoon treat, pair them with a steaming cup of coffee, herbal tea, or a creamy latte. They’re also perfect for meal prepping: slice them, wrap them individually, and toss them into lunchboxes or grab-and-go containers for a quick, healthy snack throughout the week.
Elevate your breakfast by serving these bars alongside a bowl of fresh seasonal fruit, a dollop of protein-rich Greek yogurt, or a vibrant smoothie. If you’re looking for an extra touch of indulgence, a drizzle of creamy peanut butter, almond butter, or a swirl of chocolate sauce can transform them into a decadent delight. Beyond chocolate chips, consider these exciting mix-in options:
- Dried Fruits: Add sweet and chewy raisins, dried cranberries (craisins), chopped apricots, or even chopped dates for natural sweetness and extra fiber.
- Nuts & Seeds: Incorporate chopped pecans, walnuts, almonds, or sunflower seeds for added crunch, healthy fats, and protein. A sprinkle of chia seeds or flax seeds can also boost nutritional value.
- Fresh Fruits: Gently fold in fresh or frozen (not thawed) blueberries, finely diced apples, or mashed banana for a fruity twist.
- Spices & Zests: Enhance the flavor profile with a pinch of nutmeg, cardamom, or ginger. A tablespoon of orange or lemon zest can add a bright, refreshing note.
- Coconut: Shredded coconut (sweetened or unsweetened) can add a tropical flair and a pleasant chewy texture.
Experiment with different combinations to discover your favorite version of these incredibly adaptable oatmeal bars!
Storage Instructions & Meal Prep Tips
One of the best qualities of these gluten-free oatmeal bars is how well they store, making them an ideal candidate for weekly meal prep. Proper storage ensures you always have a healthy, homemade snack or breakfast option readily available.
Refrigerator Storage
Once your oatmeal bars have completely cooled to room temperature, transfer them to an airtight container. They will maintain their freshness, soft texture, and delicious flavor for up to five days when stored in the refrigerator. This makes them perfect for preparing on a Sunday and enjoying throughout a busy work or school week.
Freezing for Long-Term Freshness
These oatmeal bars freeze beautifully, allowing you to extend their shelf life significantly. After the bars have cooled entirely, cut them into individual servings. To prevent them from sticking together, you can wrap each bar individually in plastic wrap or parchment paper before placing them in a freezer-safe plastic bag or an airtight container. Layering them with parchment paper in a container also works well. Freeze the bars for up to three months.
How to Defrost
When you’re ready to enjoy a frozen oatmeal bar, simply transfer it from the freezer to the refrigerator and let it defrost overnight. For a quicker option, you can microwave a single bar for 20-30 seconds until it’s warmed through and soft. This makes for an incredibly convenient grab-and-go option any time!
Explore More Delicious Oatmeal Bakes
If you love the wholesome goodness of oats as much as we do, you’re in for a treat! Discover more of our favorite gluten-free recipes featuring this versatile grain, perfect for breakfast, snacks, or dessert.
- Chewy Gluten-Free Oatmeal Cookies
- Fluffy Gluten-Free Oatmeal Pancakes
- Wholesome Banana Oatmeal Cookies
- Moist Banana Oatmeal Muffins
- Irresistible Gluten-Free Banana Oatmeal Bread
Our Gluten-Free Oatmeal Bars recipe was originally published on August 26, 2022. It has been retested, meticulously reworked, and republished to be better than ever on August 13, 2025, incorporating improved instructions and expanded tips for an even more delightful baking experience.