
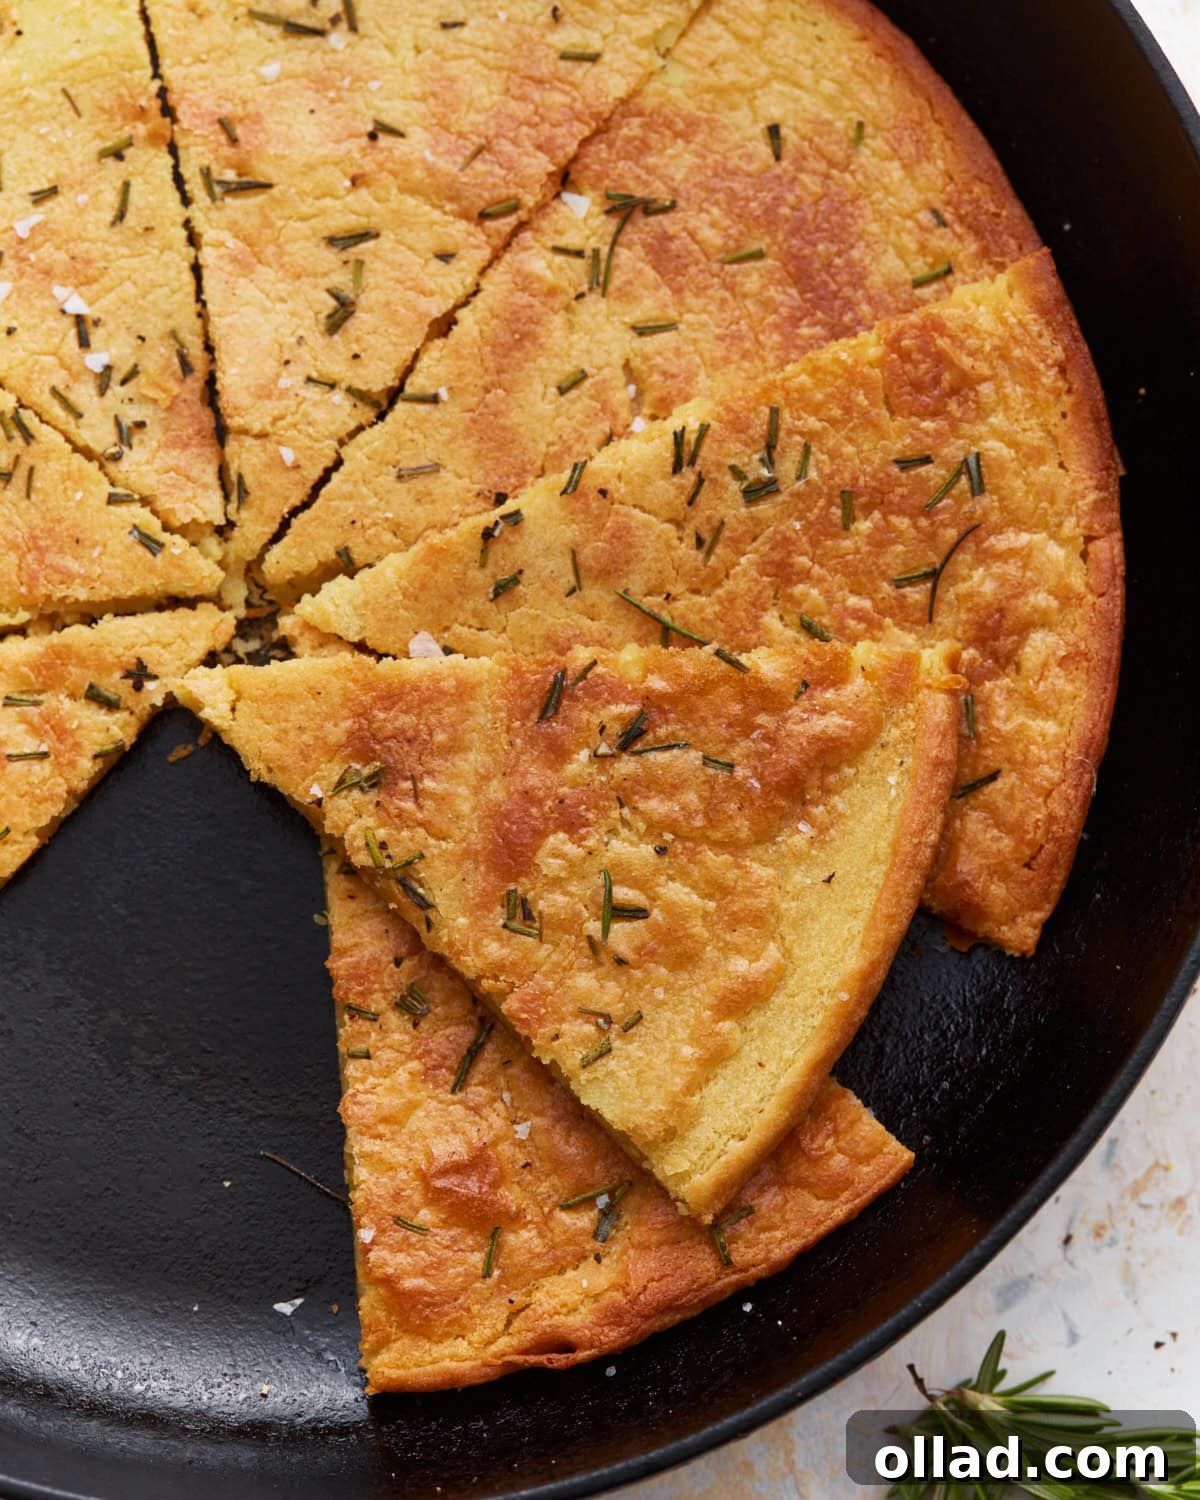
Authentic 4-Ingredient Farinata Recipe: The Ultimate Gluten-Free Chickpea Flatbread
Embark on a culinary journey to the sun-drenched coasts of Italy with this incredible Farinata recipe. This delicious Italian flatbread, also known as cecina in Tuscany or fainá in Argentina, is a testament to the beauty of simplicity, requiring just four fundamental ingredients. What emerges from your oven is a truly exceptional dish: a golden-brown flatbread with an irresistibly light and crispy crust that gives way to a wonderfully soft and tender center. Made primarily from wholesome chickpea flour and rich, high-quality extra virgin olive oil, this savory bread is not only profoundly versatile and utterly delicious but also naturally gluten-free and vegan, making it a perfect choice for nearly any dietary preference.
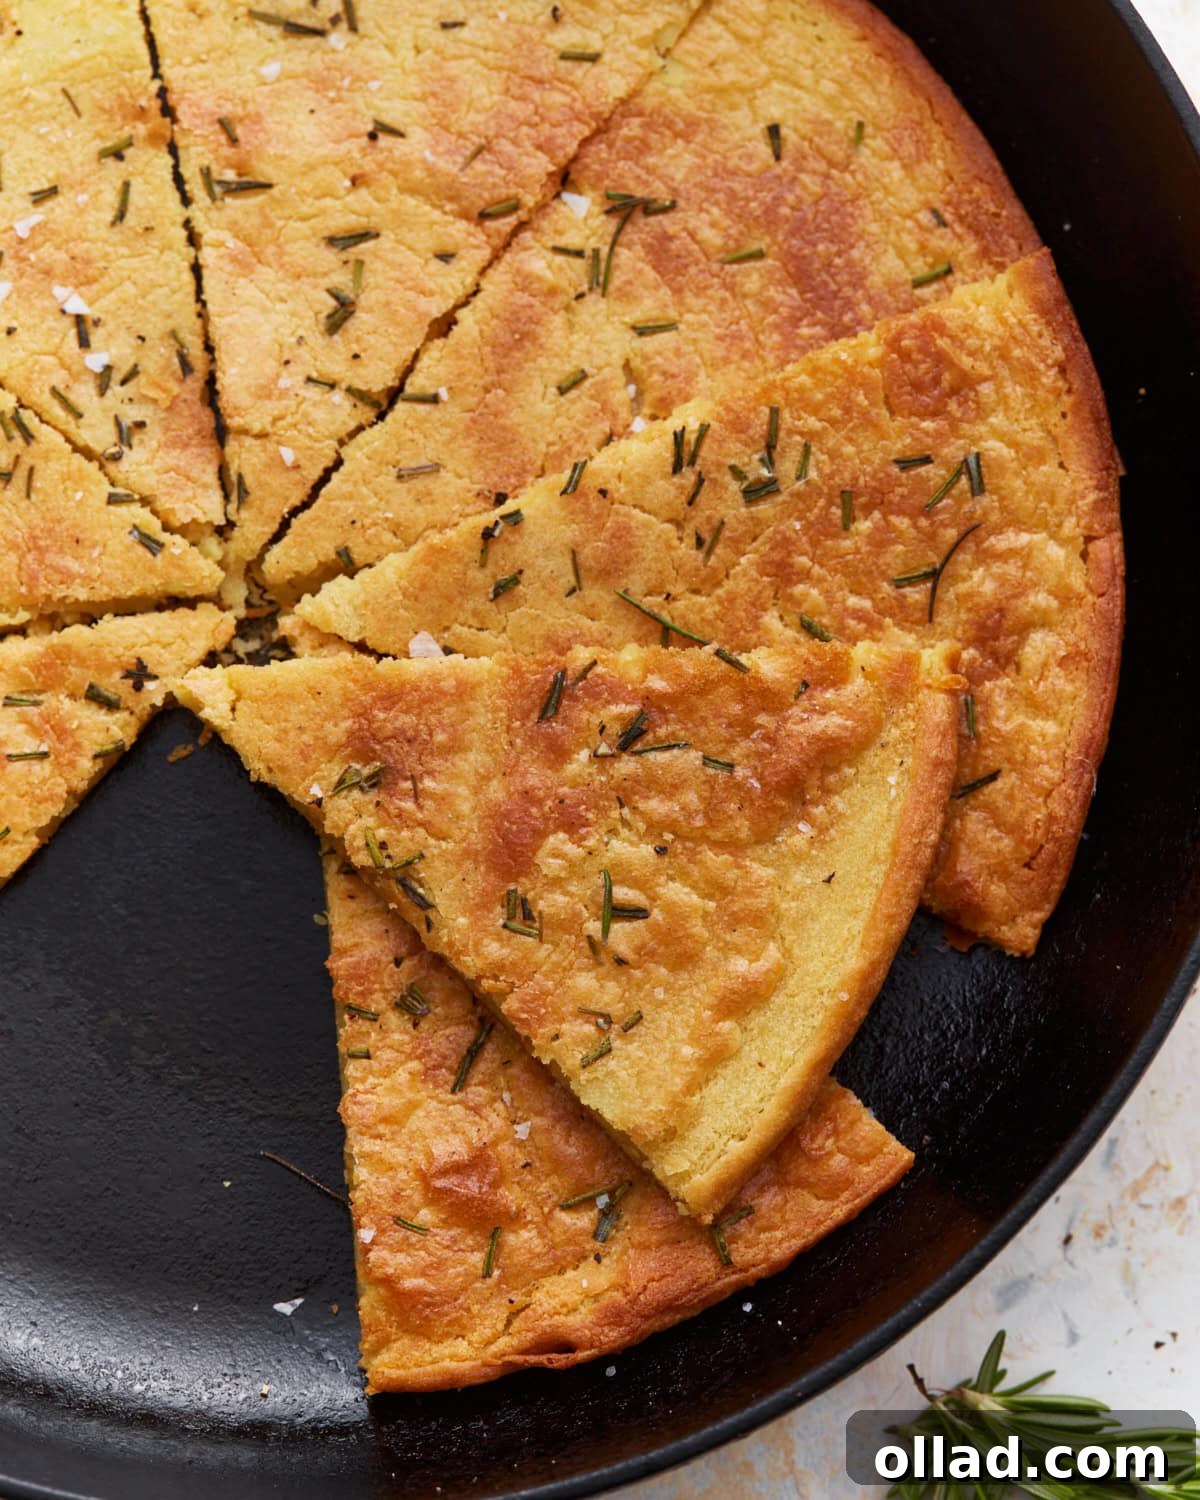
What is Farinata? A Taste of Italian Tradition
Farinata is more than just a flatbread; it’s a staple of Italian “cucina povera,” or “poor kitchen” cuisine, originating from the Liguria region of Italy. This humble dish showcases how simple, readily available ingredients can transform into something truly extraordinary. Legend has it that farinata was accidentally discovered centuries ago by Genoese sailors after a storm spilled olive oil and chickpea flour into seawater, creating a paste that, once baked in the sun, became this flavorful bread. Its simplicity, relying on just chickpea flour, water, olive oil, and salt, made it an accessible and nourishing food for centuries.
Throughout Italy, you might encounter similar chickpea-based flatbreads under different names. In Tuscany, it’s known as cecina, while in other regions, variations exist. Regardless of the name, the core appeal remains the same: a savory, pancake-like batter that bakes into a delightful, thin bread with a unique texture. The batter, resembling an unleavened pancake mix, becomes salty, savory, and wonderfully crispy after baking at a high temperature, offering a satisfying contrast between its firm exterior and creamy interior.
My initial exploration into different ways to utilize chickpea flour led me to this culinary gem. I was hooked from the first bite, captivated by its uncomplicated yet profound deliciousness. This recipe specifically embraces the ease and authenticity of farinata, adapting it for home cooks using a cast-iron skillet for that perfect crispy edge. It’s a versatile dish that can serve as an appetizer, a side, or a light main course, easily adapting to various flavor profiles with a few simple additions like fresh rosemary, as featured in this recipe.
Why You’ll Love This Easy Farinata Recipe
This Farinata recipe isn’t just easy; it offers a multitude of benefits that make it a standout choice for any kitchen:
- Naturally Gluten-Free: Crafted entirely from chickpea flour (also known as garbanzo bean flour), farinata is inherently gluten-free. This makes it an excellent and safe bread alternative for those managing celiac disease, gluten sensitivities, or simply choosing a gluten-free lifestyle, without compromising on flavor or texture.
- Minimal Ingredients: With only four core ingredients – chickpea flour, water, quality olive oil, and sea salt – this recipe is refreshingly straightforward. It proves that culinary excellence doesn’t require a long list of complex components, making it ideal for everyday cooking.
- Effortless Preparation: The batter comes together in mere minutes, followed by a crucial but passive resting period. The baking process is equally hands-off, allowing you to enjoy a gourmet-style dish with minimal fuss and active kitchen time.
- Incredibly Versatile & Adaptable: While truly delicious on its own, farinata serves as a fantastic culinary canvas. It readily accommodates various toppings and flavor enhancements. Consider fresh herbs, caramelized onions, roasted vegetables, or even a sprinkle of vegan cheese (post-baking) to customize each batch to your liking.
- Perfect Crispy & Tender Texture: The magic of farinata lies in its contrasting textures – a gorgeously golden and crispy crust, achieved by baking in a preheated cast-iron skillet, enveloping a soft, custard-like interior. This unique combination delivers a satisfying and delightful eating experience every time.
- Wholesome & Nutritious: Chickpea flour is a powerhouse of nutrition, rich in protein and dietary fiber. This makes farinata a surprisingly nourishing and satisfying option compared to many traditional breads, offering sustained energy and aiding digestion.
- Plant-Based & Allergen-Friendly: As a naturally vegan and gluten-free dish, farinata is an excellent choice for diverse diets and addresses common food allergies, ensuring almost everyone can enjoy this Italian classic.
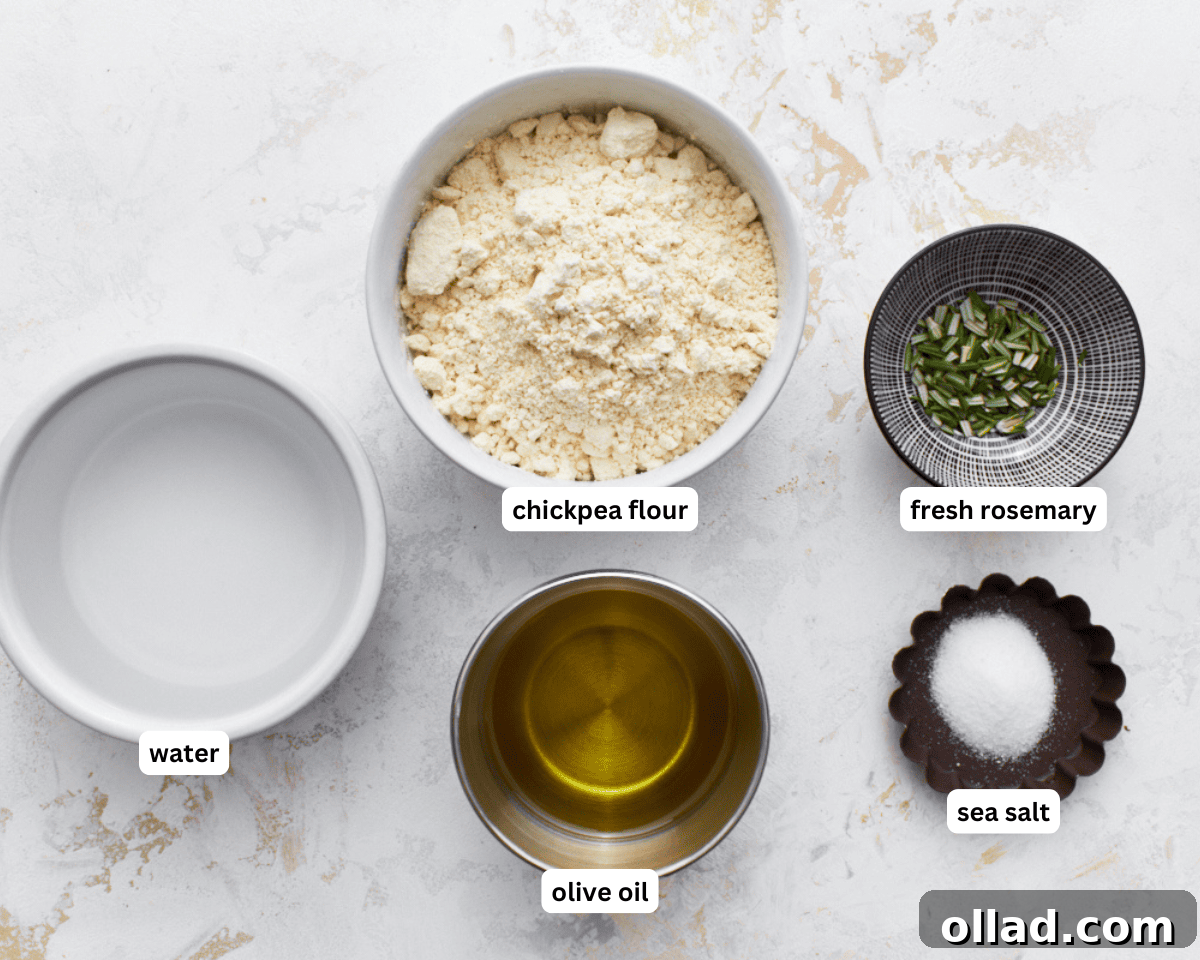
Essential Ingredients for Perfect Farinata
Creating an authentic and delicious farinata starts with selecting the right components. While the list is short, the quality and type of each ingredient significantly impact the final taste and texture of your chickpea flatbread.
- Chickpea Flour (Garbanzo Bean Flour): This is the unequivocal star of our recipe. For the best results and a truly authentic farinata, it’s crucial to use finely ground chickpea flour. This ensures a remarkably smooth batter, which in turn bakes into a tender, non-gritty flatbread. Brands like Bob’s Red Mill are widely available and consistently provide high-quality chickpea flour perfect for this dish. Beyond its textural contribution, chickpea flour is nutritionally dense, offering a substantial source of plant-based protein and dietary fiber, making farinata a surprisingly wholesome choice.
- Extra Virgin Olive Oil: More than just a cooking fat, extra virgin olive oil is a foundational flavor component of farinata. Its robust, fruity notes are integral to the dish’s distinctive aroma and rich taste. Moreover, the generous use of high-quality EVOO is essential for achieving that desirable, golden-brown, and crispy crust. We strongly advise against substituting with lesser-quality oils or those with strong, competing flavors. While avocado oil could be considered for its high smoke point and mild flavor, it won’t replicate the nuanced depth that true EVOO imparts. Be generous with your olive oil, both in the batter and for thoroughly coating the hot pan.
- Sea Salt: A simple yet absolutely vital ingredient that elevates the overall flavor profile of the farinata. Fine sea salt is incorporated directly into the batter, seasoning the flatbread evenly from within. For an additional layer of flavor, a pleasant textural contrast, and a beautiful gourmet finish, flaky sea salt is highly recommended to sprinkle over the freshly baked farinata just before serving. This touch of finishing salt enhances the savory notes and provides a delightful briny pop.
- Water: The most basic ingredient, yet critical for establishing the correct batter consistency. Clean, fresh water ensures proper hydration of the chickpea flour, which is key to a smooth batter and a successful final product.
- Fresh Rosemary: While technically optional, fresh rosemary is a classic and highly recommended aromatic addition that truly defines the traditional flavor of farinata. Its fragrant, piney notes beautifully complement the earthy undertones of the chickpea flour, imparting an authentic Italian essence. Finely minced fresh rosemary can be sprinkled over the batter just before it goes into the oven. Should fresh rosemary not be available, dried rosemary can be used in a smaller quantity, or you can explore other complementary herbs like thyme or oregano, or even a dash of black pepper for a simple alternative.
Mastering Farinata: Essential Tips for Success
While Farinata is lauded for its simplicity, a few key techniques and insider tips will ensure you consistently achieve that perfect balance of crispy edges and a soft, tender interior every single time. Paying attention to these details can elevate your homemade farinata from good to absolutely outstanding.
- The Crucial Batter Resting Time: This step is not merely a suggestion; it is absolutely essential for a perfect farinata. Allowing the chickpea flour batter to rest for at least one hour (and ideally up to 12 hours in the fridge) is fundamental. During this crucial period, the chickpea flour fully hydrates, absorbing all the water. This vital hydration prevents a gritty texture in the finished product and contributes significantly to the smooth, cohesive, and pliable consistency of the cooked farinata. Skipping or shortening this step can result in a brittle, crumbly, or unevenly textured flatbread.
- Preheating Your Skillet and Oven: For that coveted, signature crispy crust, both your oven and your cooking vessel need to be thoroughly preheated. Place your cast-iron skillet (or other heavy, oven-safe baking dish) into the oven while it preheats to a high temperature of 450°F (230°C). A screaming hot skillet instantly sears the batter upon contact, preventing it from sticking and immediately beginning the caramelization process that creates those glorious golden, crisp edges.
- Generous Use of High-Quality Olive Oil: Do not be timid with the olive oil! A generous drizzle of good quality extra virgin olive oil on the bottom of the preheated skillet is absolutely vital. This serves multiple purposes: it prevents the farinata from sticking to the pan, and perhaps more importantly, it contributes significantly to the deep golden color and intense crispiness of the farinata’s base, essentially shallow-frying it while the top bakes.
- Achieving the Perfect Batter Consistency: The batter’s consistency is key. It should be thin and pourable, much like a traditional pancake batter. This ensures the farinata spreads evenly in the pan and bakes into a delicate, thin flatbread rather than a thick, doughy one. Combined with a high baking temperature (450°F/230°C), this thinness promotes quick cooking and the development of that desirable crispiness. Keep a close watch during the final minutes of baking; it should be beautifully golden-brown and bubbling around the edges.
- Plan Ahead for Convenience: The beauty of farinata batter is how forgiving it is. It can be prepared well in advance, offering fantastic flexibility. Feel free to mix the batter up to 12 hours before you plan to bake and store it, covered, in the refrigerator. Just be sure to give it a vigorous whisk or stir before pouring it into the hot pan to ensure all ingredients are re-incorporated evenly and no flour has settled at the bottom.
- Creative Customization for Flavor: While a classic farinata with rosemary and flaky salt is divine, feel free to let your culinary imagination run wild with additions. Consider stirring finely chopped garlic, a pinch of red pepper flakes for a subtle heat, delicate caramelized onions for a touch of sweetness, or other fresh herbs like thyme or oregano into the batter or sprinkled on top. For those who consume dairy, a sprinkle of grated Parmesan (or a quality vegan alternative) over the top after it’s baked can add another layer of savory goodness, though traditionally, farinata remains dairy-free.
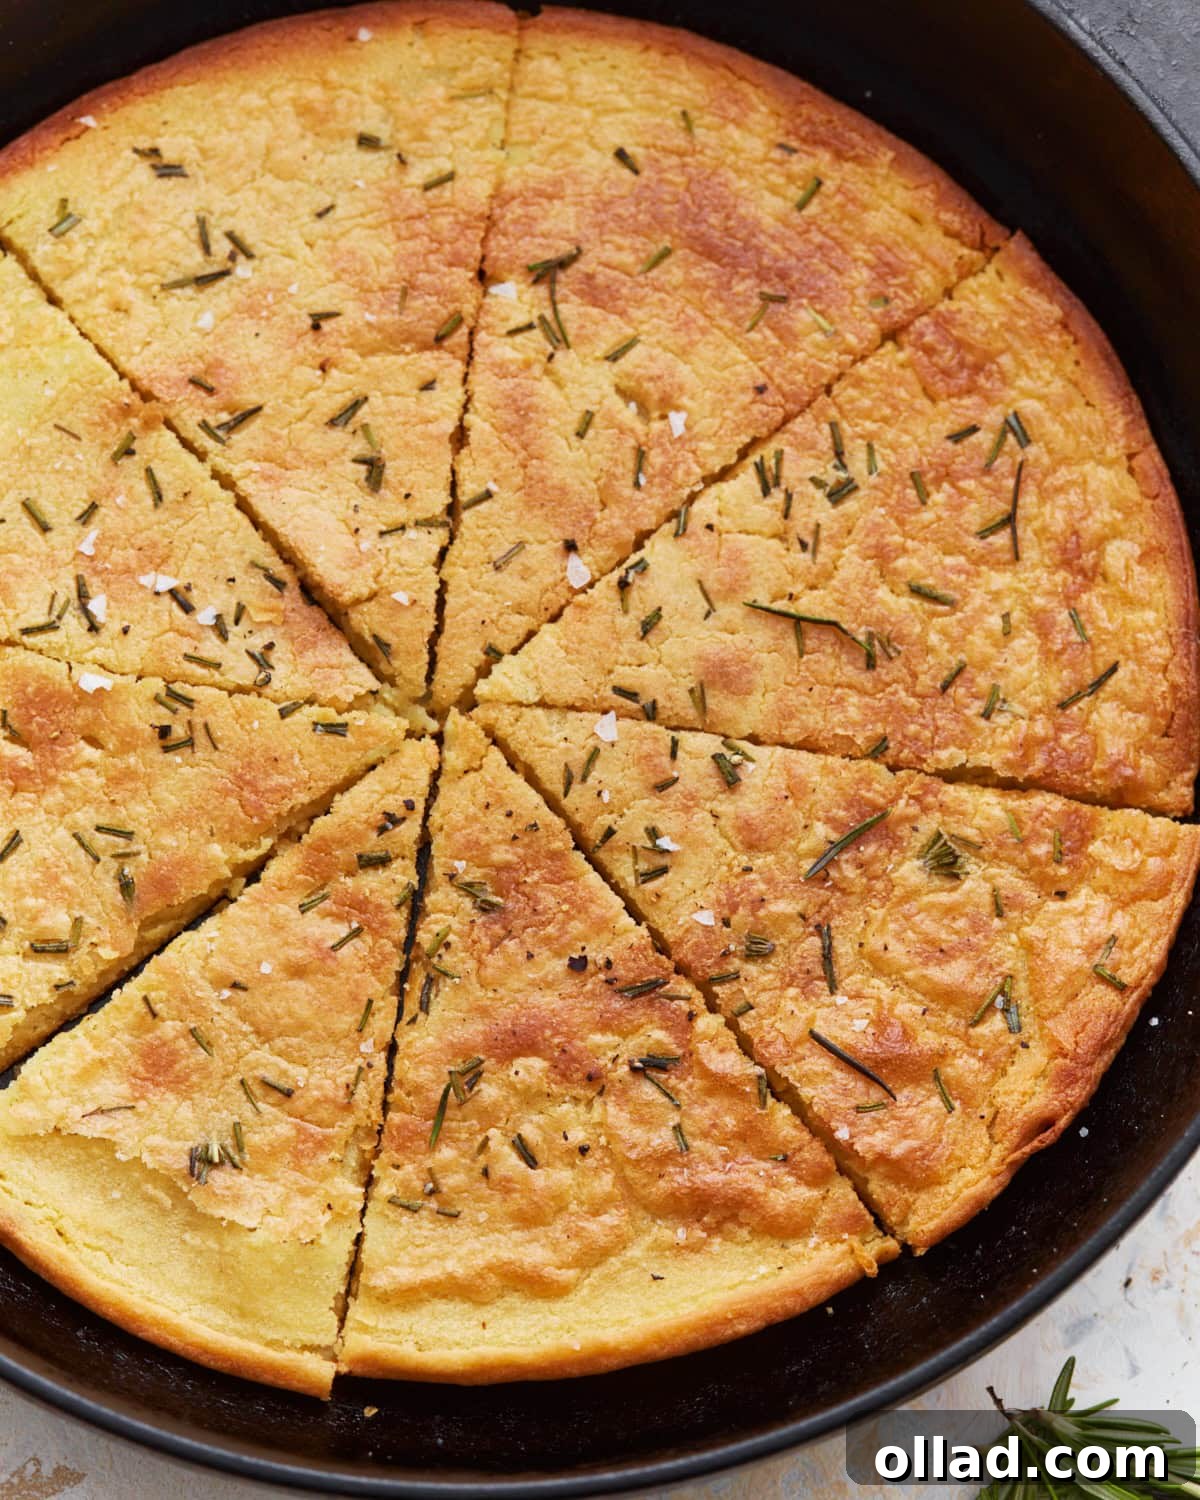
Serving Farinata: More Than Just a Snack
Farinata’s humble origins belie its incredible versatility in serving. Its savory, slightly salty profile makes it an excellent companion to a wide array of dishes, or simply a delightful and satisfying treat all on its own. Here are some inspired ways to enjoy your freshly baked chickpea flatbread:
- As a Stand-Alone Snack or Appetizer: Simple perfection. Enjoy slices of warm farinata dusted with a little extra flaky sea salt. It’s perfect for dipping in high-quality extra virgin olive oil, or a mixture of olive oil and balsamic vinegar for an extra layer of tangy-sweet flavor. Cut into small wedges or squares, it makes an impressive and easy appetizer for gatherings.
- Accompaniment to Dips: Farinata is an excellent vehicle for various dips and spreads. Serve it alongside creamy hummus, smoky baba ghanoush, or vibrant Mediterranean-inspired dips. It’s also fantastic with a fresh basil pesto, a zesty tapenade, or a chunky romesco sauce.
- A Savory Breakfast or Brunch Star: Elevate your morning meal by serving farinata with your favorite egg dishes – scrambled, fried, or poached. It pairs wonderfully with sliced avocado, a fresh tomato salad, or even as a base for a hearty vegan scramble. Its robust flavor offers a satisfying start to the day.
- The Ultimate Side Dish for Dinner: Farinata is a natural and delightful fit for almost any Italian dinner. Its crisp texture offers a lovely contrast to saucier meals like pasta dishes, hearty minestrone, or a rich vegetable stew. It also complements roasted vegetables, grilled fish, or a simple fresh garden salad beautifully.
- A Unique Sandwich or Pizza Base: Get creative and use farinata slices as a flavorful, naturally gluten-free alternative to bread for open-faced sandwiches or mini sliders. Top it with grilled zucchini, roasted peppers, fresh tomatoes, olives, or your favorite plant-based cheeses and spreads for a light yet satisfying lunch. You can even use a larger piece as a personal gluten-free pizza base!
- Part of an Antipasto or Mezze Platter: Incorporate farinata into a larger antipasto or mezze platter alongside marinated olives, sun-dried tomatoes, roasted artichoke hearts, fresh cherry tomatoes, and other Mediterranean delights for a vibrant and appealing spread that caters to diverse tastes.
Storage and Reheating Farinata
While farinata is undeniably at its best enjoyed fresh out of the oven, any leftovers can be stored and reheated effectively to reclaim much of its original glory. Proper storage ensures maximum flavor and texture retention.
- Storing Leftovers: Once your farinata has completely cooled to room temperature, place any leftover slices in an airtight container. Store this container in the refrigerator for up to 3 days. This method prevents the farinata from drying out and helps to preserve its delicate flavors.
- Reheating for Crispiness: To restore farinata’s delightful crispy texture, which is a hallmark of the dish, reheating is best done using dry heat. We recommend reheating slices in a hot skillet over medium heat for a few minutes per side until warmed through and the edges crisp up beautifully. Alternatively, you can reheat it in a preheated oven (around 350°F or 175°C) for 5-10 minutes. Avoid using a microwave, as it tends to make the farinata soft and chewy, causing it to lose its characteristic crispness.
- Freezing Instructions: Farinata freezes surprisingly well, making it excellent for meal prep or for saving portions for later. Allow the flatbread to cool completely after baking. Then, wrap individual slices tightly in plastic wrap, followed by a layer of aluminum foil to prevent freezer burn. Place these well-wrapped slices in a freezer-safe bag or container. Farinata can be frozen for up to 1 month. When you’re ready to enjoy a frozen piece, simply reheat it directly from frozen in a hot oven (around 375°F or 190°C) until it is warmed through and the edges have become crispy again. The reheating time will be slightly longer than for refrigerated slices.
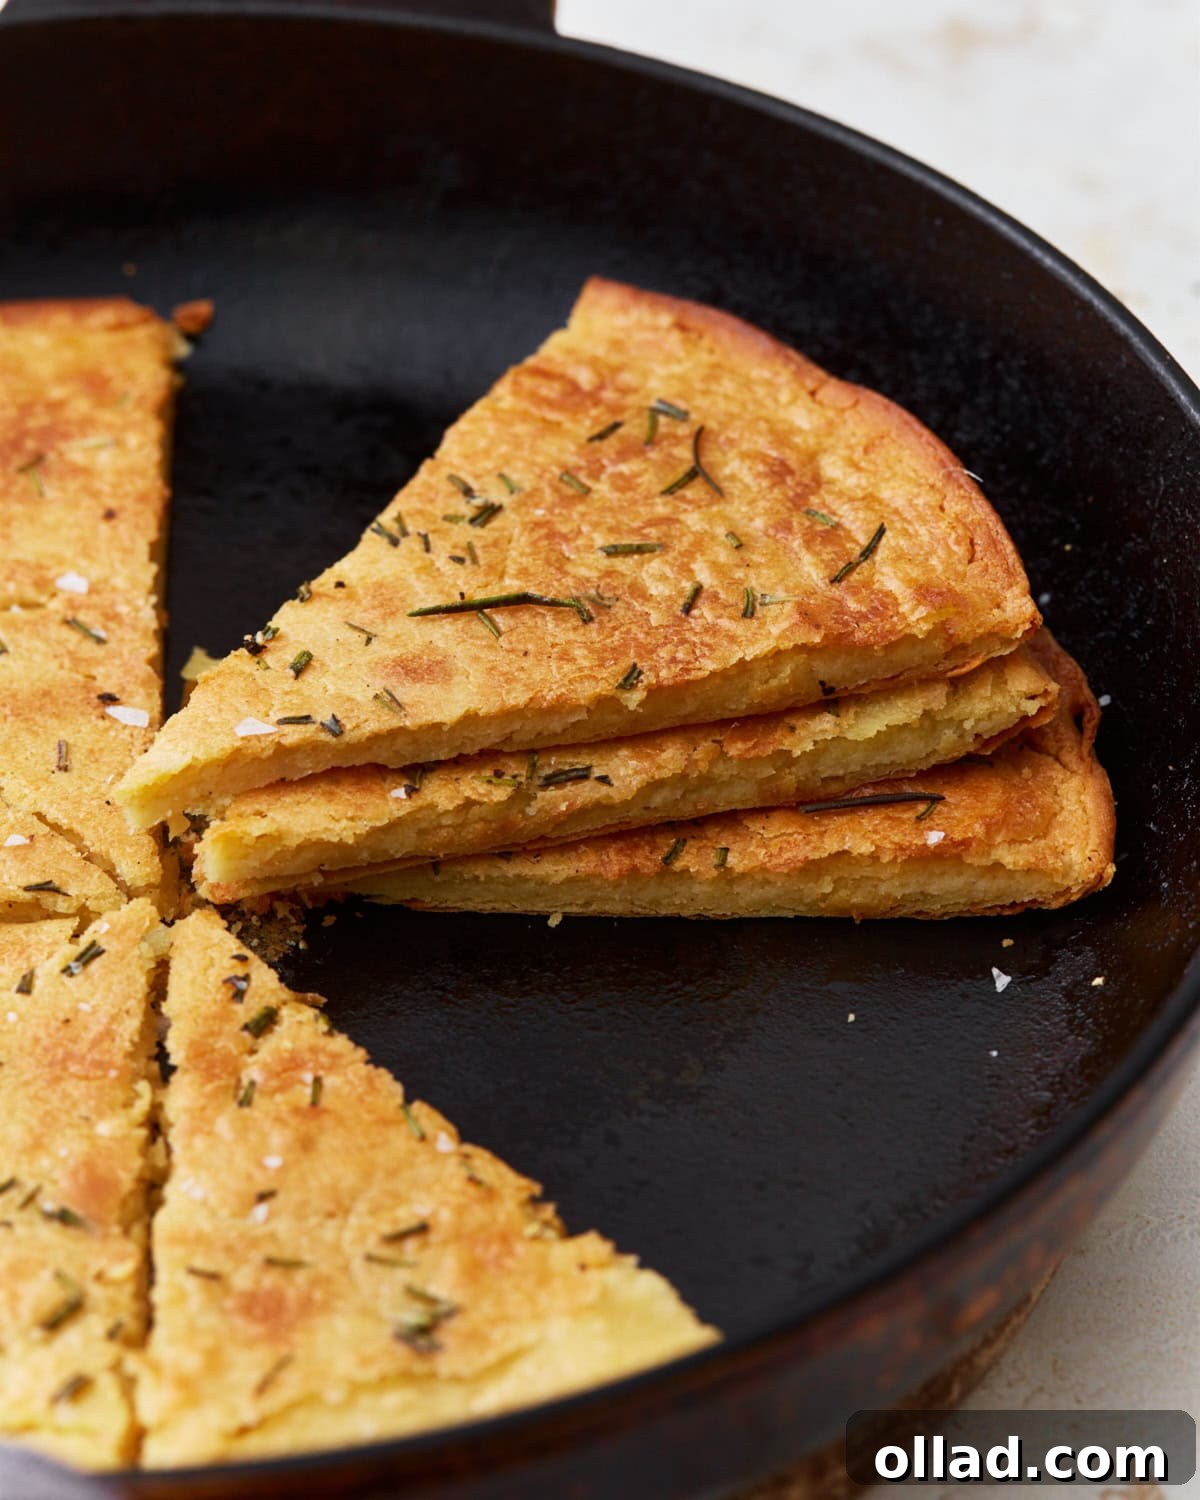
More Gluten-Free Italian Bread Recipes
If you’ve fallen in love with the simplicity and deliciousness of naturally gluten-free Italian breads, or simply wish to expand your repertoire of homemade gluten-free baked goods, we have more mouth-watering recipes for you to explore:
- Gluten-Free Focaccia: Indulge in a soft, airy, and dimpled Italian classic, made perfectly gluten-free.
- Gluten-Free Garlic Bread: The ultimate flavorful side dish, bursting with garlic and herb goodness, without any gluten.
- Gluten-Free Pizza Dough: Craft your own perfect pizza night with this easy-to-make, versatile gluten-free dough.
Farinata Recipe
This delicious Italian chickpea flatbread, farinata, boasts a soft center and a light, crispy crust. Crafted with just 4 simple ingredients: chickpea flour, water, high-quality olive oil, and sea salt, this versatile bread is naturally gluten-free, vegan, and utterly delightful. Fresh rosemary adds an aromatic touch, making it a perfect appetizer, side dish, or savory snack.
Yields: 4 servings
Prep time: 10 minutes
Cook time: 25 minutes
Chill time: 1 hour (for batter resting)
Total time: 1 hour 35 minutes
Equipment
- 10-inch cast iron skillet or other heavy, oven-safe baking dish
- Large mixing bowl
- Whisk
- Measuring cups and spoons
Ingredients
- 1 cup chickpea flour (finely ground, also known as garbanzo bean flour)
- 1 cup water (room temperature)
- 1/4 cup extra virgin olive oil, plus additional for coating the pan
- 1/2 teaspoon fine sea salt (for batter)
- 1 teaspoon fresh rosemary, finely minced (optional, for topping)
- Flaky sea salt and freshly ground black pepper (for serving, optional)
Instructions
- In a large mixing bowl, thoroughly whisk together the 1 cup of chickpea flour and ½ teaspoon of fine sea salt until well combined and lump-free.
- Gradually add the 1 cup of water, pouring about ¼ cup at a time. Whisk continuously and vigorously after each addition to ensure the batter remains smooth and lump-free. The final batter should be thin, with a consistency similar to that of pancake batter.
- Stir in the ¼ cup of extra virgin olive oil. Once combined, cover the mixing bowl (with plastic wrap or a lid) and let the batter rest at room temperature for a minimum of 1 hour. This resting period is crucial for the chickpea flour to fully hydrate, which contributes to the farinata’s final texture. (The batter can be refrigerated for up to 12 hours if preparing ahead).
- Approximately 20 minutes before you plan to bake, preheat your oven to 450°F (230°C). Place your 10-inch cast-iron skillet (or chosen oven-safe baking dish) inside the oven as it preheats to ensure it becomes thoroughly hot.
- Once the oven is fully preheated and the skillet is piping hot, carefully remove the skillet from the oven using sturdy oven mitts. Drizzle a generous amount of olive oil onto the bottom of the hot skillet and carefully swirl or spread it around to coat the entire base evenly.
- Give the rested batter a quick stir if it has settled. Then, carefully pour the batter into the sizzling hot, oiled skillet, ensuring it spreads into a thin, even layer across the bottom. If using, sprinkle the finely minced fresh rosemary evenly over the top of the batter.
- Carefully return the skillet to the preheated oven. Bake for 20-25 minutes, or until the farinata is beautifully golden brown, firm to the touch, and visibly crisp around the edges. The center should be set and slightly tender.
- Once baked, remove the farinata from the oven. Allow it to cool slightly in the skillet for about 10 minutes. This brief cooling period helps it set further, making it easier to slice cleanly.
- After cooling, carefully slice the farinata into wedges or squares. Serve warm, optionally garnished with an additional sprinkle of flaky sea salt and freshly ground black pepper. Enjoy immediately for the best crispy texture.
Notes
- The resting period for the batter is absolutely crucial. It allows the chickpea flour to fully hydrate, preventing a gritty texture and ensuring a smoother batter and a more tender, less crumbly farinata.
- Farinata is incredibly adaptable to different flavors! Feel free to experiment with other toppings like dried herbs (such as oregano or thyme), finely chopped garlic, caramelized onions, or even a dash of red pepper flakes for a subtle kick of heat.
- For maximum convenience, the farinata batter can be prepared up to 12 hours in advance and stored covered in the refrigerator. Just be sure to give the batter a good, thorough whisk or stir before pouring it into the hot pan if it has been refrigerated.
- Ensuring that both your oven and your skillet are adequately preheated to a high temperature before adding the batter is vital for achieving that desirable, beautifully crisp crust on your farinata. A generous amount of olive oil in the hot pan also significantly contributes to this crispiness.
- While farinata is best enjoyed fresh from the oven, any leftovers can be stored. Place cooled slices in an airtight container in the refrigerator for up to 3 days. Reheat individual slices in a hot skillet over medium heat or in a preheated oven to best restore their crisp texture.
- Farinata slices can also be frozen for longer storage. After cooling completely, wrap individual slices tightly in plastic wrap and then foil, and freeze for up to 1 month. Reheat from frozen in the oven until warmed through and crispy.
Nutrition Information
(Approximate values per 1 serving)
- Calories: 235 kcal
- Carbohydrates: 17g
- Protein: 7g
- Fat: 16g
- Saturated Fat: 2g
- Polyunsaturated Fat: 2g
- Monounsaturated Fat: 10g
- Sodium: 313mg
- Potassium: 254mg
- Fiber: 3g
- Sugar: 3g
- Vitamin A: 13 IU
- Vitamin C: 0.01mg
- Calcium: 16mg
- Iron: 2mg
Nutrition information provided is automatically calculated and should only be used as an approximation. Actual values may vary based on specific ingredients and preparation methods.
Additional Info
Course: Appetizer, Baking, Side Dish, Snack
Cuisine: Italian (specifically Ligurian)
Dietary: Gluten-Free, Vegan, Dairy-Free, Egg-Free
How to Make Farinata: A Step-by-Step Visual Guide
Creating your own delicious farinata at home is a straightforward process, especially with this visual guide. Follow each stage carefully to ensure a perfect chickpea flatbread with that irresistible crispy crust and soft interior.
Step 1: Prepare the Dry Ingredients
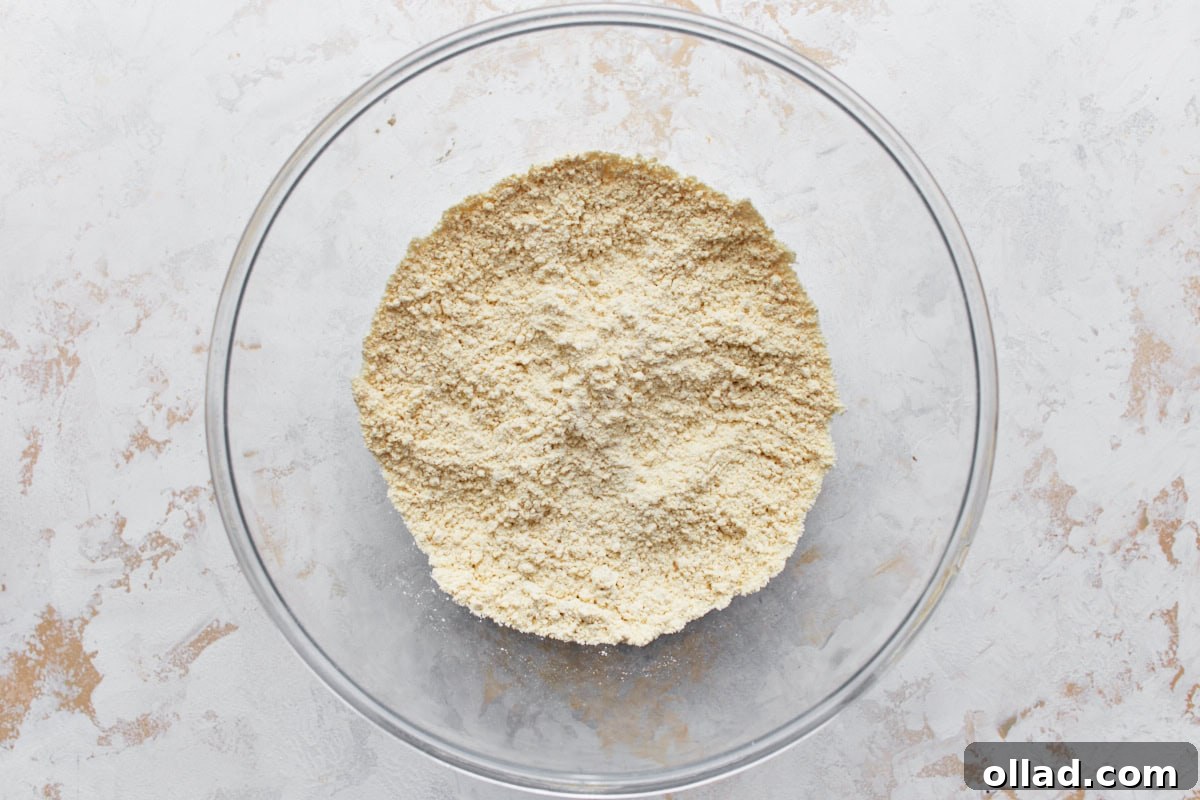
In a large mixing bowl, thoroughly whisk together 1 cup of finely ground chickpea flour and ½ teaspoon of fine sea salt. Whisking ensures an even distribution of salt throughout the flour and helps to break up any small lumps, which is crucial for achieving a smooth, uniform batter. This initial step sets the foundation for the entire farinata.
Step 2: Create a Smooth Batter
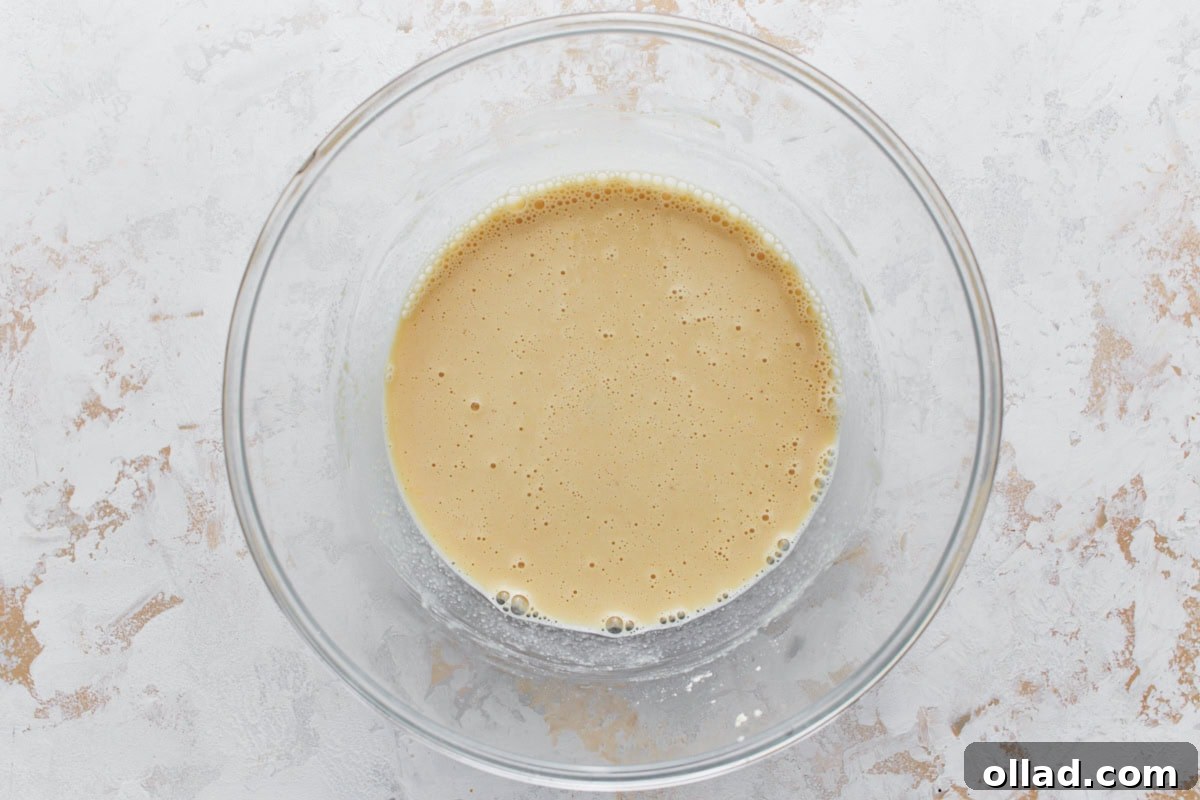
Gradually pour in 1 cup of room temperature water, adding about ¼ cup at a time. Whisk continuously and vigorously between each addition. This gradual incorporation of liquid helps prevent lumps from forming in the chickpea flour. Continue whisking until the batter is completely smooth and lump-free, with a thin consistency similar to that of traditional pancake batter. Achieving this smooth, thin consistency is vital for ensuring a light, crispy, and tender farinata.
Step 3: Add Olive Oil and Rest the Batter
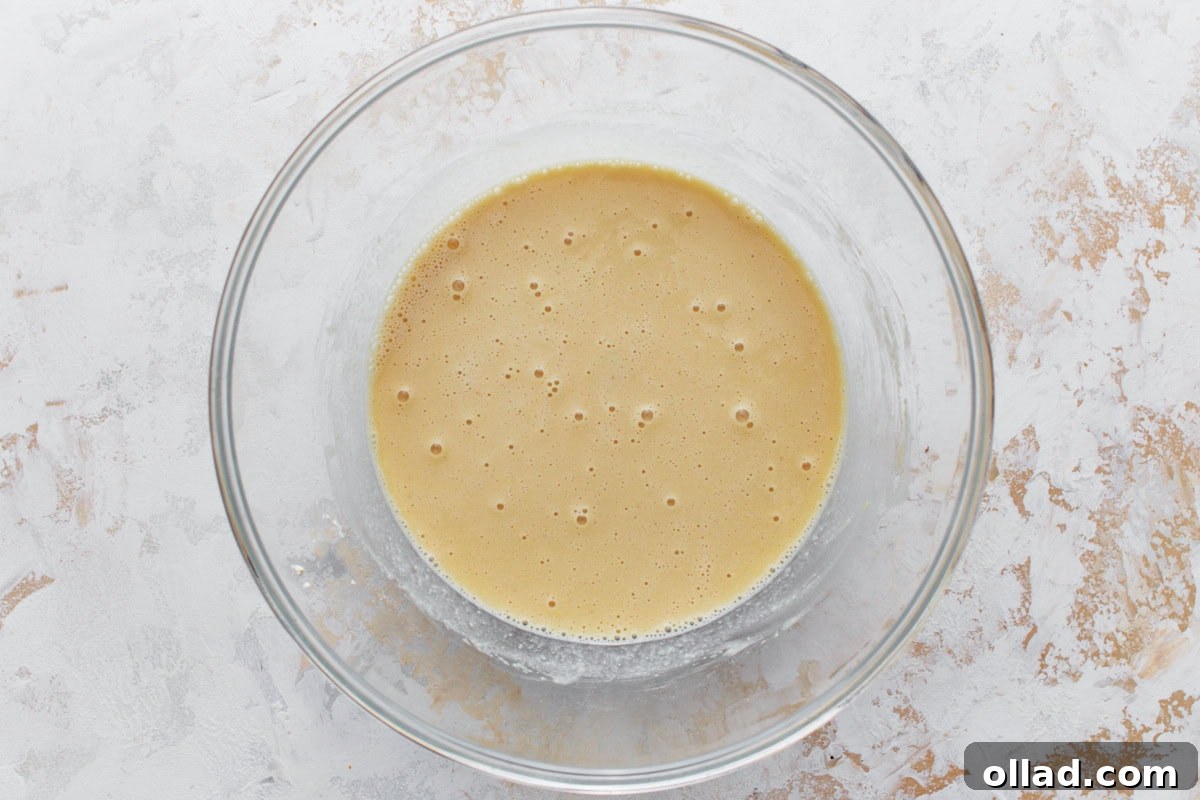
Once your batter is perfectly smooth, stir in ¼ cup of high-quality extra virgin olive oil. Cover the mixing bowl (using plastic wrap or a lid) and set it aside to rest at room temperature for a minimum of 1 hour. This resting period is a critical step that cannot be skipped; it allows the chickpea flour ample time to fully absorb the water, which is essential for developing a more pliable dough and contributing to the superior, non-gritty texture of the baked farinata. For added convenience, you can even refrigerate the batter for up to 12 hours if you’re preparing it ahead of time.
Step 4: Preheat Oven and Prepare the Skillet
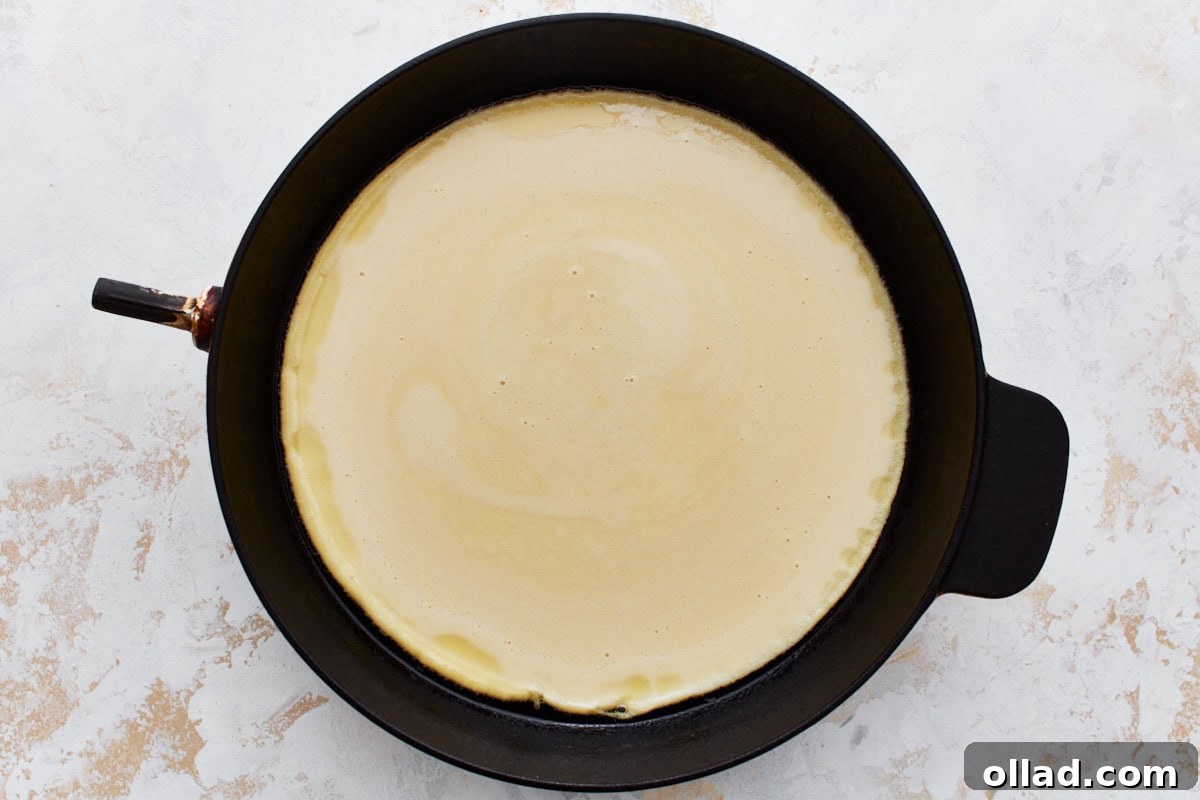
While your batter is resting or towards the end of its resting period, place a 10-inch cast-iron skillet (or another heavy, oven-safe baking dish) into your oven. Preheat the oven to a high temperature of 450°F (230°C). It’s absolutely essential for the skillet to become piping hot before the batter is added, as this is the key to achieving that signature crispy crust. Once the oven is fully preheated and the skillet is sizzling hot, carefully remove it from the oven using sturdy oven mitts. Drizzle a generous amount of olive oil onto the bottom of the hot skillet and carefully swirl or spread it around to coat the entire base evenly. Then, carefully pour the rested chickpea batter into the sizzling hot skillet, ensuring it spreads into a thin, even layer.
Step 5: Add Rosemary and Bake
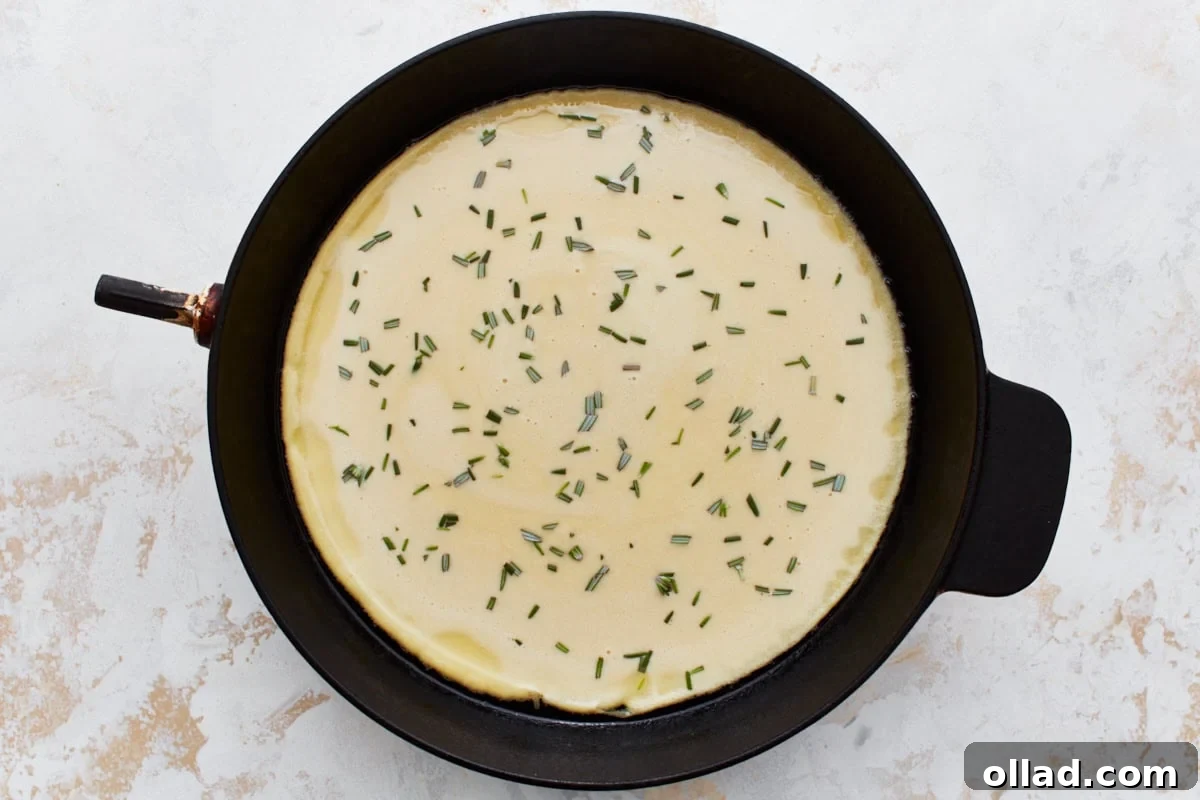
If you choose to incorporate the classic aromatic touch, sprinkle 1 teaspoon of fresh, finely minced rosemary evenly over the top of the batter in the skillet. This adds a beautiful aroma and quintessential Italian flavor to your farinata. Alternatively, you can experiment with other complementary herbs like thyme or oregano at this stage. Once topped, carefully place the skillet back into the preheated oven.
Step 6: Bake Until Golden and Crisp
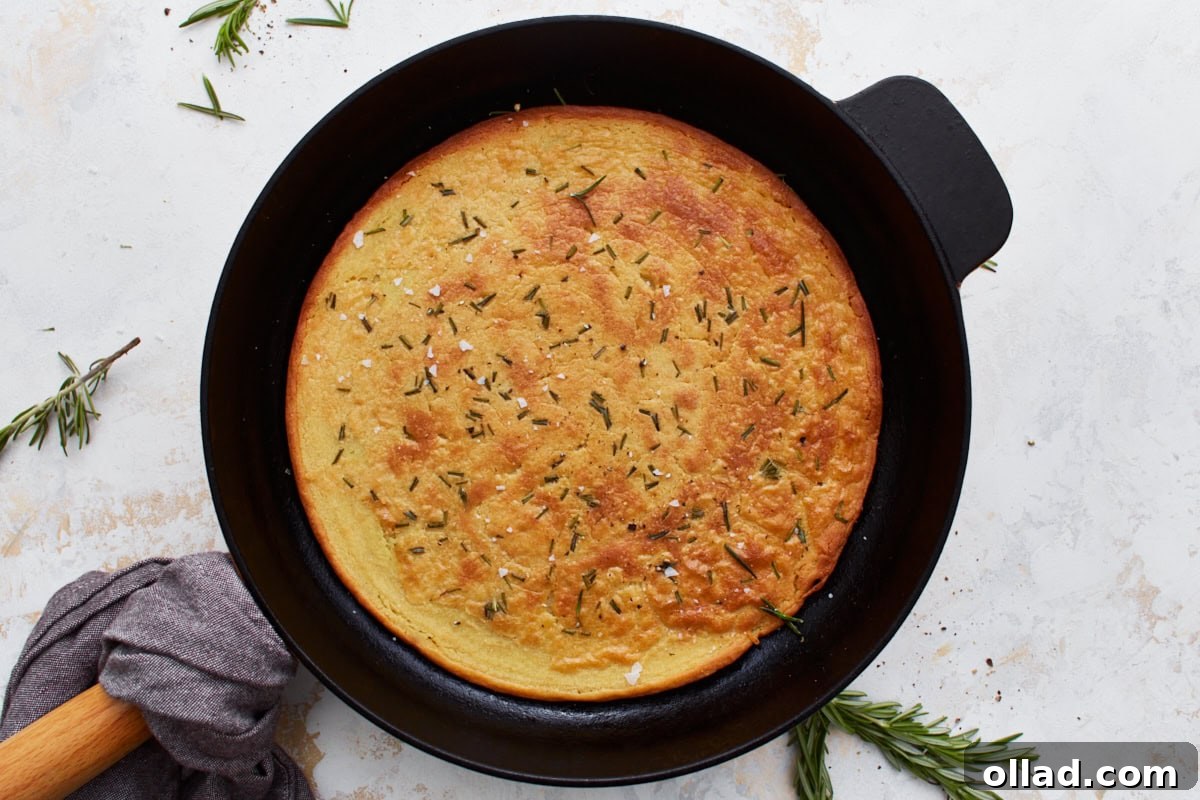
Bake the farinata for approximately 20-25 minutes. Keep a close eye on it during this time; the farinata should transform into a beautiful golden color and become wonderfully crispy around the edges. The center should be firm but still have a slight tender give when gently pressed. The exact baking time may vary slightly depending on the nuances of your oven and the specific skillet used, so always prioritize these visual cues over strict adherence to time.
Step 7: Slice and Serve
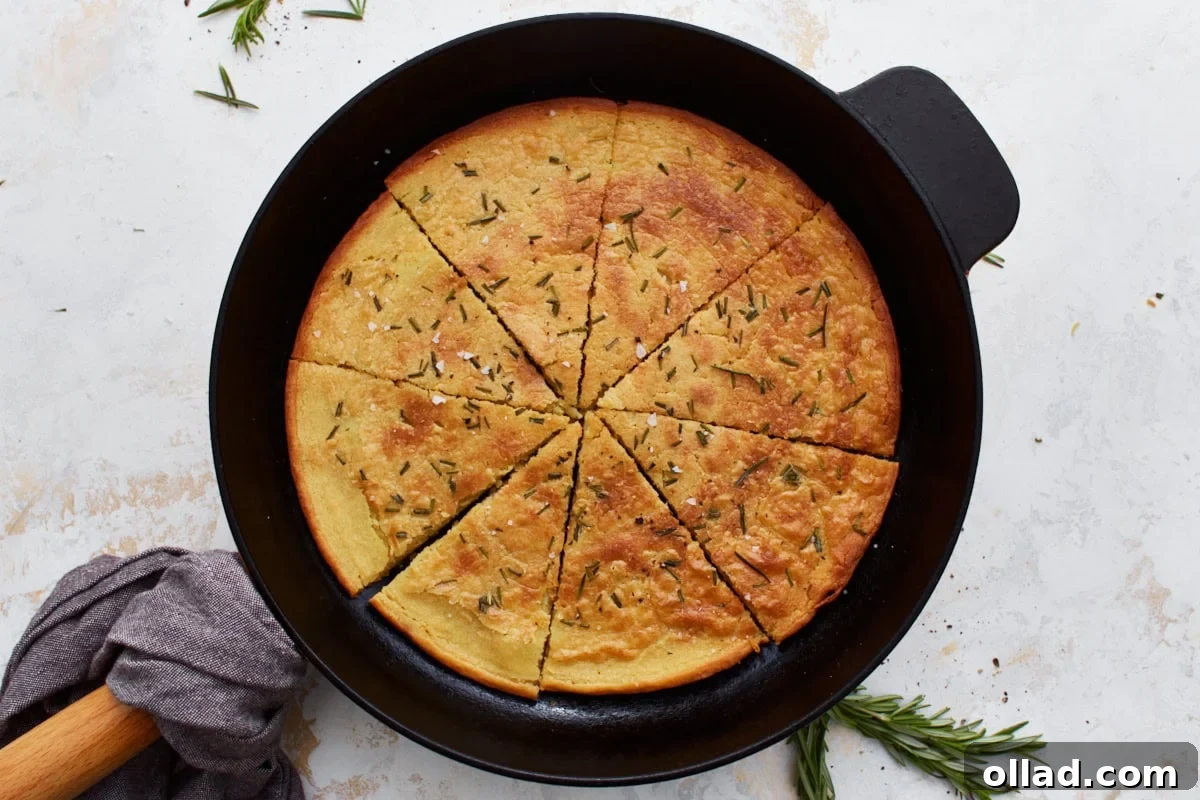
Once baked to perfection, carefully remove the skillet from the oven. Allow the farinata to cool slightly in the pan for about 10 minutes. This brief cooling period is important as it helps the farinata to set firmly, making it much easier to slice neatly without crumbling. After cooling, carefully slice the farinata into wedges or squares. For an extra touch of flavor and visual appeal, sprinkle with flaky sea salt and freshly ground black pepper, if desired. Serve warm and savor this naturally gluten-free and vegan Italian delicacy!
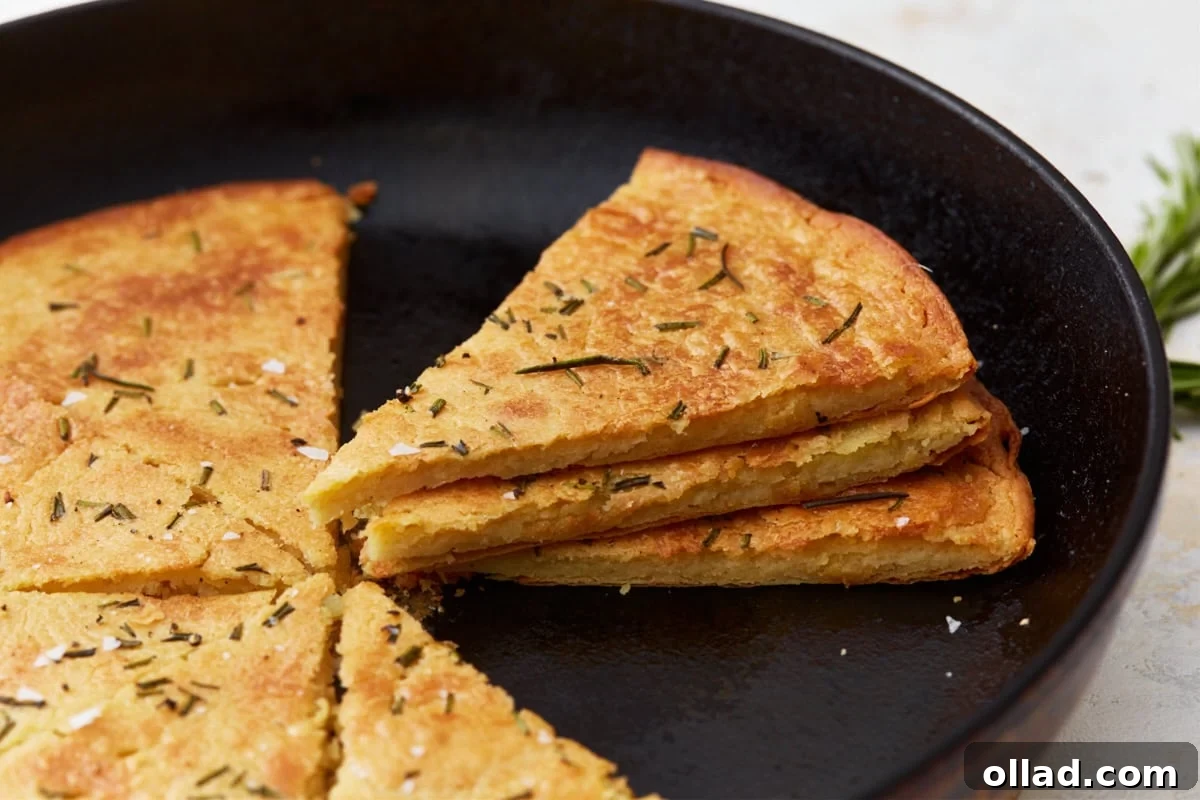
This simple yet incredibly satisfying farinata recipe brings the rustic charm and authentic flavors of Italian cuisine right into your kitchen. Whether you’re a seasoned home chef or a curious beginner, this naturally gluten-free chickpea flatbread is an easy and rewarding dish to master. Its delightful combination of earthy flavors, aromatic herbs, and contrasting textures makes it a wonderful addition to any meal, proving that often, the best and most memorable food comes from the simplest, most wholesome ingredients. We hope you enjoy making and sharing this delicious Italian staple. Buon appetito!