
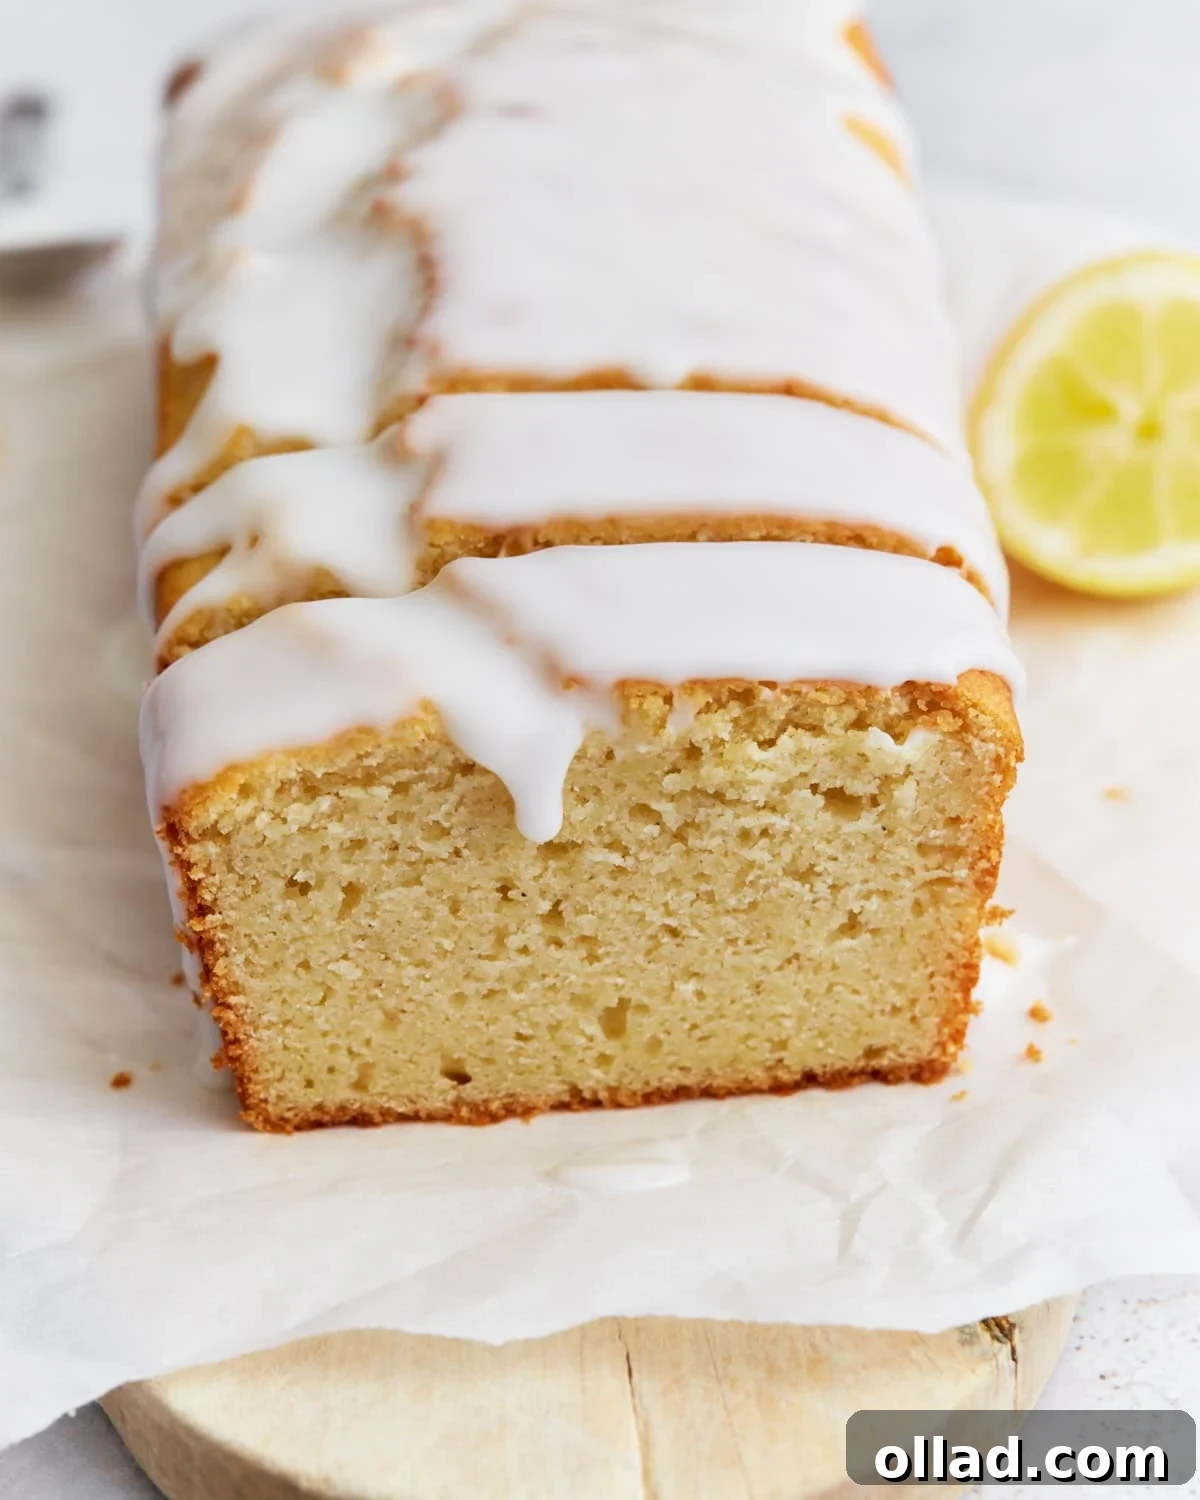
Gluten-Free Iced Lemon Loaf: A Zesty Bakery-Style Treat for Everyone
Lemon loaf is a timeless classic, a truly delightful confection that captures the essence of sunshine in every bite. For those who adore that bright, citrusy flavor, this gluten-free iced lemon loaf recipe is an absolute dream come true. It embodies all the qualities you’d expect from a cherished coffee shop favorite: a wonderfully soft, irresistibly moist crumb, and a perfectly balanced tangy-sweet glaze that drips temptingly over the edges. What makes it even better is how incredibly easy it is to prepare using everyday pantry staples. Whether you’re adhering to a gluten-free diet or simply looking to bake a delicious treat that everyone can enjoy, this lemon loaf is guaranteed to be a hit at any gathering or as a simple indulgence.
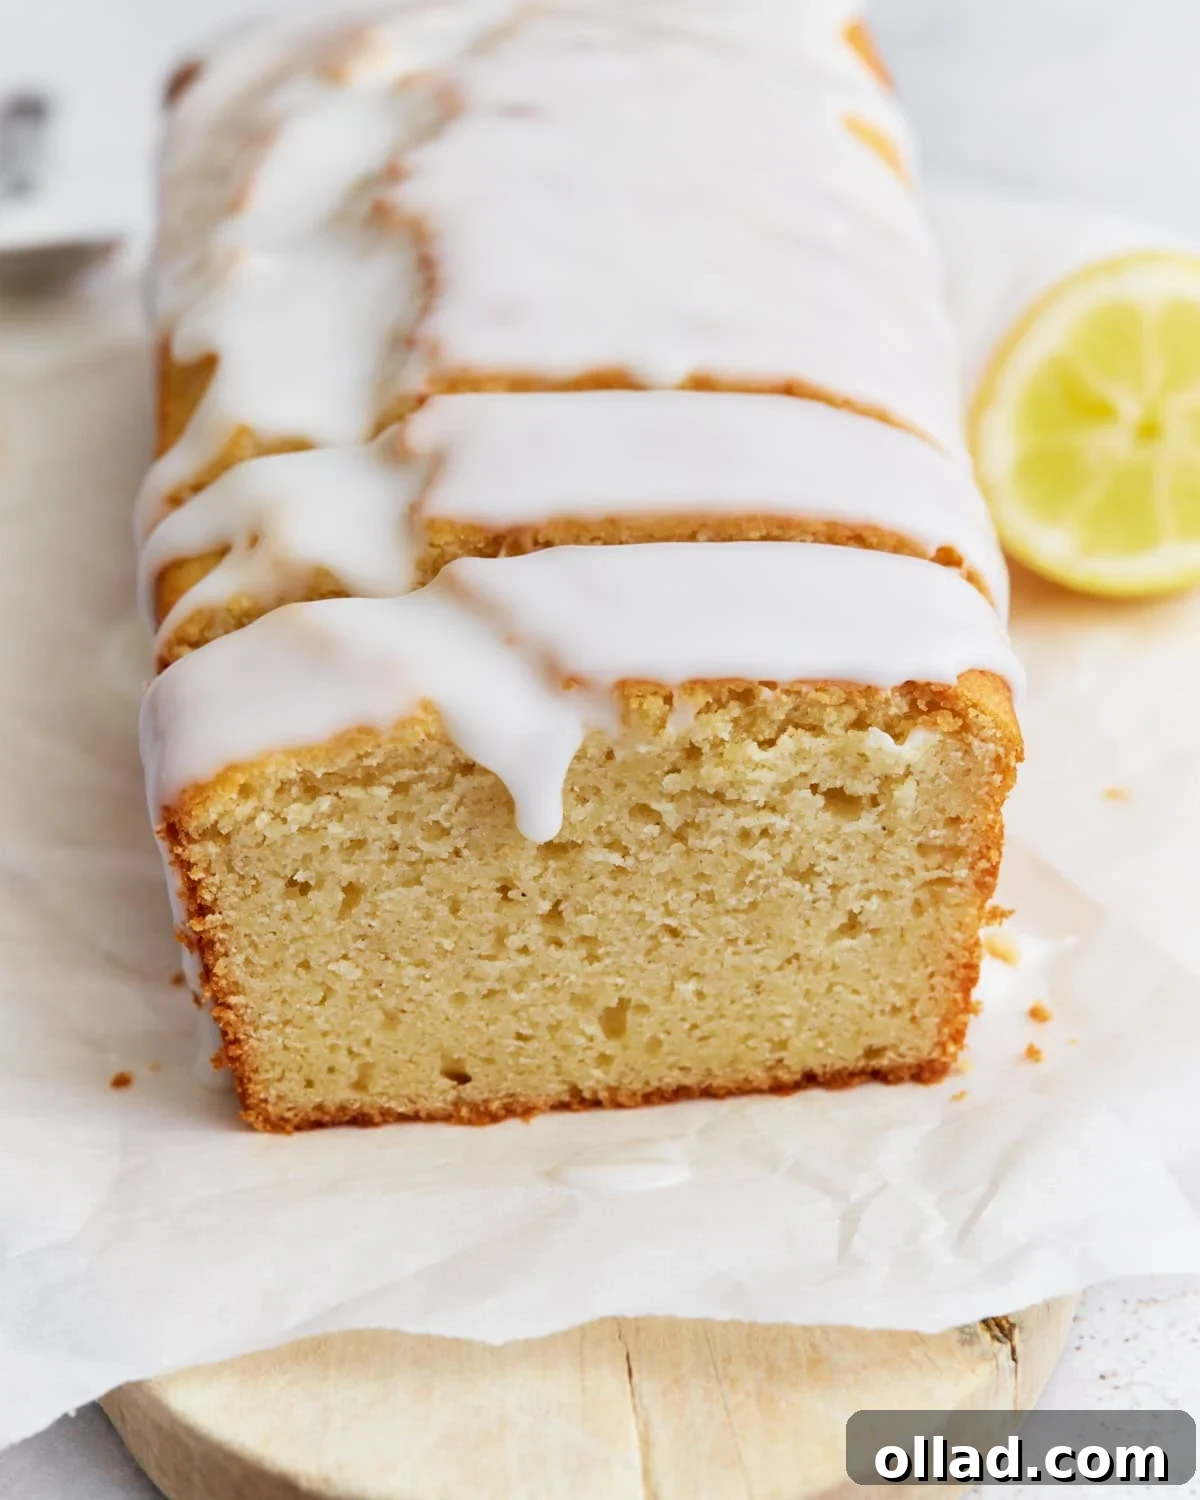
Unlock the Secret to an Easy Gluten-Free Iced Lemon Loaf
There’s an undeniable charm to quick bread loaves – they offer that comforting, homemade feel without the complexity of more intricate bakes. Citrus-infused loaves hold a special place in my heart; their vibrant, refreshing flavors are unparalleled, and they consistently bake up with that coveted moist crumb. While my gluten-free cranberry bread often satisfies my craving for a hint of orange, this lemon loaf truly stands out, often stealing the spotlight with its intense lemon flavor. It’s generously infused with fresh lemon juice and zest, ensuring a bold and authentic taste. The entire process comes together in a single bowl, simplifying cleanup, and relies on readily available ingredients you likely already have on hand. The method is incredibly straightforward, promising a perfect loaf every time. Imagine serving this golden delight at a spring brunch, gifting a thoughtful, homemade treat, or simply enjoying a slice of pure sunshine with your morning coffee. This recipe consistently delivers on flavor, texture, and ease.
Why This Gluten-Free Lemon Loaf Will Become Your New Favorite
- **Irresistible Flavor:** The perfect balance of sweet and tart, bursting with fresh lemon.
- **Perfect Texture:** A tender, moist crumb that’s never dry or crumbly, a common challenge in gluten-free baking.
- **Bakery-Quality Finish:** The luscious lemon glaze adds a professional touch and an extra layer of zesty sweetness.
- **Surprisingly Simple:** Made with common ingredients and a straightforward, one-bowl method.
- **Dietary Friendly:** Naturally gluten-free, with easy dairy-free adaptation options.
- **Versatile Treat:** Ideal for breakfast, brunch, dessert, or an afternoon snack.
Gluten-Free Iced Lemon Loaf
Share by Email
Print Recipe
There’s just something about that bright, citrusy flavor that feels like sunshine in every bite. This gluten-free iced lemon loaf has all the bakery-style goodness I crave. It has a soft, moist crumb and a tangy-sweet glaze that’s downright irresistible.
Step-by-step photos can be seen below the recipe card.
Equipment
- 1 8.5 x 4.5-inch loaf pan (or 9 x 5-inch loaf pan)
Ingredients
Lemon Loaf
- 1 cup sugar
- 3 large eggs, whisked
- 10 tbsp milk (for dairy-free, use unsweetened almond milk or coconut milk)
- 10 tbsp unsalted butter, melted (sub ghee or Smart Balance butter for a dairy-free option)
- ¼ cup lemon juice, freshly squeezed
- ½ tbsp lemon zest
- 1 tsp vanilla extract
- 1½ cups gluten-free all-purpose flour blend (with xanthan gum—Pillsbury gluten-free flour blend is recommended)
- 2 tsp baking powder
- ¼ tsp salt
Lemon Icing
- 1 cup powdered sugar, sifted
- 1-2 tbsp lemon juice (adjust for desired thickness)
- ⅛ tsp salt
Instructions
- **Prepare Oven and Pan:** Preheat your oven to 350°F (175°C). Lightly grease your chosen loaf pan (8.5 x 4.5-inch or 9 x 5-inch) and line it with parchment paper, leaving an overhang on the longer sides to easily lift the loaf out after baking.
- **Whisk Wet Ingredients (Part 1):** In a large mixing bowl, combine the 1 cup of sugar and 3 whisked large eggs. Whisk vigorously for about 1 minute until the mixture is light in color and frothy. This step incorporates air, contributing to the loaf’s tender texture.
- **Add Remaining Wet Ingredients:** To the egg mixture, add the 10 tbsp milk, 10 tbsp melted unsalted butter, ¼ cup freshly squeezed lemon juice, ½ tbsp lemon zest, and 1 tsp vanilla extract. Continue whisking until all the wet ingredients are thoroughly combined and the mixture is smooth.
- **Incorporate Dry Ingredients:** Gently add the 1½ cups gluten-free all-purpose flour blend (ensure it contains xanthan gum, or add ¼ tsp if not), 2 tsp baking powder, and ¼ tsp salt to the wet mixture. Using a spatula or wooden spoon, gradually stir the dry ingredients into the wet until just combined. Be careful not to overmix, as this can lead to a tough loaf. A few small lumps are perfectly fine.
- **Fill Loaf Pan:** Pour the prepared batter into your greased and parchment-lined loaf pan. Use a spatula to gently spread the top of the batter evenly.
- **Bake the Loaf:** Transfer the loaf pan to the preheated oven and bake for 45–50 minutes. The loaf is done when a wooden toothpick inserted into the center comes out clean or with only a few moist crumbs attached. The top should also spring back lightly when touched.
- **Cool Thoroughly:** Allow the lemon loaf to cool in the pan for about 10 minutes. This helps it firm up before handling. Then, carefully lift the loaf out of the pan using the parchment paper overhang and transfer it to a wire rack to cool completely. Cooling completely is crucial before glazing to prevent the icing from melting off.
- **Prepare the Lemon Icing:** While the loaf cools, prepare the luscious lemon icing. In a small mixing bowl, whisk together 1 cup of sifted powdered sugar (sifting prevents lumps), 1-2 tbsp of fresh lemon juice, and ⅛ tsp of salt. Adjust the amount of lemon juice until you achieve a smooth, pourable consistency that is neither too thin nor too thick.
- **Glaze and Set:** Once the loaf is completely cool, drizzle the prepared lemon icing generously over the top. Allow the glaze to set for at least 15-20 minutes at room temperature before slicing and serving. This ensures a beautiful, firm glaze.
- **Serve and Enjoy:** Slice the cooled and glazed lemon loaf into thick, delectable pieces. Serve and savor the bright, citrusy goodness!
Notes
- Fresh lemon juice is highly recommended for the best, most vibrant flavor. Bottled lemon juice can taste flat and overly acidic, detracting from the overall quality of your loaf.
- To test if the loaf is done, the toothpick should come out clean or with just moist crumbs. The top should gently spring back when touched, indicating it’s fully baked.
- Ensure your gluten-free flour blend contains xanthan gum. If not, add about ¼ teaspoon per cup of flour to provide structure and prevent crumbling.
- For dairy-free, remember to use unsweetened almond milk or coconut milk and a dairy-free butter alternative like ghee or Smart Balance butter.
Nutrition Information
Serving: 1 slice
Calories: 315 kcal
Carbohydrates: 47g
Protein: 4g
Fat: 14g
Saturated Fat: 8g
Polyunsaturated Fat: 1g
Monounsaturated Fat: 4g
Trans Fat: 0.5g
Cholesterol: 81mg
Sodium: 199mg
Potassium: 54mg
Fiber: 2g
Sugar: 33g
Vitamin A: 446IU
Vitamin C: 3mg
Calcium: 89mg
Iron: 1mg
Nutrition information is an approximation. Values may vary based on ingredients and preparation methods.
Additional Info
How to Make Gluten-Free Iced Lemon Loaf: A Step-by-Step Visual Guide
Baking this delightful lemon loaf is a straightforward process, even for those new to gluten-free baking. Follow these illustrated steps to create your perfect citrusy treat.
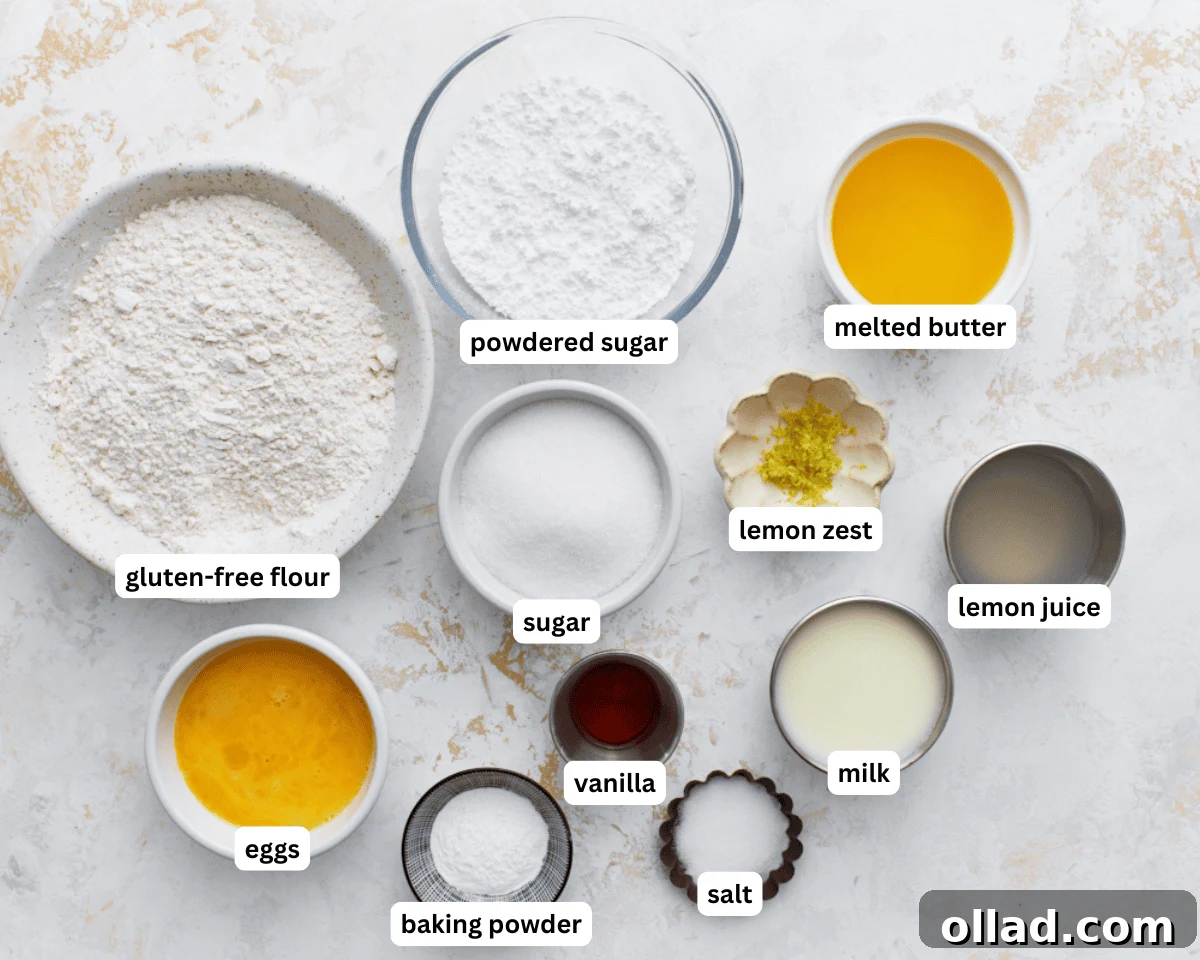
1. Gather Your Ingredients: Before you begin, gather all the necessary ingredients, ensuring they are at room temperature for optimal mixing. Preheat your oven to 350°F (175°C). Prepare your 8.5 x 4.5-inch or 9 x 5-inch loaf pan by greasing it and lining it with parchment paper, allowing some overhang on the sides for easy removal.
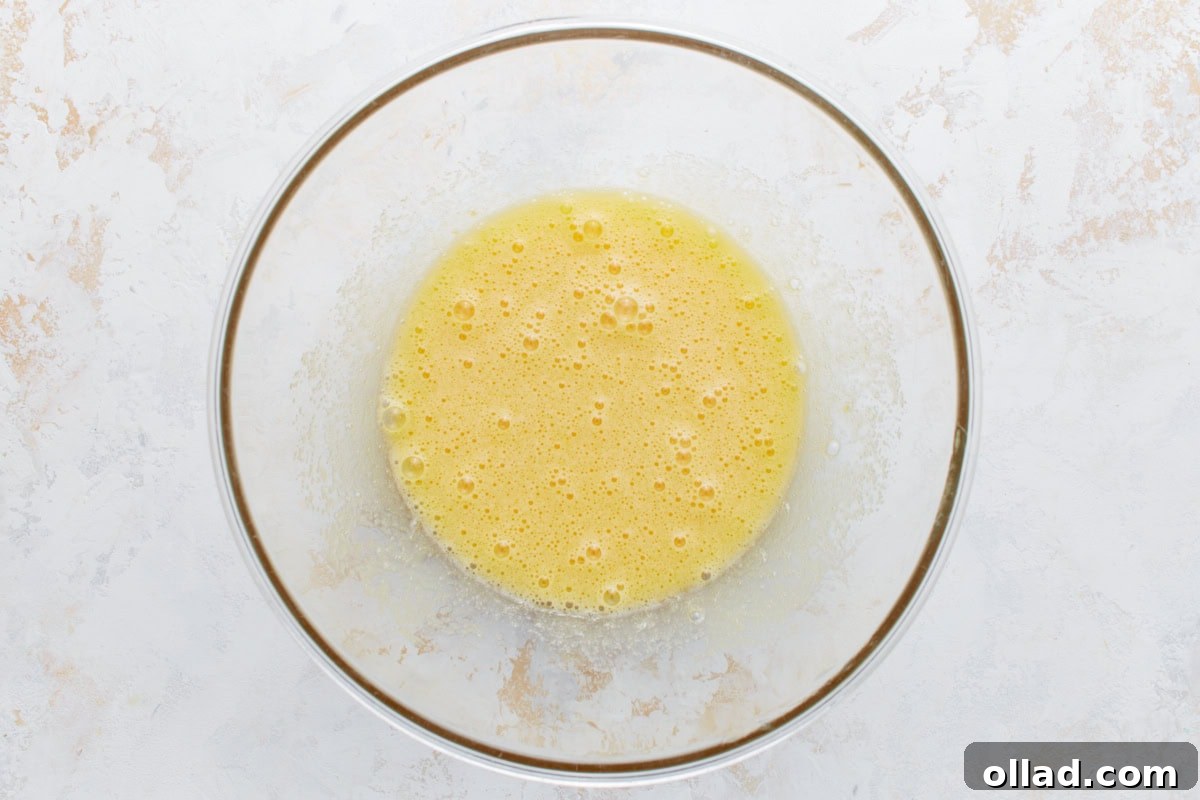
2. Whisk Eggs and Sugar: In a spacious mixing bowl, combine 1 cup of granulated sugar with 3 large, whisked eggs. Use a whisk to beat them together until the mixture becomes noticeably lighter in color, pale yellow, and takes on a frothy texture. This usually takes about 1 minute and is crucial for creating a light loaf.
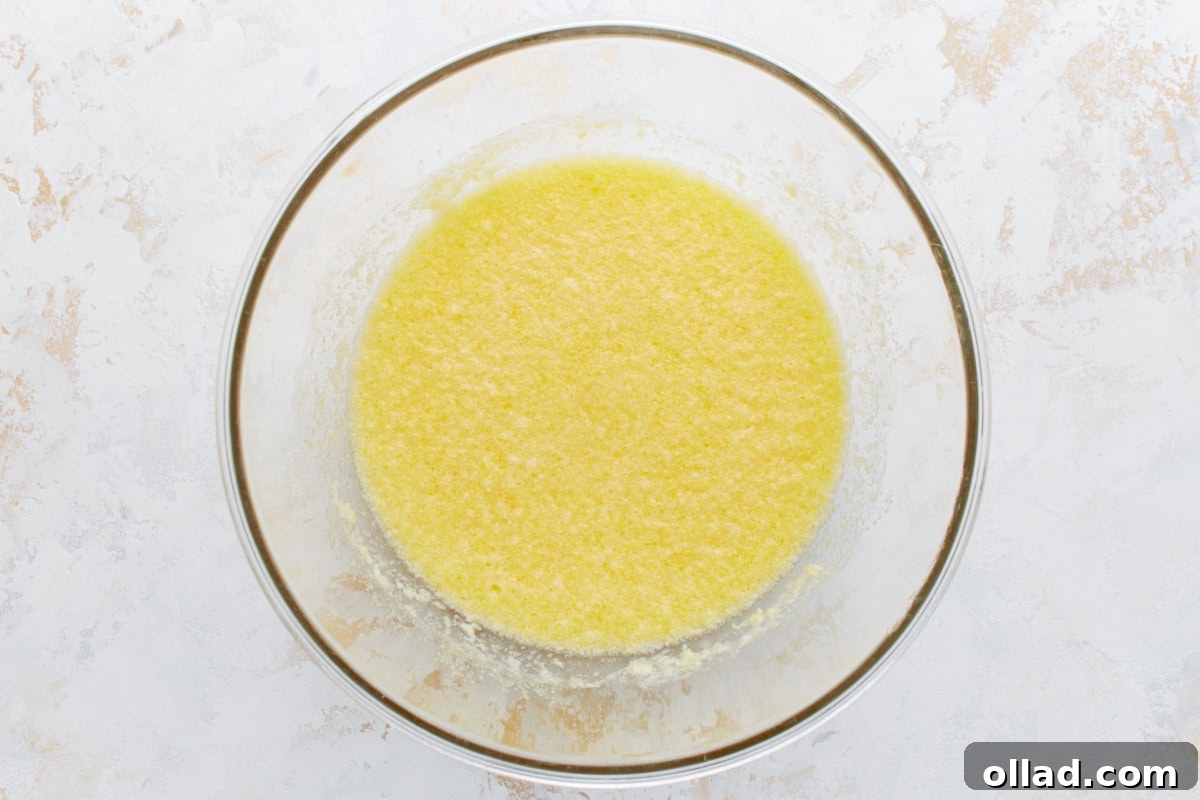
3. Incorporate Wet Ingredients: Next, add the remaining wet components to the bowl: 10 tablespoons of milk (or your chosen dairy-free alternative), 10 tablespoons of melted unsalted butter (or dairy-free substitute), ¼ cup of freshly squeezed lemon juice, ½ tablespoon of finely grated lemon zest, and 1 teaspoon of vanilla extract. Continue whisking until the entire mixture is smooth and all ingredients are well incorporated.
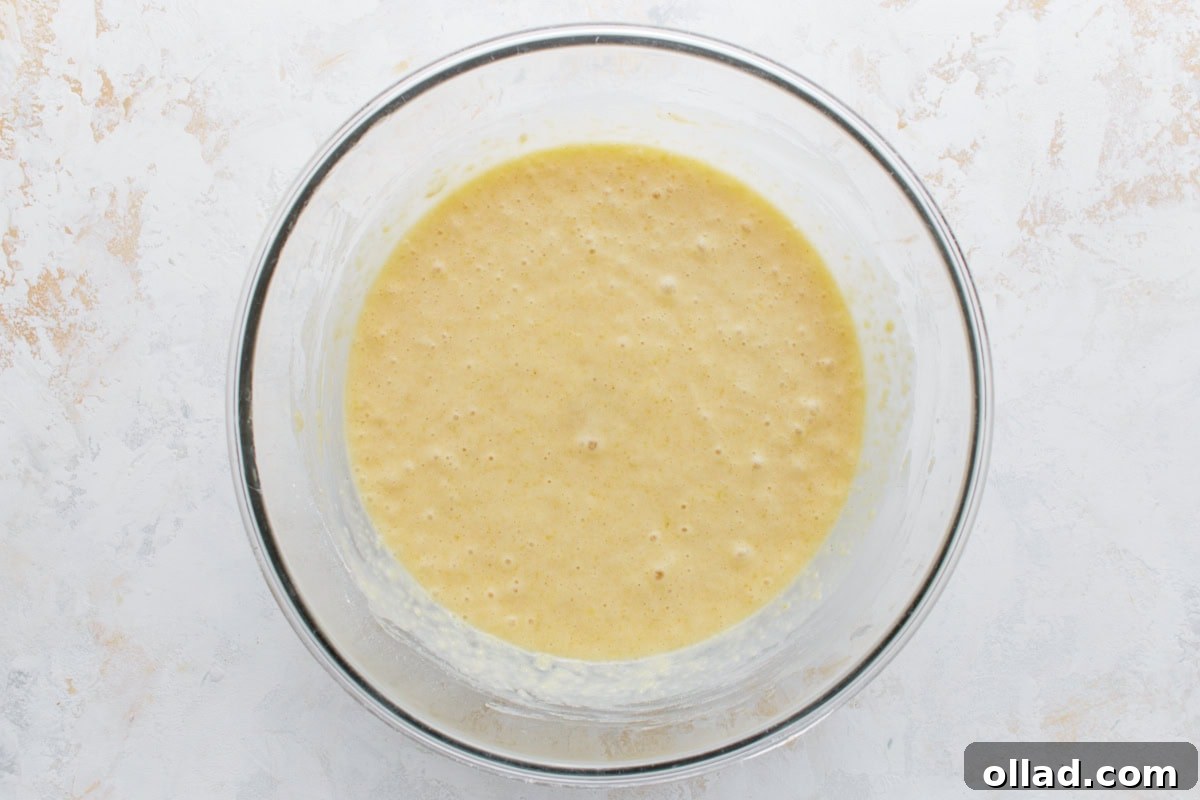
4. Stir in Dry Ingredients: Now, add the dry ingredients: 1½ cups of gluten-free all-purpose flour blend (ensure it contains xanthan gum, which is vital for gluten-free baking), 2 teaspoons of baking powder, and ¼ teaspoon of salt. Gently stir the mixture using a spatula or spoon until the dry ingredients are just combined with the wet. It’s important not to overmix the batter; overmixing can develop gluten-like properties in gluten-free flours and result in a dense, tough loaf.
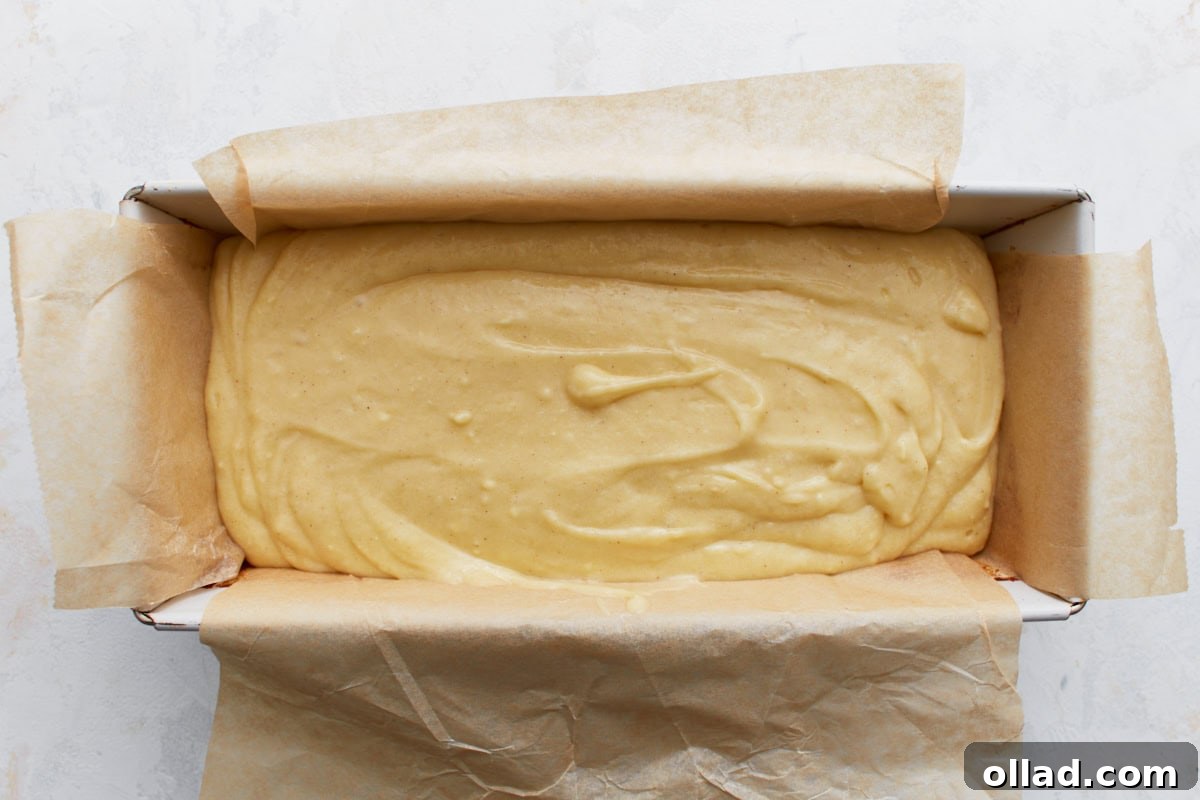
5. Transfer to Pan: Carefully pour the freshly prepared lemon loaf batter into your greased and parchment-lined loaf pan. Use a spatula to gently smooth the top surface of the batter, ensuring an even bake.
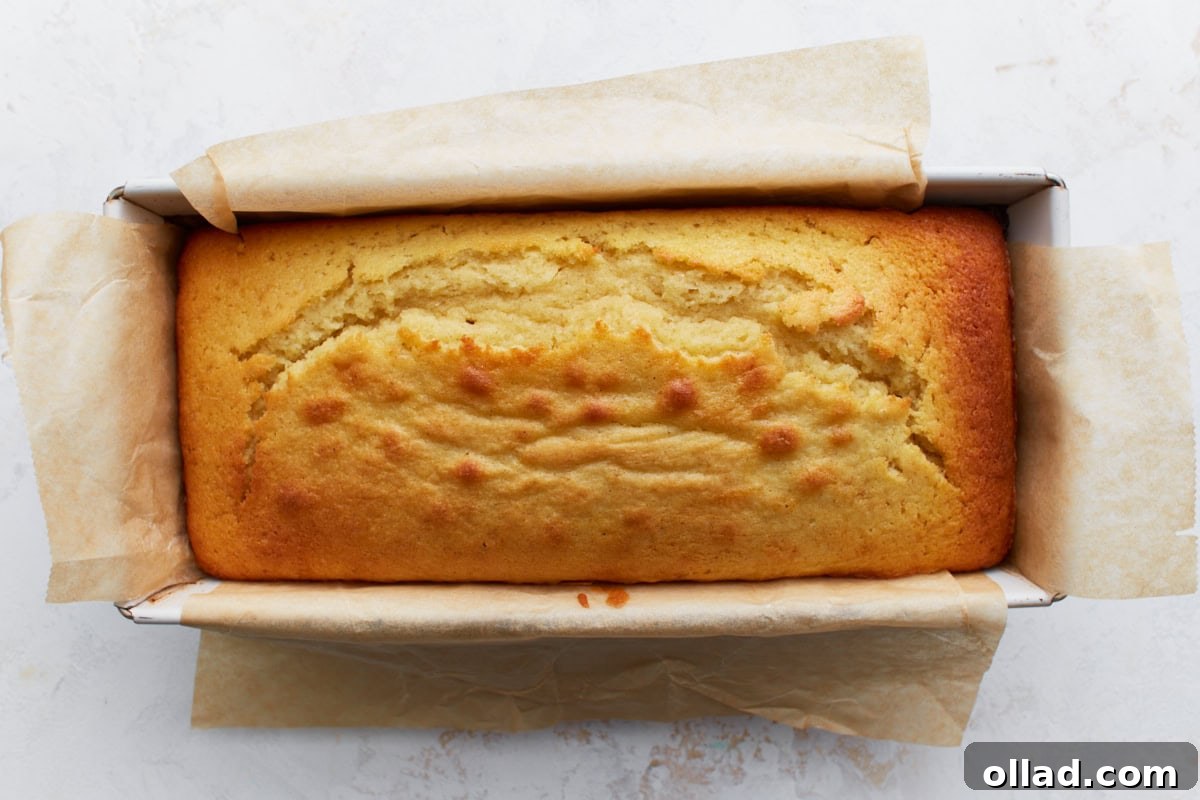
6. Bake the Loaf: Place the loaf pan into your preheated oven. Bake for approximately 45–50 minutes. To check for doneness, insert a wooden toothpick into the center of the loaf. If it comes out clean or with only a few moist crumbs clinging to it, the loaf is ready. The top should also appear golden brown and spring back when lightly pressed.
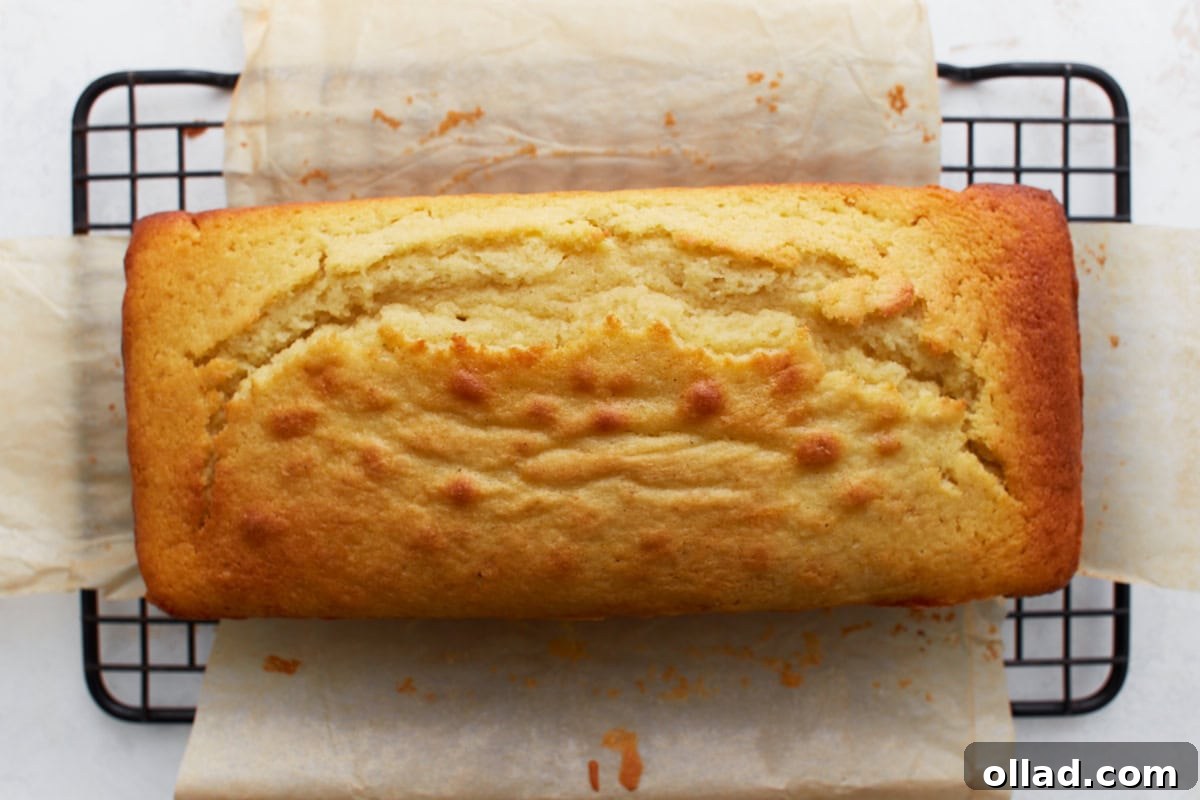
7. Cool the Loaf: Once baked, remove the loaf from the oven and let it cool in the pan for 10 minutes. This allows the loaf to set and makes it easier to handle. After 10 minutes, use the parchment paper overhang to carefully lift the loaf out of the pan and transfer it to a wire rack to cool completely. This step is essential; attempting to glaze a warm loaf will cause the icing to melt and run off.
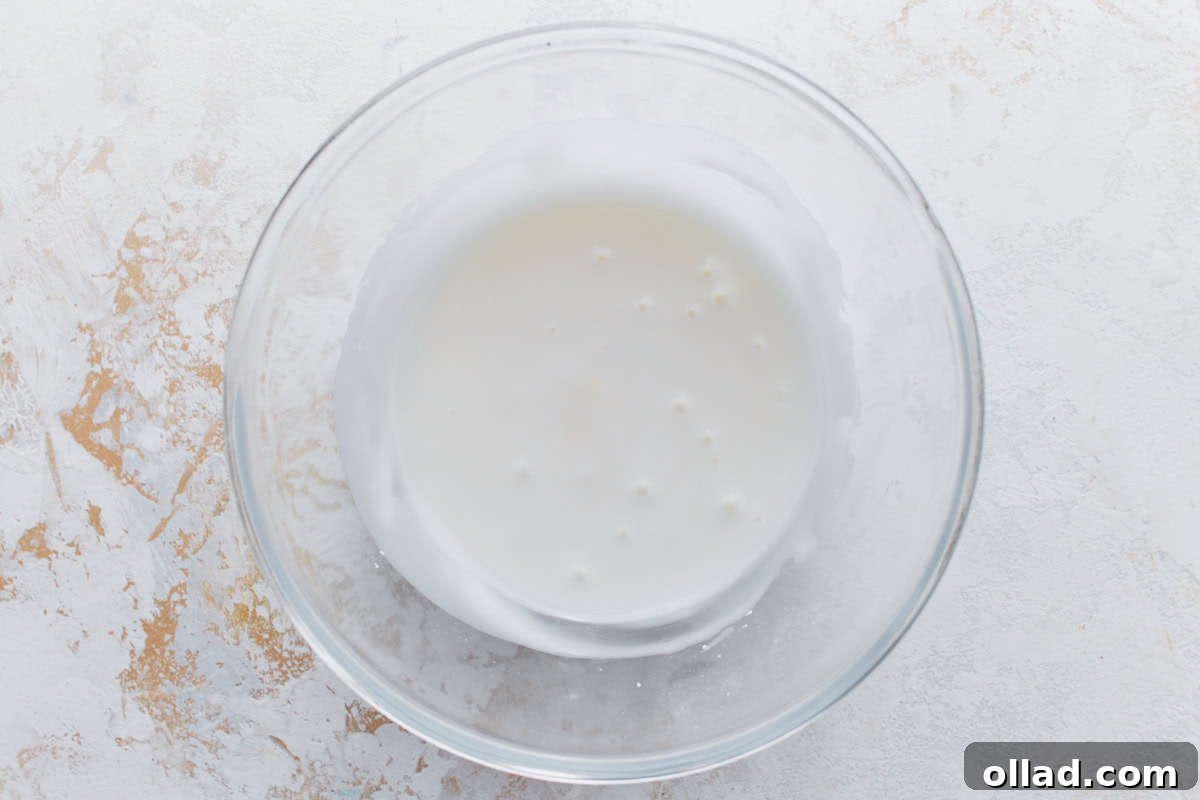
8. Make the Icing: While the loaf is cooling, prepare the bright and tangy lemon icing. In a small mixing bowl, whisk together 1 cup of sifted powdered sugar (sifting prevents any lumps), 1-2 tablespoons of fresh lemon juice, and an ⅛ teaspoon of salt. Start with 1 tablespoon of lemon juice and add more gradually, whisking until you achieve your desired smooth, pourable consistency.

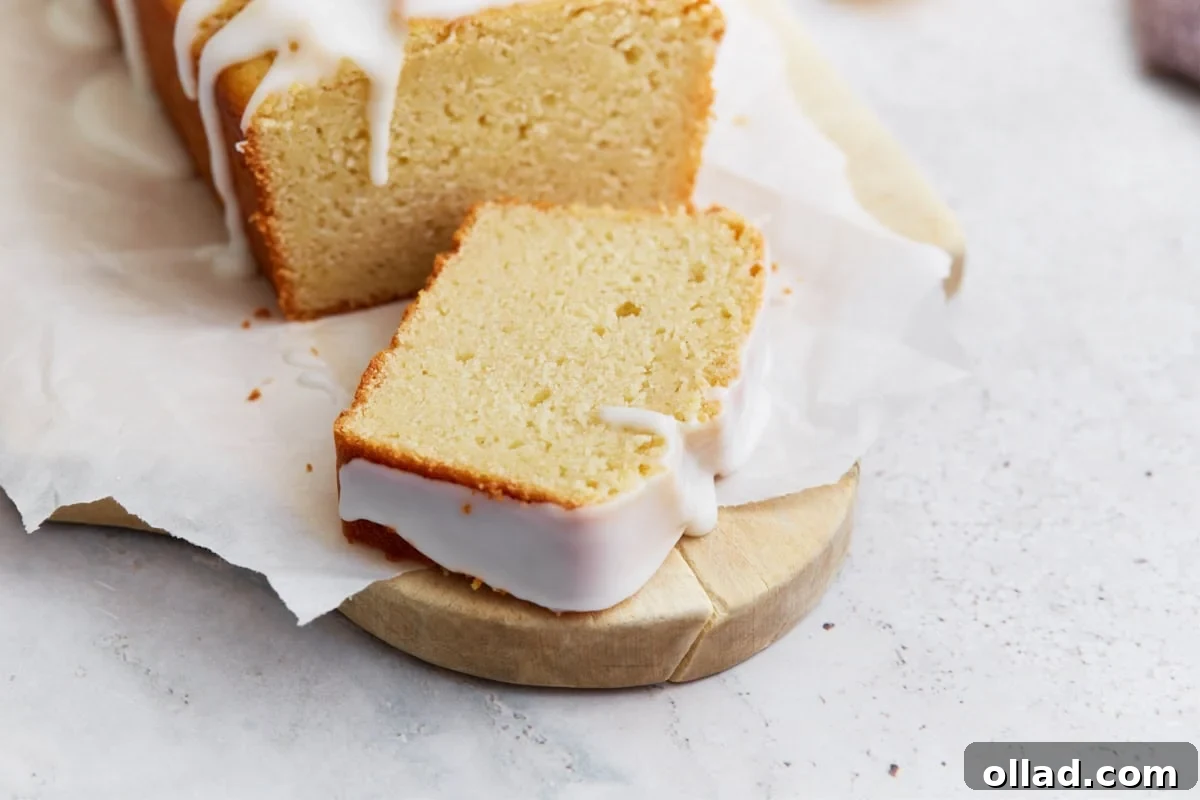
9. Glaze and Set: Once the lemon loaf is completely cooled to room temperature, generously drizzle the smooth lemon icing over the top. You can use the back of a spoon to spread it gently if you prefer an even coating, or let it cascade down the sides for a rustic look. Allow the glaze to set for about 15-20 minutes before slicing. This will ensure a beautiful, firm, and non-sticky finish.

10. Serve and Enjoy: With the glaze perfectly set, your gluten-free iced lemon loaf is ready to be enjoyed! Slice it into generous portions and serve. It’s wonderful on its own, or you can pair it with a fresh cup of coffee or tea for a truly delightful experience.
Tips for Baking the Perfect Gluten-Free Iced Lemon Loaf
Achieving a bakery-quality gluten-free lemon loaf is easier than you think, especially with a few key tips:
- **Use Room Temperature Ingredients:** Eggs, milk, and butter should all be at room temperature. This allows them to emulsify better, creating a smoother, more uniform batter and a lighter, more tender crumb.
- **Fresh Lemon is Key:** The quality of your lemon juice and zest makes a significant difference. Always opt for fresh lemons; their vibrant, aromatic oils and bright juice are incomparable to bottled alternatives.
- **Measure Gluten-Free Flour Correctly:** Gluten-free flour blends can be tricky. Always spoon the flour into your measuring cup and then level it off with a straight edge. Do not scoop directly from the bag, as this can compact the flour and lead to using too much, resulting in a dry loaf.
- **Don’t Overmix:** Once the dry ingredients are added, mix just until combined. Overmixing can cause gluten-free baked goods to become tough and crumbly. A few small lumps in the batter are perfectly fine.
- **Parchment Paper is Your Friend:** Lining your loaf pan with parchment paper not only prevents sticking but also makes it incredibly easy to lift the baked loaf out of the pan.
- **Cool Completely Before Icing:** Patience is a virtue when it comes to glazing. If the loaf is even slightly warm, the icing will melt and run off, resulting in a sticky mess rather than a beautiful, set glaze.
- **Adjust Icing Consistency:** The amount of lemon juice needed for the icing can vary slightly depending on the humidity and your powdered sugar. Add it gradually until you reach a consistency that drizzles easily but isn’t too thin.
Elevate Your Gluten-Free Iced Lemon Loaf Experience
This gluten-free iced lemon loaf is wonderfully versatile and can be enjoyed in many ways. It’s absolutely perfect with a steaming cup of coffee or a delicate cup of tea, making for a truly bright and refreshing morning snack or afternoon pick-me-up. I particularly love incorporating it into my brunch spreads, alongside other delightful treats such as fluffy gluten-free blueberry scones and indulgent gluten-free Danish pastries. For a simple yet elegant spring dessert, serve a slice warm with a dollop of freshly whipped cream and a handful of seasonal berries like raspberries or blueberries. A dusting of extra lemon zest over the glaze can add an additional pop of citrus aroma and visual appeal. It also makes a fantastic addition to potlucks, bake sales, or as a thoughtful gift for friends and family, beautifully wrapped with a ribbon.
How to Store Your Gluten-Free Iced Lemon Loaf to Maintain Freshness
Proper storage is essential to keep your gluten-free iced lemon loaf moist and delicious for as long as possible.
- **Room Temperature:** For short-term storage, wrap the completely cooled loaf tightly in plastic wrap or aluminum foil, or place it in an airtight container. It will stay fresh at room temperature for up to 2 days. Keep it away from direct sunlight or heat sources.
- **Refrigerator:** To extend its freshness, store the loaf in an airtight container in the refrigerator for up to 5 days. The chilling might make the texture slightly firmer, but it will soften again when brought back to room temperature.
- **Freezing for Longer Storage:** This loaf freezes beautifully! You can freeze the entire loaf or individual slices. To do so, ensure the loaf is completely cooled and the glaze is fully set. Wrap it first in plastic wrap, then in aluminum foil to prevent freezer burn. Place the wrapped loaf or slices in a freezer-safe bag. It can be frozen for up to 2 months.
- **Thawing and Re-glazing:** When ready to enjoy a frozen loaf or slice, thaw it at room temperature, still wrapped, until completely defrosted. If you plan to freeze unglazed slices, it’s best to add the fresh glaze after thawing for the best texture and appearance.
Common Questions About Gluten-Free Lemon Loaf
Here are answers to some frequently asked questions to help you master this delightful recipe:
**Q: Can I use regular all-purpose flour instead of gluten-free flour?**
A: This recipe is specifically formulated for gluten-free flour blends that contain xanthan gum. If you use regular all-purpose flour, the liquid ratios might need to be adjusted, and the texture will be different. For the best results, stick to a gluten-free all-purpose blend as specified.
**Q: What if my gluten-free flour blend doesn’t have xanthan gum?**
A: Xanthan gum is crucial in gluten-free baking for providing elasticity and structure, preventing crumbling. If your blend doesn’t contain it, add about ¼ teaspoon of xanthan gum for every cup of flour used in the recipe.
**Q: Can I make this loaf dairy-free?**
A: Absolutely! The recipe includes notes for dairy-free substitutions. Use unsweetened almond milk or coconut milk instead of regular milk, and substitute unsalted butter with ghee or a high-quality dairy-free butter alternative like Smart Balance. Ensure all other ingredients are dairy-free as well.
**Q: How do I know if my lemons have enough zest and juice?**
A: Generally, one medium-sized lemon yields about 2-3 tablespoons of juice and 1 tablespoon of zest. For this recipe, you’ll need at least two good-sized lemons to get enough juice and zest for both the loaf and the icing. Always zest before you juice!
**Q: My loaf sank in the middle. What went wrong?**
A: Common reasons for a loaf sinking include opening the oven door too early, underbaking, using too much leavening agent (baking powder), or incorrect ingredient measurements. Ensure your oven temperature is accurate and bake until a toothpick comes out clean.
**Q: Can I add poppy seeds to this lemon loaf?**
A: Yes, lemon poppy seed loaf is a classic combination! You can easily add 1-2 tablespoons of poppy seeds to the dry ingredients before mixing them into the wet ingredients. This will give your loaf an extra texture and classic flavor.
**Q: How long does the glaze take to set?**
A: The glaze typically takes 15-20 minutes to set at room temperature. In more humid environments, it might take a little longer. Ensure the loaf is completely cool before applying the glaze to speed up the setting process.
Explore More Zesty Lemon Dessert Favorites
If you’re a fan of the bright and tangy flavors of lemon, you’ll love these other gluten-free dessert recipes:
- Gluten-Free Lemon Bars: A classic treat with a buttery shortbread crust and a perfectly tart lemon filling.
- Gluten-Free Lemon Cake: A light and fluffy cake, bursting with lemon flavor, ideal for celebrations.
- Gluten-Free Lemon Cookies: Chewy, soft cookies with a delightful citrus zing, perfect for any occasion.