
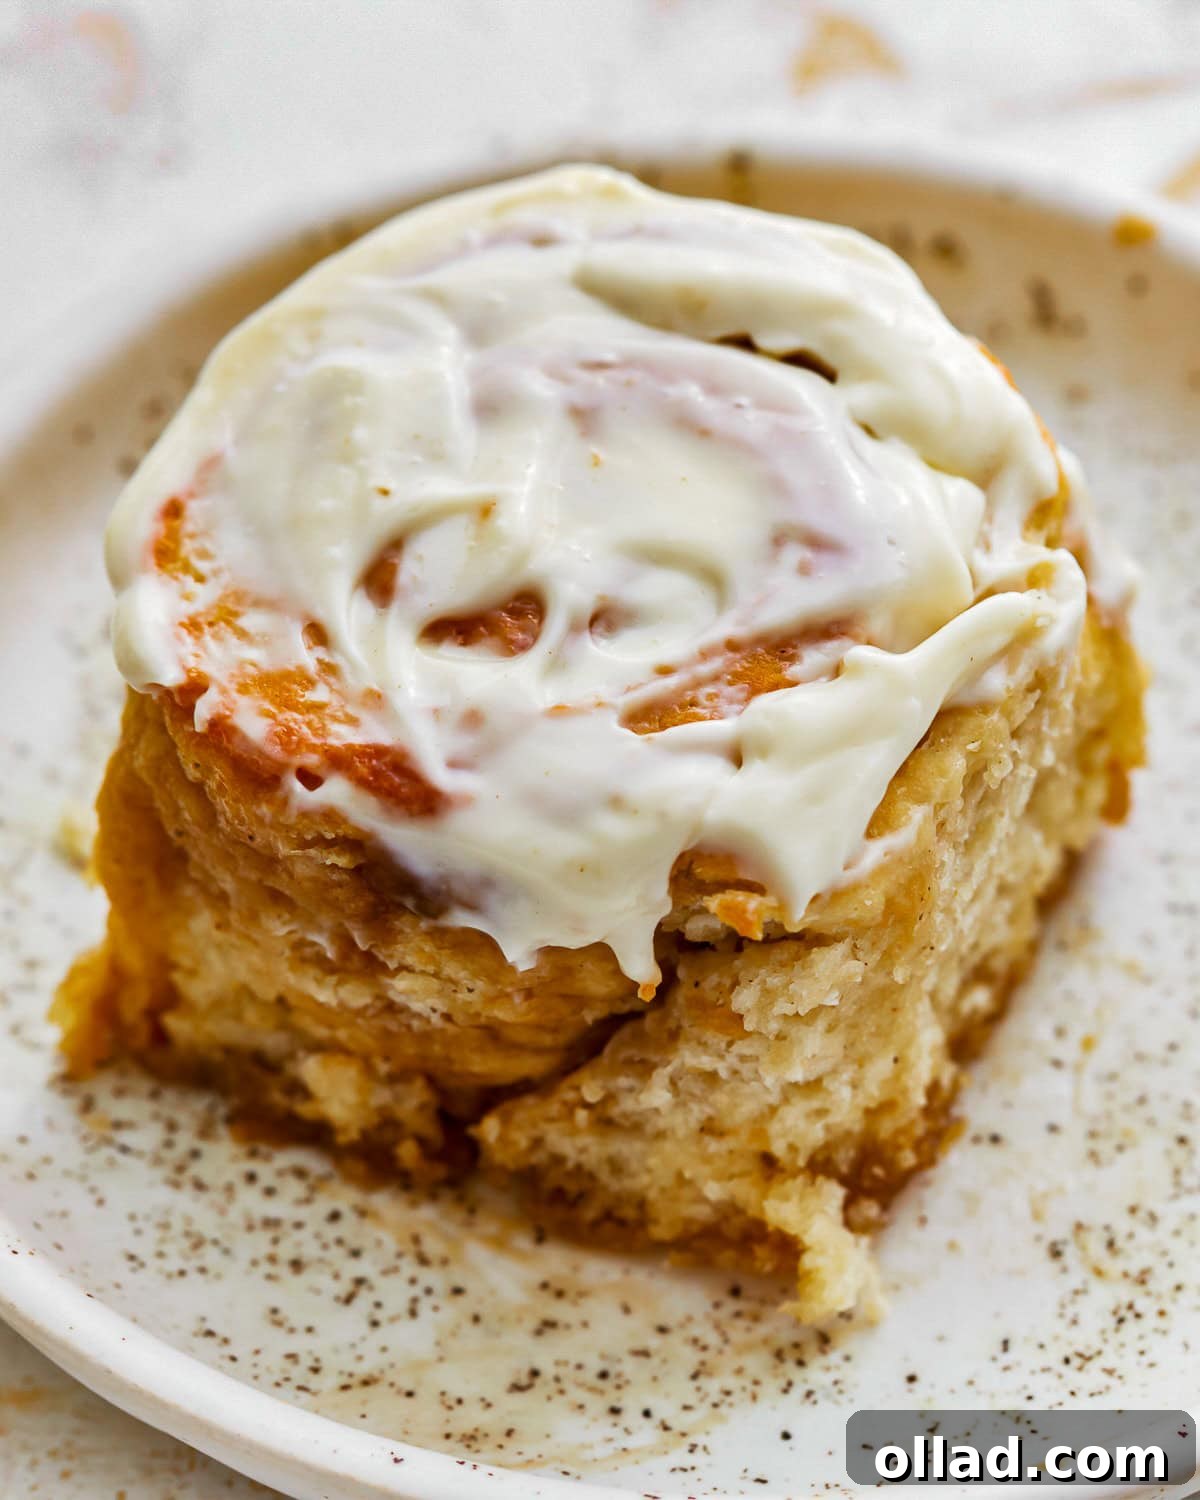
Indulge in the ultimate breakfast experience with these incredibly delicious gluten-free cinnamon rolls. Imagine biting into a warm, gooey, and irresistibly fluffy treat, generously swirled with aromatic cinnamon and sugar, then crowned with your choice of luscious cream cheese frosting or a sweet, delicate vanilla glaze. This recipe isn’t just about recreating a classic; it’s about perfecting it for everyone. Whether you follow a gluten-free lifestyle, or need dairy-free, egg-free, or even vegan options, this versatile recipe ensures that no one misses out on the joy of a homemade cinnamon roll. Prepare to delight your senses with every tender bite!
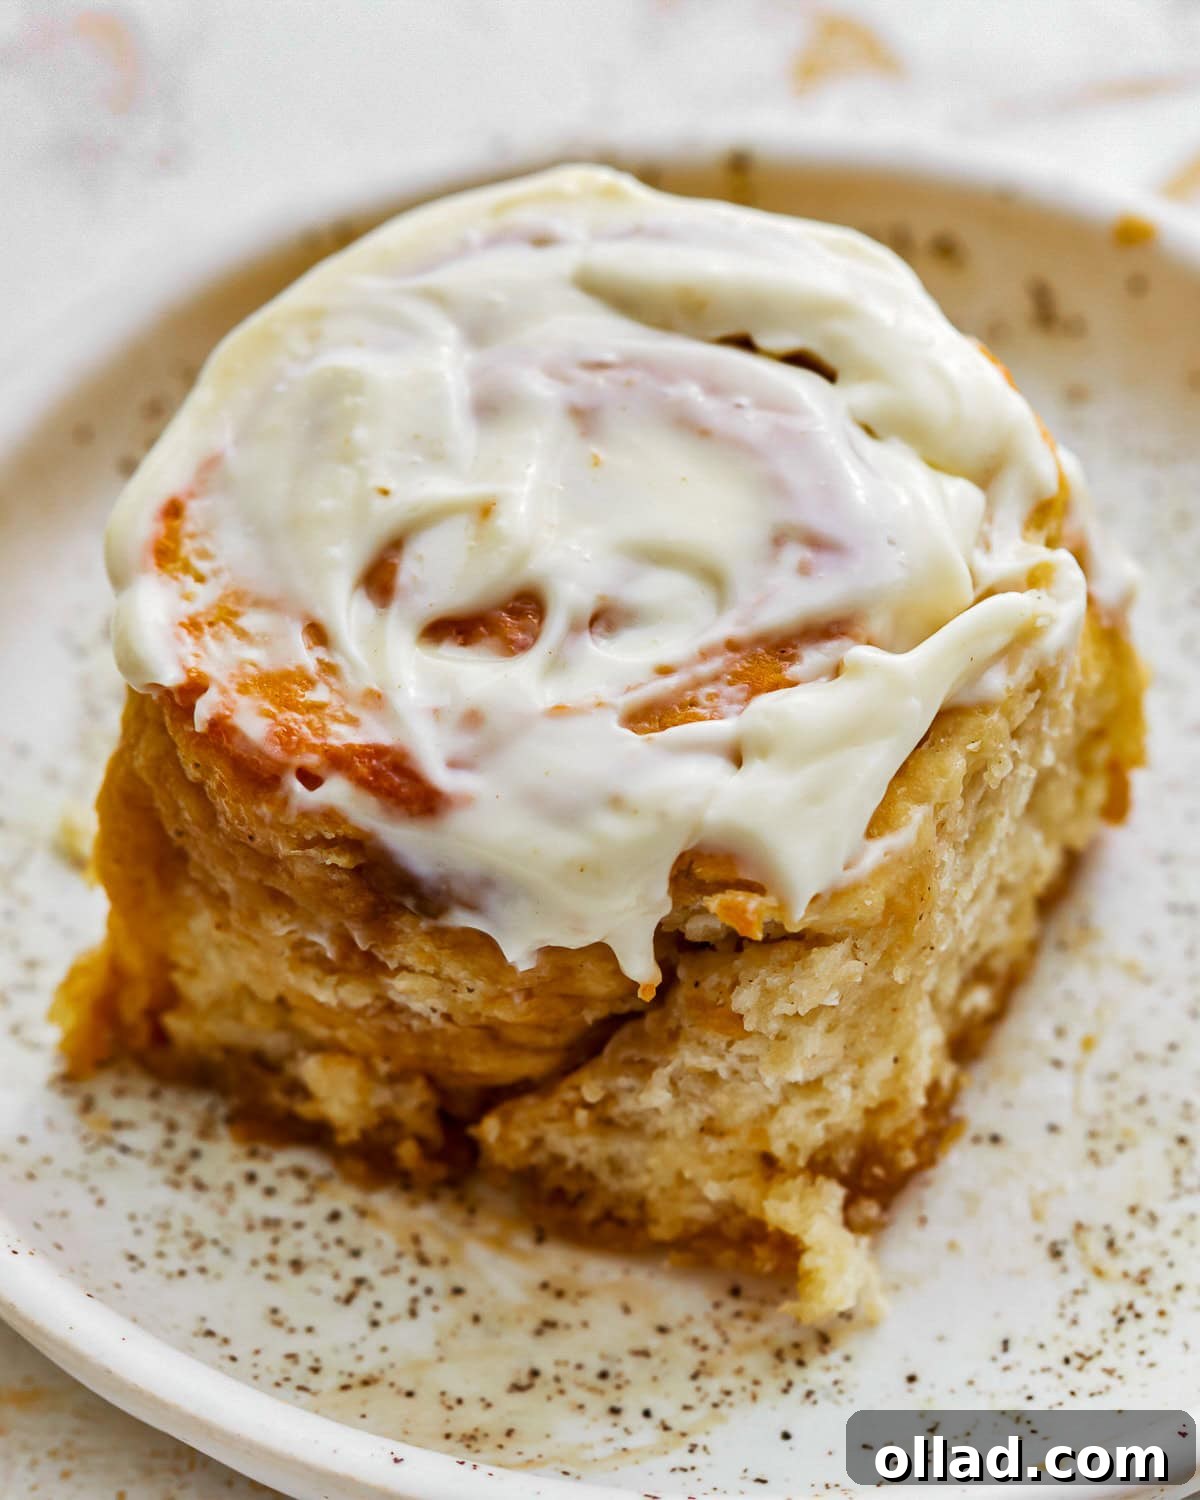
Crazy good!!! We used the cream cheese frosting that oozed down between tender layers of cinnamon dough. Best gf cinnamon roll I’ve ever had, AND better than most gluten ones!
– Gina
The Ultimate Gluten-Free Cinnamon Rolls Recipe: Soft, Fluffy & Delicious
Cinnamon rolls hold a special place in the hearts of many, instantly evoking feelings of comfort, warmth, and celebration. They are a beloved crowd-pleaser, perfect for a luxurious sweet breakfast or an indulgent brunch treat, especially cherished on holidays like Easter or Christmas morning. However, you certainly don’t need a special occasion to savor these delightful pastries! Our carefully crafted gluten-free cinnamon rolls recipe brings together simple, easy-to-follow, step-by-step instructions with a clever quick-rise method. The result is a batch of rolls so soft and fluffy, you might forget they’re gluten-free. Plus, we offer two incredibly delicious topping options to suit every preference: the classic tangy cream cheese frosting or a sweet, pourable vanilla glaze, ensuring a truly unforgettable experience.
Essential Gluten-Free Baking Tips for Perfect Cinnamon Rolls
Baking with gluten-free flours can be a unique experience, but with the right techniques, you can achieve results that rival traditional recipes. Here are some critical tips to ensure your gluten-free cinnamon rolls turn out perfectly tender and beautifully risen:
- Choose the Right Gluten-Free Flour Blend: For the softest, most well-risen cinnamon rolls, selecting a high-quality gluten-free flour blend is paramount. Look for blends that specifically include a binder like xanthan gum or psyllium husk. These binders are crucial for mimicking the elasticity and structure that gluten provides in traditional doughs. Excellent options include Pillsbury GF, King Arthur GF Bread Flour, Better Batter, or Cup4Cup. Avoid using single-ingredient flours (such as almond or oat flour on their own) or blends that do not contain a binder, as they will likely result in a dense, crumbly, or gummy dough that won’t rise properly. If your chosen blend lacks a binder, simply add 1 teaspoon of xanthan gum per cup of flour for optimal results.
- Mind the Temperature of Liquids: The temperature of your milk and melted butter is vital for activating the yeast without killing it. If the liquids are too hot, they will destroy the yeast, preventing your cinnamon rolls from rising. Aim for a temperature between 110-115°F (43-46°C)—this should feel comfortably warm to the touch, similar to bathwater. Too cold, and the yeast won’t activate effectively.
- Precision with Milk Temperature: To achieve the ideal temperature, microwave your milk in a glass measuring cup for approximately 1 minute. Always use a kitchen thermometer to accurately check the temperature of the milk. This small step ensures your yeast is happy and active.
- Avoid Rolling the Dough Too Thinly: Gluten-free yeast dough differs significantly from its traditional counterpart. It is naturally less pliable and elastic. When rolling out your dough, resist the urge to make it too thin. A thickness of about 1/2-inch is ideal to maintain its integrity and achieve that signature fluffy texture after baking.
- Seal Cracks with Warm Water: Gluten-free dough can sometimes be prone to minor cracks during rolling, especially along the edges. To address this, simply dip your fingers in warm water and gently smooth over any cracks or rough areas as you work. This adds a touch of moisture and helps to create a seamless surface for rolling.
- Roll the Dough Tightly, But Gently: When shaping your cinnamon roll log, it’s important to roll the dough up tightly to ensure beautiful, defined swirls. However, apply gentle, even tension. Rolling too tightly can squeeze out the delicious cinnamon filling, leaving you with less of that gooey center. A gentle, consistent roll is key.
- The Second Rise in the Preheating Oven: A fantastic trick for gluten-free yeast dough is to allow the second rise to occur directly in the oven while it is preheating. This provides a warm, consistent environment that encourages a final, impressive rise. Place your assembled rolls in the oven as it preheats to 375°F (190°C). Watch them carefully, and as soon as the oven reaches the target temperature, start your baking timer. This method optimizes both the rise and the baking process.
Gluten-Free Cinnamon Rolls
By: Audrey Roberts
Servings: 12 cinnamon rolls
Prep: 15 mins
Cook: 15 mins
Dough Rising Time: 40 mins
Total: 1 hr 10 mins
Ingredients
Gluten-Free Dough
- ½ cup granulated sugar
- 1 cup milk, warmed to 110-115°F (43-46°C)
- 1 tbsp instant yeast/rapid yeast
- ¼ cup unsalted butter, melted and cooled
- 2 large eggs, room temperature
- 1 tsp apple cider vinegar
- 3¼ cups gluten-free all-purpose flour with xanthan gum recommended for yeast baking (we recommend Pillsbury or Better Batter Brand)
- 2 tsp baking powder
- ¼ tsp salt
- ½ cup heavy whipping cream, warmed
Cinnamon Filling
- ¼ cup unsalted butter, softened
- ½ tsp pure vanilla extract
- 1 cup brown sugar, packed
- 1½ tbsp ground cinnamon
Cream Cheese Frosting
- 6 oz. cream cheese, softened
- ⅓ cup unsalted butter, softened
- 2 cups powdered sugar
- 1 tsp pure vanilla extract
- ⅛ tsp salt
Vanilla Icing
- 2 cups powdered sugar
- 5 tbsp milk
- 1 tsp pure vanilla extract
Unit system: US Customary – Metric
Instructions
For the Rolls:
- Pour the warm milk into a large mixing bowl. Add the granulated sugar to the warm milk and stir to combine. Pour the instant yeast over the milk mixture, cover with a kitchen towel, and allow it to bubble up for 1-2 minutes until foamy, indicating the yeast is active.
- Whisk the room-temperature eggs in a small bowl until blended. Add the whisked eggs and the apple cider vinegar into the large mixing bowl with the yeast mixture. Mix thoroughly until all ingredients are well combined.
- Add the gluten-free all-purpose flour, baking powder, and salt to the mixing bowl with the wet ingredients.
- Pour the melted and cooled butter into the flour mixture. Mix for 1-2 minutes, or until all ingredients are fully combined and a cohesive dough starts to form. If using a KitchenAid stand mixer, use the paddle attachment for this step. Remember to scrape down the sides of the bowl to ensure everything is incorporated.
- Switch from the paddle attachment to the dough hook on your stand mixer. Mix on medium speed for 3-5 minutes. During this process, the dough will begin to pull away from the sides of the bowl. The final dough will be notably tacky and soft—this is perfectly normal for gluten-free yeast dough, which is generally softer and less elastic than traditional wheat-based dough. Resist the urge to add more flour.
- Transfer the prepared dough to a greased, heat-proof bowl. Lightly wet your hands with warm water and gently rub the dough ball to smooth its surface. This step not only makes the dough easier to handle but also helps to add crucial moisture for an optimal rise. Cover the bowl tightly with plastic wrap to prevent a skin from forming.
- To create a warm, humid environment for the first rise, place the covered dough bowl inside a larger heat-proof bowl. Heat 2 cups of water in the microwave for 2 minutes until very hot. Carefully pour this hot water into the larger bowl, being very careful not to get any water into the bowl containing the dough. Cover both bowls with a kitchen towel and allow the dough to rise in this warm environment for 20 minutes.
- While the dough is undergoing its first rise, prepare the delectable cinnamon filling: In a small bowl, combine the softened ¼ cup of unsalted butter with ½ tsp of pure vanilla extract. Mix until the butter is smooth and the vanilla is fully incorporated.
- In a separate small bowl, mix together the 1 cup of packed brown sugar and 1½ tbsp of ground cinnamon until evenly combined. This aromatic mixture will form the heart of your cinnamon rolls.
- Once the dough has risen, prepare your workspace. Spray a piece of parchment paper generously with gluten-free cooking spray or grease it with a thin layer of oil or softened butter. Place the risen dough on top of the greased parchment paper. Lightly dust the top of the dough with 1 tablespoon of gluten-free flour to prevent sticking. Shape the dough into a rough rectangle, then use a flour-dusted rolling pin to roll it out to approximately ½-inch thick, forming a 12×14-inch rectangle.
- Using a spatula, evenly spread the prepared butter and vanilla mixture over the entire surface of the rolled-out dough, ensuring it reaches all the way to the edges. This layer will help adhere the cinnamon sugar and contribute to the gooey texture.
- Generously sprinkle the brown sugar and cinnamon mixture over the buttered dough. Gently pat it down with your hands to help it stick firmly to the butter layer.
- Now, it’s time to roll! Using the edge of the parchment paper to assist you, begin to fold the longest edge of the dough up to start your roll. Slowly and carefully roll the dough, maintaining a consistent, tight coil to form a neat log shape. A tight roll ensures beautiful, even swirls in your baked rolls.
- To cut uniform rolls, first cut the dough log precisely in half. Then, cut each half into 6 equal rolls, yielding a total of 12 rolls. For the cleanest cuts that preserve the delicate swirls without flattening the dough, dental floss is an excellent tool. Simply slide a piece of unflavored floss under the log, cross the ends over the top, and pull to slice through the dough.
- Arrange the cut rolls, swirl-side up, in a greased 9×13-inch baking dish. Leave a little space between each roll, as they will expand during the second rise and baking.
- Warm the ½ cup of heavy cream in the microwave for about 30 seconds until it’s just warm to the touch. Gently pour this warm cream evenly over the arranged cinnamon rolls in the baking dish. This “cream bath” is a secret ingredient that contributes to an incredibly moist and tender crumb.
- For the second rise and baking, place the baking dish with the cinnamon rolls on the middle rack of your oven. Turn your oven to preheat to 375°F (190°C). This preheating period serves as the crucial second rise for your dough. Once your oven reaches the target temperature of 375°F, bake the rolls for 15-20 minutes, or until they achieve a beautiful light golden brown color. Be sure to check your rolls at the 15-minute mark, as oven temperatures can vary.
- Once baked, remove the cinnamon rolls from the oven and allow them to cool for just a few minutes in the baking dish. They are best frosted or iced while still warm, allowing the topping to melt slightly and seep into all the delicious crevices.
For the Cream Cheese Frosting:
- In a medium-sized mixing bowl, combine the 6 ounces of softened cream cheese, ⅓ cup of softened unsalted butter, 1 tsp of pure vanilla extract, and ⅛ tsp of salt. Beat these ingredients together with an electric mixer until the mixture is completely smooth and creamy. Gradually add the 2 cups of powdered sugar, one cup at a time, mixing thoroughly after each addition until the frosting is smooth and lump-free. It’s important not to chill this frosting; keep it at room temperature so it remains spreadable. Spread this decadent cream cheese frosting generously over the warm cinnamon rolls immediately after they have cooled for a few minutes.
For the Vanilla Icing:
- For a simpler, sweet glaze, combine all the ingredients—2 cups of powdered sugar, 5 tbsp of milk, and 1 tsp of pure vanilla extract—in a medium-sized bowl. Stir vigorously with a whisk or spoon until the mixture is completely smooth and free of lumps. Adjust the consistency by adding a tiny bit more milk if it’s too thick, or a sprinkle of powdered sugar if it’s too thin. Drizzle this delightful vanilla icing over the warm cinnamon rolls.
Notes
- No stand mixer? No problem! While a stand mixer simplifies the kneading process, you can absolutely mix the dough with a sturdy spoon and knead it by hand. It requires a bit more effort and arm strength, but the delicious results are totally worth it!
- Bring eggs to room temperature: Room temperature eggs incorporate more smoothly and evenly into your dough, leading to a better texture. If you forget to take them out ahead of time, simply place whole (uncooked) eggs in a bowl of warm water for 5-10 minutes.
- Flour your rolling pin: To prevent the delicate gluten-free dough from sticking to your rolling pin, always dust the rolling pin generously with gluten-free flour before use. This makes rolling and shaping the dough much easier and prevents tearing.
- Use dental floss to cut the rolls: For perfectly clean, defined swirls without squishing your beautiful dough, use unflavored dental floss. Slide a piece under the dough log, cross the ends over the top, and pull to slice through. This technique creates much neater cuts than a knife.
Nutrition
Serving: 1 serving
Calories: 424 kcal
Carbohydrates: 73g
Protein: 6g
Fat: 14g
Saturated Fat: 8g
Polyunsaturated Fat: 1g
Monounsaturated Fat: 4g
Trans Fat: 1g
Cholesterol: 68mg
Sodium: 116mg
Potassium: 157mg
Fiber: 4g
Sugar: 48g
Vitamin A: 473 IU
Vitamin C: 1mg
Calcium: 120mg
Iron: 2mg
Nutrition information is automatically calculated, so should only be used as an approximation.
Additional Info
Course: Breakfast
Cuisine: American
How To Make Gluten-Free Cinnamon Rolls: A Detailed Visual Guide
Creating these heavenly gluten-free cinnamon rolls is a delightful journey from simple ingredients to a bakery-worthy treat. Follow this detailed, step-by-step guide with accompanying visuals to master the art of gluten-free baking and achieve perfectly soft, cinnamon-swirled rolls every time.
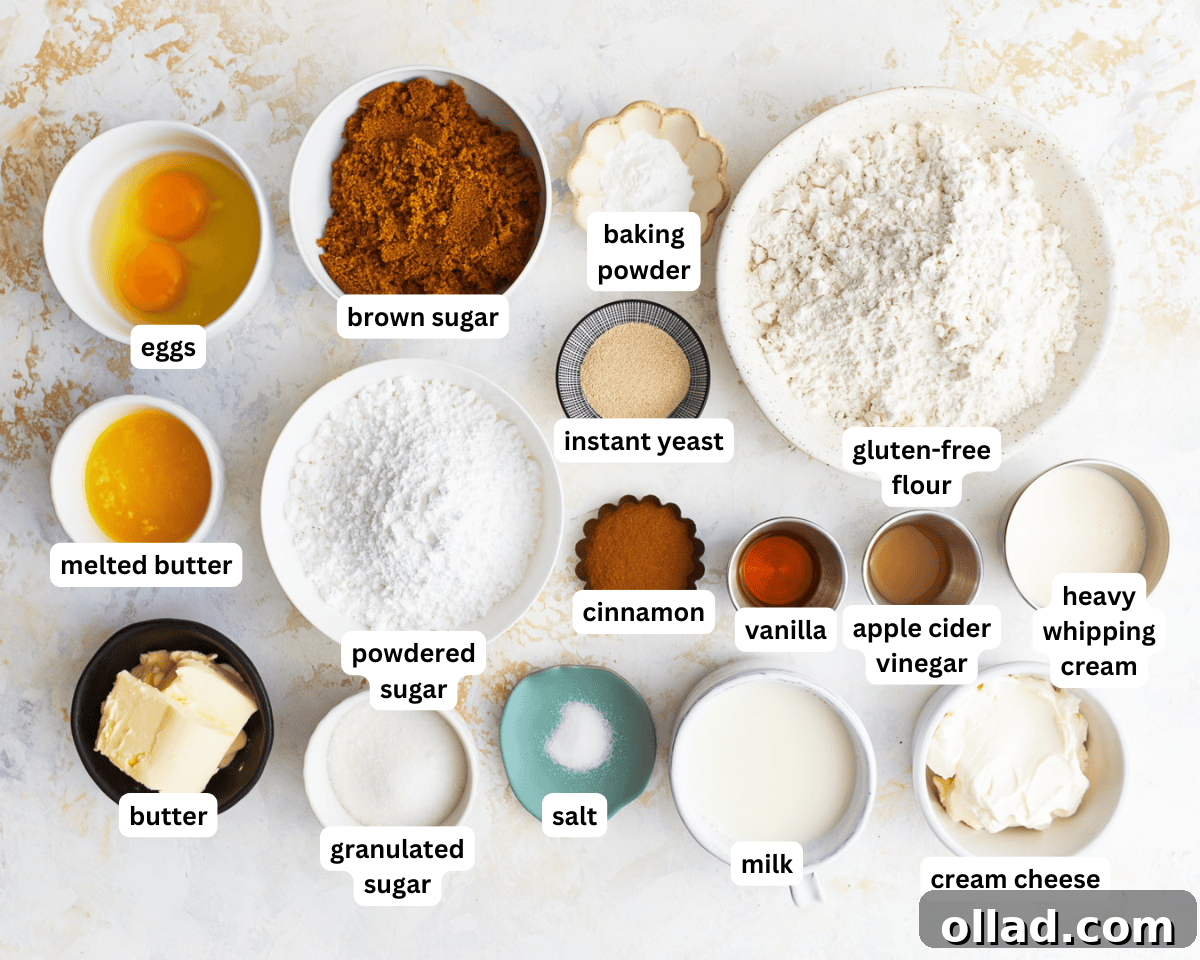
1. Gather All Your Ingredients: Before you begin, lay out all the ingredients for the dough, cinnamon filling, and your chosen frosting (cream cheese or vanilla icing). Ensuring everything is measured and ready at room temperature (especially eggs and butter) will make the baking process smoother and more efficient. This mise en place ensures you won’t miss a step and helps maintain consistent temperatures, crucial for gluten-free yeast baking.
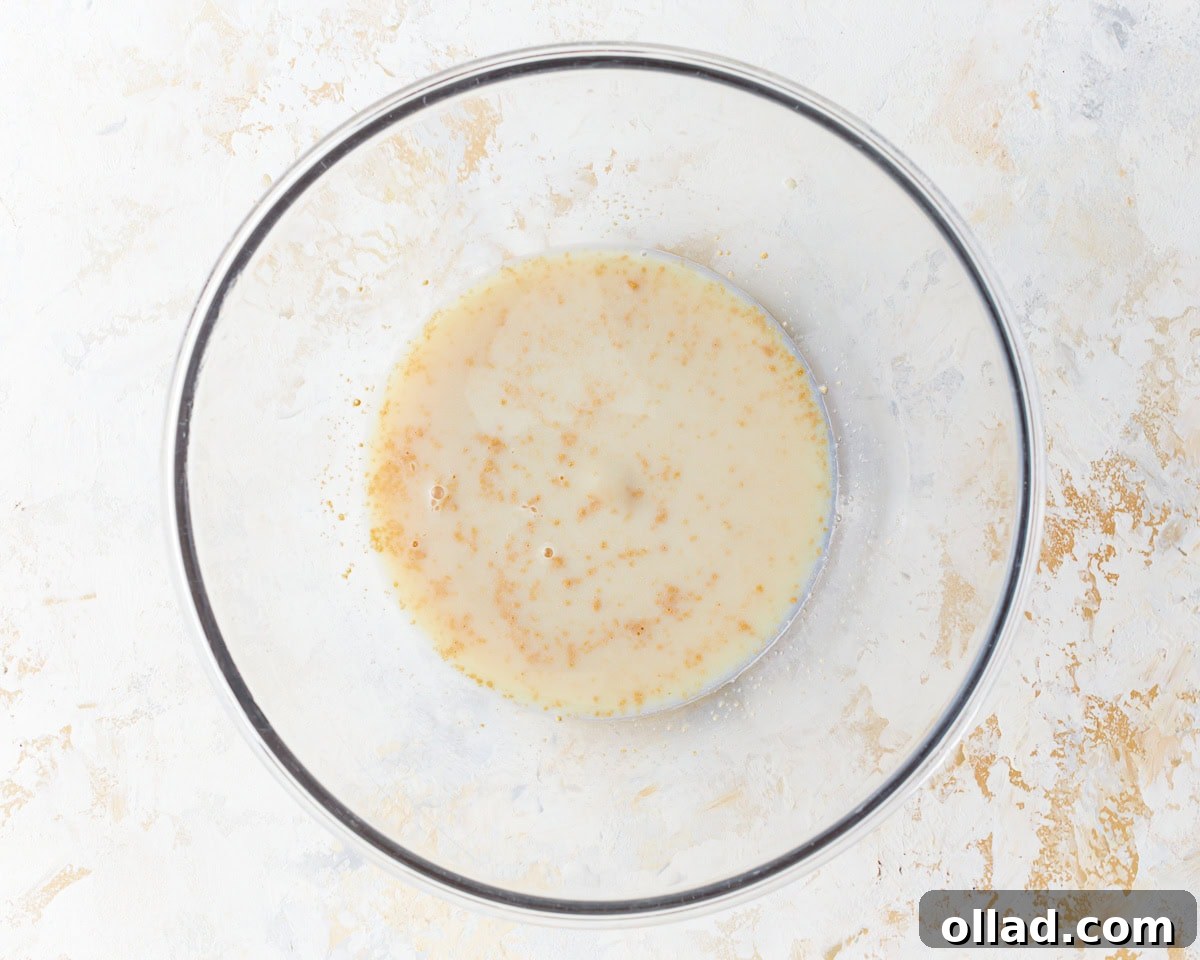
2. Proof the Yeast Base: Begin by gently warming 1 cup of milk to the ideal temperature of 110-115°F (43-46°C). Pour it into a large mixing bowl. Add ½ cup of granulated sugar to the warm milk and stir until it dissolves. Then, carefully sprinkle 1 tablespoon of instant yeast over the surface of the milk mixture. Cover the bowl with a clean kitchen towel and let it sit for just 1-2 minutes. You’ll know your yeast is active and ready when a light, frothy layer appears on the surface, indicating it’s bubbling and alive.
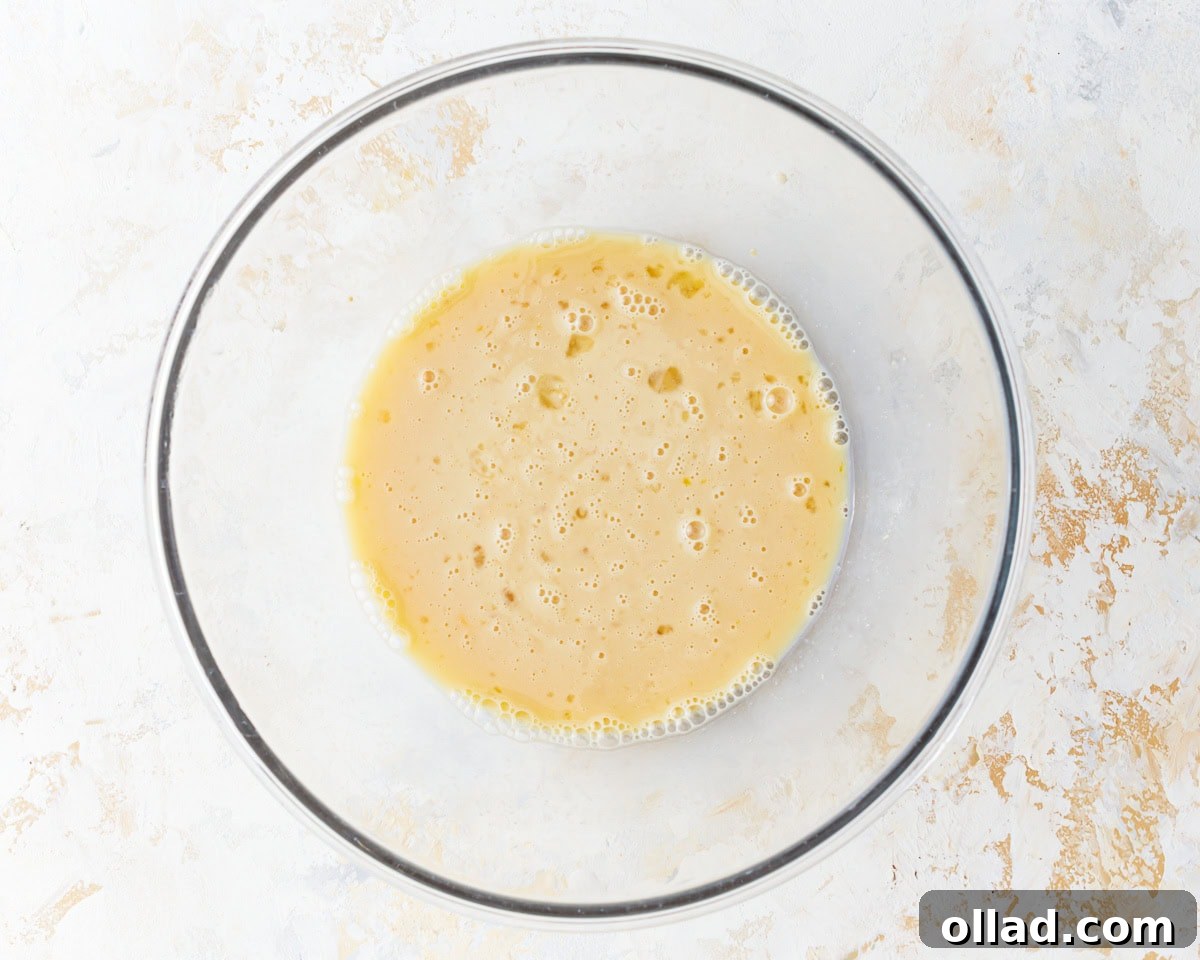
3. Incorporate Eggs and Vinegar: In a separate small bowl, lightly whisk two large room-temperature eggs until the yolks and whites are just combined. Add these whisked eggs along with 1 teaspoon of apple cider vinegar to the yeast mixture in the large mixing bowl. The vinegar adds a slight tang and also helps activate the baking powder later, contributing to the dough’s rise and tender crumb. Stir all these wet ingredients together until they are fully combined and homogenous.
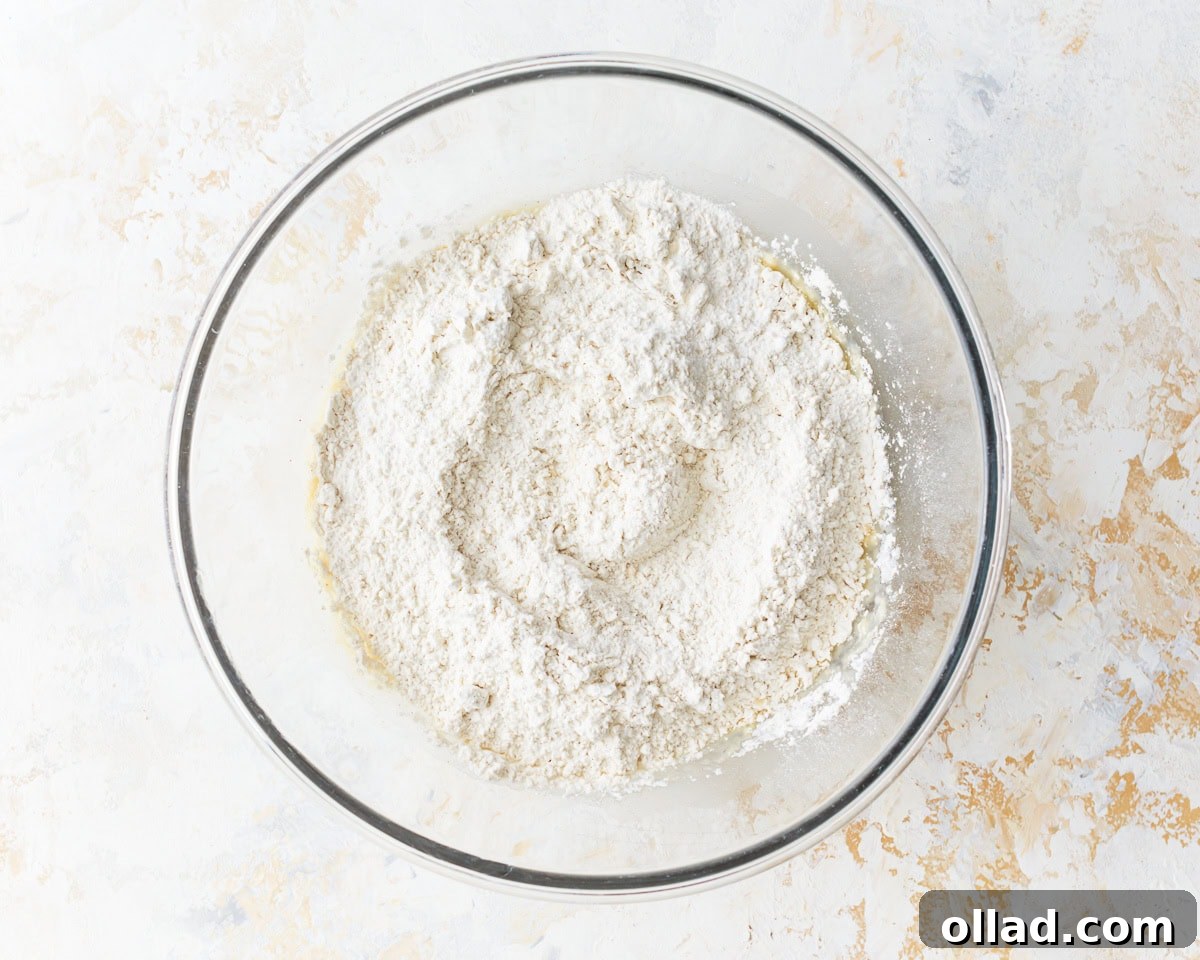
4. Combine Dry Ingredients with Wet: To the large mixing bowl containing your liquid mixture, add the dry ingredients: 3¼ cups of your chosen gluten-free all-purpose flour blend (preferably one with xanthan gum), 2 teaspoons of baking powder, and ¼ teaspoon of salt. These ingredients will form the bulk of your dough, providing structure and flavor. Ensure they are added evenly over the liquid to facilitate mixing.
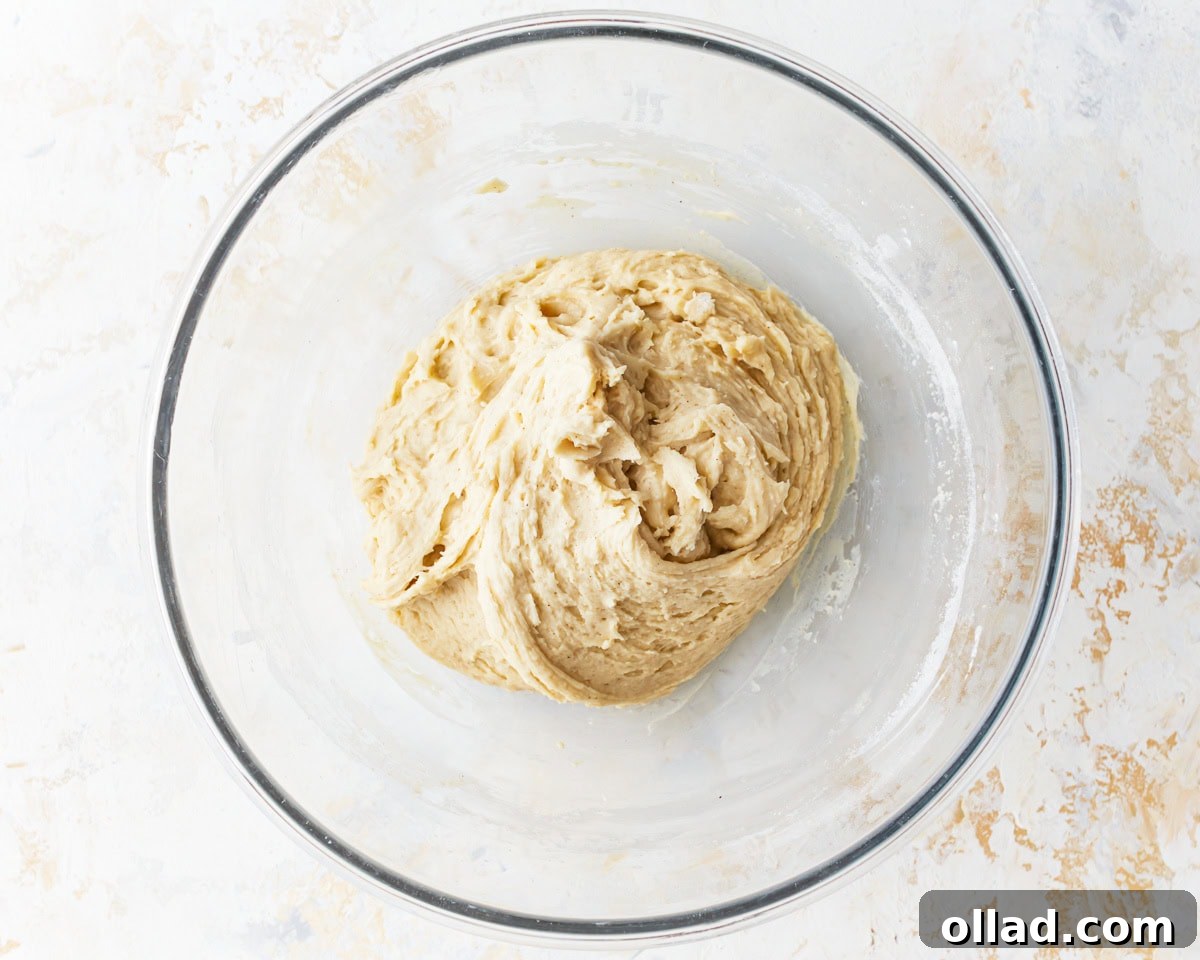
5. Add Melted Butter and Mix: Pour the ¼ cup of melted and cooled unsalted butter into the mixing bowl with the dry and wet ingredients. Begin mixing using the paddle attachment of your KitchenAid stand mixer, or by hand with a sturdy spoon. Mix for 1-2 minutes until all the ingredients are thoroughly combined and a soft, shaggy dough begins to form. Remember to pause and scrape down the sides of the bowl with a spatula to ensure no dry pockets of flour remain.
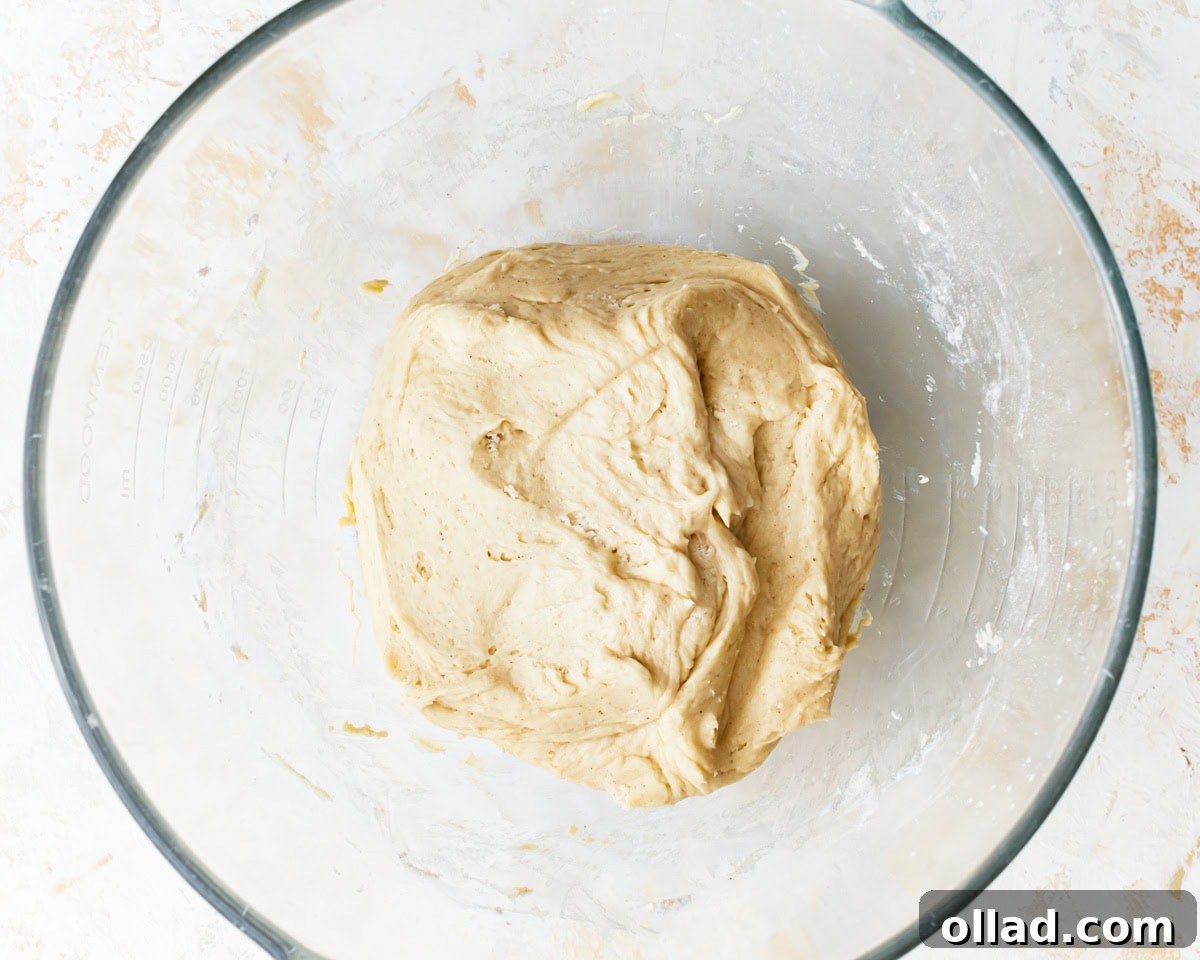
6. Gently Knead the Dough: Switch from the paddle attachment to the dough hook on your stand mixer. Knead the dough on medium speed for 3-5 minutes. During this kneading phase, you’ll observe the dough starting to pull away from the sides of the bowl, indicating it’s developing structure. The final dough will have a soft, tacky consistency. This is normal for gluten-free yeast dough, which is inherently softer than traditional dough. Do not be tempted to add more flour, as this can lead to dry and dense rolls.
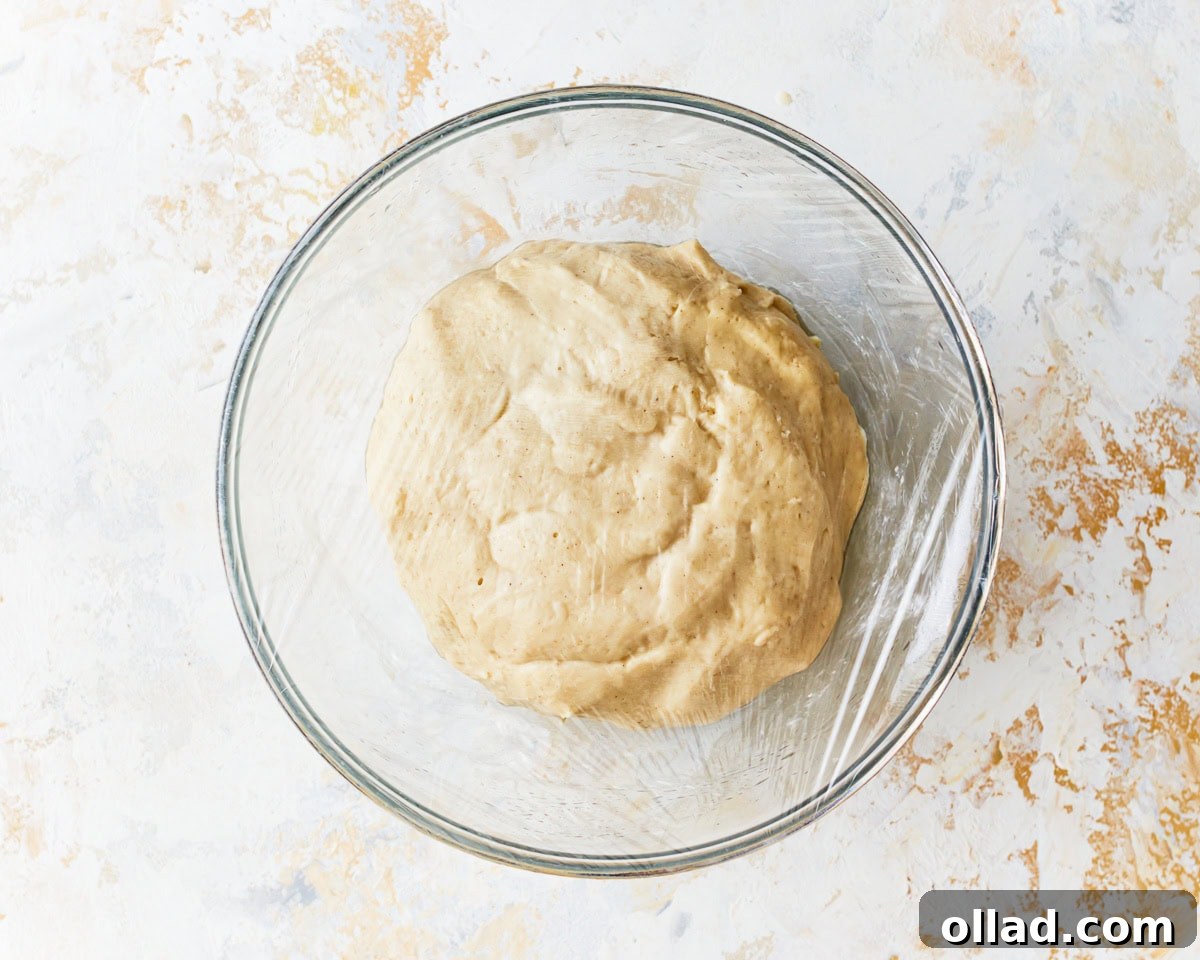
7. Facilitate the First Rise: Transfer the kneaded dough into a greased, heat-proof bowl. Lightly wet your hands with warm water and gently rub the surface of the dough ball to make it smooth. This step also adds a touch of moisture, which is beneficial for the rise. Cover the bowl tightly with plastic wrap. For an effective first rise, place this bowl inside a larger heat-proof bowl. Microwave 2 cups of water for 2 minutes until it’s very hot, then carefully pour it into the larger bowl (avoiding contact with the dough). Cover both bowls with a kitchen towel and let the dough rise in this warm, humid environment for 20 minutes.
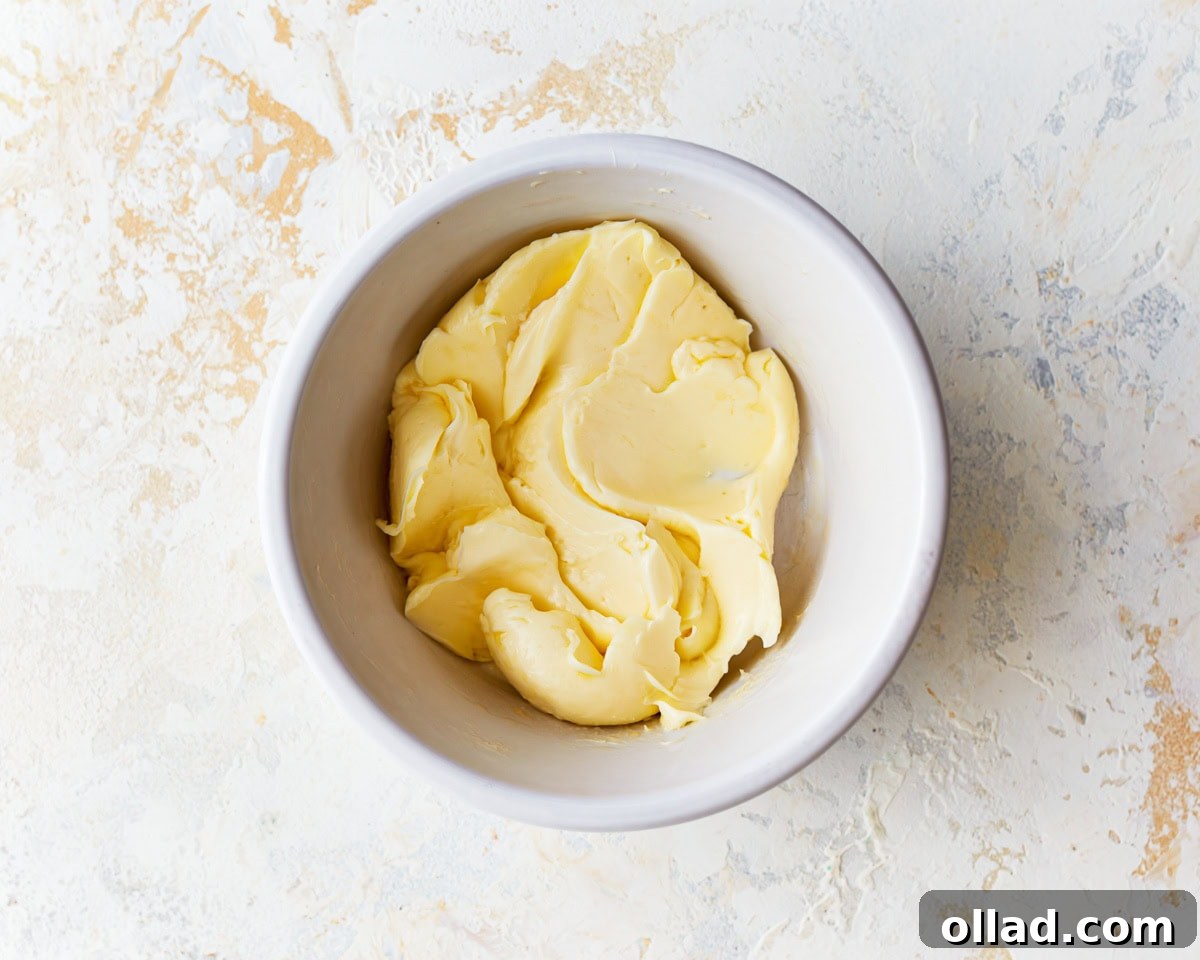
8. Prepare the Cinnamon Butter Spread: While your dough is rising, dedicate your time to creating the luscious cinnamon filling. In a small bowl, combine the ¼ cup of softened unsalted butter with ½ teaspoon of pure vanilla extract. Use a spatula or spoon to mix these two ingredients together thoroughly until they are smooth and well combined. This creamy, vanilla-infused butter will serve as the base for the cinnamon sugar, creating that irresistible gooey texture inside each roll.
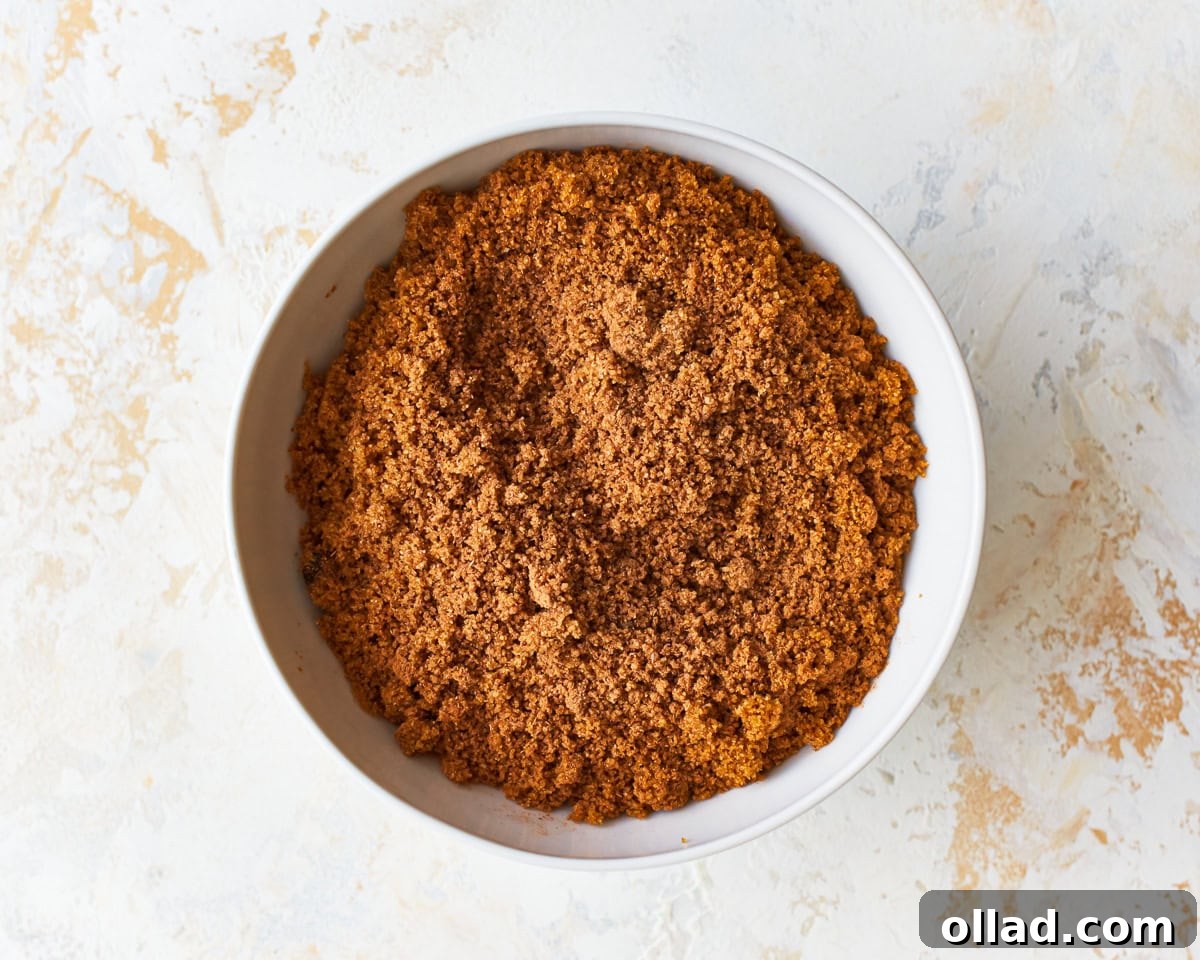
9. Combine Cinnamon & Brown Sugar: In another small, separate bowl, combine 1 cup of packed brown sugar with 1½ tablespoons of ground cinnamon. Stir these two ingredients together until the cinnamon is evenly distributed throughout the brown sugar. The rich, warm aroma of this mixture is the essence of any good cinnamon roll. This sweet and spicy blend will be generously sprinkled over the buttered dough, forming the iconic cinnamon swirl.
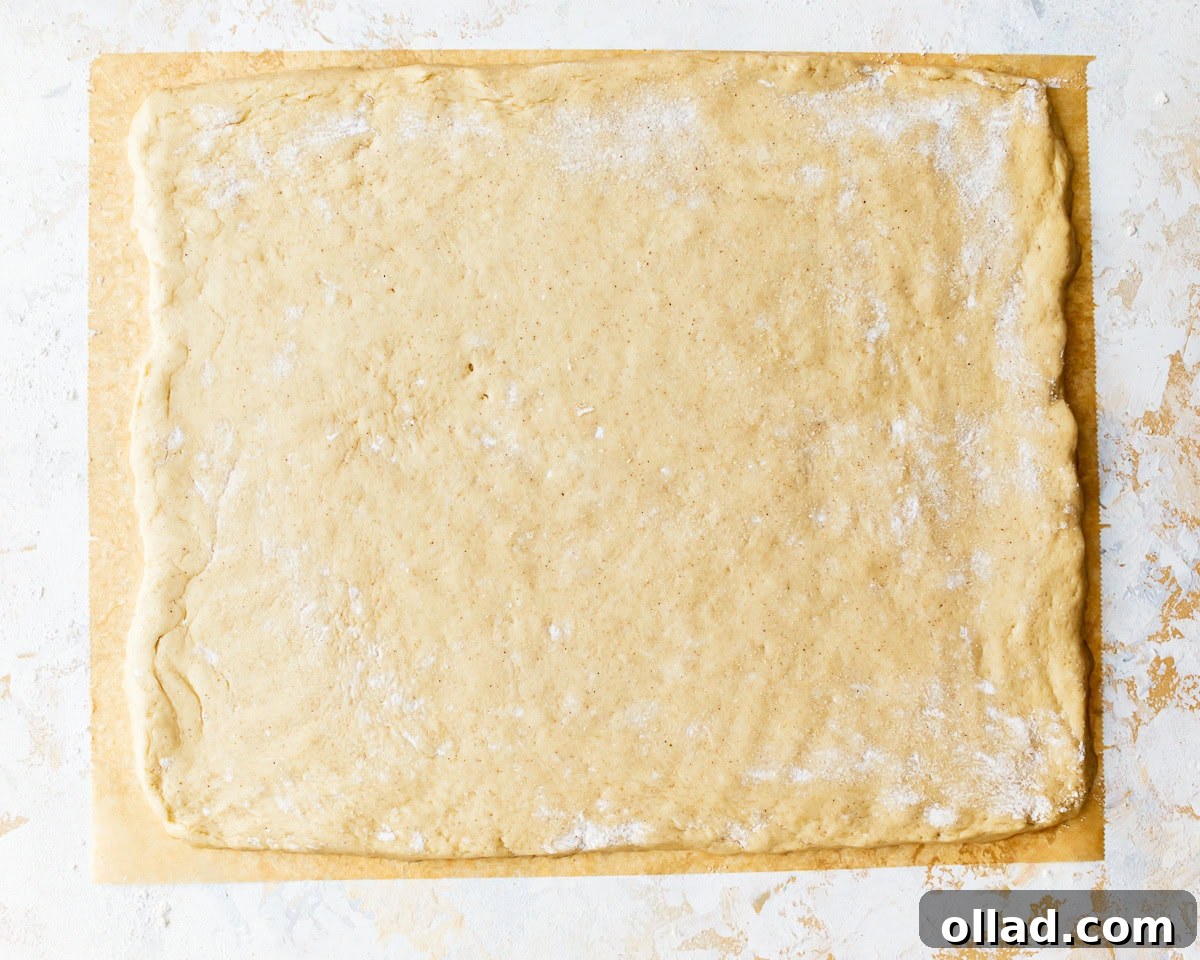
10. Roll Out the Dough: Once the first rise is complete, prepare your rolling surface. Lay a piece of parchment paper on your countertop and spray it generously with gluten-free cooking spray or grease it lightly with oil or butter. Carefully transfer the risen dough onto the greased parchment paper. Lightly dust the top of the dough with 1 tablespoon of gluten-free flour to prevent sticking. Using a flour-dusted rolling pin, gently roll out the dough into a rectangle of approximately ½-inch thickness, aiming for dimensions of about 12×14 inches. This careful rolling is key to achieving consistent rolls.
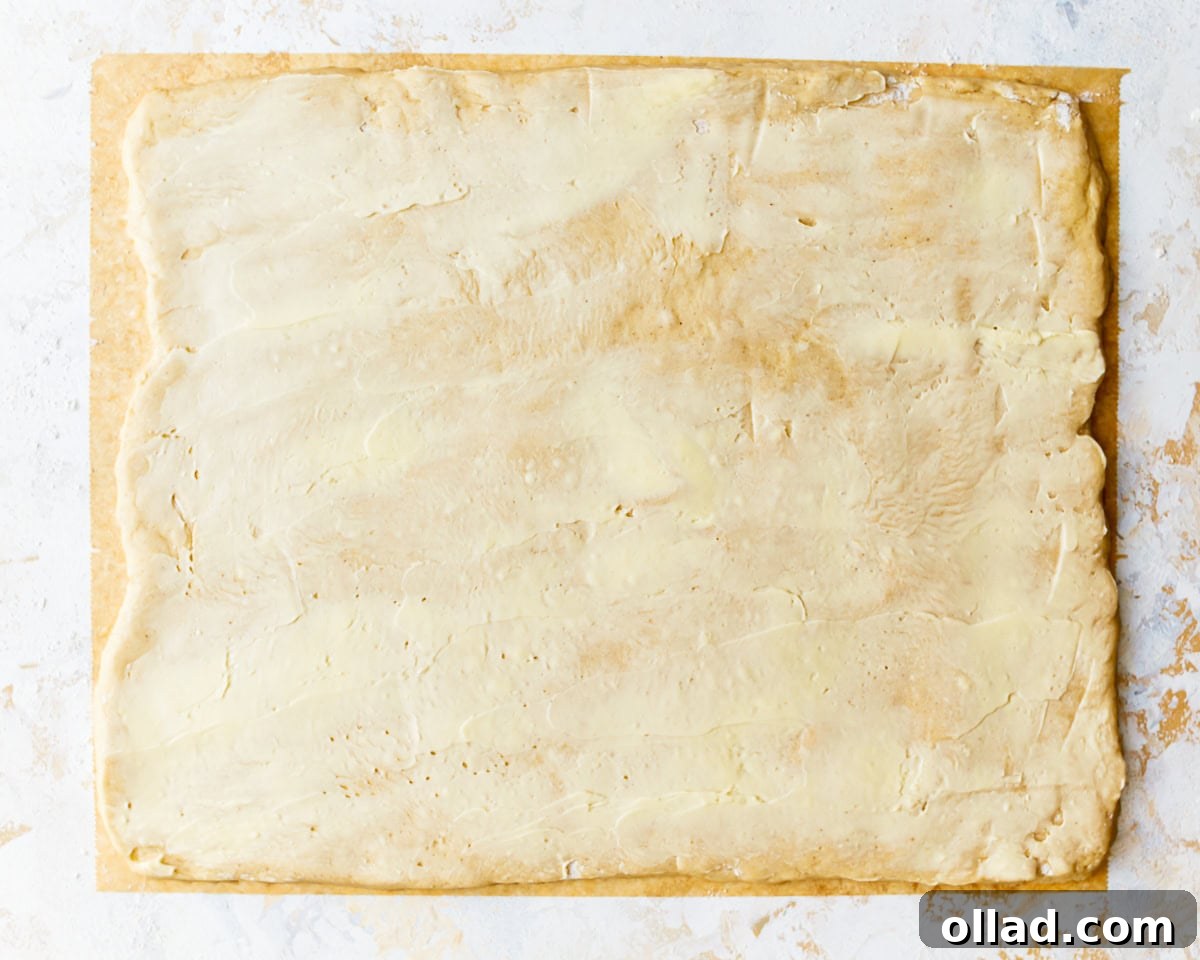
11. Butter the Dough Evenly: With the dough rolled out to the desired dimensions, it’s time for the first layer of deliciousness. Using a spatula or the back of a spoon, evenly spread the prepared butter-vanilla mixture over the entire surface of the rolled-out dough. Ensure you extend the spread all the way to the edges, as this provides a sticky base for the cinnamon sugar and contributes to the soft, moist texture of the finished rolls. This generous coating is crucial for a perfectly gooey center.
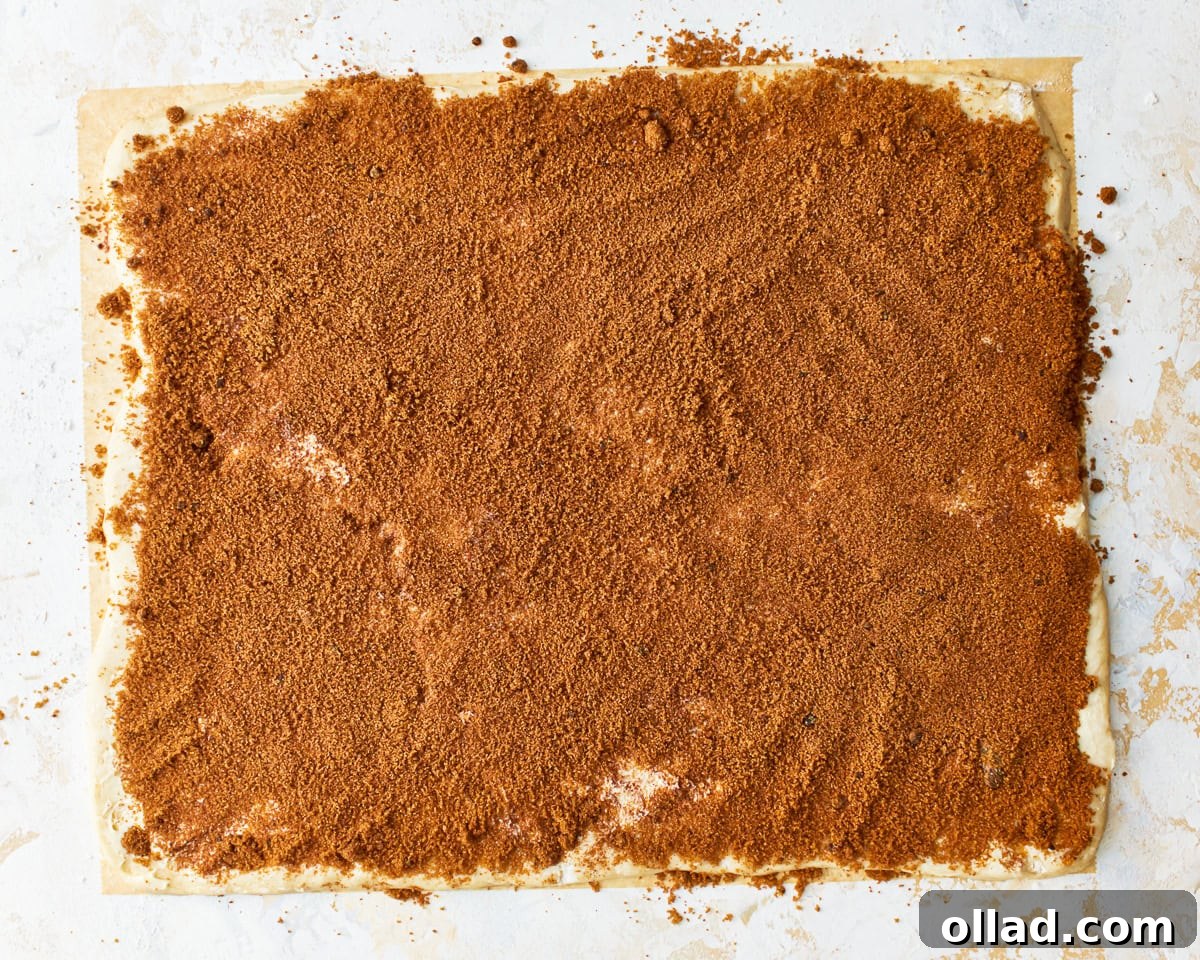
12. Add the Cinnamon Filling: Now for the star of the show: the cinnamon sugar mixture! Evenly sprinkle the combined brown sugar and ground cinnamon over the entire buttered surface of the dough. Once sprinkled, gently pat down the mixture with your hands. This pressing action helps to embed the cinnamon sugar into the softened butter, ensuring it adheres well during rolling and doesn’t spill out, creating a cohesive and flavorful filling.
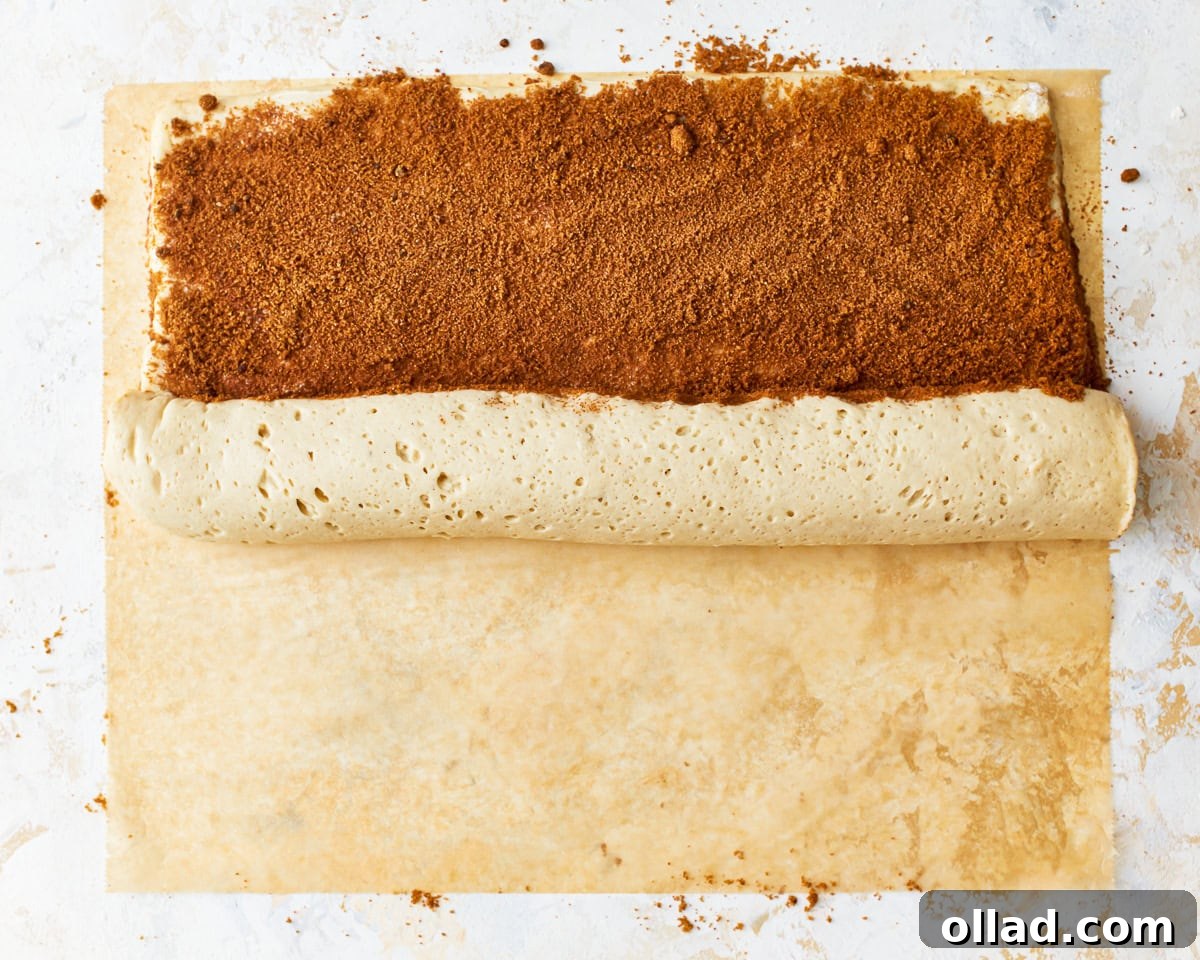
13. Form the Dough Log: This step requires a bit of care to ensure beautifully swirled rolls. Using the edge of the parchment paper to assist you, begin to fold up the longest edge of the dough. Continue to slowly and carefully roll the dough, working from one end to the other, making sure to keep the roll as tight and even as possible. A tight roll helps create those distinct, appealing cinnamon swirls within each individual roll. Gently press and seal the seam at the end of the log.
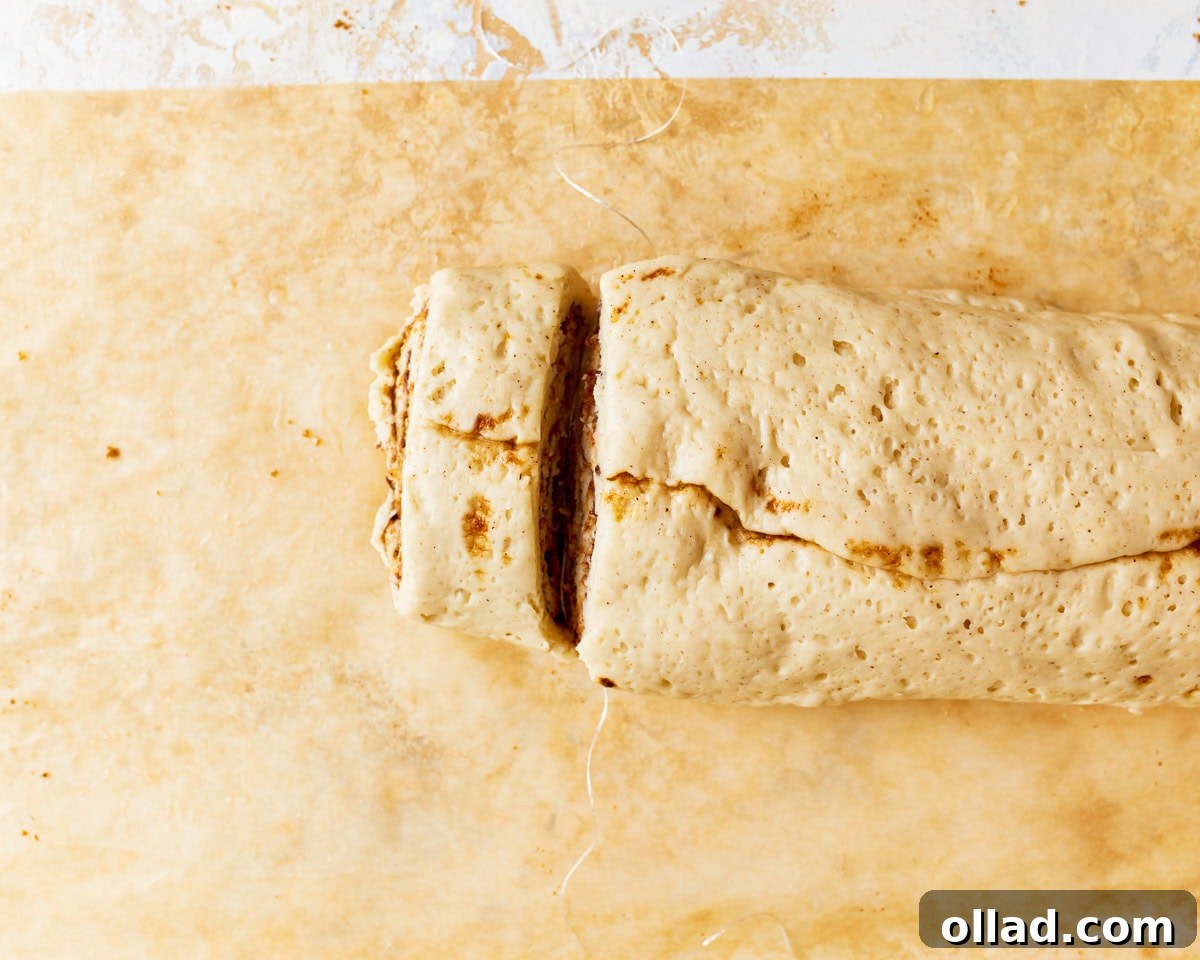
14. Slice Even Rolls: For perfectly portioned cinnamon rolls, start by cutting the dough log precisely in half. Then, take each half and cut it into 6 equal rolls, aiming for roughly the same thickness. This method ensures you get 12 uniform cinnamon rolls. A clever tip for clean, non-squished cuts is to use unflavored dental floss. Simply slide a piece of floss under the log, cross the ends over the top, and pull to slice through the dough, creating beautifully intact spirals.
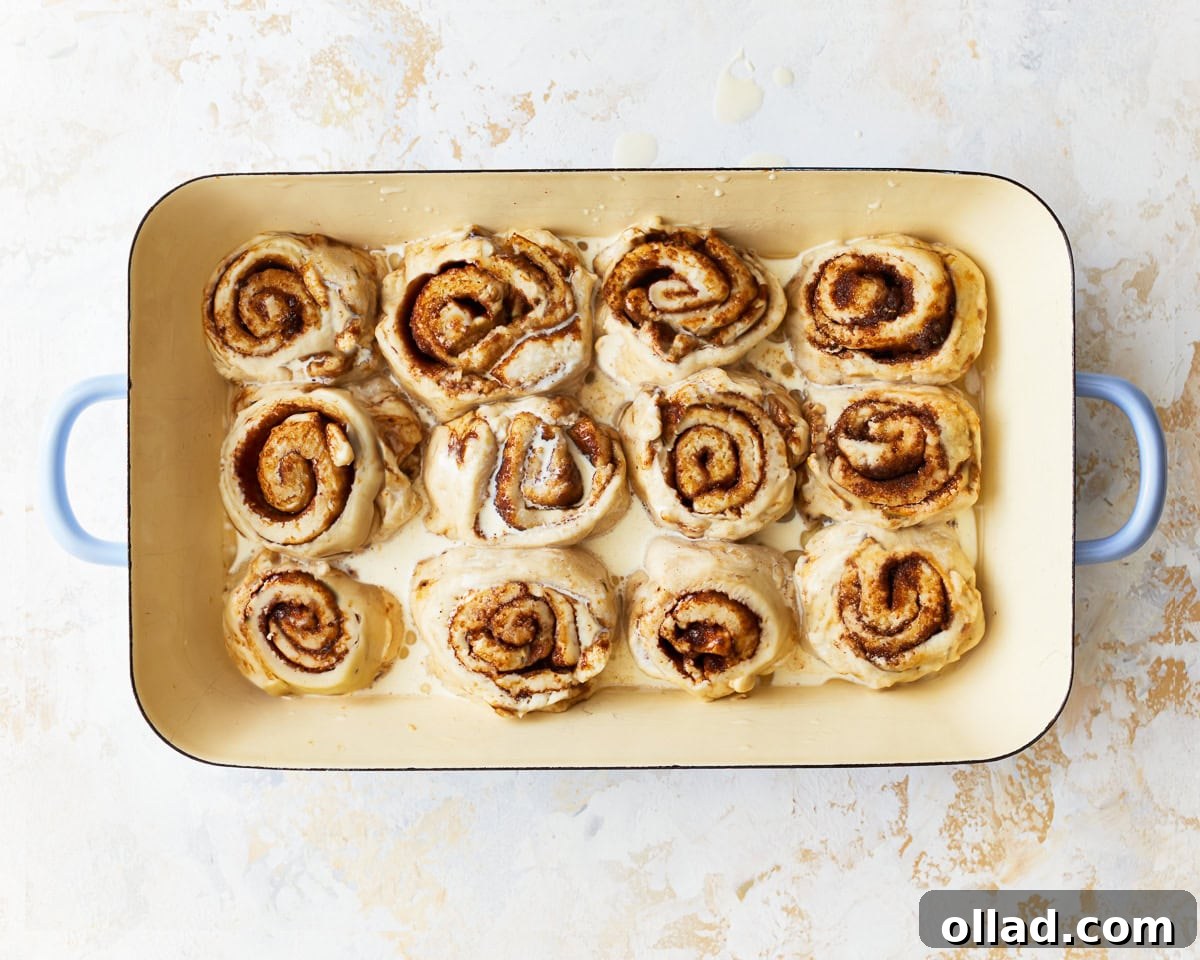
15. Arrange Rolls and Add the Cream Bath: Lightly grease a 9×13-inch baking dish. Carefully transfer your freshly sliced cinnamon rolls into the prepared dish, arranging them swirl-side up. Ensure there’s a little space between each roll, as they will expand during their final rise and baking. Next, gently warm ½ cup of heavy cream in the microwave for about 30 seconds. Pour this warm cream evenly over all the cinnamon rolls in the dish. This “cream bath” is a secret to incredibly moist, tender, and rich rolls, preventing them from drying out during baking and adding an extra layer of indulgence.
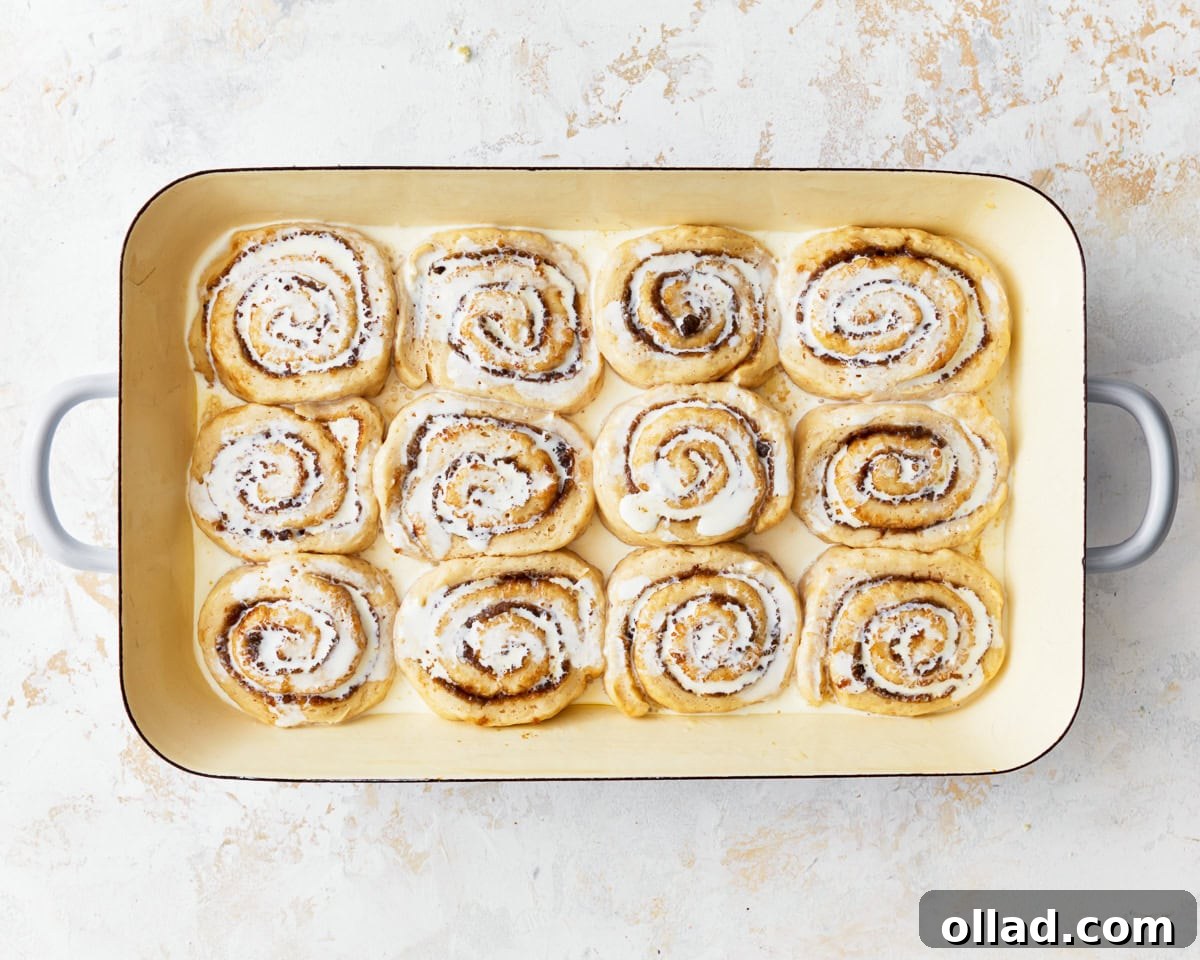
16. Second Rise and Bake: Place the baking dish containing your cinnamon rolls on the middle rack of your cold oven. Turn your oven to preheat to 375°F (190°C). This innovative method allows the rolls to undergo their crucial second rise in the warm, gradually heating environment of the oven, resulting in a phenomenal lift. Once your oven reaches the full temperature of 375°F, begin baking the rolls for 15-20 minutes. Keep a close eye on them, checking at the 15-minute mark, until they are beautifully light golden brown and fragrant. The aroma will be intoxicating!
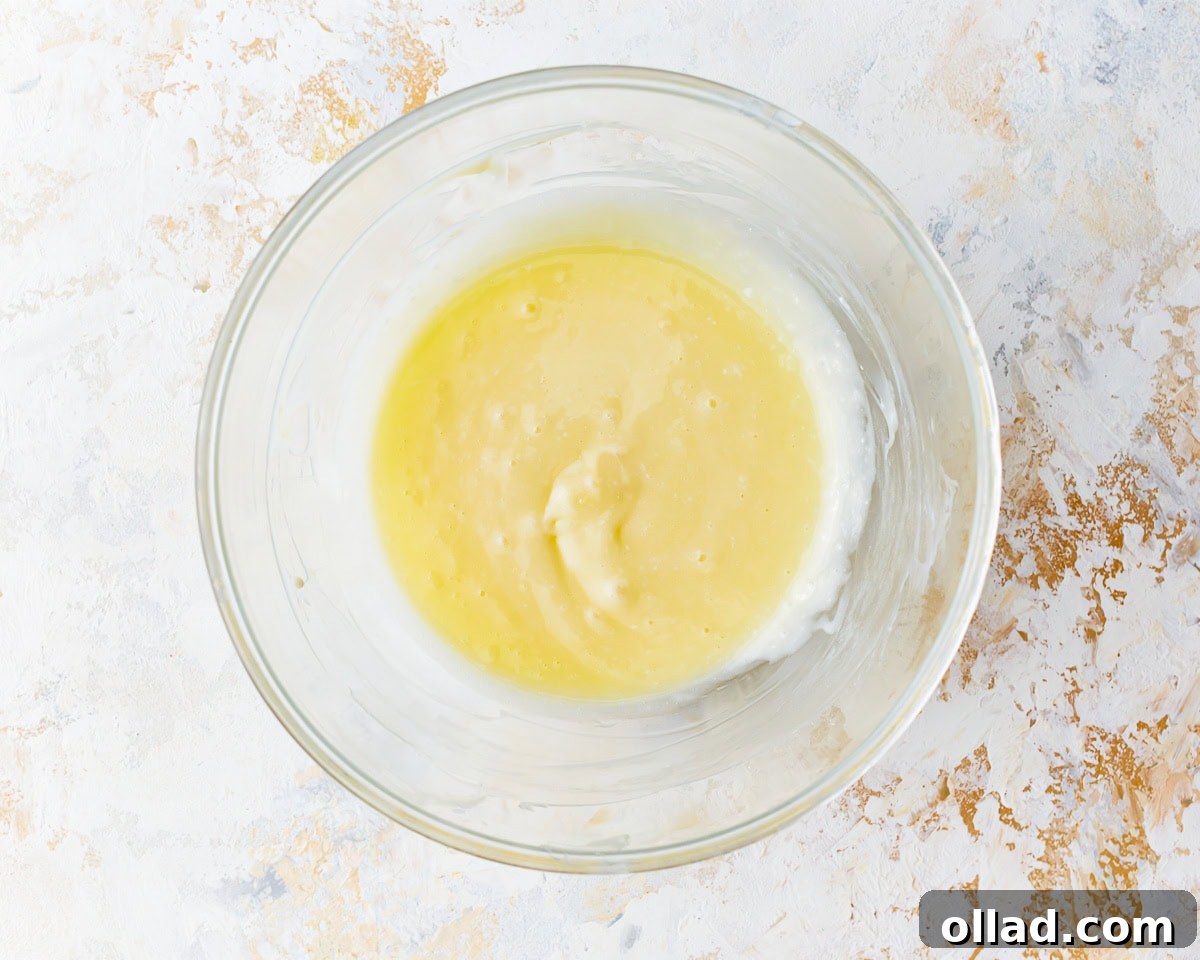
17. Prepare the Frosting (Cream Cheese Option): While your cinnamon rolls are baking and cooling slightly, prepare your chosen topping. For the rich cream cheese frosting, combine 6 ounces of softened cream cheese, ⅓ cup of softened unsalted butter, 1 teaspoon of pure vanilla extract, and ⅛ teaspoon of salt in a medium-sized bowl. Beat with an electric mixer until the mixture is completely smooth and creamy. Gradually add 2 cups of powdered sugar, one cup at a time, mixing until smooth and lump-free. It’s essential not to chill this frosting; keep it at room temperature to ensure it’s perfectly spreadable when your warm rolls are ready. (Alternatively, prepare the vanilla icing as described in the recipe card).
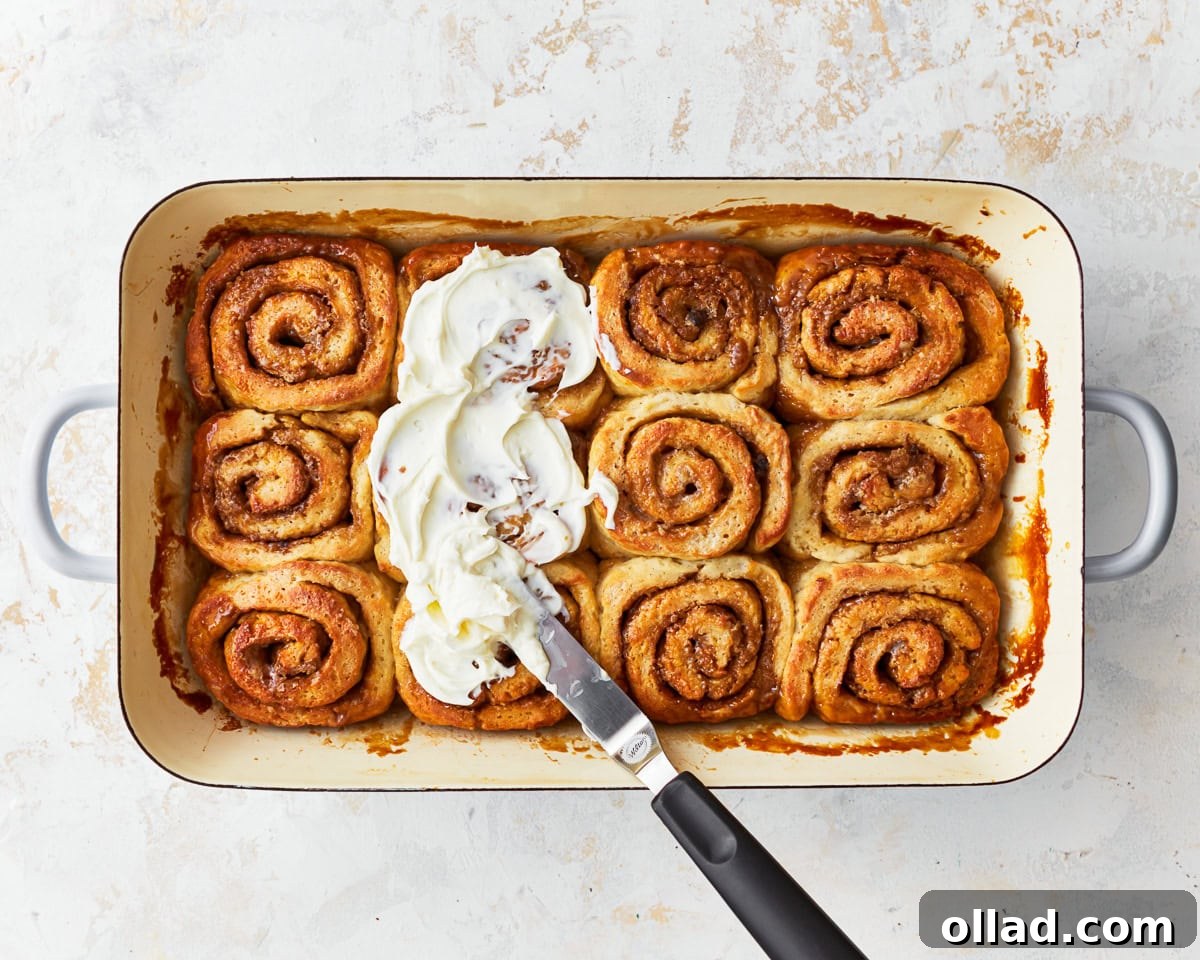
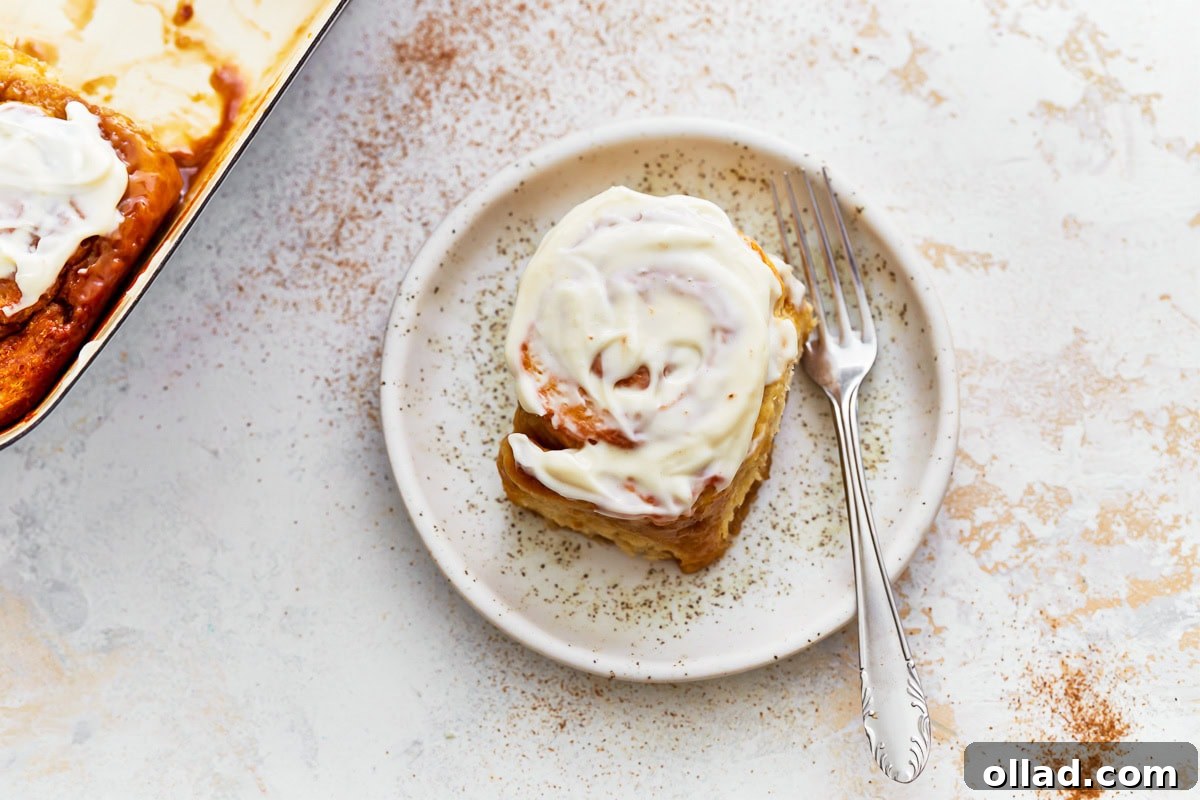
18. Cool, Frost, and Serve: Once the cinnamon rolls have baked to perfection, remove them from the oven and allow them to cool in the baking dish for just a few minutes. They are at their absolute best when frosted or iced while still warm, allowing the rich topping to slightly melt and seep into the tender layers. Generously spread the creamy cream cheese frosting with an offset spatula, or drizzle the sweet vanilla icing over the warm rolls. Serve immediately and prepare for an explosion of flavor and texture that will leave everyone craving more! Enjoy these homemade gluten-free delights!
Adapt Your Recipe: Easy Gluten-Free Cinnamon Roll Substitutions
One of the best features of this gluten-free cinnamon roll recipe is its flexibility. With a few simple swaps, you can easily adapt these rolls to meet various dietary needs without compromising on flavor or texture. Here are some reliable substitutions to help you customize your batch:
For Dairy-Free Cinnamon Rolls:
- Milk & Cream Alternatives: Substitute regular dairy milk with an equal amount of unsweetened almond milk, coconut milk (from a carton, not canned), or cashew milk. For the heavy whipping cream in the cream bath, use a full-fat canned coconut milk (refrigerated overnight, then use the thick cream from the top) or a dairy-free barista blend oat milk for a similar richness.
- Butter Replacements: Swap unsalted butter with your favorite high-quality vegan butter sticks. Brands like Earth Balance Vegan Butter Sticks or Miyoko’s Kitchen Cultured Vegan Butter are excellent choices that perform well in baking. Ensure they are softened or melted as directed in the recipe.
- Cream Cheese Frosting: Replace dairy cream cheese with a good quality dairy-free cream cheese alternative. Many brands offer delicious options that will mimic the tang and creaminess. For the vanilla glaze, chilled full-fat canned coconut cream can also be whipped to create a rich, dairy-free topping.
For Egg-Free (Vegan) Alternatives:
- Chia or Flax Eggs: To replace each large egg, combine 1 tablespoon of ground chia seeds or ground flaxseeds with 3 tablespoons of water. Stir well and let the mixture sit for about 5-10 minutes until it thickens into a gelatinous “egg.” This creates a binder that works beautifully in many gluten-free baking recipes, including these rolls.
- Commercial Egg Replacers: You can also opt for a commercial egg replacer, such as Bob’s Red Mill Egg Replacer. Follow the package instructions for the correct measurement to substitute for two large eggs. These are often made from a blend of starches and leavening agents that provide similar binding and leavening properties.
Flour & Starch Adjustments:
- Gluten-Free Flour Blend: It’s crucial to use a high-quality, rice flour-based gluten-free all-purpose blend that specifically contains xanthan gum. Brands like Pillsbury Best Gluten-Free All Purpose Flour Blend or Better Batter are highly recommended for yeast baking due to their balanced composition. If your preferred blend does not include xanthan gum, add 1 teaspoon per cup of flour as specified in the baking tips.
- Tapioca Starch Substitute: If you need to avoid tapioca starch due to allergies or dietary preferences, you can substitute it with an equal amount of cornstarch or arrowroot powder. These starches provide similar thickening and tenderizing effects in gluten-free baking.
Buttermilk Substitute:
- If a recipe calls for buttermilk, or if you wish to add a slight tang and tenderness, you can easily make a dairy-free version. Mix 1 cup of your preferred dairy-free milk with 1 tablespoon of fresh lemon juice or white vinegar. Let the mixture sit undisturbed for 5–10 minutes until it visibly curdles. This creates a quick and effective dairy-free buttermilk substitute.
Storing Your Gluten-Free Cinnamon Rolls: Tips for Freshness
Whether you’re planning ahead, managing leftovers, or saving some for a rainy day, proper storage is key to maintaining the deliciousness and texture of your gluten-free cinnamon rolls. Here’s how to store them effectively:
Make Ahead (Overnight Option): If you want to prepare these rolls the night before for a fresh morning bake, you absolutely can! After placing the cut rolls into your greased baking dish and pouring the warm cream over them (Step 15), cover the baking dish tightly with plastic wrap. Place the covered rolls in the refrigerator overnight. The next morning, remove the rolls from the refrigerator and let them come to room temperature for about 30-60 minutes before proceeding. Once they have warmed up, remove the plastic wrap and continue with the recipe from the second rise (Step 16), baking them in your preheating oven. This method allows for a warm, fresh batch with minimal morning effort.
Refrigerator Storage: For leftover baked cinnamon rolls, the storage method depends on the topping. If your rolls are plain or simply drizzled with the vanilla icing, they can be stored in an airtight container at room temperature for up to 2 days. However, if they are generously topped with cream cheese frosting, they must be stored in an airtight container in the refrigerator for up to 4 days due to the perishable nature of cream cheese. To reheat, place individual rolls in the microwave for 20-30 seconds, or warm a larger batch in the oven at 350°F (175°C) for 10-15 minutes until heated through and soft.
Freezer Storage: These versatile gluten-free cinnamon rolls can be frozen either before or after baking, offering fantastic flexibility for future enjoyment.
- To freeze before baking: This method is perfect for having fresh-baked rolls anytime. Freeze the dough after it has been rolled up with the filling, cut into individual rolls, and arranged in the baking pan (after Step 15, without the cream bath yet). Cover the pan tightly with aluminum foil, then place it in the freezer for up to 1 month. When you’re ready to bake, transfer the frozen rolls to the refrigerator overnight to thaw. The next morning, let them come to room temperature, pour the warmed heavy cream over them, and then proceed with the recipe from the second rise (Step 16) and bake as directed.
- To freeze after baking: If you have baked rolls you want to save, allow them to cool completely first. Wrap individual rolls or the entire batch tightly in aluminum foil, then place them in a heavy-duty plastic freezer bag or a freezer-safe container. They can be stored in the freezer for up to 2 months. To enjoy, defrost the cinnamon rolls at room temperature. Once thawed, warm them in the oven at 350°F (175°C) for 10-15 minutes, or heat individual rolls in the microwave for 20-30 seconds until warm and soft. Add fresh frosting after reheating if desired!
More Gluten-Free Breakfast Recipes to Try!
If you’ve loved these gluten-free cinnamon rolls, you’re in for a treat! Explore more delicious gluten-free breakfast and brunch recipes that are sure to become family favorites. From classic comforts to indulgent delights, there’s something for everyone to enjoy:
- Gluten-Free Banana Bread
- Gluten-Free Donuts
- Gluten-Free Muffins
- Gluten-Free Churros
- Gluten-Free Pancakes
- Gluten-Free Waffles
- Gluten-Free Bagels
- Gluten-Free Scones