
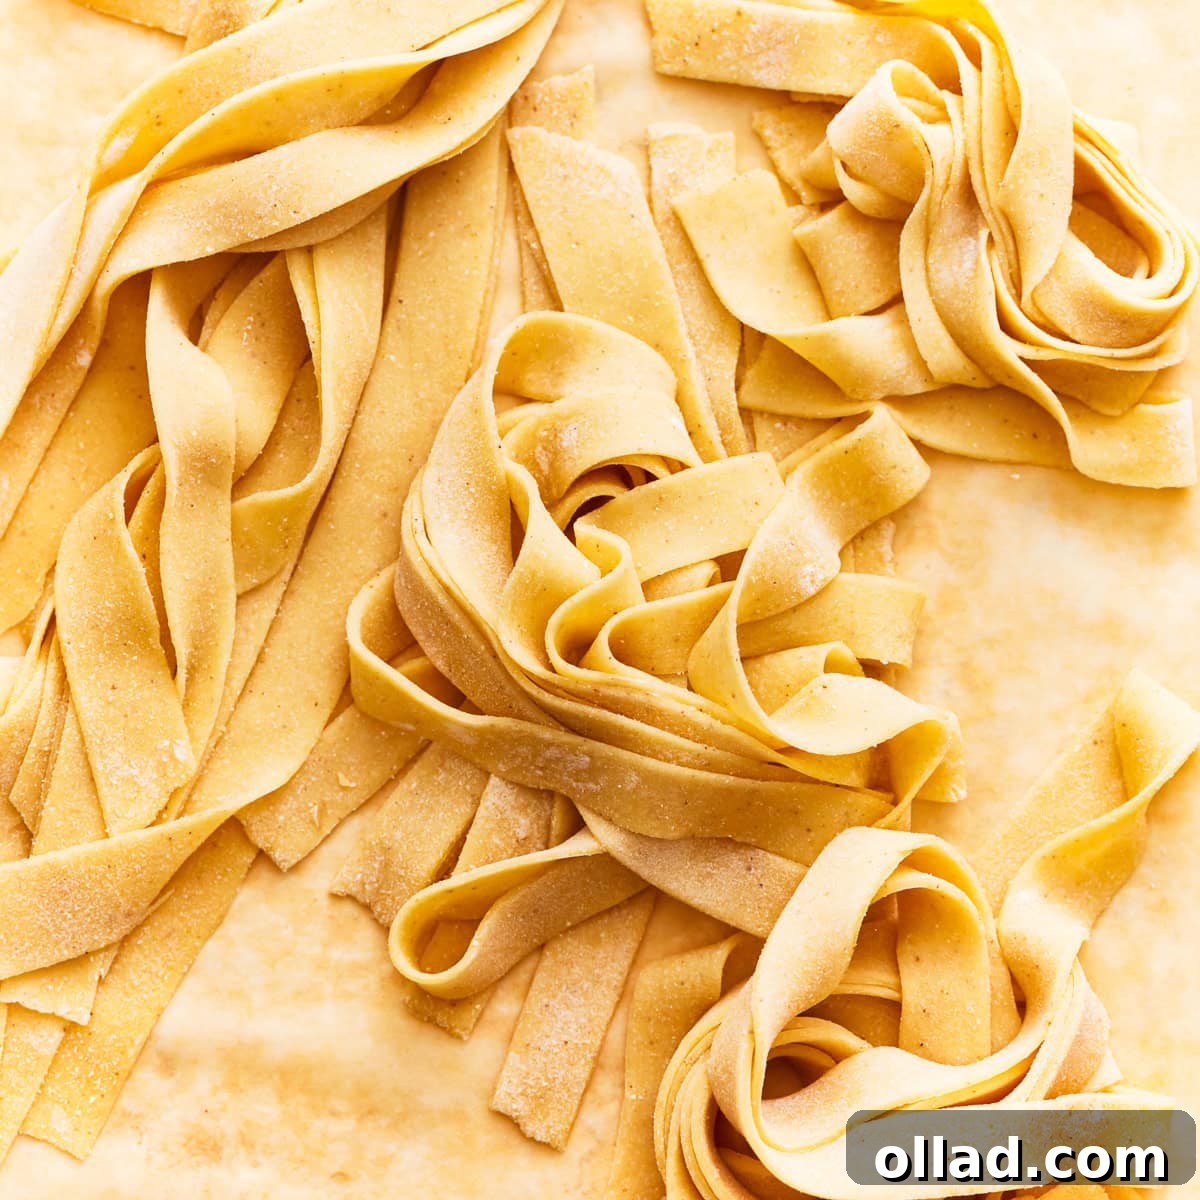
There’s an undeniable magic in a plate of pasta made with freshly prepared noodles. For those of us navigating a gluten-free lifestyle, finding truly exceptional homemade gluten-free pasta at restaurants can be a real challenge. This is why I embarked on a journey to perfect my own recipe, and I’m thrilled to share it with you. This tried-and-true gluten-free pasta recipe uses straightforward techniques to create wonderfully soft, silky, and flavorful noodles that cook to absolute perfection every single time. It’s a delightful experience, and my entire family often loves to join in the process, making it a fun culinary adventure!
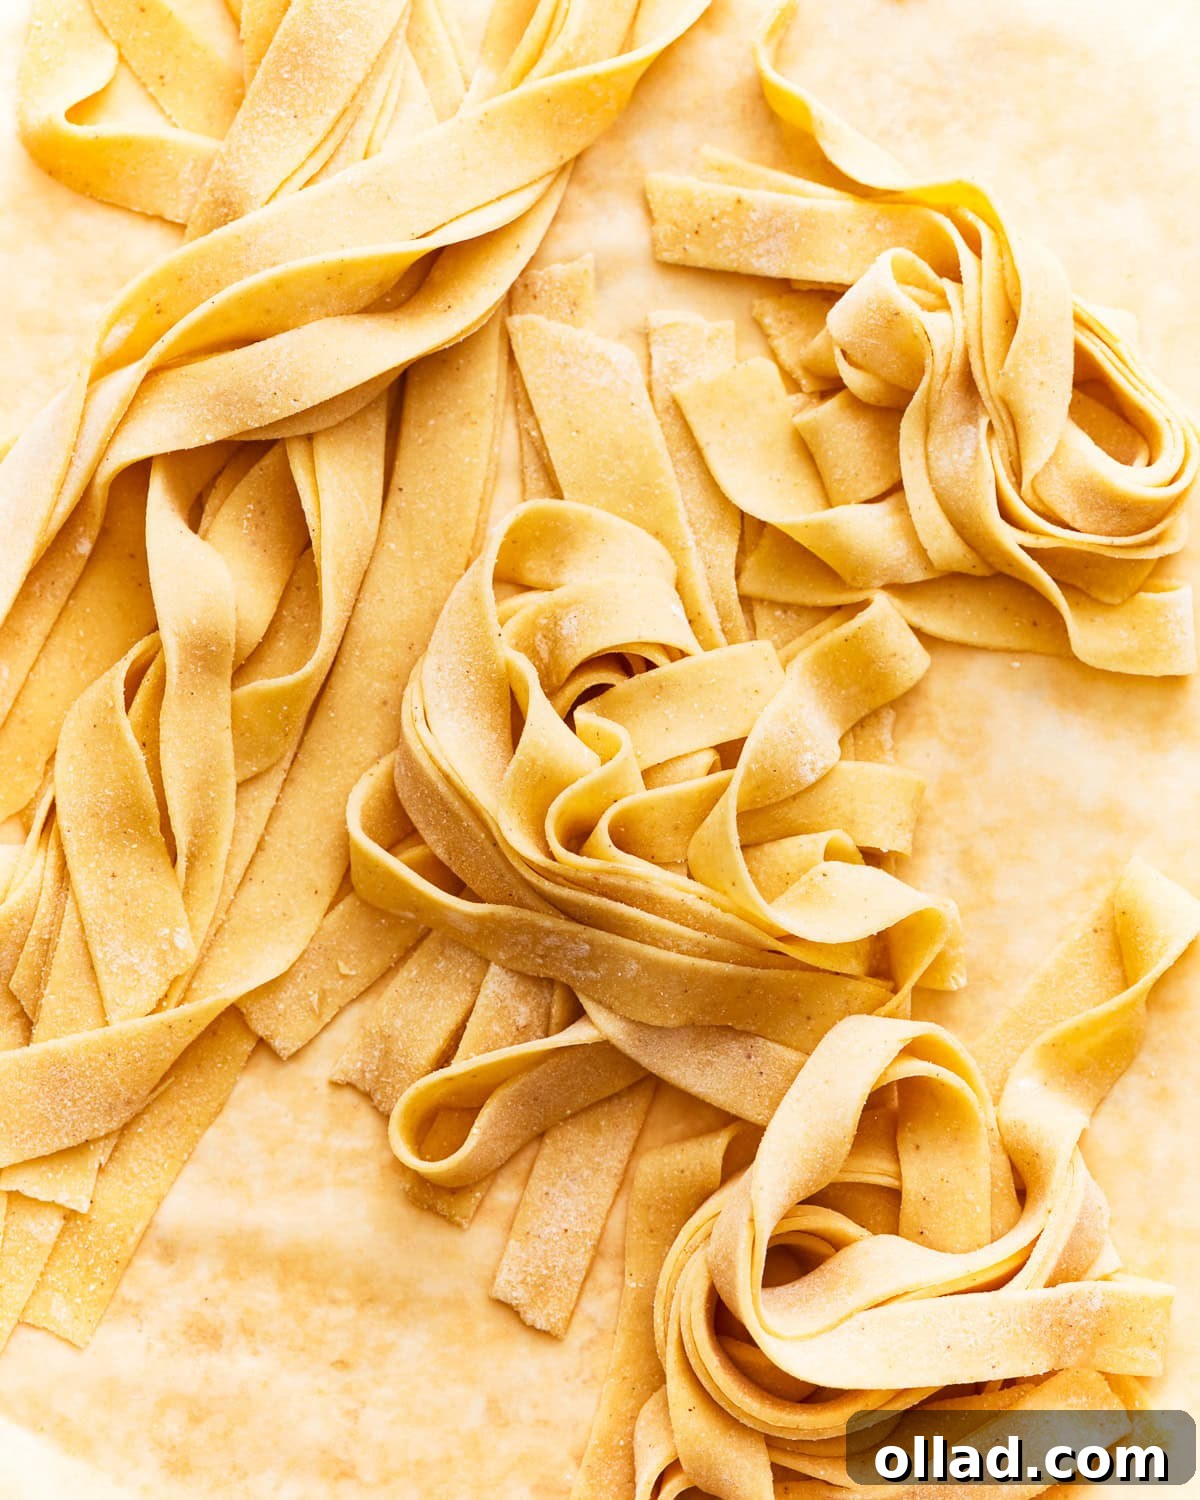
“I had never attempted homemade noodles before, but this dough came together beautifully and was absolutely delicious in my chicken noodle soup! It truly felt like working with traditional flour.”
– Danae
The Ultimate Homemade Gluten-Free Pasta Recipe
While store-bought pasta offers convenience in a pinch, there’s something truly special and rewarding about serving homemade pasta for dinner. The journey to perfecting the flavor and texture of this gluten-free pasta has involved extensive testing, but I believe I’ve finally achieved a recipe that rivals its traditional counterparts. The best part? You don’t need any fancy or complicated tools, not even a dedicated pasta machine, to create these delicious noodles right in your own kitchen.
Crafting pasta from scratch allows you to control the quality of ingredients, ensuring a wholesome and fresh meal. For those with gluten sensitivities, this recipe opens up a world of culinary possibilities, allowing you to enjoy fresh pasta dishes without compromise. This guide is designed to make the process accessible and enjoyable for everyone, regardless of their prior experience with pasta making.
Homemade Gluten-Free Pasta
Share by Email
Print Recipe
Find detailed step-by-step photos and additional tips below the recipe card.
Ingredients
- 1¾ cups gluten-free all-purpose flour with xanthan gum
- 1 tsp xanthan gum, omit if your blend already contains it
- ½ tsp fine sea salt
- 3 large eggs
- 2 tbsp water
- 1 tbsp olive oil

Instructions
-
In a large mixing bowl, combine the gluten-free flour, xanthan gum (if your flour blend doesn’t already contain it), and fine sea salt. Mix these dry ingredients thoroughly to ensure even distribution.
-
Form a spacious well in the center of the dry flour mixture. Crack the three large eggs directly into this well. Then, add the water and olive oil alongside the eggs.
-
Using a fork or your fingertips, gently begin to incorporate the flour mixture from the edges into the wet ingredients in the well. Continue until a shaggy, somewhat crumbly dough starts to form.
-
Once the dough loosely comes together, transfer it from the bowl to a clean, lightly floured work surface. Knead the dough vigorously for approximately 5-7 minutes. During this process, the dough should transform into a smooth, pliable, and elastic texture. If the dough feels too dry and crumbly, gradually add a small amount of water (a teaspoon at a time) until it reaches the desired consistency. Conversely, if the dough is too sticky, dust it with a light sprinkle of gluten-free flour.
-
After thorough kneading, shape the dough into a cohesive ball. Cover it tightly with plastic wrap to prevent it from drying out. Allow the dough to rest at room temperature for about 30 minutes. This resting period is crucial as it permits the gluten-free flours to properly hydrate and the dough to relax, making it much easier to roll out.
-
Once rested, divide the dough into four equal portions, each weighing approximately 104 grams. This makes handling and rolling much more manageable. Gently flatten each portion into a disk shape with your hands.
-
Lightly dust a piece of parchment paper and your rolling pin with gluten-free flour. Take one dough portion and roll it out into a thin, rectangular sheet. Aim for a thickness of about 1/16 to 1/8 inch – the thinner, the more delicate the pasta.
-
Using a sharp knife or a pizza cutter, carefully cut the rolled-out dough into your preferred pasta shapes and sizes. This could be classic fettuccine or linguine strips, wide lasagna sheets, or even smaller shapes like squares for ravioli. Repeat the rolling and cutting process with the remaining dough portions until all your fresh pasta is formed.
-
To cook your freshly made gluten-free pasta, bring a large pot of generously salted water to a rolling boil. Carefully add the pasta and cook for approximately 2-3 minutes, or until it reaches an al dente texture. Fresh pasta cooks much faster than dried, so keep a close eye on it. Drain the cooked pasta immediately and serve hot with your favorite sauce or toppings.
Notes
Nutrition
Nutrition information is automatically calculated, so should only be used as an approximation.
Additional Info
How To Make Gluten-Free Pasta: A Detailed Step-by-Step Guide
Making homemade gluten-free pasta doesn’t have to be intimidating. This visual and descriptive guide walks you through each stage, ensuring you achieve perfect, tender noodles every time. Follow along for an enjoyable and successful pasta-making experience.
1. Combine Dry Ingredients
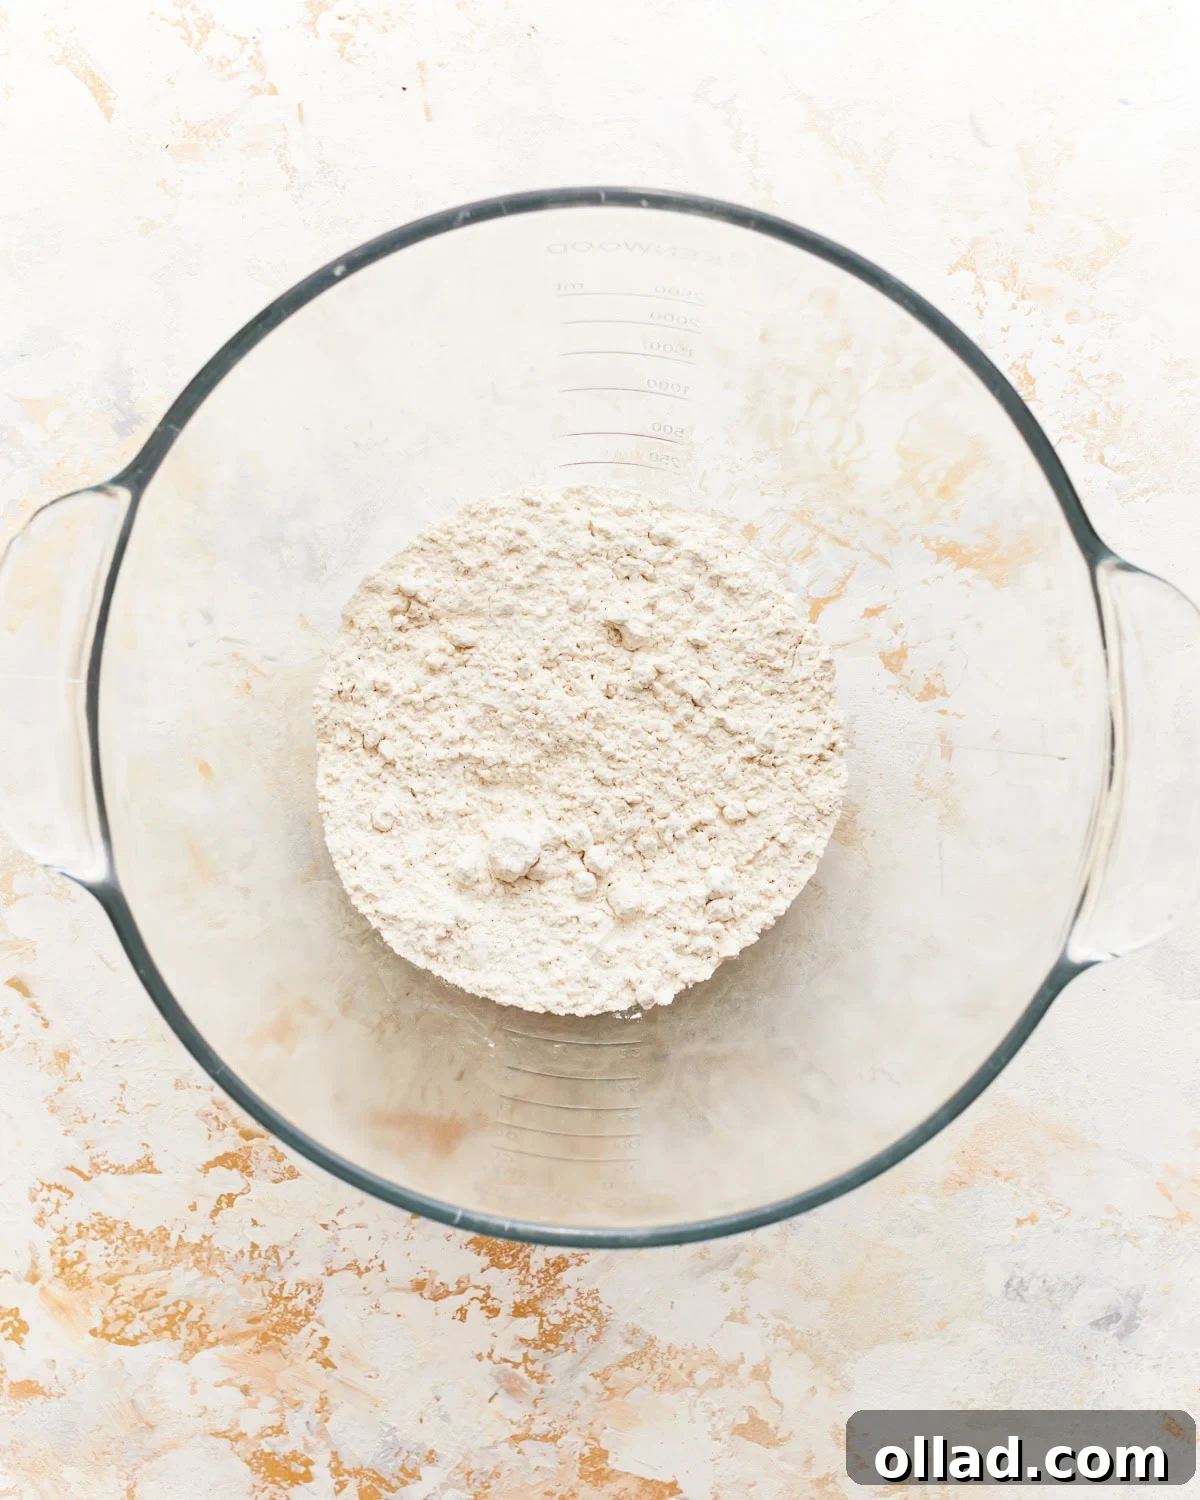
Begin by measuring 1¾ cups of your chosen gluten-free all-purpose flour blend into a large mixing bowl. It’s crucial that your flour blend either already contains xanthan gum or you add 1 teaspoon separately. Xanthan gum is vital for providing elasticity and structure to gluten-free dough, mimicking the role of gluten. Next, add ½ teaspoon of fine sea salt. Use a whisk or a fork to thoroughly combine these dry ingredients. This step ensures that the xanthan gum and salt are evenly distributed throughout the flour, which is essential for consistent dough texture.
2. Create a Well for Wet Ingredients
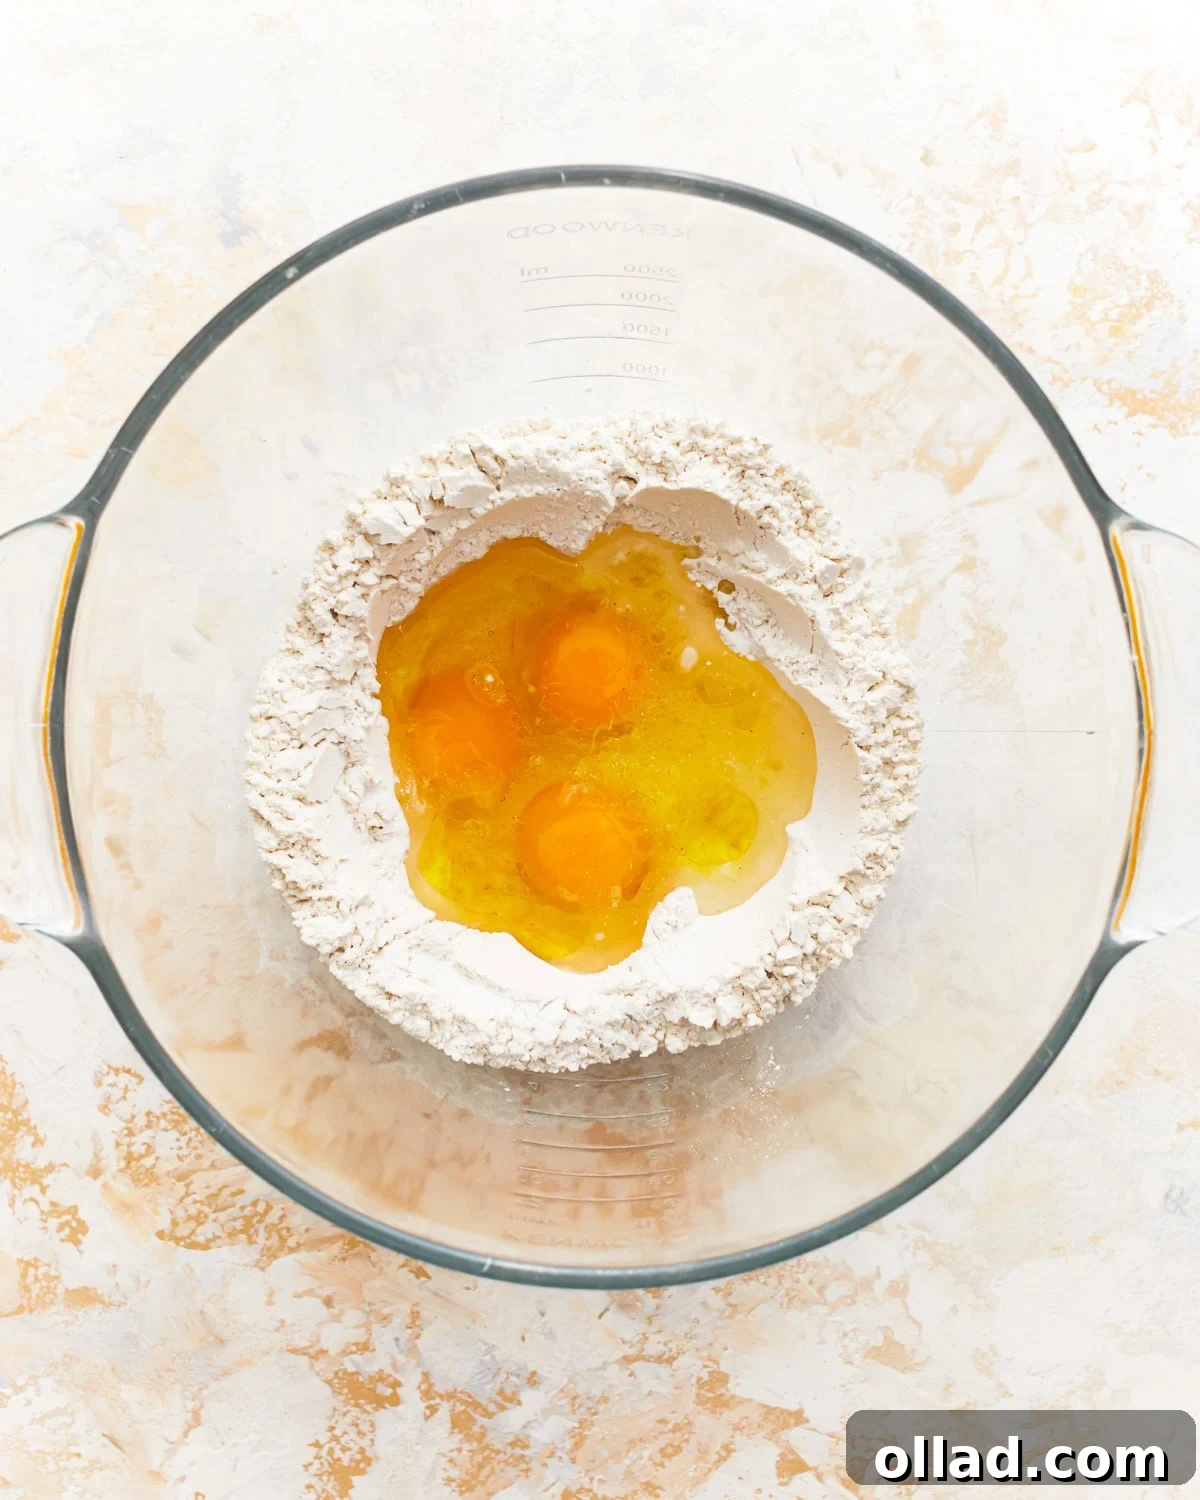
Once your dry ingredients are well mixed, use your hand or a spoon to create a deep well in the center of the flour mixture. This well will hold your wet ingredients. Carefully crack 3 large eggs directly into the well. Follow by adding 2 tablespoons of water and 1 tablespoon of olive oil. The eggs provide binding, richness, and color, while the water and olive oil contribute to the dough’s hydration and pliability.
3. Form and Knead the Dough
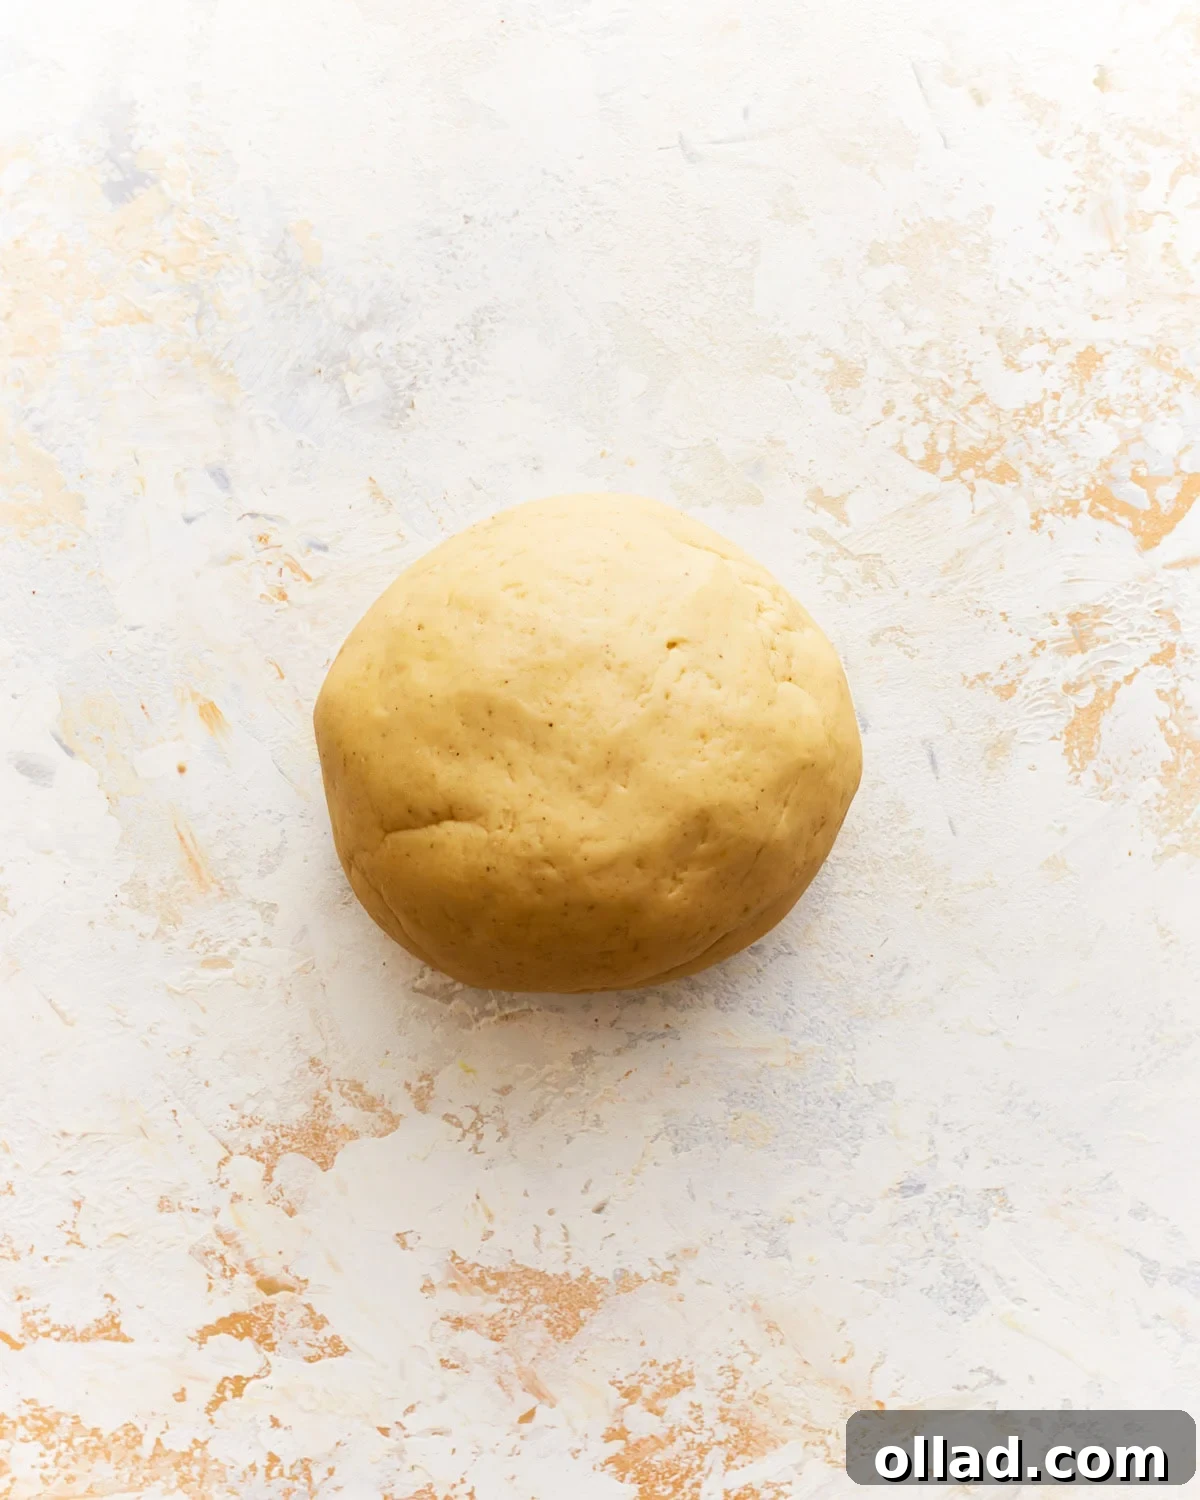
Using a fork or your fingers, gently start incorporating the flour from the inner edges of the well into the wet ingredients. Mix until a shaggy, somewhat crumbly dough forms. At this stage, it won’t look smooth or uniform. Transfer the nascent dough to a clean, lightly floured work surface. Now comes the kneading! Knead the dough for approximately 5-7 minutes. This process is crucial for developing the dough’s texture and elasticity, even without gluten. As you knead, the dough should become smooth and elastic to the touch. Pay attention to its consistency: if it feels too dry and resistant, add water slowly, a teaspoon at a time. If it’s overly sticky, sprinkle a little more gluten-free flour. The goal is a dough that is soft, pliable, and slightly tacky, but not sticking to your hands or the surface.
4. Rest the Dough
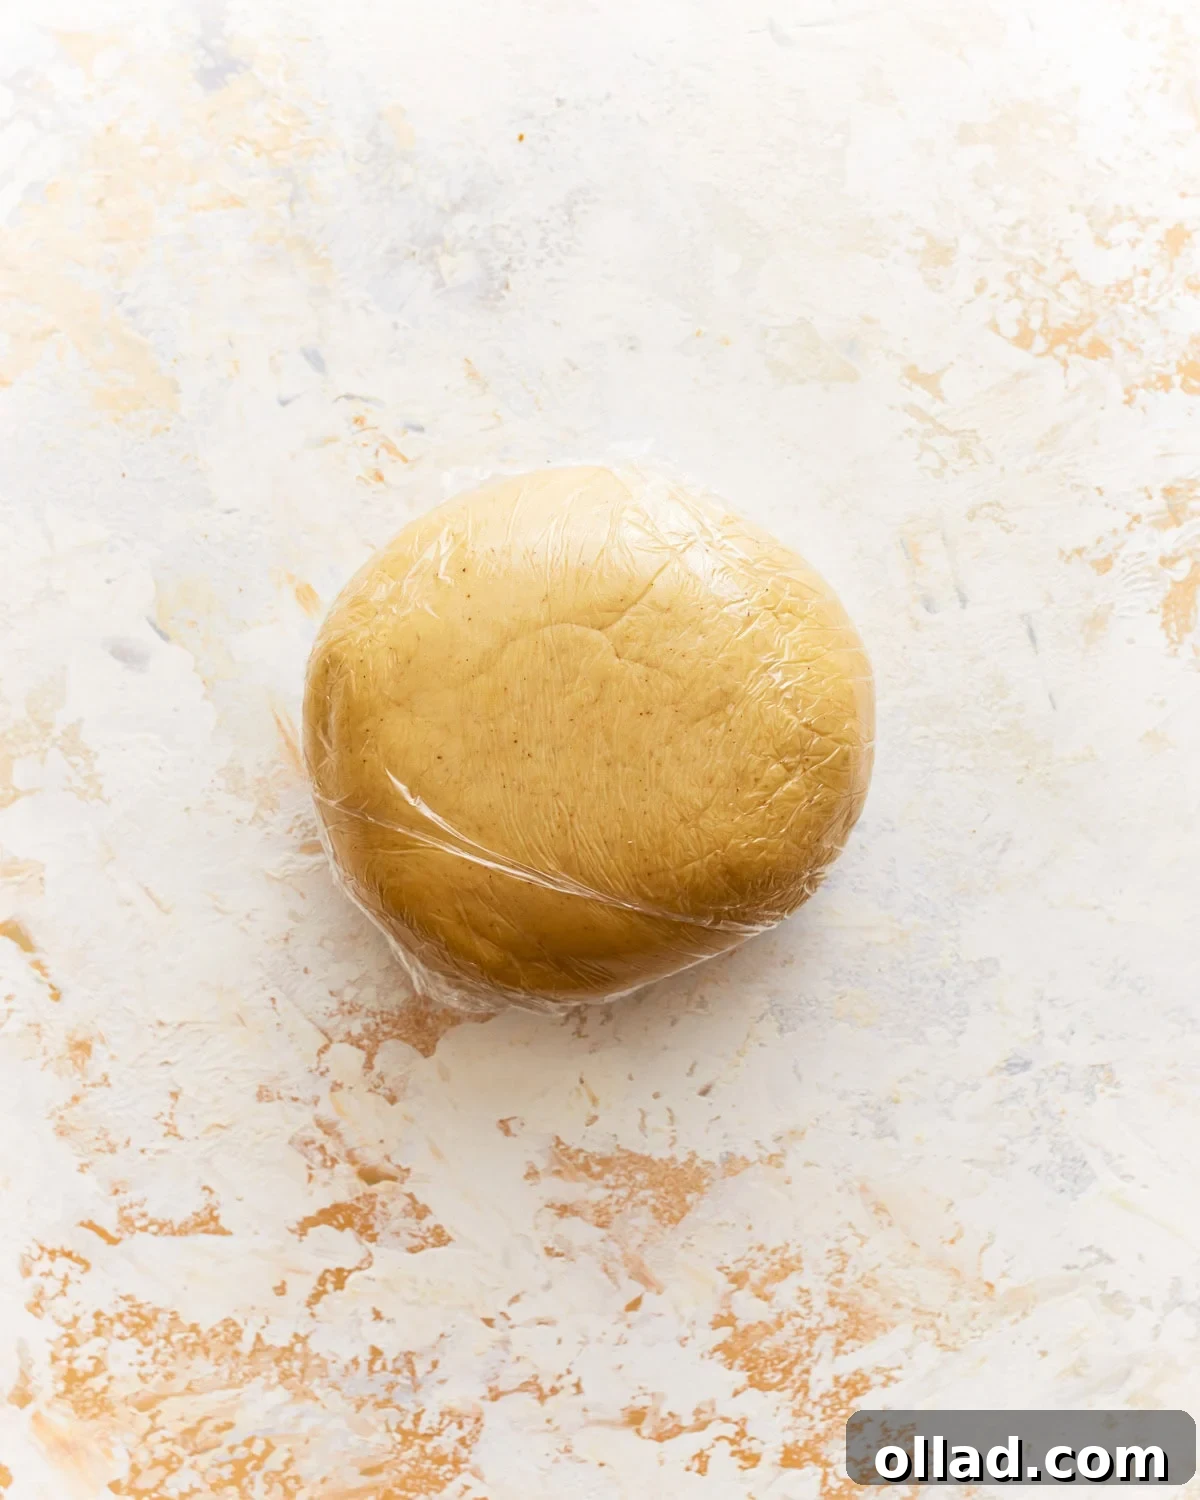
After your dough is perfectly kneaded, shape it into a neat ball. This resting step is incredibly important for gluten-free pasta. Cover the dough tightly with plastic wrap to prevent it from drying out, and let it rest at room temperature for at least 30 minutes. This period allows the gluten-free flours to fully hydrate and absorb the moisture, resulting in a more relaxed, manageable dough that is less prone to cracking or tearing when rolled out.
5. Portion the Dough
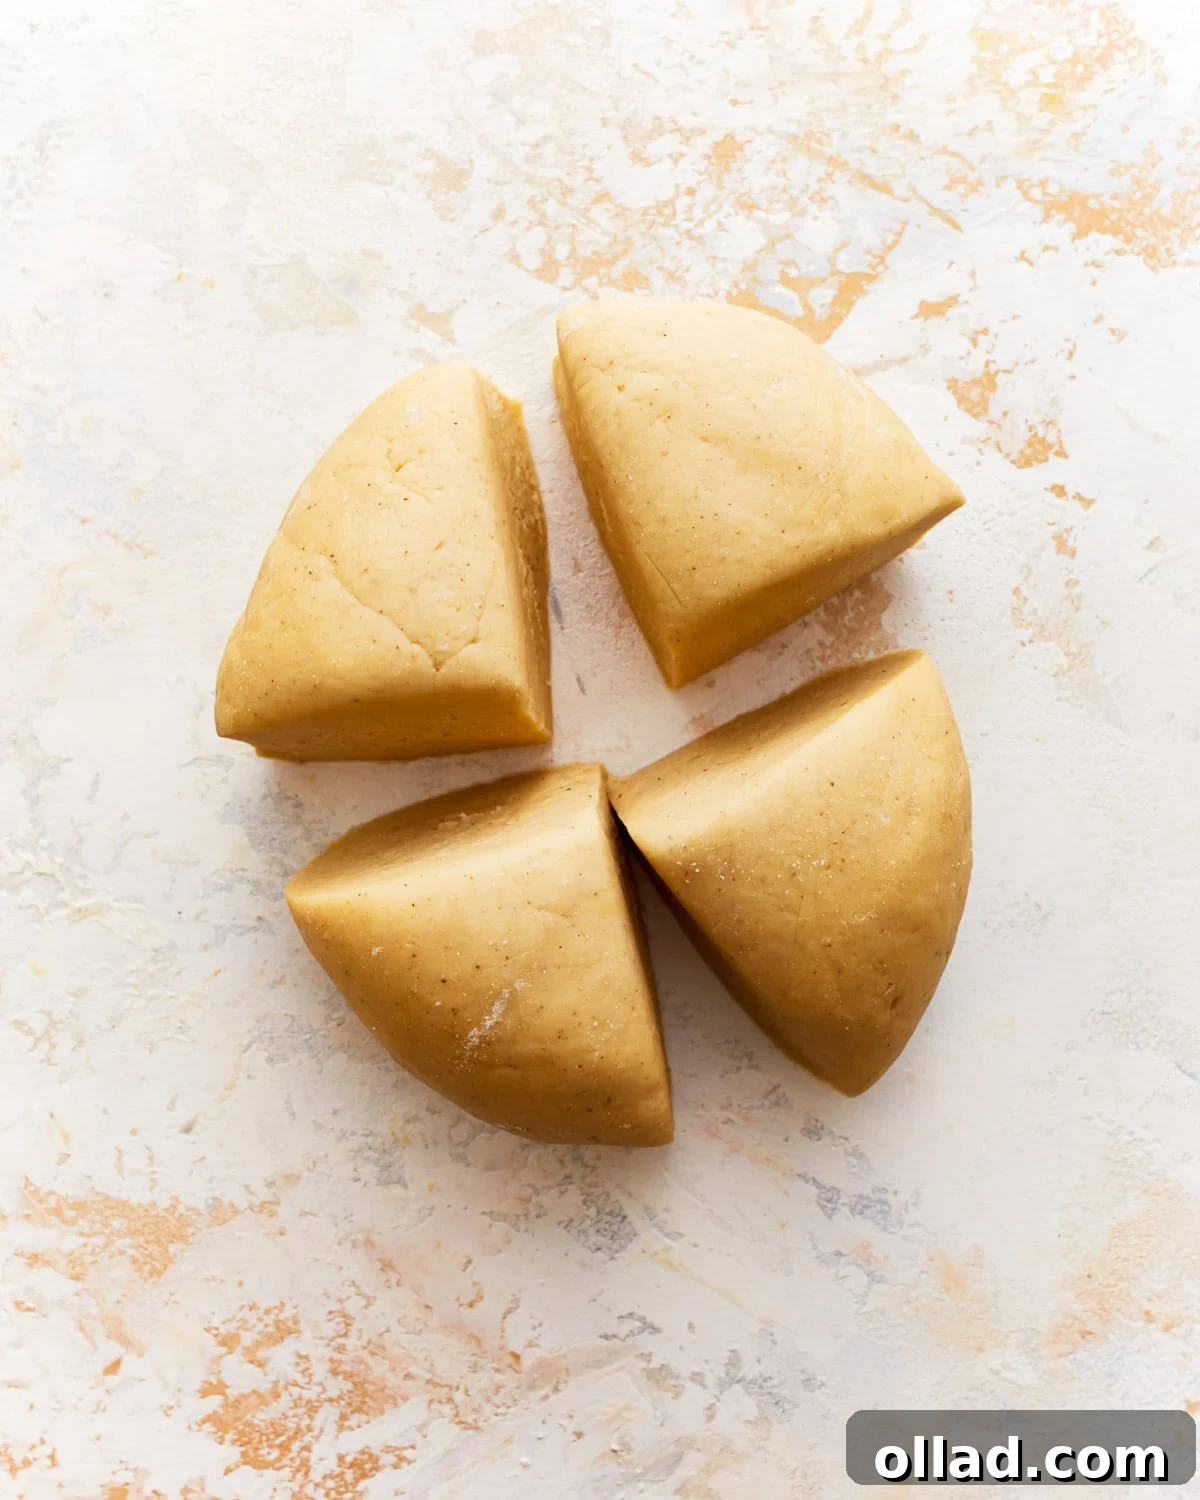
Once the dough has rested, unwrap it and divide it into 4 equal portions. Each portion should weigh approximately 104 grams. Dividing the dough makes it much easier to handle and roll evenly. Gently flatten each portion into a small disk with your hands. Keep any portions you’re not immediately working with covered with plastic wrap to prevent them from drying.
6. Roll Out the Dough
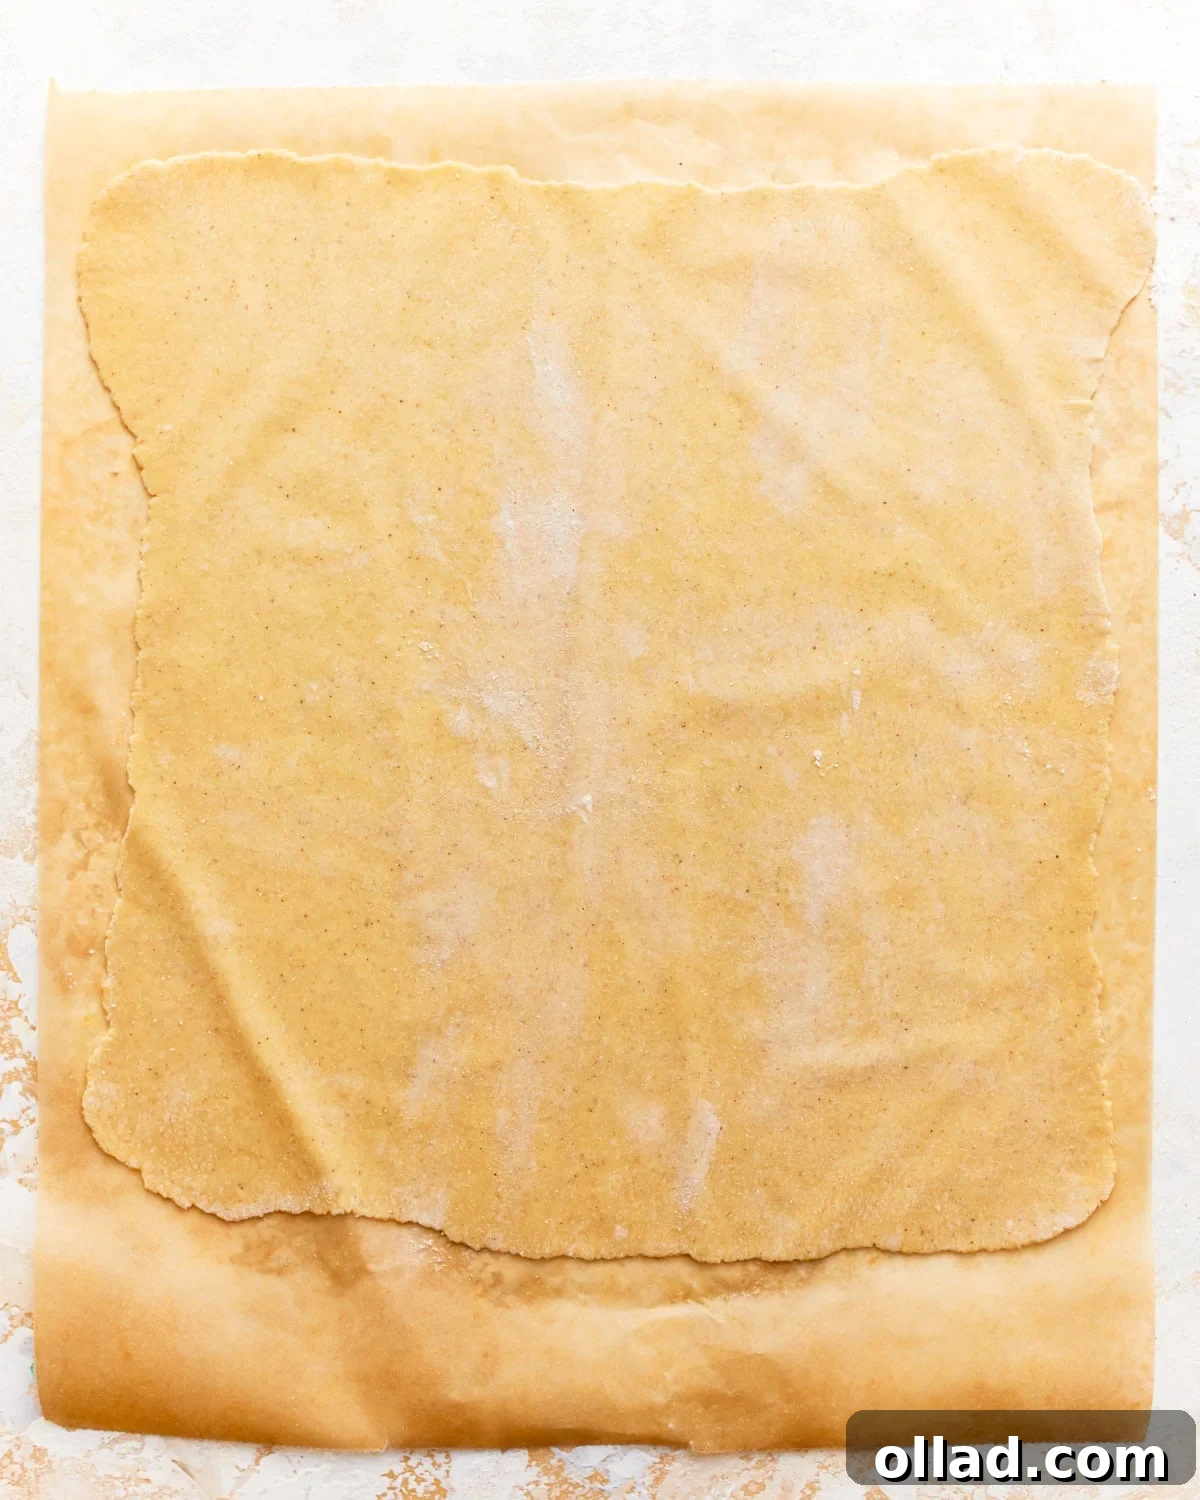
Prepare your work surface by lightly dusting a sheet of parchment paper and your rolling pin with gluten-free flour. Take one flattened dough portion and begin rolling it out. The goal is to achieve a thin, rectangular sheet, roughly 1/16 to 1/8 inch thick. The thinner you roll it, the more delicate and refined your pasta will be. Work patiently, dusting with a little more flour if needed, to prevent sticking. If using a pasta machine, pass the dough through increasingly thinner settings until desired thickness is reached.
7. Cut Into Shapes
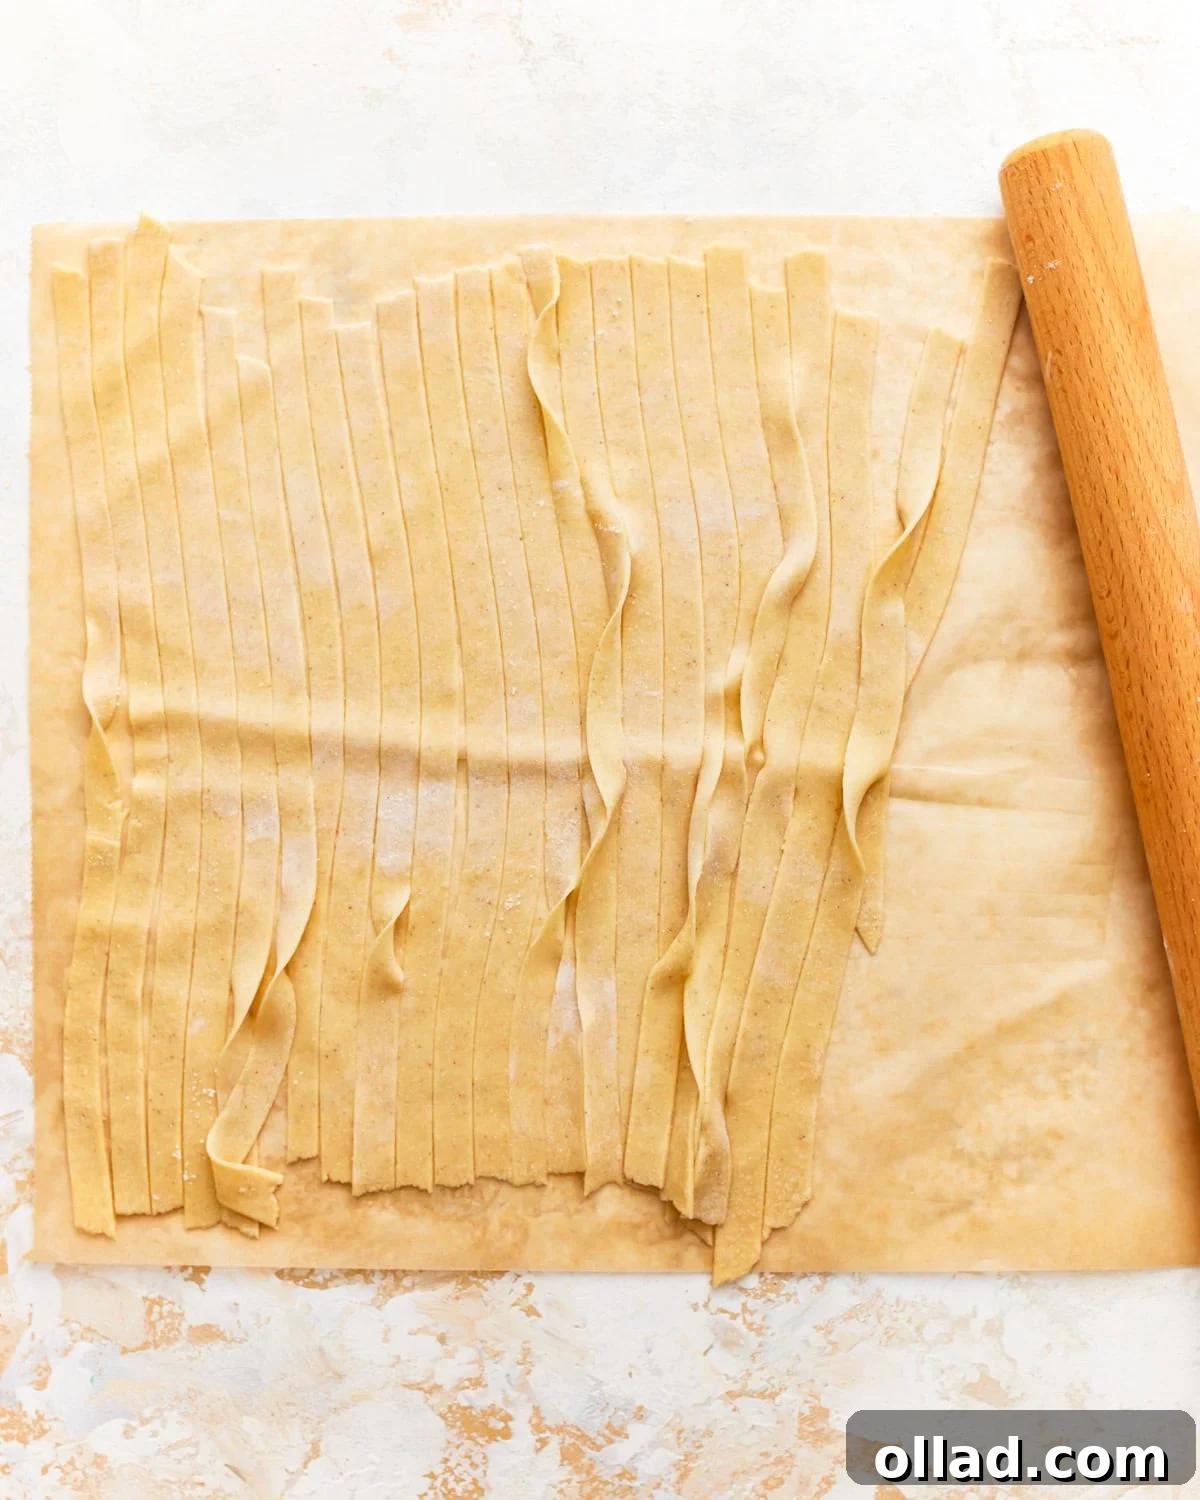
With your rolled-out dough sheet ready, use a sharp knife or a pizza cutter to cut it into your desired pasta shapes. Popular choices include classic fettuccine (about ¼ inch wide), linguine (narrower than fettuccine), or wide sheets for lasagna. You can also experiment with making squares for ravioli or other shapes. Repeat the rolling and cutting process with the remaining portions of dough until all your fresh gluten-free pasta has been formed. Lay the cut pasta on a lightly floured surface or a pasta drying rack while you finish preparing the rest.
Essential Gluten-Free Pasta Cooking Tips
- Choose the Right Flour: Not all gluten-free flour blends are created equal. For consistent and reliable results, I highly recommend using tested brands like Pillsbury Gluten-Free All-Purpose flour or Better Batter Cup for Cup flour. These blends often contain the necessary balance of starches and gums. Be aware that other brands may yield different textures and require adjustments.
- Master Dough Consistency: The perfect gluten-free pasta dough should be neither too dry nor too sticky. It should be pliable and smooth, yet firm enough to hold its shape. If your dough feels crumbly, add water in very small increments (half a teaspoon at a time). If it’s too sticky, dust with a small amount of extra gluten-free flour. Achieving this balance is key to easy rolling and excellent texture.
- Look for Smoothness and Elasticity: After kneading for 5-7 minutes, your gluten-free pasta dough should be noticeably smooth, elastic, and slightly tacky, but not sticking to your hands. When you gently press a finger into it, it should bounce back. This indicates good hydration and structure, ensuring the pasta will hold together during cooking.
- Avoid Overcooking Fresh Pasta: Fresh homemade pasta cooks significantly faster than dried, store-bought varieties. Typically, gluten-free fresh pasta needs only 2-3 minutes in boiling water to reach al dente. Keep a close eye on it to prevent it from becoming mushy.
- Drying Fresh Pasta for Storage: If you’re not cooking your pasta immediately, you can dry it for later use. Hang long strands on a pasta drying rack or lay smaller shapes flat on a lightly floured baking sheet or parchment paper. Ensure there’s good air circulation. Allow the pasta to dry completely (this can take several hours up to a day, depending on humidity). Once thoroughly dry, store it in an airtight container in a cool, dry place for up to 2 weeks. To rehydrate, cook the dried pasta in boiling water for about 6-7 minutes, or until tender.
- Salt Your Water Generously: Just like with regular pasta, thoroughly salting your cooking water is vital. It infuses the pasta with flavor from the inside out. The water should taste like the sea.
- Don’t Forget the Rest: The 30-minute resting period is not optional for gluten-free pasta. It allows the starches in the flour to fully hydrate and the dough to relax, making it much easier to roll out without tearing and contributing to a smoother final texture.
- Work in Batches: Especially if you’re new to pasta making or working in a warmer kitchen, keep any dough portions you’re not actively rolling or cutting covered with plastic wrap. This prevents them from drying out and becoming harder to work with.
- Experiment with Shapes: Don’t limit yourself to just fettuccine or lasagna. This dough is versatile! Try making pappardelle, tagliatelle, or even small orecchiette if you’re feeling adventurous.
Delicious Serving Suggestions
The beauty of this homemade gluten-free pasta lies in its versatility. It serves as an excellent foundation for virtually any sauce you adore! For a truly comforting and classic meal, pair it with a rich and robust gluten-free spaghetti sauce, perhaps with meatballs or a hearty ragu. If you’re in the mood for something more indulgent, try it with a creamy Alfredo sauce, made with dairy or a dairy-free alternative for a rich, silky coating. For a vibrant and sophisticated option, a vegan vodka sauce offers a delightful balance of tang and creaminess. This gluten-free pasta holds its texture beautifully, ensuring it stands up to both robust red sauces and delicate white or pesto sauces, making it a delicious base for all your culinary creations.
Beyond traditional sauces, consider using your fresh gluten-free noodles in a homemade chicken noodle soup, creating a comforting dish from scratch. You can also toss them with simple olive oil, garlic, and fresh herbs for a light, summery meal. A quick pesto, a flavorful carbonara, or even a simple lemon butter sauce can transform these noodles into an extraordinary dish. The possibilities are endless when you have a delicious and reliable homemade gluten-free pasta at your fingertips.
Storage Instructions for Fresh and Cooked Gluten-Free Pasta
Proper storage is essential to maintain the quality and freshness of your homemade gluten-free pasta.
Fresh Dough: If you’ve prepared the dough but aren’t ready to roll and cook it immediately, wrap it tightly in plastic wrap to prevent air exposure and drying. Store the dough ball in the refrigerator for up to 3 days. For longer storage, you can freeze the dough for up to 3 months. When ready to use, transfer the frozen dough to the refrigerator and allow it to thaw overnight before shaping and cooking.
Freshly Cut Pasta (Uncooked): If you’ve cut your pasta but don’t plan to cook it right away, you have a few options. For immediate use within a few hours, lay the pasta in a single layer on a lightly floured baking sheet, dusting it lightly with gluten-free flour to prevent sticking. You can also loosely coil long strands into nests. If storing for longer, refer to the “Drying Fresh Pasta” tip above. Once dried, it can be stored at room temperature in an airtight container for up to 2 weeks. Alternatively, freshly cut pasta can be frozen directly on a floured baking sheet until solid, then transferred to an airtight freezer bag for up to 1 month. Cook from frozen, adding a minute or two to the cooking time.
Cooked Pasta: Store any leftover cooked gluten-free pasta in an airtight container in the refrigerator for up to 3 days. To reheat, gently warm in a pan with a splash of water or sauce, or microwave until heated through. Avoid overcooking during reheating to maintain texture.
More Delicious Gluten-Free Pasta Recipes to Explore!
Once you’ve mastered the art of making fresh gluten-free pasta, a world of delicious possibilities opens up. Use your homemade noodles as the base for these incredible gluten-free dishes:
- Hearty Gluten-Free Lasagna
- Creamy Gluten-Free Baked Mac and Cheese
- Tender Gluten-Free Egg Noodles
- Refreshing Gluten-Free Italian Pasta Salad
Each of these recipes demonstrates the versatility and delicious potential of gluten-free pasta, proving that a gluten-free diet doesn’t mean sacrificing flavor or culinary enjoyment. Enjoy experimenting with your freshly made noodles!