
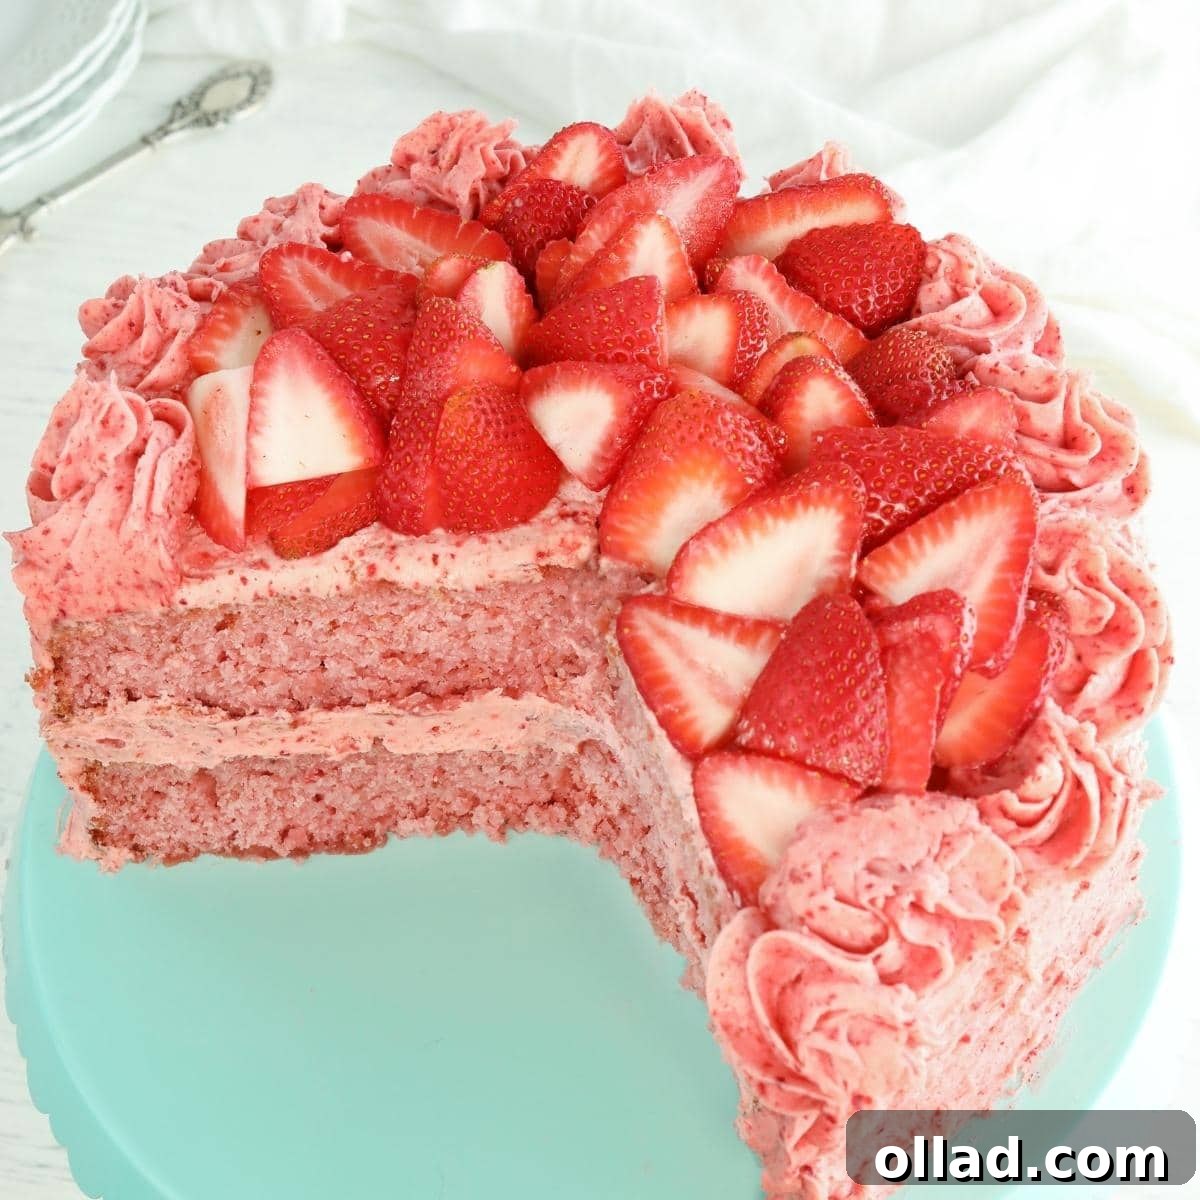
Irresistible Gluten-Free Strawberry Cake with Lush Buttercream
There’s something truly special about the arrival of summer, isn’t there? For me, it means long days spent outdoors and, most delightfully, an abundance of fresh, ripe strawberries. These vibrant red gems are not just a treat on their own; they’re the star ingredient in my beloved gluten-free strawberry cake, transforming it into a light, airy, and wonderfully refreshing dessert. Imagine biting into a slice that perfectly captures the essence of a sunny spring or summer day, topped with a luscious strawberry buttercream frosting that strikes the ideal balance between sweetness and rich fruit flavor. This cake isn’t just a recipe; it’s an invitation to savor the season’s best.
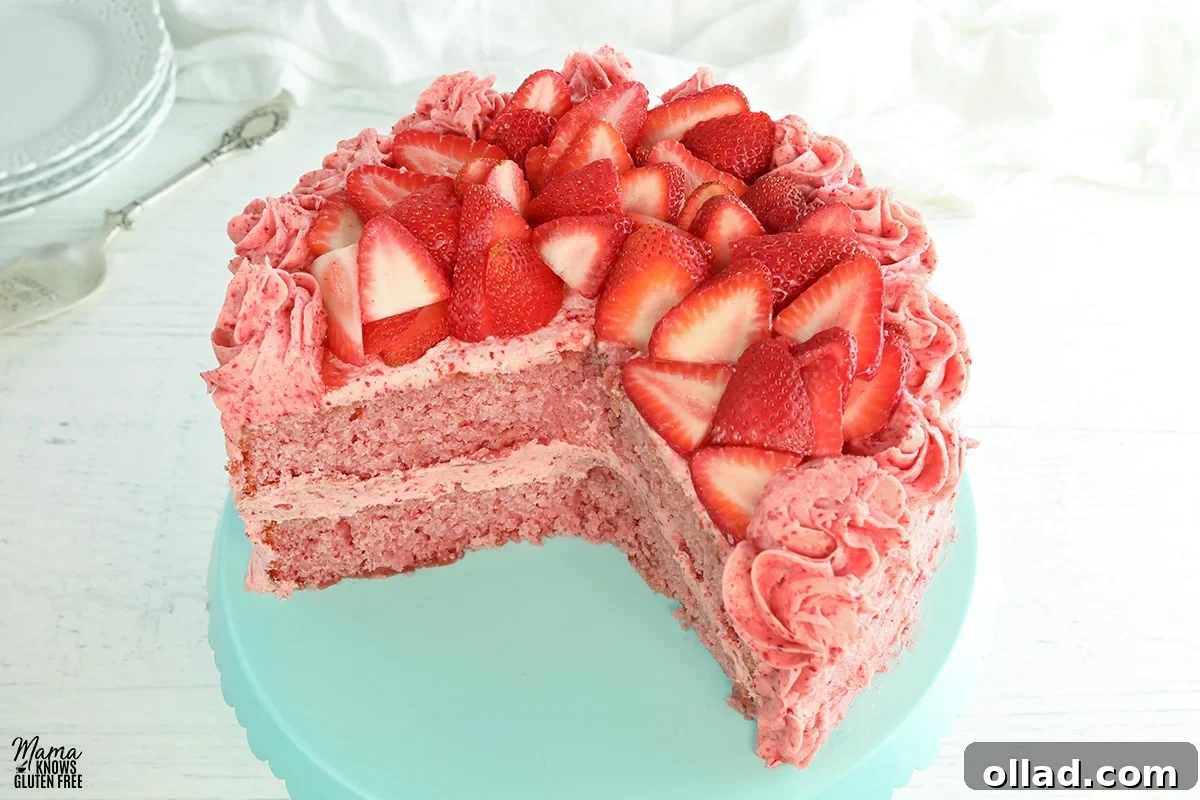
This gluten-free strawberry cake has quickly become a cherished family favorite, and it’s easy to see why. The secret lies in a homemade strawberry reduction, which infuses the cake batter with an intense, natural strawberry flavor and ensures every bite is incredibly moist without being heavy or dense. The result is a rich, tender crumb that simply melts in your mouth, bursting with the authentic taste of real strawberries. It’s the ultimate dessert for any festive occasion, whether you’re hosting a casual summer barbecue, celebrating a birthday, or simply looking for a delightful sweet treat. Crowned with a smooth, creamy strawberry buttercream, this easy-to-make cake is a definite crowd-pleaser that will have everyone reaching for a second slice, completely unaware it’s free from gluten.
Why This Gluten-Free Strawberry Cake Is a Must-Try
If you’re seeking a dessert that combines incredible flavor with accommodating dietary needs, look no further. This gluten-free strawberry cake stands out for several compelling reasons:
- Authentic Strawberry Flavor: Unlike cakes that rely on artificial flavorings, this recipe uses a homemade strawberry reduction made from fresh berries. This method concentrates the natural sweetness and vibrant taste of strawberries directly into the cake, providing an unrivaled, genuine fruit essence in every forkful.
- Perfectly Moist & Tender Texture: Gluten-free baking can sometimes be a challenge when it comes to moisture and texture. However, the strawberry reduction acts as a natural humectant, contributing significant moisture to the batter. Combined with carefully selected gluten-free flour and leavening agents, this cake achieves a remarkably tender, light, and moist crumb that defies common gluten-free stereotypes.
- A True Crowd-Pleaser: Prepare to surprise your guests! Many people are skeptical about gluten-free desserts, but this strawberry cake consistently earns rave reviews. Its rich flavor and delightful texture are so appealing that most won’t even realize it’s gluten-free, making it a perfect dessert for gatherings where you want everyone to enjoy without compromise.
- Versatile for Any Occasion: With its bright, fruity notes and lovely pink hue, this cake is ideal for a wide range of celebrations. It’s a quintessential spring and summer dessert, perfect for garden parties, picnics, or Mother’s Day. Yet, its celebratory nature also makes it wonderful for birthdays, anniversaries, or any special event year-round.
- Dairy-Free Options Available: We understand the importance of catering to various dietary requirements. This recipe thoughtfully includes simple substitutions for dairy-free alternatives, ensuring that those with dairy sensitivities can also indulge in this delicious strawberry creation without sacrificing flavor or quality.
- Surprisingly Simple to Follow: Despite its impressive appearance and taste, this recipe is designed to be straightforward and approachable for home bakers of all skill levels. The detailed instructions and helpful tips guide you through each step, making the process enjoyable and the outcome consistently successful.
Embrace the joy of baking with fresh, seasonal ingredients and delight in a dessert that truly has it all – flavor, texture, and widespread appeal, all while being wonderfully gluten-free.
The Secret to Incredible Strawberry Flavor: Homemade Reduction
The star of this cake, beyond its gluten-free foundation, is the intense, natural strawberry flavor derived from a homemade reduction. This step is crucial and sets this cake apart from those relying on extracts or simply folding in fresh fruit chunks. While fresh fruit pieces are lovely for garnish, integrating them directly into the batter can introduce too much moisture, affecting the cake’s structure. Extracts, on the other hand, can sometimes taste artificial.
A strawberry reduction, however, concentrates the fruit’s essence. By gently simmering pureed strawberries with a touch of sugar and optional lemon juice, you cook down the excess water, leaving behind a thick, deeply flavored, and naturally vibrant strawberry concentrate. This reduction not only amplifies the strawberry taste but also contributes to the cake’s beautiful natural color and maintains its ideal moisture balance. The lemon juice, while optional, brightens the strawberry flavor, preventing it from tasting flat or overly sweet.
It’s highly recommended to prepare this reduction several hours, or even the night before, you plan to bake. Allowing it to cool completely in the refrigerator is essential. Adding warm or hot reduction to your cake batter can affect the emulsion of the butter and sugar, potentially altering the cake’s final texture. A chilled reduction ensures your batter remains at the optimal temperature for a perfectly structured, moist, and delicious cake.
Crafting the Perfect Gluten-Free Strawberry Cake Layers
Creating a truly magnificent gluten-free cake relies on careful attention to detail at each step of the baking process. From selecting the right flour to understanding mixing techniques, every element plays a role in achieving that coveted moist, tender crumb.
Begin by ensuring all your ingredients, especially butter and eggs, are at room temperature. This isn’t just a suggestion; it’s a vital step for successful baking. Room temperature butter creams more smoothly with sugar, trapping air and creating a lighter, fluffier base for your cake. Similarly, room temperature eggs emulsify better with the butter mixture, resulting in a more cohesive and evenly textured batter.
When it comes to gluten-free flour, consistency is key. I highly recommend using a high-quality gluten-free all-purpose flour blend that already contains xanthan gum. Brands like Pillsbury gluten-free often yield excellent results. However, remember that not all gluten-free flours are created equal; some brands may absorb liquids differently, potentially affecting the final outcome. Always measure your flour using the “spoon and level” method: gently spoon the flour into your measuring cup until it’s overflowing, then level it off with the back of a knife. Never scoop directly from the bag, as this can compact the flour and lead to a dry, dense cake.
The homemade buttermilk, created by combining milk (or unsweetened almond milk for a dairy-free option) with white vinegar or lemon juice, adds a lovely tang and helps activate the baking soda, contributing to the cake’s tender texture and rise. Allow this mixture to sit for a few minutes to curdle slightly before adding it to the batter.
Mixing is another critical aspect. Cream the butter and sugar thoroughly until light and fluffy. Incorporate eggs one at a time, mixing well after each addition to ensure they are fully emulsified. When combining the wet and dry ingredients, mix just until combined. Overmixing gluten-free flour can sometimes lead to a gummy texture, so a gentle hand is best. Finally, fold in the completely cooled strawberry reduction. This is where the magic happens, infusing the batter with deep strawberry flavor. If you desire a more vibrant pink hue, now is the time to add a few drops of pink or red gel food coloring.
Prepare your cake pans by lining the bottoms with parchment paper and generously spraying them with a gluten-free cooking spray (coconut oil spray works wonderfully). This prevents sticking and ensures your beautiful cake layers release easily after baking. Bake your cakes until a toothpick inserted into the center comes out clean and the edges begin to pull away from the pan. Remember that oven temperatures can vary, so keep a close eye on your cakes during the final minutes of baking. Once baked, allow the cakes to cool completely on a wire rack before attempting to frost them. Rushing this step will lead to a melted, messy frosting and a disappointing result.
Lush Strawberry Buttercream Frosting: A Sweet Finish
No magnificent cake is complete without an equally impressive frosting, and this strawberry buttercream is designed to be the perfect complement. The secret to its intense, natural strawberry flavor and beautiful color lies in using freeze-dried strawberries. When pulverized into a fine powder, these berries provide a potent burst of strawberry goodness without introducing excess liquid, which can thin out buttercream and compromise its stability.
Start with softened unsalted butter (or your preferred dairy-free butter alternative). Creaming the butter until it’s light and fluffy is the foundation of a smooth buttercream. This process incorporates air, giving the frosting its desired lightness. Next, blend in pure vanilla extract and a pinch of salt. The vanilla enhances the overall sweetness, while the salt balances it, preventing the frosting from being cloyingly sweet.
Gradually add the powdered sugar, one cup at a time, mixing thoroughly after each addition. This slow incorporation helps prevent a cloud of sugar from engulfing your kitchen and ensures the sugar dissolves properly, creating a smooth consistency. The frosting will become quite thick and firm at this stage.
Finally, fold in the vibrant strawberry powder. Mix until it’s fully incorporated, transforming the buttercream into a lovely pink hue with an undeniable strawberry aroma. Adjust the consistency with a tablespoon or two of milk (or unsweetened almond milk) until it reaches your desired spreadable texture. The result is a creamy, dreamy, and intensely flavorful strawberry buttercream that perfectly crowns your gluten-free masterpiece, making every bite an unforgettable experience.
Gluten-Free Strawberry Cake Recipe
By: Audrey Roberts
Servings: 16 servings
Prep Time: 45 mins | Cook Time: 32 mins | Total Time: 1 hr 17 mins
This easy gluten-free strawberry cake uses fresh strawberries for a light, refreshing taste and is topped with a perfectly balanced strawberry buttercream frosting. Ideal for spring or summer gatherings!
Ingredients
Strawberry Reduction
- 2 lbs fresh strawberries
- 4 tbsp granulated sugar
- 1 tbsp lemon juice (optional)
Strawberry Cake
- 1/2 cup unsalted butter (for dairy-free, use Smart Balance butter)
- 1 3/4 cup granulated sugar
- 1 teaspoon pure vanilla extract
- 3 large eggs (at room temperature)
- 2 1/2 cups gluten-free all-purpose flour with xanthan gum (Pillsbury gluten-free recommended; results may vary with other brands)
- 2 teaspoons gluten-free baking powder
- 1 teaspoon baking soda
- 1/2 teaspoon salt
- 1/2 cup milk (for dairy-free, use unsweetened almond milk)
- 2 teaspoons white vinegar
- 1 1/2 cups strawberry reduction (completely cooled)
- 2 drops pink or red gel food coloring (optional, for a pinker cake)
Strawberry Buttercream
- 1 cup unsalted butter, softened (for dairy-free, use Smart Balance butter)
- 1 cup freeze-dried strawberries
- 1 teaspoon pure vanilla extract
- 2-4 tablespoons milk (for dairy-free, use unsweetened almond milk)
- 4 cups powdered sugar
- 1/8 teaspoon salt
Instructions
Strawberry Reduction
- Prepare this reduction several hours (or the prior night) before baking the cake. The strawberry sauce needs to be completely cooled before using in the cake batter.
- Remove the stems from 2 lbs of fresh strawberries and cut them in half. Puree the strawberries in a food processor or blender until smooth.
- Place the pureed strawberries, sugar, and optional lemon juice into a small saucepan and stir to combine. Bring to a simmer over medium heat.
- Once bubbling, reduce the heat to low and let the strawberries slowly reduce, stirring occasionally. Reduce for about 30 minutes until the sauce is thick like tomato sauce.
- Allow the strawberry reduction to cool completely before placing it in an airtight container and refrigerating. Do not use hot or warm strawberry reduction for the cake batter.
Strawberry Cake
- Preheat oven to 350°F. Cut parchment paper for the bottom of two 9-inch cake pans and spray them with gluten-free cooking spray.
- In a measuring cup, add the white vinegar (or lemon juice) to the milk and stir to combine. Let stand for 5 minutes in the refrigerator to stay cold (this creates homemade buttermilk).
- In a large bowl, cream softened butter and granulated sugar together until light and fluffy.
- Add the pure vanilla extract and mix until fully combined. Add the room temperature eggs one at a time, mixing until fully incorporated after each addition.
- In a separate medium bowl, whisk together the gluten-free flour, gluten-free baking powder, baking soda, and salt.
- Gradually add the gluten-free flour mixture to the creamed butter mixture, mixing until fully combined. Scrape down the sides of the bowl as needed.
- Add the homemade buttermilk to the cake batter and mix until fully combined.
- Gently fold in the completely cooled strawberry reduction, mixing until evenly distributed. (Optional: add 2 drops of pink or red gel food coloring for a more vibrant pink cake.)
- Pour the cake batter evenly into the lined and greased cake pans.
- Bake the cake for 30-32 minutes, or until a toothpick inserted into the center comes out clean and the cake begins to pull away from the sides of the pan.
- Cool the cakes completely on a wire rack before frosting. This cake is a little denser than a gluten-free vanilla cake.
Strawberry Buttercream Frosting
- Add 1 cup of freeze-dried strawberries to a food processor or blender and puree until it turns into a fine strawberry powder.
- In a large bowl, cream the softened butter with a mixer until smooth and fluffy.
- Add the pure vanilla extract and salt to the creamed butter and mix until fully combined. Scrape down the sides of the bowl with a spatula before adding the powdered sugar.
- Add the powdered sugar one cup at a time, mixing well after each addition until the frosting becomes firm.
- Add the prepared strawberry powder and mix until fully combined, ensuring an even distribution of color and flavor.
- Add 2-4 tablespoons of milk, one tablespoon at a time, mixing until the frosting reaches the desired spreadable consistency.
- To assemble, place the first cake layer on a plate or cake stand. Spread a generous amount of frosting over the top. Place the second cake layer on top. Frost the top and sides of the cake with the remaining frosting. Decorate the top using a piping tip if desired (e.g., Wilton 1M tip).
- Store leftovers in an airtight container or cover the cake with plastic wrap and refrigerate.
Baker’s Notes & Tips
- For best results, prepare the strawberry reduction ahead of time—several hours in advance or the night before—to ensure it’s completely cooled before adding it to the cake batter.
- Freeze-dried strawberries are key for the buttercream! Look for them in the dried fruit section of your grocery store (like Walmart or Aldi). Do not use regular dried strawberries, as they have a different texture and moisture content.
- To achieve a brighter pink cake, add 2-3 drops of gluten-free pink or red gel food coloring to the cake batter.
- Always trace and cut parchment paper to fit the bottom of your cake pans perfectly. This simple step prevents sticking and ensures easy removal.
- Grease the pans thoroughly with a gluten-free cooking spray. Coconut oil spray is a great choice, but any gluten-free option will work well.
- Allow the baked cake layers to cool completely before even thinking about frosting them. Attempting to frost a warm cake will result in melted, messy frosting.
- The quality of your gluten-free flour blend can significantly impact the final texture of your cake. I’ve found Pillsbury Gluten-Free Flour to yield consistent results, but be aware that different brands may behave differently.
- Always measure flour using the “spoon and level” method: spoon flour into your measuring cup and then level it off with a straight edge. Never scoop directly from the bag, as this can pack too much flour into the cup, leading to a dry and dense cake.
Nutrition Information
Nutrition information is automatically calculated, so should only be used as an approximation.
- Serving: 1 serving
- Calories: 500 kcal
- Carbohydrates: 81 g
- Protein: 4 g
- Fat: 19 g
- Saturated Fat: 11 g
- Polyunsaturated Fat: 1 g
- Monounsaturated Fat: 5 g
- Trans Fat: 1 g
- Cholesterol: 78 mg
- Sodium: 231 mg
- Potassium: 263 mg
- Fiber: 4 g
- Sugar: 63 g
- Vitamin A: 594 IU
- Vitamin C: 193 mg
- Calcium: 71 mg
- Iron: 4 mg
Additional Info
Course: Baking, Dessert
Cuisine: American
How to Make Gluten-Free Strawberry Cake Step by Step
Here’s a visual guide to walk you through each step of creating this delicious gluten-free strawberry cake, ensuring a smooth and successful baking experience from start to finish.
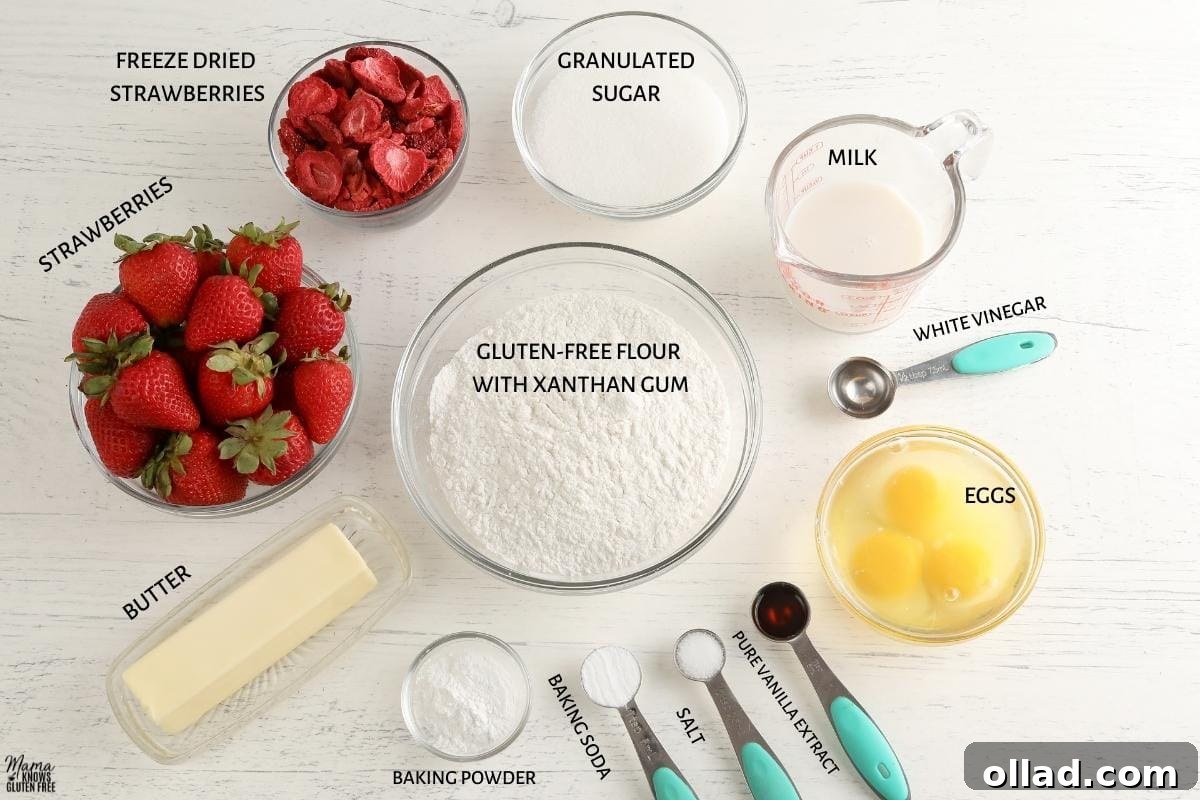
Gather the Ingredients
Before you begin, gather all your ingredients and measure them out. Having everything prepped and ready will make the baking process much smoother and more enjoyable. Ensure your butter and eggs are at room temperature for optimal mixing.
Make the Strawberry Reduction
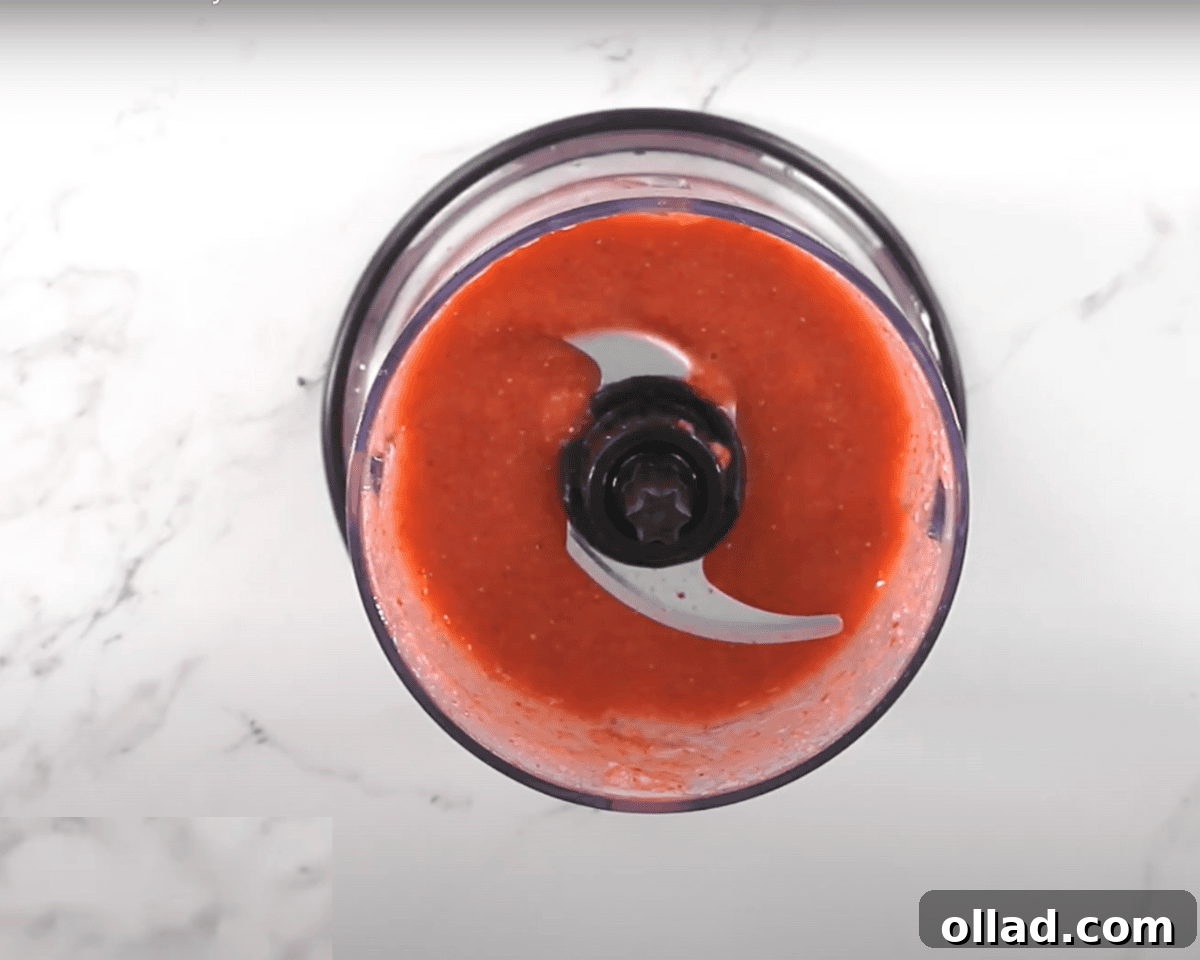
Start by preparing your fresh strawberries. Remove their green stems and cut each berry in half. Then, place them into a food processor or blender and process until you achieve a smooth, consistent puree. This pureed strawberry forms the base of your flavorful reduction.
Reduce the Strawberries
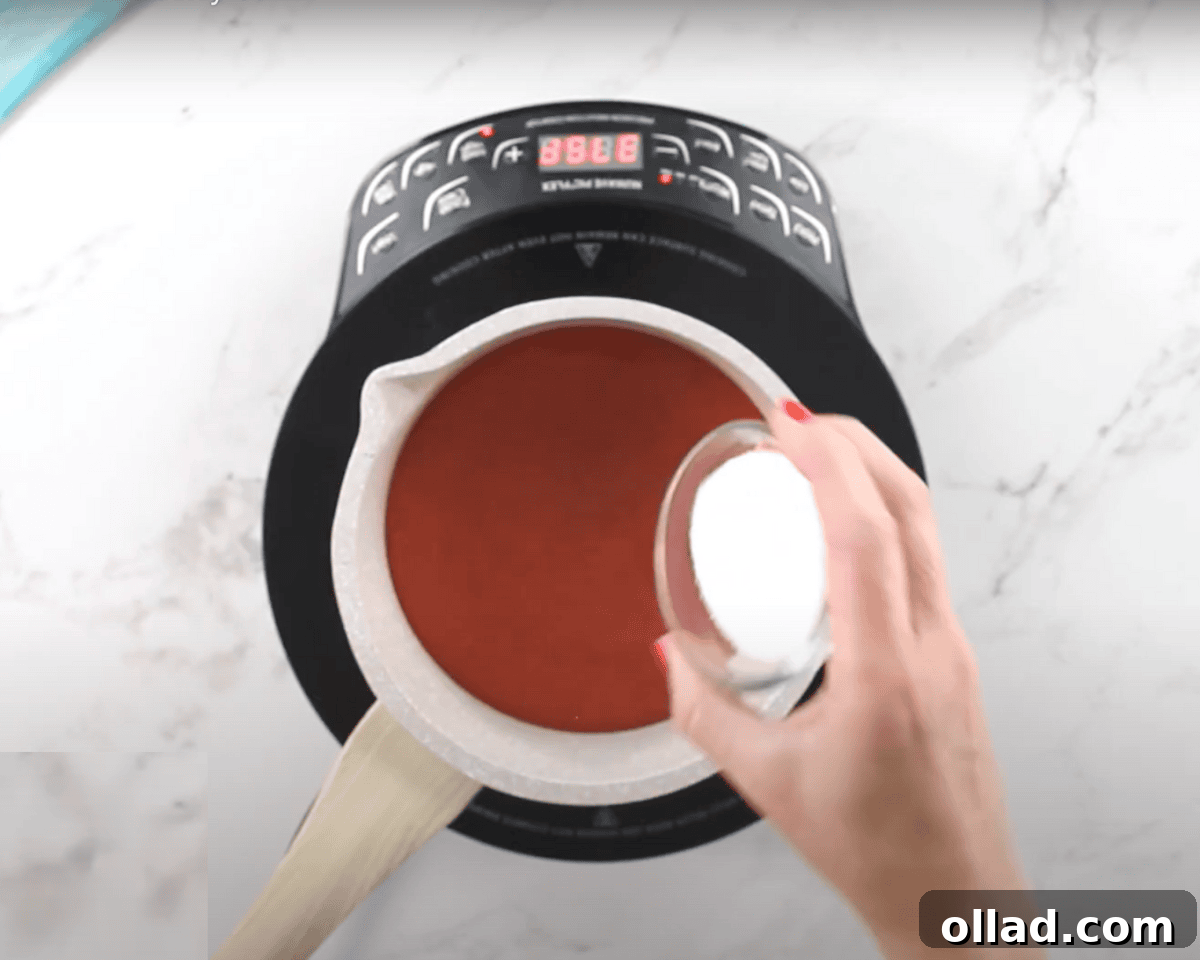
Transfer the strawberry puree into a small saucepan. Stir in the granulated sugar and, if using, the lemon juice. Bring the mixture to a gentle simmer over medium heat. Once it starts bubbling, reduce the heat to low and let it simmer for approximately 30 minutes, stirring occasionally. The goal is a thick, concentrated strawberry sauce, similar in consistency to tomato sauce. Once achieved, remove from heat and allow it to cool completely before refrigerating. This cooling step is vital for the cake’s texture.
Prepare the Cake Pans and Buttermilk
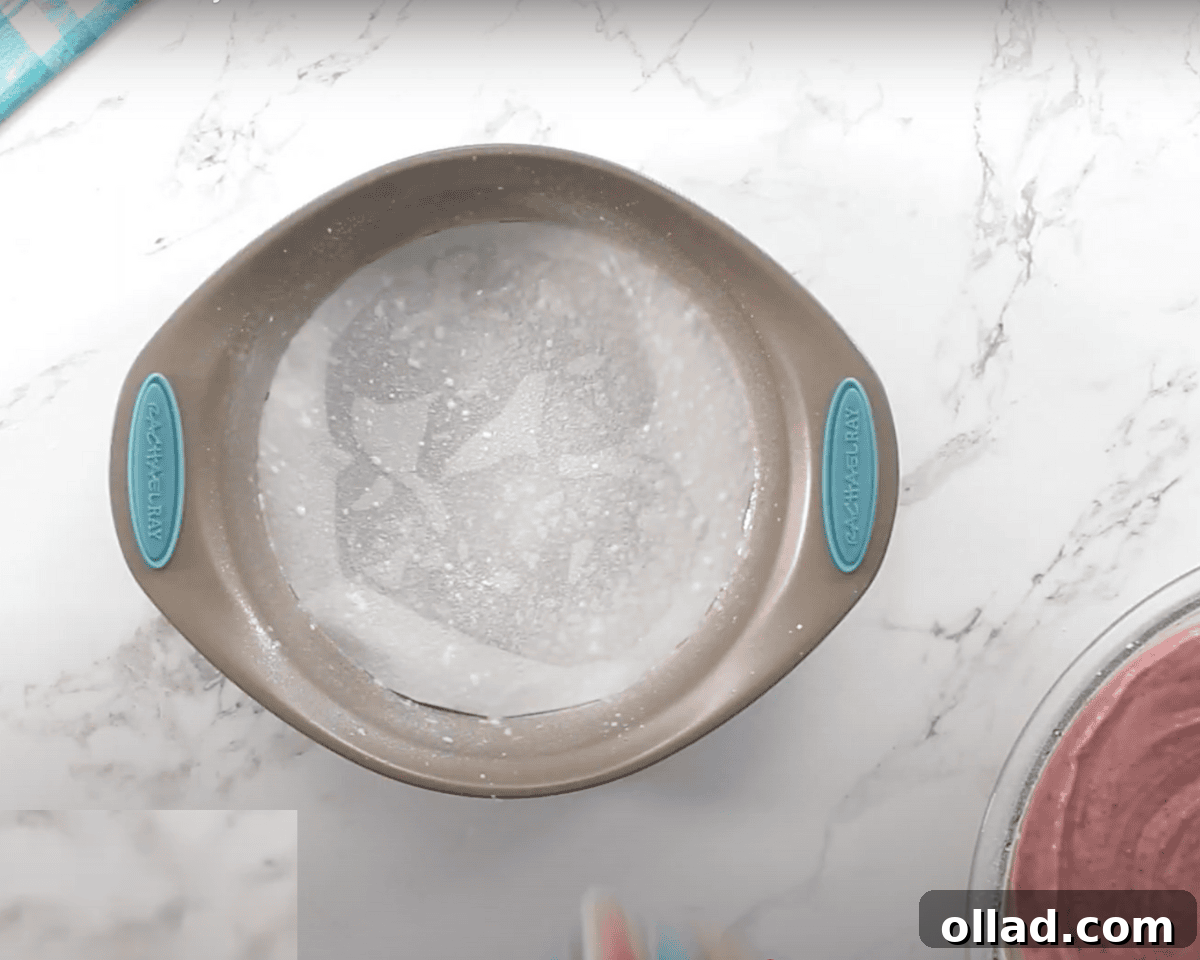
Preheat your oven to 350°F (175°C). Prepare two 9-inch cake pans by lining the bottoms with parchment paper cut to fit and spraying them generously with gluten-free cooking spray. In a separate measuring cup, combine ½ cup of milk (or dairy-free alternative) with 2 teaspoons of white vinegar (or lemon juice). Stir and let it sit in the refrigerator for 5 minutes to create homemade buttermilk, which adds moisture and tenderness to the cake.
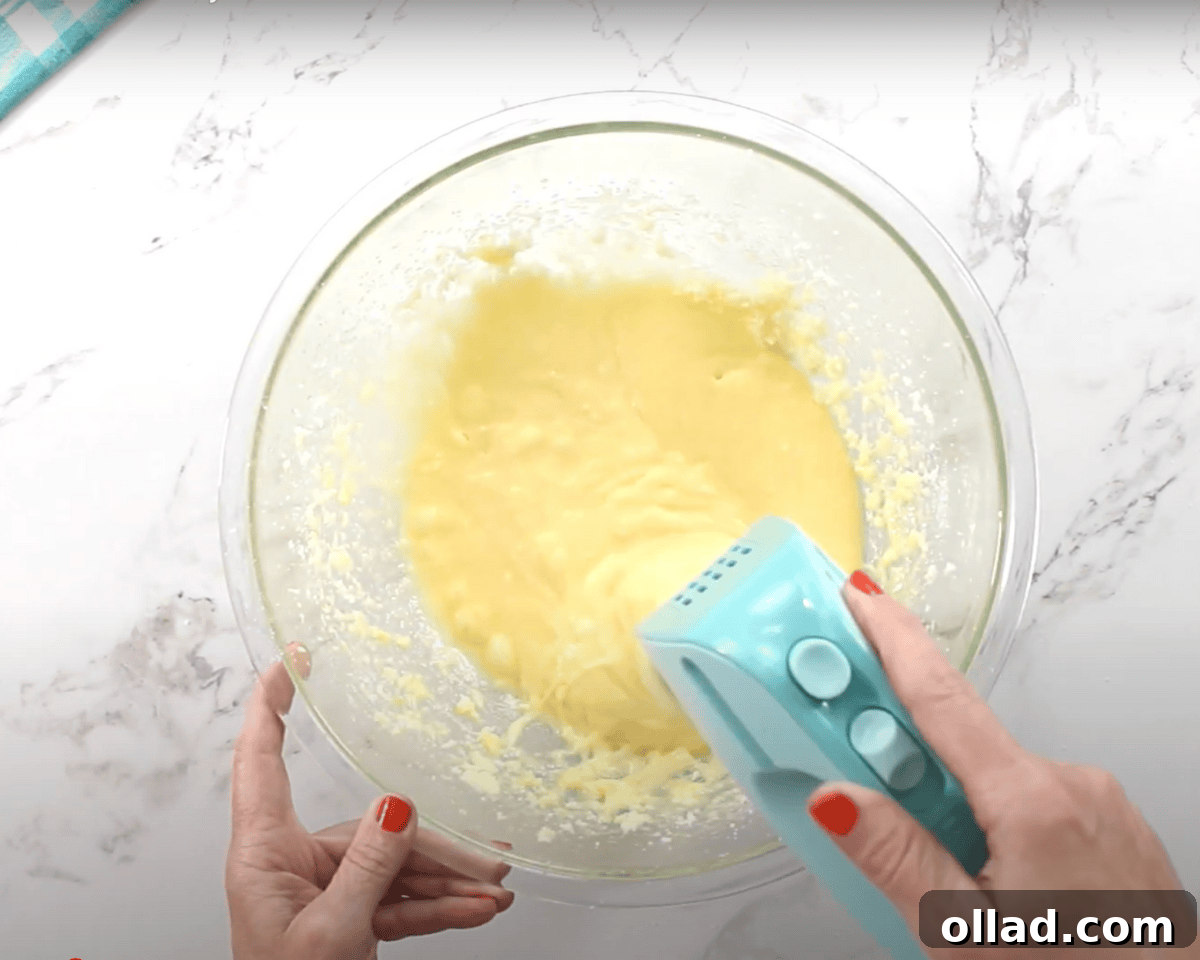
Cream the Butter and Sugar
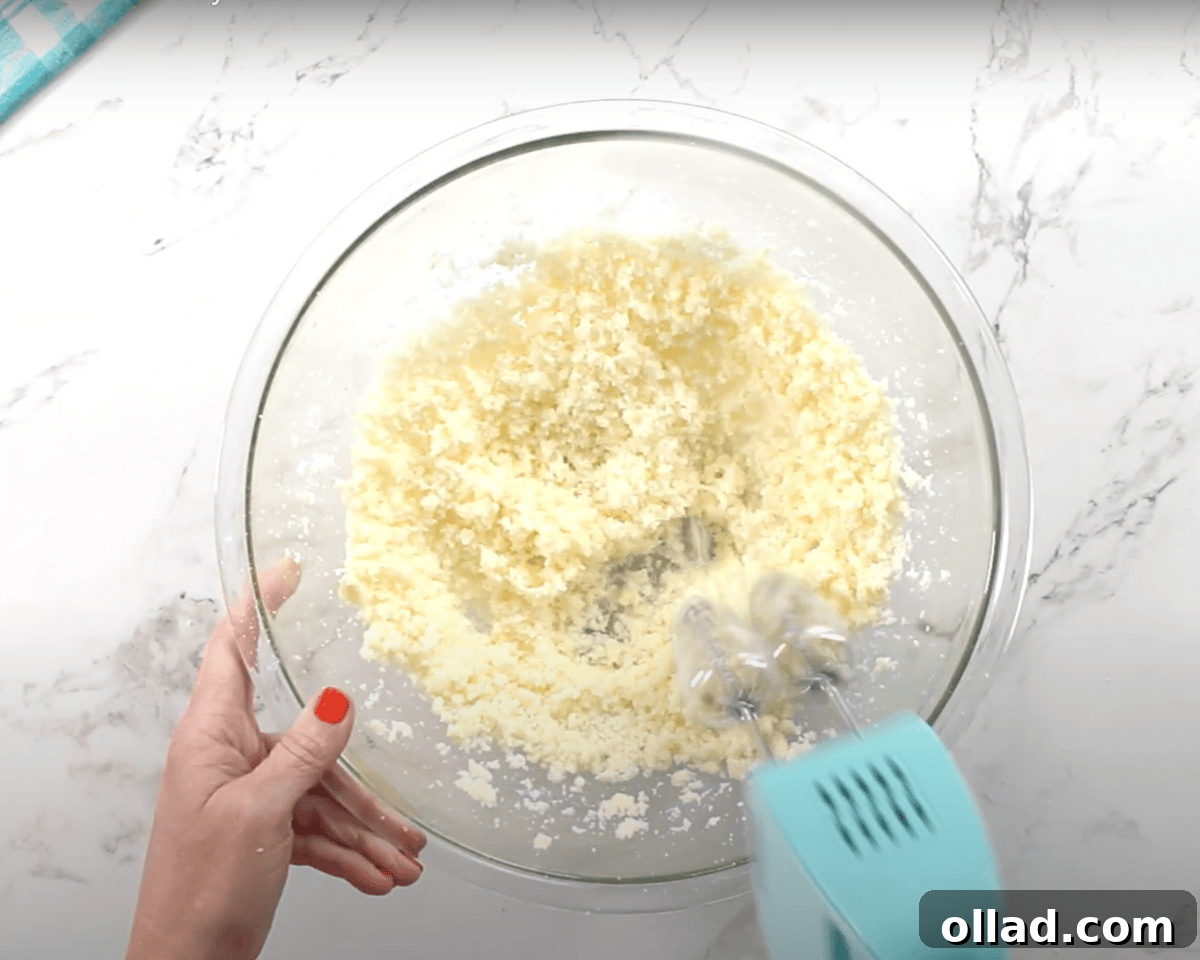
In a large mixing bowl, combine the softened unsalted butter (or dairy-free butter) with the granulated sugar. Using an electric mixer, cream these two ingredients together until the mixture is light, fluffy, and pale in color. This process incorporates air, which is crucial for a tender cake crumb.
Add Vanilla and Eggs
To the creamed butter and sugar mixture, add the pure vanilla extract and mix until well combined. Then, add the large eggs, one at a time, ensuring each egg is fully incorporated into the batter before adding the next. This helps maintain the batter’s emulsion and creates a smooth texture.
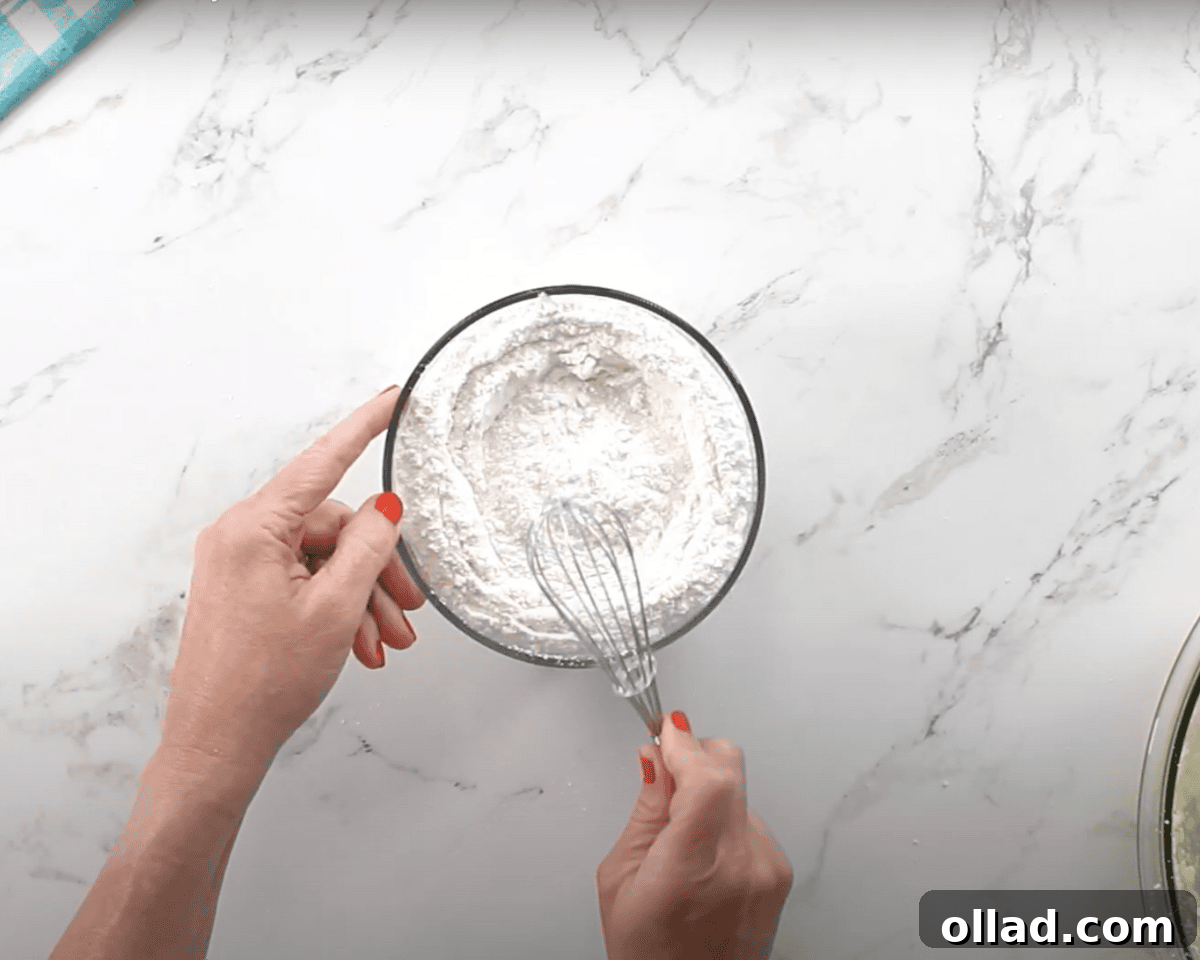
Combine the Dry Ingredients
In a separate medium bowl, whisk together the gluten-free all-purpose flour (with xanthan gum), gluten-free baking powder, baking soda, and salt. Ensure these dry ingredients are thoroughly combined to ensure even leavening throughout the cake.
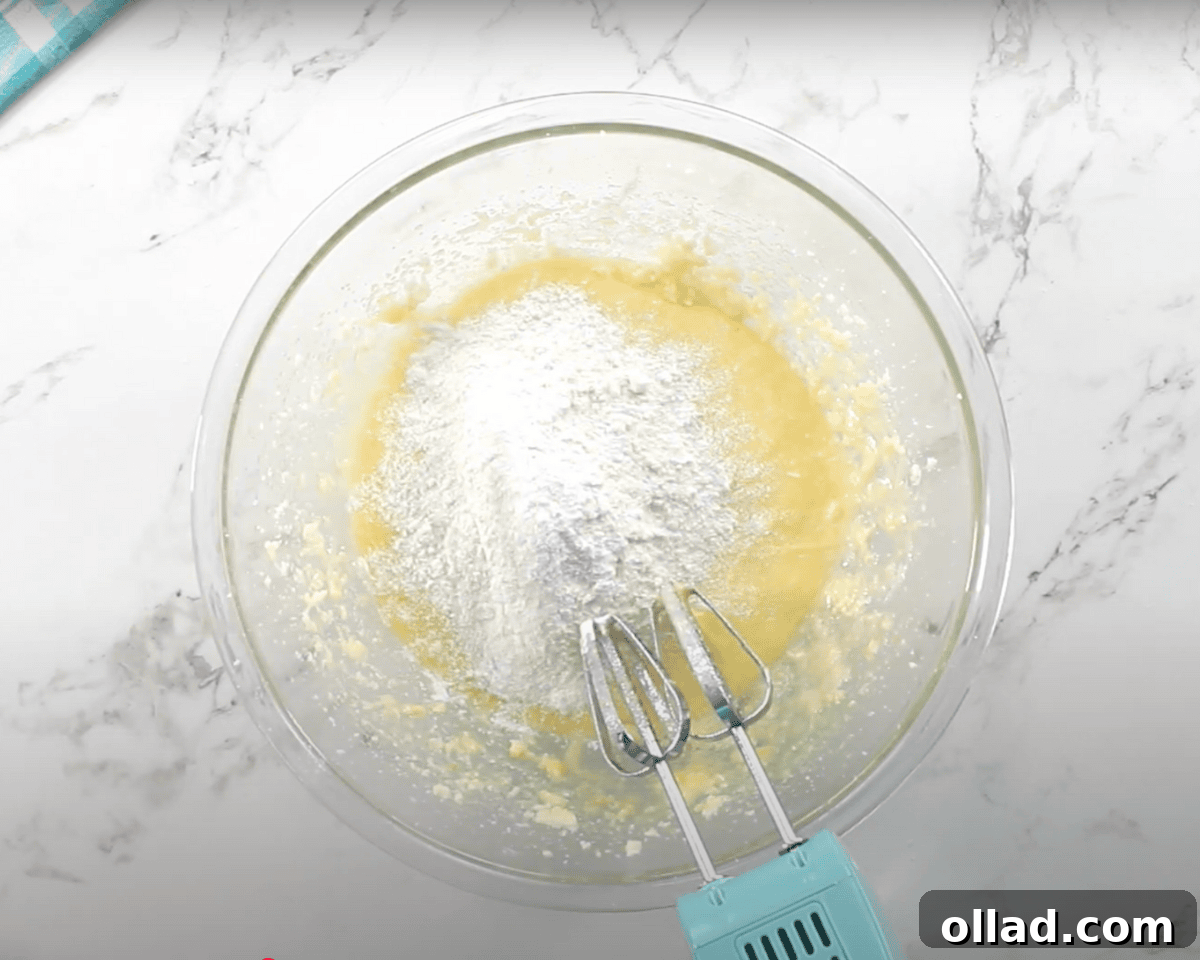
Mix Dry and Wet Ingredients
Gradually add the whisked dry ingredients to the creamed butter and sugar mixture. Mix on low speed until just combined, being careful not to overmix. Use a spatula to scrape down the sides of the bowl as needed to ensure everything is evenly incorporated.
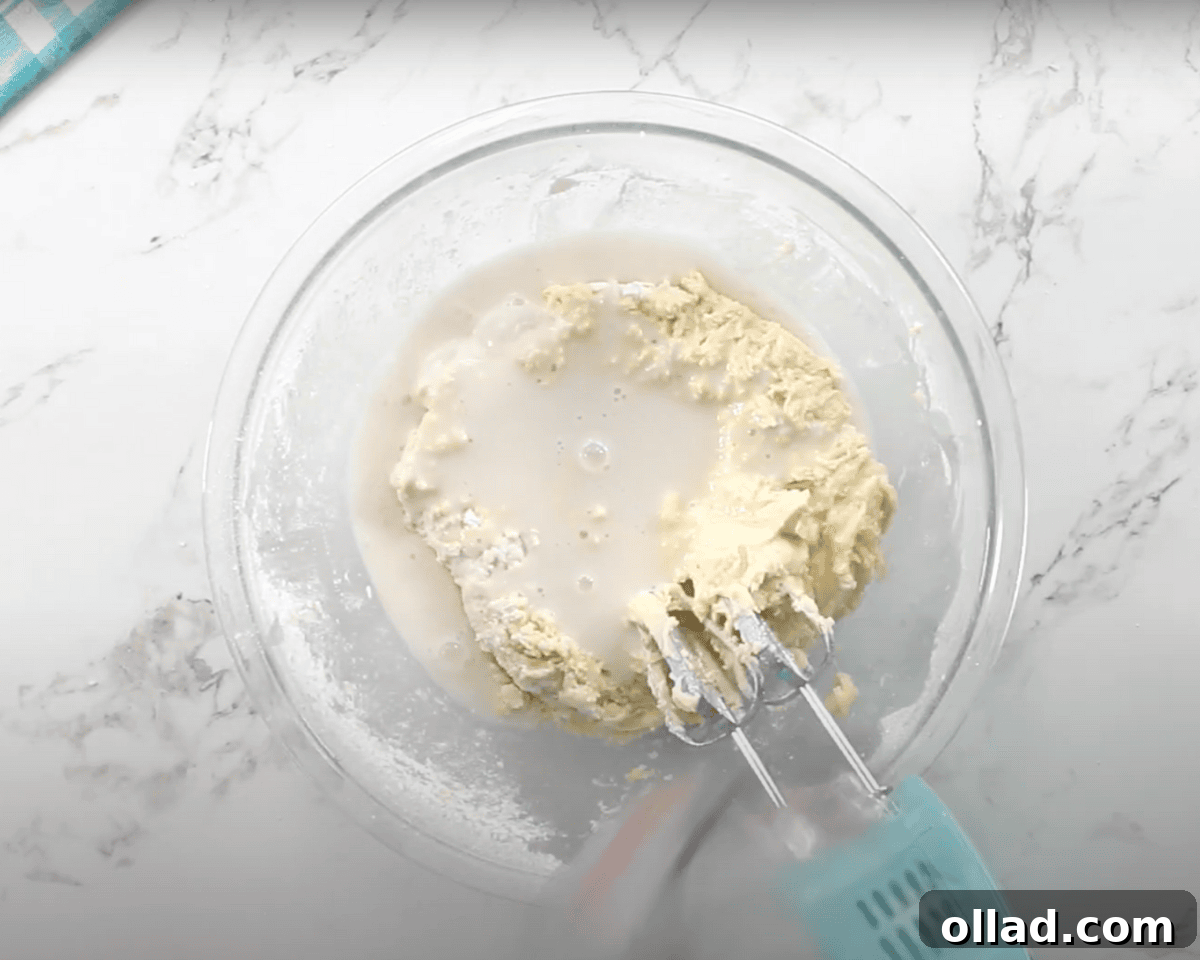
Add the Buttermilk
Pour in the prepared homemade buttermilk into the cake batter. Continue mixing on low speed until the buttermilk is fully combined with the batter. This step adds essential moisture and contributes to the cake’s tender crumb.
Incorporate the Strawberry Reduction
Gently fold in the completely cooled strawberry reduction into the cake batter. Mix until the reduction is evenly distributed, infusing the entire batter with rich strawberry flavor and a lovely natural pink hue. If you desire a more vivid pink, add 2 drops of pink or red gel food coloring here.
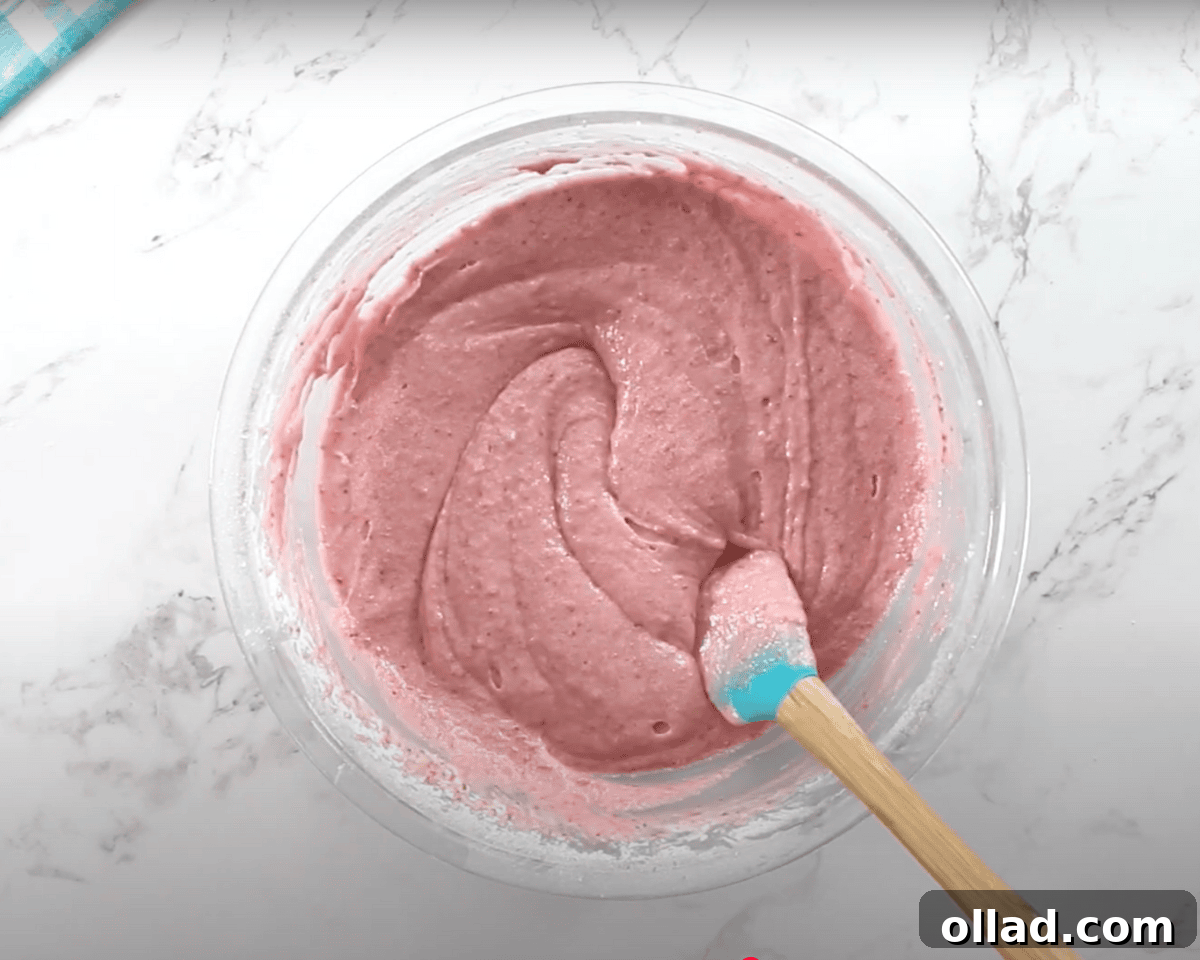
Fill the Cake Pans
Divide the finished cake batter evenly between your two prepared 9-inch cake pans. Gently tap the pans on the counter a couple of times to release any large air bubbles, ensuring an even bake.
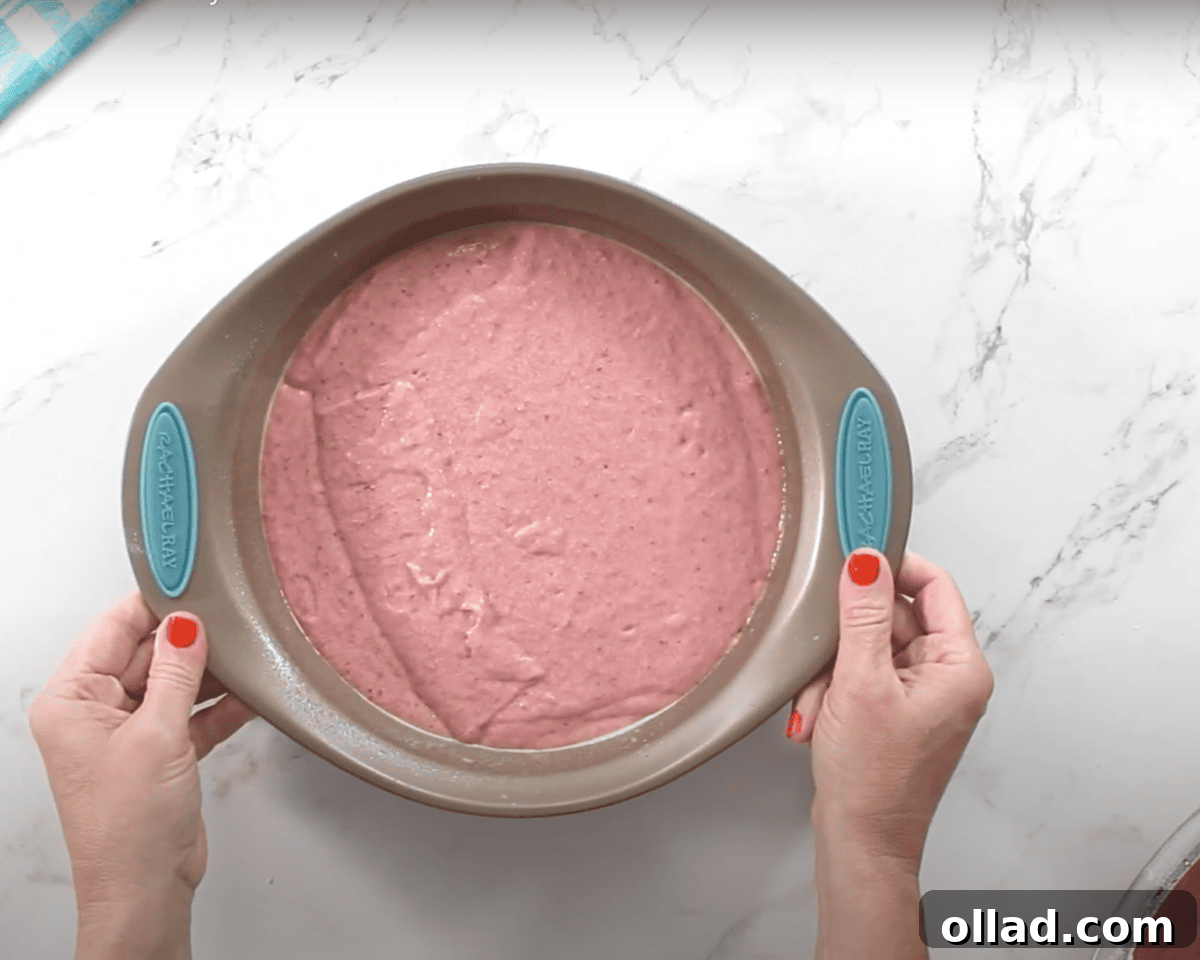
Bake the Cake
Bake the cake layers for 30-32 minutes. To check for doneness, insert a toothpick into the center of the cake; it should come out clean. You’ll also notice the cake edges gently pulling away from the sides of the pan. Remember that oven temperatures can vary, so keep an eye on them. Once baked, let the cakes cool completely on a wire rack before moving on to frosting.
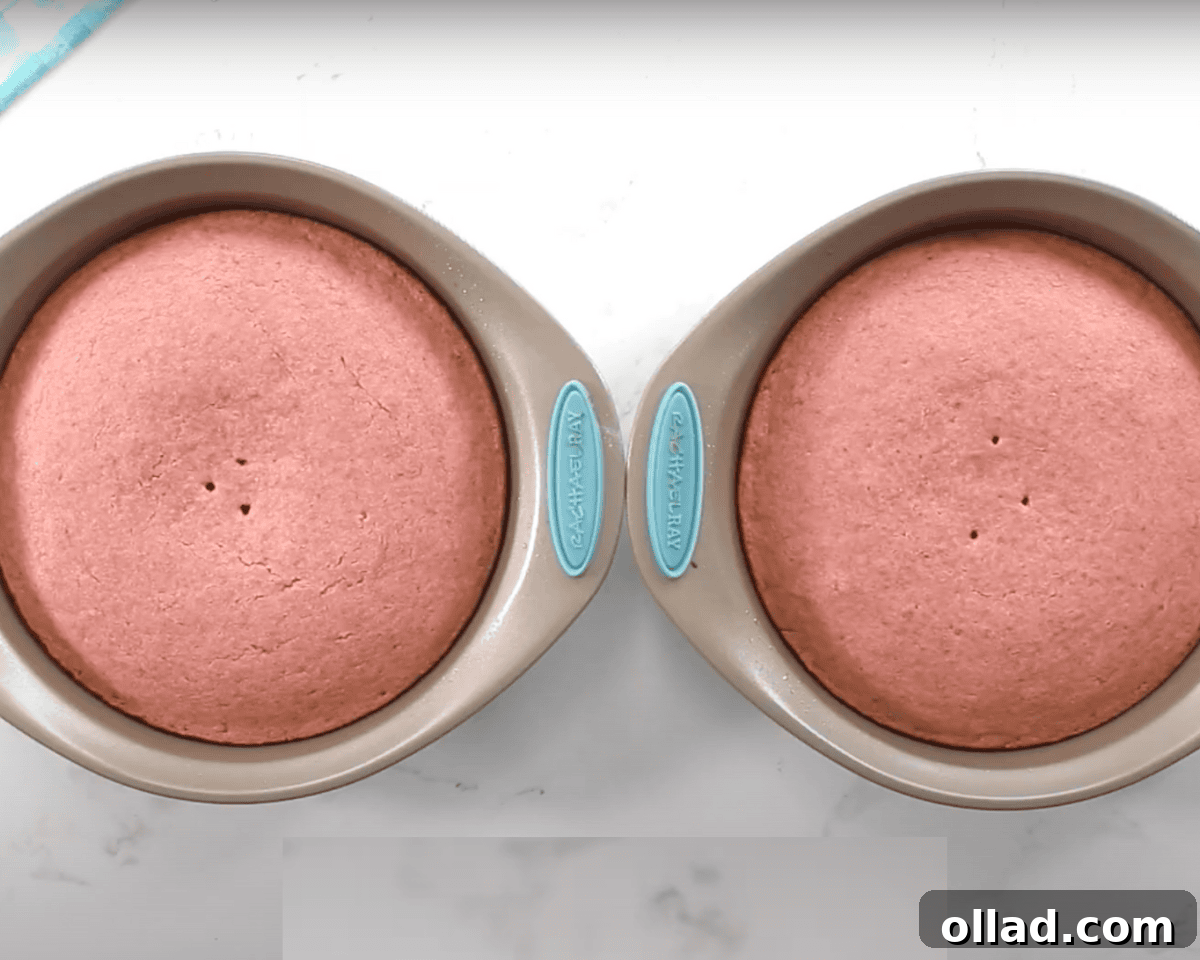
Make the Buttercream Frosting
To create the flavorful strawberry powder for your buttercream, add 1 cup of freeze-dried strawberries to a food processor or blender. Process them until they are ground into a fine, aromatic powder. This ensures a concentrated strawberry flavor without adding extra moisture.
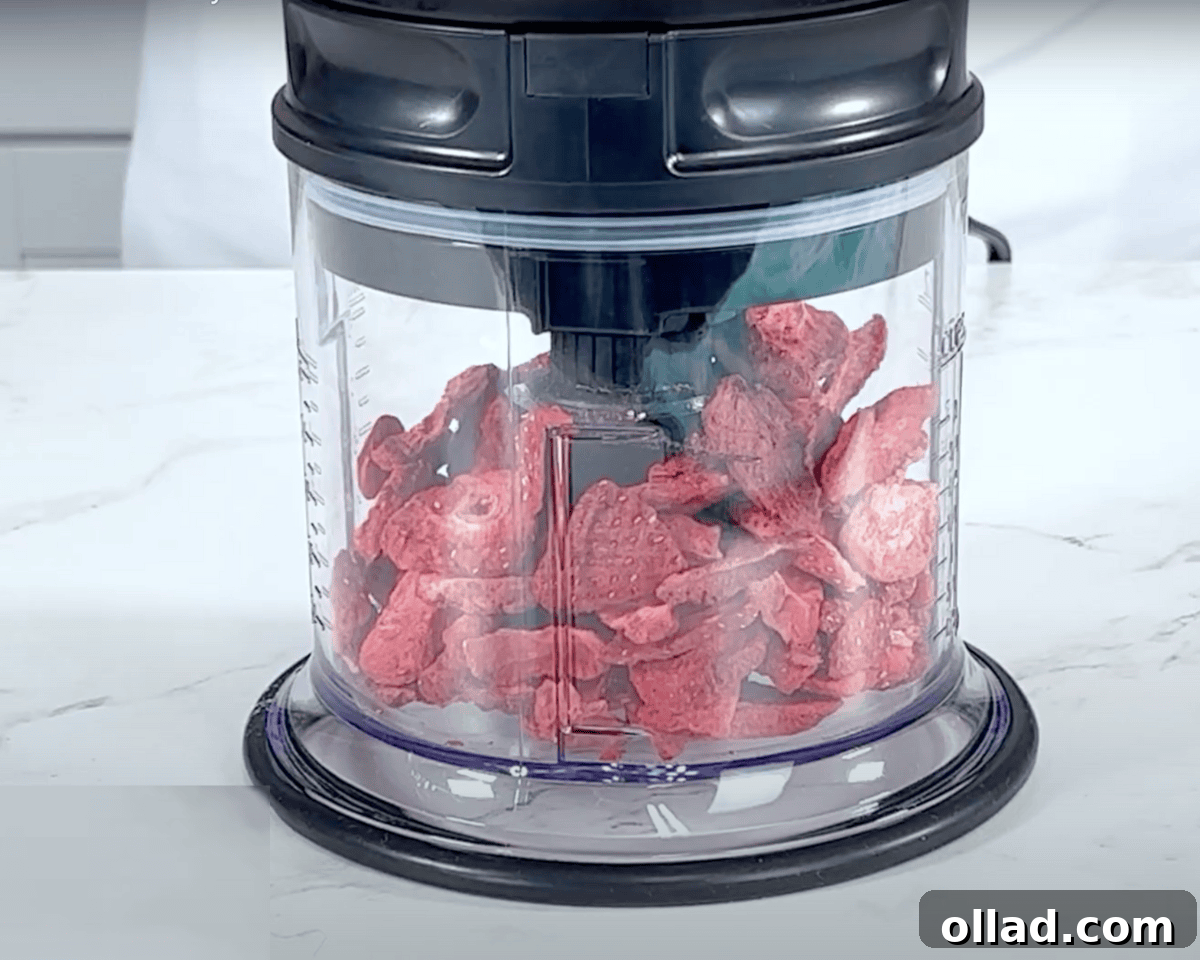
Cream the Butter for Frosting
In a large bowl, place the softened unsalted butter (or dairy-free alternative). Using an electric mixer, cream the butter until it is smooth, light, and fluffy. This aerates the butter, which is essential for a light and airy buttercream texture. Then, mix in the vanilla extract and salt until fully combined, scraping the sides of the bowl as needed.
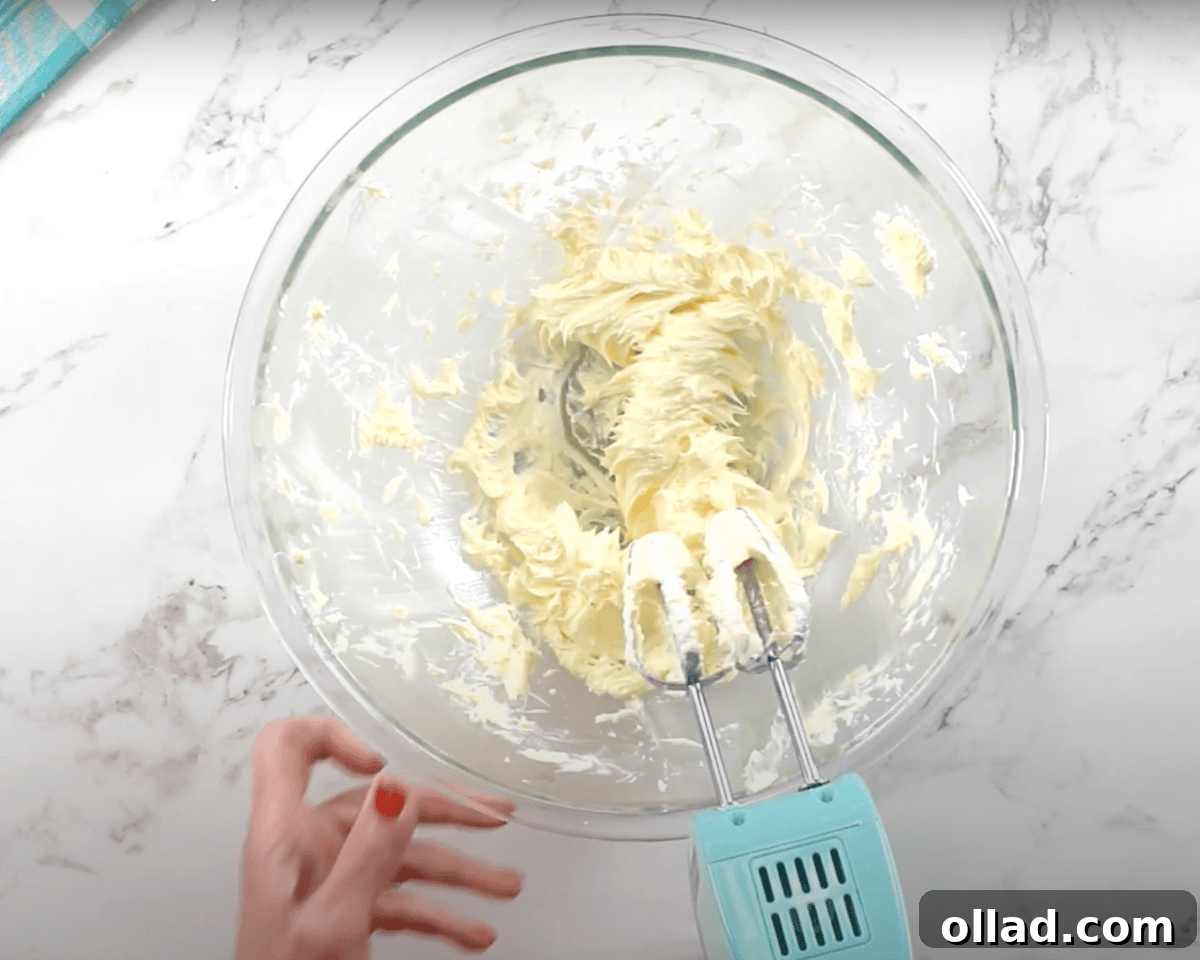
Incorporate the Powdered Sugar
Gradually add the powdered sugar to the creamed butter, one cup at a time. Mix on low speed until each addition is incorporated, then increase speed slightly to combine fully. Continue until all 4 cups of powdered sugar are added and the frosting is thick and firm. This gradual addition prevents sugar clouds and ensures a smooth buttercream.
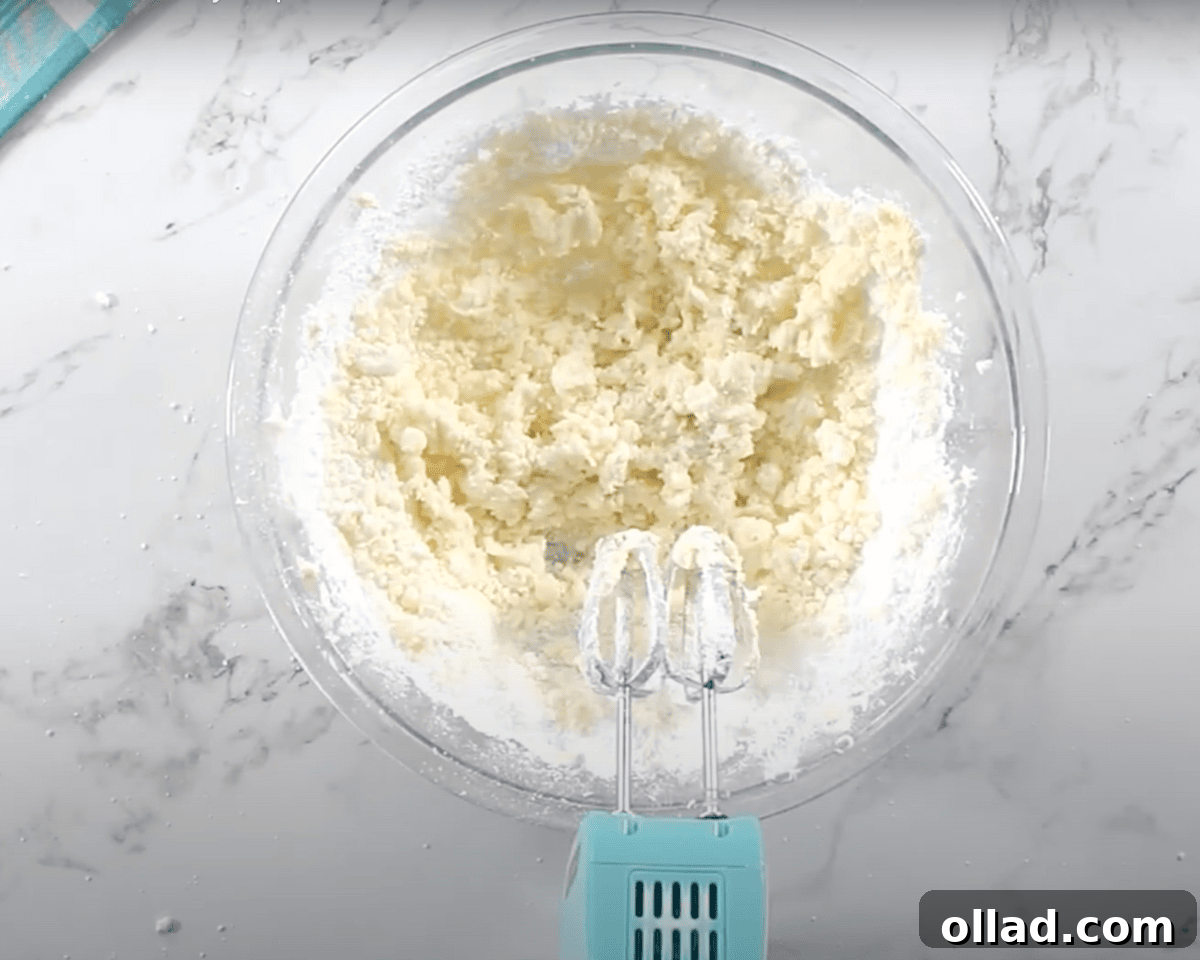
Mix in the Strawberry Powder and Milk
Add the prepared freeze-dried strawberry powder to the buttercream and mix until it’s fully combined and the frosting takes on a lovely pink hue. Then, add 2-4 tablespoons of milk (or dairy-free alternative) one tablespoon at a time, mixing until the frosting reaches your desired smooth, spreadable consistency.
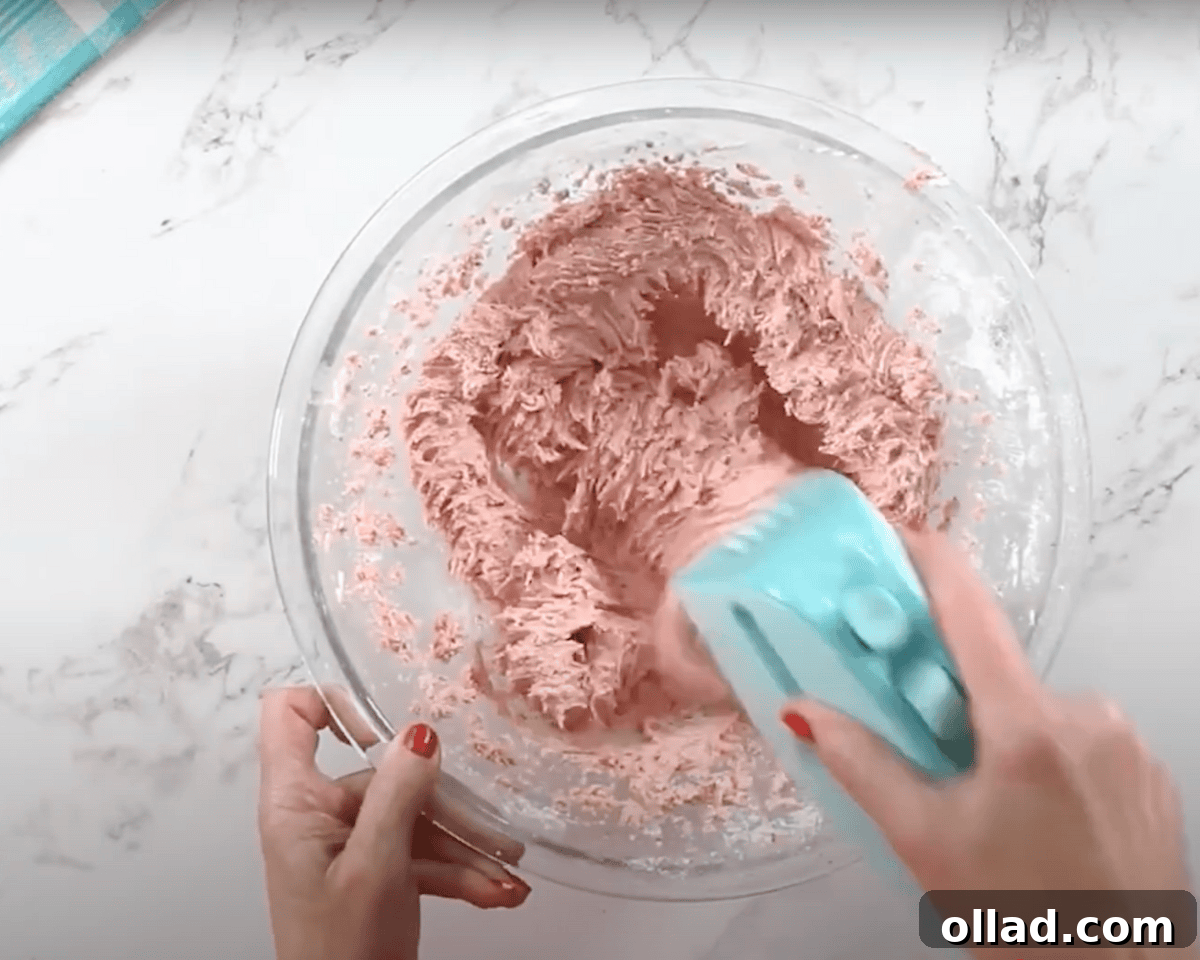
Frost the Cake
Place the first cooled cake layer on your chosen serving plate or cake stand. Spread a generous amount of strawberry buttercream evenly over the top, creating the delicious filling. Carefully place the second cake layer on top. Use the remaining frosting to cover the top and sides of the entire cake. For an elegant touch, you can use a piping bag with a Wilton 1M tip to create decorative swirls on top. Slice, serve, and enjoy your beautiful homemade gluten-free strawberry cake!
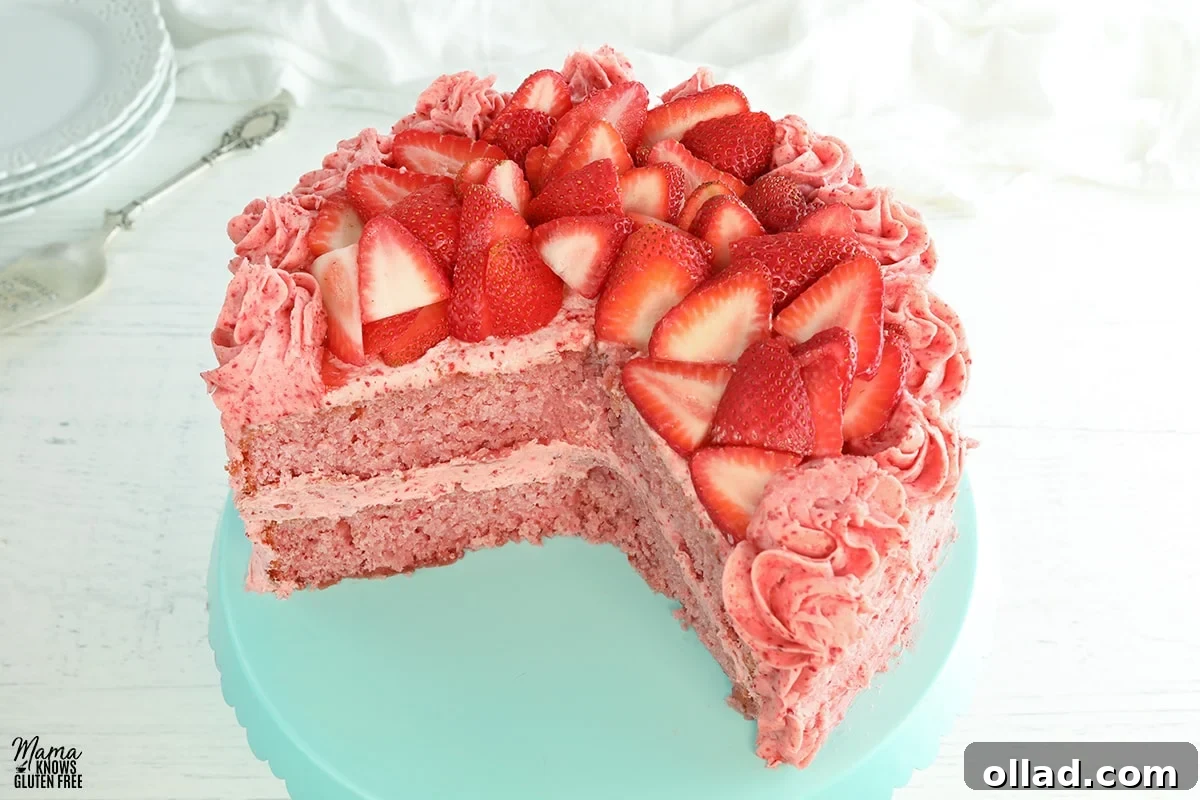
Serving Suggestions
This gluten-free strawberry cake is a showstopper on its own, but a few simple additions can elevate the experience even further. I love serving each slice with a generous layer of the vibrant strawberry buttercream frosting, often garnished with a few fresh strawberry slices for a beautiful, natural flourish that highlights the cake’s key ingredient. For an extra touch of indulgence, a dollop of freshly whipped cream or a delicate dusting of powdered sugar just before serving can make it truly special. This cake pairs wonderfully with a comforting hot cup of coffee, a light herbal tea, or a refreshing glass of iced tea, making it a versatile treat for any time of day. It’s truly a perfect centerpiece for brunch, birthdays, or any gathering where you want to impress with a deliciously homemade dessert.
Storage Instructions
To keep your gluten-free strawberry cake fresh and delicious, store any leftovers in an airtight container. Alternatively, you can cover the entire cake tightly with plastic wrap to prevent it from drying out. Refrigerate the cake, and it will remain wonderfully moist and flavorful for several days.
More Gluten-Free Cakes to Discover
If you’ve fallen in love with this strawberry sensation, you’ll be thrilled to explore more delicious gluten-free baking possibilities. Here are some other fantastic gluten-free cake recipes that are sure to become new favorites in your kitchen:
- Gluten-Free Strawberry Shortcake
- Gluten-Free Carrot Cake
- Gluten-Free Angel Food Cake
- Gluten-Free Chocolate Cake
We hope you enjoy baking and sharing these delightful gluten-free creations with your loved ones!