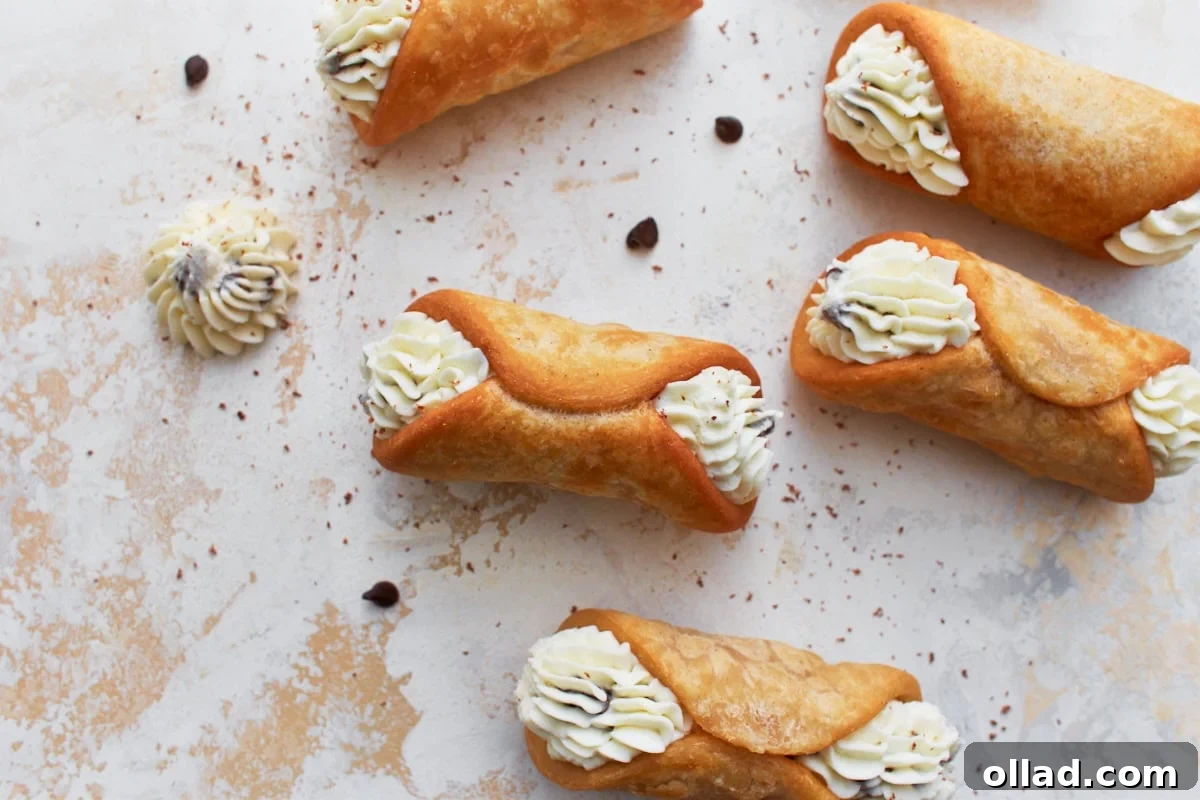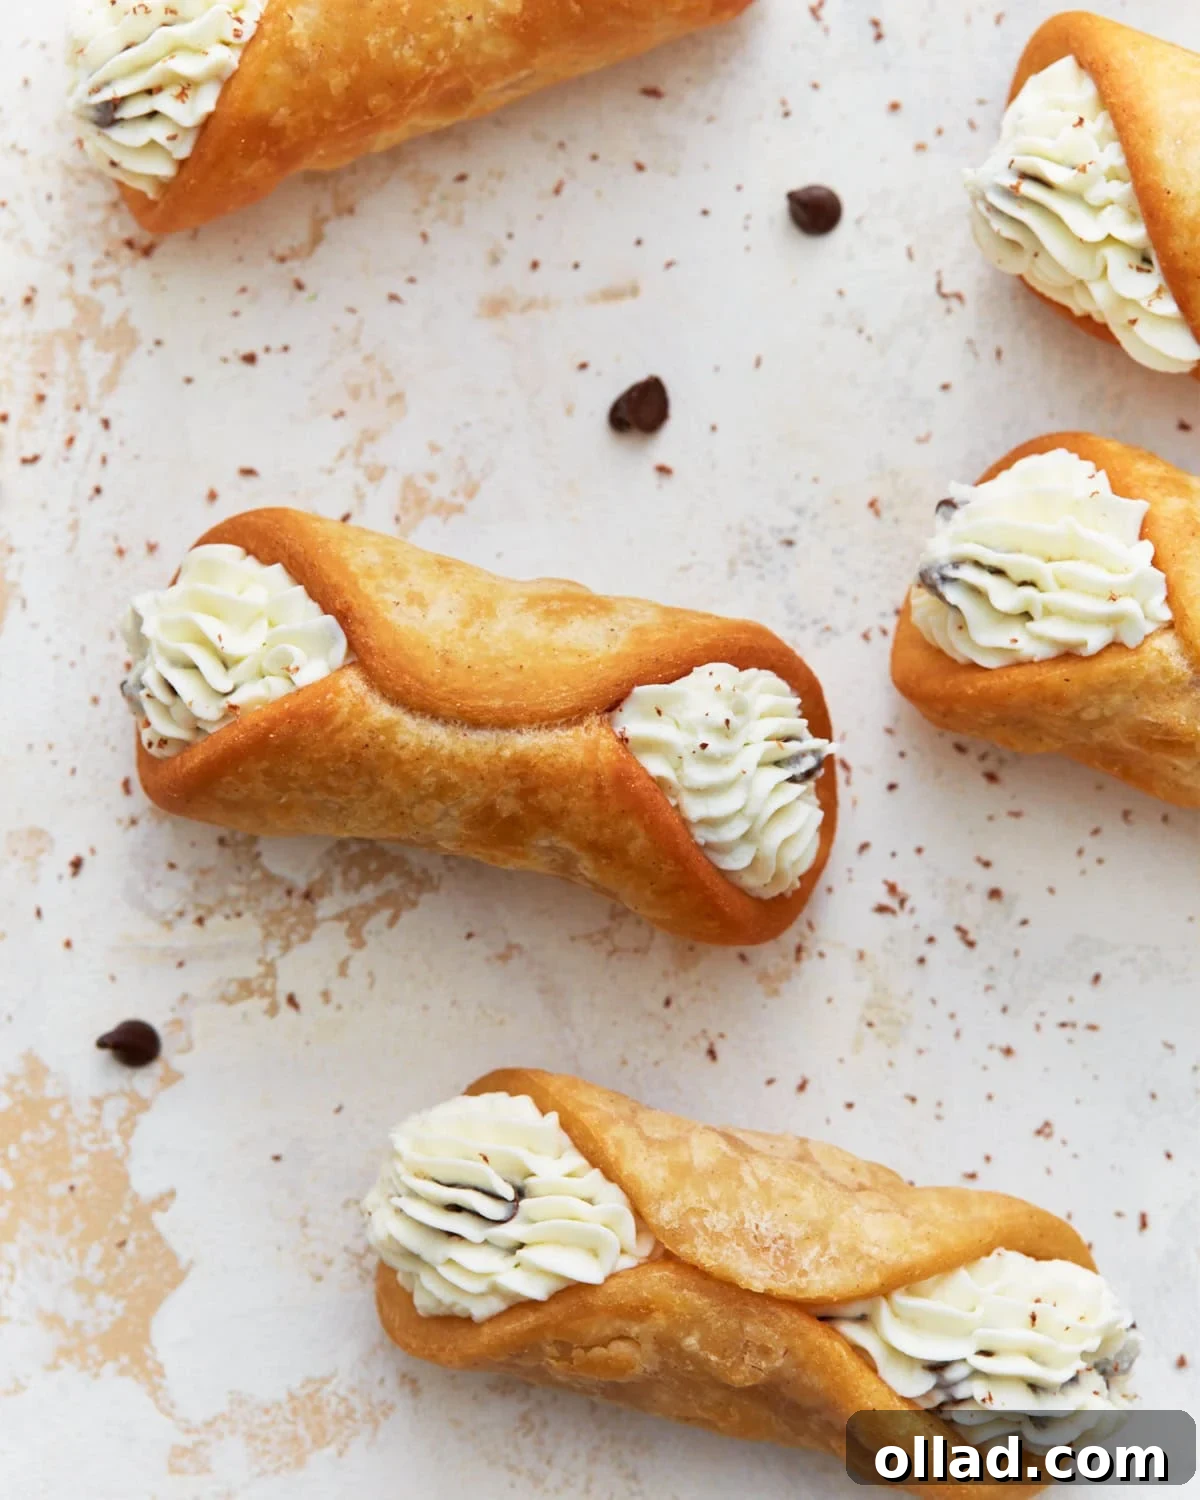
Unlock the secret to creating truly exceptional gluten-free cannoli right in your own kitchen. This comprehensive guide will walk you through every step, from crafting the perfect crispy, golden shells to preparing a rich, creamy, and irresistibly sweet ricotta filling. Say goodbye to compromising on flavor or texture; our easy-to-follow recipe ensures a delightful Italian dessert experience that’s entirely gluten-free and utterly delicious. Whether you’re a seasoned baker or new to the world of gluten-free treats, this recipe is designed for success, promising cannoli that are so good, everyone will want a second bite.
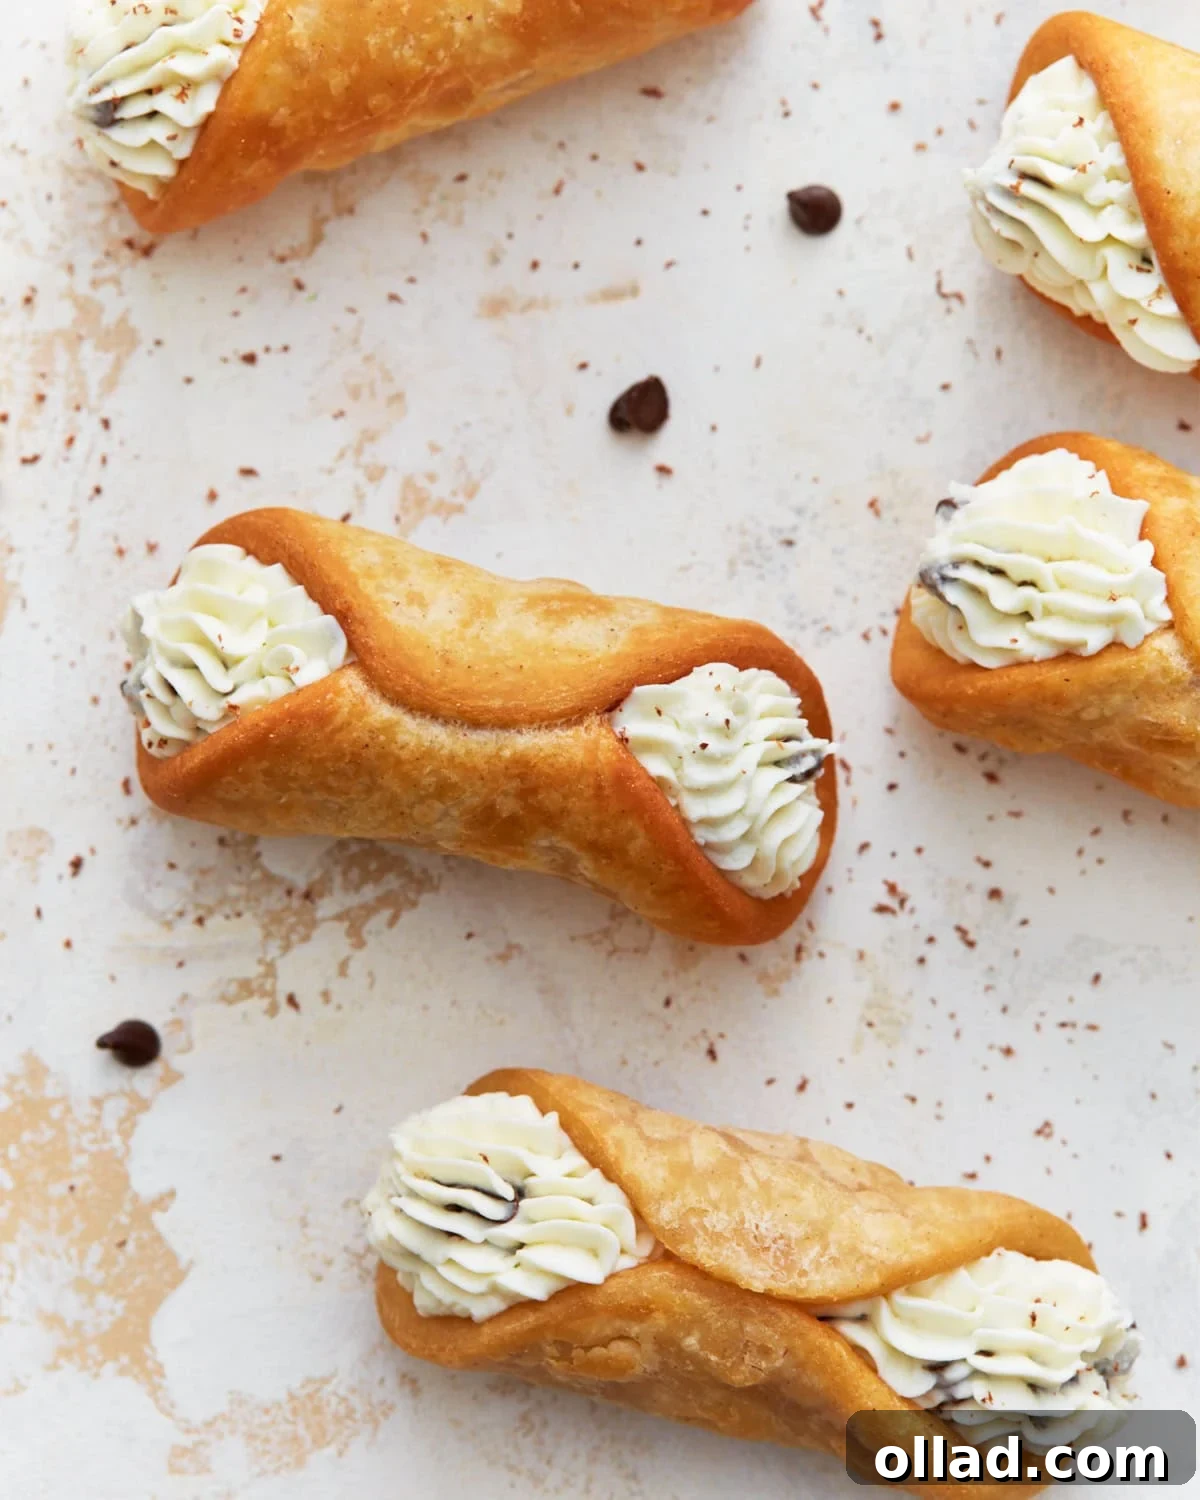
Mastering the Art of Gluten-Free Cannoli
There’s a special kind of magic in biting into a freshly made cannolo – that satisfying crunch of the shell followed by the cool, luscious sweetness of the filling. For those managing gluten sensitivities or celiac disease, this classic Italian indulgence often remains a distant dream. But not anymore! This recipe empowers you to create homemade gluten-free cannoli that are so authentic in taste and texture, you might just forget they’re gluten-free.
Our journey began with a passion for bringing beloved desserts to everyone, regardless of dietary needs. The first time we perfected these homemade cannoli using a gluten-free flour blend, the result was nothing short of revolutionary. The outer shell, meticulously fried to a perfect golden crisp, provided the ideal counterpoint to the velvety mascarpone and ricotta cheese blend inside. It’s a symphony of textures and flavors that will transport your taste buds straight to Sicily.
Making these classic Italian pastries is not just a cooking project; it’s an enjoyable culinary adventure. Even the kids love getting involved, making it a wonderful family activity. The beauty of this recipe lies in its balanced sweetness – each bite allows the rich flavors of the cheese and the delicate hint of vanilla to truly shine, especially with the delightful textural contrast of mini chocolate chips. These cannoli are an absolute triumph, making them one of our favorite desserts to share at gatherings. They’re portion-perfect, impressive, and most importantly, safe and delicious for all your gluten-intolerant friends and family members.
Key Ingredients for Authentic Gluten-Free Cannoli
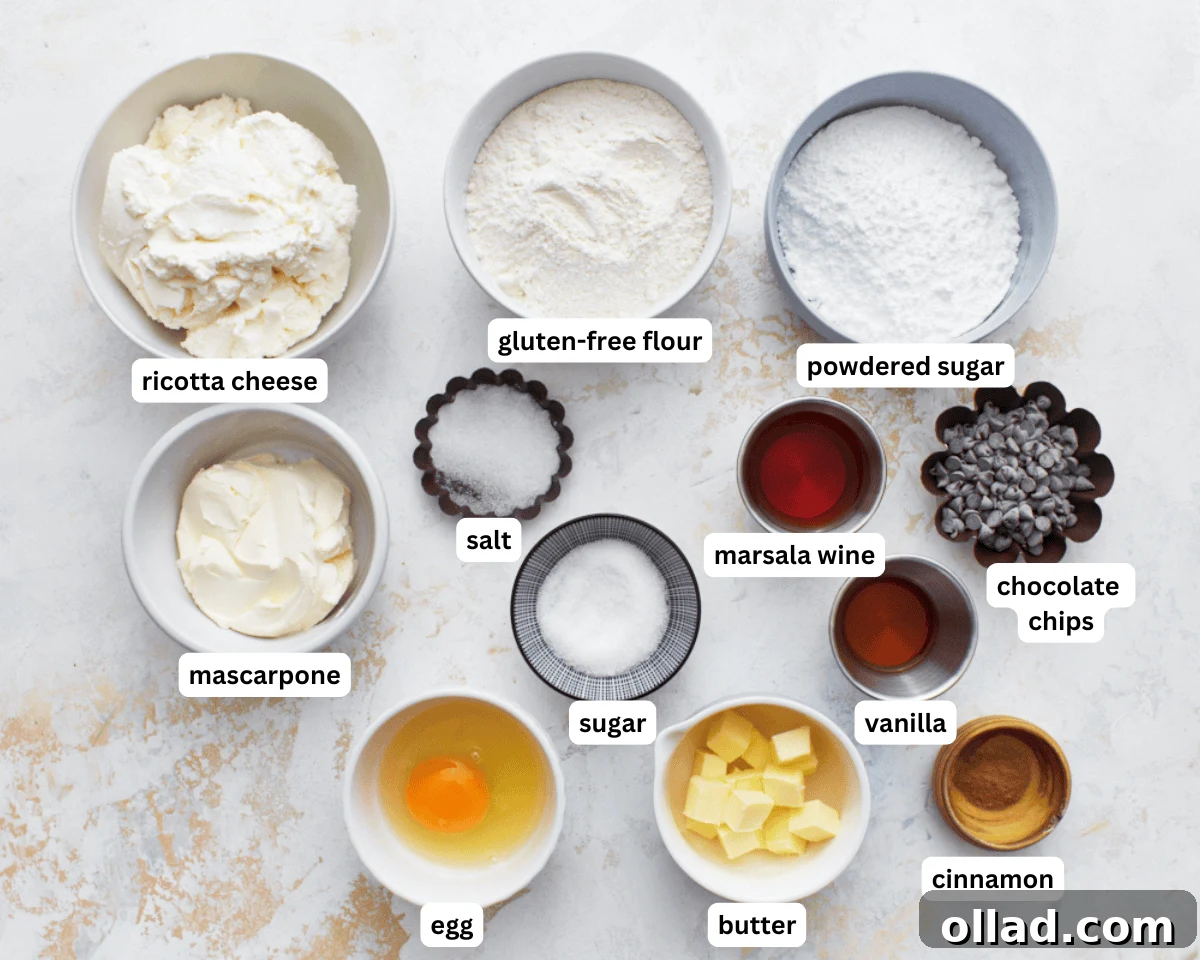
Creating extraordinary gluten-free cannoli begins with selecting the right ingredients. Each component plays a vital role in achieving that perfect crispy shell and divinely creamy filling. Here’s a closer look at what you’ll need and why each element is essential:
- Gluten-Free All-Purpose Flour Blend: The foundation of our gluten-free shells. Opt for a high-quality blend designed for baking, as it typically includes a mix of flours (like rice flour, potato starch, tapioca flour) that mimic the properties of wheat flour. Many reputable brands, such as Pillsbury Gluten-Free Flour, already incorporate xanthan gum, which simplifies the process.
- Xanthan Gum: A crucial ingredient for gluten-free baking. It acts as a binder, providing elasticity and structure to the dough, which is normally supplied by gluten. If your chosen flour blend already contains xanthan gum, you can omit this addition.
- Sugar: Adds a subtle sweetness to the cannoli shells, enhancing their flavor without making them overtly sweet.
- Cinnamon: A pinch of cinnamon imparts a warm, aromatic spice note to the dough, a traditional touch that complements the rich filling beautifully.
- Salt: Essential for balancing the sweetness and intensifying the flavors in the dough. It also plays a minor role in dough structure.
- Egg: The egg acts as a primary binding agent, helping to hold the gluten-free dough together and contributing to its texture and richness.
- Cold Butter: The secret to flaky, tender shells. Using cold, cubed butter and incorporating it minimally helps create pockets of steam during frying, resulting in those desired crispy layers.
- Marsala Wine: A traditional ingredient that adds depth of flavor and tenderizes the dough, contributing to the cannoli’s authentic taste. If Marsala wine isn’t available, white vinegar or apple cider vinegar can be used as alternatives, though they may slightly alter the flavor profile.
- Frying Oil: Choose an oil with a high smoke point to ensure proper frying without burning. Vegetable oil is a common choice, but avocado oil or canola oil are also excellent options for achieving perfectly golden and crisp shells.
- Ricotta Cheese and Mascarpone Cheese: The stars of our creamy filling. A combination of both cheeses yields a filling that is incredibly light, smooth, and delicately sweet. Ricotta provides the classic texture, while mascarpone adds an unparalleled richness and silky consistency.
- Powdered Sugar: Also known as confectioners’ sugar, it dissolves easily to create a smooth, lump-free filling and provides concentrated sweetness. Sifting it before use is recommended.
- Vanilla Extract: A classic flavoring that enhances the overall sweetness and provides a comforting, warm aroma to the creamy filling.
- Mini Chocolate Chips: An optional but highly recommended garnish. Folding them into the filling or using them to decorate the ends of the filled cannoli adds a wonderful burst of chocolatey flavor and an enjoyable textural contrast.
Expert Tips for Gluten-Free Cannoli Success
Achieving cannoli perfection, especially in its gluten-free form, involves a few key techniques. Follow these expert tips to ensure your shells are perfectly crisp and your filling is exquisitely creamy every time:
- Handle the Dough Gently: Gluten-free dough can be more delicate than traditional dough. Avoid overworking it. Mix until just combined to prevent the shells from becoming tough. Gentle handling will yield a tender, flaky result.
- Roll Dough Extra Thin: The thinner you roll the dough, the crispier your shells will be. Aim for an almost translucent thickness, about 1/8-inch, to achieve that signature cannoli crunch.
- Improvise Cannoli Forms: No cannoli forms? No problem! You can easily create your own by rolling aluminum foil into small, tubular shapes. Alternatively, use heat-safe tubular utensil handles. Remember to lightly oil these improvised forms to prevent the dough from sticking.
- Monitor Oil Temperature: The correct oil temperature is paramount for perfectly fried shells. Use a kitchen thermometer to ensure your frying oil reaches precisely 350°F (175°C). Test a small piece of scrap dough before frying the full shells. If it bubbles immediately and floats to the top, your oil is ready.
- Drain Immediately: As soon as the shells are golden brown, remove them from the oil and place them on a wire rack or paper towels to drain excess oil. This crucial step helps maintain their crispness and prevents them from becoming greasy.
- Adjust Dough Consistency: Gluten-free flours can vary in absorption. If your dough feels too dry and crumbly, add Marsala wine (or water) one teaspoon at a time, mixing after each addition, until the dough comes together and is pliable.
- Fill Just Before Serving: This is perhaps the most important tip for crispy cannoli. Ricotta filling contains moisture, which can quickly soften the delicate shells. To prevent soggy cannoli, always fill them immediately before serving.
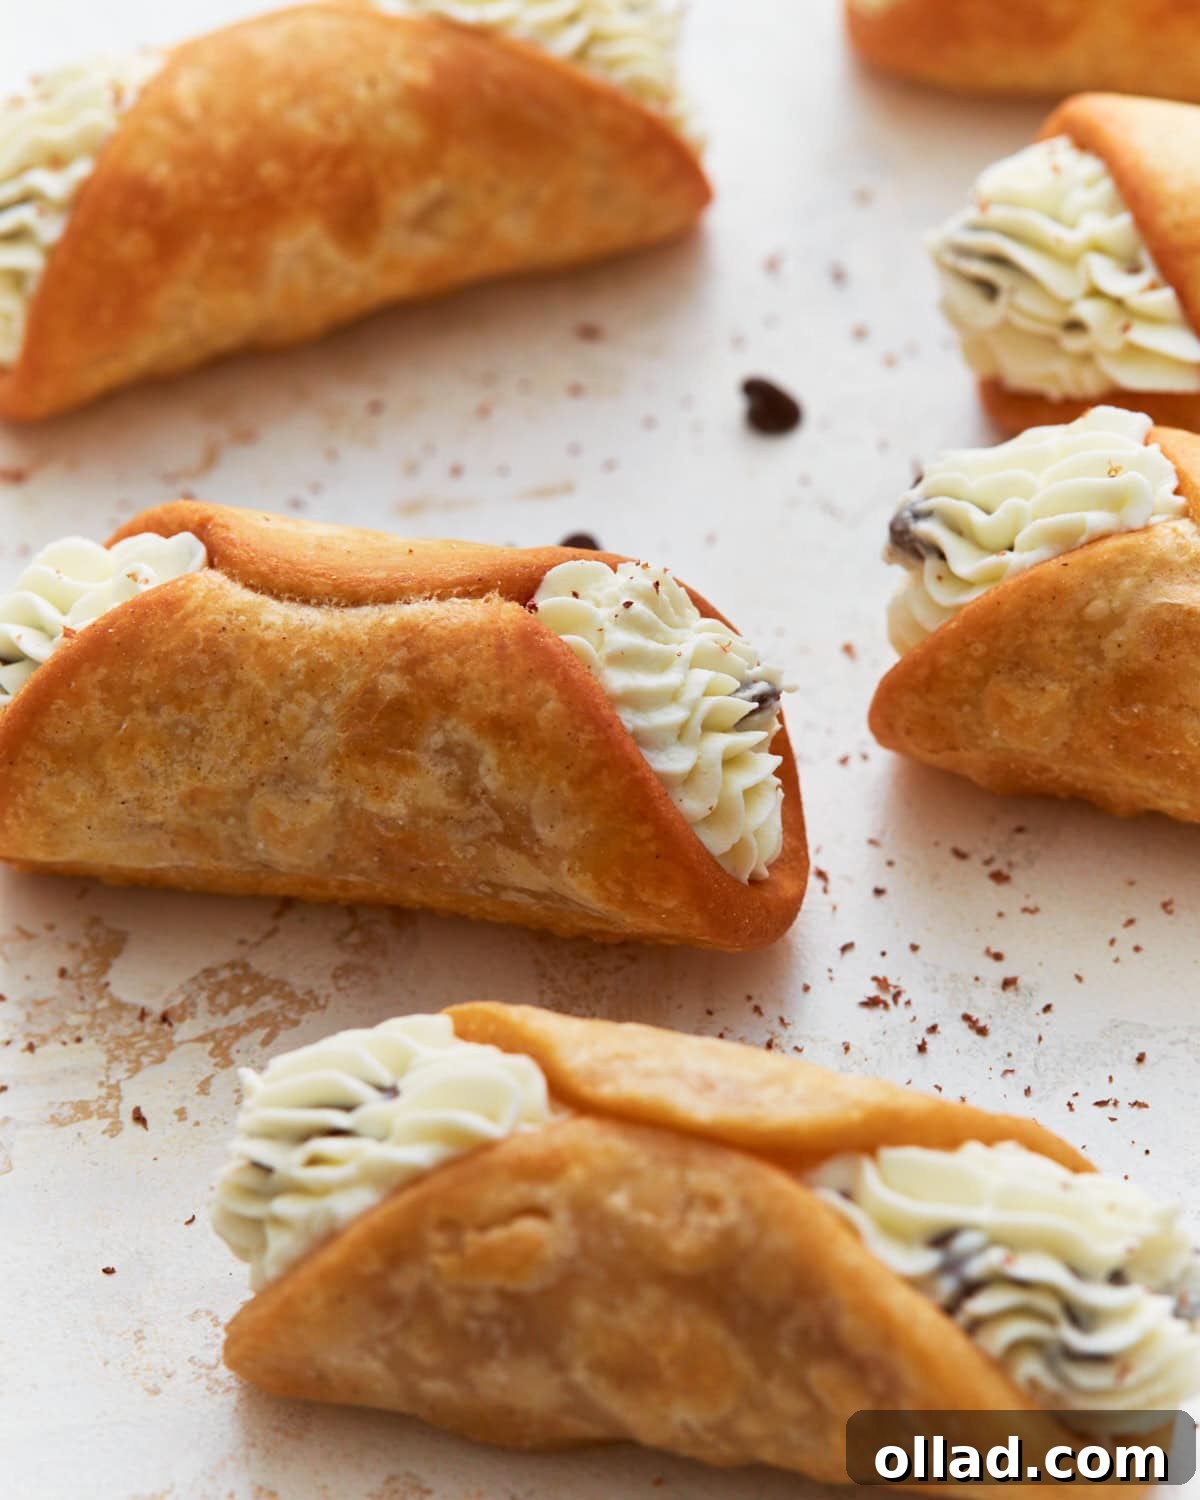
Creative Serving and Topping Ideas
While classic gluten-free cannoli are delightful on their own, experimenting with serving suggestions and toppings can elevate your dessert experience. Imagine indulging in these crispy delights with an afternoon coffee, or presenting them as the star of your next dinner party. Beyond the traditional mini chocolate chips, consider these ideas:
- Citrus Zest: A sprinkle of fresh orange or lemon zest adds a bright, fragrant counterpoint to the creamy filling.
- Crushed Nuts: Finely crushed pistachios are a traditional Sicilian topping, offering a vibrant green color and a delightful nutty crunch. Almonds or walnuts can also be used.
- Powdered Sugar Dusting: A simple dusting of powdered sugar (confectioners’ sugar) provides an elegant finish and an extra touch of sweetness.
- Chocolate Dipped Shells: For the ultimate chocolate lover, dip the ends or even the entire cannoli shell in melted dark, milk, or white chocolate before filling. This adds an extra layer of crunch and flavor.
- Candied Fruit: Small pieces of candied orange peel or cherries can be added to the filling or used as a garnish for a festive look and tangy flavor.
- Espresso Powder: A tiny sprinkle of espresso powder can deepen the flavor profile of the chocolate or add a sophisticated bitter note.
Don’t be afraid to get creative and customize your cannoli to your personal taste!
Storing Your Gluten-Free Cannoli
Proper storage is crucial for maintaining the quality and crispness of your homemade gluten-free cannoli. Since the filling is moisture-rich, it’s generally best to assemble them just before serving.
- Filled Cannoli: For the best texture, filled cannoli should be enjoyed within a few hours of assembly. The moisture from the ricotta filling will gradually soften the crispy shells. If you must store them, place them in an airtight container in the refrigerator and consume within 1 day.
- Unfilled Shells: If you’re planning ahead, bake the shells and store them separately from the filling. Once completely cooled, place the crispy shells in an airtight container at room temperature. Stored properly, they can remain fresh and crisp for 1-3 months.
- Ricotta Filling: The prepared ricotta filling can be stored in an airtight container in the refrigerator for 3-4 days. Before filling the shells, give it a quick stir to ensure it’s smooth and creamy.
By keeping the components separate until just before serving, you guarantee maximum freshness and that coveted crispness for your delightful gluten-free cannoli.
Explore More Gluten-Free Italian Delights
If you’ve enjoyed making these gluten-free cannoli, you’ll be thrilled to discover a world of other traditional Italian recipes adapted for a gluten-free diet. Expand your culinary repertoire with these delicious options:
- Gluten-Free Tiramisu: Indulge in layers of coffee-soaked ladyfingers and rich mascarpone cream.
- Gluten-Free Ladyfingers: Perfect for your tiramisu or enjoying on their own.
- Gluten-Free Biscotti: Twice-baked Italian cookies, perfect for dipping in coffee or wine.
- Gluten-Free Focaccia: A savory, airy bread with a delightful olive oil crust.
- Gluten-Free Gnocchi: Soft, pillowy potato dumplings that pair beautifully with any sauce.
Gluten-Free Cannoli
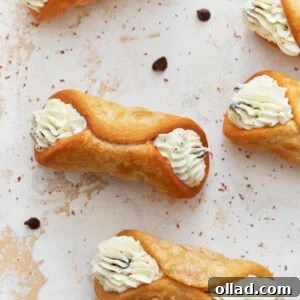
Equipment
-
8 Cannoli Forms
Ingredients
Shells
- 1 cup gluten-free all-purpose flour blend
- 1 tablespoon sugar
- 1/2 teaspoon xanthan gum, omit if not in flour blend
- 1/4 teaspoon cinnamon
- 1/4 teaspoon salt
- 1 large egg
- 2 tablespoons cold butter, cubed
- 2-3 tablespoons Marsala wine , or white vinegar
- Oil for frying
Filling
- 1 1/2 cups ricotta cheese, drained well
- 1/2 cup mascarpone cheese
- 1/2 cup powdered sugar, sifted
- 1/2 teaspoon vanilla extract
- 1/4 cup mini chocolate chips
Instructions
-
In a large mixing bowl, combine the gluten-free flour, sugar, xanthan gum (if your blend doesn’t include it), cinnamon, and salt. Whisk these dry ingredients together thoroughly.
-
Add the cold, cubed butter to the dry mixture. Using a pastry cutter or your fingertips, work the butter into the flour until the mixture resembles coarse crumbs. Be careful not to overmix.
-
Incorporate the egg and 2 tablespoons of Marsala wine (or vinegar). Mix until a cohesive dough forms. If the dough appears too dry or crumbly, add additional Marsala wine, one teaspoon at a time, until it comes together into a smooth ball.
-
Wrap the dough tightly in plastic wrap and place it in the refrigerator to chill for at least 1 hour. This resting period allows the flour to fully hydrate and makes the dough easier to handle.
-
Once sufficiently chilled, roll the dough out on a lightly floured surface. Aim for a thickness of about 1/8-inch, making it almost translucent. Use a 4-inch diameter cookie cutter or a sharp knife to cut the dough into circles (or squares, which can be easier).
-
Lightly grease your cannoli tubes or improvised forms. Wrap each dough circle around a tube, overlapping the edges. Seal the seam firmly with a dab of beaten egg or water to prevent it from opening during frying.
-
Heat frying oil in a deep pan to 350°F (175°C), using a kitchen thermometer for accuracy. Carefully lower the cannoli shells into the hot oil in batches. Fry until they turn a beautiful golden brown and are crispy, usually about 1-2 minutes per side.
-
Remove the fried shells from the oil and immediately place them on a wire rack lined with paper towels to drain excess oil. Allow them to cool completely before attempting to remove them from the cannoli forms.
-
While the shells are cooling, prepare the filling. Spread the ricotta cheese on a paper towel or cheesecloth and gently press to remove as much excess moisture as possible. This step is key for a thick, creamy filling.
-
In a clean bowl, combine the well-drained ricotta cheese, mascarpone cheese, sifted powdered sugar, and vanilla extract. Mix with a spatula or electric mixer on low speed until the filling is perfectly smooth and creamy.
-
Gently fold in the mini chocolate chips, if desired, ensuring they are evenly distributed throughout the filling. Transfer the prepared filling into a piping bag fitted with a star or round tip.
-
Pipe the creamy ricotta filling into the cooled cannoli shells from both ends, filling them completely. Dust with extra powdered sugar or grated chocolate, if desired, for a beautiful presentation.
-
Serve your freshly filled gluten-free cannoli immediately to enjoy them at their crispiest. If needed, refrigerate for up to 1 day, but be aware the shells may soften over time. Enjoy your delicious homemade Italian treat!
Notes
- Don’t overwork the dough. Mix until just combined to avoid tough shells. The gluten-free dough can be more delicate, so handle it gently.
- When rolling the dough, you want to get it as thin as possible. It should be almost see-through.
- If you don’t have a cannoli form, you can use aluminum foil rolled into small tubes or use any tubular-shaped utensil handle you have. Remember to lightly oil the forms to prevent sticking.
- Always make sure your oil is at the correct temperature (350°F) before frying, using a thermometer. Test a piece of dough before adding the shells to the oil. If the dough piece bubbles and floats to the top, the oil is ready.
- Use a wire rack or paper towels to drain fried shells immediately to keep them crisp.
- Gluten-free flour can be tricky. If your dough is too dry, add Marsala wine or water, one teaspoon at a time, until it holds together.
- Fill the shells just before serving to keep them crisp; otherwise, the filling may make them soggy.
- Filled shells should be eaten within a few hours for the best texture, as the shells can become soggy.
- If making ahead, keep the filling and shells separate and fill just before serving. Shells stored properly in an airtight container can last 1-3 months. Ricotta filling is good for 3-4 days in the refrigerator. Filled cannoli should be stored in the refrigerator and eaten within 1 day for the best texture.
Nutrition
Nutrition information is automatically calculated, so should only be used as an approximation.
Additional Info
Step-by-Step Guide to Making Gluten-Free Cannoli
Embark on your cannoli-making adventure with this detailed visual guide. Each step is designed to ensure you create perfect gluten-free cannoli, just like nonna used to make!
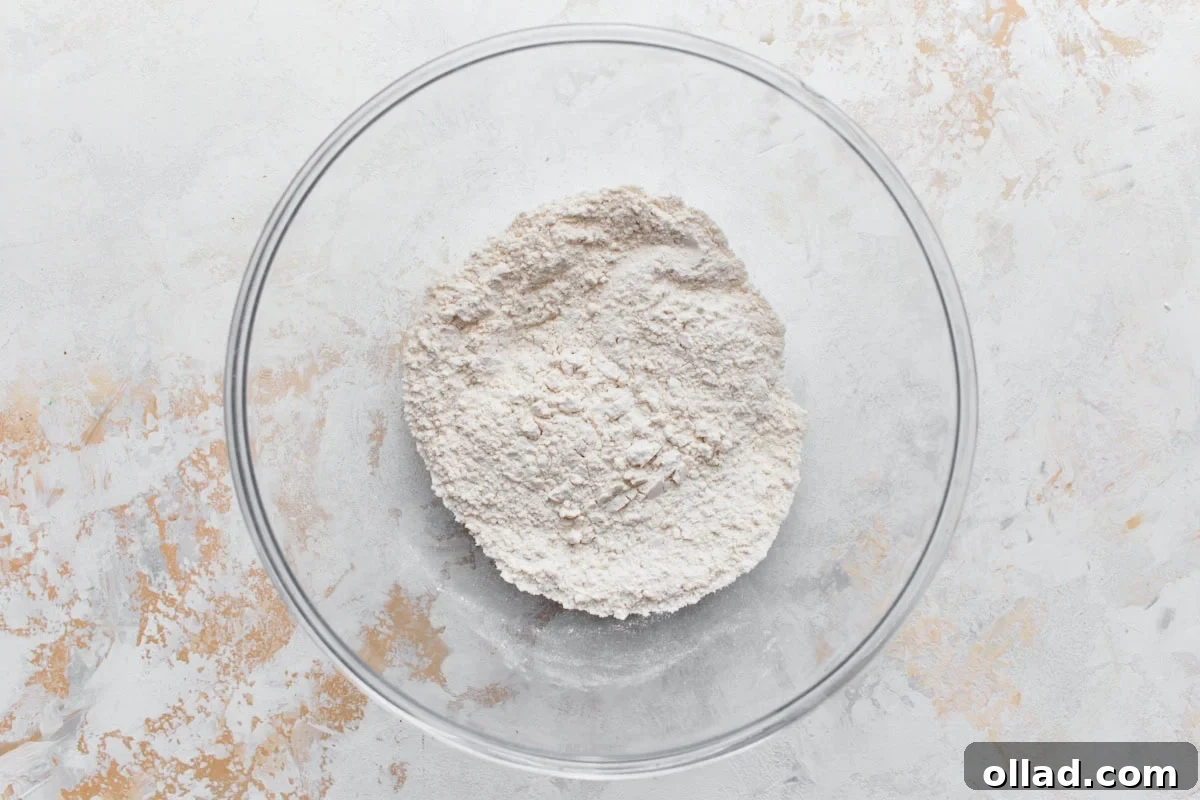
Step 1: Combine Dry Ingredients. In a spacious mixing bowl, meticulously combine 1 cup of gluten-free all-purpose flour, ½ teaspoon of xanthan gum (only if your flour blend doesn’t already contain it), 1 tablespoon of sugar, ¼ teaspoon of fragrant cinnamon, and ¼ teaspoon of salt. Whisk these ingredients together until they are thoroughly blended.
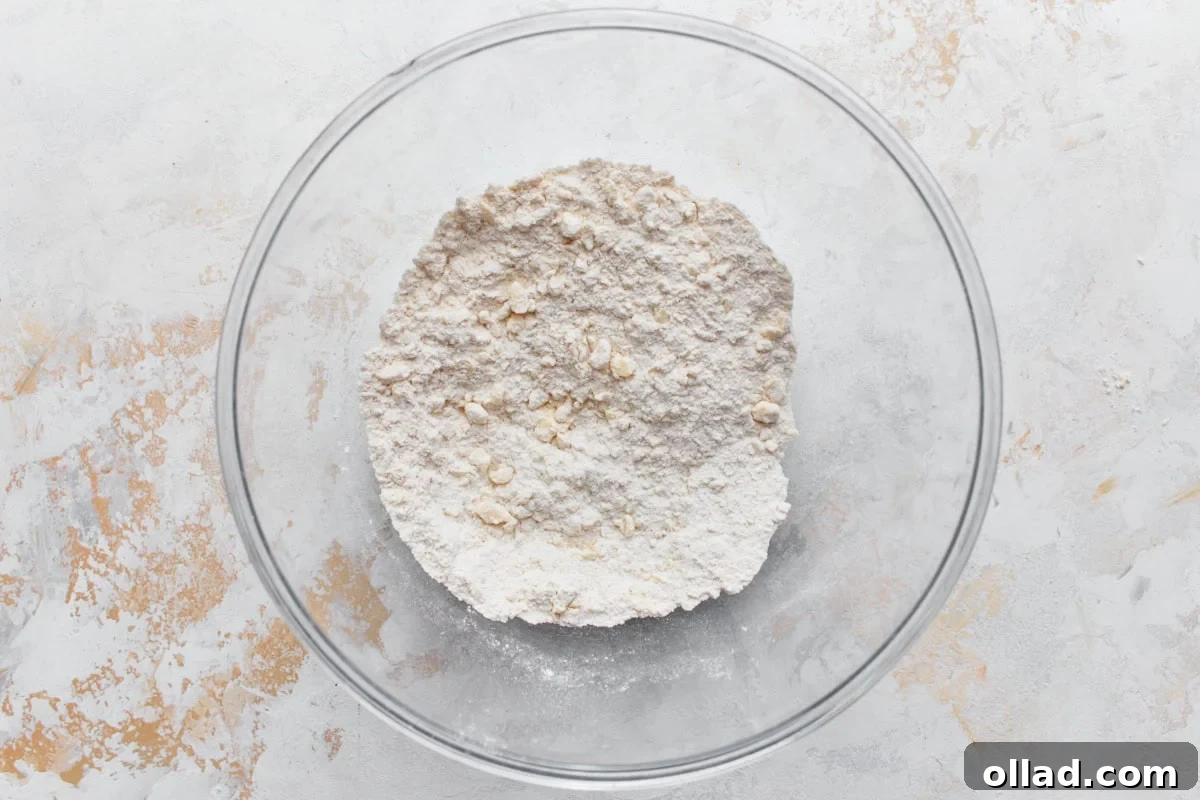
Step 2: Incorporate Cold Butter. Add 2 tablespoons of cold, cubed butter to the flour mixture. Using a pastry cutter, or your clean fingertips, gently work the butter into the dry ingredients. Continue until the mixture achieves a texture resembling coarse crumbs. This technique helps create flaky layers in the final shell.
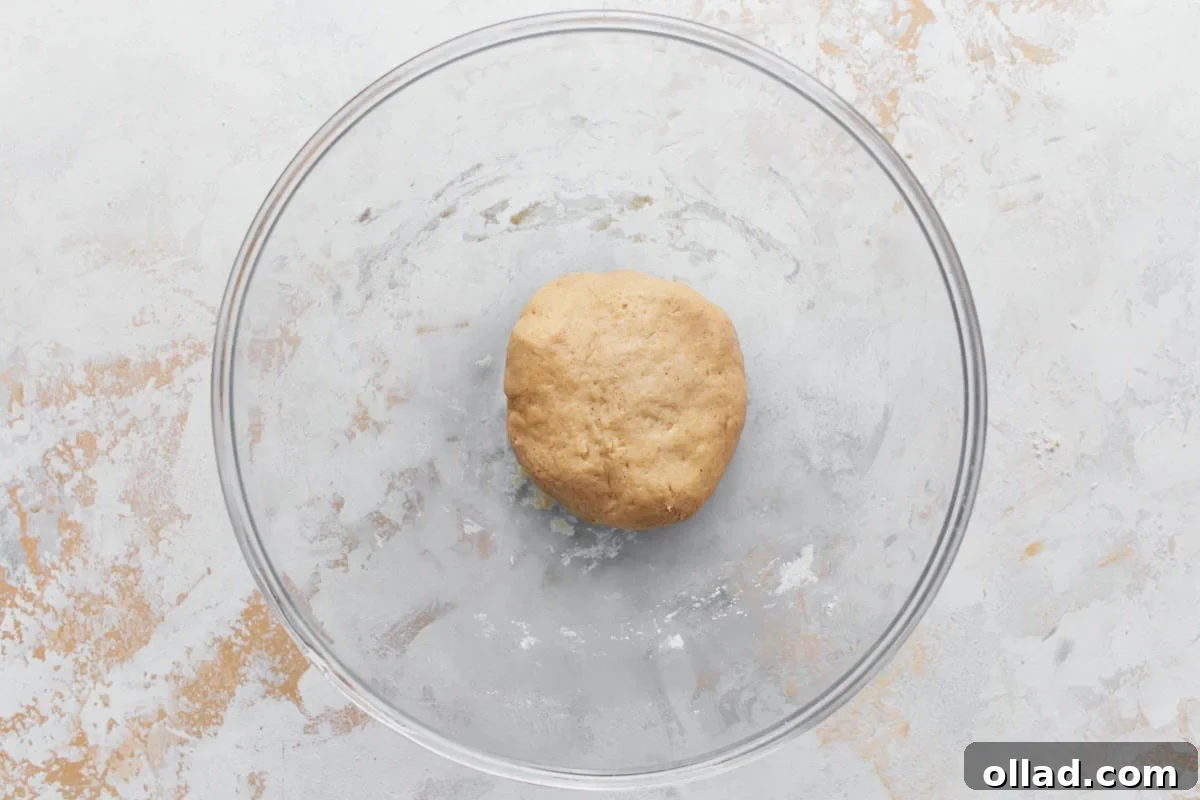
Step 3: Form the Dough. Introduce 1 large egg and 2 tablespoons of Marsala wine to the mixture. Mix thoroughly until a unified dough begins to form. Should the dough feel too dry or not hold together, add more Marsala wine (or a dash of water) one teaspoon at a time, mixing after each addition, until the dough reaches a pliable and cohesive consistency.
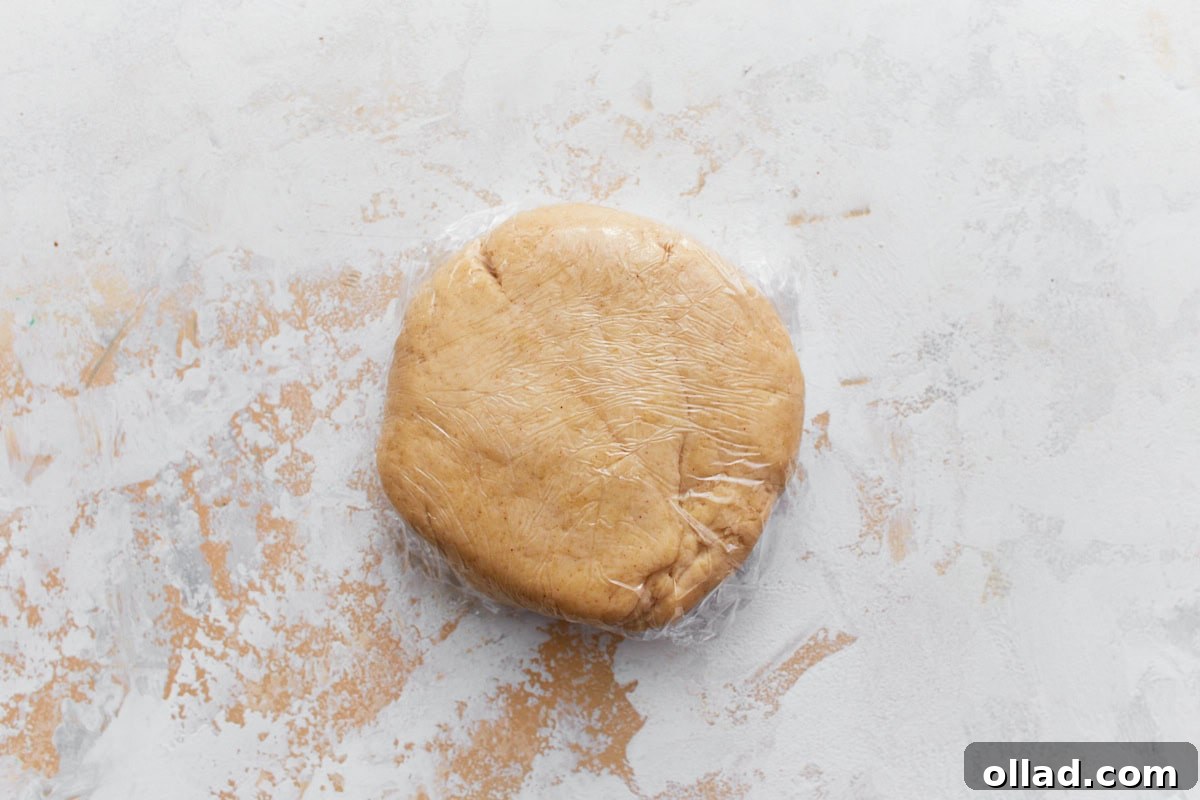
Step 4: Chill the Dough. Once your dough ball is perfectly formed, wrap it tightly in plastic wrap. Transfer it to the refrigerator and allow it to chill for a minimum of 1 hour. This crucial step helps the gluten-free flours hydrate fully and firms up the butter, which will result in crispier shells.
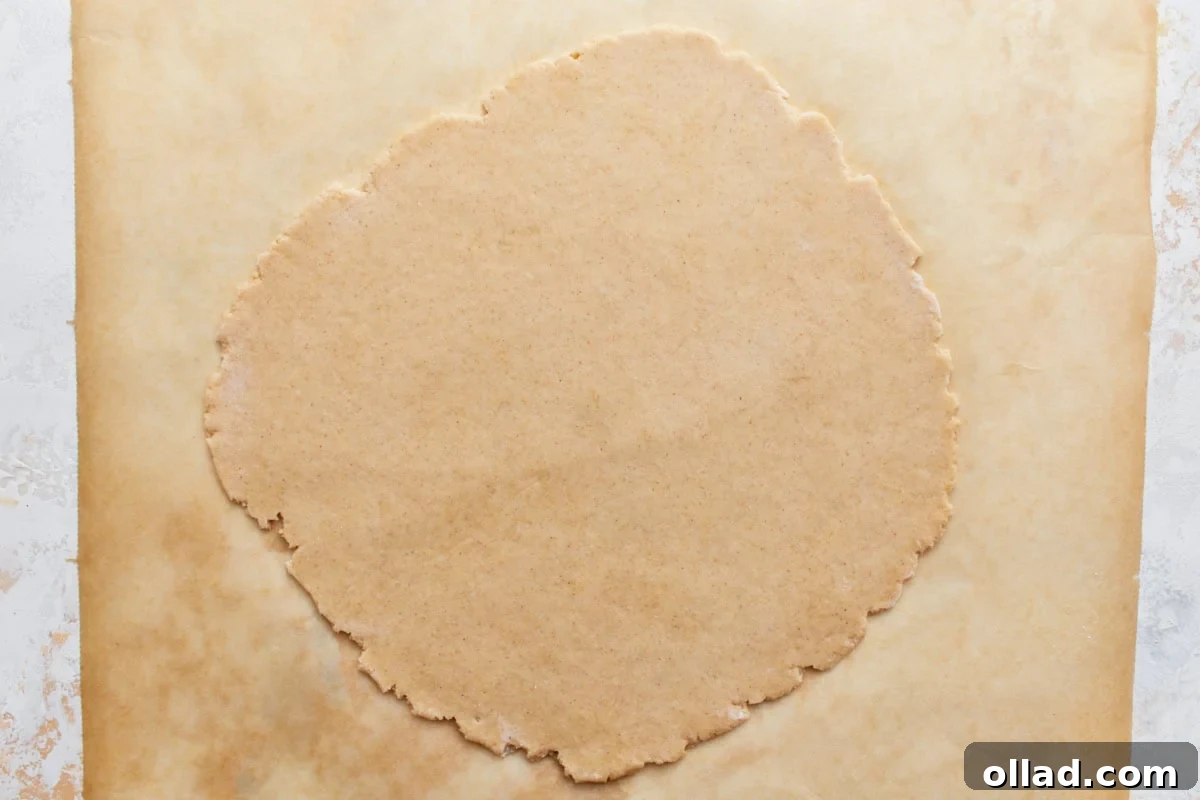
Step 5: Roll and Cut the Dough. After the dough has sufficiently chilled, lightly flour your work surface (or use parchment paper) and roll out the dough. Aim for a thickness of approximately ⅛-inch; it should be almost translucent. Using a 4-inch diameter round cookie cutter, cut out individual dough circles for your cannoli shells.
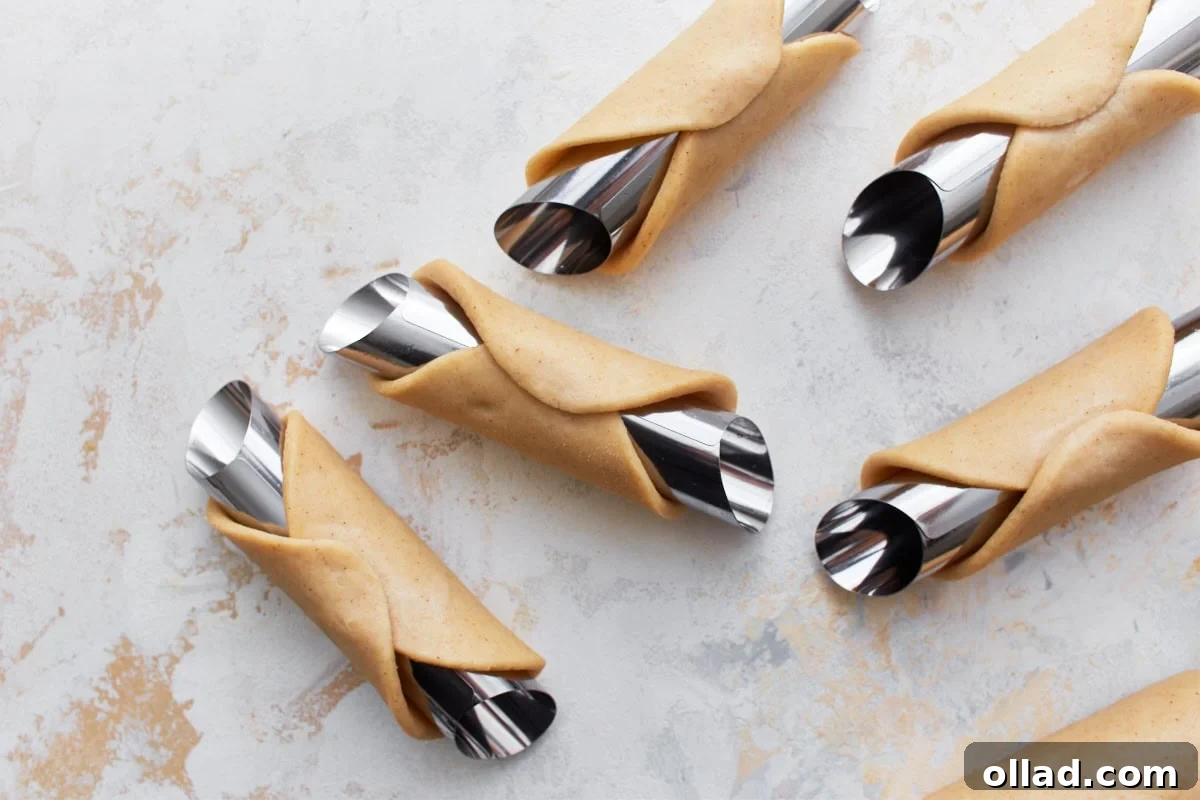
Step 6: Form the Shells. Lightly grease your cannoli tubes. Carefully wrap each dough circle around a cannoli tube, ensuring the edges overlap slightly. Press the overlapping edges firmly together, sealing them with a small amount of egg wash or water to prevent them from opening during the frying process.
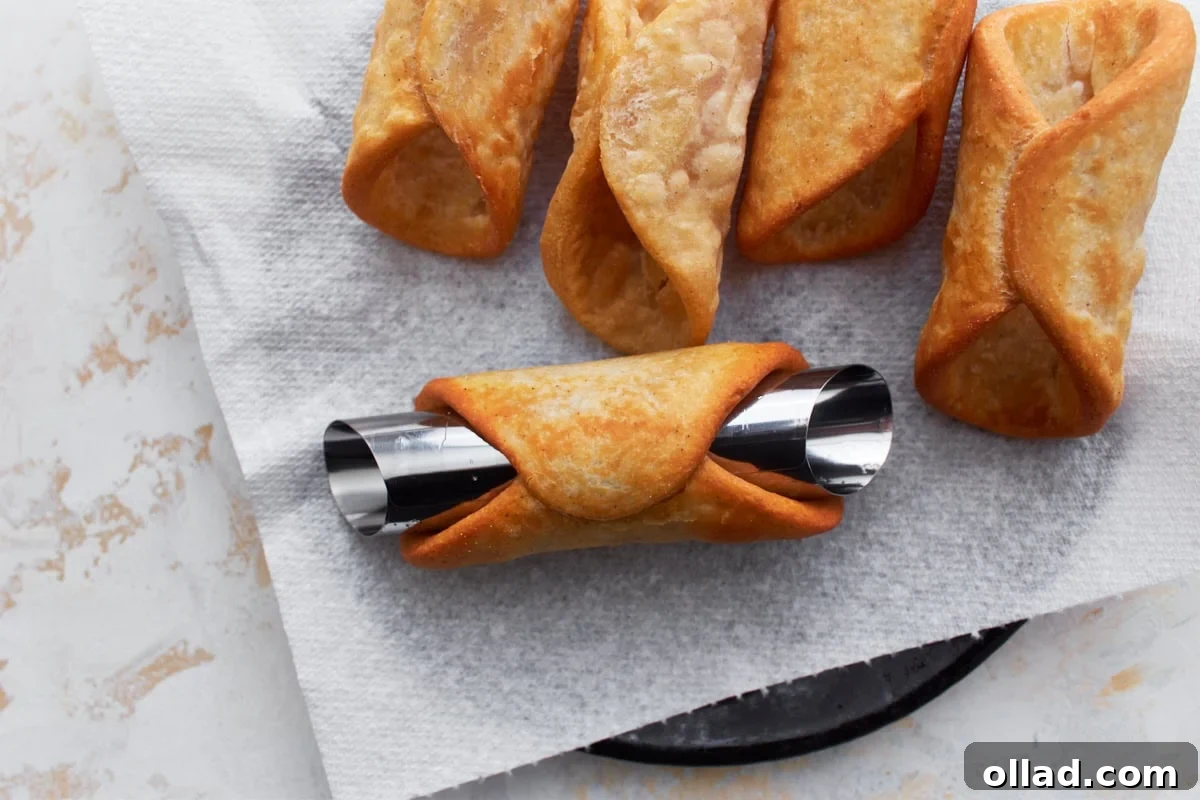
Step 7: Fry the Cannoli Shells. Heat your frying oil in a deep pan until it reaches a consistent temperature of 350°F (175°C). Always use a kitchen thermometer to verify. Before frying the shells, test a small piece of scrap dough; if it bubbles and floats quickly, the oil is ready. Carefully place the formed shells into the hot oil in small batches. Fry them until they turn a beautiful golden brown and are visibly crispy, typically taking about 1-2 minutes per side.
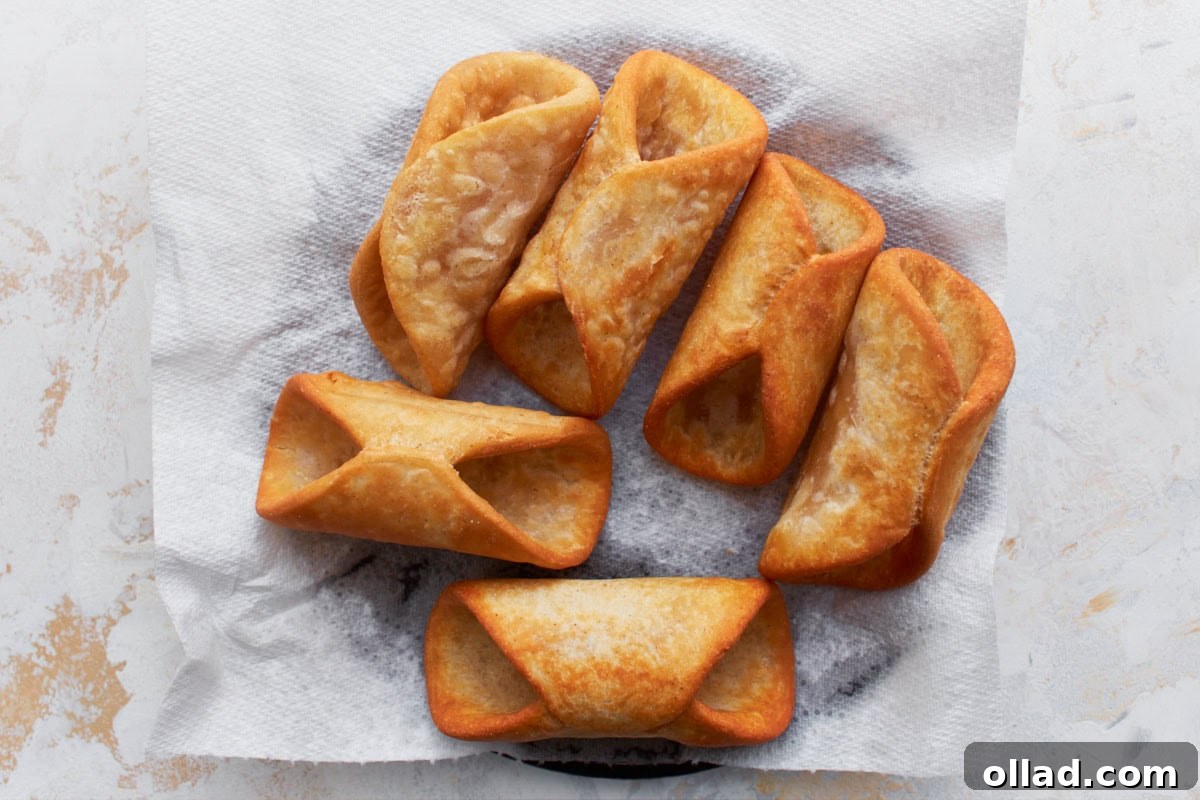
Step 8: Drain and Cool. Once fried, carefully remove the golden-brown shells from the oil and immediately transfer them to a wire rack lined with paper towels. This allows excess oil to drain off, preserving their crispness. Let the shells cool completely on the forms before gently sliding them off.
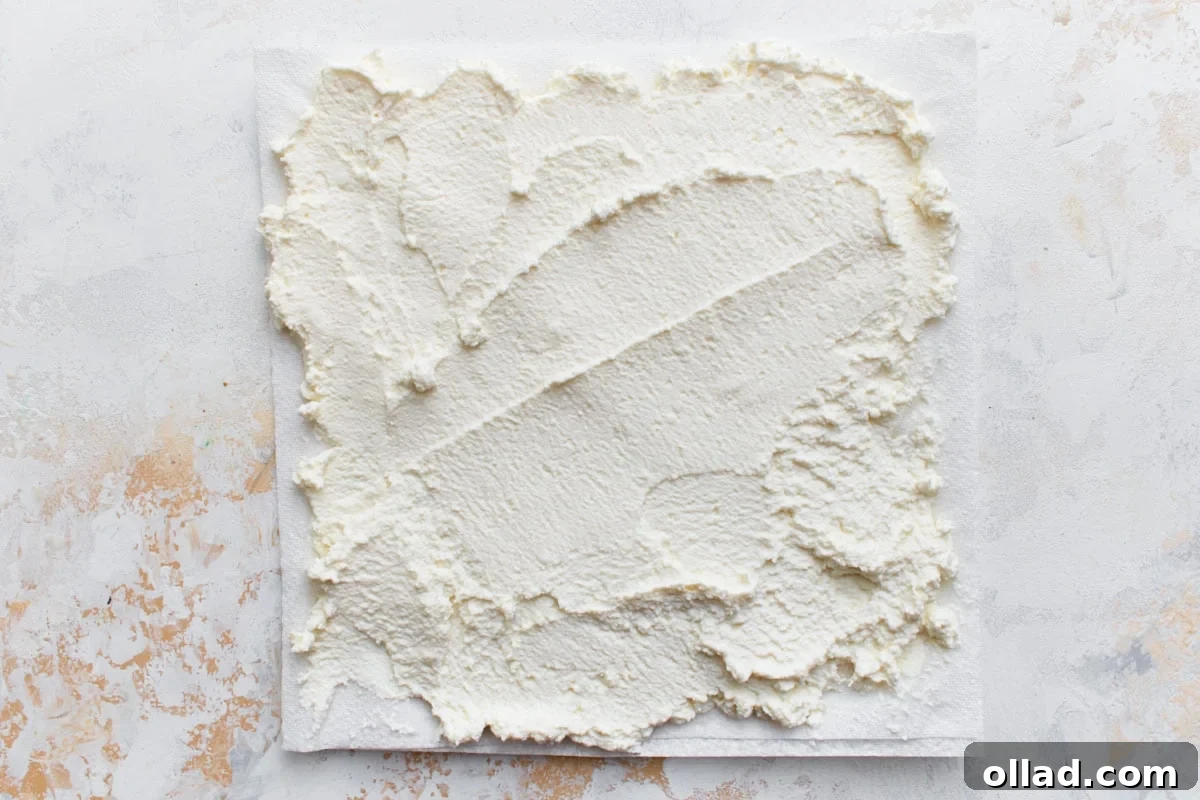
Step 9: Prepare the Ricotta (Drain Moisture). While your cannoli shells are cooling, begin preparing the filling. Spread 1 ½ cups of ricotta cheese thinly across a few layers of paper towels or a clean cheesecloth. This step is crucial for removing excess moisture, which prevents the filling from becoming watery and helps keep the shells crisp longer.
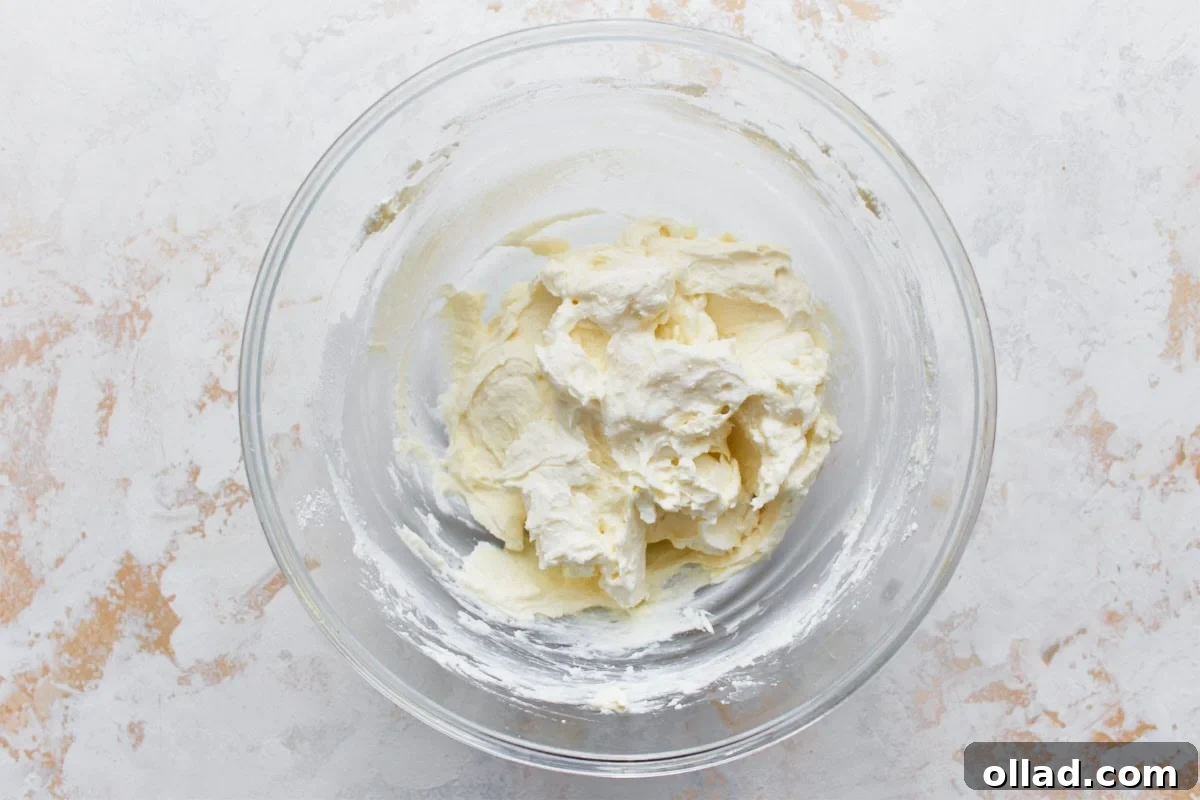
Step 10: Mix the Creamy Filling. In a large mixing bowl, combine the well-drained 1 ½ cups ricotta cheese, ½ cup mascarpone cheese, ½ cup of sifted powdered sugar, and ½ teaspoon of vanilla extract. Mix these ingredients thoroughly until the filling is wonderfully smooth, creamy, and free of lumps. You can use a spatula or an electric mixer on low speed.
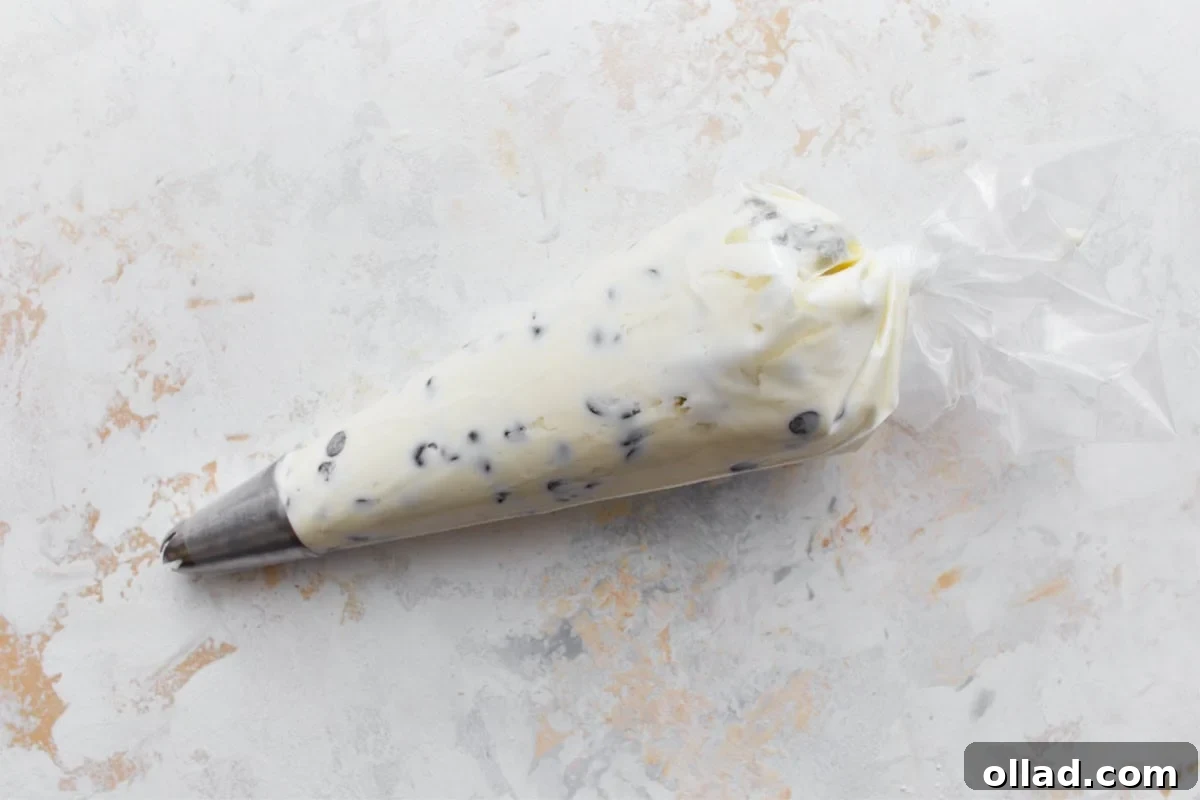
Step 11: Add Chocolate Chips and Pipe. Gently fold in ¼ cup of mini chocolate chips into the prepared ricotta filling, ensuring they are evenly distributed. Then, carefully transfer the entire filling mixture into a piping bag fitted with your preferred tip (a star tip works beautifully for presentation).
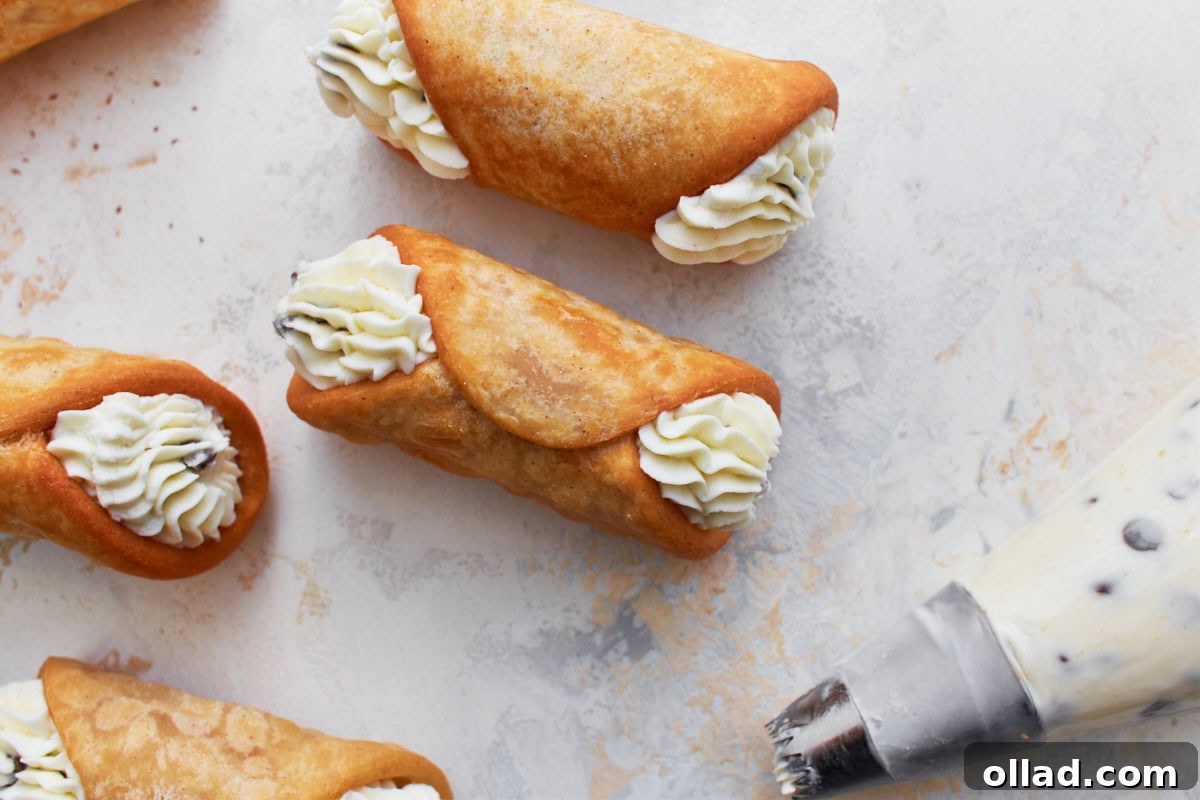
Step 12: Fill and Serve. Take your cooled, empty cannoli shells and, using the piping bag, evenly pipe the creamy ricotta filling into each shell, starting from both ends and meeting in the middle. For a final flourish, dust the filled cannoli with extra powdered sugar or grated chocolate, if desired. Serve immediately to enjoy the ultimate crispy and creamy experience. If you must store them, refrigerate for up to 1 day, but remember they are best enjoyed fresh!