
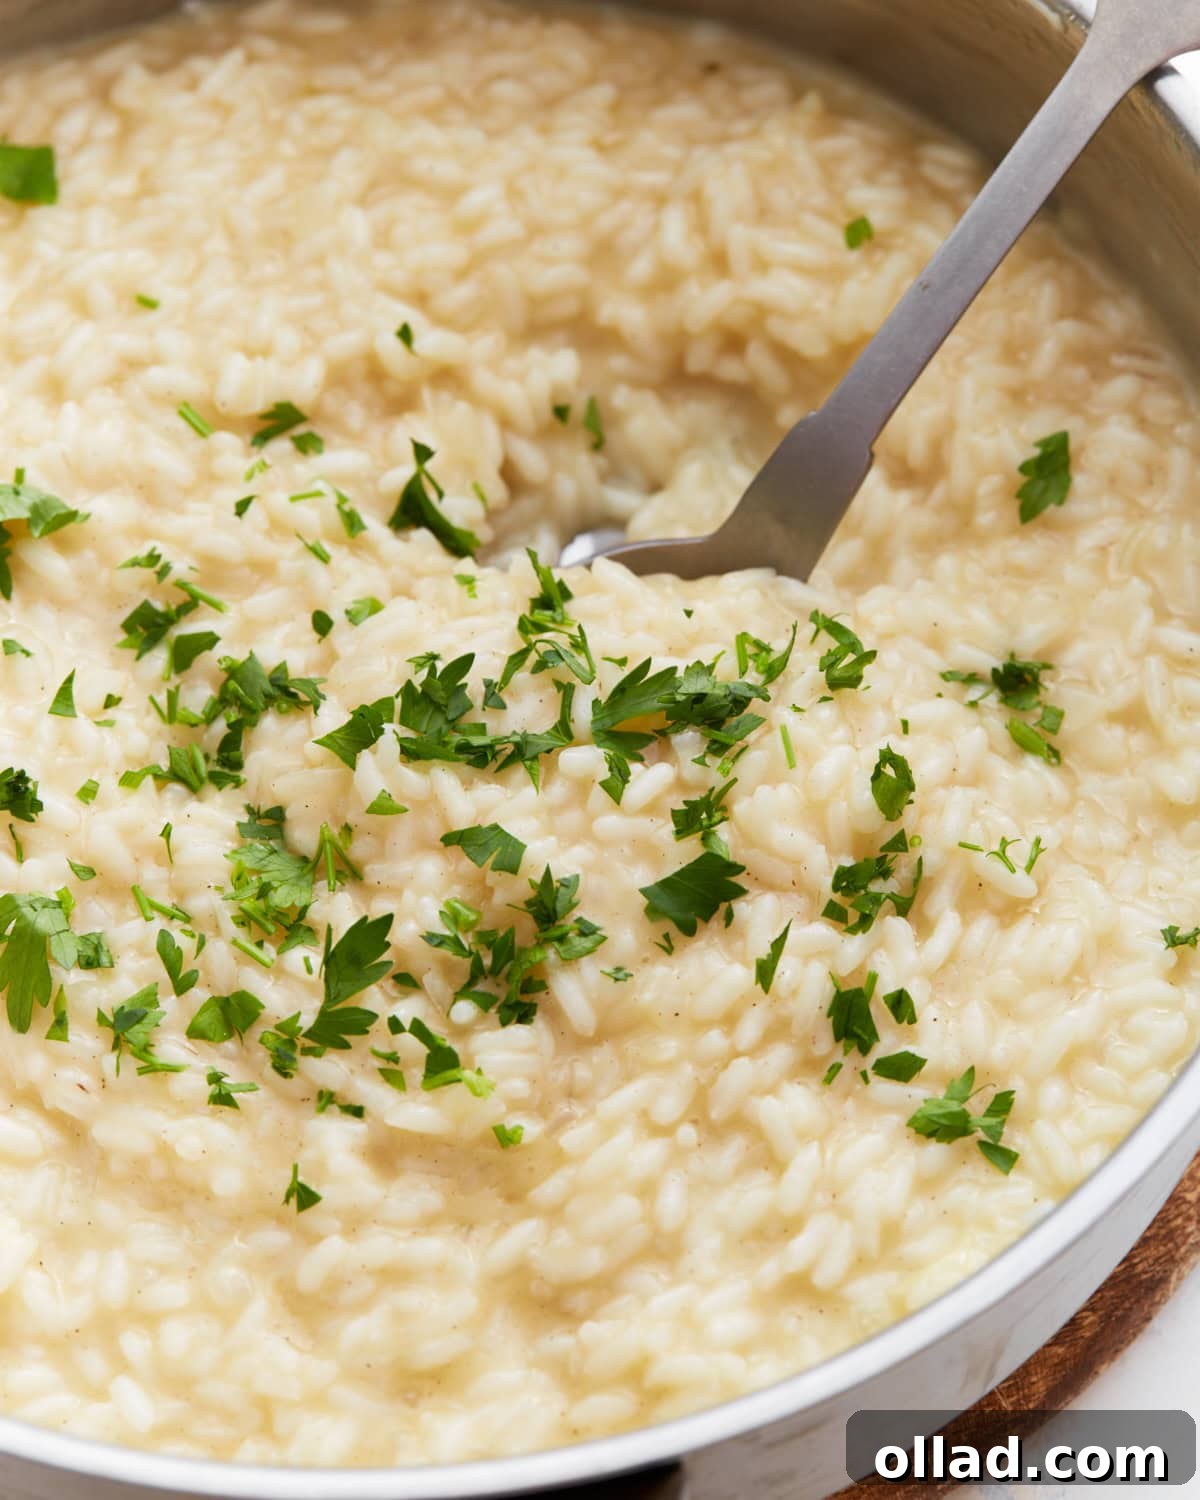
Creamy & Easy Gluten-Free Risotto: Your One-Pan Guide to Italian Comfort
There’s nothing quite like a warm, luxurious bowl of risotto to satisfy a craving for something truly special and comforting. This gluten-free risotto recipe delivers that coveted restaurant-quality experience right in your own kitchen. It’s incredibly rich, wonderfully creamy, and surprisingly simple to prepare in just one pan, taking approximately 30 minutes from start to finish. What makes it even better is that it relies on straightforward pantry staples like Arborio rice, flavorful broth, and savory Parmesan cheese, yet it still feels wonderfully indulgent. Naturally gluten-free and endlessly customizable with your favorite add-ins, this recipe is a guaranteed winner, whether you’re keeping it classic or exploring new flavors with seasonal vegetables or fresh herbs.
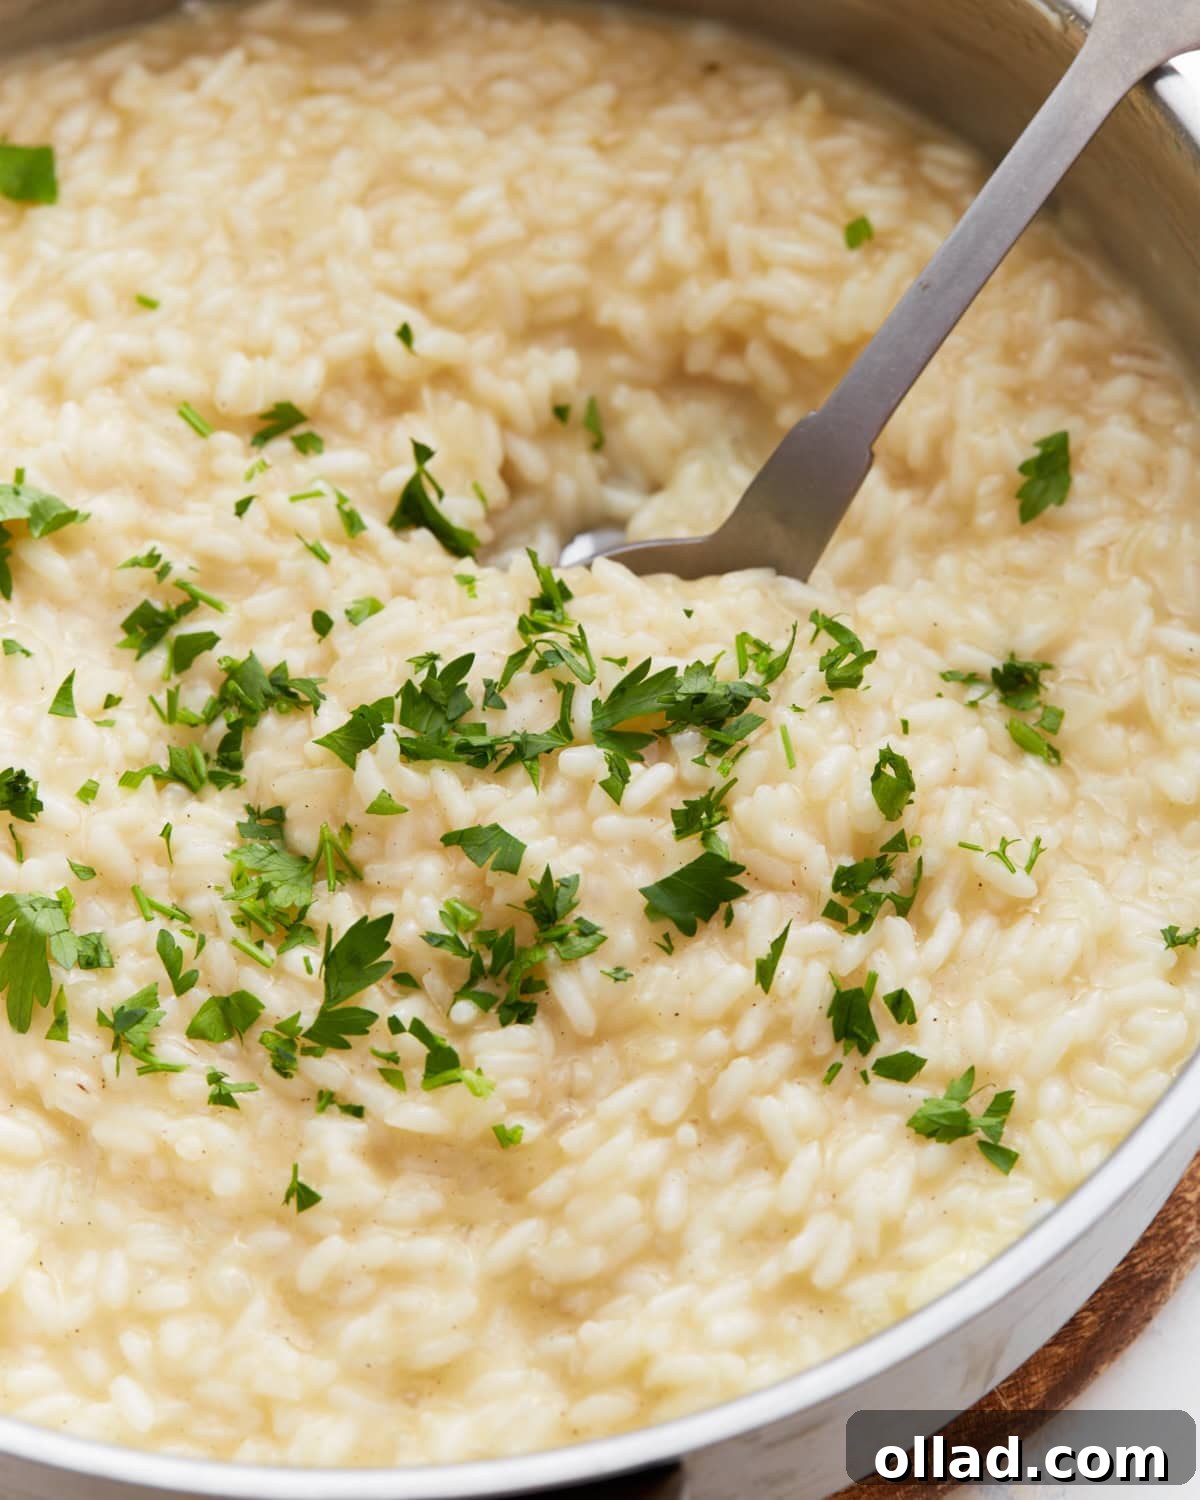
Why You’ll Fall in Love with This Easy Gluten-Free Risotto Recipe
Risotto has a reputation for being a labor-intensive dish, often reserved for restaurant menus or special occasions. However, this recipe breaks down the process into easy-to-follow steps, making it accessible for any home cook, regardless of experience. I used to seek out risotto on restaurant menus, partly because it’s usually a safe gluten-free option, but mostly because of its irresistible flavor and texture. Once I discovered how incredibly simple it is to recreate that magic at home, it quickly became a staple in my recipe repertoire.
This creamy rice dish is versatile enough to fit any occasion. It’s perfect for feeding a hungry holiday crowd, preparing a comforting meal for your family, or planning a cozy date night in. The method itself is straightforward, but it does require a touch of care and patience as you slowly stir in warm broth. This gradual addition is the key to transforming humble Arborio rice into a velvety, tender masterpiece with just the right al dente bite.
Beyond its inherent deliciousness, this gluten-free risotto offers incredible flexibility. I often turn it into a complete meal by stirring in ingredients like sautéed mushrooms, sweet peas, crisp asparagus, or succulent cooked shrimp. Alternatively, I keep it classic and serve it as an elegant side dish alongside roasted chicken, grilled vegetables, or a pan-seared steak. No matter how you choose to enjoy it, this homemade risotto always feels like a special occasion meal, without the fuss.
Gluten-Free Risotto Recipe
By: Sabine Venier
Servings: 4 servings
Prep Time: 10 mins
Cook Time: 25 mins
Total Time: 35 mins
When you crave that warm, restaurant-quality meal, this gluten-free risotto is your perfect answer. It’s rich, wonderfully creamy, and surprisingly simple to prepare at home in just one pan and around 30 minutes. Starting with pantry staples like Arborio rice, flavorful broth, and savory Parmesan, it transforms into an indulgent dish without the fuss.
Ingredients
- 2 tbsp olive oil
- 2 tbsp butter, divided
- 1 cup yellow onion, finely diced
- 1 tbsp garlic, minced
- 1½ cups Arborio rice
- ½ cup dry white wine (or substitute with more hot broth and a splash of white wine vinegar)
- 4-5 cups gluten-free chicken broth, hot (for a vegetarian option, use vegetable broth)
- ½ cup Parmesan cheese, freshly grated
- ½ tsp salt
- ¼ tsp black pepper
- 2 tbsp fresh parsley, chopped
Instructions
- In a large, heavy-bottomed pan, heat olive oil and 1 tbsp butter over medium heat. Add onion and sauté until soft and translucent, about 3-4 minutes.
- Add garlic and cook for another 30 seconds until fragrant.
- Add the Arborio rice and stir to coat with oil and butter. Toast the rice for 1-2 minutes until the edges become slightly translucent.
- Add the white wine and stir until almost completely absorbed.
- Begin adding hot broth, one cup at a time, stirring frequently.
- Wait until each addition is almost completely absorbed before adding the next cup of broth.
- Continue this process for about 18-20 minutes, until the rice is creamy but still has a slight bite to it (al dente).
- Remove from heat and stir in the remaining 1 tbsp butter, Parmesan cheese, salt, and pepper.
- Let the risotto rest for 2 minutes before serving.
- Serve immediately, topped with fresh parsley and additional Parmesan if desired.
Recipe Notes
- Always ensure your broth is certified gluten-free. Many broths contain hidden gluten, so check labels carefully.
- For a delightful vegetarian option, simply swap chicken broth for a high-quality vegetable broth. The flavor profile will be equally rich and satisfying.
- Keep the broth warm on a separate burner throughout the entire cooking process. Adding cold broth will cool down your pan, interrupting the steady cooking of the rice and impacting the final creamy texture.
- Consistent stirring is key! This gentle agitation helps release the essential starch from the Arborio rice, which is what creates that characteristic creamy, velvety texture we all love in a good risotto.
- Don’t rush the process. The gradual addition of liquid and patient stirring are essential for the rice to properly absorb the broth and develop its perfect al dente texture.
- Taste as you go! Adjust salt and pepper as needed throughout the cooking process. Remember that Parmesan cheese is salty, so account for that when seasoning.
Nutrition Information (Approximate)
- Serving: 1 serving
- Calories: 491 kcal
- Carbohydrates: 67g
- Protein: 11g
- Fat: 17g
- Saturated Fat: 7g
- Polyunsaturated Fat: 1g
- Monounsaturated Fat: 8g
- Trans Fat: 0.2g
- Cholesterol: 31mg
- Sodium: 1431mg
- Potassium: 213mg
- Fiber: 3g
- Sugar: 3g
- Vitamin A: 289 IU
- Vitamin C: 4mg
- Calcium: 140mg
- Iron: 4mg
Nutrition information is automatically calculated and should be used as an approximation.
Additional Info
Course: Dinner, Side Dish
Cuisine: Italian
Mastering the Art of Gluten-Free Risotto: A Step-by-Step Visual Guide
Making risotto at home might seem like a culinary challenge, but with this detailed step-by-step visual guide, you’ll be stirring up a masterpiece in no time. Follow along with these photos and explanations to ensure every step is perfectly executed, leading to a flawlessly creamy, comforting, and undeniably delicious dish. From prepping your ingredients to achieving that perfect al dente bite, we’ll walk you through the entire process.

Step 1: Gather Your Ingredients. The first step to any successful recipe is proper preparation. Ensure all your ingredients are measured, chopped, and ready to go. Having everything prepped before you start cooking, a technique known as “mise en place,” makes the entire process smooth, stress-free, and enjoyable.

Step 2: Sauté the Aromatics. In a large, heavy-bottomed pan (a Dutch oven or wide skillet works best), heat 2 tablespoons of olive oil and 1 tablespoon of butter over medium heat. Add the finely diced yellow onion and sauté for about 3-4 minutes, stirring occasionally, until it becomes soft, fragrant, and translucent. This step is crucial for building a flavorful and aromatic foundation for your risotto.

Step 3: Add the Garlic. Stir in 1 tablespoon of minced garlic and continue to cook for just 30 seconds. The goal is for the garlic to become fragrant, not browned or burnt, as burnt garlic can impart a bitter flavor to your dish.

Step 4: Toast the Rice. Add 1½ cups of Arborio rice to the pan. Stir vigorously to ensure each grain is thoroughly coated in the olive oil and butter mixture. Toast the rice for 1-2 minutes, watching for the edges of the grains to become slightly translucent. This brief toasting, known as “tostatura,” helps the rice maintain its structure and prevents it from becoming mushy later in the cooking process.

Step 5: Deglaze with Wine. Pour in ½ cup of dry white wine. Stir continuously until the wine is almost fully absorbed by the rice. The alcohol will evaporate, leaving behind a wonderful depth of flavor and helping to deglaze any browned bits from the bottom of the pan, adding even more richness. If you prefer to avoid alcohol, simply use an additional ½ cup of hot broth and a splash of white wine vinegar instead for a similar acidic balance.

Step 6: Gradually Add Broth. Now for the signature risotto technique! Begin adding 4-5 cups of hot gluten-free chicken broth, one cup at a time. Stir frequently, allowing each addition to be almost completely absorbed by the rice before adding the next cup. This slow, continuous stirring and gradual liquid addition is what coaxes the starch out of the Arborio rice, creating the characteristic creamy, luscious texture of a perfect risotto.

Step 7: Stir Until Creamy (Al Dente). Continue the broth-adding and stirring process for approximately 18-20 minutes. The rice should become beautifully creamy, yet still retain a slight, pleasant bite in the center – this is known as “al dente.” It’s important to avoid overcooking, which can lead to a mushy, undesirable texture. Taste frequently during the last few minutes to ensure perfect doneness.

Step 8: Finish and Rest. Once the risotto has reached its ideal consistency, remove the pan from the heat. Stir in the remaining 1 tablespoon of butter, ½ cup of freshly grated Parmesan cheese, ½ teaspoon of salt, and ¼ teaspoon of black pepper. The residual heat will melt the butter and cheese, creating an even more luxurious and cohesive consistency. Let the risotto rest for a brief 2 minutes before serving; this allows it to thicken slightly and the flavors to meld beautifully.

Step 9: Serve and Enjoy. Serve your warm, inviting gluten-free risotto immediately. Garnish generously with 2 tablespoons of freshly chopped parsley and a sprinkle of additional Parmesan cheese if desired. This dish is truly best enjoyed fresh, when its creamy texture and vibrant flavors are at their peak.

Tips for a Perfect Gluten-Free Risotto Every Time
Achieving risotto perfection is incredibly rewarding, and it’s much easier than you might think when you keep a few key tips in mind. These insights will help you avoid common pitfalls and ensure your risotto is consistently delicious, wonderfully creamy, and perfectly al dente.
- Use Quality Arborio Rice: This short-grain Italian rice is not interchangeable with other rice varieties for risotto. Its high starch content and ability to absorb liquid while remaining firm are crucial for achieving that signature creamy texture when released through slow cooking and stirring. Do not rinse the rice, as this washes away the essential surface starch.
- Keep Broth Warm: This is a non-negotiable step for authentic risotto. Always heat your broth in a separate pot or microwave-safe container before adding it to the rice. Adding cold broth will drastically cool down the pan, shocking the rice and slowing the cooking process, which can affect its ability to absorb liquid evenly and release starch.
- Stir Consistently, But Not Constantly: While stirring is absolutely essential for releasing starch and preventing the rice from sticking, you don’t need to stir every single second. A good rhythm is to stir frequently, especially after each broth addition, but allow the rice a moment to absorb the liquid and cook gently between stirs. This balance prevents a mushy texture.
- Taste for Doneness: The only way to truly know if your risotto is done is to taste it. It should be “al dente” – firm to the bite but creamy and tender. It shouldn’t be crunchy in the center, nor should it be mushy.
- Don’t Overcook: Overcooked risotto becomes a sticky, unpleasant mush and loses its delightful texture. Remove it from the heat when it still has a slight bite. Remember, it will continue to cook slightly as it rests in the residual heat.
- Freshly Grated Parmesan is Best: Skip the pre-grated cheese in a can or bag. Freshly grated Parmesan melts more smoothly, incorporates better into the creamy sauce, and offers a vastly superior flavor and texture that truly elevates the dish.
- Choose the Right Pan: A wide, heavy-bottomed pan or a Dutch oven is ideal for making risotto. The wide surface allows for even cooking and easier stirring, while a heavy bottom ensures consistent heat distribution and helps prevent the rice from scorching or sticking.
Creative Variations and Serving Suggestions for Your Risotto
One of the true beauties of risotto is its incredible versatility. While the classic Parmesan risotto is a joy on its own, it also serves as a fantastic canvas for a myriad of flavors and additional ingredients. Whether you’re looking to elevate it to a main course or pair it with other dishes, there are endless delicious possibilities to explore.
Risotto as a Main Dish or Elegant Side
This creamy risotto is robust enough to stand alone as a satisfying vegetarian main course. However, it also makes an exquisite side dish that beautifully complements a wide range of proteins and vegetables. Imagine serving it alongside:
- Grilled or Roasted Chicken: Simple lemon-herb chicken or a succulent roasted chicken breast provides a lean, flavorful contrast to the rich risotto.
- Pan-Seared Scallops or Shrimp: For an elegant and impressive meal, perfectly pan-seared jumbo scallops or tender cooked shrimp turn this into a gourmet experience.
- Grilled Steak or Pork Tenderloin: The creamy texture of the risotto is a wonderful, comforting counterpoint to a perfectly cooked piece of red meat.
- Crispy Gluten-Free Chicken Parmesan: My kids absolutely adore the combination of creamy risotto with the crunch and savory flavor of chicken parmesan. The interplay of textures and flavors is simply delightful.
- Roasted Vegetables: A medley of seasonal roasted vegetables like broccoli, carrots, or bell peppers offers a vibrant and healthy accompaniment.
Delightful Add-Ins for Extra Flavor and Texture
Don’t hesitate to experiment with different ingredients to customize your gluten-free risotto to your taste or what you have on hand. These thoughtful additions can truly transform the dish, adding vibrant colors, exciting textures, and layers of complex flavor:
- Sautéed Mushrooms: Earthy wild mushrooms like cremini, shiitake, or even a mix of gourmet mushrooms add incredible umami depth. Sauté them separately until golden brown and tender before stirring them into the finished risotto.
- Fresh Spring Vegetables: Bright green peas, tender chopped asparagus, or blanched snap peas are perfect for a fresh, spring-inspired risotto. Add them in during the last few minutes of cooking so they retain their vibrant color and slight crispness.
- Protein Boost: For a heartier meal, stir in cooked shredded chicken, flaky cooked salmon, or a generous handful of cooked shrimp just before the final butter and cheese addition.
- Roasted Butternut Squash: Roasted cubes of sweet butternut squash add a lovely sweetness and creamy texture, making it an ideal choice for a comforting autumn risotto.
- Aromatic Herbs and Spices: A pinch of saffron, infused in a bit of warm broth, adds a beautiful golden hue and subtle floral notes. Fresh herbs like thyme, rosemary, or basil, stirred in at the very end, provide a burst of fresh, vibrant flavor.
- Sun-Dried Tomatoes or Spinach: Chop sun-dried tomatoes for an intense savory-sweet kick, or wilt in a few handfuls of fresh spinach during the final minutes for added nutrients and a pop of color.
- A Touch of Truffle: For a truly decadent and gourmet touch, a drizzle of high-quality truffle oil (white or black) or a sprinkling of fresh truffle shavings will elevate your risotto to unparalleled luxury, perfect for a special occasion.
Storage and Reheating for Later Enjoyment
While risotto is undoubtedly at its best when enjoyed fresh off the stove, you can certainly save leftovers for another delicious meal. Proper storage and reheating techniques will help preserve its wonderful texture and flavor, ensuring your second serving is almost as good as the first.
First, allow the risotto to cool completely to room temperature. Once cooled, transfer it to an airtight container and store it in the refrigerator for up to 2 days. For the best quality and food safety, avoid letting it sit out for too long at room temperature before refrigerating.
If you’re looking to extend its shelf life further, risotto freezes surprisingly well! Portion the cooled risotto into freezer-safe zip-top bags or airtight containers. Lay the zip-top bags flat in the freezer to save space. It will keep beautifully in the freezer for up to 2 months. Be sure to label with the date.
When you’re ready to reheat, the key is to restore that creamy consistency. Gently warm the risotto on the stovetop over medium-low heat, adding a splash of hot broth (chicken or vegetable) or even water as you stir. The added liquid will help loosen the rice and bring back its characteristic creamy texture. Continue stirring until it’s heated through and creamy once more. Avoid microwaving if possible, as this can often lead to a dry or unevenly heated result that compromises the texture.
More Delicious Gluten-Free Italian Recipes to Explore
If you loved this creamy gluten-free risotto, you’re in for a treat! Italian cuisine offers a wealth of comforting and flavorful dishes that are easily adapted for a gluten-free diet. Explore more of our delicious gluten-free Italian recipes that bring authentic flavors to your table without compromise. Expand your culinary repertoire with these fantastic options:
- Gluten-Free Creamy Italian Pasta Salad: Perfect for potlucks or a light lunch.
- Gluten-Free Lasagna: A hearty, classic dish for family dinners.
- Gluten-Free Baked Ziti: Cheesy, saucy, and wonderfully comforting.
- Homemade Gluten-Free Pasta: Master the art of fresh pasta from scratch.
Share your culinary creations! We absolutely love seeing what you cook up in your kitchen. If you’ve tried this delightful gluten-free risotto recipe, be sure to mention @mamaknowsglutenfree or tag #mamaknowsglutenfree on Instagram! Your feedback and photos inspire us.