

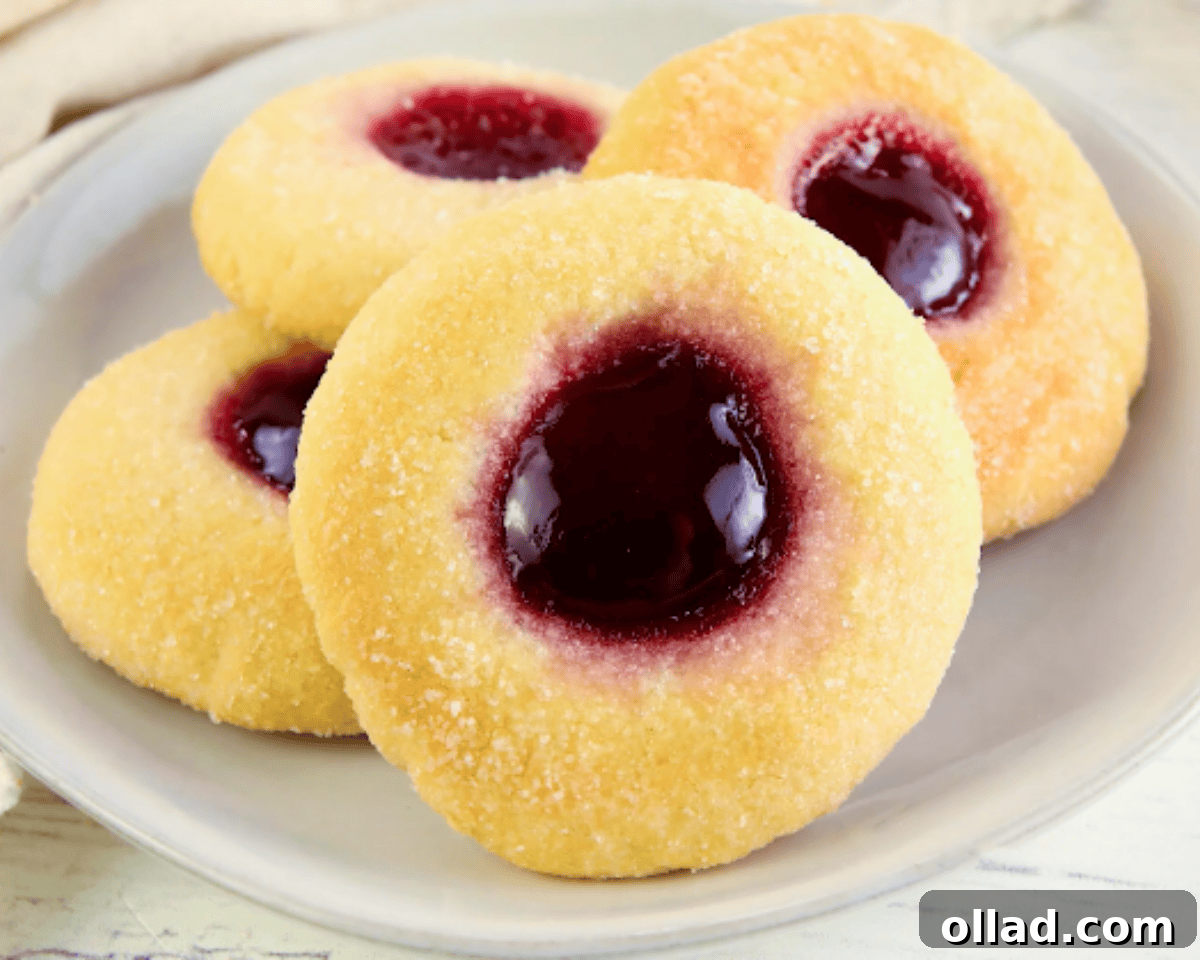
There’s an undeniable charm to classic holiday cookies, and these delightful gluten-free thumbprint cookies are no exception. Imagine a soft, tender, buttery cookie melting in your mouth, perfectly complemented by a vibrant, sweet jam center. This recipe delivers just that – a timeless favorite reimagined for gluten-free diets, making it accessible for everyone to enjoy. They’re incredibly simple to prepare, bake beautifully in under 15 minutes, and instantly add a touch of festive elegance to any cookie platter. Crafted with straightforward ingredients and minimal fuss, these cookies are destined to become a reliable staple in your holiday baking repertoire year after year.

“I made these for Christmas using raspberry jam and King Arthur Measure for Measure flour. Holy cow, they turned out fabulous! Of all the cookies we made for the holidays, this was the unanimous favorite among my family members. They looked really pretty too. I will be making these again (soon!). Thank you for such an easy, and truly delicious, gluten-free spin on an old classic.”
– Laura
There’s something inherently comforting about baking classic cookies. Simple recipes that consistently yield fantastic results are always the best, and these gluten-free thumbprint cookies certainly fit the bill. They are among my personal favorites, holding a special place in my heart due to my lifelong love for jam-filled pastries. If you’ve ever tried my gluten-free Danish, you already know my affection for that delightful sweet and fruity center. These cookies offer that same cozy, nostalgic flavor in a smaller, more approachable bite, perfect for sharing or enjoying on your own. The rich, buttery gluten-free dough paired with a bright, fruity jam evokes warm memories, yet they’re just as versatile and delicious with other fillings. Consider a tangy lemon curd for a burst of citrus or a dollop of melted chocolate for an indulgent twist. These cookies are not only easy to make and wonderfully festive, but they’re also ideal for gifting during the holidays or adding to a thoughtful cookie box. Don’t forget to tell me your favorite filling in the comments section below!
Mastering Gluten-Free Baking: Essential Tips for Perfect Thumbprint Cookies
Baking gluten-free can sometimes present unique challenges, but with the right techniques, you can achieve delicious results every time. These expert tips will help ensure your gluten-free thumbprint cookies are perfectly soft, beautifully shaped, and utterly irresistible.
- Accurate Flour Measurement is Key: When working with gluten-free flours, precision is paramount. Always measure your gluten-free flour blend using a dry measuring cup and the spoon-and-level method. This involves lightly spooning the flour into the measuring cup until it overflows, then leveling off the excess with the straight back of a knife. Avoid scooping the flour directly from the bag with the measuring cup, as this can compact the flour and result in using too much, leading to dry and crumbly cookies. This small step makes a significant difference in the final texture of your baked goods.
- Preventing Cracks for a Flawless Finish: To ensure your thumbprint cookies maintain their beautiful, smooth appearance, roll each dough ball until its surface is completely smooth before making the indent. When pressing the indent, aim to go only halfway down into the dough. Pressing too deeply can cause the sides to split during baking. If you notice any small cracks appearing after shaping, gently pinch or smooth them out with your fingers before the cookies go into the oven. This little touch-up helps the cookies hold their perfect round shape and prevents further cracking.
- Avoid Spreading for Uniform Cookies: Cookie dough tends to spread more easily on a warm baking sheet. For consistent results, always ensure your baking sheet has cooled completely between batches. Placing fresh dough on a warm pan can cause the butter to melt too quickly, leading to flat, overly spread cookies. If you find your cookie dough feels unusually soft or sticky, a quick chill can work wonders. Place the rolled dough balls in the refrigerator for about 30 minutes before baking to firm them up, which significantly helps in preventing excessive spreading and maintaining their shape.
- Mastering Jam Application to Prevent Overflow: The sweet jam center is the signature of these cookies, but too much can lead to sticky, burnt edges. To prevent jam from overflowing and bubbling over the sides during baking, use no more than ½ teaspoon of jam in each indent. Remember that jam expands and bubbles as it heats in the oven. A modest amount will ensure it stays neatly within its designated space, creating a beautiful and clean finish.
- Ensuring Even Baking for Golden Perfection: For the most consistent baking results and a beautifully golden hue, always use a light-colored baking sheet. Darker pans absorb more heat and can cause the bottoms of your cookies to brown too quickly, sometimes even burning them before the centers are fully baked. Additionally, bake your cookies on the middle rack of your oven. This position provides the most even heat distribution. To further promote uniform baking, only bake one cookie sheet at a time. Overcrowding the oven or baking multiple sheets simultaneously can disrupt airflow and lead to unevenly baked cookies.
- Texture Fixes for Varying Gluten-Free Flours: Gluten-free flour blends can differ significantly in their moisture absorption and composition. It’s common for the dough to feel a bit dry or crumbly, especially if you’re using a different brand than recommended. If this occurs, don’t despair! Simply add 1 to 2 teaspoons of milk (dairy or non-dairy, as preferred) to the dough until it comes together into a smooth, pliable, and easy-to-roll ball. This small adjustment reintroduces much-needed moisture, helps prevent cracking during shaping and baking, and ultimately improves the final tender texture of your cookies.
Gluten-Free Thumbprint Cookies
Rating: 5 out of 5 stars (4 votes)
Audrey Roberts
24 cookies
15 mins
12 mins
27 mins
Print Recipe

An easy recipe for gluten-free thumbprint cookies. A soft gluten-free sugar cookie with a jam filling. This recipe is accompanied by helpful step-by-step images to guide you through the process!
Want to save this delicious recipe for later? Just enter your email below to have it sent directly to your inbox! Plus, you’ll receive new gluten-free recipes from us every week!
(Email submission form placeholder)
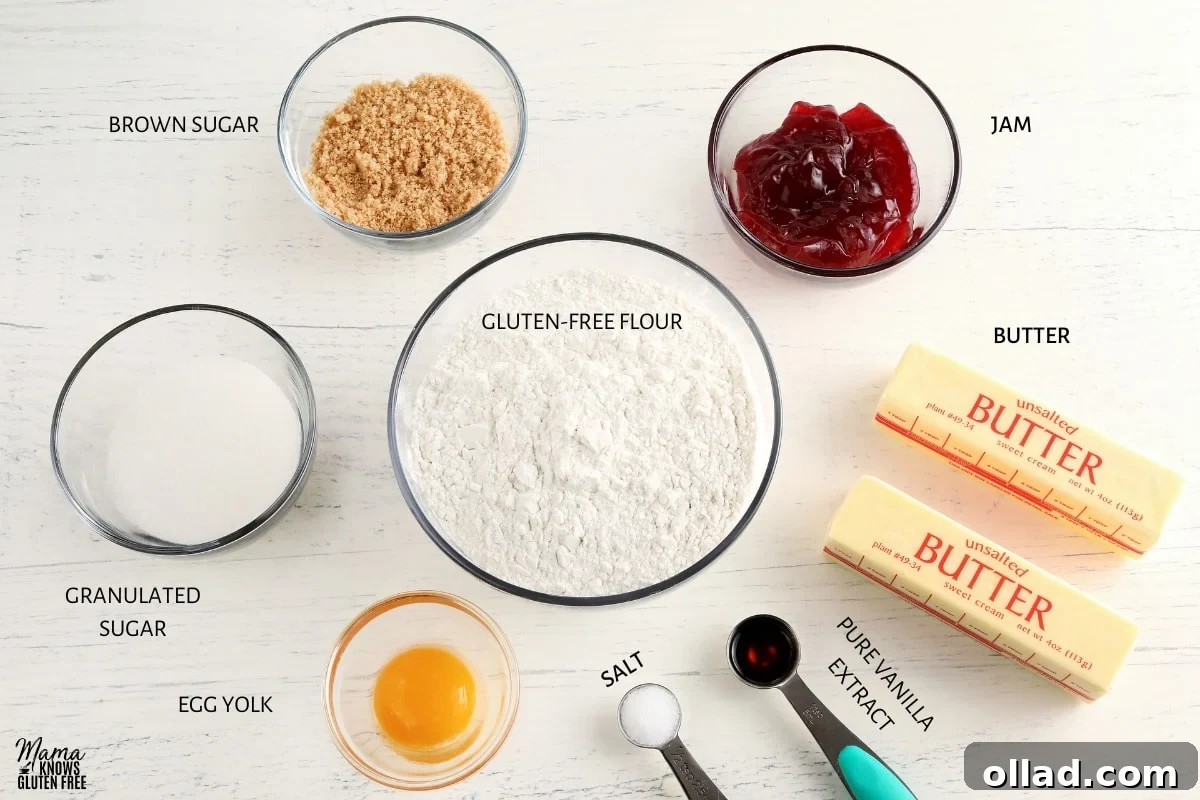
Ingredients
- 1 cup unsalted butter (for dairy-free, use Smart Balance or another dairy-free butter alternative)
- ⅓ cup granulated sugar
- ⅓ cup light brown sugar, packed
- 1 large egg yolk
- 1 tsp pure vanilla extract
- 2¼ cups all-purpose gluten-free flour with xanthan gum (Pillsbury gluten-free flour is a great option)
- ½ tsp salt
- ½ cup granulated sugar for rolling
- ⅓ cup jam (seedless raspberry jam is highly recommended for its bright flavor and smooth texture, but feel free to choose your favorite)
Choose your preferred unit system:
US Customary – Metric
Watch the step-by-step video to see how these delicious Gluten-Free Thumbprint Cookies come to life!

Instructions
- Prepare Your Oven and Baking Sheet: Begin by preheating your oven to 375°F (190°C). Line a large baking sheet with parchment paper; this prevents sticking and ensures easy cleanup.
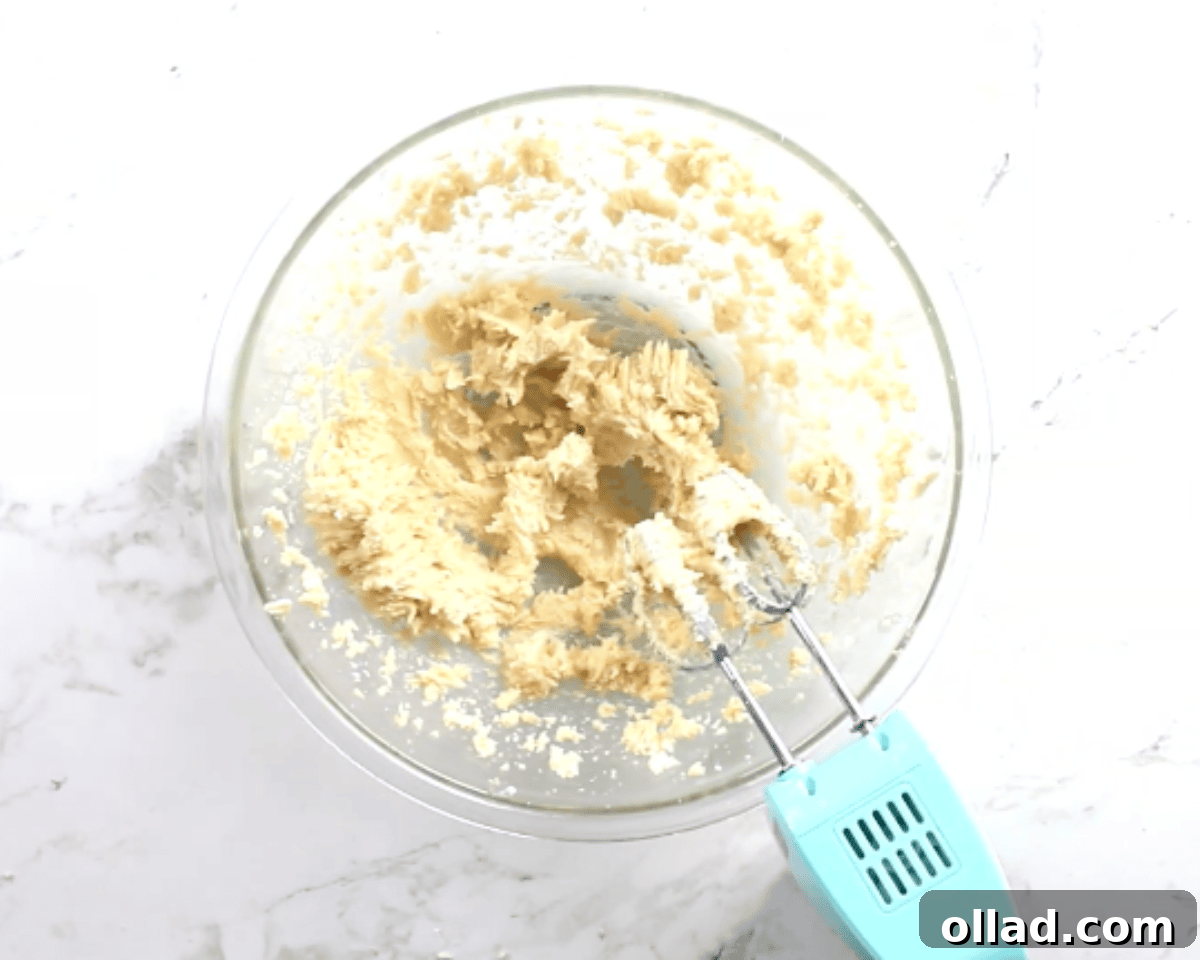
- Cream the Butter: In a spacious mixing bowl, use an electric mixer to beat the softened unsalted butter until it reaches a light, fluffy, and creamy consistency. This process incorporates air, contributing to the cookies’ tender texture.
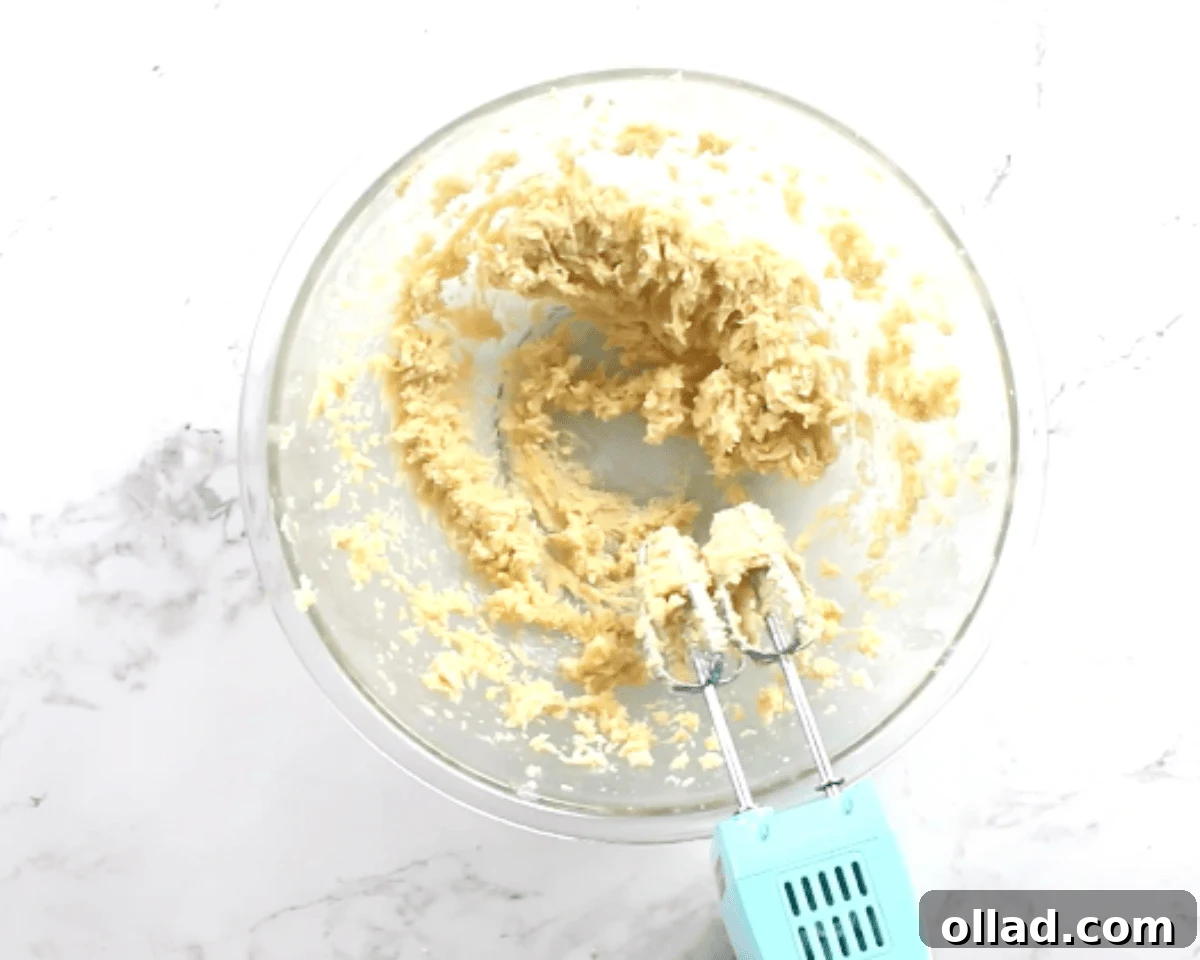
- Add Sugars and Mix: Gradually add the granulated sugar and the packed light brown sugar to the creamed butter. Continue to beat with the electric mixer until all the sugars are thoroughly incorporated and the mixture is light and well combined.
- Incorporate Wet Ingredients: Add the large egg yolk, pure vanilla extract, and salt to the mixture. Beat again until all these ingredients are smoothly blended into the butter and sugar base, creating a cohesive wet mixture.
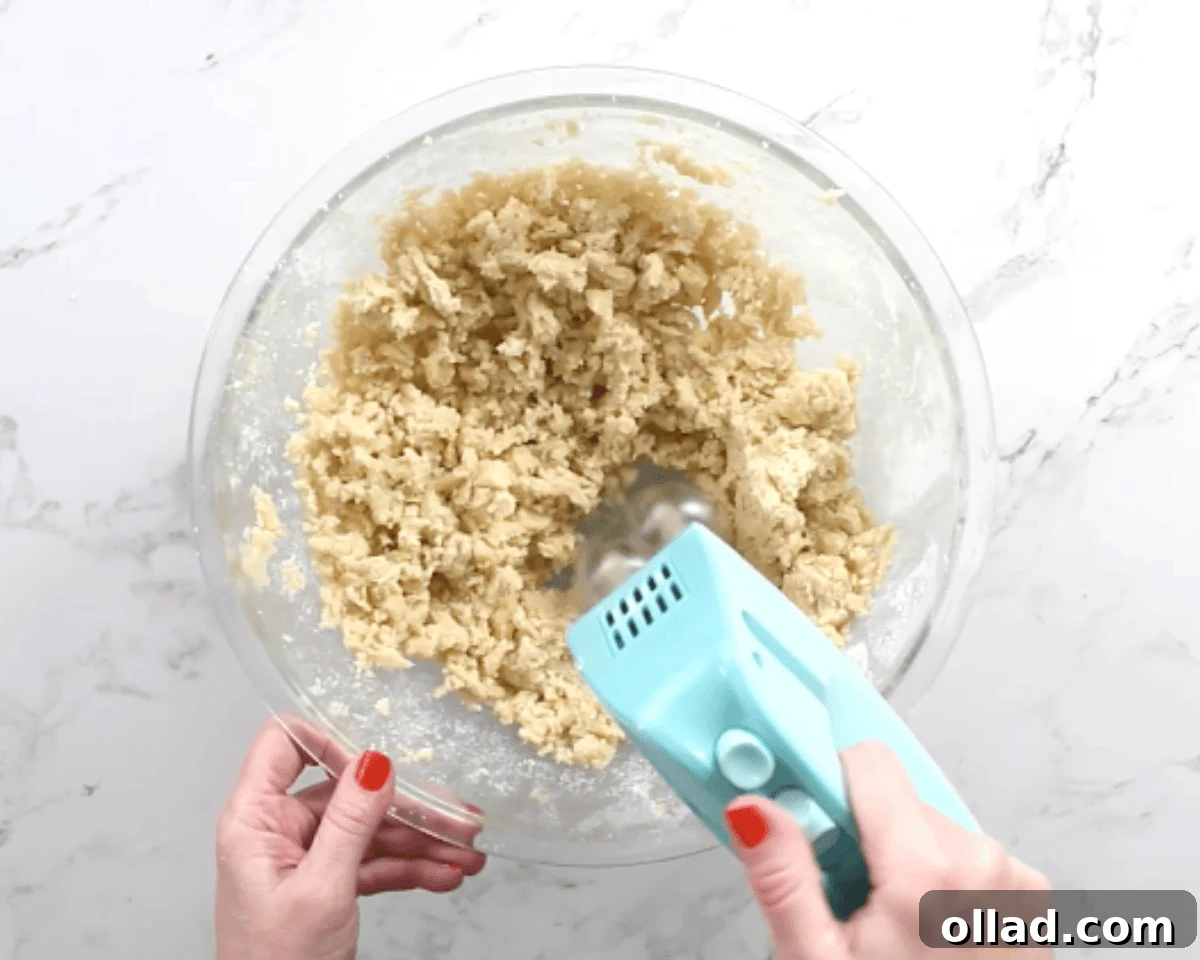
- Gradually Add Gluten-Free Flour: Slowly add the all-purpose gluten-free flour (ensure it contains xanthan gum, or add it separately if not included in your blend). Mix on low speed until the flour is completely combined with the wet ingredients. Don’t be alarmed if the dough initially appears dry and crumbly; it will come together as you continue to mix and scrape down the sides and bottom of the bowl periodically to ensure even incorporation.
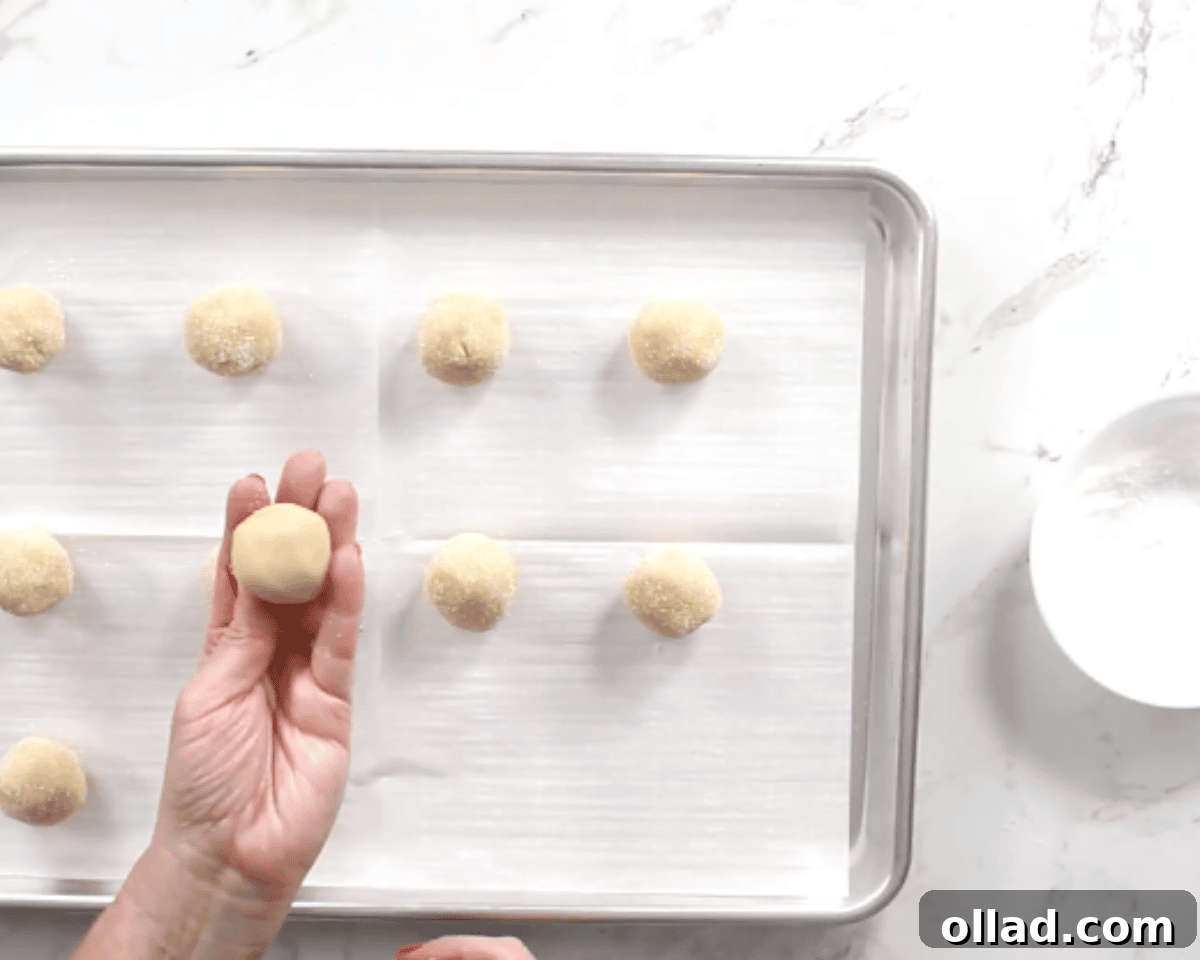
- Scoop and Roll Dough Balls: Using a greased cookie scoop, measure out 1½ tablespoon-sized portions of cookie dough. Roll each portion between your palms to form smooth, uniform round balls. This step helps prevent cracking in the finished cookies.
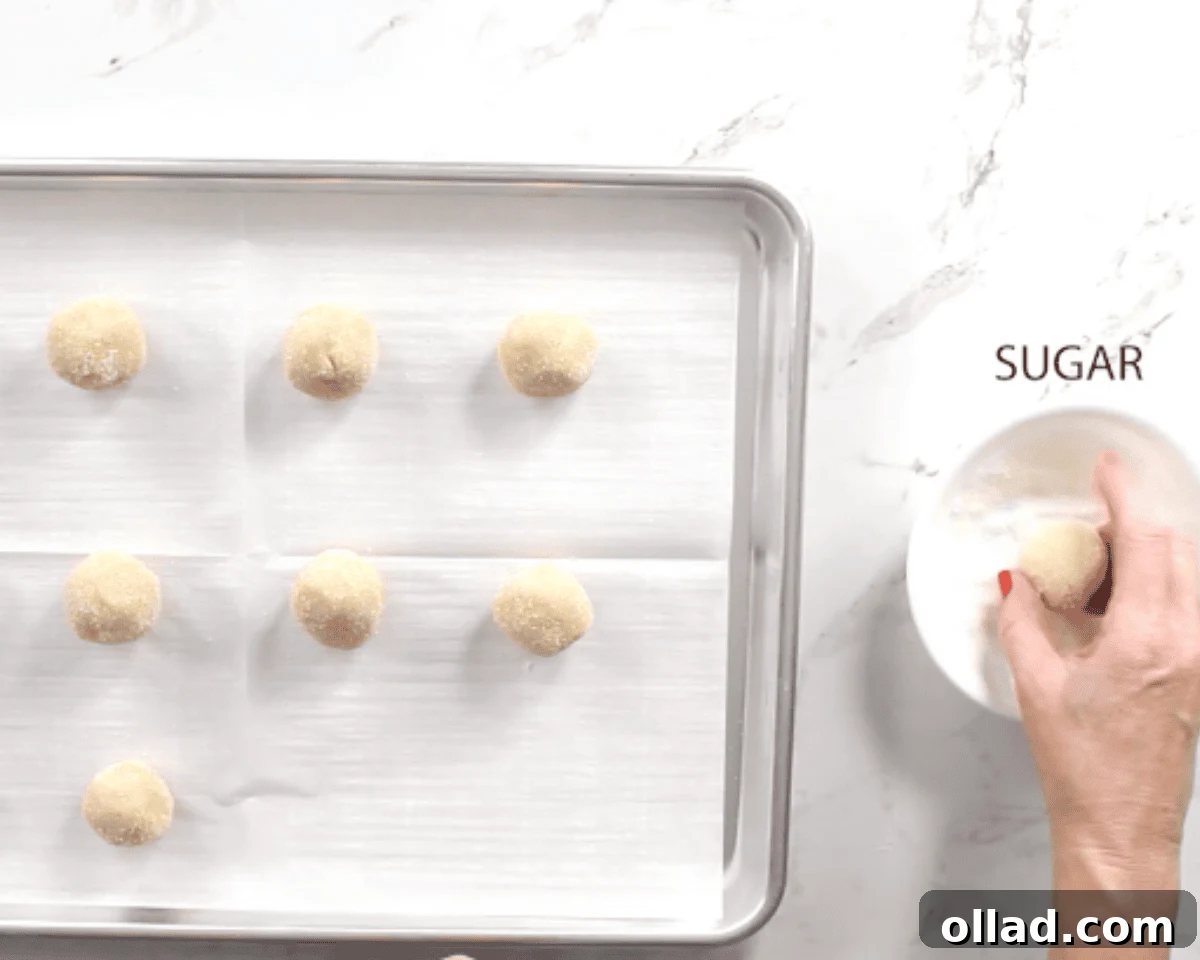
- Sugar Coating and Placement: Pour the ½ cup of granulated sugar into a small, shallow bowl. Roll each dough ball in this sugar, coating it evenly. Place the sugar-coated dough balls on the prepared baking sheet, ensuring they are spaced approximately 2 inches apart to allow for proper spreading during baking.
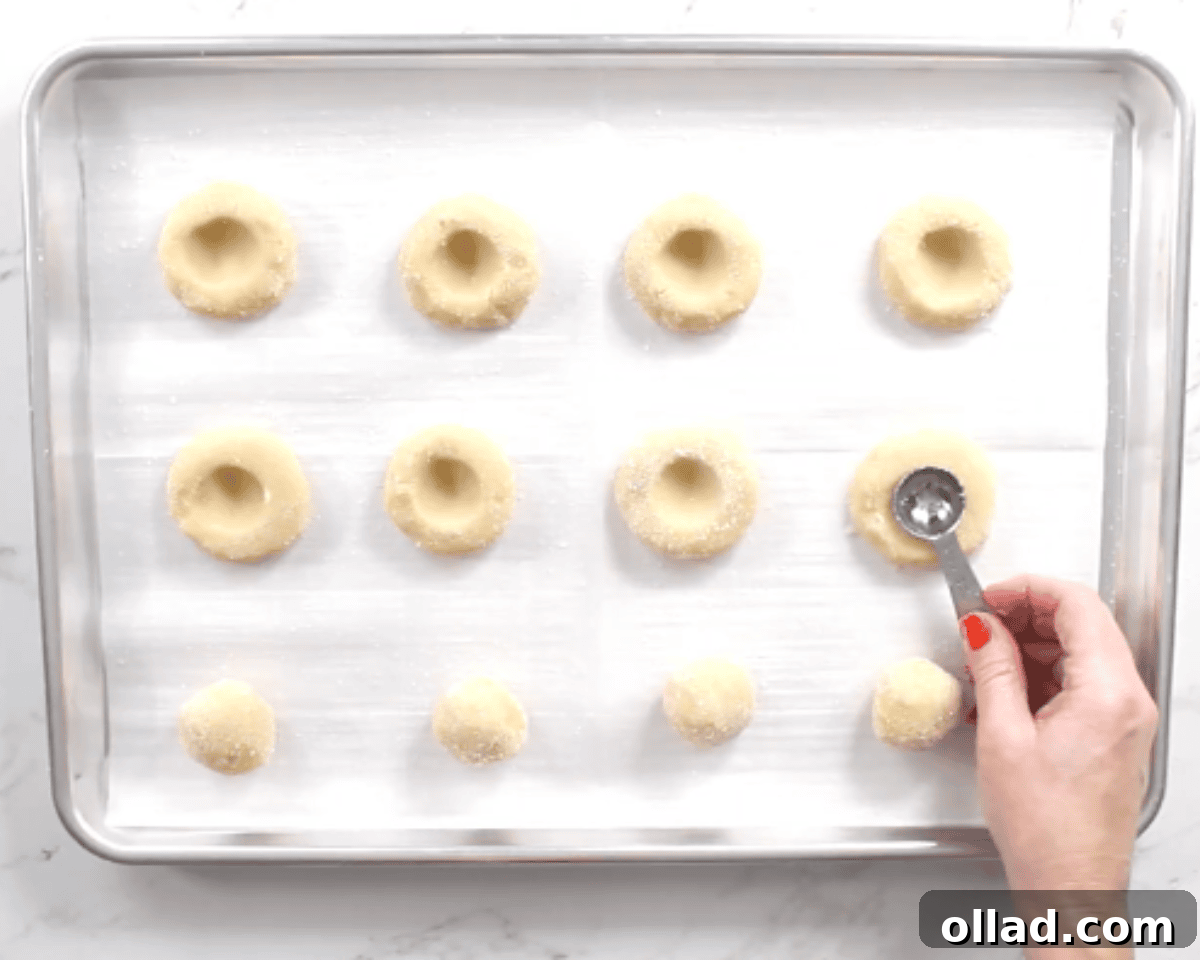
- Create the Iconic Thumbprints: Gently press an indent into the center of each cookie dough ball. You can use your thumb for a classic touch or the back of a rounded teaspoon for a more uniform indentation. Be careful not to press all the way through the dough.
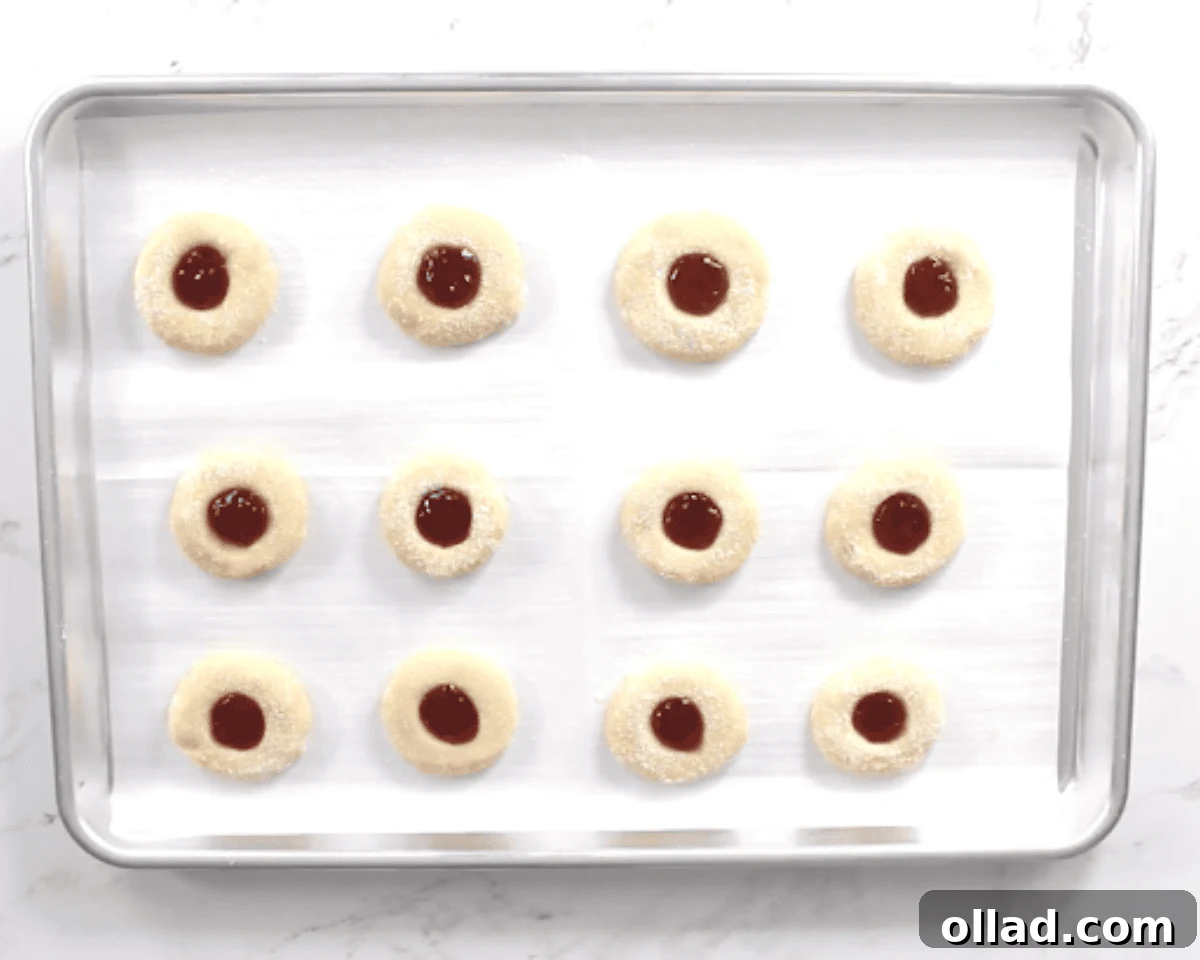
- Prepare the Jam Filling: Place the ⅓ cup of jam (such as seedless raspberry) in a small, microwave-safe bowl. Microwave it for about 5-10 seconds, or just until the jam loosens and is no longer firm. Stir it until it becomes smooth and easily spoonable. This makes it easier to fill the indents evenly.
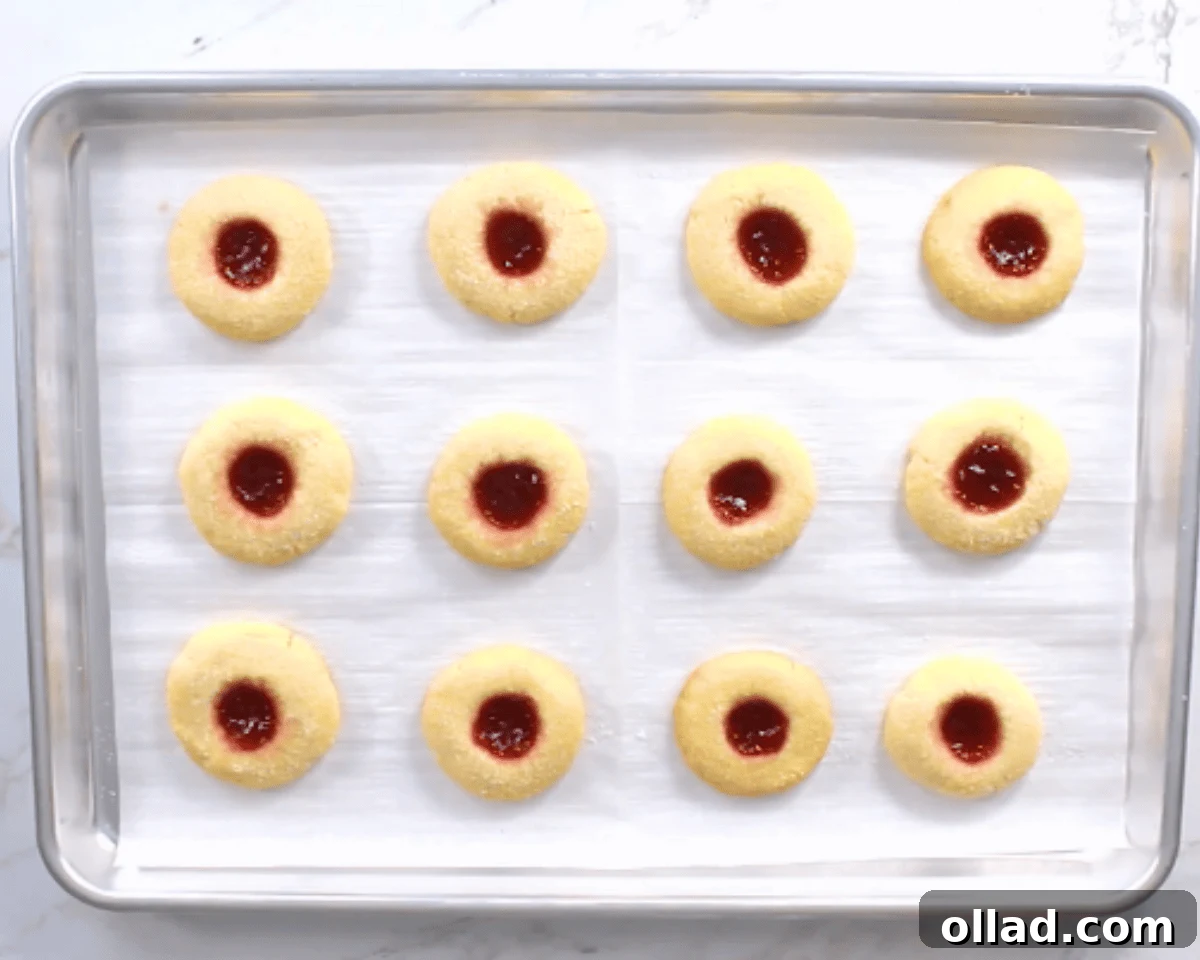
- Fill the Indents with Jam: Carefully spoon the warmed, smooth jam into each thumbprint indent, filling each one generously to the brim. The vibrant color of the jam will add a beautiful visual appeal to the cookies.
- Bake to Golden Perfection: Place the baking sheet on the center rack of your preheated oven. Bake for 12-14 minutes, or until the edges of the cookies turn a light golden brown. Keep a close eye on them to prevent overbaking.
- Cool Completely: Once baked, remove the cookies from the oven. Allow them to cool completely on the baking sheet. This crucial step allows the jam centers to set properly and the cookies to firm up, preventing them from crumbling when handled. Serve and savor these delicious gluten-free treats!
Notes
- Gluten-Free Flour Variations: It’s important to remember that not all gluten-free flours are created equal. The consistency and absorption rates of different gluten-free flour blends can vary significantly. Consequently, you may experience slightly different baking results depending on the specific gluten-free flour blend you choose. Adjusting liquid slightly (as mentioned in the baking tips) might be necessary.
- Incompatible Flours: This gluten-free cookie recipe is specifically developed for an all-purpose gluten-free flour blend. It will not yield successful results if you substitute with single-grain flours like almond flour, oat flour, or coconut flour, as these flours have very different properties and require distinct recipe formulations.
- Jam Timing: For the best results and to prevent the jam from drying out or hardening, make sure to heat up the jam slightly and add it to the cookies before placing them in the oven to bake.
- Jam Options for Customization: While seedless raspberry jam is a classic choice, feel free to experiment with your favorite jam flavors. Delicious alternatives include strawberry, apricot, or even a tangy lemon curd for a different profile. Using a seedless jam generally provides a smoother eating experience.
Nutrition Information
Serving: 1 cookie
Calories: 144 kcal
Carbohydrates: 17g
Protein: 1g
Fat: 8g
Saturated Fat: 5g
Polyunsaturated Fat: 0.4g
Monounsaturated Fat: 2g
Trans Fat: 0.3g
Cholesterol: 28mg
Sodium: 52mg
Potassium: 11mg
Fiber: 1g
Sugar: 8g
Vitamin A: 247IU
Vitamin C: 0.4mg
Calcium: 14mg
Iron: 0.5mg
Nutrition information is automatically calculated and should only be used as an approximation. Individual results may vary based on specific ingredients and preparation methods.
Additional Info
Dessert
American
Mention @mamaknowsglutenfree or tag #mamaknowsglutenfree!
How to Make Gluten-Free Thumbprint Cookies Step by Step with Visual Guidance
Making these delicious gluten-free thumbprint cookies is a straightforward process, and with our step-by-step visual guide, you’ll be baking like a pro in no time. Each image illustrates a key stage, ensuring you achieve perfect results for these classic treats.

Serving Suggestions for Every Occasion
These versatile gluten-free thumbprint cookies are much more than just a holiday treat. Their charming appearance and delightful flavor make them perfect for a wide array of occasions. They are, of course, a quintessential addition to holiday cookie trays, bringing a burst of color and a classic touch. They also make thoughtful, homemade gift box fillers for friends, family, or neighbors. Beyond the festive season, these cookies are truly a joy to savor with a warm beverage. Imagine enjoying one with a comforting cup of coffee in the morning, a soothing herbal tea in the afternoon, or even a rich dairy-free hot chocolate on a chilly evening.
For an impressive cookie spread, I love pairing them with other festive favorites. Their bright jam centers provide a lovely contrast to the delicate designs of gluten-free cut-out sugar cookies or the rich, deep hues of gluten-free chocolate crinkle cookies. The vibrant splash of color from the jam not only enhances the visual appeal but also adds a fruity counterpoint to a diverse cookie platter, making them especially eye-catching on a Christmas display or nestled into a charming homemade gift tin.
Proper Storage for Lasting Freshness
To keep your gluten-free thumbprint cookies as fresh and delicious as possible, follow these simple storage guidelines:
- Room Temperature: Store your baked and completely cooled gluten-free thumbprint cookies in an airtight container at room temperature for up to 3-4 days. Placing a slice of bread in the container can sometimes help keep them softer, though it’s not strictly necessary with this recipe’s tender texture.
- Refrigeration: If you need your cookies to last a bit longer, transfer them to an airtight container and store them in the refrigerator for up to a week. The colder temperature will help preserve their freshness, though the texture might become slightly firmer. Allow them to come closer to room temperature before serving for the best experience.
- Freezing Dough (Make-Ahead Prep): For ultimate convenience, you can prepare the cookie dough in advance. After shaping the dough balls and pressing the indents (but *before* adding the jam), arrange them in a single layer on a parchment-lined baking sheet and freeze until solid. Once frozen, transfer the unbaked dough balls to a freezer-safe airtight container or zip-top bag. They can be stored in the freezer for up to 2-3 months. When you’re ready to bake, simply place the frozen dough balls on a prepared baking sheet, add the jam, and bake as directed, adding a few extra minutes to the baking time if necessary.
- Freezing Baked Cookies: While possible, freezing baked thumbprint cookies can sometimes affect the jam’s texture, making it slightly more liquidy upon thawing. If you choose to freeze them, ensure they are completely cooled. Arrange them in a single layer in an airtight freezer-safe container, separated by parchment paper, and freeze for up to 1 month. Thaw at room temperature before serving.
Discover More Gluten-Free Classic Cookie Recipes
If you’ve fallen in love with these gluten-free thumbprint cookies, you’ll be delighted to explore more classic cookie recipes, all perfectly adapted to be gluten-free. Expand your baking repertoire with these tried-and-true favorites, ensuring there’s a delicious gluten-free option for every craving and occasion:
- Gluten-Free Snickerdoodle Cookies: A beloved classic known for its soft, chewy texture and irresistible cinnamon-sugar coating.
- Almond Flour Chocolate Chip Cookies: A rich and satisfying twist on the ultimate comfort cookie, using almond flour for a unique texture.
- Gluten-Free Vanilla Wafers: Delicate, crisp, and subtly sweet, perfect for snacking or dessert bases.
- Gluten-Free Shortbread Cookies: Buttery, crumbly, and melt-in-your-mouth delicious, a simple yet elegant treat.
- Flourless Peanut Butter Cookies: Naturally gluten-free and packed with rich peanut butter flavor, these are incredibly easy to make.