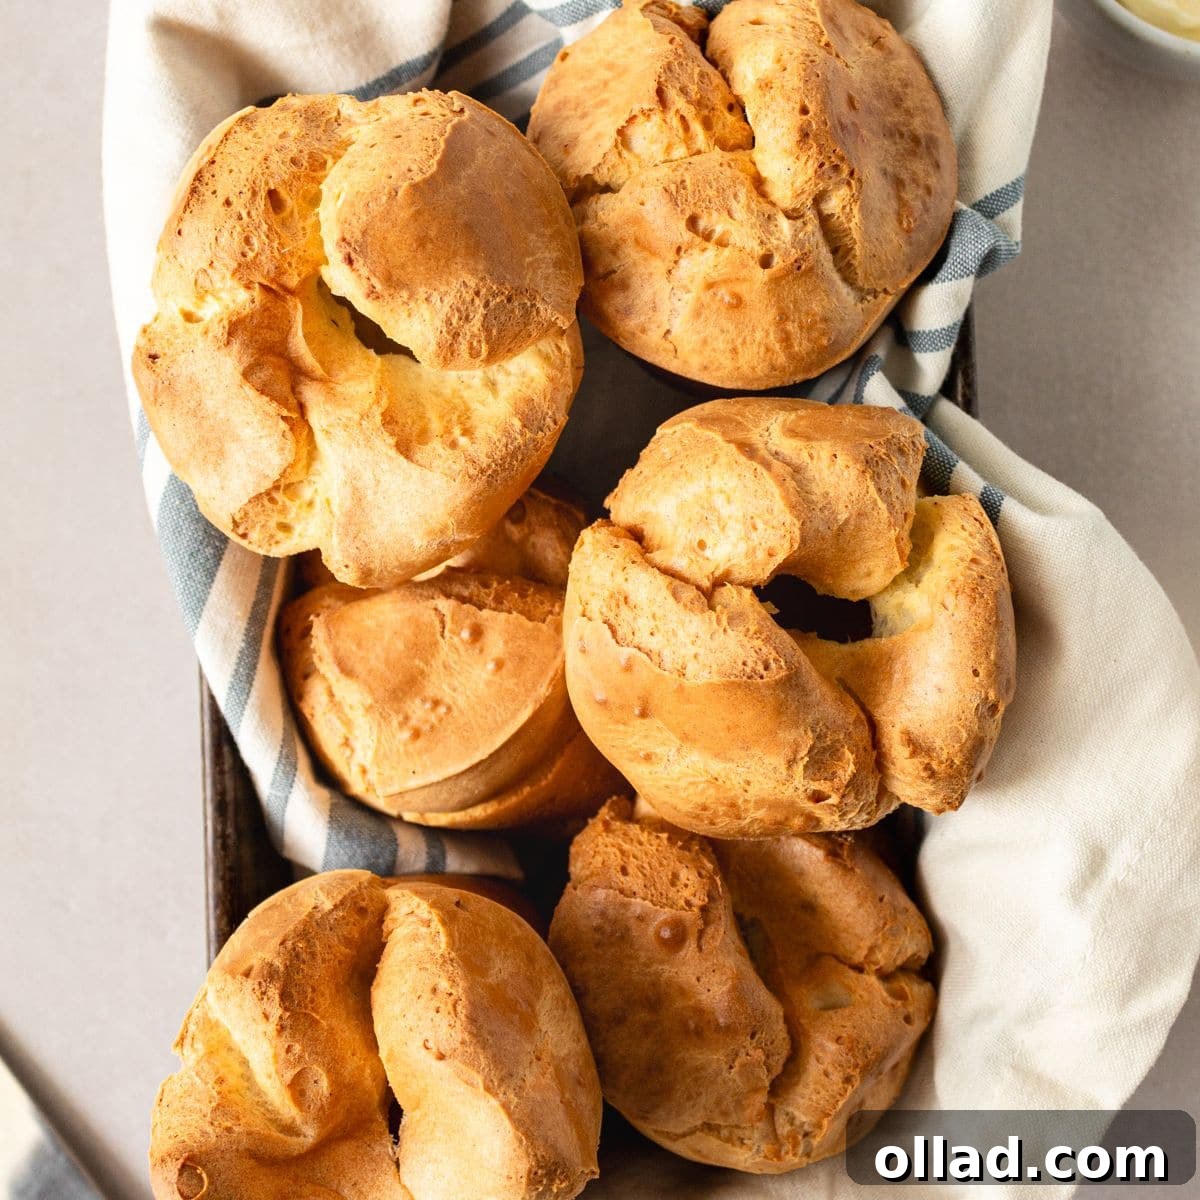
When searching for a delightful, light, and airy treat, nothing quite compares to freshly baked gluten-free popovers. These versatile delights are perfect for any meal, whether you’re serving them warm with butter and your favorite jam for breakfast, or pairing them as a unique side with a hearty stew. This incredibly easy recipe requires just six simple ingredients and less than an hour of your time (with most of that being hands-off baking!). You can always count on them to turn out beautifully crisp on the outside, with a rich, buttery, eggy, and custardy interior that will impress even the most discerning palates. Once you try this recipe, you’ll discover why it’s the only gluten-free popover guide you’ll ever need!
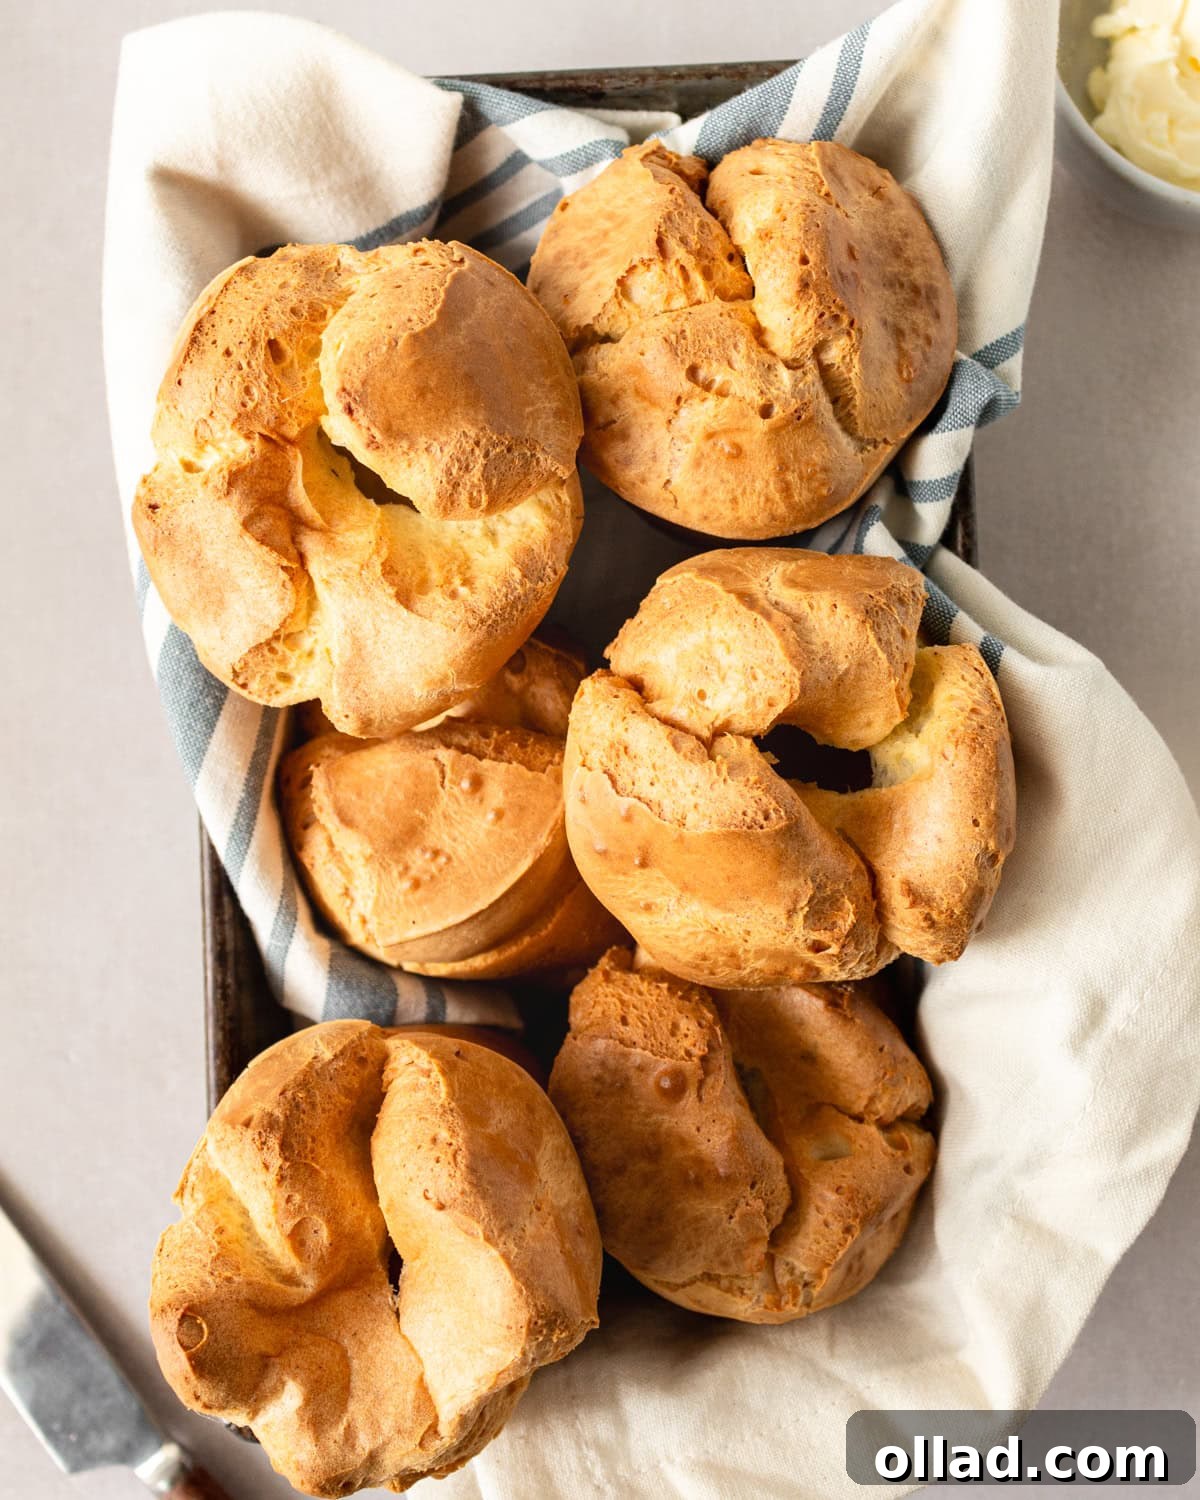
Mastering Gluten-Free Popovers: A Recipe for Success
Gluten-free popovers share a charming lineage with other beloved baked goods like our gluten-free Dutch baby pancakes and gluten-free Yorkshire puddings. All these magnificent bakes rely on a simple batter of gluten-free flour, milk, eggs, and butter to achieve their impressive rise and airy texture. While Yorkshire puddings are traditionally cooked in meat drippings or oil, popovers typically use butter and are often baked in a specialized popover pan to achieve their signature tall, dramatic puff. In this recipe, I often use almond milk, but feel free to substitute with any milk you prefer, whether it’s cow’s milk or another dairy-free alternative; they will all yield delicious results! My tried-and-true secret for achieving the best gluten-free popovers is a two-step baking process: starting the oven at a high temperature to encourage a rapid rise, then reducing it mid-bake to ensure they cook through and develop that perfect crisp crust without burning. This method creates the ideal environment for these light and fluffy treats to rise majestically every time.
Essential Ingredients for Perfect Gluten-Free Popovers
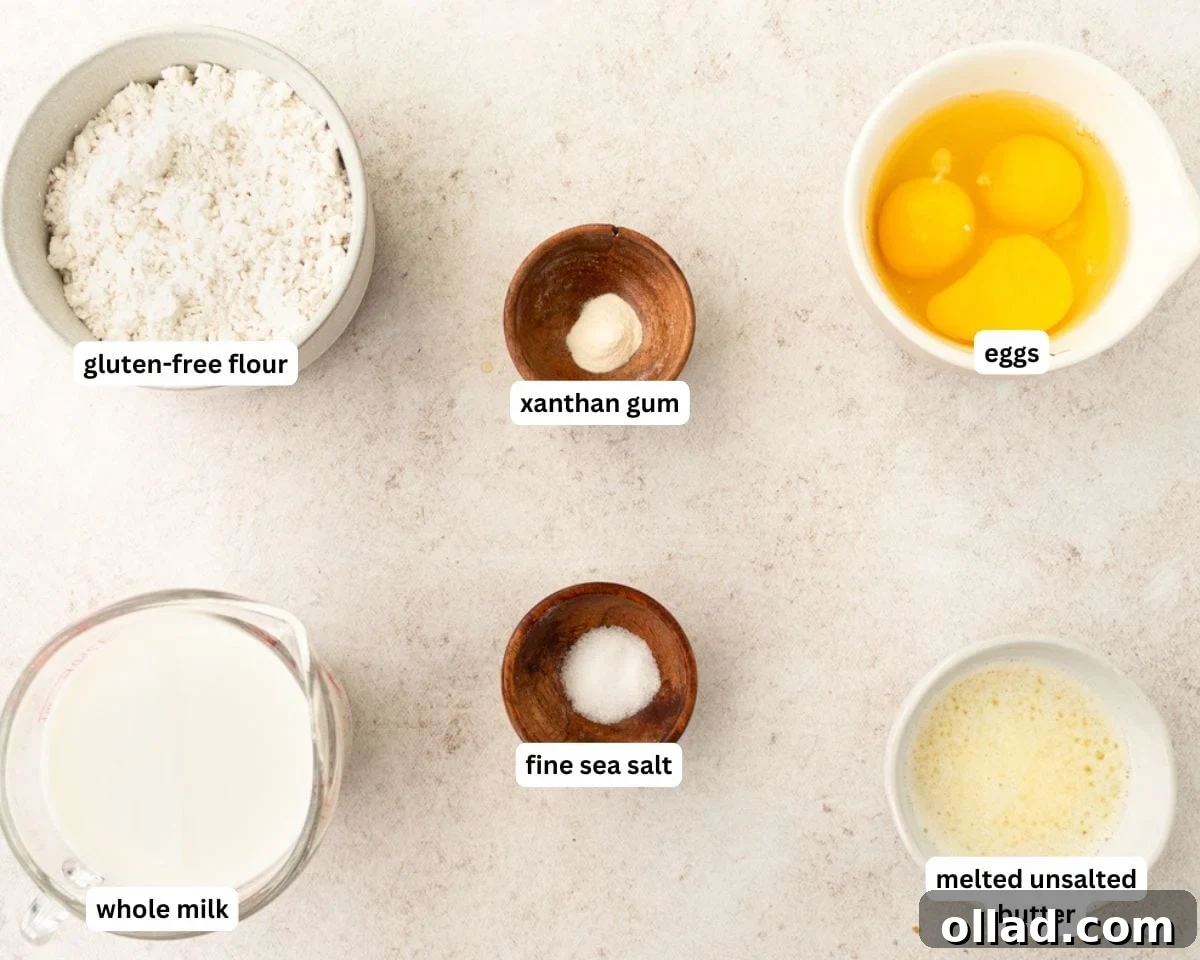
Crafting exceptional gluten-free popovers starts with understanding the role each ingredient plays. This recipe calls for simple, wholesome components that work in harmony to create that distinctive popover texture and flavor. Using high-quality ingredients and ensuring they are at the correct temperature are crucial steps for success.
- Eggs: The star of the show when it comes to lift and texture! Eggs are fundamental for helping your gluten-free popovers rise dramatically, giving them that coveted light, airy, and hollow interior. For optimal results, ensure your eggs are at room temperature before incorporating them into the batter. This helps them emulsify better with other ingredients and creates more steam during baking, which is key for a good rise.
- Whole Milk: Milk provides essential moisture and is a primary source of the steam that causes popovers to puff up so impressively. Unlike many baked goods, popovers don’t rely on yeast or baking powder for their rise; it’s all about the steam trapped within the batter. Through extensive testing, I’ve found that whole milk yields the richest flavor, best texture, and a beautiful golden-brown color. However, if you have dietary restrictions or preferences, alternative milks work wonderfully too. I frequently use almond milk, though you might notice the final color is slightly less golden. Regardless of your choice, ensure the milk is also at room temperature for the same reasons as the eggs.
- Gluten-Free All-Purpose Flour: The foundation of our gluten-free popovers! It’s crucial to use a high-quality 1:1 all-purpose gluten-free flour blend. Many commercial blends already include xanthan gum, which is vital for providing structure and elasticity in gluten-free baking, mimicking the role of gluten. Check your flour blend’s ingredients to confirm it contains xanthan gum.
- Unsalted Butter: Butter brings an irresistible richness and flavor to the popovers, contributing to their golden crust and tender interior. It’s important to melt your butter and allow it to cool slightly before adding it to the batter. Introducing hot butter to the eggs can cause them to cook prematurely, leading to a less-than-ideal batter consistency. You’ll also need extra melted butter for thoroughly greasing your popover pan, which prevents sticking and aids in achieving a perfectly crisp exterior.
- Fine Sea Salt: A small but mighty ingredient, fine sea salt is essential for enhancing and balancing the overall flavor profile of your popovers, ensuring they’re not bland and complementing both sweet and savory toppings.
- Xanthan Gum: If your chosen gluten-free flour blend does not already contain xanthan gum, or if you want extra insurance for structure, adding a small amount separately is a game-changer. Xanthan gum acts as a binder, helping to hold the batter together and preventing crumbling, which is especially important in gluten-free recipes for achieving that desirable light and chewy texture.
Top Tips and Expert Suggestions for Gluten-Free Popover Success
Achieving perfectly risen, light, and airy gluten-free popovers is easier than you think, especially with these insider tips and suggestions. Follow these guidelines to ensure your popovers are consistently fantastic:
- No Need to Preheat the Pan: While some popover recipes advocate for preheating the popover pan before adding the batter, this step is not necessary for our recipe. By starting with a room-temperature, well-greased pan and a hot oven, you’ll still get an incredible rise without the extra hassle.
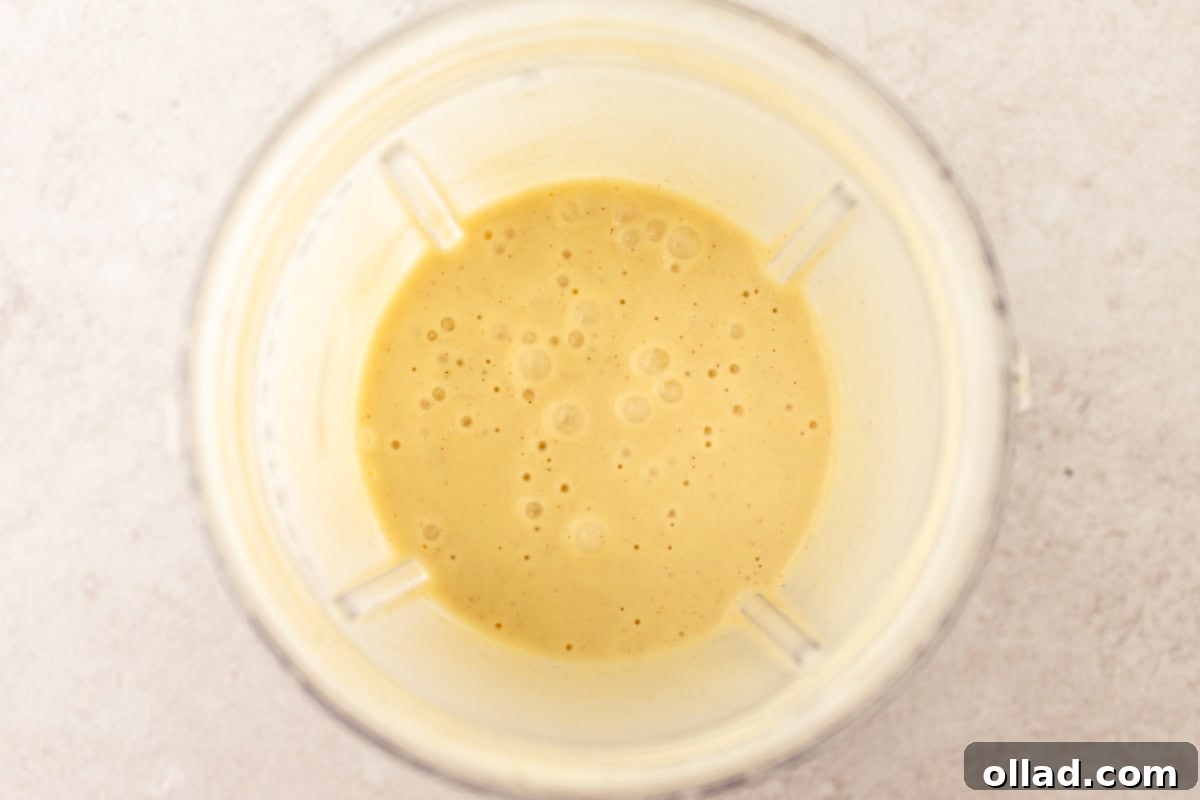
- The Blender Advantage: For the quickest and easiest way to prepare a smooth, lump-free batter, I highly recommend using a blender. Blending quickly incorporates all ingredients and is particularly effective at preventing lumps, which can be common when mixing gluten-free flour with liquids. If a blender isn’t available, an electric mixer or even a whisk used by hand will work; just be mindful not to overmix the batter, as this can develop toughness.
- Accurate Flour Measurement is Key: Precision in measuring gluten-free flour is critical for the right consistency. Always use the “spoon and level” method: gently spoon the flour into your measuring cup until it’s overflowing, then use the straight edge of a knife to level it off without compacting it. This prevents you from accidentally using too much flour, which can result in dense, heavy popovers.
- Optimal Filling Level: When pouring the batter into each popover cup, aim to fill them approximately two-thirds of the way full. This leaves ample room for the popovers to puff up dramatically during baking without overflowing their cavities and losing their signature shape.
- Release the Steam for Crispness: Immediately after removing the popovers from the oven, use a small knife or skewer to poke a tiny hole in the top of each one. This crucial step allows the trapped steam to escape, preventing the popovers from becoming soggy and ensuring they retain their crisp exterior.
- Prompt Removal from the Pan: To further prevent sogginess and maintain their delightful crispness, make sure to remove your gluten-free popovers from the pan immediately after baking and steam release. Leaving them in the hot pan for too long can cause them to steam and soften.
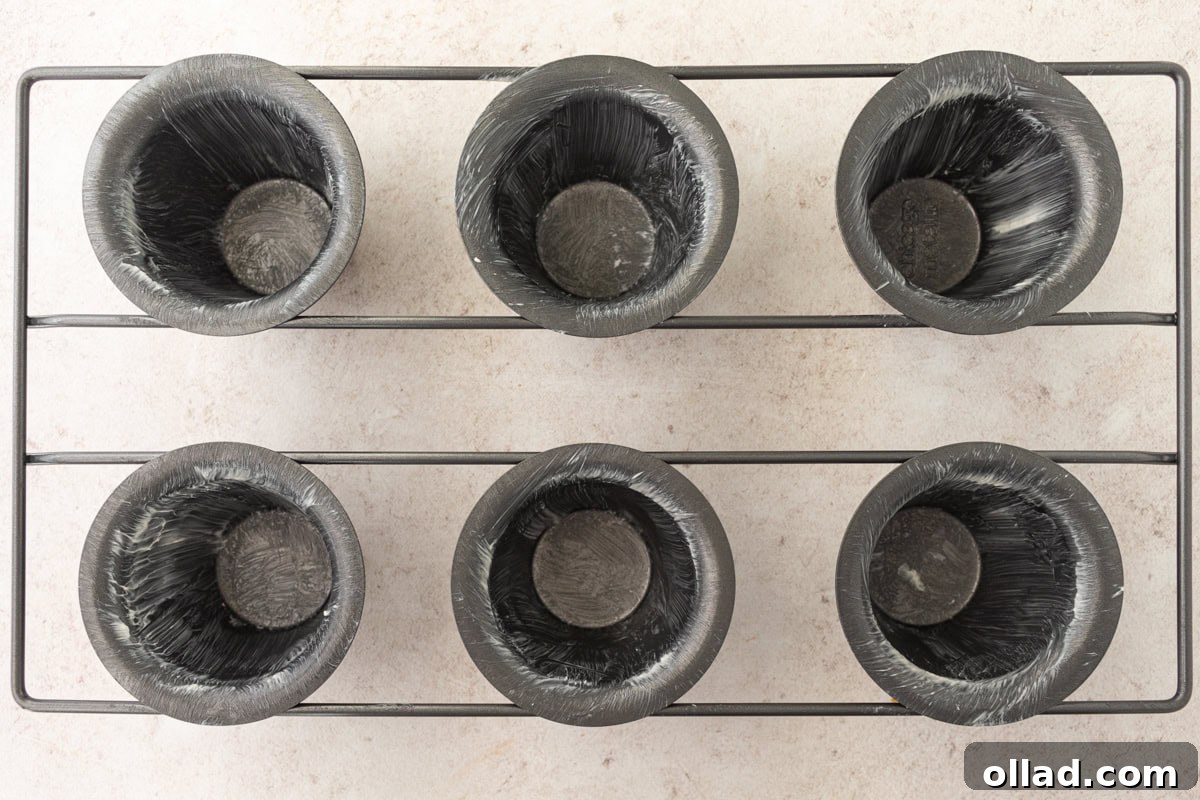
- Thorough Greasing: The secret to popovers that release easily and boast a gorgeous, crispy crust is proper greasing of the pan. Use a basting brush to generously coat every surface of each popover cup with melted butter. This creates a non-stick surface and contributes significantly to the delicious, golden-brown finish.
Popover Pan vs. Muffin Tin: Do You Need a Special Pan?
A common question among aspiring popover bakers is whether a specialized popover pan is absolutely essential. The good news is, no, it’s not strictly required! While a traditional popover pan, with its deep, narrow cups, is designed to encourage maximum vertical rise and create those impressive, tall shapes, you can absolutely achieve delicious results using a standard muffin tin. If opting for a muffin tin, select one with larger cups, if possible. The key differences you’ll notice are mostly aesthetic; popovers baked in a muffin tin tend to be wider and shorter, more akin to muffins, but they will still have that wonderful crispy exterior and airy, custardy interior. The most important consideration when using either pan is to ensure each cavity is exceptionally well-greased with butter. Regardless of the pan type, fill each cup about two-thirds full with batter to allow for expansion without overflow.
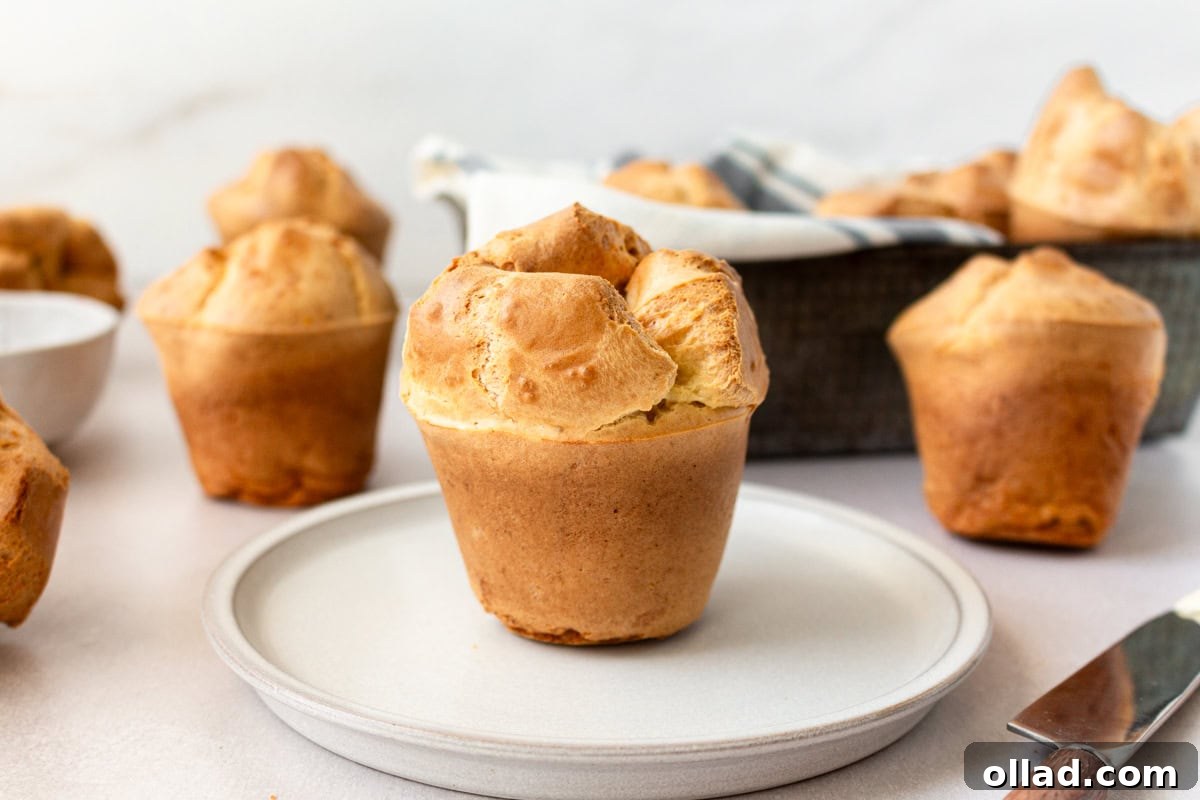
Troubleshooting: Why Didn’t My Gluten-Free Popovers Rise?
Popovers, whether made with or without gluten, are unique in their leavening method. They rely almost entirely on steam to achieve their signature dramatic rise and hollow, puffy center. Unlike cakes or quick breads, there’s no yeast or traditional baking powder at play here. If your popovers aren’t rising as expected, here are the most common culprits and how to fix them:
- Oven Temperature is Critical: The initial high heat is paramount. Ensure your oven is accurately preheated to a blistering 425°F (218°C) before the popovers go in. Baking at this high temperature for the first 25 minutes creates an immediate burst of steam, which forces the batter upwards rapidly. Without this intense initial heat, the popovers won’t get that quick, forceful lift needed for their impressive height. After this initial phase, reducing the temperature to 350°F (175°C) for the remaining 15 minutes allows them to cook through without burning, setting their structure.
- Room Temperature Ingredients Are Non-Negotiable: This is a frequently overlooked but vital step. Your milk and eggs *must* be at room temperature before you even begin mixing the batter. Similarly, your melted butter should be cooled, not hot. Room-temperature ingredients heat up much more rapidly in the hot oven than cold ingredients would. This accelerated heating creates more steam, more quickly, which directly translates to a better, more pronounced rise. Cold ingredients will absorb too much heat from the oven before sufficient steam can be generated, often resulting in dense, flat popovers.
- Avoid Opening the Oven Door: As tempting as it may be to peek at your magnificent rising popovers, resist the urge! Opening the oven door, especially during the first 25 minutes of high-heat baking, causes a drastic drop in temperature. This sudden change in environment releases crucial heat and steam, which are the very forces giving your popovers their structure. A sudden loss of steam will almost certainly cause your popovers to deflate, leaving them sad and squat. Keep the oven door firmly closed throughout the entire baking process, if at all possible. Trust the process!
Delightful Serving Suggestions for Gluten-Free Popovers
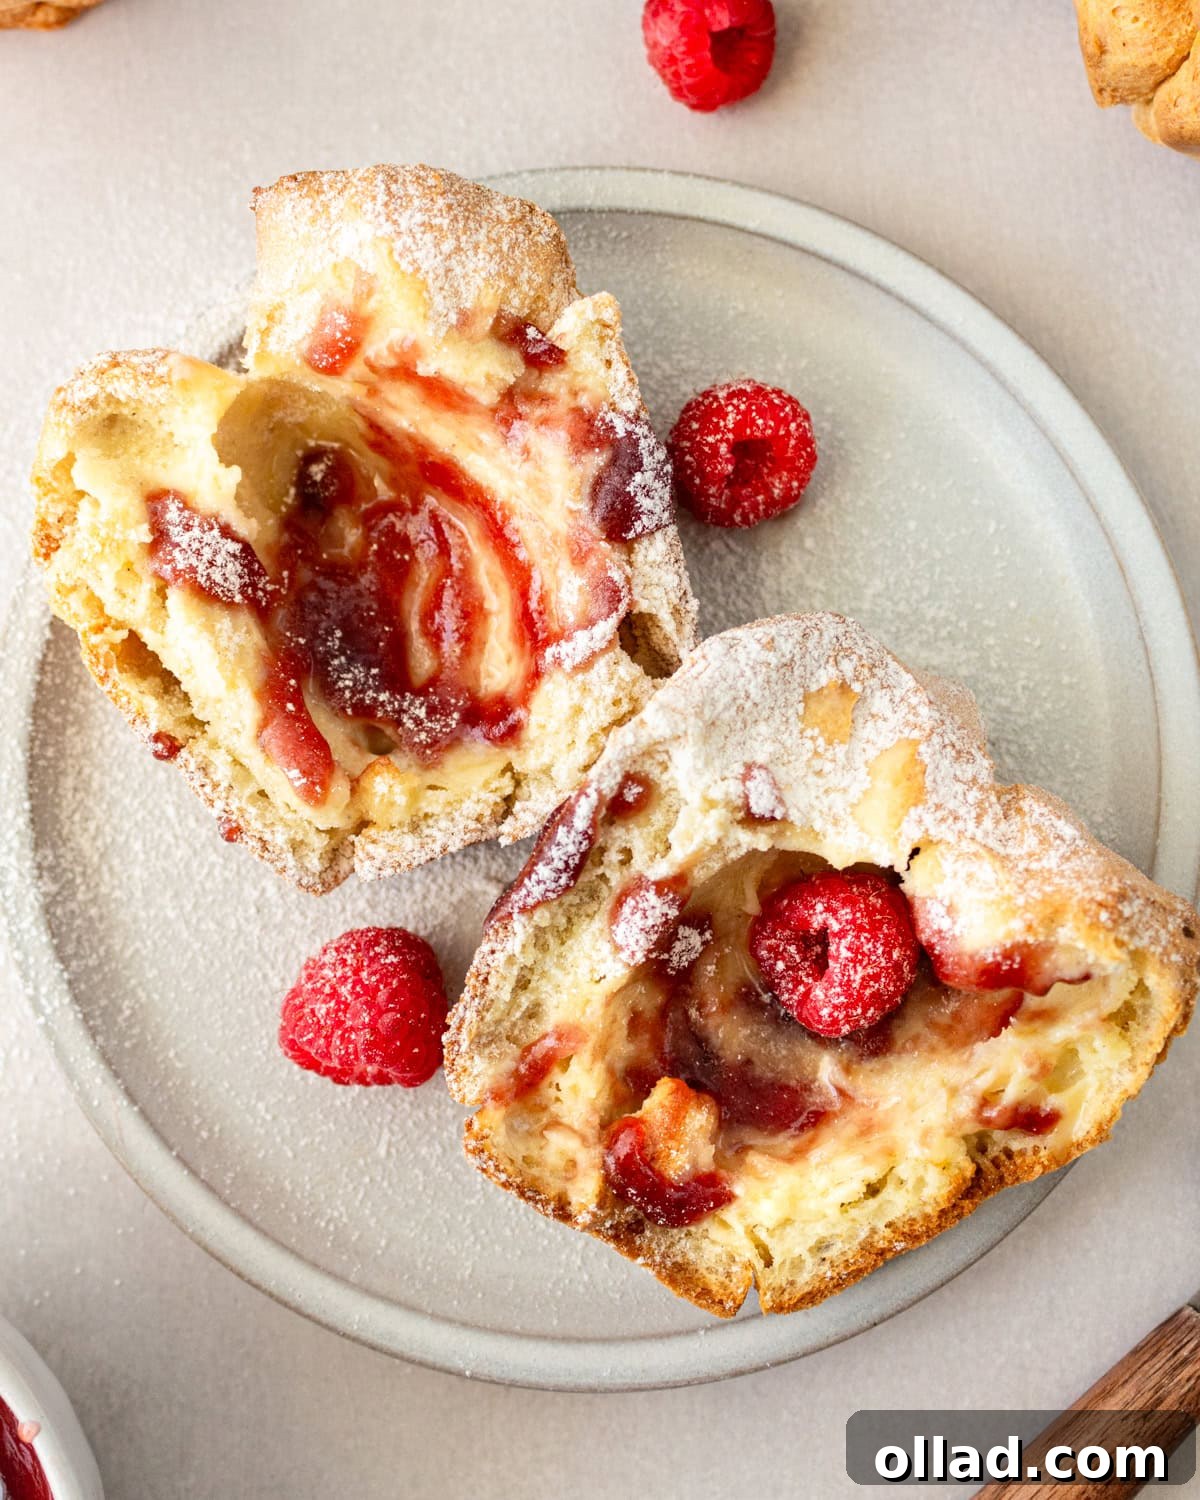
One of the most appealing aspects of gluten-free popovers is their incredible versatility; they truly shine as both a sweet indulgence and a savory accompaniment. Their mostly hollow, buttery interiors possess a delightful custard-like quality, reminiscent of gluten-free French toast, yet they also serve as a sophisticated and fun alternative to traditional gluten-free dinner rolls for any family meal. Here are some of my favorite ways to enjoy them:
- Classic Sweet Treat: For a simple yet utterly satisfying breakfast or dessert, serve them warm with a generous smear of butter, your favorite fruit jam (raspberry is a delightful choice!), a handful of fresh raspberries, and a delicate dusting of powdered sugar. This is always a huge hit with my kids!
- Hearty Meal Companion: Elevate your savory dishes by serving popovers alongside a comforting gluten-free beef stew and creamy mashed potatoes. Their crisp texture and rich flavor perfectly complement and absorb the savory goodness of the stew.
- Breakfast Indulgence: Transform your morning with a drizzle of pure maple syrup and a sprinkle of warm cinnamon over freshly baked popovers. It’s a comforting and quick breakfast that feels incredibly special.
- Savory Gravy Delight: For a truly decadent experience, serve your popovers drenched in warm, homemade gluten-free gravy. The popover’s airy interior soaks up the gravy beautifully, making each bite a burst of flavor.
- Cream Cheese and Chives: For a savory twist, mix cream cheese with fresh chives and a pinch of black pepper. Spread it inside a warm popover for a quick and elegant appetizer or snack.
- Avocado and Everything Bagel Seasoning: Split a warm popover, spread with mashed avocado, and sprinkle with everything bagel seasoning for a trendy and nutritious option.
Storage and Reheating Instructions for Gluten-Free Popovers
While gluten-free popovers are undeniably at their best when enjoyed fresh, straight from the oven, any leftovers can be stored and reheated with excellent results. For optimal freshness, it’s always recommended to eat them the day they are made, but they remain delicious for a few days after.
- To Store: Allow any leftover popovers to cool completely before transferring them to an airtight container. Store them in the refrigerator for up to 3-4 days. This helps to maintain their texture and prevent them from becoming stale too quickly.
- To Reheat: To bring back that lovely crispness, preheat your oven to 350°F (175°C). Place the refrigerated popovers directly on an oven rack or a baking sheet and reheat for about 10 minutes. If you wish to prevent further browning, you can loosely cover them with aluminum foil during reheating. The goal is to warm them through and restore their characteristic crunch. Avoid reheating in a microwave, as this will make them soft and chewy rather than crisp.
- To Freeze: Gluten-free popovers freeze remarkably well, allowing you to enjoy them at a later date. Once completely cooled, place them in a single layer on a baking sheet and freeze until solid. Then, transfer the frozen popovers to a freezer-safe container or a heavy-duty freezer bag, removing as much air as possible to prevent freezer burn. They can be stored in the freezer for up to 2 months.
- To Thaw Frozen Popovers: For best results, let frozen popovers thaw in the refrigerator overnight. Once thawed, you can reheat them using the same method as refrigerated popovers (350°F oven for about 10 minutes) to restore their crisp texture.
More Delicious Gluten-Free Side Dish Recipes to Try!
If you’ve enjoyed these gluten-free popovers, you’ll love exploring other versatile gluten-free side dishes that are perfect for any meal. Expanding your repertoire of gluten-free baked goods can transform your dining experience, offering delicious options for every occasion.
- Gluten-Free Buttermilk Biscuits: Flaky, tender, and utterly comforting, these biscuits are a staple for breakfast or as a side for savory dinners.
- Gluten-Free Flatbread: A simple and quick bread that’s perfect for dipping in hummus, serving with curries, or as a base for mini pizzas.
- Gluten-Free Pita Bread: Soft and pliable, ideal for stuffing with your favorite fillings or serving alongside Mediterranean dishes.
- Gluten-Free Garlic Bread: The ultimate crowd-pleaser, this garlicky, buttery bread is perfect with pasta or any Italian-inspired meal.
Gluten-Free Popovers Recipe
This easy gluten-free popovers recipe uses simple ingredients like gluten-free flour, eggs, and milk to create crisp, buttery treats with a soft, custardy center. Perfect for breakfast, brunch, or as a delightful side dish.
- By: Ashley Barbey
- Servings: 6 standard-size popovers
- Prep Time: 15 minutes
- Cook Time: 40 minutes
- Total Time: 55 minutes
Ingredients
- 1 cup gluten-free all-purpose flour (use a 1:1 flour blend)
- ¾ teaspoon fine sea salt
- ¼ teaspoon xanthan gum (if your flour blend does not include it)
- 3 large eggs, room temperature
- 1 cup whole milk, room temperature (or alternative milk like almond milk)
- 3 tablespoons unsalted butter, melted and cooled (plus extra for greasing the pan)
Instructions
- Grease a 6-cavity standard popover pan generously with butter. Preheat your oven to 425°F (218°C).
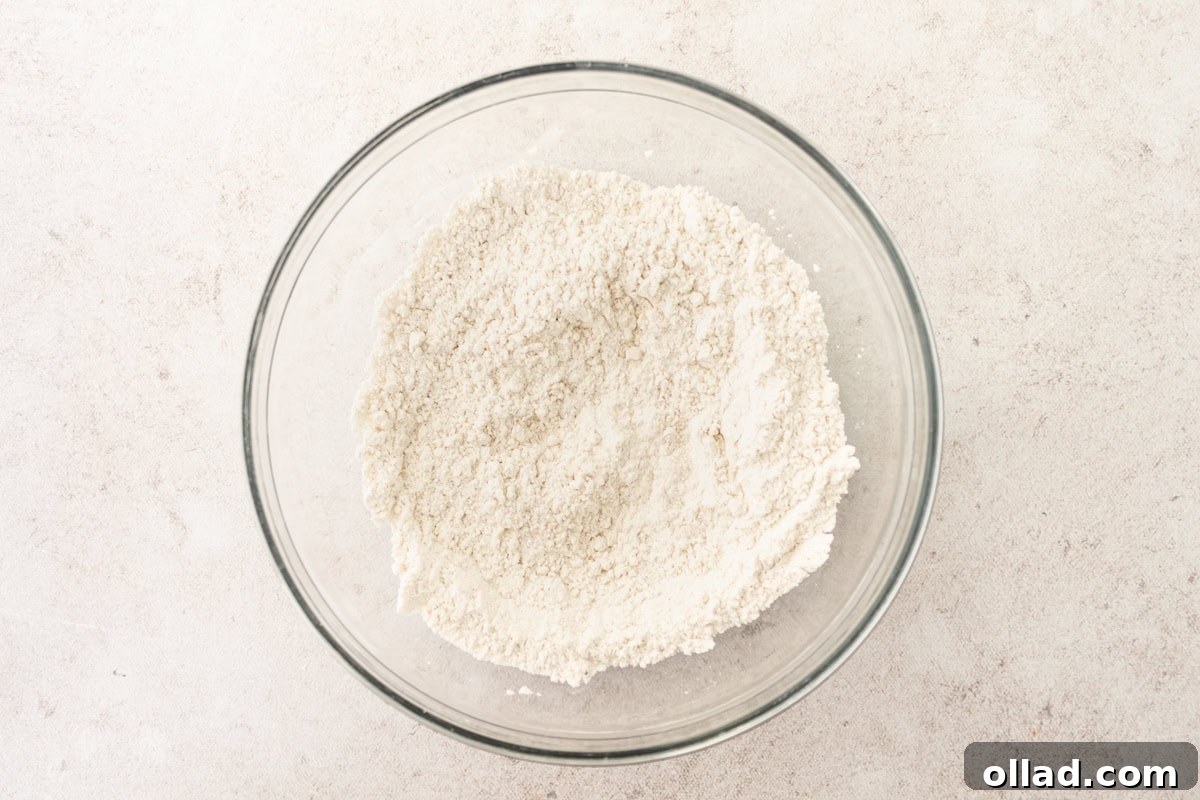
- In a small bowl, whisk together the gluten-free flour, fine sea salt, and xanthan gum until well combined.
- In a blender, combine the room-temperature eggs, milk, and melted (and cooled) unsalted butter. Blend for about 10 seconds to combine. Add the whisked flour mixture to the blender and blend for an additional 10-15 seconds, until the batter is smooth and no lumps remain.
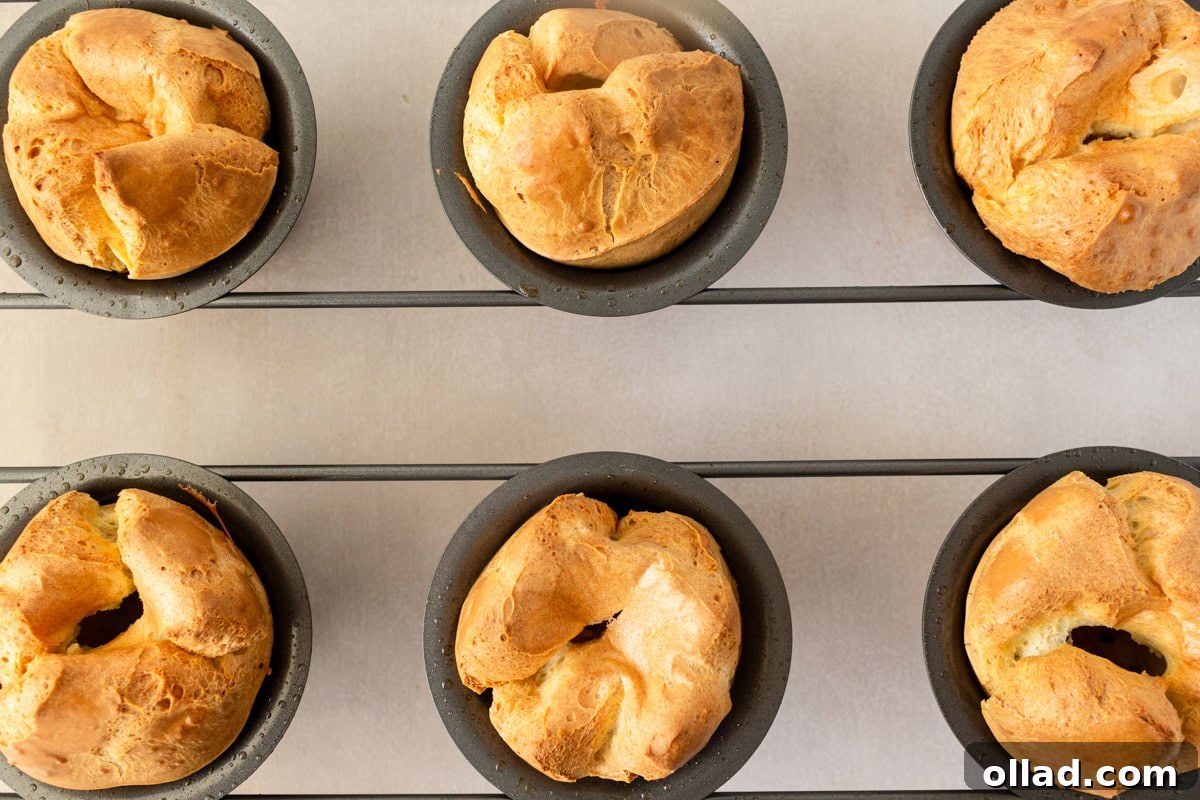
- Carefully divide the popover batter evenly among the greased pan cavities, filling each approximately two-thirds full. Bake in the preheated 425°F (218°C) oven for 25 minutes. Without opening the oven door, reduce the temperature to 350°F (175°C) and continue baking for an additional 15 minutes.
- Remove the pan from the oven immediately. Use a small knife or a skewer to poke a little hole in the top of each popover. This releases built-up steam and helps them stay crisp. Serve hot and enjoy!
Notes
- You can use an alternative milk, such as almond milk, if desired. Note that the color might be slightly less golden.
- Always use the spoon & level method to measure your gluten-free flour to ensure accuracy. Spoon the flour into your measuring cup and level it off with a knife.
- To Store: Refrigerate cooled popovers in an airtight container for up to 3-4 days.
- To Freeze: Store cooled popovers in a freezer-safe container for up to 2 months. Let them thaw in the refrigerator overnight before reheating.
- To Reheat: Warm in a 350°F (175°C) oven for 10 minutes to crisp them back up. Cover with foil if you don’t want them to brown further.
- Mama says, “Always check all of your labels for gluten-free certification.”
Nutrition
- Serving: 1 popover
- Calories: 177 kcal
- Carbohydrates: 17g
- Protein: 7g
- Fat: 10g
- Saturated Fat: 5g
- Polyunsaturated Fat: 1g
- Monounsaturated Fat: 3g
- Trans Fat: 0.2g
- Cholesterol: 113mg
- Sodium: 344mg
- Potassium: 97mg
- Fiber: 2g
- Sugar: 3g
- Vitamin A: 376IU
- Calcium: 79mg
- Iron: 1mg
Nutrition information is automatically calculated and should only be used as an approximation.
Additional Info
- Course: Side Dish, Breakfast, Brunch
- Cuisine: American
How to Make Gluten-Free Popovers: A Visual Step-by-Step Guide
For those who benefit from a visual walk-through, here’s a step-by-step photographic guide to help you perfectly prepare your gluten-free popovers. Each image captures a key moment in the process, providing extra clarity alongside the written instructions.