
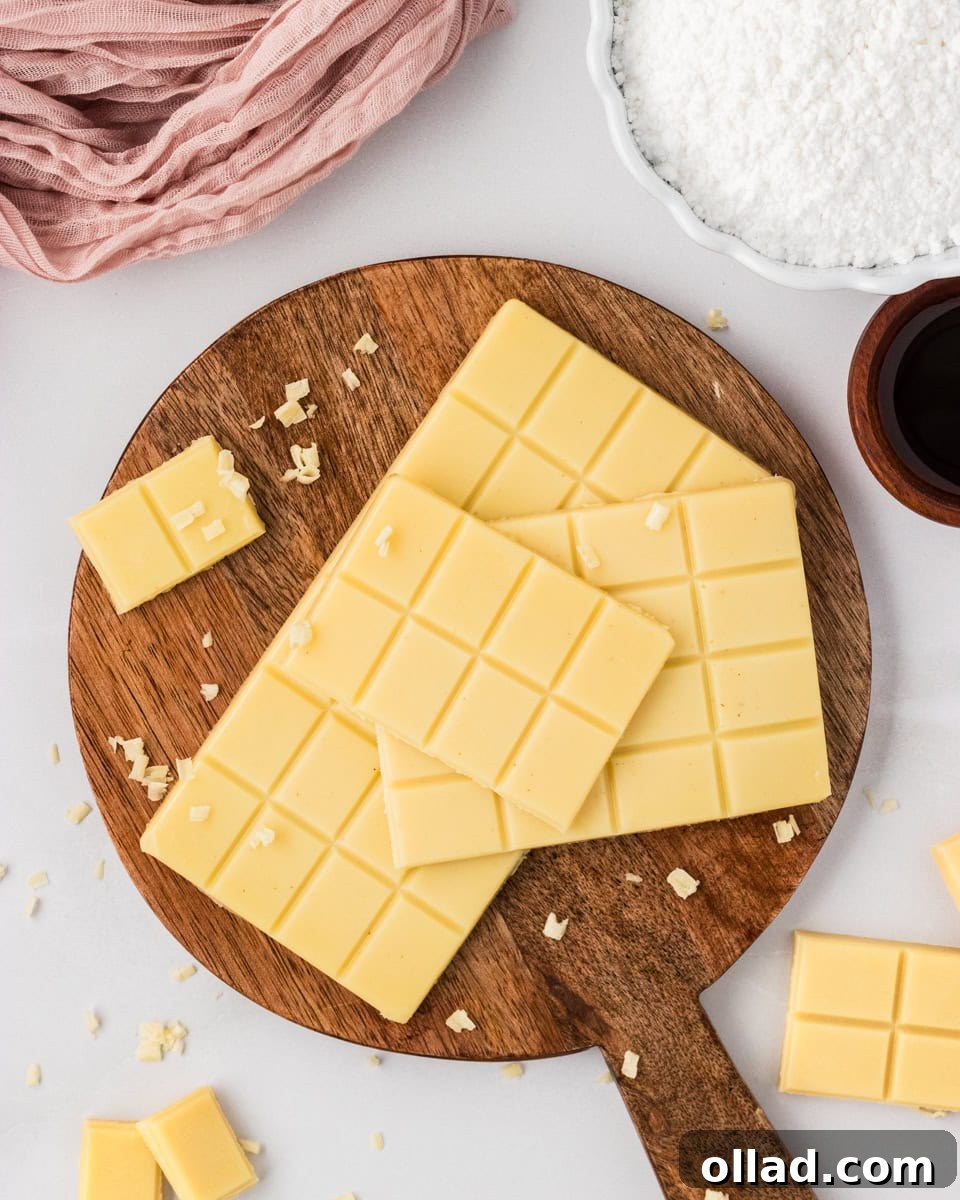
Homemade Vegan White Chocolate: Silky Smooth & Dairy-Free Perfection
Are you on a quest for that elusive, perfectly smooth, and deliciously sweet vegan white chocolate that truly tastes like the real deal? Your search ends here! This incredible dairy-free white chocolate recipe delivers a silky, buttery sweetness that will utterly delight your taste buds, all achieved in under an hour. Forget complicated processes or hard-to-find ingredients; with just 5 simple components like pure cacao butter, powdered sugar, and a touch of shortening, you can create a smooth, creamy confection that boasts a satisfying snap and melts beautifully in your mouth. This isn’t just any homemade white chocolate; it’s the kind you’ll want to keep stashed in your fridge for quick, indulgent bites, thoughtful edible gifts, or as an elegant addition to any dessert board.
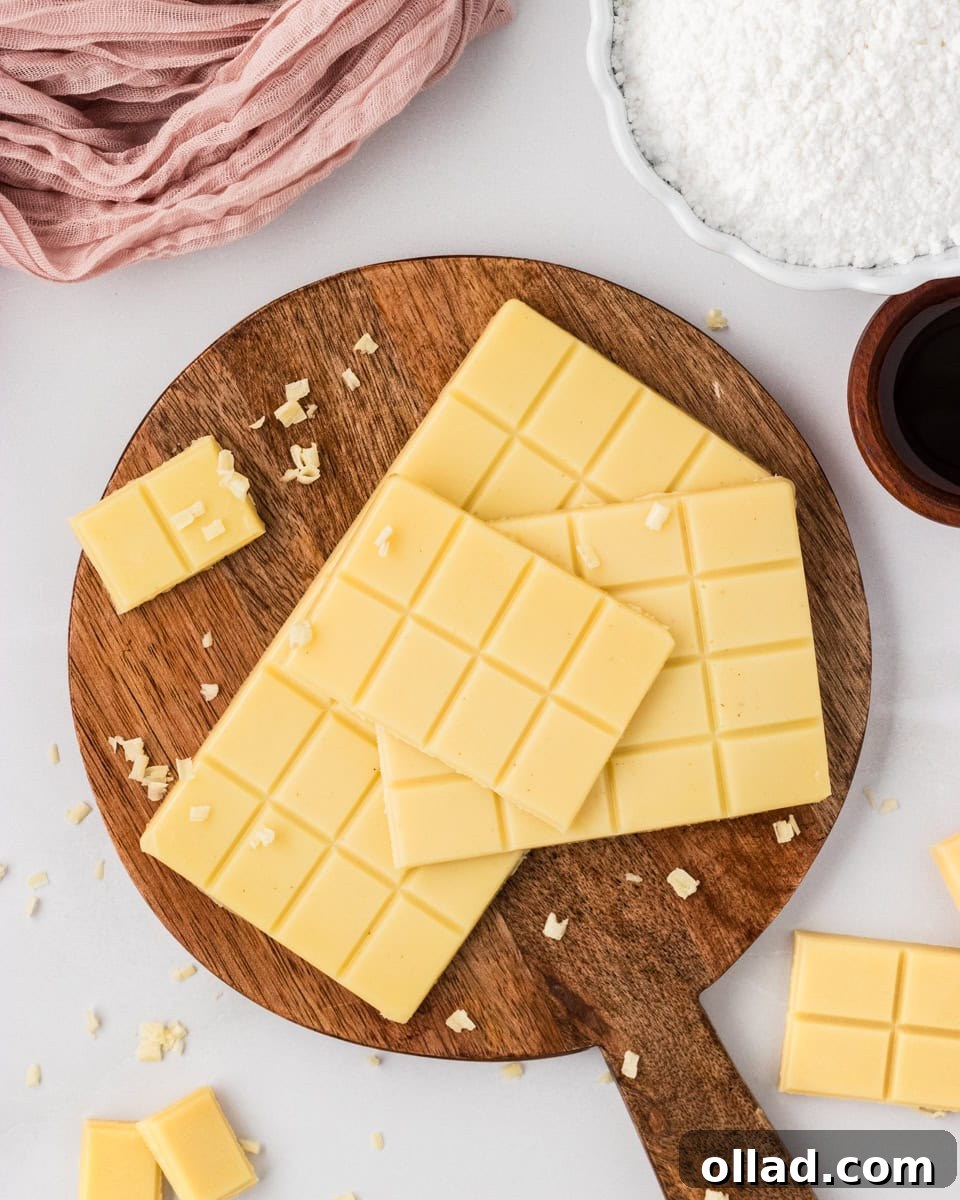
Why You’ll Fall in Love with This Dairy-Free White Chocolate Recipe
I find myself making this vegan white chocolate recipe time and time again, and for good reason! It comes together incredibly fast, offering a rich and creamy flavor profile that’s perfectly balanced—never overly sweet. The harmonious blend of pure cacao butter and vanilla is the secret to its authentic, classic white chocolate taste. What’s even better is that you don’t need any specialized equipment or obscure ingredients like milk powder to achieve that irresistibly smooth finish. It’s a truly approachable recipe for home cooks and aspiring chocolatiers alike.
Beyond its simple preparation and exquisite taste, this homemade vegan white chocolate offers endless possibilities for customization. Sometimes, I love to elevate mine with a sprinkle of crunchy pistachios or vibrant dried fruits for added texture and flavor. Other times, I keep it pure and simple, savoring its unadulterated goodness straight from the fridge. I encourage you to experiment and discover your favorite variations! Be sure to share your creative customizations in the comments below – I’d love to hear how you make this recipe uniquely yours.
The Magic of Cacao Butter: Your Key Ingredient
At the heart of any exceptional white chocolate, whether traditional or vegan, lies cacao butter. This magnificent ingredient is the pure fat extracted from the cacao bean, the very same bean that gives us cocoa powder and dark chocolate. Unlike cocoa powder, cacao butter has no cocoa solids, which is why it imparts that distinct pale yellow color and a subtle, naturally sweet, and incredibly rich flavor that forms the foundation of white chocolate. For this vegan recipe, pure, food-grade cacao butter is essential. It provides the characteristic texture, the satisfying ‘snap’ when broken, and the luxurious melt-in-your-mouth quality that defines premium white chocolate. Sourcing good quality cacao butter is crucial for the best results, as it dictates much of the final product’s flavor and aroma. Look for raw, food-grade options, often available in solid blocks or wafers.
Expert Tips for Crafting the Perfect Vegan White Chocolate
Achieving perfectly smooth and stable vegan white chocolate is easier than you think with these expert tips:
- Cool Slightly Before Blending: This is a critical step for safety and texture. After melting the cacao butter and shortening, and stirring in the dry ingredients, allow the mixture to cool until it’s comfortably warm to the touch, but not hot. Blending very hot liquids can cause dangerous steam pressure to build up inside your blender, potentially forcing the lid off and leading to splattering or burns. Blending while still warm helps ensure the powdered sugar fully dissolves and integrates, creating a wonderfully smooth and creamy texture without any safety risks.
- Blend for a Velvety Smooth Texture: Since home kitchens aren’t equipped with commercial conching machines (which refine chocolate over hours to achieve ultimate smoothness), a good blender or food processor is your best friend. Blending the chocolate mixture for at least one to two minutes is crucial. This mechanical action helps break down any remaining sugar crystals, ensuring a truly silky and luxurious finish that rivals professionally made white chocolate. Don’t skip this step for that dream texture!
- Provide Sturdy Support for Silicone Molds: Silicone molds are fantastic for easily releasing chocolate, but they can be quite flexible when filled. Always place your empty silicone molds onto a rigid baking tray or cutting board *before* filling them. This provides essential support, keeping the molds level and preventing spills or bending when you need to transfer the liquid chocolate to the refrigerator. It makes the entire process much cleaner and stress-free.
- Maintain Chill for Optimal Firmness: Unless you plan to temper your vegan white chocolate (a more advanced technique for shelf-stability at room temperature), it’s best to keep your homemade bars chilled. Vegan white chocolate, especially without milk solids, tends to soften more quickly at room temperature compared to its dairy counterpart. Storing it in the refrigerator ensures it remains firm, maintains its delightful snap, and preserves its smooth texture for longer.
Vegan White Chocolate Recipe
This quick and easy recipe delivers luscious, dairy-free white chocolate that’s perfect for snacking, baking, or gifting.
Recipe Details
By: Julia Elizabeth
Yields: 8 servings (approximately 2.5 standard bars)
Prep time: 2 minutes
Cook time: 10 minutes
Chill Time: 30 minutes
Total time: 42 minutes
Equipment
- 2 silicone molds (chocolate bar or candy molds recommended)
- Heat-safe bowl (preferably glass or stainless steel)
- Small pot (for double boiler)
- Small blender or food processor
- Baking tray (to support molds)
- Whisk or spatula
Ingredients
- 4 oz. (110g) raw, food-grade cacao butter
- 2 tbsp (21g) vegetable shortening
- 1 cup (100g) powdered sugar, sifted
- 1 tsp vanilla extract
- Pinch of salt
Instructions
- Prepare Cacao Butter: If your cacao butter comes in large chunks, chop it into smaller pieces. This will help it melt more easily and uniformly. Add the chopped cacao butter and vegetable shortening to a heat-safe bowl.
- Set Up Double Boiler: Place the bowl over a small pot containing about an inch of water. Ensure the bottom of the bowl does not touch the water. Bring the water to a gentle simmer over medium-low heat.
- Melt the Base: Allow the cacao butter and shortening to melt completely, stirring occasionally with a whisk or spatula to encourage even melting.
- Combine with Dry Ingredients: Once fully melted, remove the bowl from the heat. Add the sifted powdered sugar, vanilla extract, and a pinch of salt. Stir vigorously until thoroughly combined. At this stage, the mixture might appear slightly grainy, which is completely normal. Let the mixture cool down until it’s warm but no longer hot.
- Prepare Molds: While the chocolate cools, place your silicone molds flat on a baking tray. This provides stability and makes it much easier to transfer the filled molds to the refrigerator.
- Achieve Smoothness: Carefully pour the cooled, warm mixture into a small blender or food processor. Blend for about 1 to 2 minutes until the mixture transforms into a wonderfully smooth, creamy, and glossy liquid.
- Add Customizations (Optional): If you wish to add extra flavorings or toppings (like chopped nuts or freeze-dried fruit), you can either stir them directly into the blended chocolate mixture now, or sprinkle them into the bottom of your molds before pouring the chocolate over.
- Fill Molds and Chill: Pour the smooth vegan white chocolate mixture into the prepared silicone molds. Transfer the baking tray with the filled molds to the refrigerator and chill for at least 30 minutes, or until the chocolate is completely hardened and set.
- Serve and Store: Once firm, carefully unmold the white chocolate bars. Keep them stored in the refrigerator until you are ready to enjoy them to maintain their best texture and snap.
Notes
- For Use in Baked Goods: This homemade white chocolate melts very easily due to its composition and may not hold its shape well when baked directly into cookies or cakes. For best results, we recommend freezing the chopped pieces of white chocolate first, then folding them into your batter or dough just before baking.
- For an Extra Firm Texture: If you desire a slightly firmer white chocolate bar, you can increase the amount of vegetable shortening by an additional 1/2 tablespoon.
- For Less Sweet Bars: If you prefer a less intensely sweet white chocolate, reduce the amount of powdered sugar to just ¾ cup. Adjusting sweetness to your preference is easy!
Nutrition Information
Serving: 1 serving (approximately 1/4 of a bar or 4 small pieces)
- Calories: 105 kcal
- Carbohydrates: 19g
- Protein: 0.2g
- Fat: 3g
- Saturated Fat: 1g
- Polyunsaturated Fat: 1g
- Monounsaturated Fat: 1g
- Trans Fat: 0.4g
- Sodium: 2mg
- Potassium: 91mg
- Fiber: 1g
- Sugar: 15g
- Vitamin A: 11 IU
- Vitamin C: 1mg
- Calcium: 7mg
- Iron: 0.1mg
Please note: Nutrition information is an approximation calculated automatically and should be used as a general guide.
Additional Info
Course: Dessert
Cuisine: American
How to Make Vegan White Chocolate: A Visual Step-by-Step Guide
Let’s walk through the process with these helpful images to ensure your homemade vegan white chocolate turns out perfectly every time.
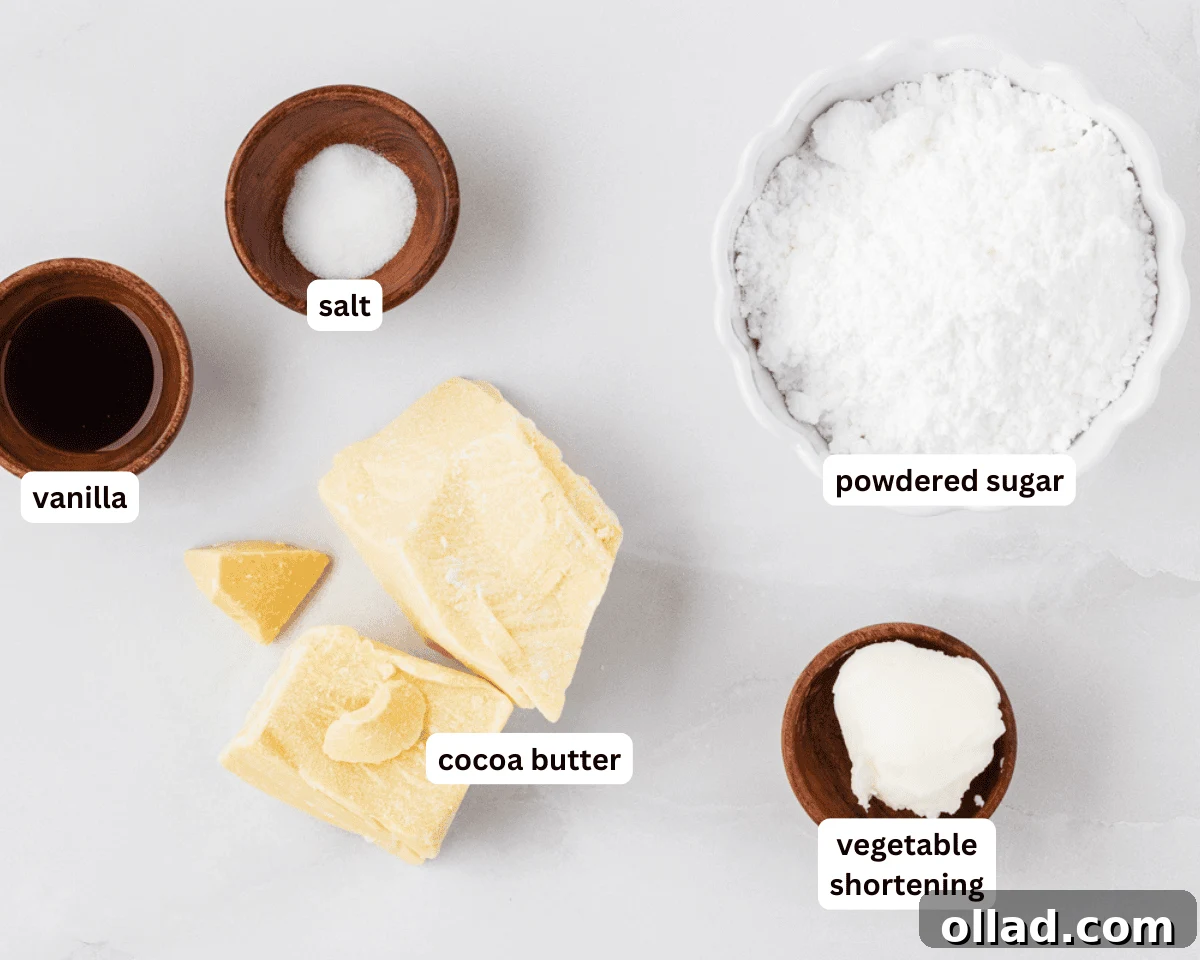
Step 1: Gather Ingredients. Ensure you have all 5 essential ingredients at hand: raw food-grade cacao butter, vegetable shortening, sifted powdered sugar, vanilla extract, and a pinch of salt. Having everything ready will make the process smooth and efficient.
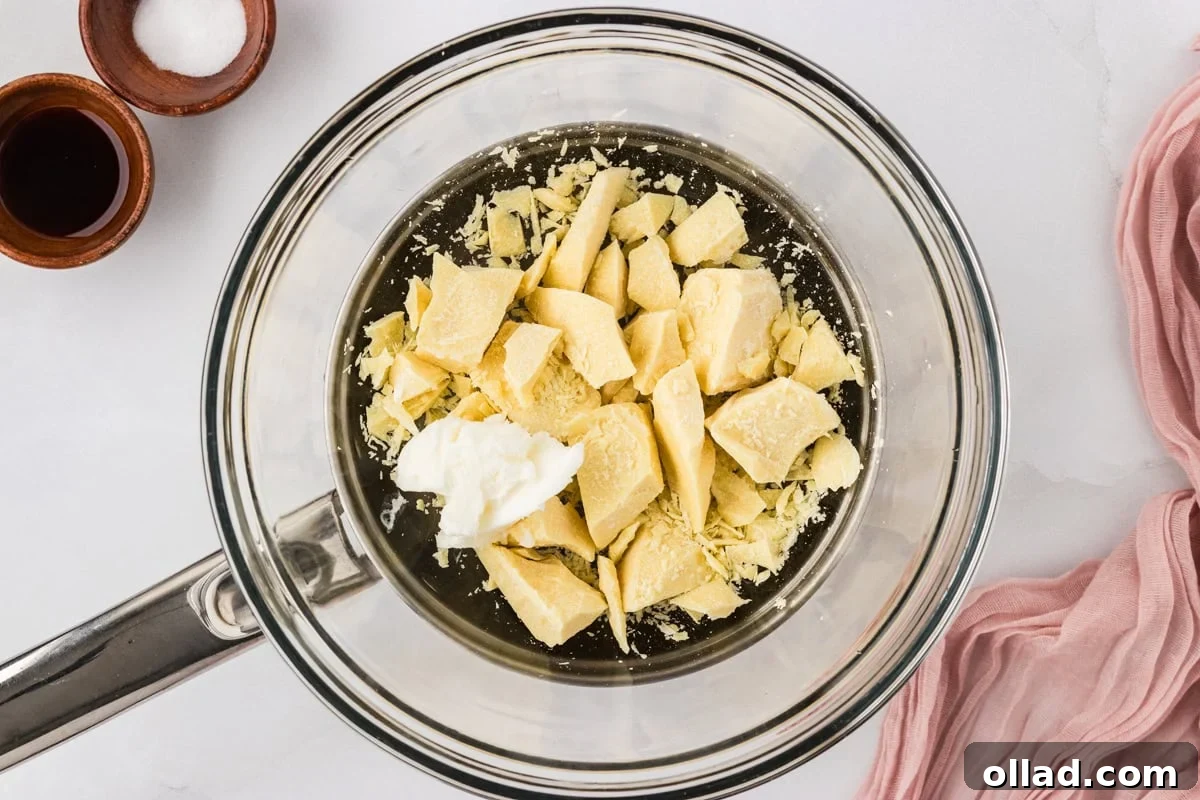
Step 2: Create a Double Boiler. Chop your cacao butter into smaller pieces if it’s in a large block; this helps it melt faster and more evenly. Combine the chopped cacao butter and vegetable shortening in a heat-safe bowl. Place this bowl over a pot with about an inch of simmering water, being careful that the water doesn’t touch the bottom of your ingredient bowl. This gentle heat is crucial for melting chocolate without burning it.
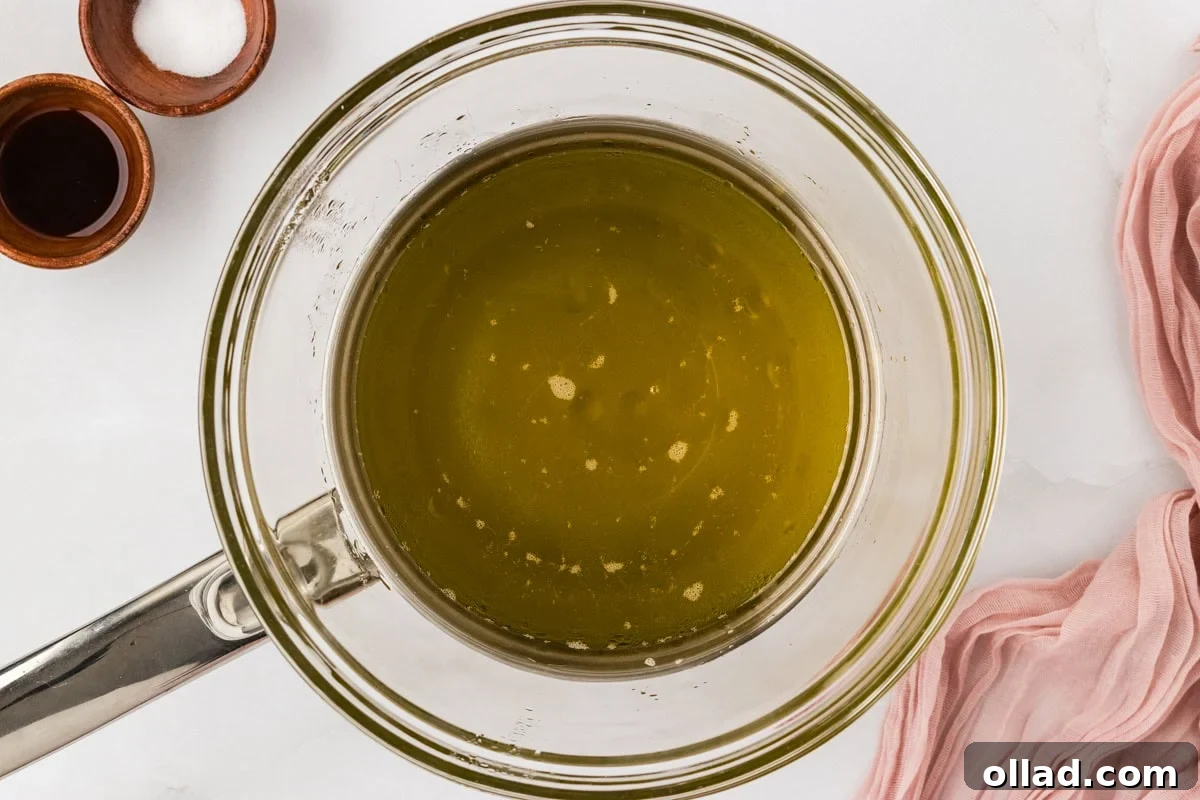
Step 3: Melt the Base. Continue to warm the mixture over medium-low heat, stirring occasionally. The cacao butter and shortening will gradually melt into a clear, golden liquid. Ensure it is completely smooth before proceeding.
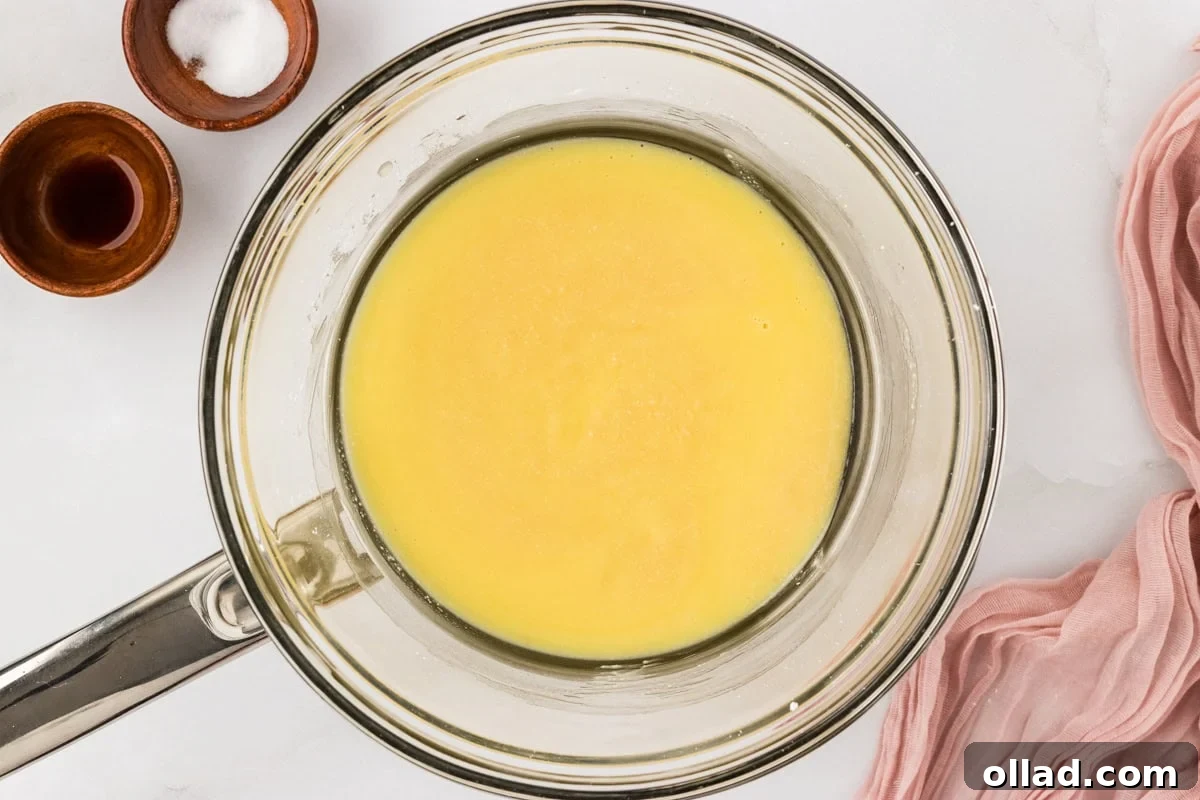
Step 4: Add Sweetness and Flavor. Once the base fats are fully melted, remove the bowl from the heat. Stir in the sifted powdered sugar, vanilla extract, and a pinch of salt until everything is thoroughly combined. Don’t be alarmed if the mixture appears slightly grainy; this is a normal intermediate stage. Allow the mixture to cool until it’s just warm to the touch, which is safer for blending.
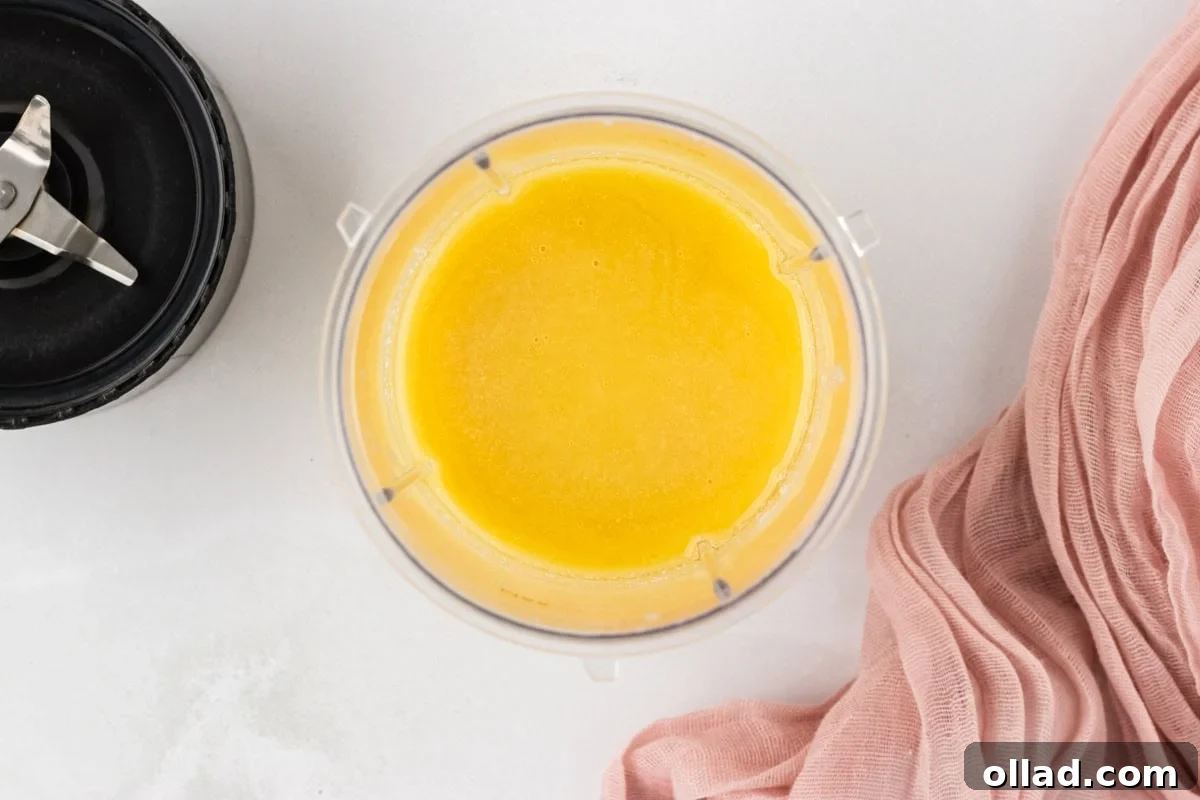
Step 5: Blend for a Smooth Finish. Once the mixture has cooled to a warm, pourable consistency, transfer it to a small blender or food processor. Blend on high for 1 to 2 minutes. This step is crucial for breaking down the sugar crystals and achieving that desirable velvety smooth texture, transforming your grainy mixture into liquid silk.
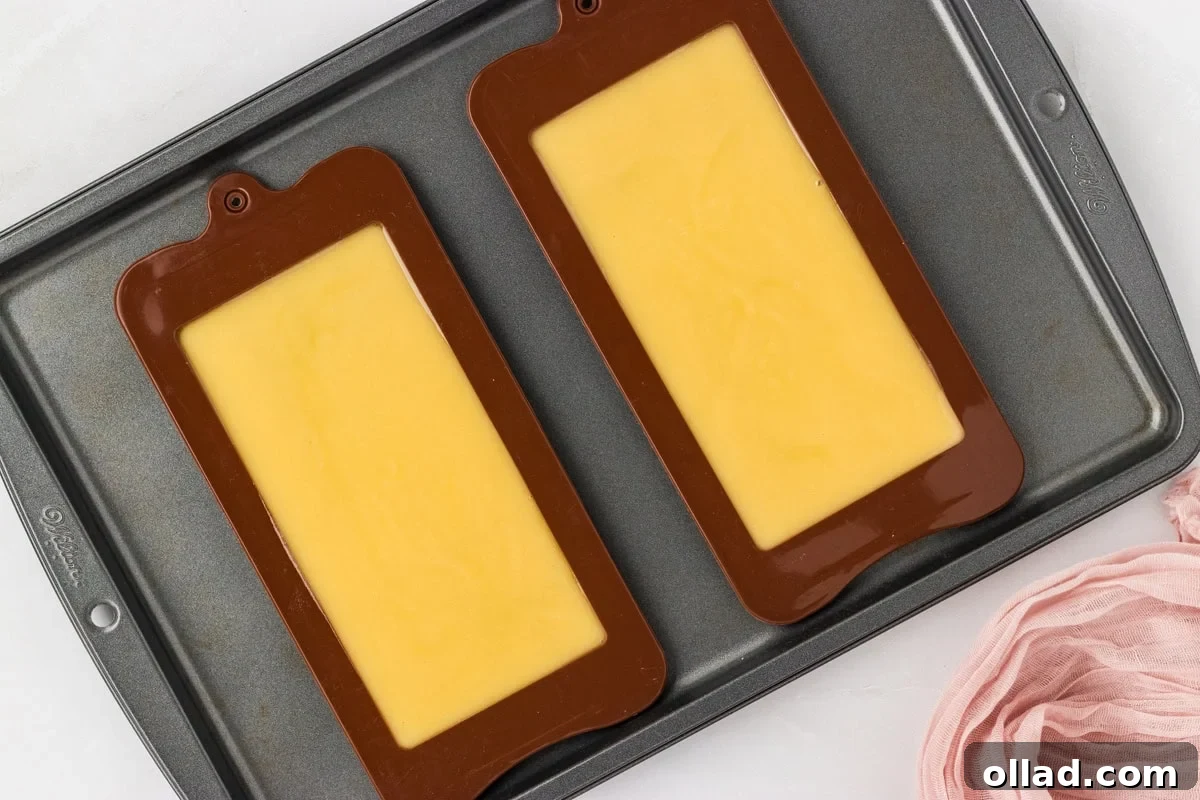
Step 6: Fill the Molds. Before pouring, make sure your silicone chocolate molds are placed securely on a sturdy baking tray. This preparation ensures they remain level and makes transferring them to the fridge mess-free. If you’re incorporating any additional toppings or flavor variations, now is the time to add them to the molds, or stir them into the blended chocolate before pouring. Then, carefully pour the smooth chocolate into your prepared molds.
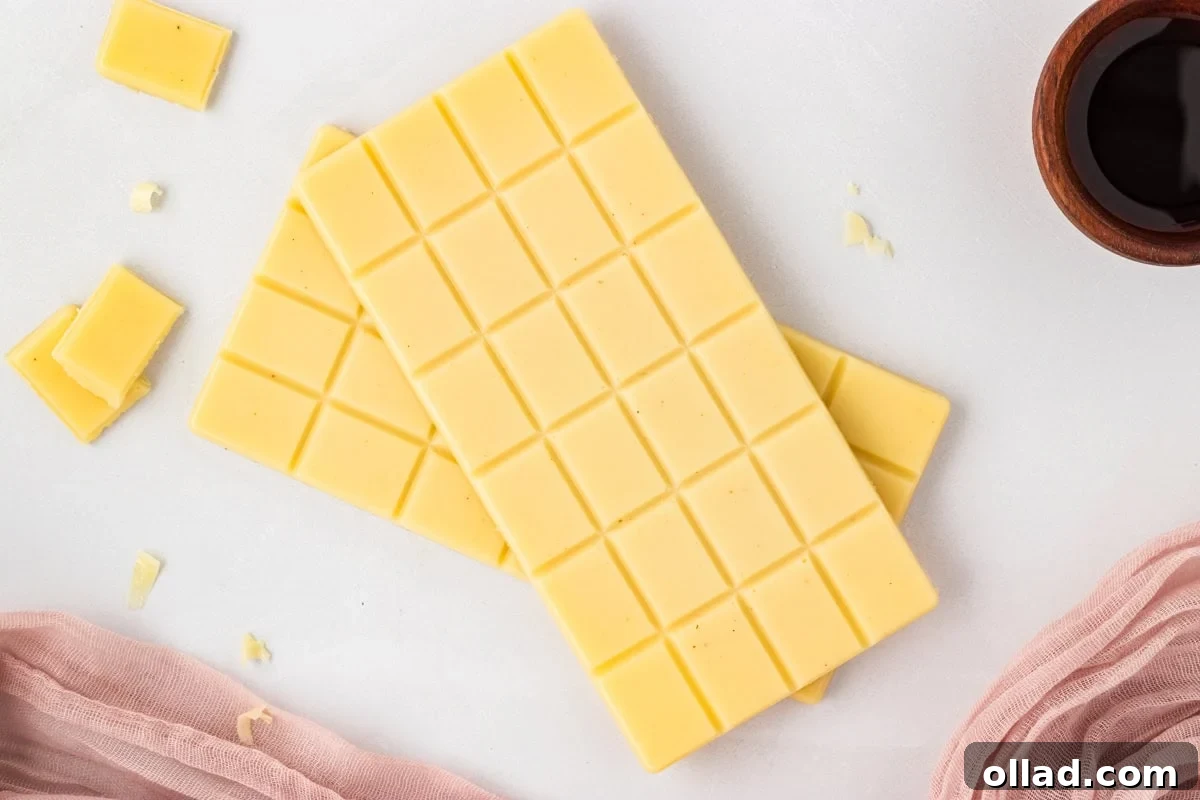
Step 7: Chill and Harden. Transfer the baking tray with the filled molds to the refrigerator. Allow them to chill for approximately 30 minutes, or until the white chocolate is completely hardened and set. The waiting might be the hardest part!
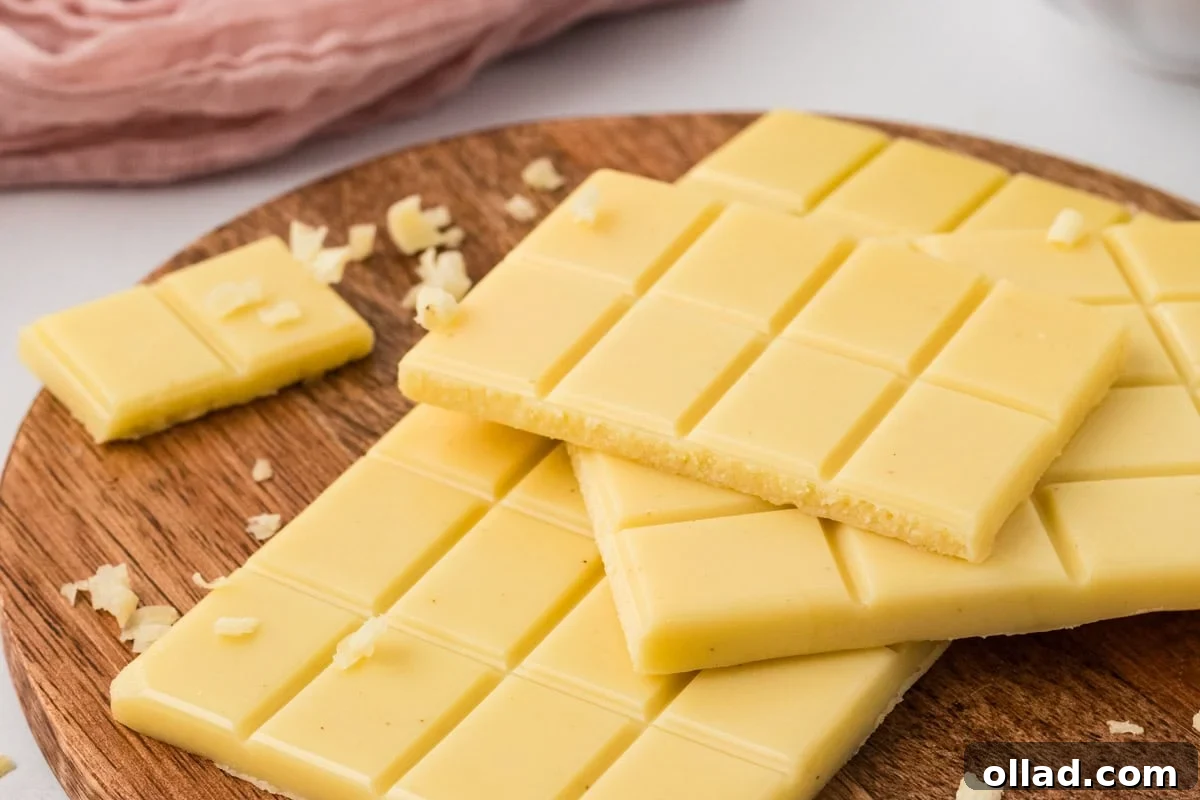
Step 8: Store and Enjoy. Once hardened, carefully pop the white chocolate bars out of their molds. To maintain their best texture and firmness, always store your delicious homemade vegan white chocolate in the refrigerator until you are ready to indulge. Enjoy the fruits of your labor!
Creative Additions for Your Homemade Vegan White Chocolate
This simple vegan white chocolate recipe is a fantastic base for endless customization. Get creative and infuse your bars with exciting flavors and textures:
- Chopped Nuts: For a delightful crunch and rich, nutty flavor, stir in finely chopped pistachios, pecans, almonds, or macadamia nuts before pouring into molds.
- Salted Pretzel Pieces: Add a fantastic sweet-and-salty contrast and a satisfyingly crisp texture by mixing in small pieces of salted pretzels. This combination is always a crowd-pleaser.
- Freeze-Dried Fruits: Introduce a burst of natural fruit flavor and vibrant color with freeze-dried strawberries, raspberries, bananas, or blueberries. Their intense flavor and light crunch are perfect.
- Citrus Zest: For a refreshing and zippy twist, finely grate the zest of a lemon, lime, or orange directly into the melted chocolate mixture. The oils in the zest will infuse a bright, aromatic note.
- Dried Coconut Flakes: To add a tropical touch and chewiness, incorporate toasted or untoasted coconut flakes.
- Spices: A pinch of ground cinnamon, cardamom, or even a tiny dash of cayenne pepper can add unexpected warmth and depth to your white chocolate.
- Essential Oils (Food Grade): For more intense flavor, a few drops of food-grade peppermint, orange, or lemon essential oil can create a truly gourmet experience. Start with one drop and add more if needed.
- Vegan Sprinkles: Make it festive! Add colorful vegan sprinkles before chilling for a fun, celebratory look.
How to Enjoy Your Vegan White Chocolate: Serving Suggestions
While this vegan white chocolate is absolutely delightful on its own, it also serves as a versatile ingredient for a myriad of treats and makes for impressive gifting. Here are some wonderful ways to enjoy your homemade creation:
- Dessert Boards & Platter: Break the bars into elegant chunks and arrange them beautifully on a dessert board alongside fresh fruits, nuts, and other sweet treats. Its sophisticated appearance and taste will impress your guests.
- Elevate Ice Cream: Chop it coarsely and sprinkle generously over scoops of your favorite almond milk ice cream or other dairy-free frozen desserts for an instant upgrade. The cool chocolate will add a lovely textural contrast.
- Creamy Hot Chocolate: Melt a few pieces into warm plant-based milk to create a rich, velvety vegan white hot chocolate. It’s the ultimate cozy beverage for chilly evenings.
- Dessert Topping: Crumble or shave pieces of white chocolate over a variety of desserts. It’s particularly fantastic sprinkled over gluten-free mini cheesecakes, adding a touch of elegance and sweetness. Or, try it crumbled on top of tart gluten-free lemon bars for a delightful sweet-and-sour contrast.
- Holiday Peppermint Bark: During the festive season, layer melted vegan white chocolate over a thin layer of melted vegan dark chocolate and sprinkle with crushed peppermint candies for a homemade peppermint bark. Remember to keep it stored in the fridge to maintain its firm snap.
- Fondue: Melt it down for a delicious vegan white chocolate fondue, perfect for dipping fresh fruit, pretzels, or vegan marshmallows.
Storage and Shelf Life of Dairy-Free White Chocolate
To ensure your homemade vegan white chocolate maintains its optimal texture, firmness, and freshness, proper storage is key. Since this recipe does not involve tempering, which is a process to stabilize chocolate at room temperature, it’s best kept chilled.
Store your white chocolate bars in an airtight container in the refrigerator. When stored correctly, they will remain firm, fresh, and delightfully snappy for about 3 weeks. If you make a larger batch or want to enjoy your homemade treat further down the line, you can also freeze extra bars. Wrap them tightly in plastic wrap or place them in a freezer-safe bag or container, and they will keep well for up to 3 months. When you’re ready to enjoy frozen bars, simply thaw them gently in the refrigerator. This gradual thawing helps to preserve their smooth, creamy texture and prevents any undesirable condensation or changes in consistency.
Frequently Asked Questions (FAQ) About Vegan White Chocolate
- What is food-grade cacao butter?
- Food-grade cacao butter is the pure, edible fat extracted from cocoa beans. It’s the primary ingredient that gives white chocolate its characteristic flavor and melt. Ensure you purchase food-grade cacao butter, not cosmetic-grade, as the latter is not safe for consumption. It’s often available in solid blocks, wafers, or pastilles.
- Can I substitute another oil for vegetable shortening?
- Vegetable shortening contributes to the firm texture and smooth melt of this white chocolate. While coconut oil could technically be used, it would significantly alter the flavor profile (adding a distinct coconut taste) and the melting point, making the chocolate softer at room temperature. For the most neutral flavor and desired snap, vegetable shortening is recommended. Do not use liquid oils.
- Why is my white chocolate grainy?
- Graininess typically occurs if the powdered sugar hasn’t fully dissolved or been adequately refined. Ensure you sift your powdered sugar before adding it to the melted fats to remove any clumps. More importantly, don’t skip the blending step! The 1-2 minutes in a blender or food processor are crucial for breaking down sugar crystals and achieving a smooth, professional-quality texture.
- Is this white chocolate gluten-free?
- Yes, this recipe is naturally gluten-free as none of the listed ingredients contain gluten. Cacao butter, powdered sugar, vegetable shortening, vanilla extract, and salt are all gluten-free. This makes it a wonderful option for those with gluten sensitivities or celiac disease.
- Can I temper this vegan white chocolate?
- Tempering is a process of heating and cooling chocolate to specific temperatures to stabilize the cocoa butter crystals, resulting in a shiny finish, a crisp snap, and resistance to melting at room temperature. While this recipe provides delicious, untempered white chocolate perfect for refrigeration, it can be tempered. However, tempering vegan white chocolate (especially without milk solids) can be trickier than traditional chocolate and may require specific techniques like seeding with already tempered vegan white chocolate or precise temperature control. For beginners, it’s best to enjoy this untempered version stored in the fridge.
More Irresistible Dairy-Free Desserts to Explore
If you loved crafting this dairy-free white chocolate, you’ll be thrilled to discover more delicious plant-based dessert recipes to add to your repertoire:
- Decadent Vegan Chocolate Mousse
- Creamy Dairy-Free Chocolate Pudding
- Comforting Dairy-Free Hot Chocolate