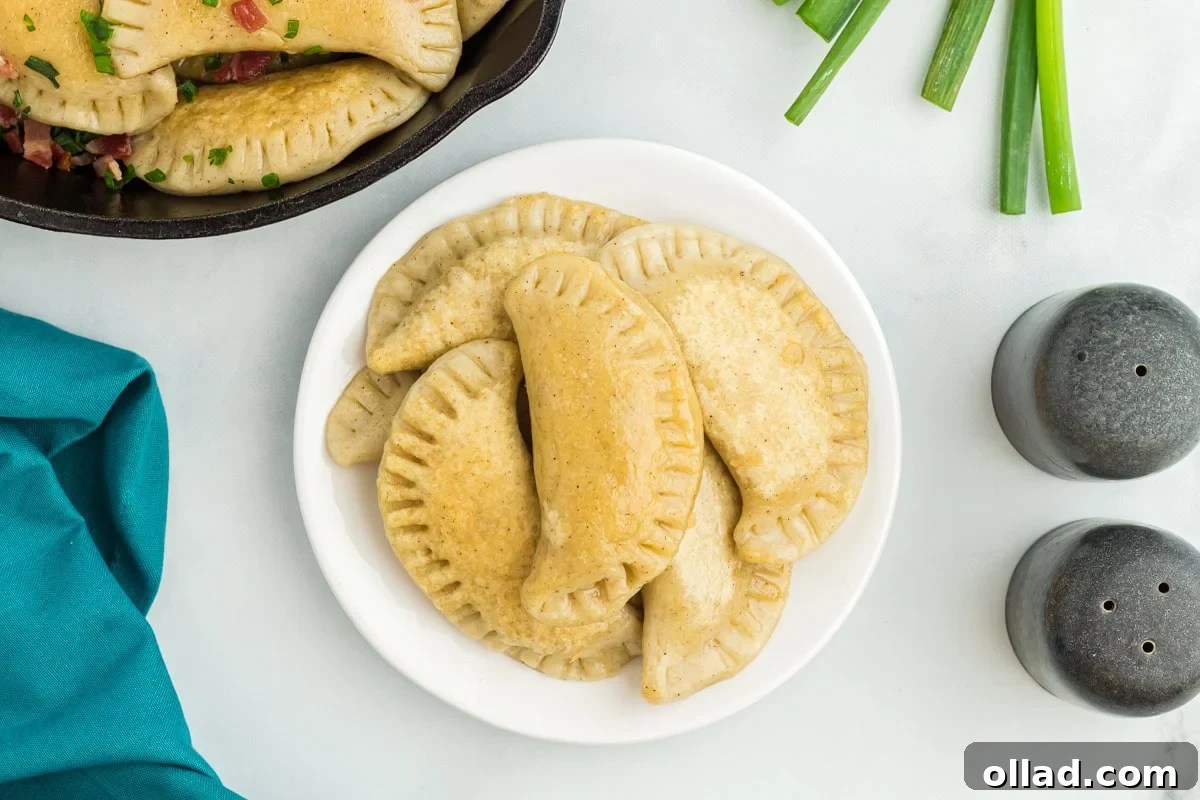
Embark on a culinary journey to create the ultimate comfort food with this incredibly rewarding **Gluten-Free and Dairy-Free Pierogi Recipe**. While these traditional Polish dumplings might seem like a labor of love, every moment spent crafting them in the kitchen is truly worth it. Imagine gathering your loved ones for a fun, interactive cooking session, culminating in a magnificent plate of tender, golden-brown dumplings, each bursting with a rich, buttery filling of creamy potatoes, savory caramelized onions, and gooey dairy-free cheese. This recipe isn’t just about making food; it’s about creating cherished memories and enjoying a delicious, allergy-friendly feast.
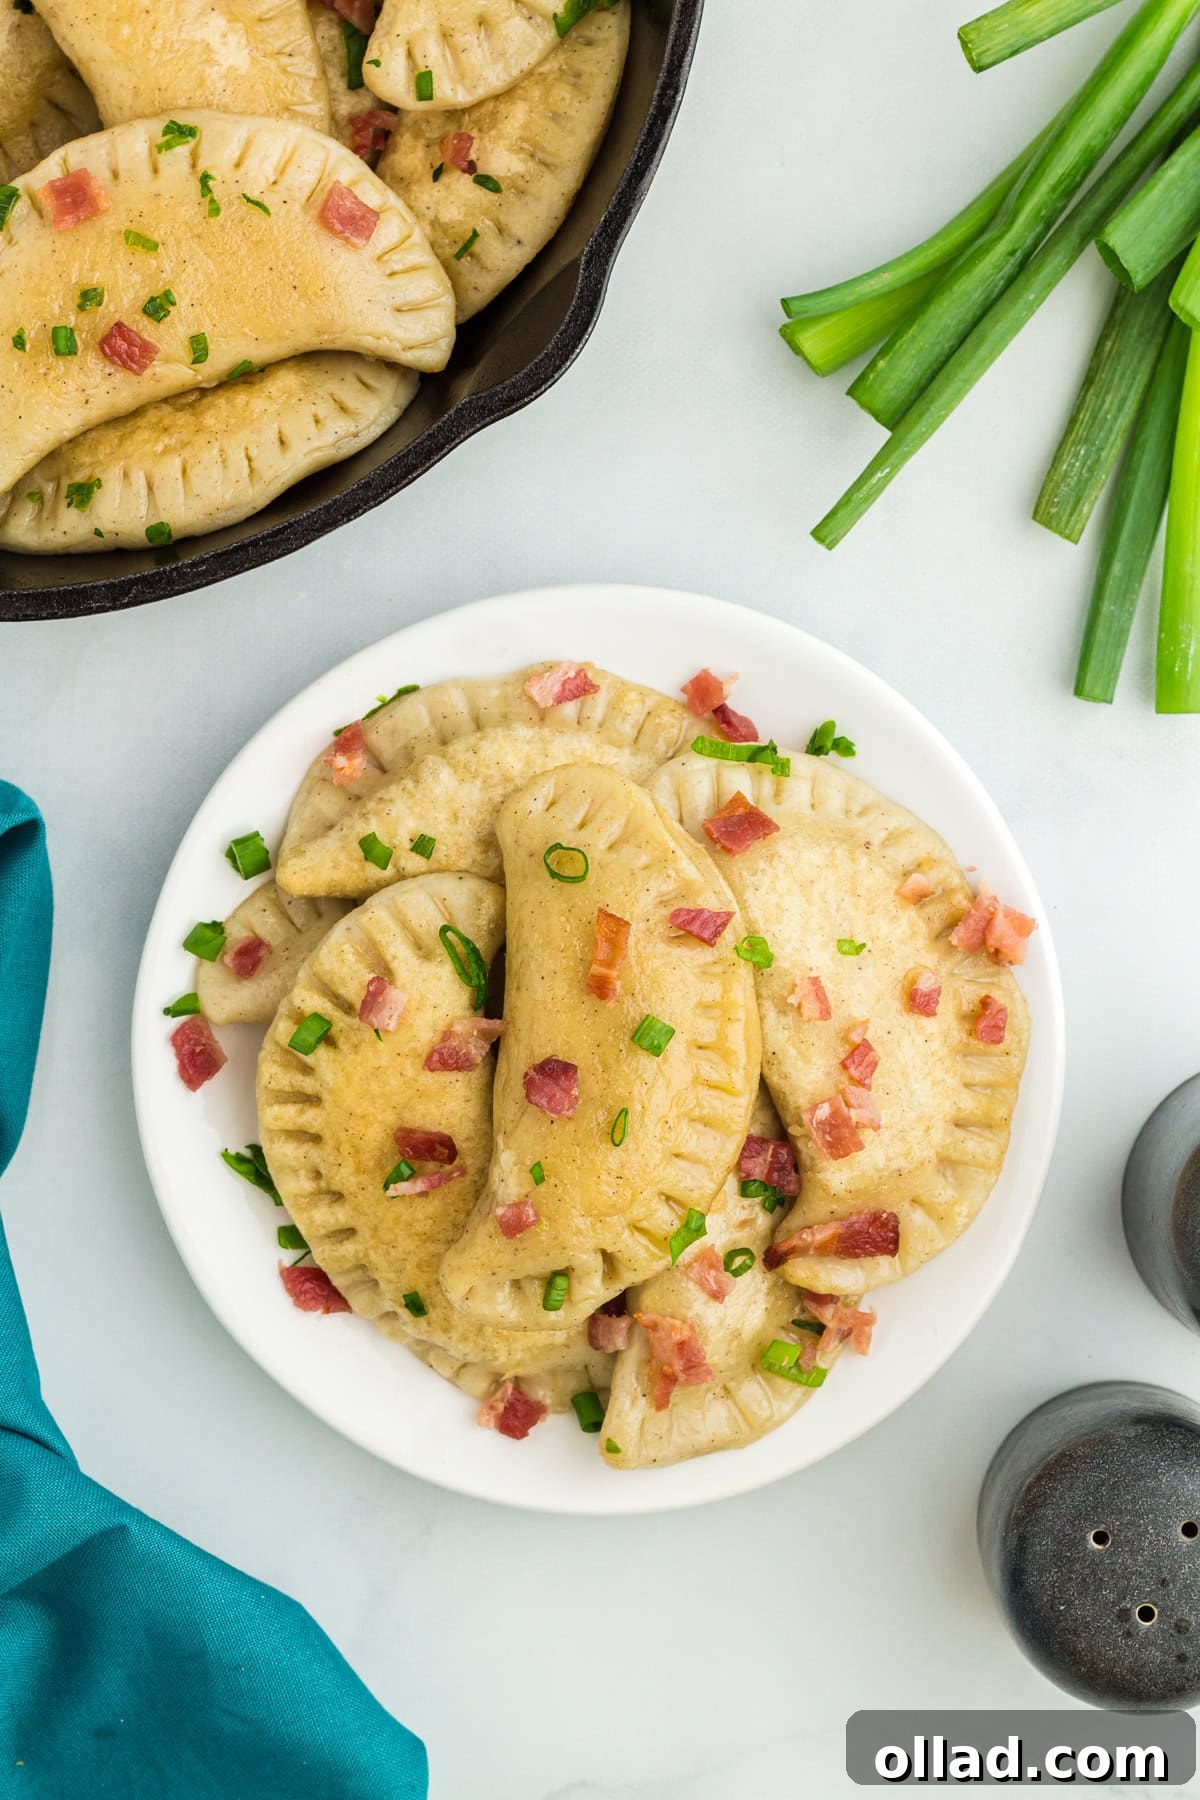
The Ultimate Gluten-Free & Dairy-Free Pierogi Recipe
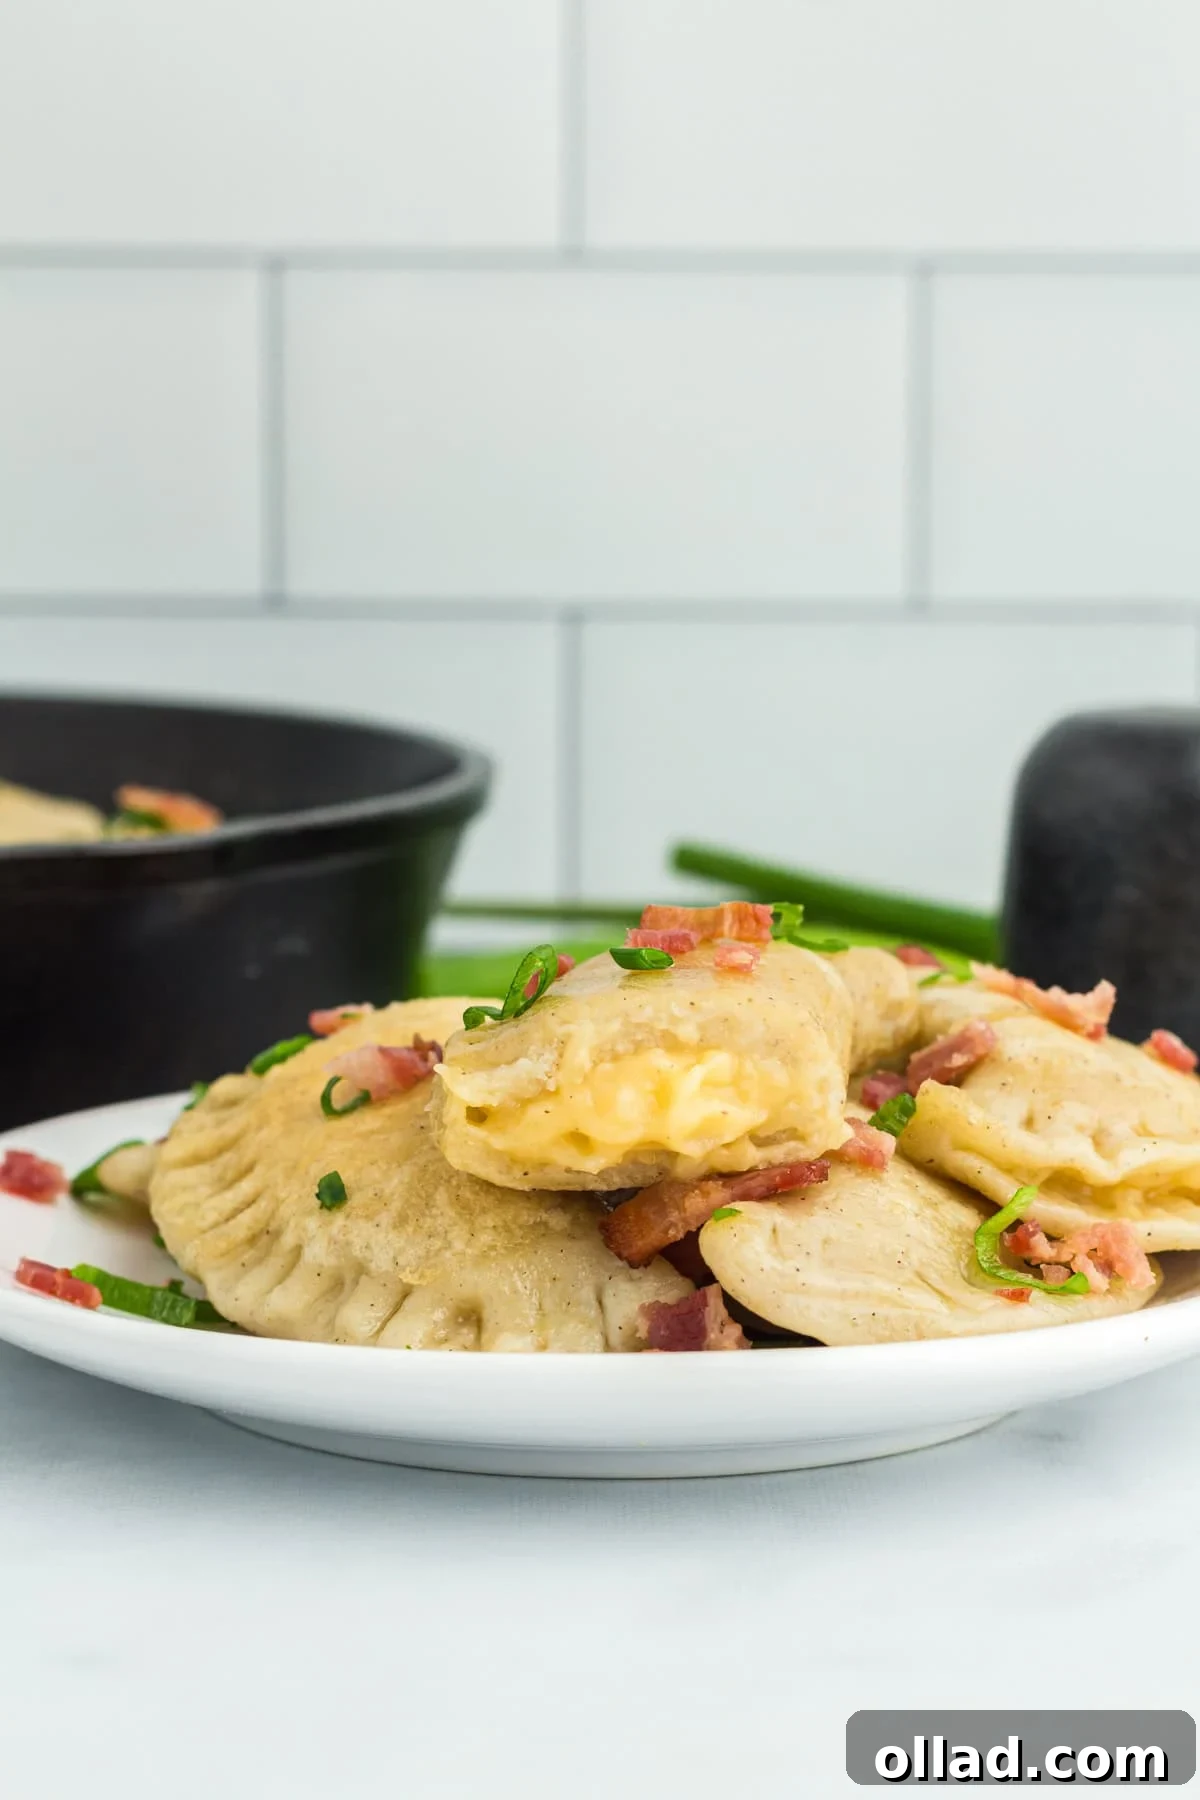
What sets this recipe apart is its dedication to crafting an authentic pierogi experience, completely free from gluten and dairy, without compromising on flavor or texture. The heart of these delicious dumplings lies in the incredibly simple yet pliable dough, made with just four essential ingredients: a high-quality gluten-free flour blend, eggs for structure, water for hydration, and a touch of salt to enhance the flavor. These Polish dumplings are a masterclass in balancing textures and flavors. Each bite delivers a satisfying contrast—the delicate chewiness of the boiled dough transformed into a crisp, golden exterior from pan-frying, giving way to the luscious, melt-in-your-mouth filling. The method of first boiling and then pan-frying is key to achieving this perfect harmony, creating a tender interior and a wonderfully crispy crust that forms the ideal foundation for the rich, dairy-free, cheesy goodness nestled within.
Making pierogi from scratch might sound intimidating, but with this guide, you’ll find it to be a delightful and rewarding process. It’s an ideal weekend project or a wonderful way to bond with family and friends in the kitchen. The joy of shaping each dumpling and seeing them transform from simple ingredients into culinary masterpieces is truly unmatched. Plus, knowing that everyone, regardless of dietary restrictions, can enjoy these traditional treats makes the effort even more special.
Key Ingredients for Authentic Gluten-Free Pierogi
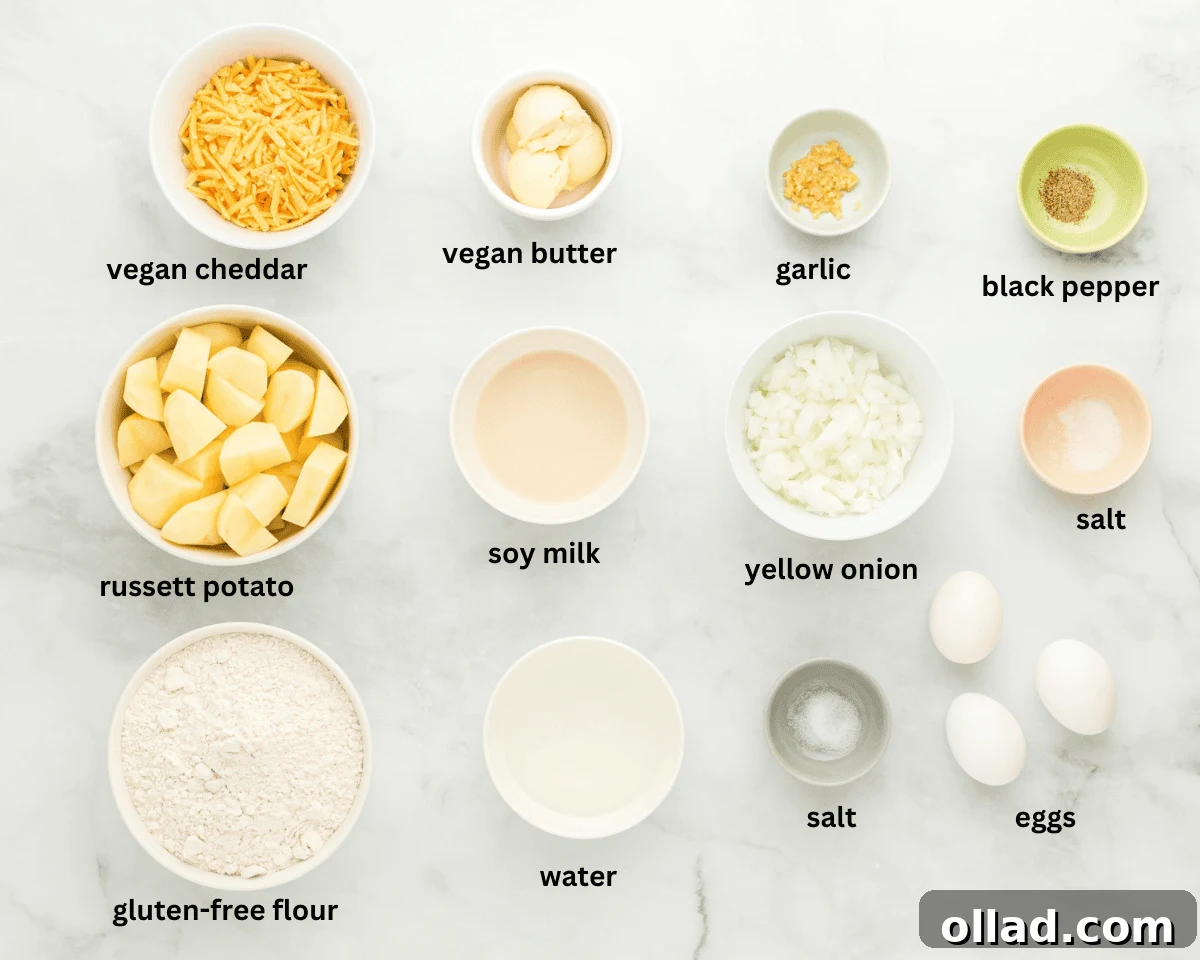
Achieving the perfect gluten-free and dairy-free pierogi starts with selecting the right ingredients. Each component plays a vital role in creating the desired texture and flavor, ensuring your homemade dumplings are nothing short of spectacular.
For the Tender Pierogi Dough:
- Gluten-Free, Dairy-Free Flour Blend: The foundation of our dough. For consistently excellent results, I highly recommend using Bob’s Red Mill Gluten-Free 1-to-1 Baking Flour. Its balanced blend of gluten-free flours and binders mimics the texture of traditional wheat flour beautifully. If you choose another brand, always double-check that it’s also certified dairy-free to ensure it meets all dietary needs. The specific blend is crucial for a dough that is both pliable and holds its shape during cooking.
- Eggs: These provide essential structure and elasticity to the gluten-free dough, preventing it from becoming crumbly and ensuring it’s easy to work with. Using room temperature eggs helps them incorporate more smoothly into the flour.
- Water: Hydration is key. Room temperature water helps create a smooth, manageable dough, allowing it to become perfectly pliable for rolling and shaping. The amount might need slight adjustments based on your specific flour blend and local humidity.
- Salt: A pinch of salt is vital not only for balancing the flavors of the dough but also for enhancing the overall taste of the pierogi.
For the Creamy & Savory Filling:
- Russet Potatoes: The classic choice for pierogi filling, russet potatoes offer a wonderfully starchy and creamy texture when mashed, providing a hearty base for the other flavors. Their mild flavor perfectly absorbs the seasonings.
- Yellow Onion: Sautéed yellow onions add a subtle sweetness and deep savory flavor to the filling. When caramelized, they contribute a rich umami note that is indispensable in traditional pierogi.
- Vegan Butter: Essential for sautéing the onions and garlic, and for adding a luxurious, buttery richness to the mashed potato filling. My homemade vegan butter is an excellent choice for a truly dairy-free and flavorful finish.
- Garlic: Minced garlic introduces a pungent, aromatic depth that complements the savory onion and creamy potato, elevating the flavor profile of the filling.
- Vegan Cheddar Cheese: For that irresistible gooey and cheesy texture, Violife cheddar shreds are my go-to. They melt beautifully, creating a rich, creamy consistency that perfectly mimics traditional dairy cheese, making these pierogi truly dairy-free.
- Soy Milk: This helps in achieving an ultra-creamy, smooth consistency in the filling and aids in melting the vegan cheese. Feel free to use your favorite plain, unsweetened dairy-free milk alternative if soy milk isn’t suitable, ensuring it has a neutral flavor that won’t overpower the other ingredients.
Expert Tips and Suggestions for Perfect Pierogi
Crafting delicious gluten-free and dairy-free pierogi requires a bit of attention to detail, but these tips will guide you to success, ensuring your dumplings are as tender and flavorful as can be:
- Allergy Awareness is Paramount: Always diligently check all ingredient labels, even for commonly used items, to ensure they are certified gluten-free and dairy-free. Pay close attention to “may contain” or “cross-contamination” warnings on packaging if severe allergies are a concern. This vigilance is crucial for safe and enjoyable eating.
- Dough Consistency is Key: Gluten-free flours can vary significantly in their absorption rates. If you opt for a different gluten-free flour blend than recommended, you may need to adjust the water quantity slightly. When mixing with a dough hook, aim for a thick, uniform consistency akin to play-dough—it should be firm enough to hold its shape without being overly wet or sticky. If the dough feels tacky, incorporate a small amount of additional flour. Conversely, if it’s too crumbly or dry, gradually add more water, a teaspoon at a time, until it comes together smoothly and is pliable.
- Achieve the Ideal Dough Thickness: For pierogi that are tender and not overly doughy, roll your dough out to a consistent thickness of between ⅛-inch and ⅙-inch (approximately 3-4 mm). Using a 3-inch (7.5 cm) round cookie cutter typically yields around 30 delicious dumplings. Thicker dough will result in a heavy, less enjoyable pierogi, while overly thin dough may tear when filled.
- Mastering the Seal: To prevent your pierogi from opening during boiling, use a fingertip dampened with water to moisten the edges of the dough circles before folding and pinching. This creates a strong seal, acting like a natural glue. If your dough becomes too dry during the assembly process, gently knead a few drops of additional water into the scraps before re-rolling. This helps maintain elasticity and prevents cracking.
- Avoid Overstuffing: It’s tempting to load up on the delicious filling, but moderation is crucial. Overfilling your pierogi is the most common reason for them bursting during cooking. I recommend using a standard teaspoon measuring spoon to ensure you add just the right amount of filling for each dumpling, allowing for easy sealing and preventing leaks.
Delicious Serving Suggestions
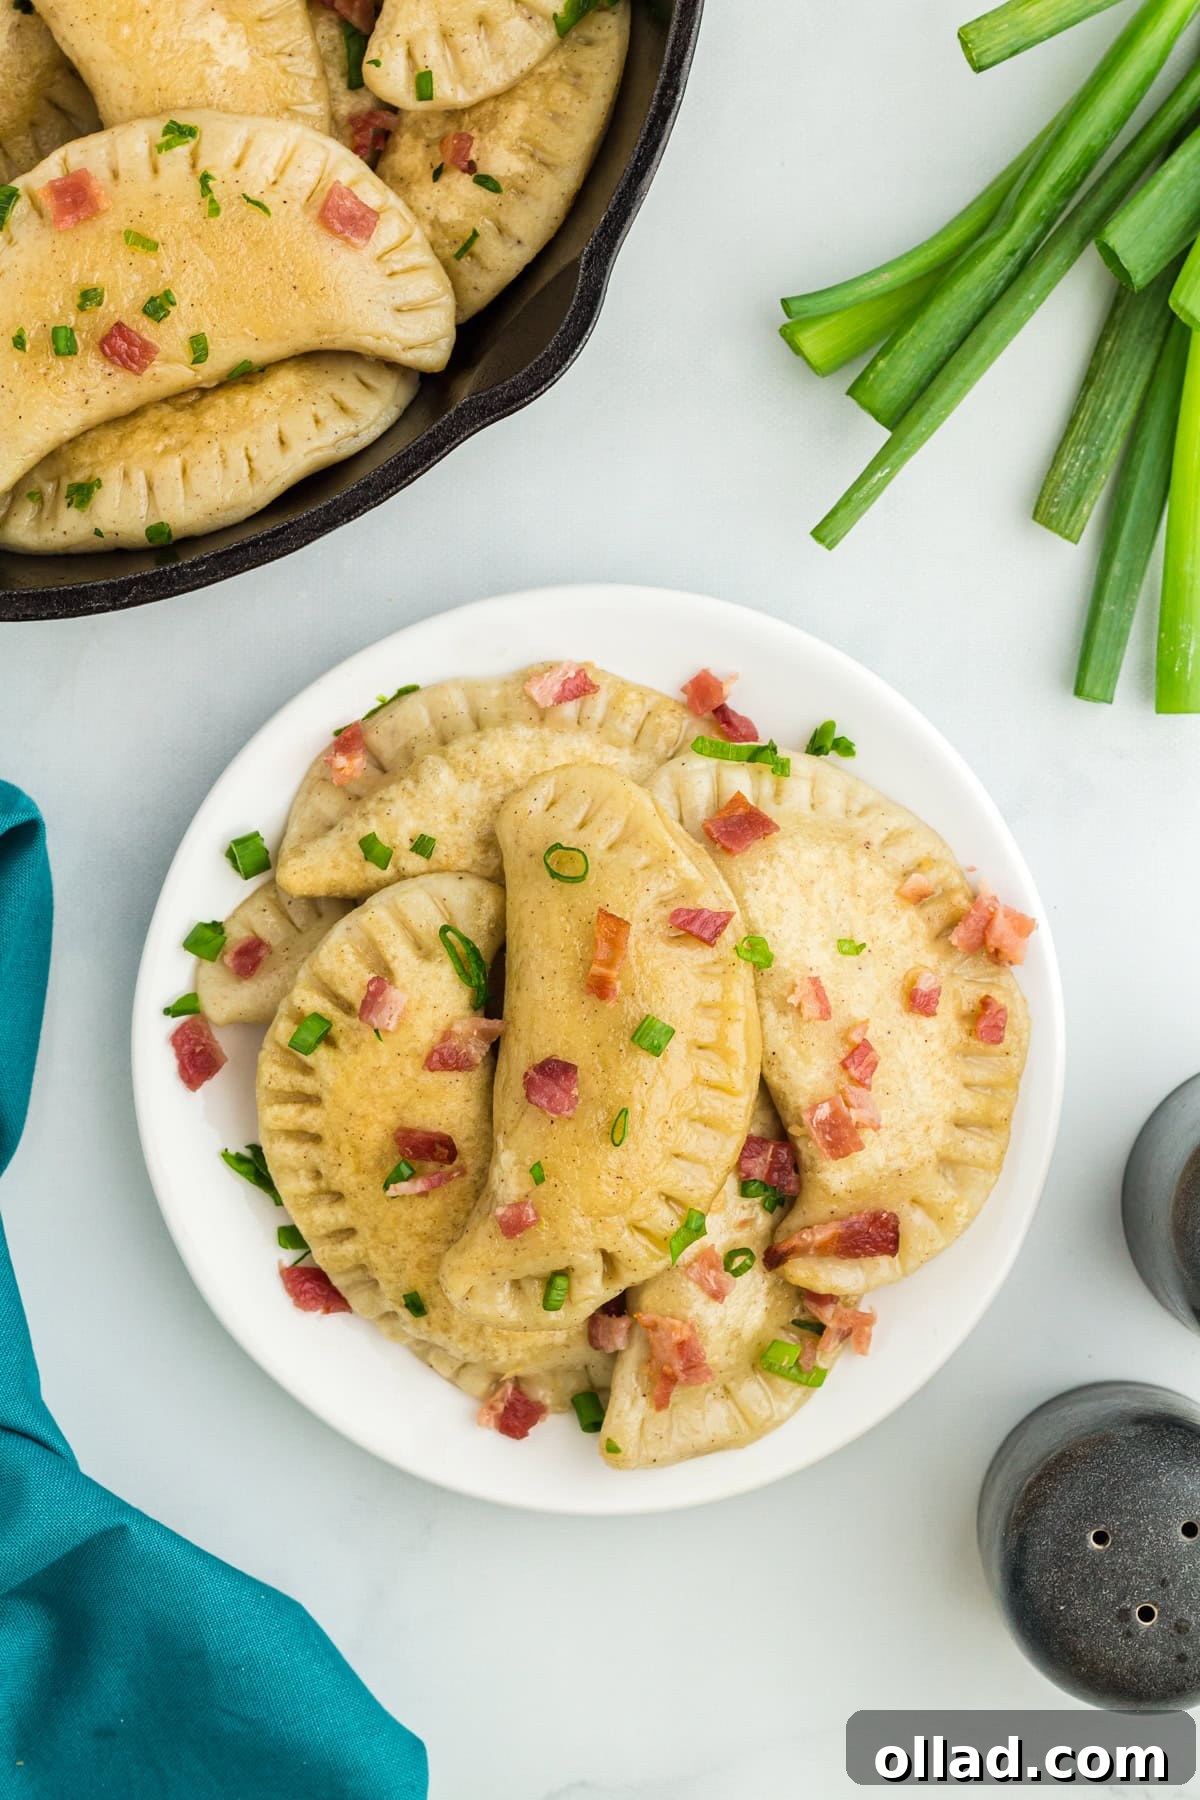
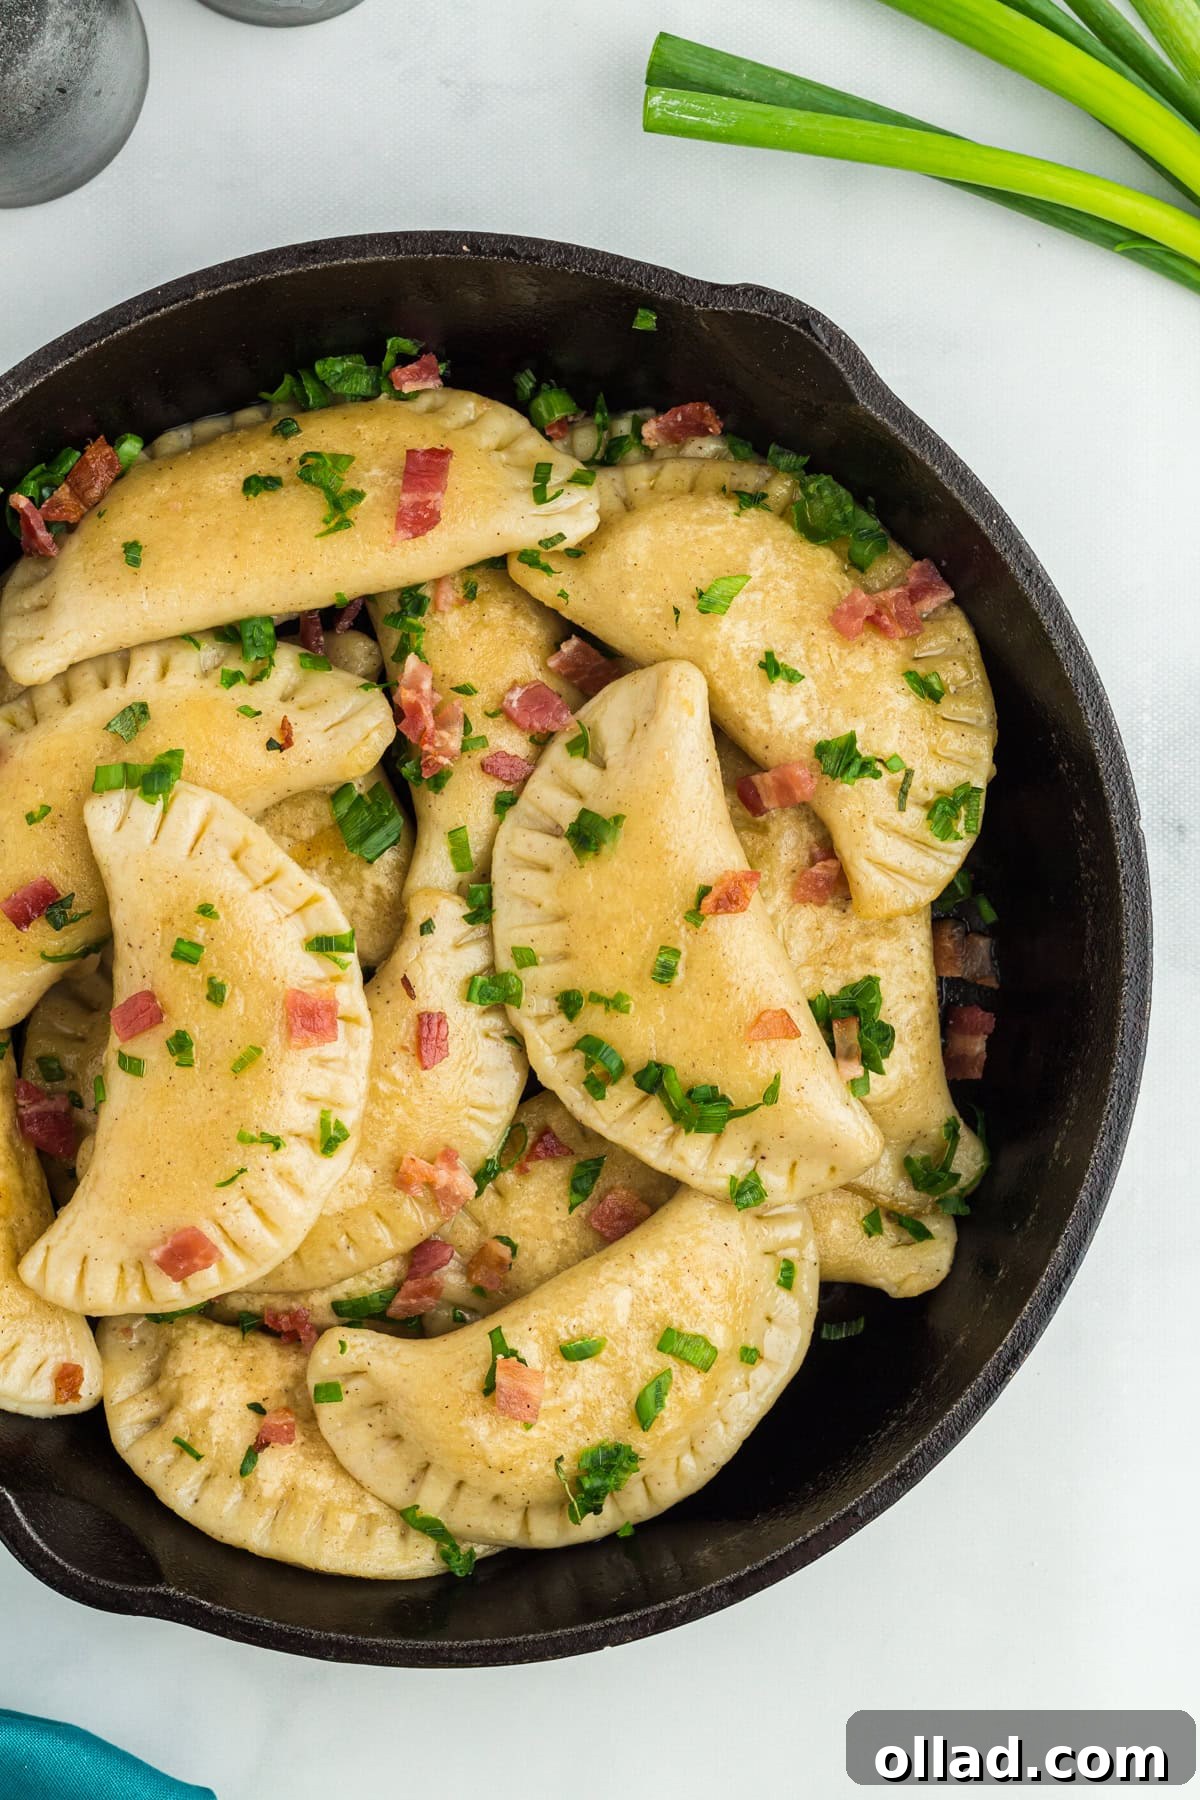
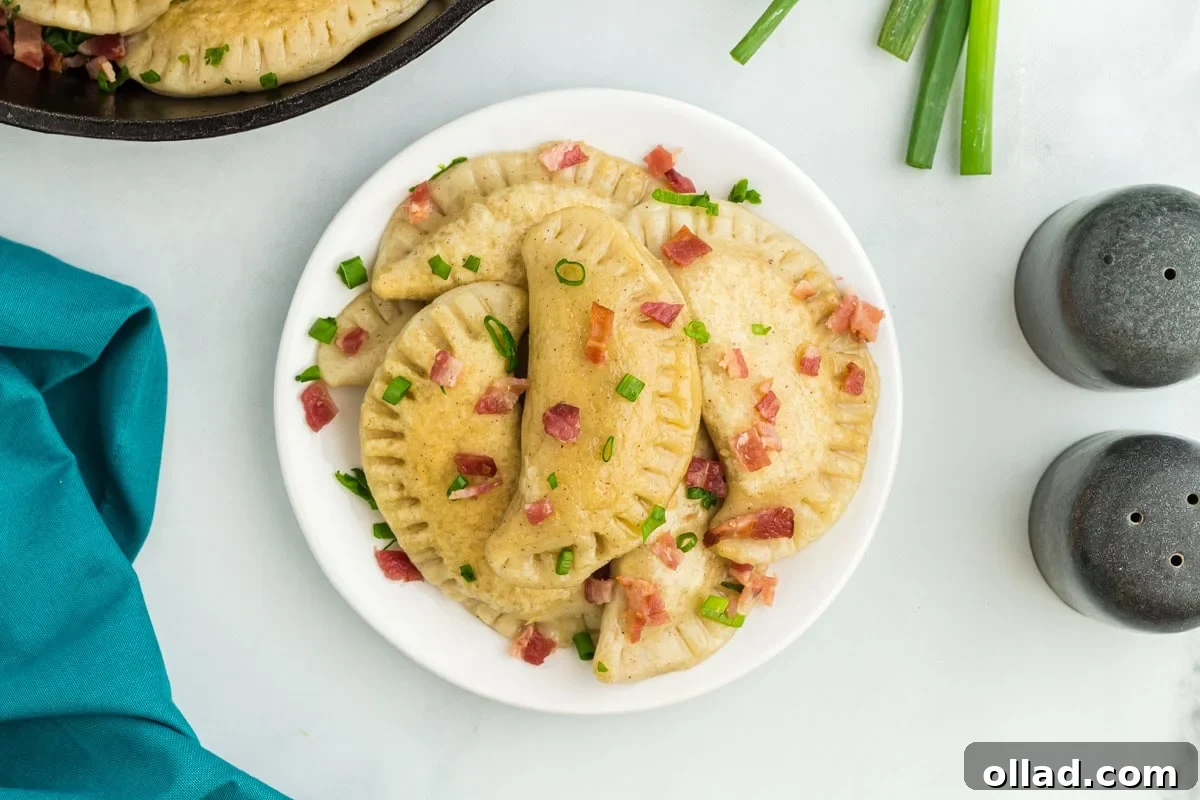
Once your gluten-free and dairy-free pierogi are cooked to perfection, the possibilities for serving them are endless! For a truly indulgent experience, I adore topping my pierogi with savory, crispy bacon bits and a sprinkle of fresh green scallions for a pop of color and mild onion flavor. They are also heavenly when dipped into a creamy dairy-free sour cream or a tangy vegan yogurt, which provides a lovely contrast to the rich filling. Another fantastic accompaniment is my dairy-free tzatziki, offering a refreshing, garlicky, and herby twist.
For a more sophisticated touch, consider serving them with perfectly caramelized onions, which add a deep, sweet, and intensely savory note. A generous sprinkle of fresh herbs like dill or parsley can brighten up the flavors. To round out the meal, I typically serve these pierogi alongside a vibrant green salad with a light vinaigrette and a medley of roasted seasonal vegetables, ensuring a balanced and satisfying dining experience that caters to all tastes.
Storage and Freezing Instructions
These homemade Polish dumplings are not only delicious fresh but also store beautifully, making them perfect for meal prep or enjoying later. Proper storage ensures they retain their wonderful texture and flavor:
Refrigerator Storage (Cooked Pierogi):
Cooked pierogi can be safely stored in an airtight container in the refrigerator for 3 to 4 days. When you’re ready to enjoy them again, simply reheat them in a pan with a little vegan butter. This method helps to re-crisp the dough, bringing back that delightful pan-fried texture.
Freezing Raw Pierogi:
If you wish to prepare a batch in advance, uncooked pierogi freeze exceptionally well. Arrange the freshly assembled, raw pierogi in a single layer on a parchment-lined baking sheet, ensuring they do not touch each other. Freeze them until they are solid (this usually takes a few hours). Once frozen solid, transfer the pierogi to a freezer-safe, airtight container or a heavy-duty freezer bag. For best results, place layers of parchment paper between the pierogi to prevent them from sticking together. They can be stored in the freezer for up to 3 months. When ready to cook, boil them directly from frozen, adding a few extra minutes to the cooking time.
Freezing Cooked Pierogi:
Cooked pierogi can also be frozen for future enjoyment. Allow them to cool completely after cooking. Once cooled, place them in a single layer on a parchment-lined baking sheet and freeze until solid. Then, transfer them to an airtight freezer container or bag, again using parchment paper between layers. Store for up to 3 months. Reheat from frozen in a lightly oiled pan until warmed through and crispy.
More Allergy-Friendly Finger Food Recipes
If you’re looking for more delicious gluten-free and dairy-free finger foods to explore, be sure to check out these fantastic recipes that are perfect for snacks, appetizers, or party spreads:
- Gluten-Free Chicken and Dumplings
- Gluten-Free Wonton Wrappers
- Gluten-Free Mozzarella Sticks
- Gluten-Free Onion Rings
- Gluten-Free Buffalo Chicken Bites
Gluten-Free & Dairy-Free Pierogi
By: Cheryl Johnson | Servings: 30 dumplings | Prep: 1 hr 30 mins | Cook: 30 mins | Total: 2 hrs
These gluten-free pierogi, made with tender dough and a rich potato, onion, and cheese filling, are a rewarding weekend project perfect for a group cooking session. The result is a plate of golden, flavorful dumplings that make the effort well worth it.
Equipment
- 1 large pot
- 1 large skillet
- Stand mixer with dough hook attachment (optional, but recommended)
- Potato masher or electric beaters
- 3-4 inch round cookie cutter
- Parchment paper
- Baking sheets
- Slotted spoon
Ingredients
Dough
- 3 cups gluten-free and dairy-free flour (approximately 445 grams, depending on brand; Bob’s Red Mill 1-to-1 is recommended)
- 3 large eggs, at room temperature
- ½ cup water, at room temperature
- ¼ teaspoon salt
Filling
- ¾ pound russet potatoes, peeled and cut into 2-inch cubes
- ¾ cup diced yellow onion
- 4 tablespoons vegan butter, divided
- ½ teaspoon minced garlic
- 1 cup vegan cheddar cheese, shredded (Violife brand recommended)
- ¼ teaspoon salt
- ¼ teaspoon black pepper
- 2 tablespoons soy milk (or other plain, unsweetened dairy-free milk)
Instructions
Preparing the Dough
- In a medium mixing bowl, combine the flour, eggs, water, and salt. Attach a dough hook to your mixer and mix on low speed until a thick, play-dough-like consistency is achieved. If the dough is too crumbly, add water in ½ teaspoon increments. If too sticky, add flour in 1 tablespoon increments until the desired consistency is reached.
- Lightly flour your work surface or a silicone baking mat. Transfer the dough and gently knead by hand until smooth. Avoid incorporating too much extra flour, which can dry out the dough.
- Form the dough into a disc, wrap it tightly in food-safe plastic wrap, and refrigerate for 30 minutes to rest and firm up.
Crafting the Filling
- In a small frying pan, melt 1 tablespoon of vegan butter over medium heat. Add the diced yellow onion and minced garlic, sautéing until the onions are softened and translucent, about 5-7 minutes. Remove from heat and set aside.
- Place the cubed potatoes in a medium-sized pot and cover them with water. Bring to a boil over high heat and cook until the potatoes are fork-tender.
- Drain the water from the pot and return the cooked potatoes to the pot.
- To the hot potatoes, add the shredded vegan cheese, 1 tablespoon of vegan butter, ¼ teaspoon salt, and ¼ teaspoon black pepper. Mash thoroughly until the cheese is melted and the potatoes are completely smooth with no large lumps.
- Stir in the 2 tablespoons of soy milk and continue mashing until the mixture is smooth and creamy. For an extra smooth consistency, you can use electric beaters.
- Finally, fold in the sautéed onion and garlic mixture until it is well combined throughout the potato filling.
Assembling the Pierogi
- Line a large baking sheet with parchment paper and set it aside.
- Lightly flour your work surface or silicone baking mat.
- Retrieve the chilled dough from the refrigerator and divide it into two equal pieces.
- Roll out one half of the dough to a thickness of approximately ⅛ to ⅙ inch.
- Using a 3 to 4-inch round cookie cutter, cut out circles from the rolled dough. Gather the dough scraps, gently knead them together, and re-roll to cut more circles until all dough is used.
- Have your potato filling and a small bowl of water ready next to your work area.
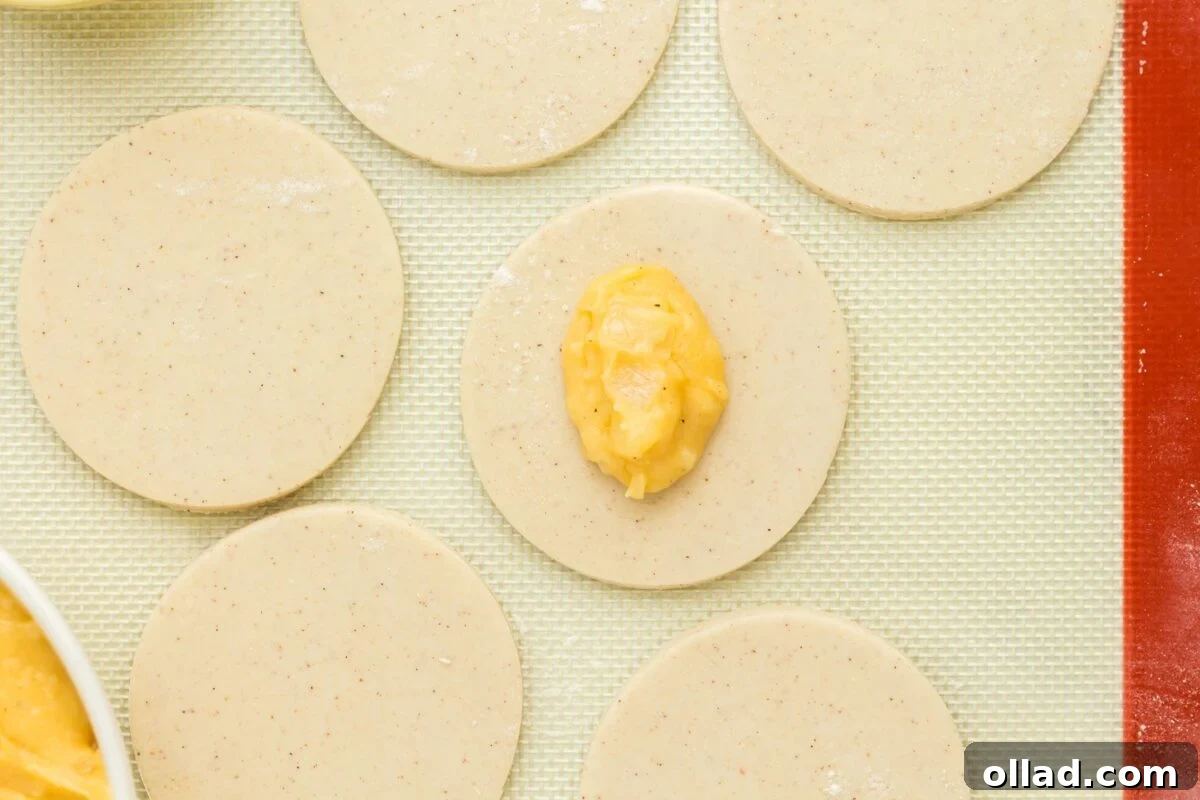
- Place about 1 teaspoon of filling in the center of each dough circle.
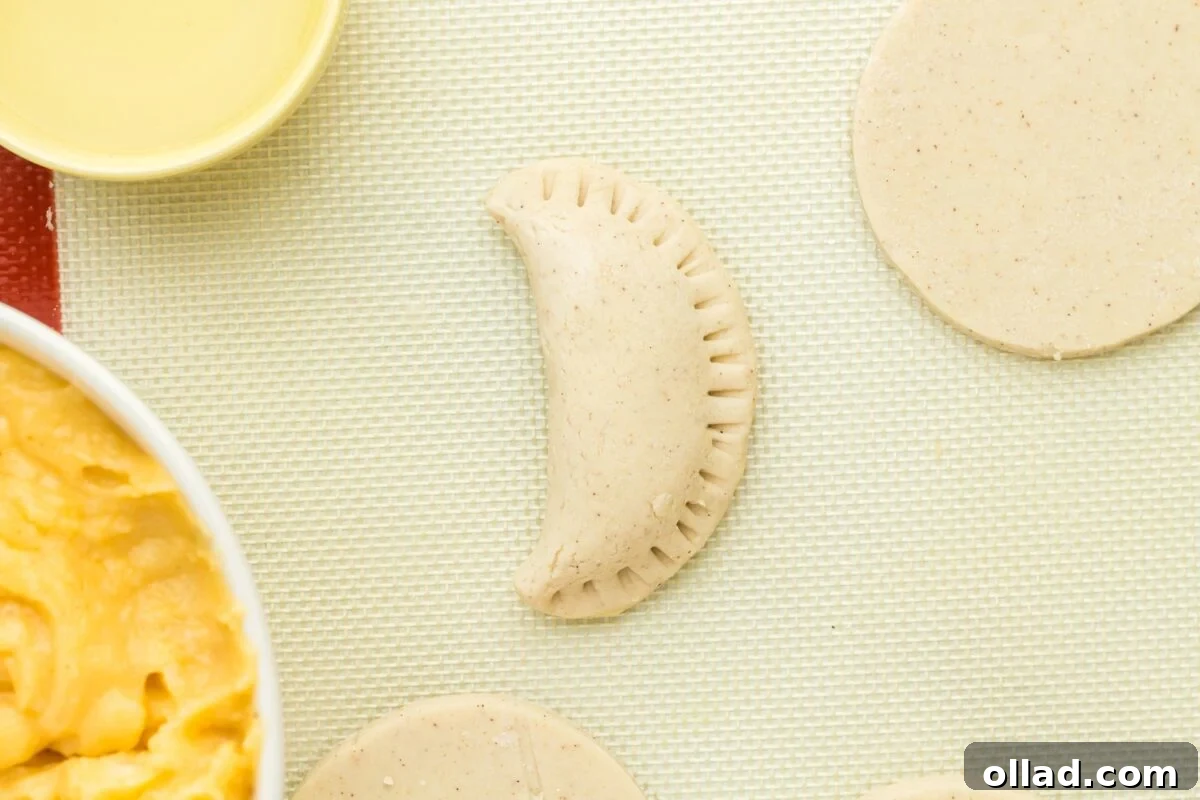
- Working with one pierogi at a time, dip your fingertip in water and lightly moisten the edge of the dough circle. Fold the dough in half over the filling to create a crescent shape. Pinch the edges firmly with your fingers to seal. The water acts as a glue.
- For an extra secure seal and decorative edge, gently press the tines of a fork halfway into the pinched edges of each pierogi. If you notice filling leaking, you’ve added too much.
- Place the assembled pierogi onto the prepared baking sheet, ensuring they do not touch. Repeat until all dough and filling are used.
Cooking the Pierogi
- Bring a large pot of water to a vigorous, rolling boil.
- Carefully add 4 to 5 pierogi to the boiling water, ensuring they have enough space and do not touch each other. Overcrowding can cause them to stick.
- The pierogi will float to the surface after about 30-60 seconds. Once they are floating, set a timer for 5 minutes and let them cook.
- After 5 minutes, use a slotted spoon to gently remove the boiled pierogi from the water. Transfer them to a clean, parchment-lined baking sheet to drain. If any excess water remains, lightly dab them with a dry paper towel.
- Repeat the boiling process with the remaining pierogi until they are all cooked.
- In a large frying pan, melt the remaining 2 tablespoons of vegan butter over low-medium heat.
- Add a few of the boiled pierogi to the frying pan, again ensuring they are spaced apart to prevent sticking. Cook on both sides until they are beautifully golden brown and lightly crispy.
- Repeat this pan-frying step with the remaining pierogi, adding more vegan butter to the pan as needed, until all are crisped to perfection.
- Serve immediately with your favorite toppings and enjoy!
Notes:
- Always check ingredient labels for gluten and dairy content and cross-contamination warnings.
- Adjust water for dough consistency if using a different flour blend. Aim for a thick, pliable, non-sticky dough.
- Roll dough to ⅛-⅙” thickness; a 3” cutter yields about 30 dumplings. Thicker dough makes pierogi too heavy.
- Use water on your fingertip to seal edges and fix cracks. Knead extra water into dry dough scraps before re-rolling.
- Use a teaspoon of filling to avoid overstuffing, which can cause pierogi to burst.
- Store cooked pierogi in the refrigerator for 3-4 days; reheat in a pan with vegan butter to re-crisp.
- To freeze raw: arrange in a single layer on parchment paper, freeze until solid, then transfer to an airtight container with parchment layers. Store for up to 3 months.
- To freeze cooked: cool completely, then transfer to an airtight container with parchment layers. Freeze for up to 3 months. Reheat from frozen.
Nutrition
Nutrition information is automatically calculated and should be used as an approximation only.
- Serving: 1 pierogi
- Calories: 71 kcal
- Carbohydrates: 10g
- Protein: 2g
- Fat: 3g
- Saturated Fat: 1g
- Polyunsaturated Fat: 0.5g
- Monounsaturated Fat: 1g
- Trans Fat: 0.01g
- Cholesterol: 16mg
- Sodium: 95mg
- Potassium: 14mg
- Fiber: 1g
- Sugar: 1g
- Vitamin A: 99 IU
- Vitamin C: 0.4mg
- Calcium: 16mg
- Iron: 1mg
Course: Appetizer, Dinner, Snack | Cuisine: Polish
How to Make Gluten-Free Pierogi: A Step-by-Step Visual Guide
Follow these detailed steps to create your own batch of delightful gluten-free and dairy-free pierogi, complete with visual cues to guide you through each stage of the process.
Dough Preparation
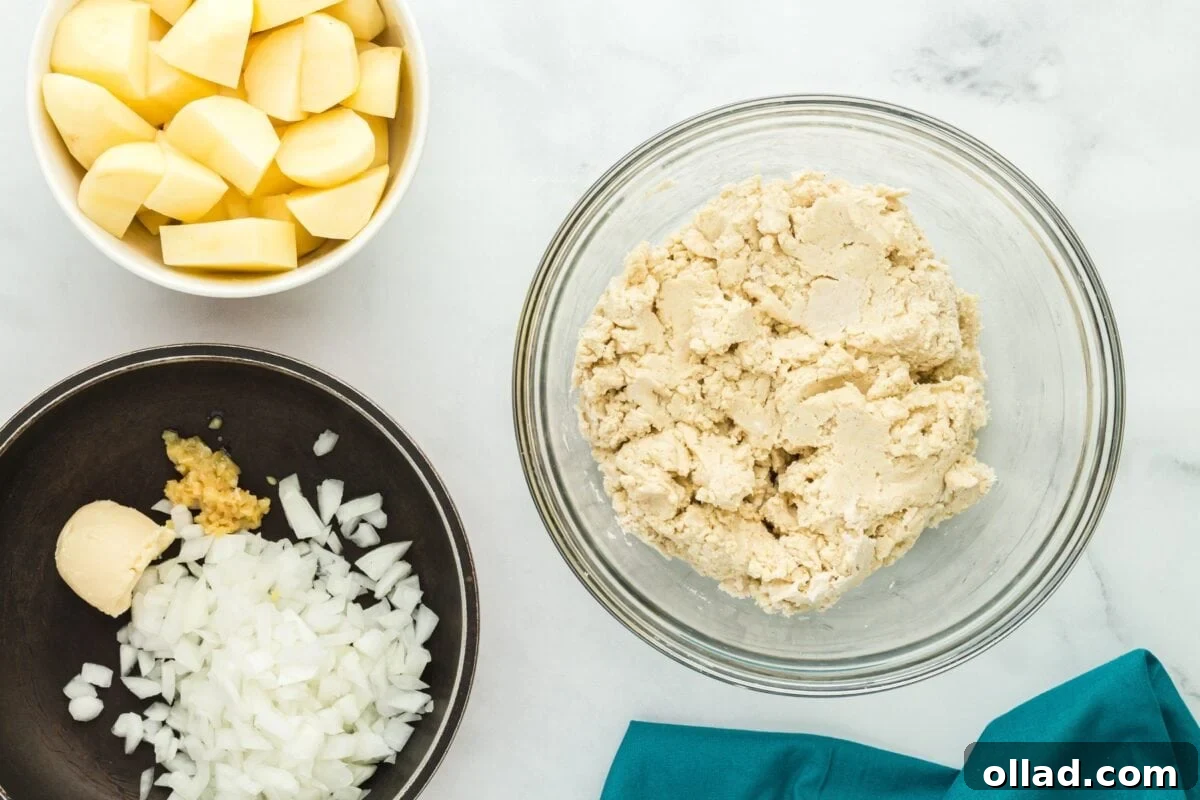
To begin, combine 3 cups of your chosen gluten-free and dairy-free flour blend (such as Bob’s Red Mill 1-to-1), 3 large room temperature eggs, ½ cup of room temperature water, and ¼ teaspoon of salt in a medium mixing bowl. Using a stand mixer fitted with a dough hook attachment, mix on low speed until the ingredients coalesce into a cohesive dough. The dough should have a firm, thick consistency, much like traditional play-dough. If you find it too dry or crumbly, incorporate a little more water, a teaspoon at a time. If it’s overly sticky, dust in a small amount of extra flour until it reaches the desired pliable texture.
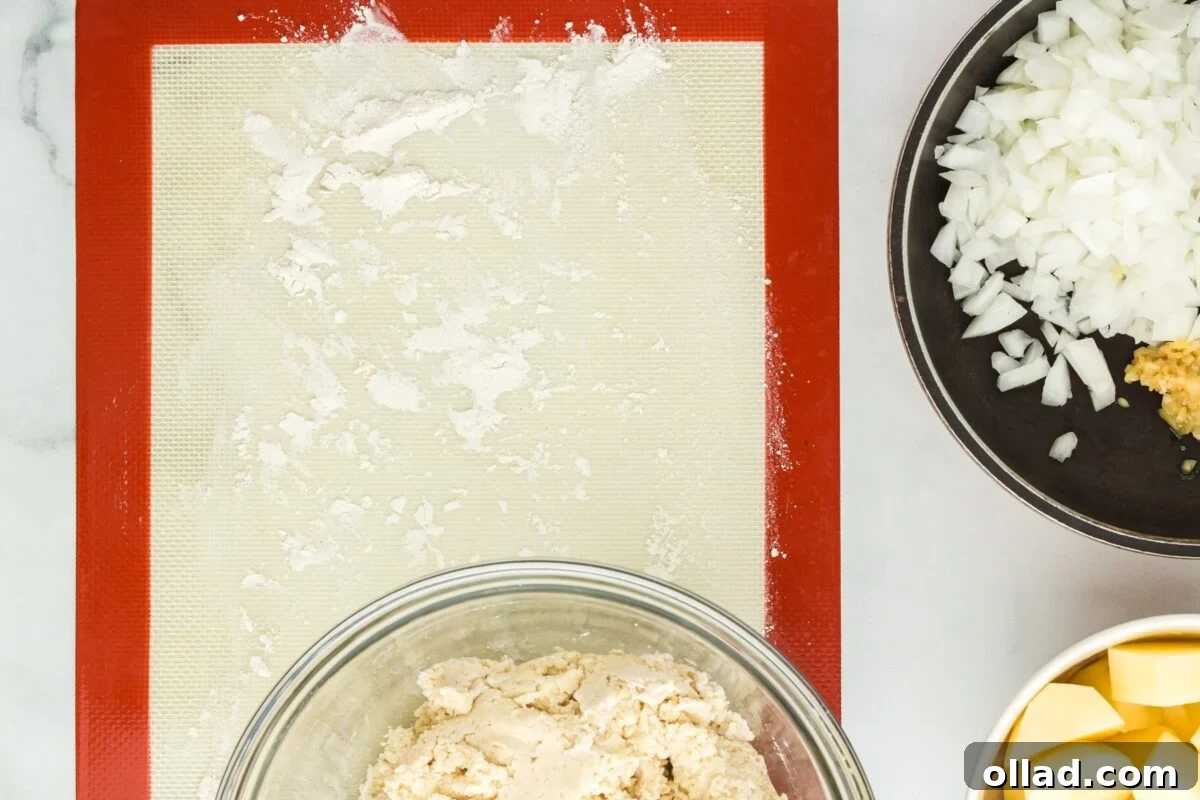
Once the dough has formed, lightly dust your work surface or a silicone baking mat with a bit of gluten-free flour. Transfer the dough onto this floured surface and gently knead it by hand until it feels smooth and elastic. Be cautious not to incorporate too much additional flour during this step, as it can lead to a dry or crumbly dough that’s difficult to roll.
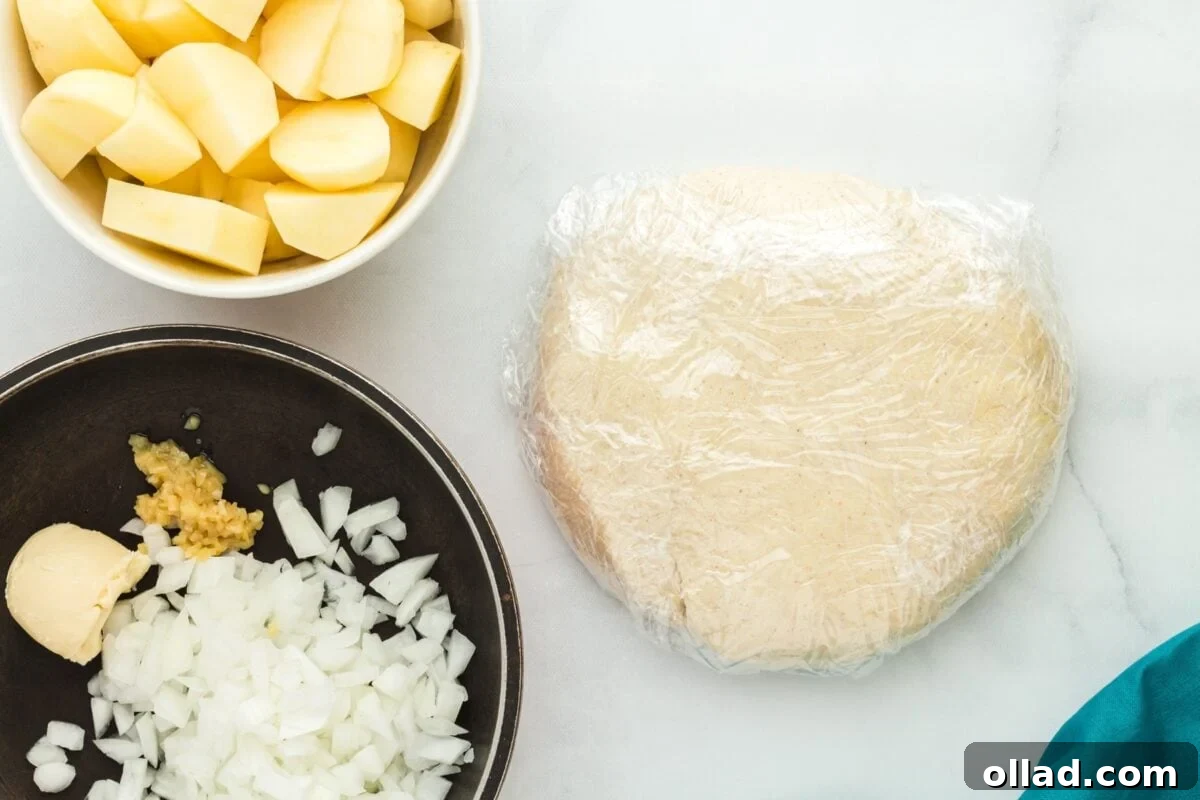
After kneading, flatten the smooth dough into a disc shape. This helps with even chilling. Wrap the dough disc tightly in food-safe plastic wrap to prevent it from drying out, then place it in the refrigerator for at least 30 minutes. This resting period allows the flour to fully hydrate and the dough to become more relaxed and easier to roll, which is crucial for gluten-free doughs.
Filling Preparation
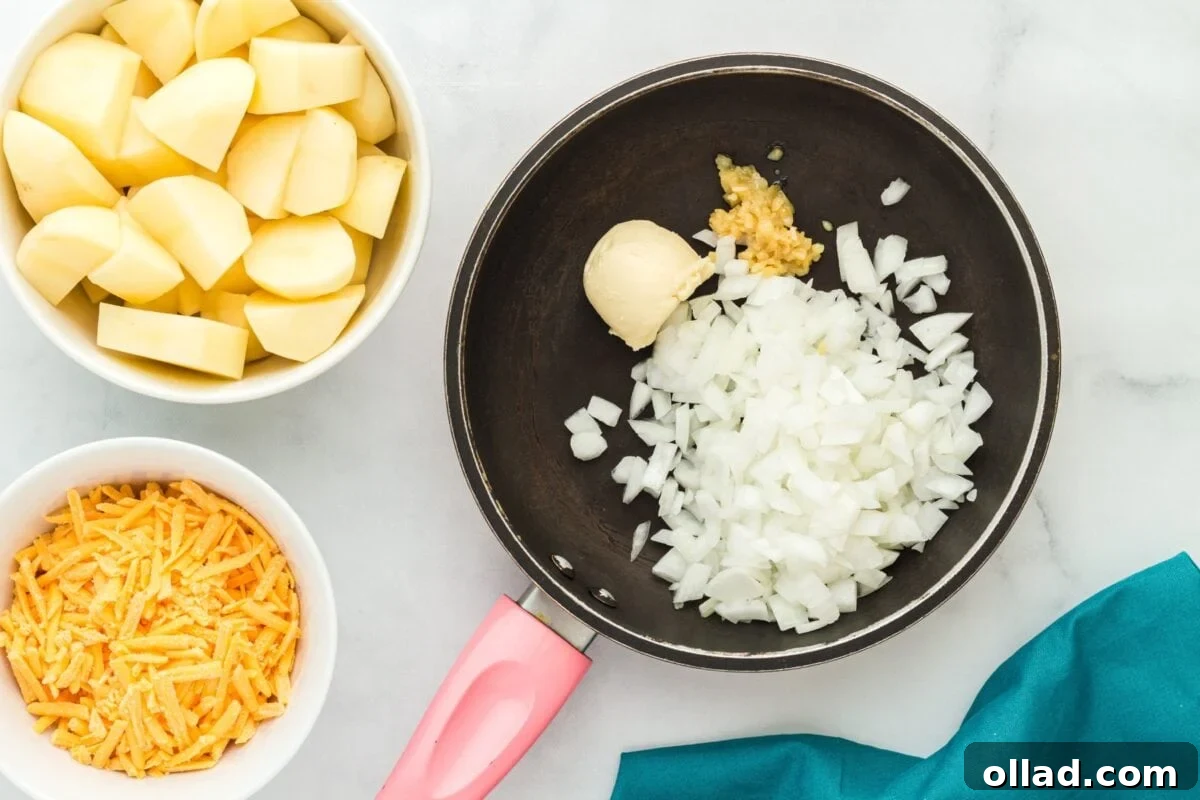
Start preparing your savory filling by melting 1 tablespoon of vegan butter in a small frying pan over medium heat. Add ¾ cup of diced yellow onions and ½ teaspoon of minced garlic to the pan. Sauté the mixture, stirring occasionally, until the onions become soft, translucent, and fragrant, typically taking about 5-7 minutes. Once cooked, remove the pan from the heat and set the onion-garlic mixture aside.
Next, place ¾ pound of peeled and cubed russet potatoes into a medium-sized pot. Pour enough water over the potatoes to fully cover them. Bring the water to a rolling boil over high heat and cook the potatoes until they are very tender. You can test for doneness by easily piercing them with a fork. Once cooked, carefully drain all the water from the pot, leaving only the softened potatoes behind.
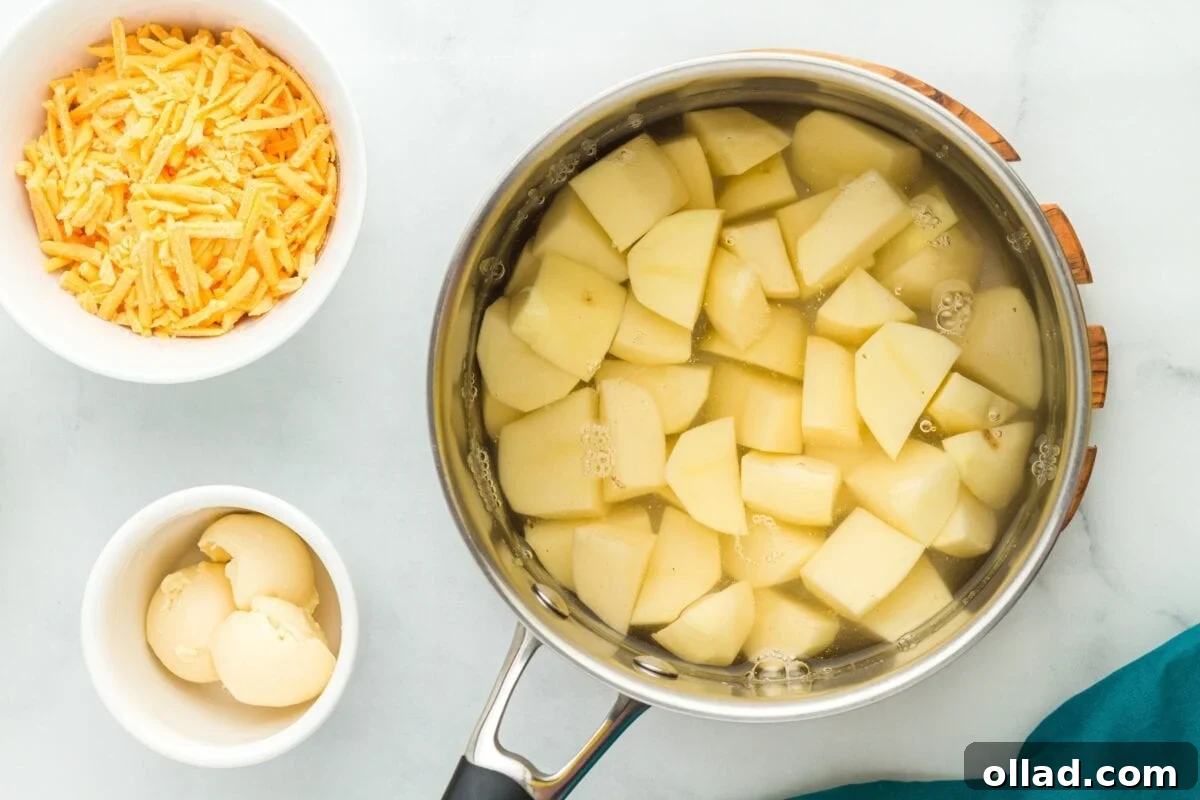
To the hot, drained potatoes, add 1 cup of shredded vegan cheddar cheese, ¼ teaspoon of salt, ¼ teaspoon of black pepper, and 1 tablespoon of vegan butter. Using a sturdy potato masher, thoroughly mash all the ingredients together until the cheese has completely melted and the potatoes are perfectly smooth, with no lumps remaining. The residual heat from the potatoes will help melt the cheese and butter beautifully.
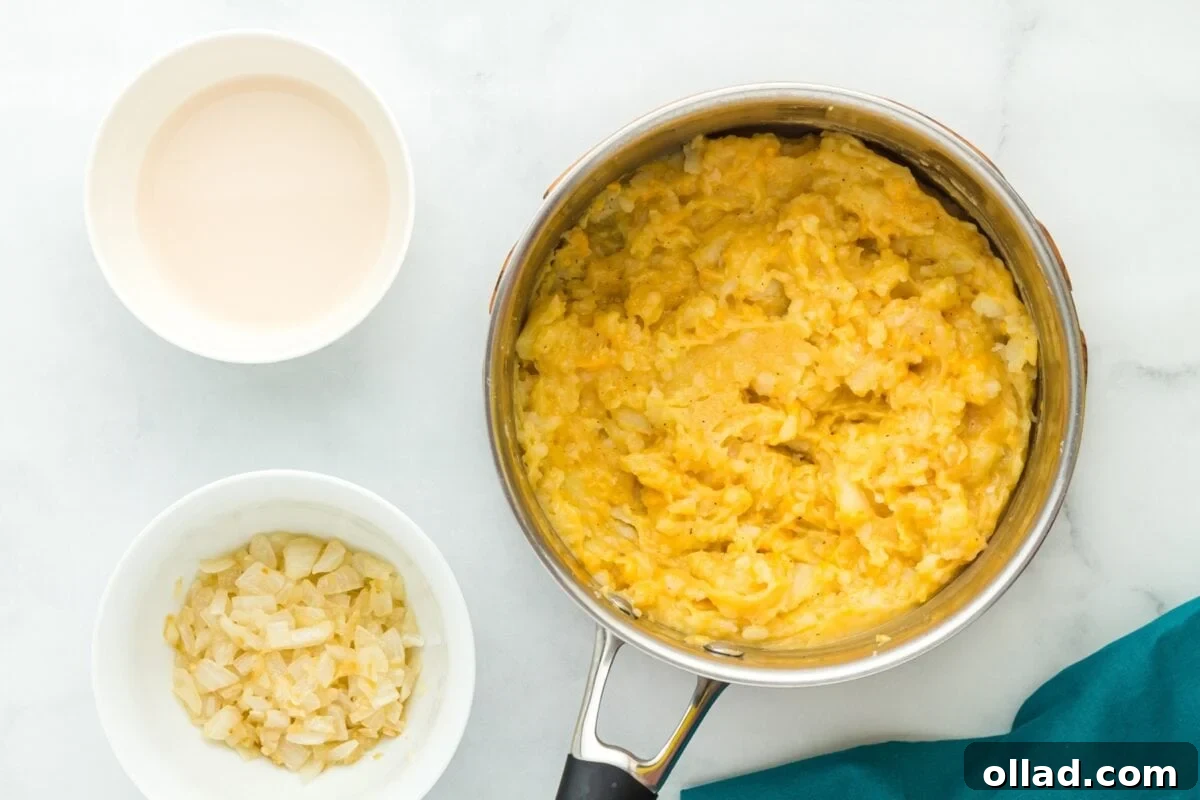
Now, pour in 2 tablespoons of soy milk (or your preferred plain dairy-free milk) and continue mashing or stirring until the filling achieves an ultra-smooth, creamy consistency. For an even smoother texture, especially if you’re struggling with a potato masher, feel free to use a hand mixer or electric beaters to blend the mixture thoroughly. I often switch to a wooden spoon at this stage to incorporate the milk.
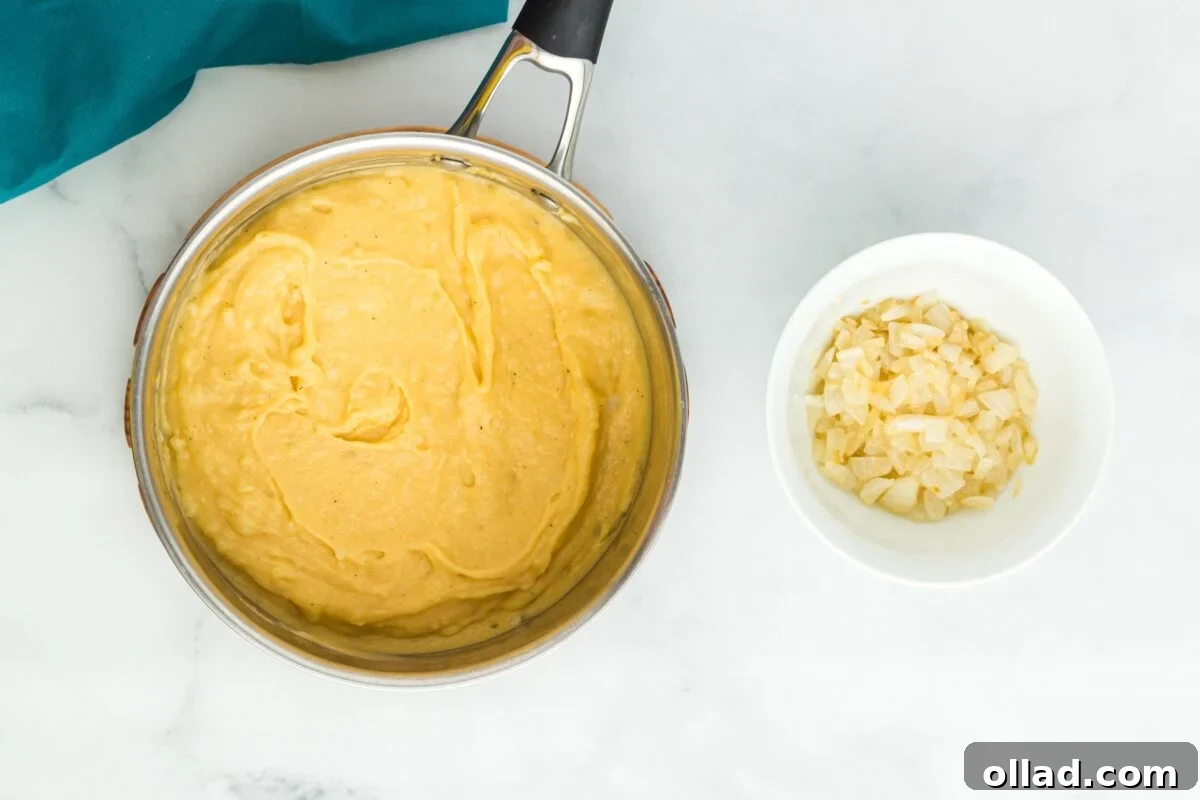
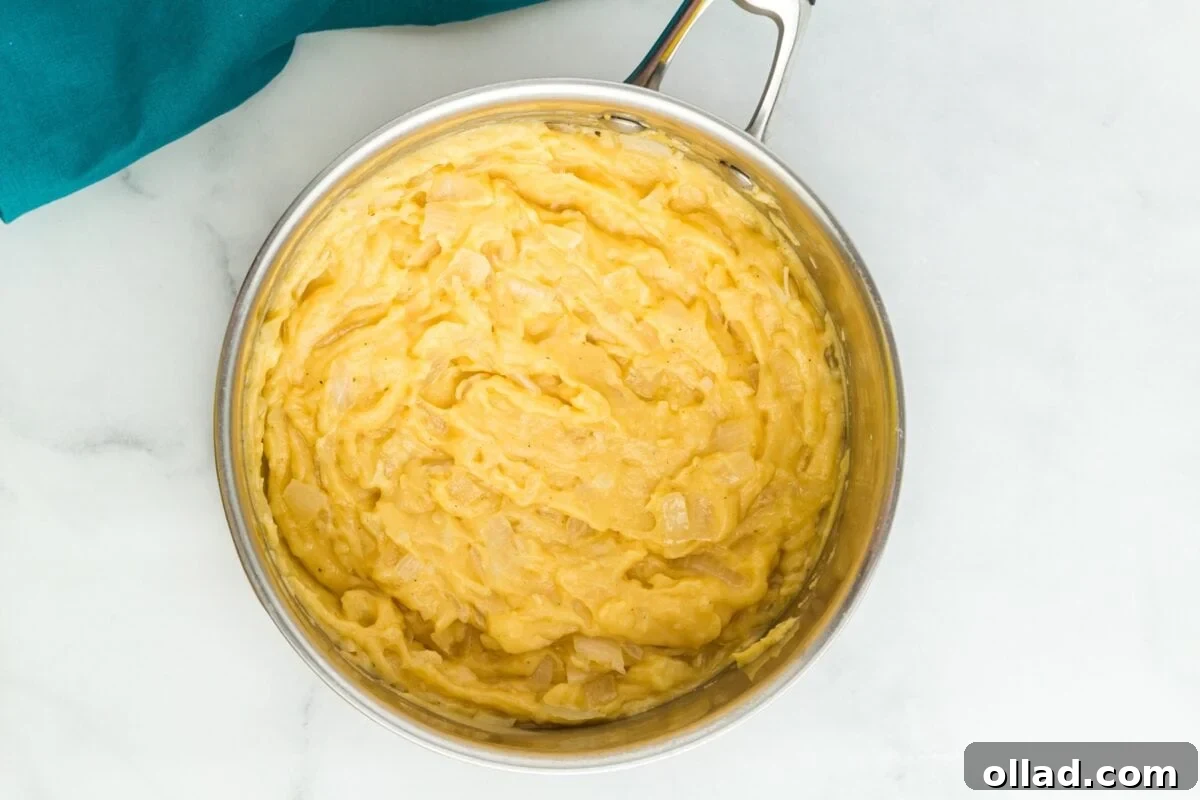
Finally, gently fold the previously sautéed onion and garlic mixture into the mashed potato and cheese base. Stir everything together until the savory aromatics are evenly distributed throughout the creamy potato filling. This creates the signature rich and balanced flavor of traditional pierogi filling.
Assembling the Pierogi
Prepare your workspace by lining a large baking sheet with parchment paper; this will be for your assembled pierogi. Next, lightly dust your clean work surface or a silicone baking mat with a thin layer of gluten-free flour. Remove the chilled dough from the refrigerator and place it on the floured surface. Divide the dough into two equal halves, as this makes it easier to handle and roll.
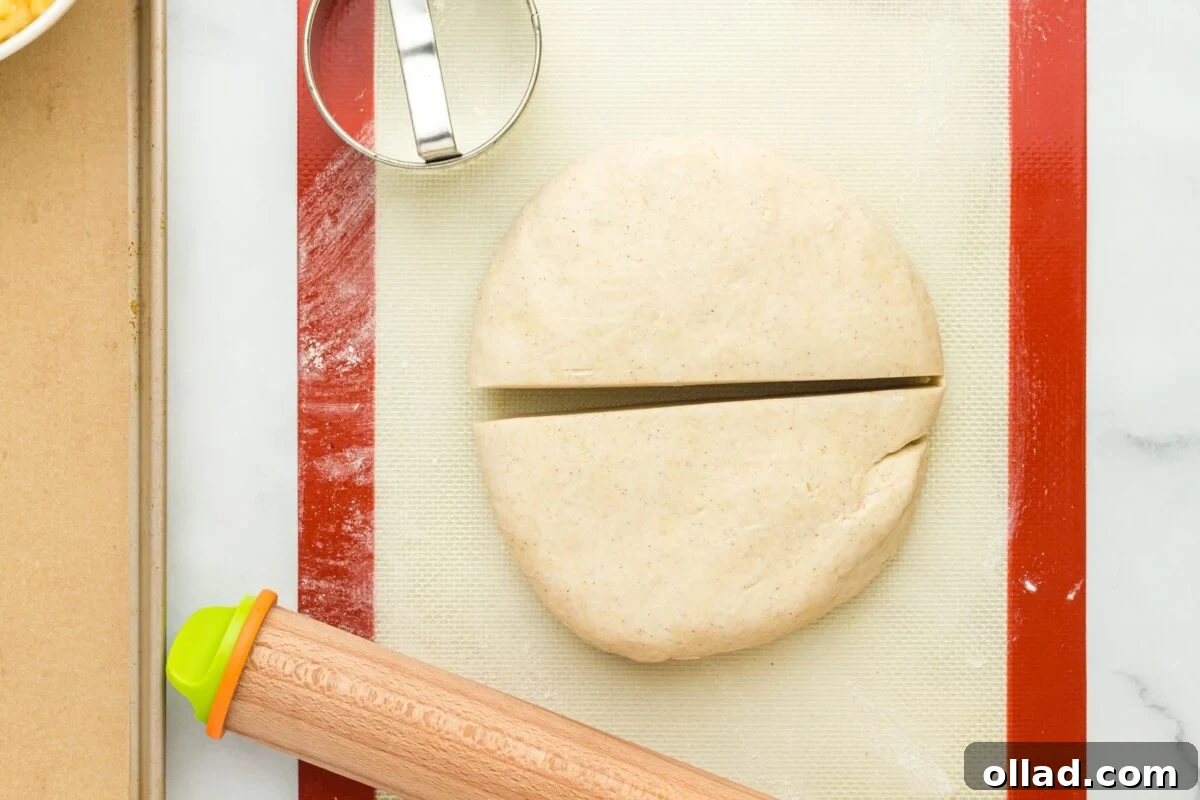
Take one half of the dough and roll it out evenly. Aim for a thickness of approximately ⅛ inch to ⅙ inch (about 3-4 millimeters). This precise thickness is crucial for tender, yet sturdy, pierogi. Using a round cookie cutter, about 3 to 4 inches in diameter, cut out as many circles as possible from the rolled dough. Carefully collect any dough scraps, gently knead them back together, and re-roll to cut out additional circles until all the dough is used.
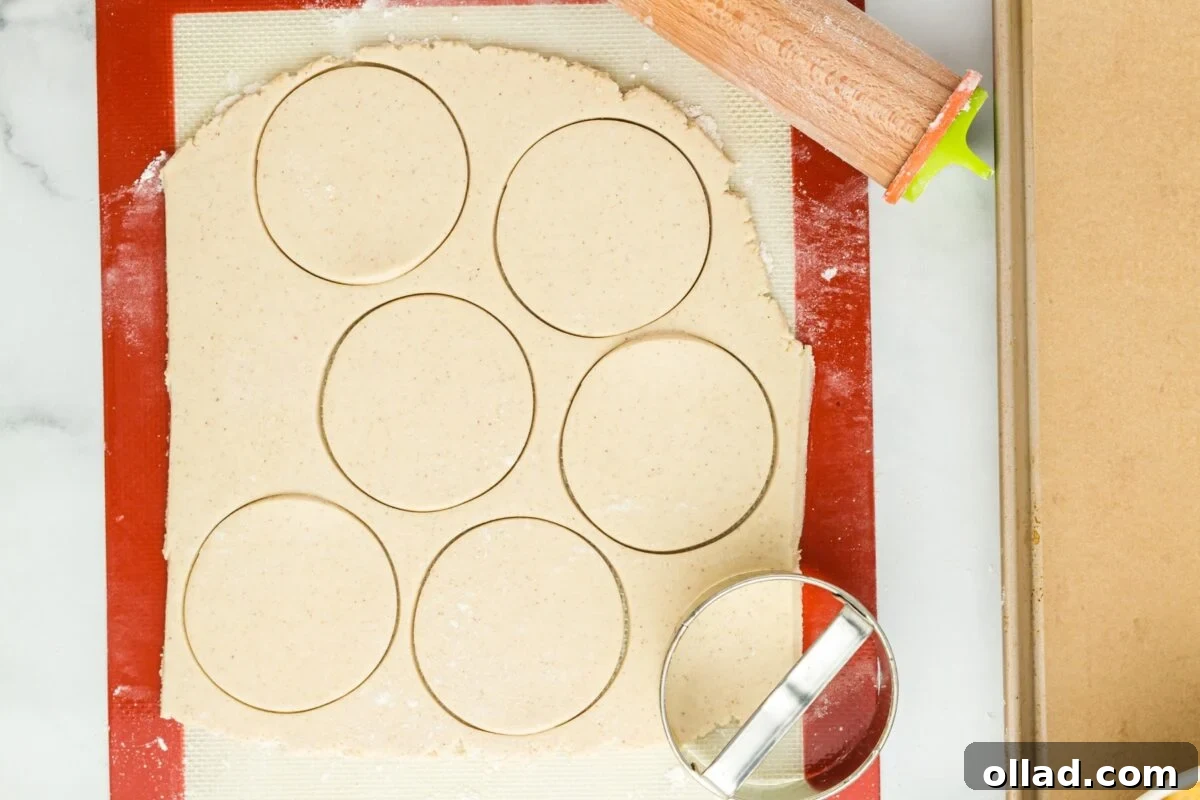
Position your potato and cheese filling and a small bowl of water conveniently near your work area. Using a small spoon, ideally a measuring teaspoon, scoop approximately 1 teaspoon of the delicious filling and place it directly into the center of each dough circle. Be careful not to overfill, as this can make sealing difficult and lead to burst pierogi during cooking.
Working methodically, one pierogi at a time, dampen your fingertip with water and lightly moisten the outer edge of the dough circle. Carefully fold the dough circle in half over the filling, creating a perfect semi-circle. Use your fingers to firmly pinch the edges together, sealing the filling inside. The moistened rim will act as a natural adhesive, ensuring a secure closure. For added reinforcement and a classic pierogi aesthetic, gently press the tines of a fork about halfway into the sealed edges. If you notice any filling oozing out, it’s a sign you’ve added a bit too much. Place each completed pierogi onto your parchment-lined baking sheet. Continue this process of filling and sealing until all your dough and filling are used up.
Cooking the Pierogi
Fill an extra-large pot with water and bring it to a vigorous, rolling boil over high heat. The water should be bubbling continuously before you add the pierogi. This ensures they cook evenly and quickly.
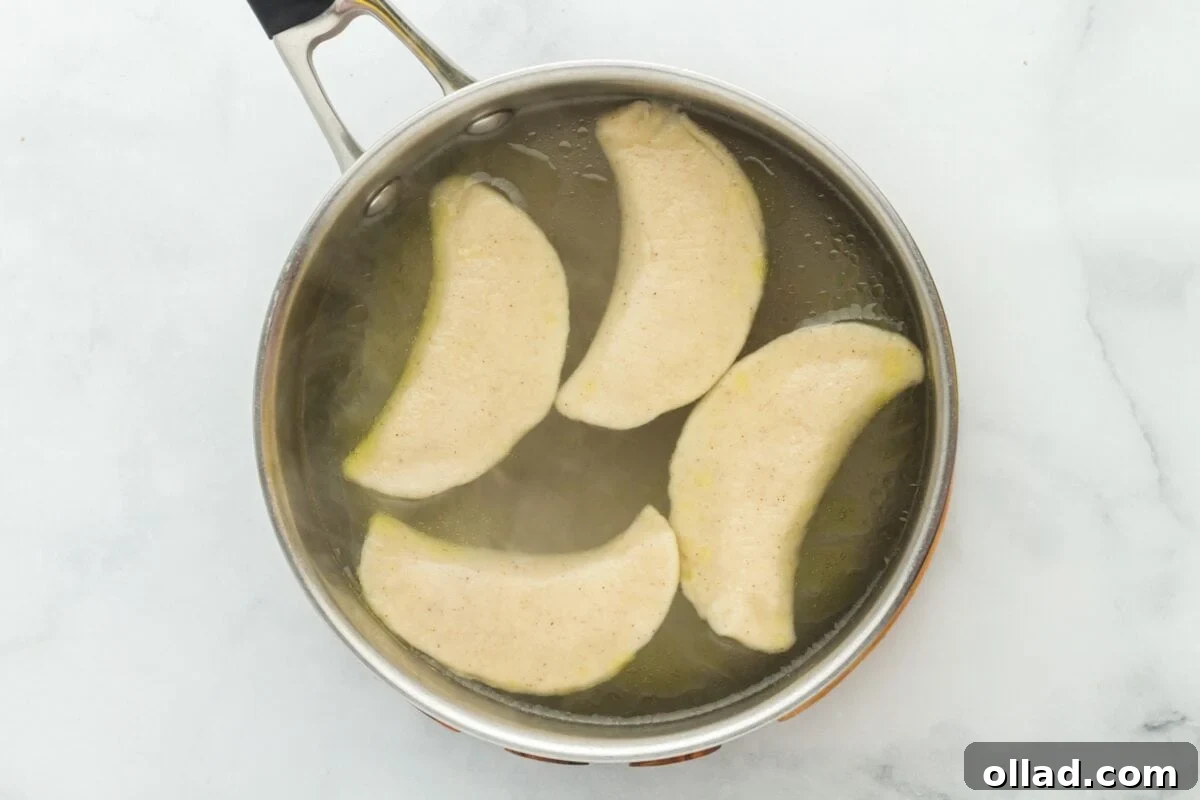
Once the water is at a full boil, carefully and gently add about 4 to 5 pierogi to the pot. It’s crucial not to overcrowd the pot; ensure there’s enough space between each dumpling to prevent them from sticking together. After approximately 30 to 60 seconds, the pierogi will begin to float to the surface. Once they are floating, set a timer for 5 minutes and allow them to continue cooking in the boiling water. This ensures the dough is fully cooked through and tender.
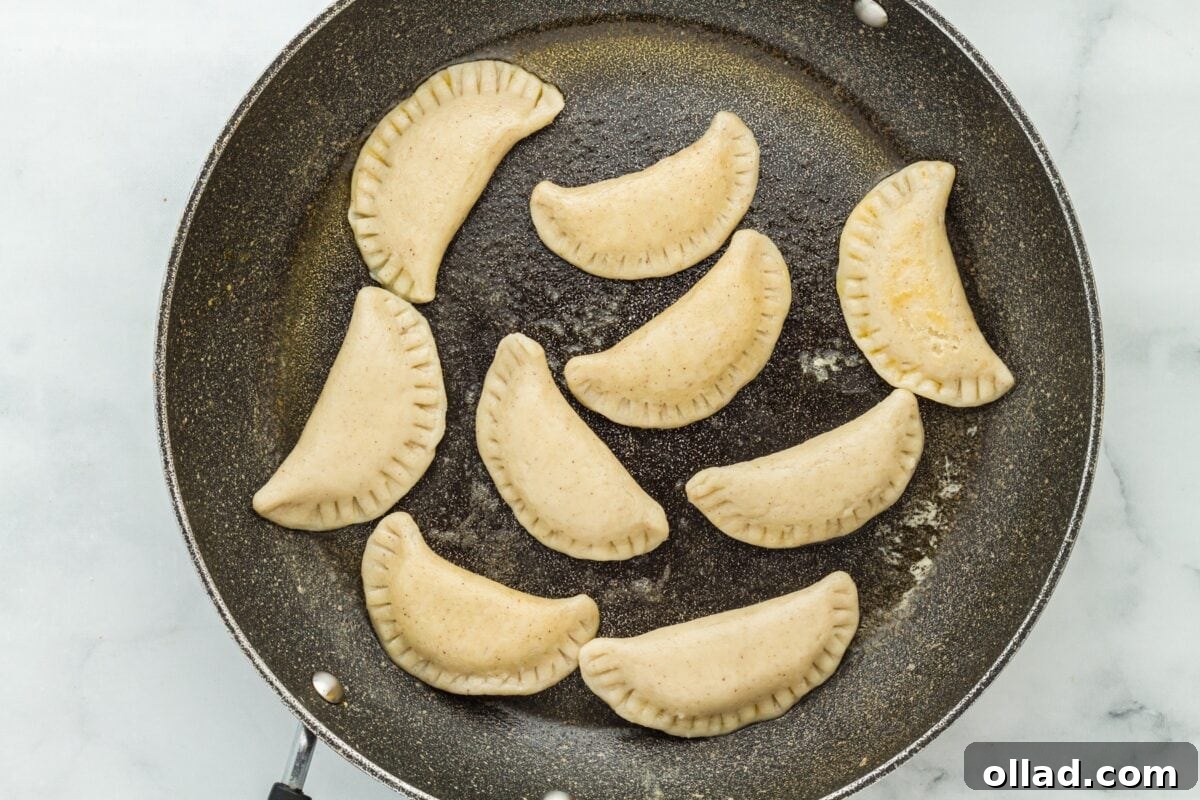
After the 5-minute cooking time, use a slotted spoon to carefully lift the pierogi out of the boiling water. Transfer them to a clean baking sheet lined with parchment paper to drain any excess moisture. If you accidentally scoop up some water, gently dab the pierogi with a dry paper towel to remove it. Repeat these boiling steps in batches until all your pierogi have been cooked through.
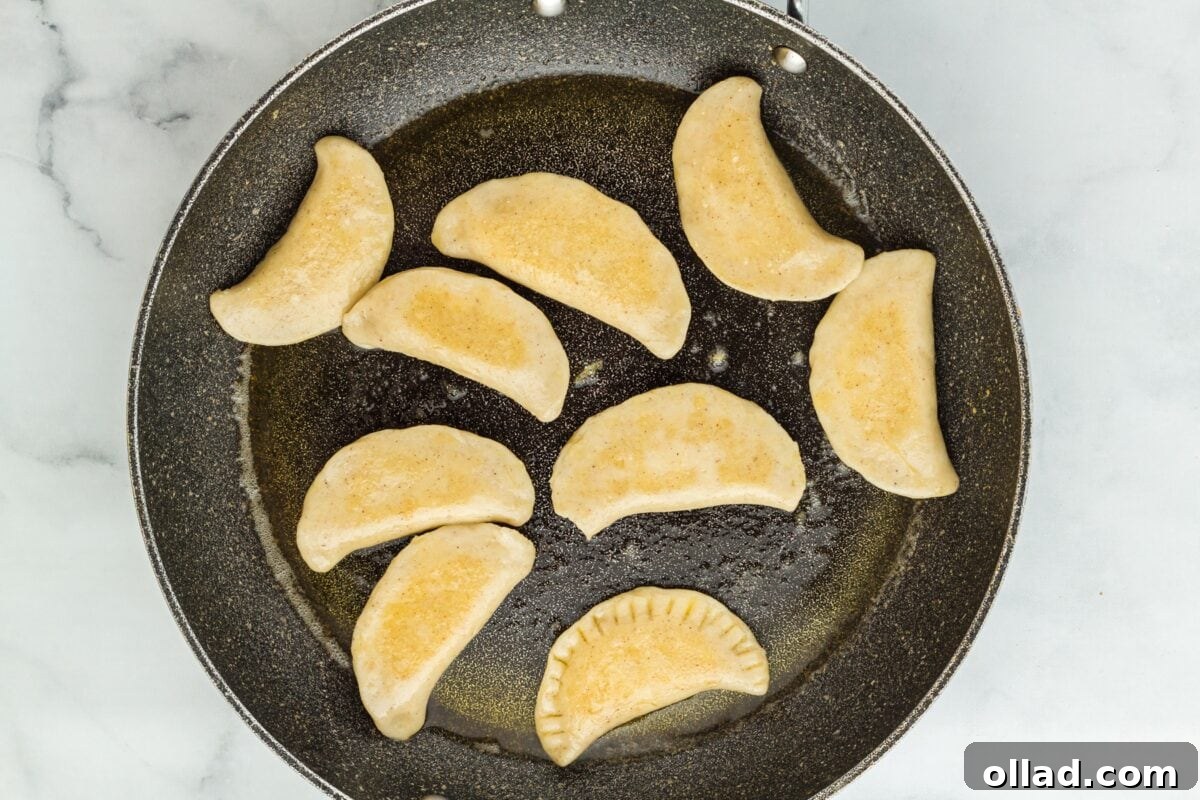
Now for the crispy finish! In a large frying pan, melt the remaining 2 tablespoons of vegan butter over low to medium heat. Once melted, add a few of the boiled pierogi to the pan, ensuring they are not touching so they can crisp up properly. Cook each side until they turn a beautiful golden brown and develop a delightful crispy texture. Repeat this process with the remaining pierogi, adding more vegan butter to the frying pan as needed to maintain a consistent browning. Serve your freshly cooked, golden-crisp pierogi with your favorite toppings and savor every delicious, allergy-friendly bite!