
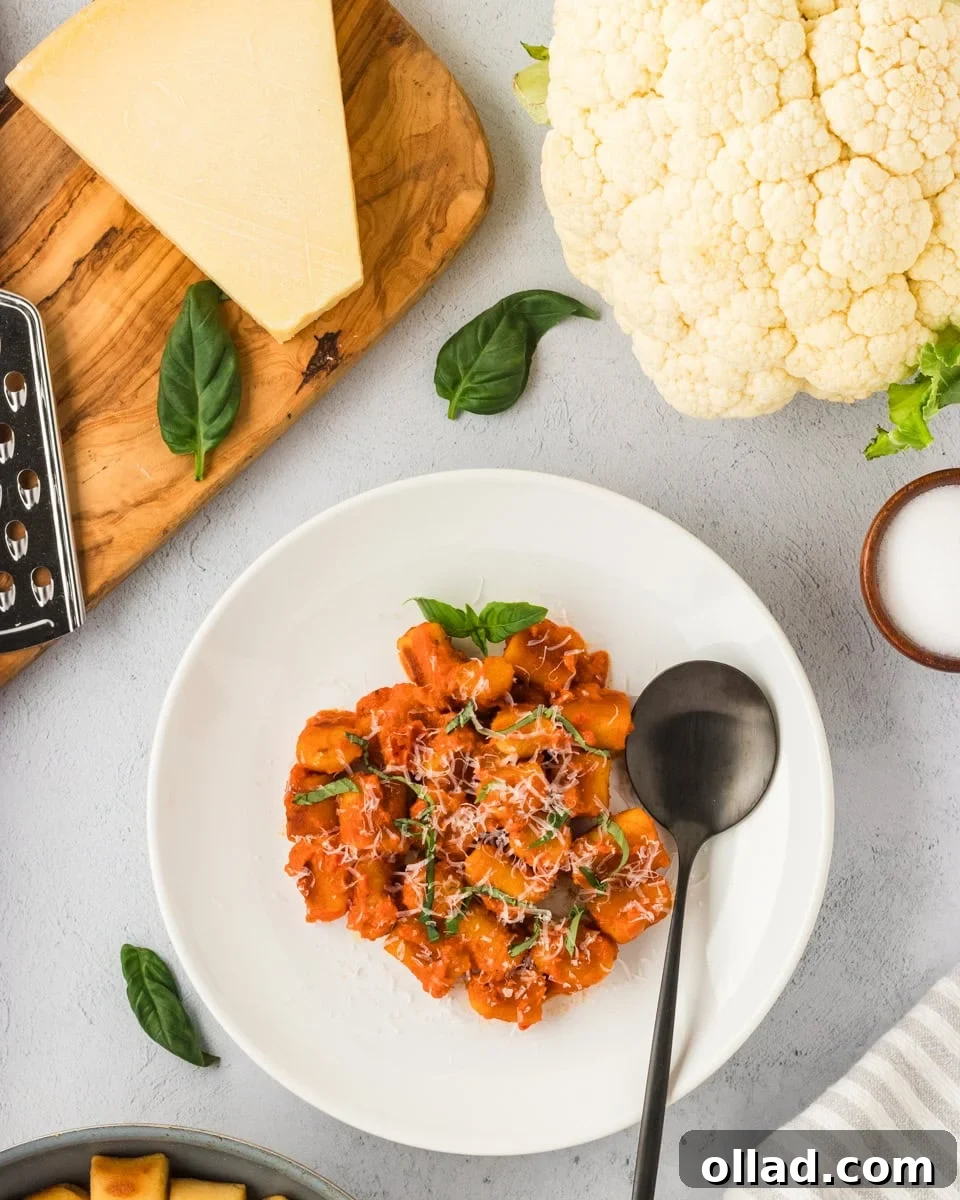
For too long, I resisted making gluten-free gnocchi at home, believing it to be an overly complicated culinary endeavor. That was until I stumbled upon this effortlessly simple, utterly delicious three-ingredient cauliflower gnocchi recipe. From the very first bite, I was completely captivated. This remarkable dish offers a naturally gluten-free experience, boasting a tender, pillowy interior perfectly complemented by a delightful crispy exterior. Its versatility is unmatched, pairing exquisitely with an array of sauces, from a rich, robust marinara to a classic, understated butter and sage combination. Prepare to have your perceptions of homemade gnocchi transformed forever, as this recipe proves that gourmet taste can be achieved with surprising ease and minimal ingredients, making it a staple for anyone seeking a wholesome, satisfying, and adaptable meal option.
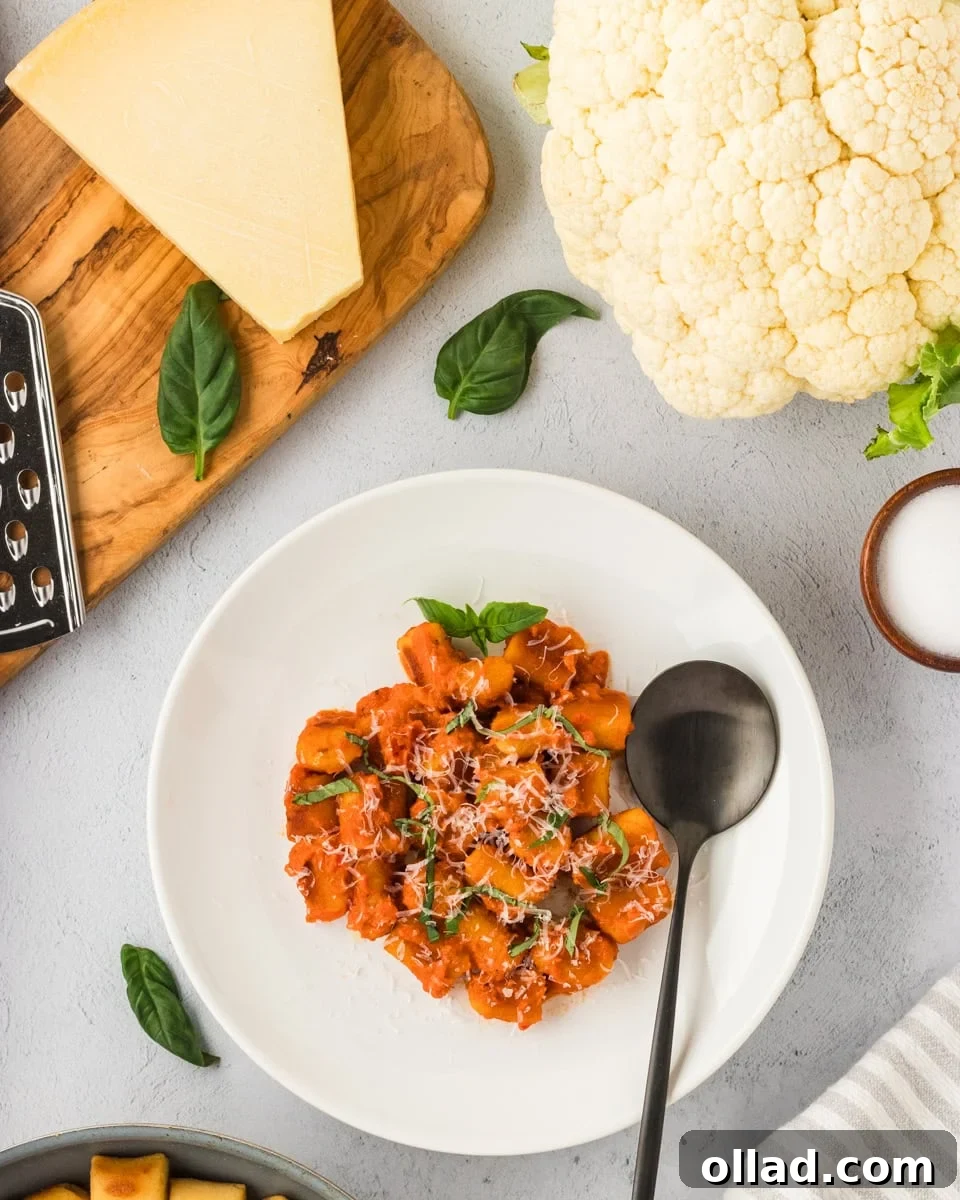
Homemade Gluten-Free Cauliflower Gnocchi: A Simple & Delicious Recipe
Embark on a culinary journey with these homemade cauliflower gnocchi, a revelation for anyone seeking a delightful and naturally gluten-free pasta alternative. Once cooked, these small, dumpling-like wonders achieve a soft, exquisitely pillowy texture that simply melts in your mouth. The secret to their perfectly smooth consistency lies in the magic of a food processor, ensuring every piece is free of lumps, delivering pure, unadulterated goodness. Beyond their inviting texture, these gnocchi possess a subtle, savory umami flavor, complemented by a hint of saltiness, making them incredibly adaptable to a myriad of culinary creations. I often prepare a generous batch, freezing the excess to have on hand for quick and effortless meals. They’re perfect for tossing with your favorite pasta sauce for a comforting dinner or enjoyed as a savory, crispy snack when pan-fried with fragrant garlic butter and a sprinkle of Parmesan. When gently sautéed, their exterior transforms into an irresistible golden-brown crust, adding a satisfying crunch that provides the perfect textural contrast to their tender, delicate centers. This recipe is not just about making gnocchi; it’s about discovering a versatile, healthy, and incredibly flavorful staple for your gluten-free kitchen.
Why You’ll Fall in Love with This Cauliflower Gnocchi
- Effortlessly Gluten-Free: Naturally free from gluten, these gnocchi are a fantastic option for those with sensitivities or anyone looking to reduce their gluten intake without compromising on taste or texture.
- Remarkably Simple: With just three core ingredients, this recipe demystifies the art of gnocchi making, proving that gourmet results can be achieved with minimal fuss.
- Incredible Texture: Experience the best of both worlds – soft, cloud-like interiors that give way to a beautifully crispy, golden-brown exterior when pan-fried.
- Unbelievably Versatile: A blank canvas for flavor, these gnocchi absorb sauces wonderfully and can be adapted to sweet or savory dishes.
- Nutrient-Rich: Cauliflower, a cruciferous powerhouse, adds a healthy boost of vitamins, minerals, and fiber to your meal, making this a smart choice for a balanced diet.
- Freezer-Friendly: Prepare a large batch and store it in the freezer for quick and convenient meals on busy weeknights, saving you precious time.
The Secret to Perfect Gluten-Free Cauliflower Gnocchi
The success of these exquisite cauliflower gnocchi hinges on a few crucial steps, primarily focusing on managing moisture content and achieving the ideal dough consistency. Cauliflower, while a fantastic base, holds a significant amount of water. To prevent a sticky, unmanageable dough and ensure your gnocchi maintain their shape and develop that desirable pillowy texture, thorough draining is paramount. After steaming or boiling the cauliflower until fork-tender, it is essential to allow it to cool and then, most critically, to squeeze out as much moisture as humanly possible using a cheesecloth or a clean kitchen towel. The drier the cauliflower, the firmer and more workable your dough will be. This step cannot be overstated and directly impacts the final texture of your gnocchi. Once the cauliflower is adequately dried, combining it with gluten-free flour and salt in a food processor is key. The food processor ensures a uniformly smooth puree, eliminating any lumps and creating a cohesive, slightly sticky dough that’s ready for shaping. This method streamlines the process, making homemade gnocchi accessible and enjoyable even for beginners.
Essential Equipment for Gnocchi Success
To create these delightful cauliflower gnocchi, you’ll need a few common kitchen tools. A large pot is necessary for steaming or boiling the cauliflower until it reaches optimal tenderness. A cheesecloth or a clean, sturdy kitchen towel is indispensable for effectively removing excess moisture from the cooked cauliflower, a crucial step for the perfect dough. A food processor is highly recommended for blending the cauliflower with flour and salt into a smooth, consistent dough, ensuring no lumps and a superior texture. For shaping, a lightly floured work surface, a knife, and optionally, a fork to create traditional ridges will complete your setup. A large skillet or non-stick pan will be needed for pan-frying your gnocchi to achieve that irresistible golden-brown crispness.
Homemade Cauliflower Gnocchi
Share by Email
Print Recipe
These gnocchi are celebrated for their soft and pillowy texture once cooked, a result of using a food processor to expertly blend the cauliflower, ensuring a remarkably smooth and lump-free dough. They offer a delicate umami flavor, subtly salty, making them an ideal partner for rich pasta sauces. Alternatively, they transform into a delightful savory snack when sautéed and tossed with garlic butter and a generous sprinkle of Parmesan cheese.
Ingredients
- 16 ounces cauliflower florets, about 5 cups
- ½ cup gluten-free all-purpose flour, plus more for rolling
- 1 teaspoon salt
Instructions
-
Steam or boil your cauliflower florets until they are very soft and tender, which usually takes about 15 minutes. Once cooked, ensure the cauliflower is thoroughly drained and allow it to cool completely before you begin handling it for the next steps.
-
Carefully transfer the cooked and cooled cauliflower into a clean cheesecloth or a sturdy kitchen towel. Tightly twist and squeeze the cloth, pressing out as much excess moisture as possible. This is a critical step for achieving the perfect gnocchi texture.
-
Place the well-drained cauliflower into a food processor along with the gluten-free all-purpose flour and salt. Pulse the ingredients until they are thoroughly combined and form a soft, cohesive dough. The dough will have a slightly sticky consistency, which is normal.
-
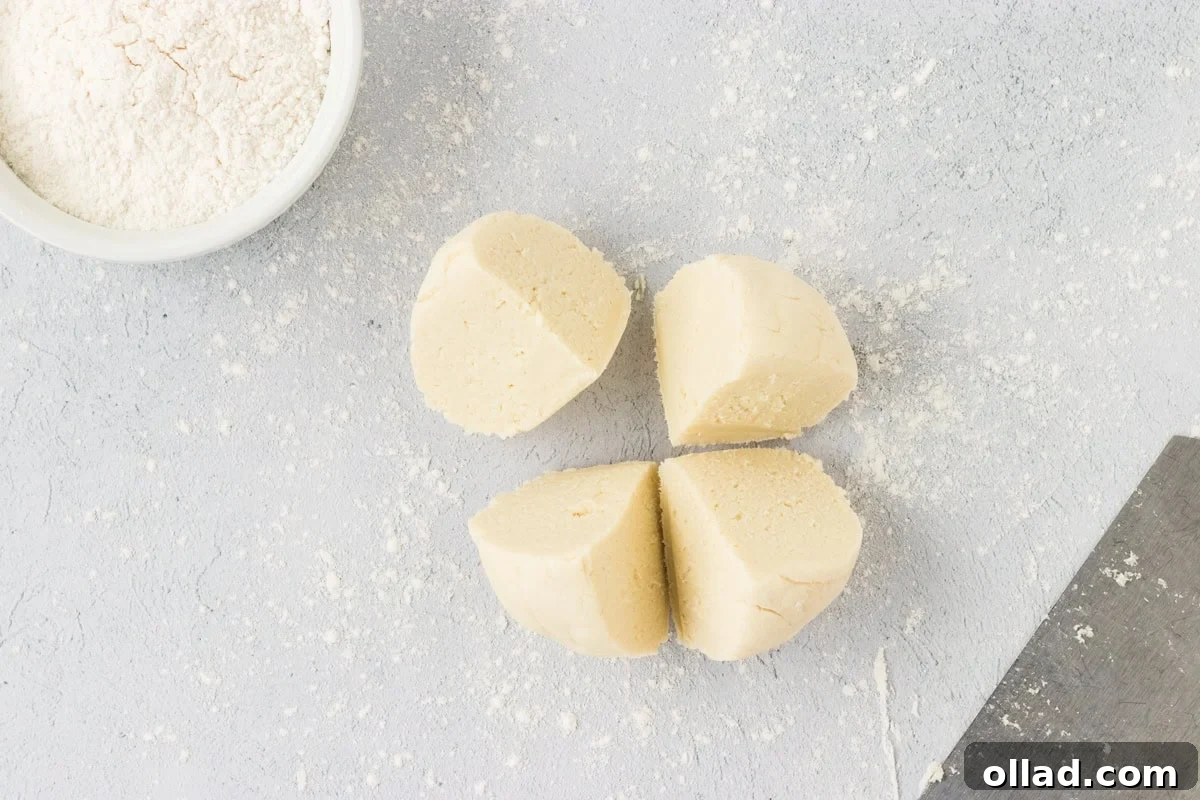
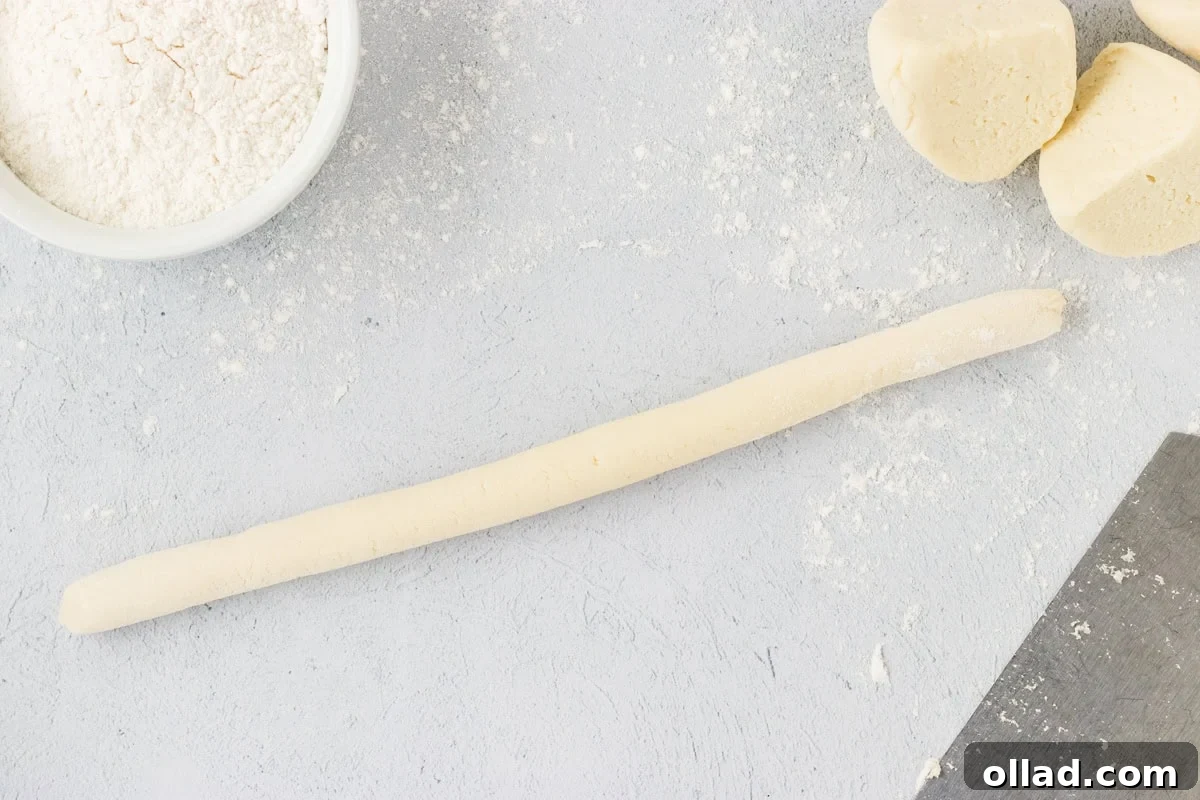
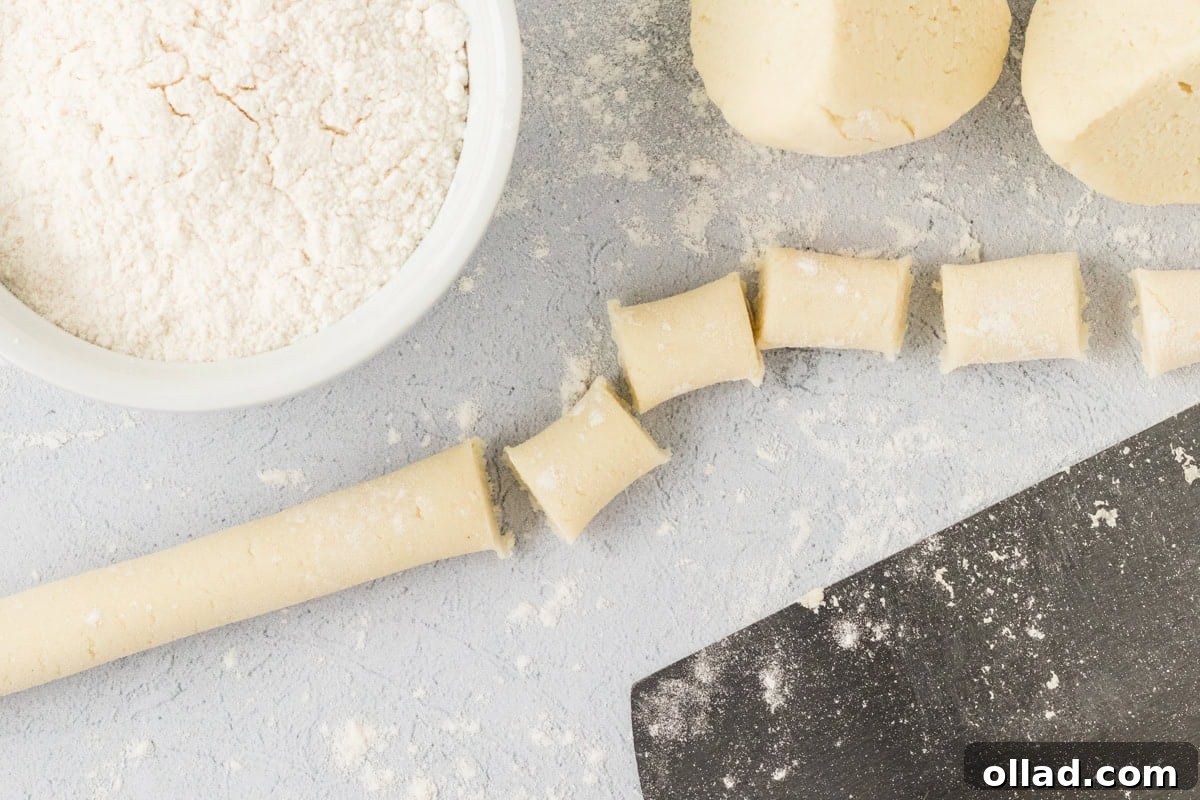
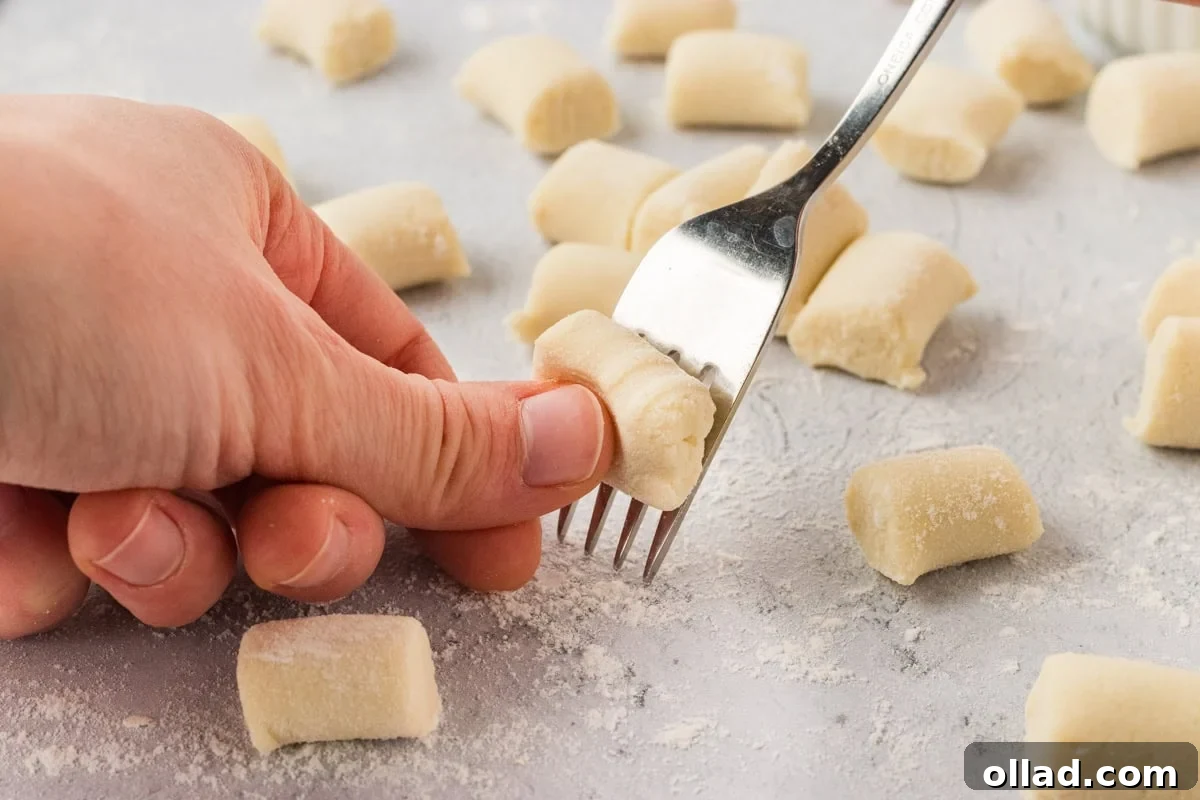
Lightly flour a clean work surface. Transfer the cauliflower dough onto it and gently form it into a large ball. Divide this ball into four equal sections. Take each section and roll it between your hands to form a smaller ball, then continue rolling it into a long, cylindrical log, aiming for a thickness of about ¾ inch. Using a knife, cut these logs into 1-inch pieces to create your individual gnocchi. If you desire the classic gnocchi lines, gently roll each piece down the back of a fork’s prongs.
-
You have two delicious options for cooking your gnocchi: either boil them and add directly to your favorite soup for a comforting meal, or heat some oil in a pan and sauté them until they turn beautifully golden brown and crispy. Serve them immediately with your preferred pasta sauce for a truly satisfying dish!
Notes for Perfect Gnocchi
- Drain & Dry Cauliflower Well: This is the most crucial step! Use a kitchen towel or cheesecloth to squeeze out as much excess moisture as possible. The drier your cauliflower, the better your gnocchi dough will hold its shape and achieve that desired light, airy texture.
- Chill the Dough: If your dough feels too sticky or soft, chilling it for 15-30 minutes before rolling can significantly improve its texture, making it firmer and easier to handle.
- Add Flour/Starch Gradually: While the recipe provides a measurement, always trust the feel of your dough. Add extra gluten-free flour or a touch of potato starch sparingly, one tablespoon at a time, if the dough is overly wet. Too much flour will result in dense, heavy gnocchi.
- Season Well: Don’t underestimate the power of seasoning! Beyond salt, consider adding a pinch of garlic powder, onion powder, or a tablespoon of finely grated Parmesan cheese (if not strictly vegan) to the dough for an enhanced flavor profile.
- Pan-fry for Crispiness: For an exceptional texture contrast, pan-frying your gnocchi after a brief boil, or instead of boiling, creates a wonderfully crispy exterior that complements the soft interior. This method also helps prevent sticking.
- Boiling Method: To boil, bring a pot of salted water to a rolling boil over high heat. Carefully add the gnocchi and cook for approximately 2 minutes, or just until they float to the surface and are tender through. Immediately remove them with a slotted spoon.
Nutrition Information (Approximate)
Nutrition information is automatically calculated, so should only be used as an approximation.
Additional Recipe Details
How to Make Cauliflower Gnocchi: A Visual Step-by-Step Guide
Creating these delicate cauliflower gnocchi is a straightforward process, especially with a few visual cues. Follow these detailed steps to ensure perfectly shaped and textured gluten-free gnocchi every time.
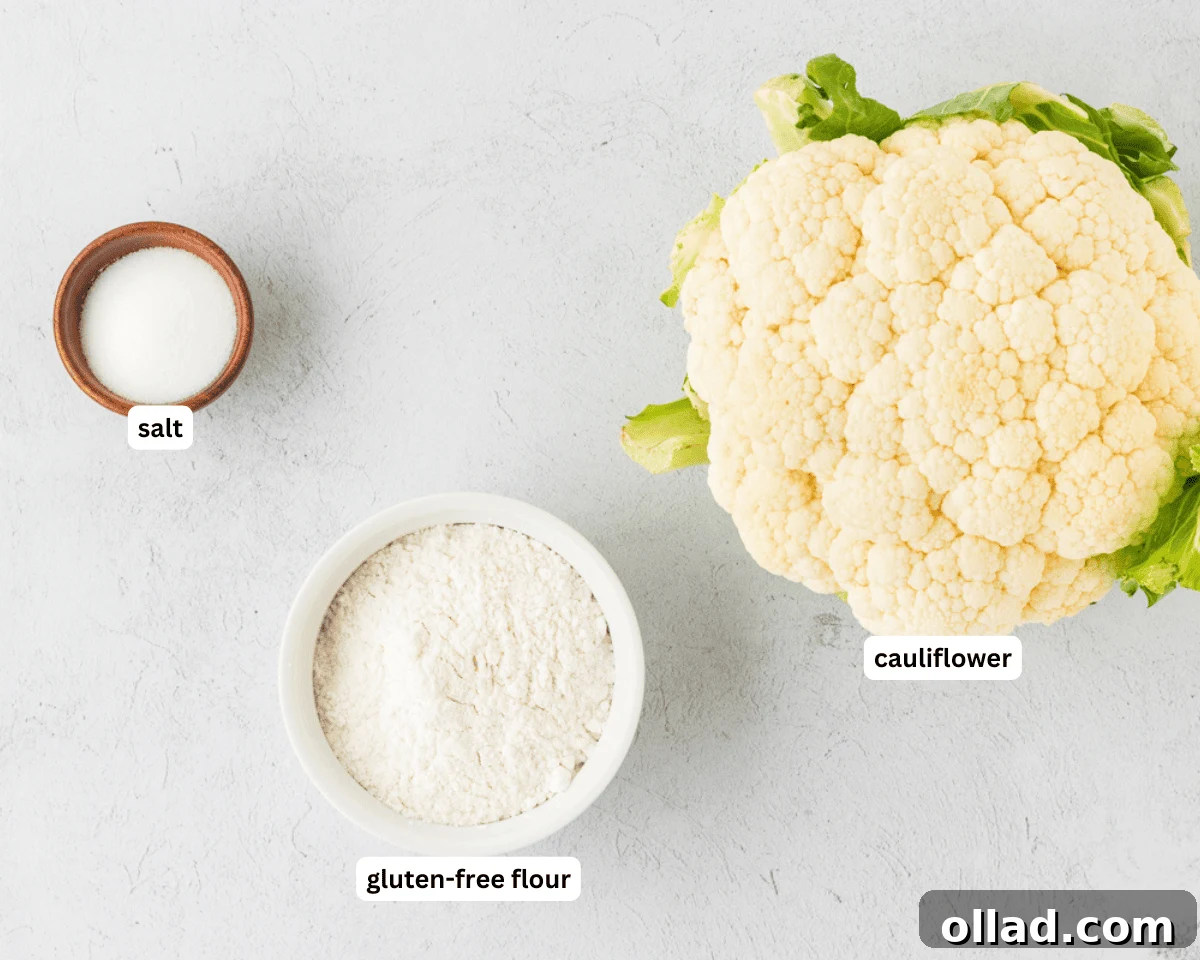
1. Gather Your Ingredients
Before you begin, ensure all your ingredients are measured and ready. This recipe calls for fresh cauliflower florets, a high-quality gluten-free all-purpose flour blend, and salt. Having everything prepped makes the cooking process smoother and more enjoyable. You might also want to have extra flour on hand for dusting your work surface.
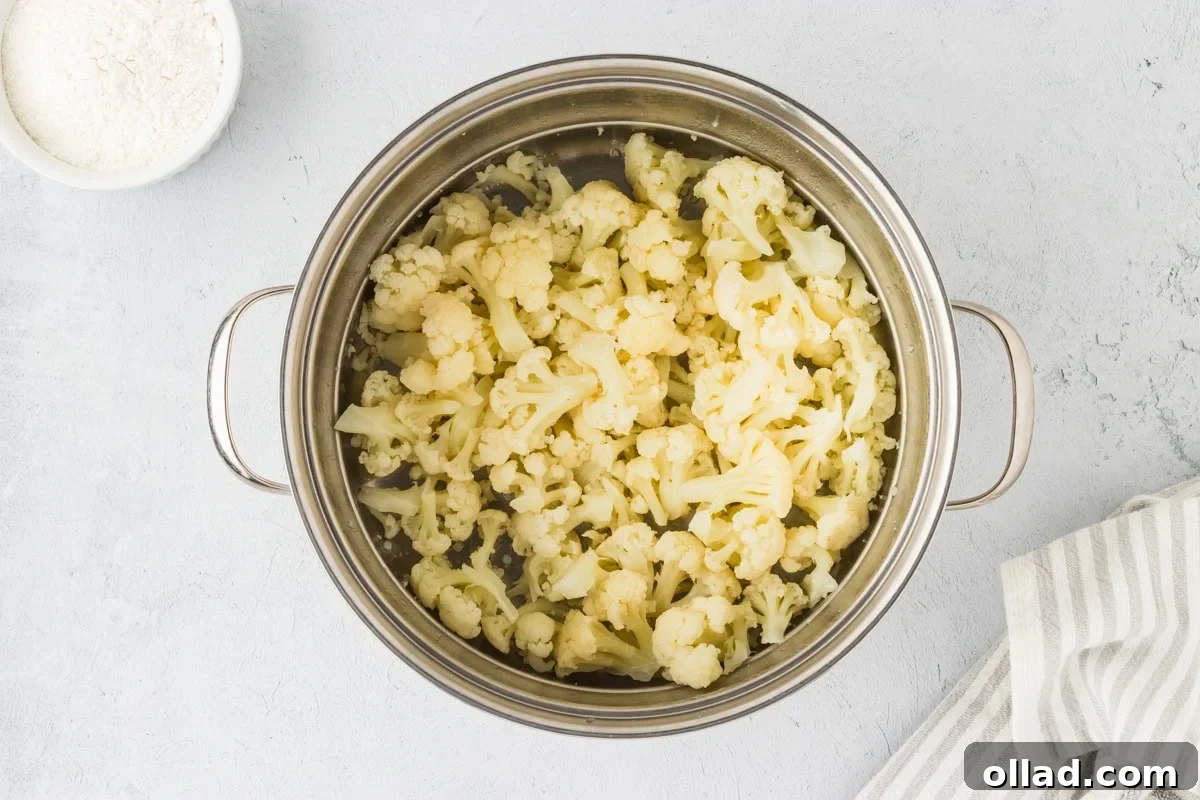
2. Cook the Cauliflower to Perfection
In a large pot, bring a generous amount of water to a boil. Add approximately 16 ounces of cauliflower florets, which typically amounts to about 5 cups. Steam or boil the cauliflower until it becomes exceptionally soft and tender. This usually takes around 15 minutes, but the exact time may vary based on the size of your florets. Once cooked, thoroughly drain the cauliflower and spread it out on a tray to allow it to cool completely. Cooling is important as it helps to further release moisture and prevents the dough from becoming overly sticky.
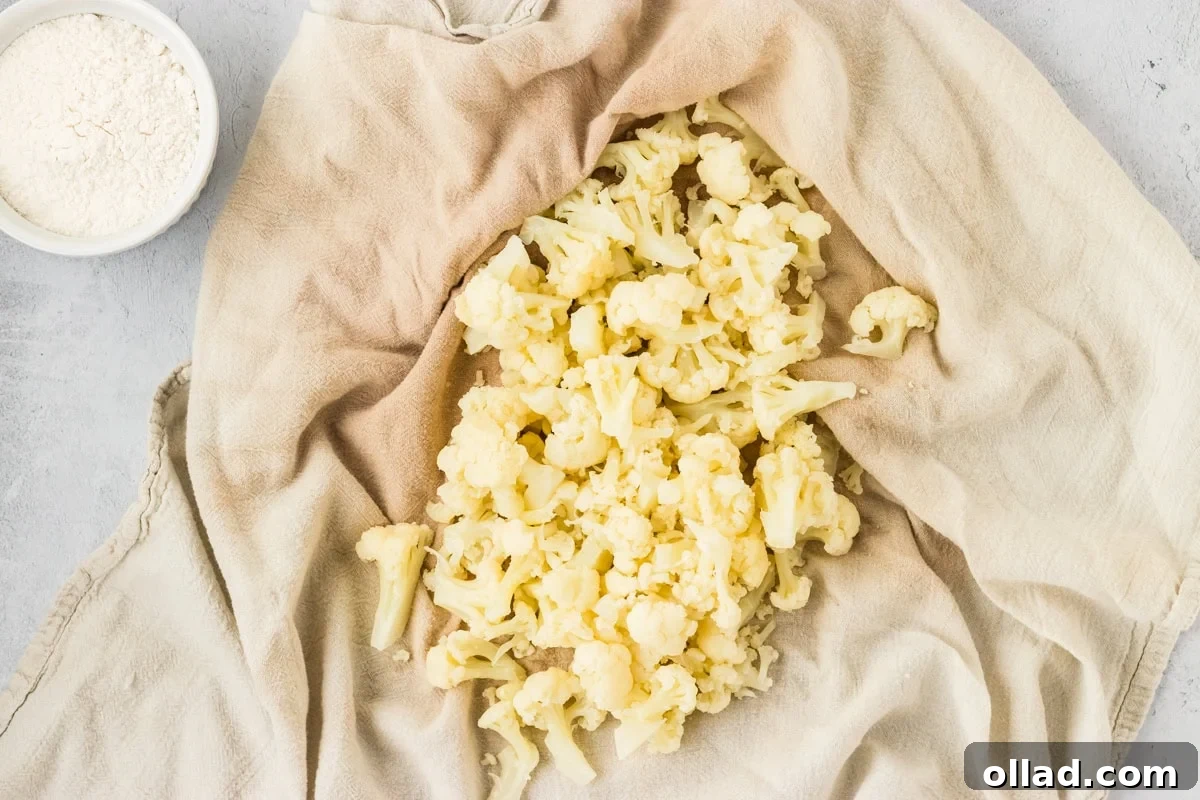
3. The Critical Step: Remove Excess Moisture
Once the cauliflower has cooled, transfer it to a cheesecloth or a clean, sturdy kitchen towel. Wrap the cauliflower tightly within the cloth and begin to twist and squeeze with as much force as you can muster. The goal here is to extract every possible drop of excess moisture. This step is absolutely crucial; the drier your cauliflower, the better the gnocchi dough will form and hold together, leading to a much better texture in the final product. Don’t rush this part!
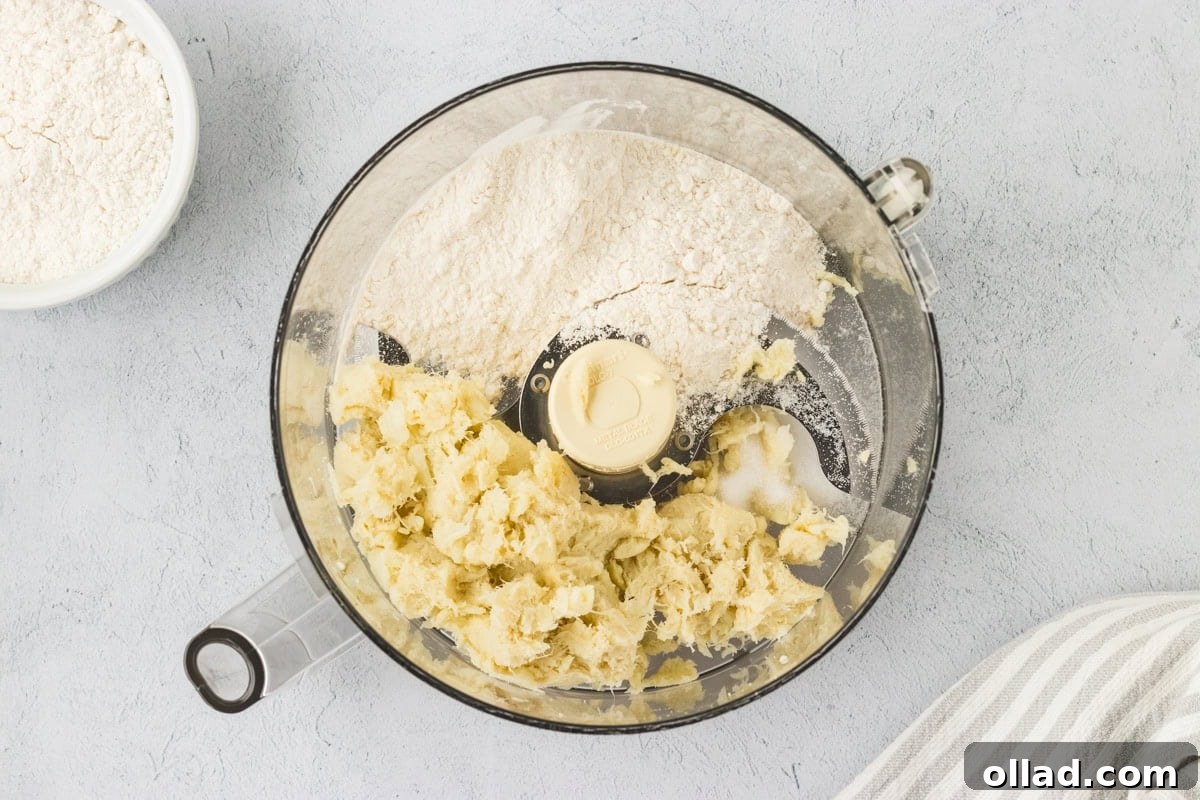
4. Prepare the Gnocchi Dough
After the cauliflower has been thoroughly dried, transfer it to a food processor. Add ½ cup of gluten-free all-purpose flour and 1 teaspoon of salt. Pulse the ingredients repeatedly until they combine to form a soft, slightly sticky dough. The food processor ensures a smooth, lump-free consistency. If the dough appears too wet or doesn’t come together, add an additional tablespoon of gluten-free flour at a time, pulsing after each addition, until the desired consistency is achieved. Be careful not to overmix.
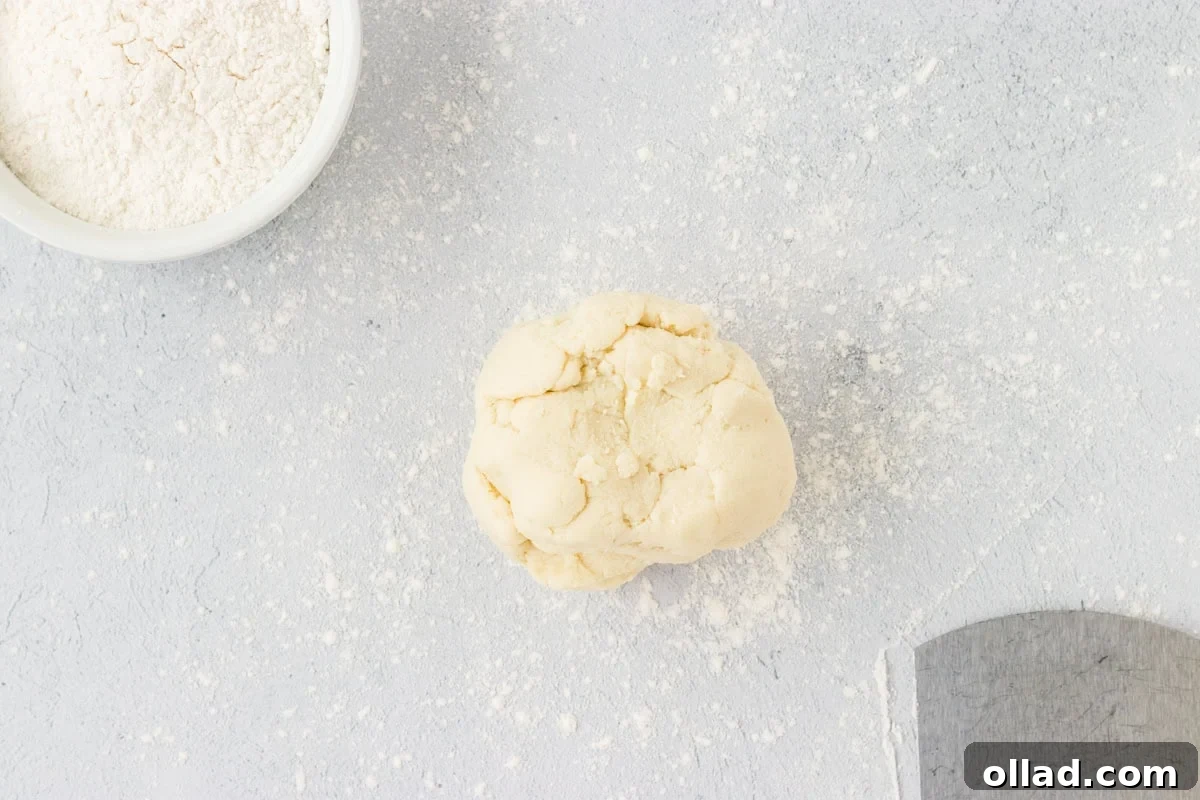
5. Form a Cohesive Dough Ball
Lightly dust a clean work surface with a little extra gluten-free flour. Gently transfer the prepared cauliflower dough from the food processor onto this floured surface. Use your hands to carefully bring the dough together, forming it into a neat, round ball. At this stage, the dough should be pliable and just slightly tacky, indicating the perfect balance of moisture.
6. Divide the Dough for Easy Shaping
Once you have a coherent dough ball, use a knife or a dough scraper to divide it into four roughly equal sections. Working with smaller portions of dough makes the rolling and shaping process much more manageable and helps ensure uniformity in your gnocchi. Keep the unused portions lightly covered to prevent them from drying out.
7. Roll and Shape the Gnocchi Logs
Take one of the divided dough sections and, on your lightly floured surface, use your hands to roll it into a long, snake-like log. Aim for a thickness of about ¾ inch in diameter. Try to keep the log as uniform as possible to ensure even cooking of your gnocchi pieces. Repeat this process for the remaining three sections of dough.
8. Cut the Gnocchi into Pieces
Once you have your uniform logs, use a sharp knife to cut each log into individual gnocchi pieces. Aim for pieces that are approximately 1 inch in length. The precise size can be adjusted to your preference, but consistent sizing will ensure that all your gnocchi cook evenly, resulting in a perfect bite every time.
9. Add the Signature Ridges (Optional, but Recommended)
For that authentic gnocchi appearance and to create little grooves that expertly capture delicious sauces, gently roll each cut piece down the prongs of a fork. This simple technique not only makes them visually appealing but also enhances their ability to hold flavor. If you prefer a simpler dumpling, this step can be skipped, and your gnocchi will still be delicious.
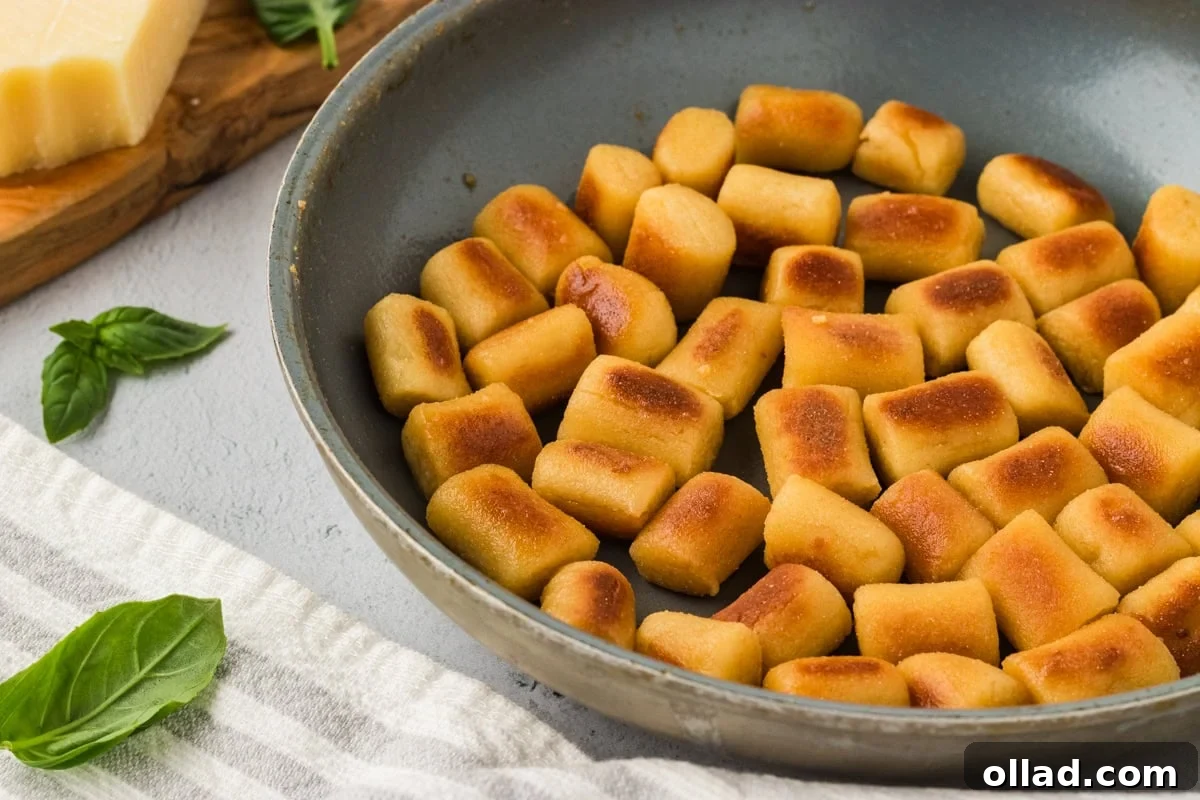
10. Cook the Gnocchi to Perfection
To achieve a delightful crispy exterior, heat about 2 tablespoons of olive oil in a large skillet over medium heat. Add the gnocchi in a single layer, ensuring not to overcrowd the pan, which can prevent proper browning. Cook for 2-3 minutes per side, or until they turn a beautiful golden brown and develop a satisfying crispness. This method enhances their texture and flavor. Alternatively, if you prefer the traditional boiling method, refer to the detailed instructions in the recipe card notes above.
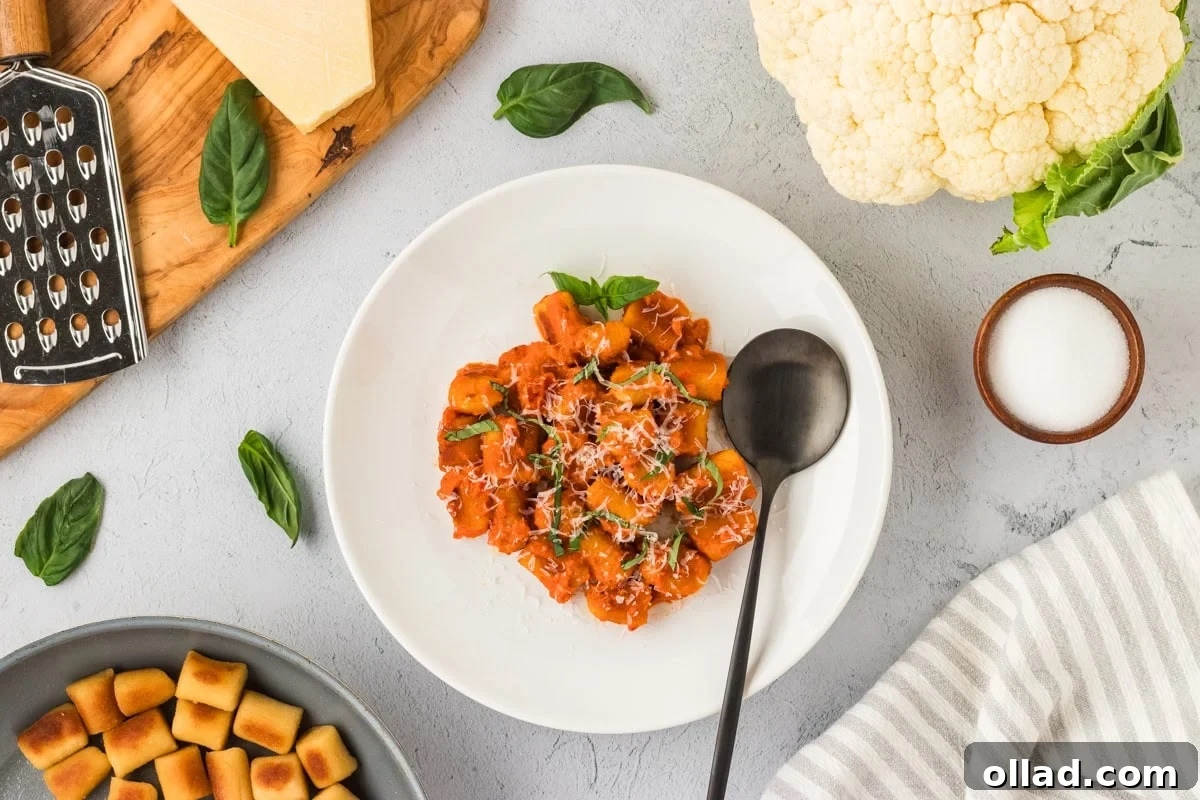
11. Serve and Savor Your Homemade Gnocchi
Once cooked to your liking, your homemade cauliflower gnocchi are ready to be enjoyed! Toss them immediately with your favorite pasta sauce, such as a hearty marinara, a vibrant pesto, or a creamy dairy-free alfredo. They also make a fantastic addition to soups, providing a delightful texture and added nutrition. For a quick and savory snack, simply pan-fry them until crispy and serve with a drizzle of garlic butter and a sprinkle of fresh Parmesan cheese. However you choose to serve them, prepare for a truly satisfying and flavorful experience.
Creative Serving Suggestions for Cauliflower Gnocchi
The beauty of this gluten-free cauliflower gnocchi lies in its incredible versatility. Once you’ve mastered the basic recipe, the possibilities for serving are endless! Here are some of my favorite ways to enjoy this delicious and healthy dish:
- Classic Pasta Pairing: Toss the boiled gnocchi with your go-to spaghetti sauce for a comforting meal. A rich marinara or a spicy arrabiata beautifully complements the subtle flavor of the cauliflower. For a lighter, fresher option, a vibrant basil pesto or a creamy dairy-free alfredo sauce works wonderfully.
- Butter & Sage Perfection: For an elegant and simple dish, pan-fry the gnocchi until golden and crisp, then toss them in melted butter (or vegan butter) infused with fresh sage leaves. The nutty butter and aromatic sage create an irresistible combination.
- Garlic & Parmesan Delight: Sauté the gnocchi in olive oil or butter with minced garlic until crispy. Finish with a generous sprinkle of grated Parmesan cheese (or nutritional yeast for a dairy-free alternative) and fresh parsley for a savory snack or a quick side dish.
- Hearty Soup Addition: Drop the boiled gnocchi directly into hearty soups like minestrone, vegetable broth, or even a chicken noodle soup. They absorb the broth’s flavors beautifully and add a wonderful textural element.
- Sheet Pan Meal: For an easy weeknight dinner, spread uncooked gnocchi on a sheet pan with an assortment of your favorite chopped vegetables (like bell peppers, zucchini, cherry tomatoes) and protein (chicken sausage, chickpeas, tofu). Drizzle with olive oil, season, and roast until the gnocchi is tender and crispy, and the vegetables are caramelized.
- Sweet Applications: While typically savory, consider pan-frying plain gnocchi and serving with a light fruit compote, a sprinkle of cinnamon sugar, or a drizzle of maple syrup for a unique dessert or breakfast twist.
However you choose to customize it, this cauliflower gnocchi offers a simple yet delicious upgrade to any meal, proving that healthy eating can be incredibly flavorful and fun!
Storage and Freezing Instructions
One of the many advantages of homemade cauliflower gnocchi is how well it stores, allowing you to enjoy your efforts long after preparation. Proper storage ensures freshness and convenience for future meals:
- Storing Uncooked Gnocchi: To store uncooked gnocchi, gently dust them with a bit more gluten-free all-purpose flour. This step is crucial to prevent them from sticking together. Arrange the floured gnocchi in a single layer on a parchment-lined baking sheet and flash freeze them for about 30 minutes to an hour, or until firm. Once firm, transfer the frozen gnocchi to an airtight freezer-safe bag or container. They can be stored in the freezer for up to 2-3 months. To cook from frozen, you can boil or sauté them directly, adding a few extra minutes to the cooking time compared to fresh gnocchi.
- Storing Cooked or Leftover Gnocchi: For cooked gnocchi or any leftovers, allow them to cool completely to room temperature. Transfer them to an airtight container and store them in the refrigerator. They will remain fresh and delicious for up to 3-5 days. When reheating, you can gently sauté them in a pan with a little oil or butter until heated through and slightly crispy, or warm them in a microwave.
- Reheating Frozen Gnocchi: If reheating frozen uncooked gnocchi, there’s no need to thaw! Simply drop them into boiling water until they float and are tender (about 3-4 minutes), or pan-fry them directly from frozen in a lightly oiled skillet over medium heat until golden and cooked through. This makes for a perfect quick meal on busy evenings.
With these storage tips, you can easily prepare a large batch of gnocchi and have a healthy, gluten-free meal option ready whenever hunger strikes!
Explore More Gluten-Free Pasta Recipes
If you enjoyed making these delightful cauliflower gnocchi, you’ll love diving into other gluten-free pasta creations. The world of gluten-free pasta is rich with possibilities, offering comforting and flavorful dishes for every palate. Expand your culinary repertoire with these fantastic recipes:
- Homemade Gluten-Free Pasta: Master the art of fresh pasta with this comprehensive guide, perfect for creating your favorite noodle shapes from scratch.
- Gluten-Free Baked Ziti: Indulge in a classic, hearty baked ziti that’s rich in flavor and wonderfully comforting, all without the gluten.
- Gluten-Free Lasagna: Layer upon layer of deliciousness, this lasagna recipe proves that a gluten-free diet doesn’t mean sacrificing the ultimate Italian comfort food.
- Gluten-Free Boursin Cheese Pasta: Discover a creamy, flavorful pasta dish featuring the luxurious taste of Boursin cheese, perfect for a quick yet elegant meal.
Each of these recipes offers a unique and satisfying way to enjoy gluten-free pasta, ensuring your meals are always exciting and delicious.