

Irresistibly Chewy Oat Flour Chocolate Chip Cookies (Gluten-Free & Nut-Free)
Prepare to fall in love with these homemade oat flour chocolate chip cookies! They offer the perfect harmony of sweet indulgence and a wonderfully chewy texture that will have everyone reaching for more. Crafted with a thoughtful combination of two sugar types and softened, room-temperature butter, this recipe ensures an unparalleled melt-in-your-mouth consistency. What makes these cookies truly special is the use of oat flour, transforming a classic treat into a delicious, wholesome option that is both gluten-free and naturally nut-free. This isn’t just a recipe; it’s an invitation to effortlessly create a family favorite that caters to various dietary needs without compromising on flavor or enjoyment. Experience the pure joy of baking a batch of these delectable cookies, knowing they are made with love and designed for everyone to savor.
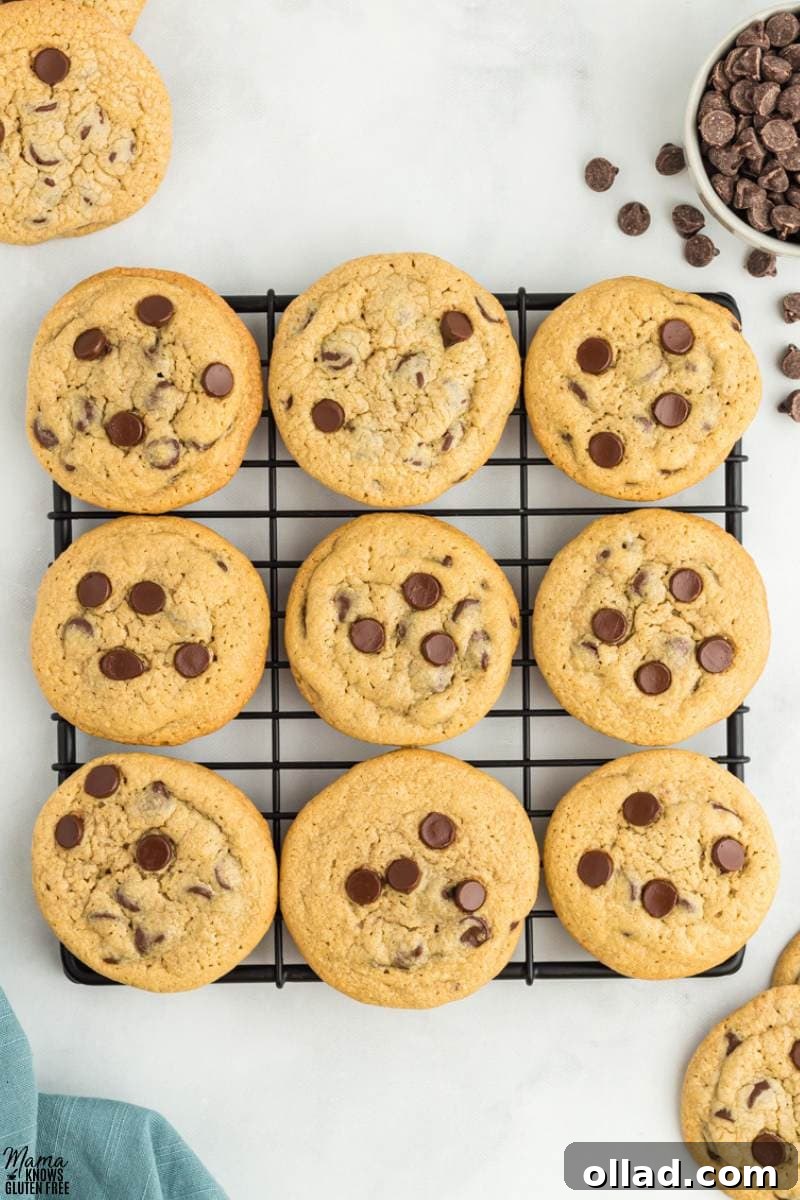
Oat Flour Chocolate Chip Cookies: A Delightful Gluten-Free Twist
While traditional chocolate chip cookies hold a special place in many hearts, embracing oat flour opens up a world of delightful textures and flavors, especially for those seeking gluten-free alternatives. Our unique classic gluten-free chocolate chip cookies are undeniably popular, but this specific oat flour recipe introduces an exquisite lightness and an irresistible chewiness that truly sets it apart. The carefully balanced inclusion of light brown sugar for depth and moisture, granulated sugar for a subtle crispness, and room-temperature butter lays the foundation for a cookie dough that not only holds its shape beautifully but also bakes into a soft, tender masterpiece. A touch of cornstarch further enhances this delicate texture, creating cookies that are robust yet tender. And, as any true cookie lover knows, a generous abundance of semi-sweet chocolate chips is non-negotiable, ensuring a rich, melty burst of chocolate in every single bite. This straightforward recipe makes it incredibly easy to whip up a batch of these extraordinary gluten-free, nut-free treats that are sure to become a cherished staple in your home.
Why Choose Oat Flour for Your Cookies? Unlocking Unique Texture and Flavor
Oat flour, derived from finely ground oats, is a fantastic alternative to traditional wheat flour, especially for gluten-free baking. Unlike all-purpose flour, oat flour brings a subtly sweet, slightly nutty flavor profile that beautifully complements the richness of chocolate chips. It also contributes significantly to the texture, yielding cookies that are wonderfully chewy and tender, rather than crumbly or cake-like. This makes it an ideal choice for chocolate chip cookies, where a soft, bendable center is highly prized. Furthermore, oats are a whole grain, offering a gentle fiber boost and other nutrients, making these cookies a slightly more wholesome indulgence. When properly sourced, certified gluten-free oat flour ensures that individuals with celiac disease or gluten sensitivities can enjoy these delicious cookies without worry. It’s truly a versatile ingredient that elevates the humble chocolate chip cookie to a new level of wholesome deliciousness and satisfying texture.
Essential Ingredients for Your Oat Flour Chocolate Chip Cookies
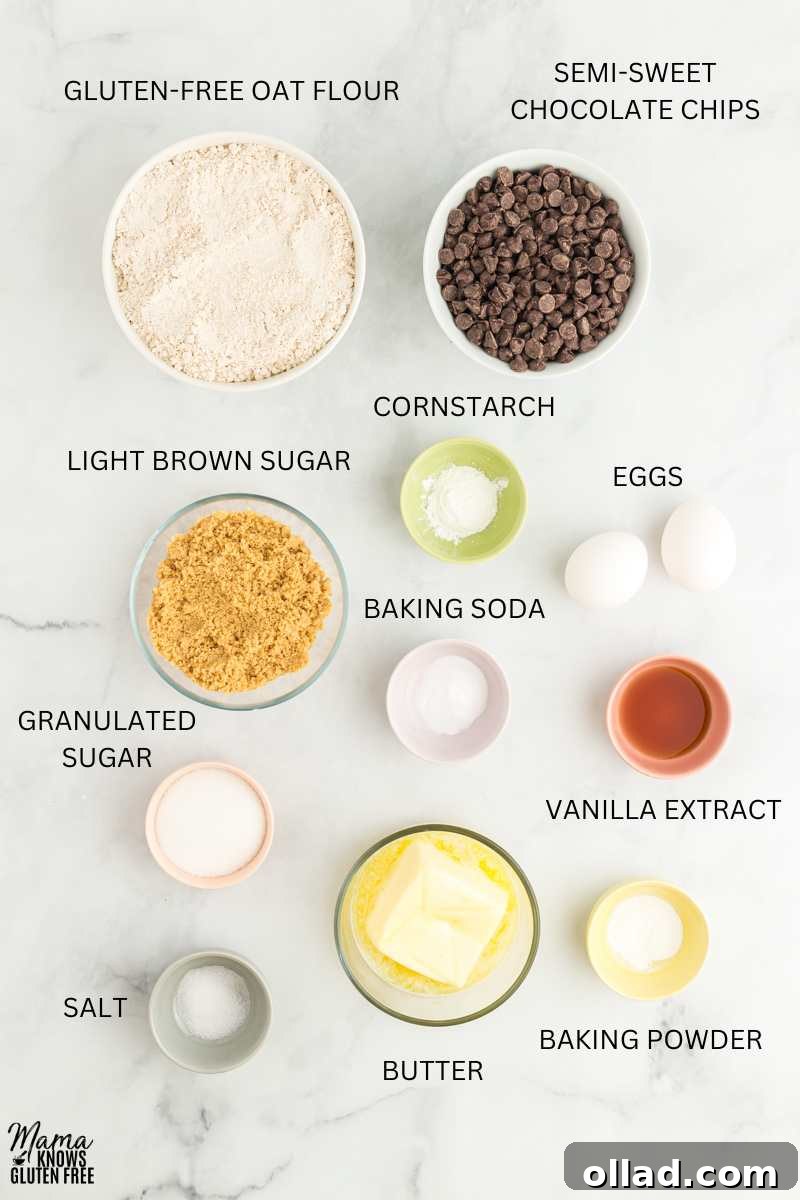
Crafting the perfect oat flour chocolate chip cookie begins with understanding the role each ingredient plays. Here’s a detailed look at what you’ll need and why:
- Oat Flour (Super Fine): The cornerstone of this gluten-free recipe. Using super-fine oat flour, preferably store-bought and certified gluten-free, is crucial. Homemade oat flour can sometimes be too coarse, affecting the final texture of the cookies, making them grainy or dry. Always double-check labels to ensure it meets strict gluten-free standards and purity protocols to avoid cross-contamination.
- Cornstarch: A secret weapon for achieving that coveted soft and thick cookie texture. Cornstarch helps tenderize the dough, giving the cookies a delicate crumb, and prevents excessive spreading, contributing to a perfectly structured, plump cookie.
- Baking Soda and Baking Powder: These leavening agents work in tandem to give your cookies their ideal rise and a light, airy quality. Baking soda reacts with the acidic brown sugar, while baking powder provides an additional lift, ensuring a well-formed, slightly domed cookie.
- Salt: Don’t underestimate the power of salt in sweet baking! It’s essential for balancing the sweetness and enhancing all the complex flavors in the cookie, making each bite more satisfying and preventing them from tasting overly sweet.
- Unsalted Butter (Room Temperature): Crucial for the rich flavor and melt-in-your-mouth texture. Room temperature butter creams beautifully with sugar, incorporating air into the mixture which results in lighter, softer cookies. Cold butter won’t emulsify correctly, leading to a denser cookie.
- Light Brown Sugar (Packed): This sugar not only adds a molasses-rich sweetness but, more importantly, contributes significantly to the chewiness and moisture of the cookies. Its higher moisture content helps keep the cookies soft and prevents them from drying out, even days after baking.
- Granulated Sugar: Works alongside brown sugar to provide a balanced sweetness and contributes to the slight crispness around the edges of the cookies. The combination of both sugars is key to the cookie’s signature texture – soft and chewy in the center, slightly crisp on the outside.
- Large Eggs (Room Temperature): Eggs act as a binder, holding all the ingredients together, and contribute to the richness and structure of the cookies. Using room-temperature eggs helps them emulsify better with the butter and sugar mixture, resulting in a smoother, more uniform dough.
- Pure Vanilla Extract: A fundamental flavor enhancer that elevates the overall taste profile of the chocolate chip cookies, adding warmth, complexity, and aromatic depth. Always opt for pure vanilla extract for the best, most authentic flavor.
- Semi-Sweet Chocolate Chips (Divided): The star of the show! Semi-sweet chocolate chips provide that classic rich, slightly bitter chocolate flavor that perfectly complements the oat flour. Dividing them allows for some to be folded into the dough and others to be pressed onto the tops for a beautiful presentation and extra chocolatey goodness in every bite.
Mastering the Perfect Oat Flour Chocolate Chip Cookie: Expert Tips and Suggestions
Achieving bakery-quality oat flour chocolate chip cookies at home is entirely possible with a few key techniques. These expert tips will guide you to a batch of cookies that are perfectly soft, wonderfully chewy, and incredibly flavorful every time:
- The Sugar Synergy: The blend of granulated sugar and light brown sugar is not arbitrary; it’s a carefully balanced choice. Granulated sugar contributes to a slight crispness and helps the cookies spread, while light brown sugar adds deep, caramel-like notes and is vital for their signature chewiness and moist interior. Altering this ratio will significantly impact the final texture, so stick to the recipe for optimal results.
- Room Temperature is Key for Creaming: Using room-temperature butter and eggs is perhaps one of the most crucial tips in baking. Softened butter creams effortlessly with sugars, creating a light, airy, and well-emulsified mixture. This aeration is what gives your cookies their tender crumb and helps them spread evenly. If your ingredients are cold, they won’t combine properly, leading to a denser, greasier cookie.
- Quick Fix for Cold Eggs: Simply place your eggs in a bowl of warm (not hot!) water for about 10-15 minutes before using.
- Quick Fix for Cold Butter: Cut butter into smaller pieces and microwave on low power for 10-15 second intervals, flipping once, until softened but not melted. You want it pliable to the touch, not liquid.
- Avoid Overmixing the Dough: Once you’ve added the dry ingredients to the wet, mix on the lowest speed possible just until everything is combined. Overmixing develops gluten (even in oat flour, though less so than wheat, it can still lead to a tougher texture), which can result in tough, dry, and flat cookies. Stop mixing as soon as no visible streaks of flour remain. When incorporating chocolate chips, use a spatula and fold them in gently to prevent crushing them.
- The Importance of Chilling the Dough: This step is non-negotiable for perfectly structured cookies. Chilling allows the butter to firm up, preventing the cookies from spreading too much in the oven and retaining their thickness. More importantly, it allows the oat flour to fully hydrate and the flavors to meld, resulting in a richer, more complex taste and an even chewier texture. Aim for at least one hour, or even overnight for the best possible results and depth of flavor.
- Bake One Tray at a Time: For consistent results, bake only one baking sheet of cookies at a time, positioned in the center rack of your oven. This ensures even heat distribution and prevents uneven baking, which can happen if multiple trays block airflow or create hot/cold spots within the oven. This little trick guarantees each cookie gets the perfect bake.
- Do Not Overbake: Oat flour cookies can often appear slightly underdone right out of the oven, with a soft center, but trust the process! The residual heat from the baking sheet will continue to bake them as they cool, leading to that perfect soft-chewy center and slightly crisp edge. Overbaking will result in dry, hard cookies. Look for lightly golden edges and a barely set center as your cue to remove them.
- Cooling is Crucial: Allow the cookies to cool on the hot baking sheet for at least 10 minutes before transferring them to a wire rack. This period is vital for them to firm up without breaking and to continue their internal baking process, setting the final texture. Moving them too soon can cause them to fall apart.
Is Oat Flour Gluten-Free? Understanding the Nuances
This is a frequently asked and incredibly important question for anyone managing gluten sensitivities or celiac disease. While oats are inherently a naturally gluten-free grain, the journey from farm to pantry introduces potential challenges. The primary concern is cross-contamination. Many commercial oats are processed in facilities that also handle wheat, barley, and rye. During harvesting, transportation, milling, and packaging, there’s a significant risk of oats coming into contact with these gluten-containing grains. This means that not all brands of oats or oat flour can be considered safe for a strictly gluten-free diet.
To ensure your oat flour is genuinely gluten-free, it is crucial to seek out products explicitly labeled as “certified gluten-free.” This certification indicates that the oats have been grown, harvested, processed, and packaged under stringent conditions designed to prevent cross-contamination, meeting specific gluten-free standards (typically less than 20 parts per million of gluten). Furthermore, some brands go a step further and specify “purity protocol oats,” which means the oats were grown on dedicated gluten-free fields and processed in dedicated gluten-free facilities from start to finish, offering an even higher level of assurance. Always make label reading a priority to protect your health and enjoy your oat flour chocolate chip cookies worry-free.
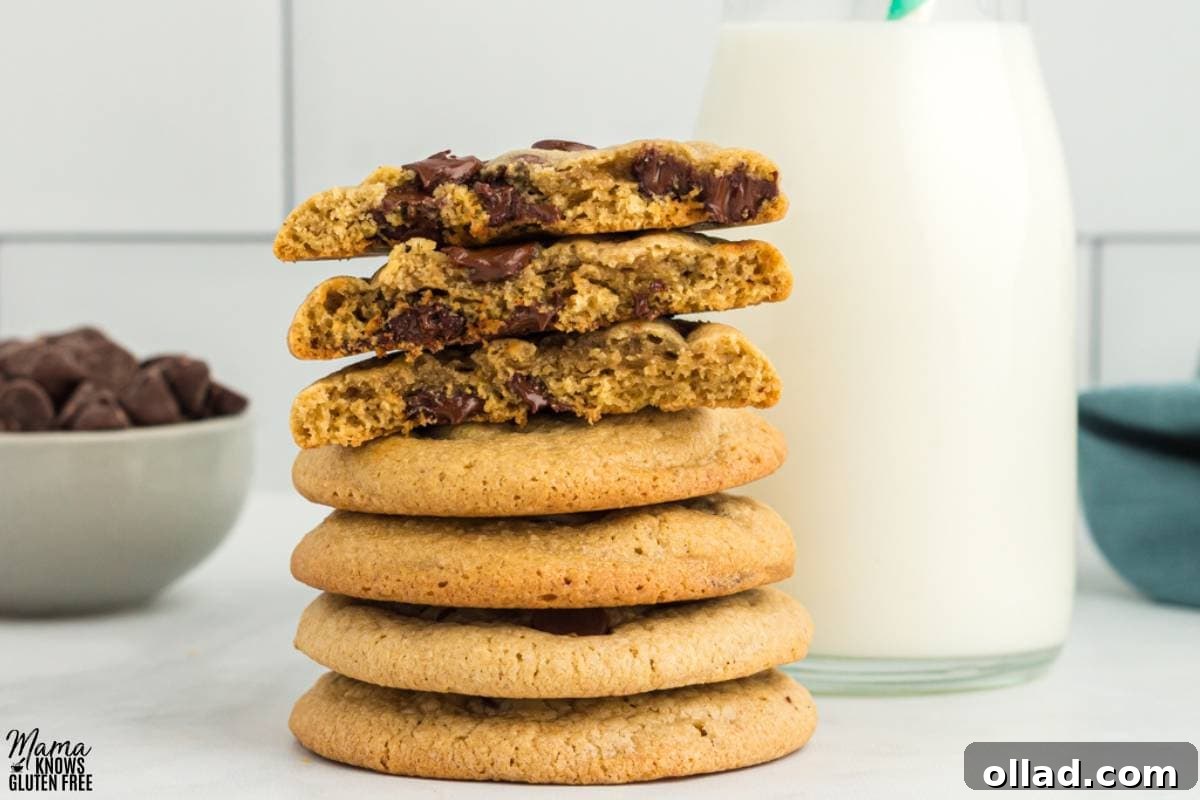
How Does Oat Flour Affect Baking Cookies? A Culinary Perspective
Baking with oat flour offers a distinct experience compared to using conventional all-purpose flour, impacting both the flavor and texture of your cookies in delightful ways. Flavor-wise, oat flour imparts a subtle, wholesome, and slightly nutty taste that beautifully complements sweet ingredients like chocolate chips and sugars. It’s a milder flavor than you might expect from whole oats, contributing a pleasant background note rather than overpowering the cookie, making it an excellent choice for a well-rounded flavor profile.
Texturally, oat flour excels at creating an incredibly chewy cookie. This is due to its unique protein and fiber structure. Unlike wheat flour, which develops elasticity through gluten, oat flour relies on its natural composition to provide a dense yet tender crumb. It absorbs moisture differently, leading to a softer, more yielding interior that resists becoming dry or crumbly. Additionally, oat flour is much lighter in consistency than traditional all-purpose flour, which can contribute to a more delicate final product if not handled correctly. Understanding these characteristics allows bakers to appreciate the unique qualities oat flour brings to gluten-free baking, transforming a simple chocolate chip cookie into a truly special treat that satisfies both taste and texture cravings.
Can I Use A Different Flour in This Oat Flour Recipe?
For this specific recipe designed around oat flour, I strongly advise against substituting it with other flours. The science of gluten-free baking is precise, and different gluten-free flours possess vastly different absorbency levels, protein contents, and binding properties. Substituting oat flour with almond flour, coconut flour, or a gluten-free all-purpose blend would require significant alterations to the liquid ratios, fat content, and potentially the leavening agents. This would essentially mean creating an entirely new recipe from scratch, involving considerable experimentation and potential frustration to achieve a comparable result.
If you’re looking to explore other gluten-free cookie options, I highly recommend trying recipes specifically developed for those flours. For instance, our original gluten-free chocolate chip cookies use a different blend, or you might enjoy our rich almond flour chocolate chip cookies for a denser, richer texture, or our unique coconut flour chocolate chip cookies for a distinct tropical hint. Each of these recipes is carefully formulated to bring out the best in its specific flour, ensuring delicious results without the guesswork of substitutions.
Can I Freeze the Cookie Dough for Future Baking Convenience?
Absolutely! Freezing cookie dough is a fantastic way to prepare ahead and enjoy freshly baked cookies whenever the craving strikes. To freeze your oat flour cookie dough, first, scoop the prepared dough into individual balls using a cookie scoop (or your hands). Arrange these dough balls in a single layer on a parchment-lined baking sheet. This initial freeze prevents them from sticking together. Pop the tray into the freezer for about 30 minutes, or until the dough balls are firm. Once firm, transfer them to a sealed, freezer-safe container or a heavy-duty zip-top bag. Make sure to label the container with the date for easy tracking.
The frozen cookie dough will maintain its quality for up to 3 months. When you’re ready to bake, there’s no need to thaw! Simply preheat your oven as directed and place the frozen dough balls on a fresh baking sheet. You might need to add an extra minute or two to the baking time to account for the frozen state, but otherwise, bake as usual. This method ensures you always have warm, homemade oat flour chocolate chip cookies ready to enjoy with minimal effort, perfect for unexpected guests or a spontaneous sweet treat.
Storage Instructions for Optimal Freshness
To keep your delicious oat flour chocolate chip cookies fresh and soft for as long as possible, proper storage is essential. Once your cookies have cooled completely on a wire rack, transfer them to an airtight, food-safe container. Stored at room temperature, these cookies will remain wonderfully fresh and chewy for up to 5 days. For best results and to maintain their delightful softness, you might even consider adding a slice of bread or half an apple to the container; this trick helps to keep them soft by providing extra moisture.
If you wish to extend their shelf life even further, these cookies freeze beautifully after baking. Ensure they are completely cool before freezing to prevent condensation and ice crystals from forming, which can affect texture. Arrange them in a single layer or separate layers with wax paper in a freezer-safe container or bag. This prevents them from sticking together and helps preserve their shape and texture. Frozen baked cookies can be stored for up to 2 months. When ready to enjoy, simply bring them back to room temperature on the counter for a quick thaw. Avoid reheating in the microwave, which can make them tough. Fresh or frozen, these oat flour chocolate chip cookies are a treat worth savoring!

More Gluten-Free Cookie Recipes to Try!
If you’ve loved these oat flour chocolate chip cookies, you’re in for a treat! Our collection of gluten-free cookie recipes is designed to satisfy every craving and occasion. Explore these other fantastic options to expand your gluten-free baking repertoire:
- Gluten-Free Monster Cookies
- Gluten-Free No-Bake Cookies
- Gluten-Free Snickerdoodle Cookies
- Gluten-Free Peanut Butter Oatmeal Cookies
- Gluten-Free Oatmeal Cookies
Oat Flour Chocolate Chip Cookies Recipe

These oat flour chocolate chip cookies are the perfect blend of sweet and chewy. They’re also gluten-free and nut-free. So easy to make!
Recipe Details
- By: Cheryl Johnson
- Servings: 42 cookies
- Prep Time: 15 minutes
- Cook Time: 14 minutes
- Chilling Time: 1 hour 15 minutes
- Total Time: 1 hour 44 minutes
- Course: Dessert
- Cuisine: American
Ingredients
- 3½ cups oat flour, super fine (ensure certified gluten-free, store-bought recommended)
- 1 teaspoon cornstarch
- 1 teaspoon baking soda
- ½ teaspoon baking powder
- ½ teaspoon salt
- ¾ cup unsalted butter, room temperature
- ¾ cup light brown sugar, packed
- ¼ cup granulated sugar
- 2 large eggs, room temperature
- 2 teaspoons pure vanilla extract
- 2 cups semi-sweet chocolate chips, divided (1¾ cups for dough, ¼ cup for topping)
Instructions
- Line a large baking sheet with parchment paper. Set aside.
- In a medium bowl, whisk together the oat flour, cornstarch, baking soda, baking powder, and salt until thoroughly combined.
- In a separate large bowl, using an electric mixer, beat together the room-temperature unsalted butter, light brown sugar, and granulated sugar on high speed until well combined and creamy, about 1 minute.
- Beat the room-temperature eggs and pure vanilla extract into the butter mixture on high speed until the mixture is light and fluffy, about 1 minute.
- Reduce mixer speed to low. Gradually beat the dry ingredients into the wet ingredients until just combined. Be careful not to overmix, as this can lead to dry and flat cookies.
- Using a spatula, gently stir in 1¾ cups of the semi-sweet chocolate chips. Reserve the remaining ¼ cup for later. Cover the bowl tightly with plastic wrap and refrigerate the cookie dough for at least 1 hour. This chilling step is crucial.
- After chilling, use a 2-tablespoon-sized cookie scoop to portion out the dough. Place the scooped dough balls on the parchment-lined baking sheet, ensuring they are not touching.
- Gently roll each cookie dough ball with your hands until smooth. If the dough is a bit sticky, lightly spray your hands with a non-stick cooking spray.
- Carefully press a few of the reserved ¼ cup chocolate chips onto the top of each dough ball for a bakery-style finish.
- Place the baking sheet with raw cookies into the freezer for an additional 15 minutes. This extra chill helps maintain shape during baking.
- Preheat your oven to 350°F (175°C).
- Line a second clean baking sheet with fresh parchment paper. Transfer the chilled cookie dough balls from the first tray to this new baking sheet, placing them at least 2 inches apart to allow for proper spreading. You will likely need to bake in batches.
- Bake the cookies for 14 minutes. Bake only one tray of cookies at a time, keeping any unbaked dough in the freezer until ready to bake.
- Upon removing from the oven, let the cookies rest on the hot baking sheet for at least 10 minutes. This allows them to finish baking and firm up.
- After resting, carefully transfer the cookies to a wire rack to cool completely.
- Repeat these baking steps for any remaining frozen cookie dough.
Notes
- To store: Allow cookies to cool completely, then transfer to a sealed container. They can be kept at room temperature for up to 5 days. For extra freshness, consider adding a slice of bread to the container.
- To freeze dough: Scoop dough into balls, freeze on a parchment-lined sheet for 30 minutes, then transfer to a sealed container or zip-top bag for up to 3 months. Bake from frozen, adding 1-2 minutes to bake time.
- Important: Always check labels for certified gluten-free ingredients, especially oat flour, to ensure they meet your dietary needs.
Nutrition Information (Approximation)
Nutrition information is automatically calculated, so should only be used as an approximation.
How to Make Oat Flour Chocolate Chip Cookies: A Step-by-Step Visual Guide
Follow these detailed steps, complete with accompanying visuals, to create your perfect batch of gluten-free oat flour chocolate chip cookies:
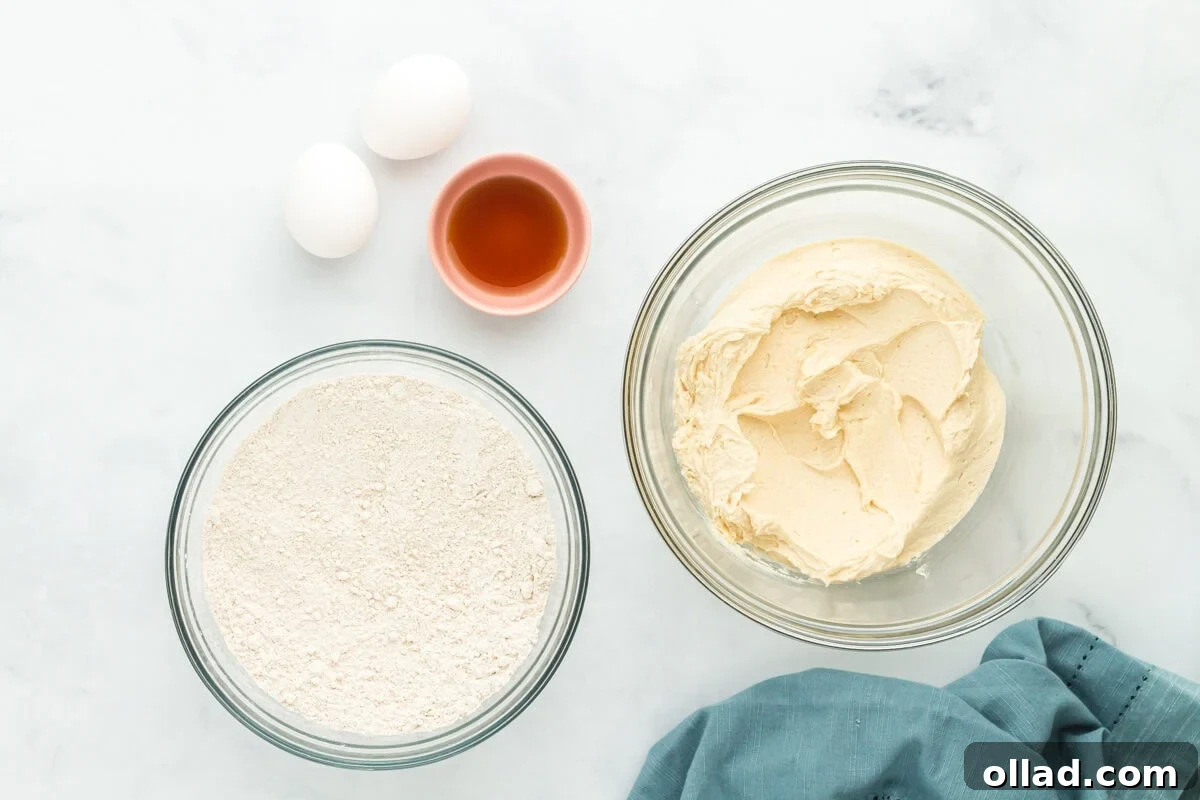
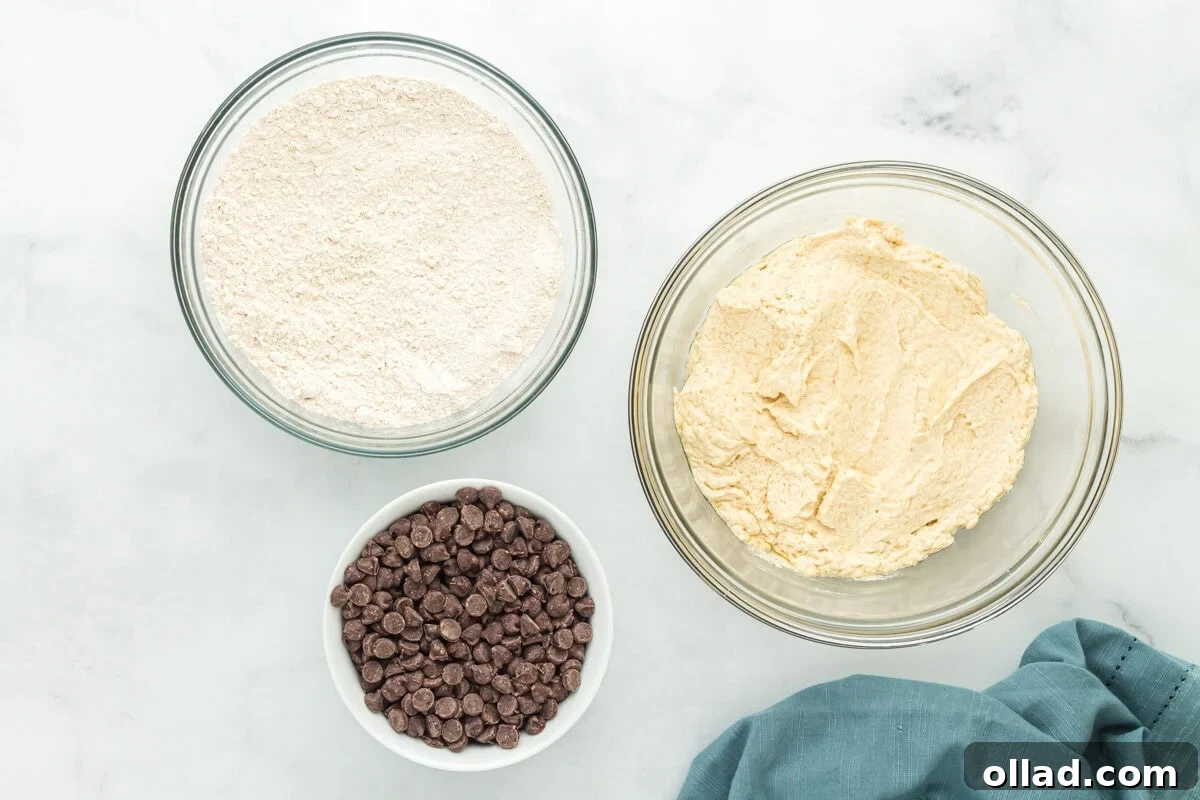
Step 1: Prepare Dry and Wet Ingredients. First, line a large baking sheet with parchment paper and set it aside; this will be for your cookie dough. In a medium bowl, whisk together the dry ingredients: 3½ cups super fine oat flour, 1 teaspoon cornstarch, 1 teaspoon baking soda, ½ teaspoon baking powder, and ½ teaspoon salt. Ensure they are thoroughly combined. In a separate, large mixing bowl, beat together ¾ cup room-temperature unsalted butter, ¾ cup packed light brown sugar, and ¼ cup granulated sugar on high speed. Continue beating until the mixture is light, creamy, and well combined, which typically takes about 1 minute.
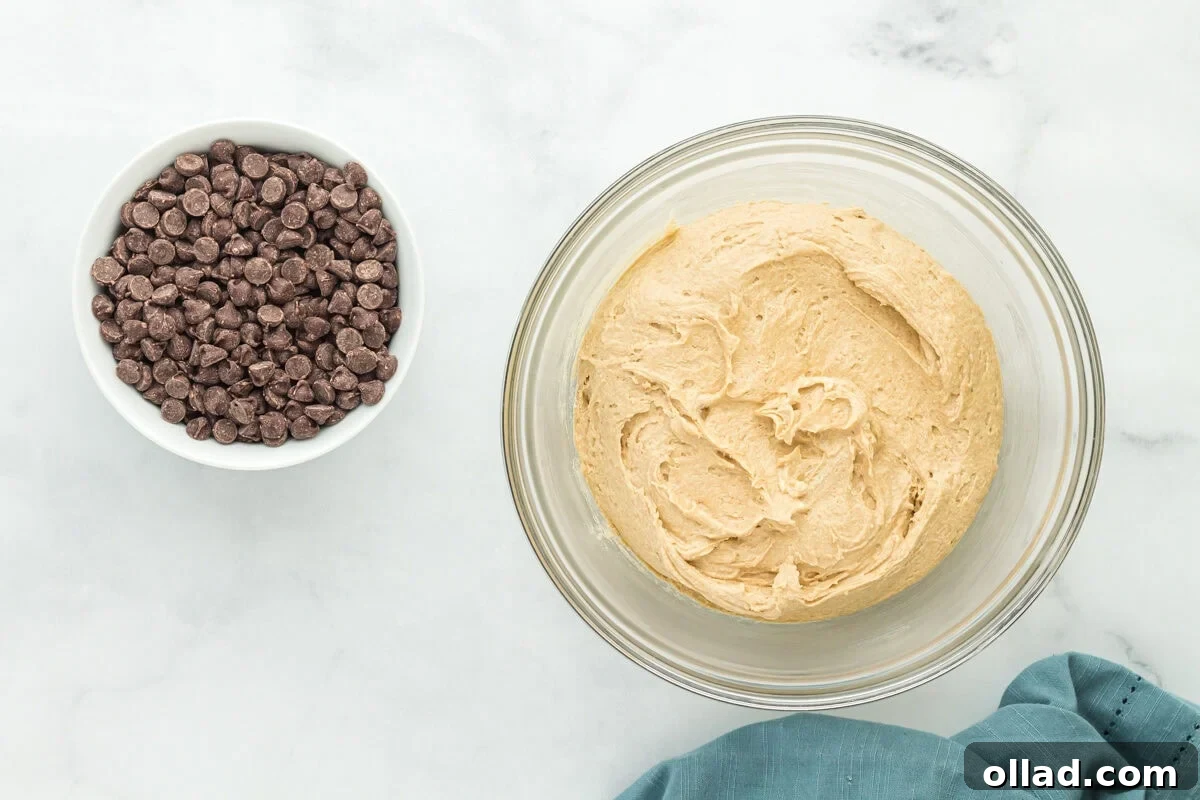
Step 2: Add Eggs and Vanilla. To the creamed butter and sugar mixture, add 2 large room-temperature eggs and 2 teaspoons of pure vanilla extract. Continue beating on high speed for another minute until the mixture becomes light, airy, and fluffy. This step is crucial for incorporating air, which contributes to the cookies’ final tender texture and prevents them from being too dense.
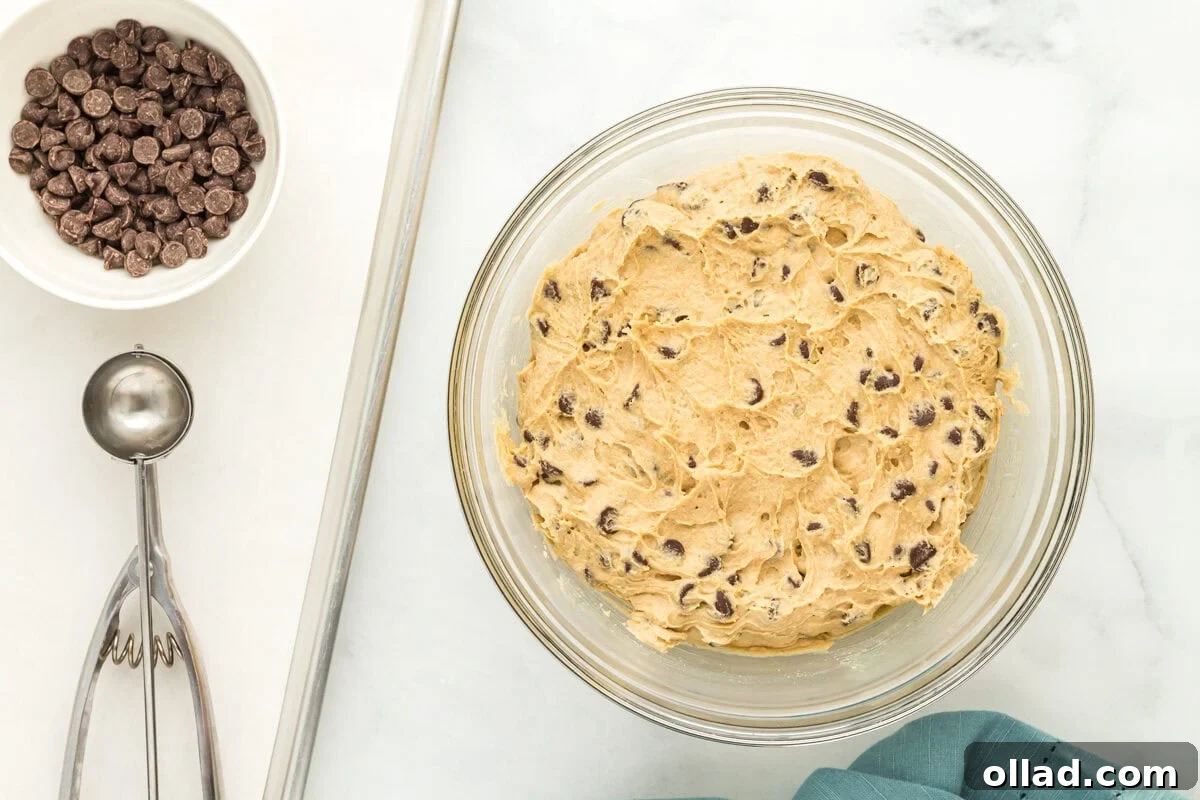
Step 3: Combine Wet and Dry Ingredients. Reduce your mixer speed to low. Gradually add the whisked dry ingredients into the wet mixture. Beat just until the ingredients are combined and no streaks of flour remain. It’s very important not to overmix the dough at this stage, as overmixing can lead to tough, dry, and flat cookies. Once combined, remove the bowl from the mixer and prepare for the next step.
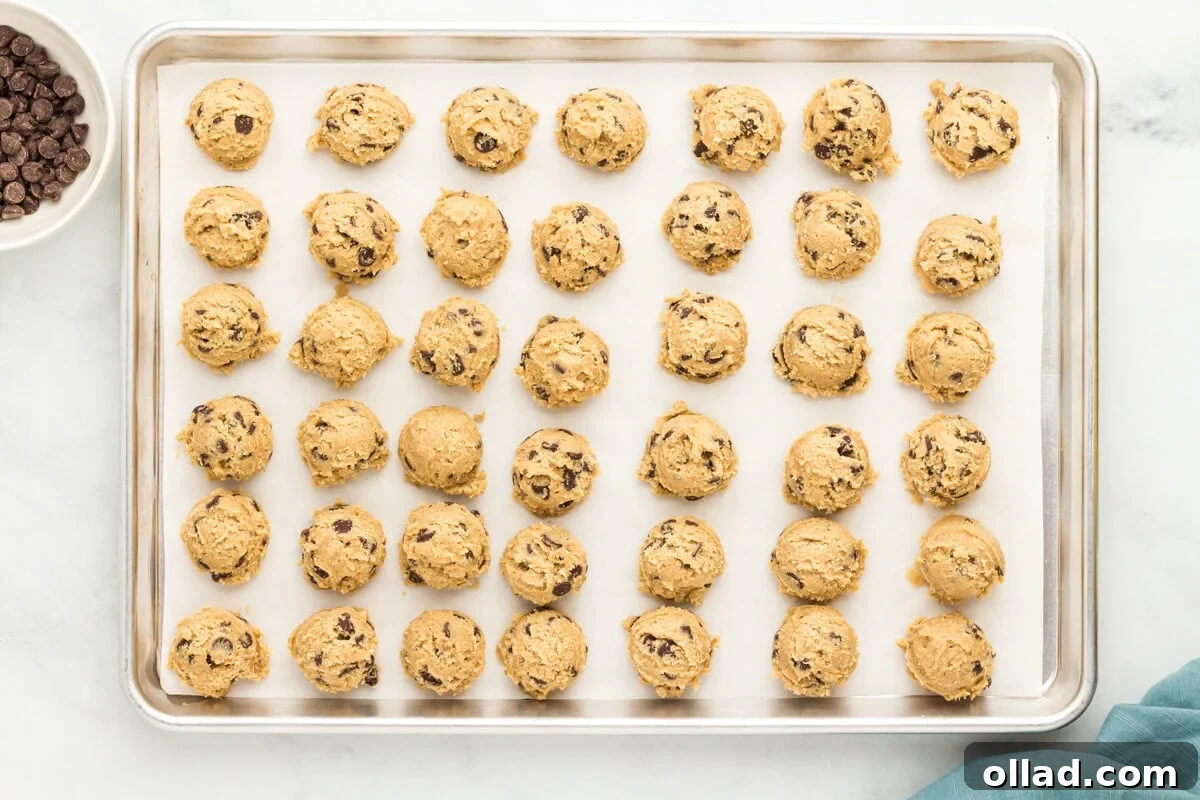
Step 4: Fold in Chocolate Chips and Chill the Dough. Using a sturdy spatula, gently fold in 1¾ cups of the semi-sweet chocolate chips. Reserve the remaining ¼ cup for decorating the tops of the cookies later. Once the chocolate chips are evenly distributed, cover the bowl tightly with plastic wrap and place the cookie dough in the refrigerator to chill for a minimum of 1 hour. This chilling process is vital for the dough to firm up, preventing excessive spreading during baking, and allowing the flavors to deepen and meld beautifully for a more delicious cookie.
Step 5: Scoop and Roll Dough Balls. After the dough has chilled sufficiently, use a 2-tablespoon-sized cookie scoop to portion out individual cookie dough balls. Place them on the parchment-lined baking sheet you prepared earlier. At this stage, they can be relatively close together, as they will be moved to a separate sheet before actual baking begins.
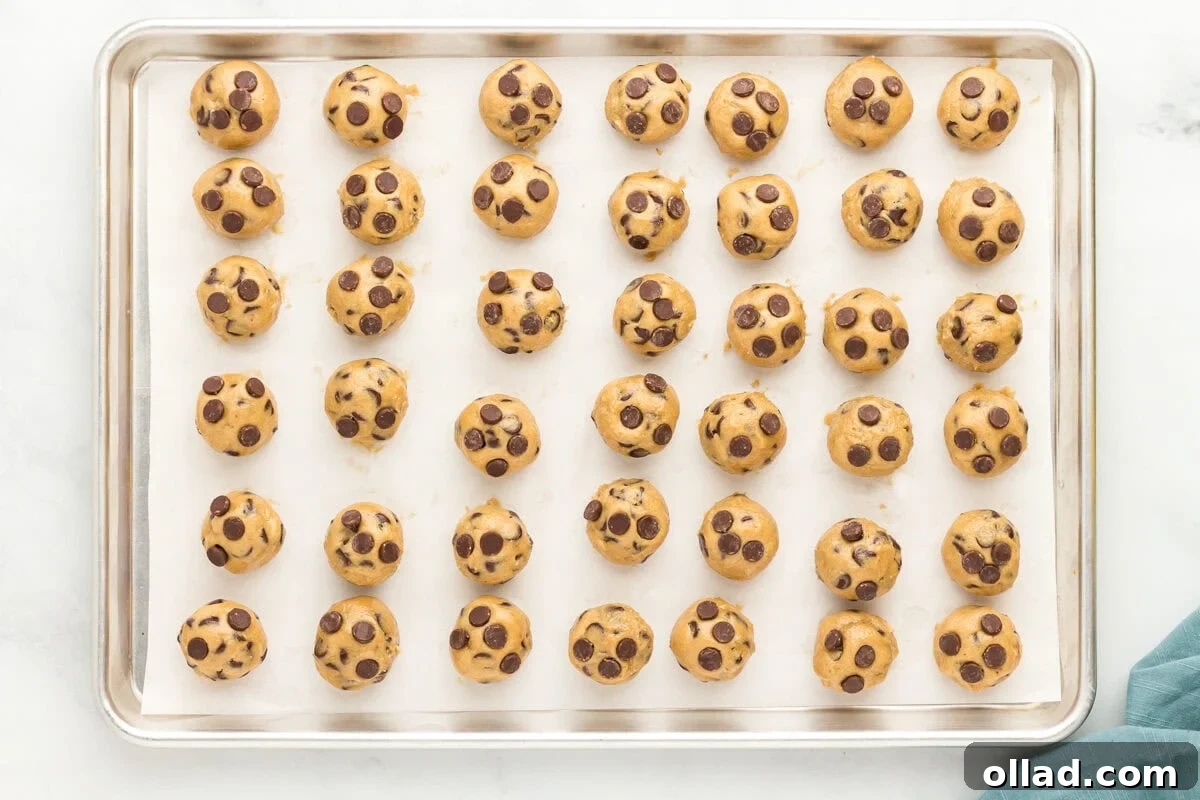
Step 6: Refine Dough Balls and Freeze. Gently roll each scooped cookie dough ball between your palms until it is smooth and uniform. Handle them with care to avoid compacting the dough too much. If the dough starts to stick to your hands, lightly spray your hands with a non-stick cooking spray. Now, take a few of the reserved ¼ cup of semi-sweet chocolate chips and gently press them into the top of each dough ball. This creates that inviting, classic chocolate chip cookie appearance. Once all balls are formed and topped, place the entire tray of raw cookies into the freezer for an additional 15 minutes. This quick freeze further helps to prevent spreading and ensures a beautifully textured cookie.
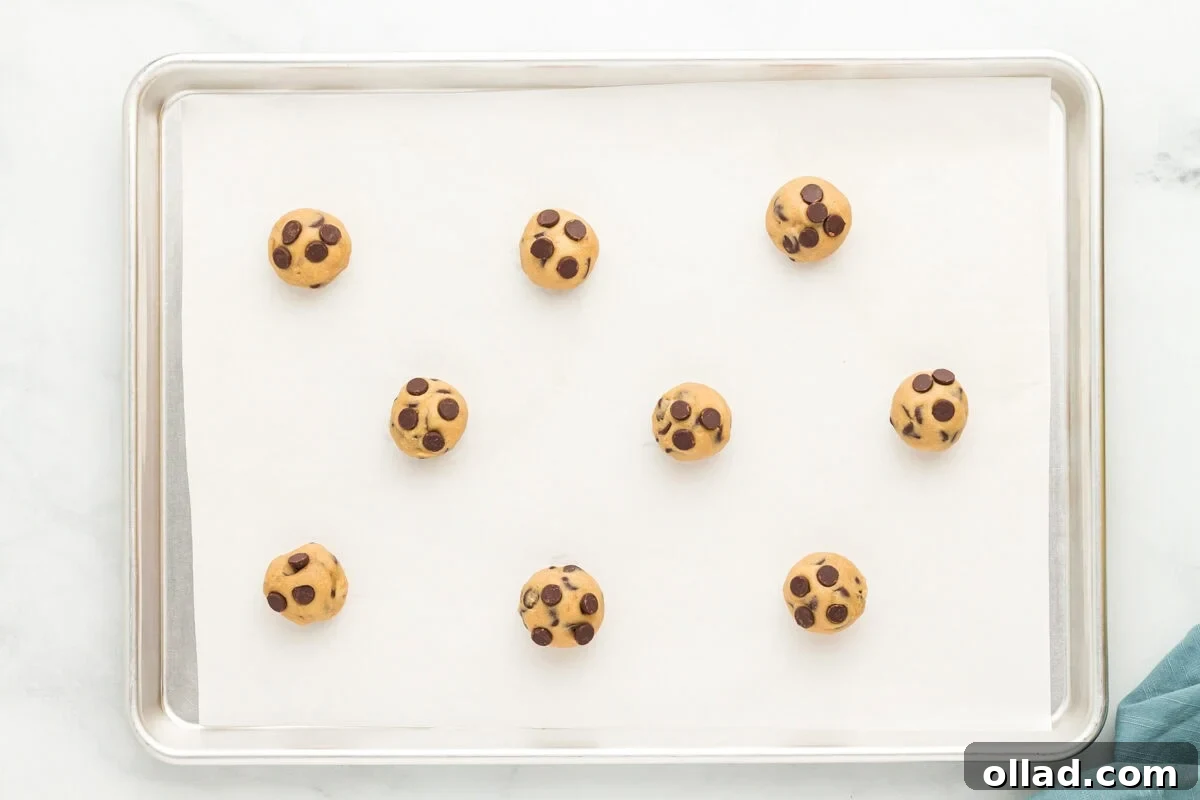
Step 7: Preheat Oven and Arrange for Baking. While your cookie dough is in the freezer, preheat your oven to 350°F (175°C). Line a second clean baking sheet with fresh parchment paper. Carefully transfer the frozen cookie dough balls from the first tray to this new baking sheet, ensuring they are spaced at least 2 inches apart. It’s essential not to overcrowd the baking sheet; you will likely need to bake these cookies in batches. Any remaining unbaked cookie dough should stay in the freezer until its turn to maintain its chilled state.
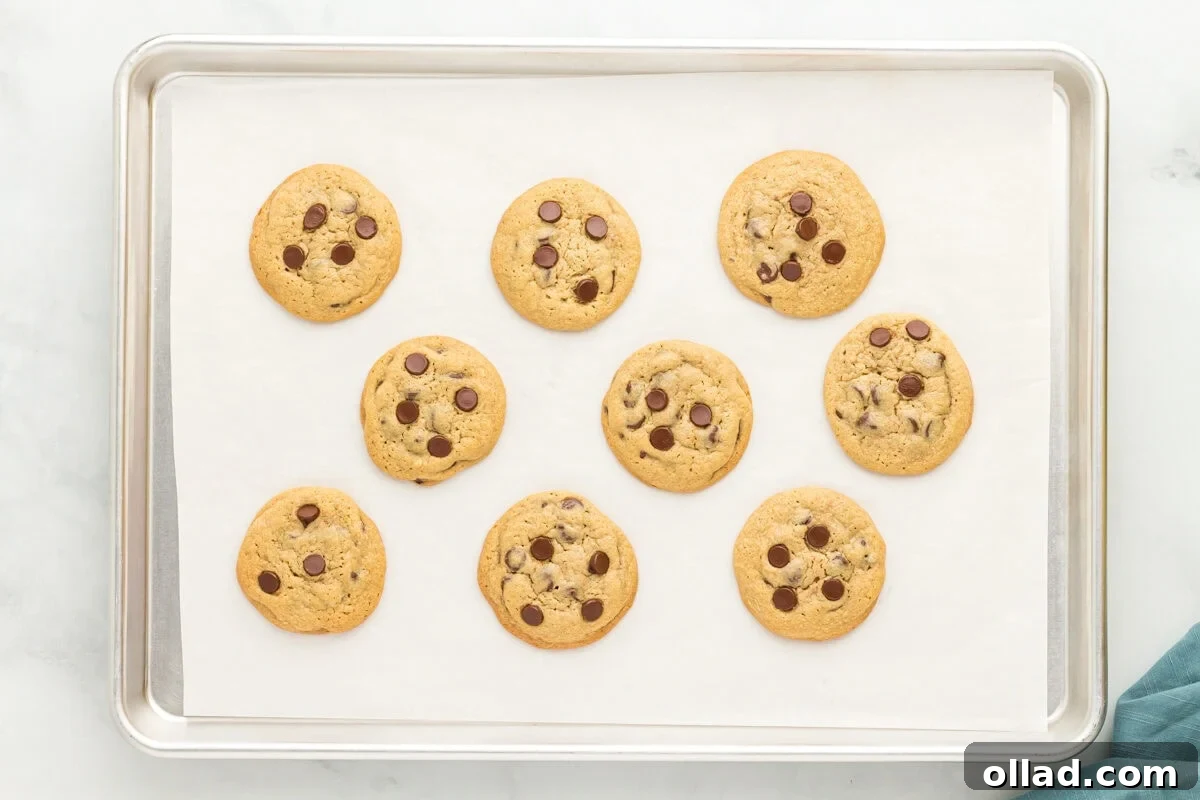
Step 8: Bake and Cool. Place one baking sheet into the preheated oven and bake for exactly 14 minutes. Remember the tip about not overbaking! The cookies will appear slightly underdone in the center, but their edges should be lightly golden. Once baked, remove the tray from the oven and let the cookies rest on the hot baking sheet for at least 10 minutes. This critical cooling period allows them to continue baking through residual heat and firm up properly, preventing them from breaking when you move them. After 10 minutes, carefully transfer the cookies to a wire rack to cool completely. Repeat these baking steps for any remaining cookie dough, ensuring each batch receives the same care and attention for consistent, delicious results.
Variations and Serving Suggestions for Your Oat Flour Cookies
While these oat flour chocolate chip cookies are perfect as is, they also serve as a wonderful base for creative variations. Feel free to experiment with different types of chocolate chips – milk chocolate, dark chocolate, or even white chocolate chunks can offer a delightful twist in flavor and appearance. For those who enjoy a little crunch (and are not nut-allergic), chopped walnuts, pecans, or even toasted coconut flakes could be folded into the dough alongside the chocolate chips. Dried cranberries or cherries can add a fruity tartness, creating a more complex and festive flavor profile, especially for holidays.
These versatile cookies are fabulous on their own, offering a satisfying treat with every bite. Pair them with a tall glass of cold milk, a warm cup of coffee, or a comforting mug of tea for a perfect snack. For a truly decadent dessert experience, serve them warm with a scoop of premium vanilla bean ice cream, allowing the melting ice cream to mingle beautifully with the warm, gooey chocolate. They also make a thoughtful homemade gift for friends and family, especially appreciated by those with gluten sensitivities who often miss out on classic baked goods. No matter how you choose to enjoy them, these oat flour chocolate chip cookies are sure to bring smiles and sweet memories.
Tried this recipe? Mention @mamaknowsglutenfree or tag #mamaknowsglutenfree!