
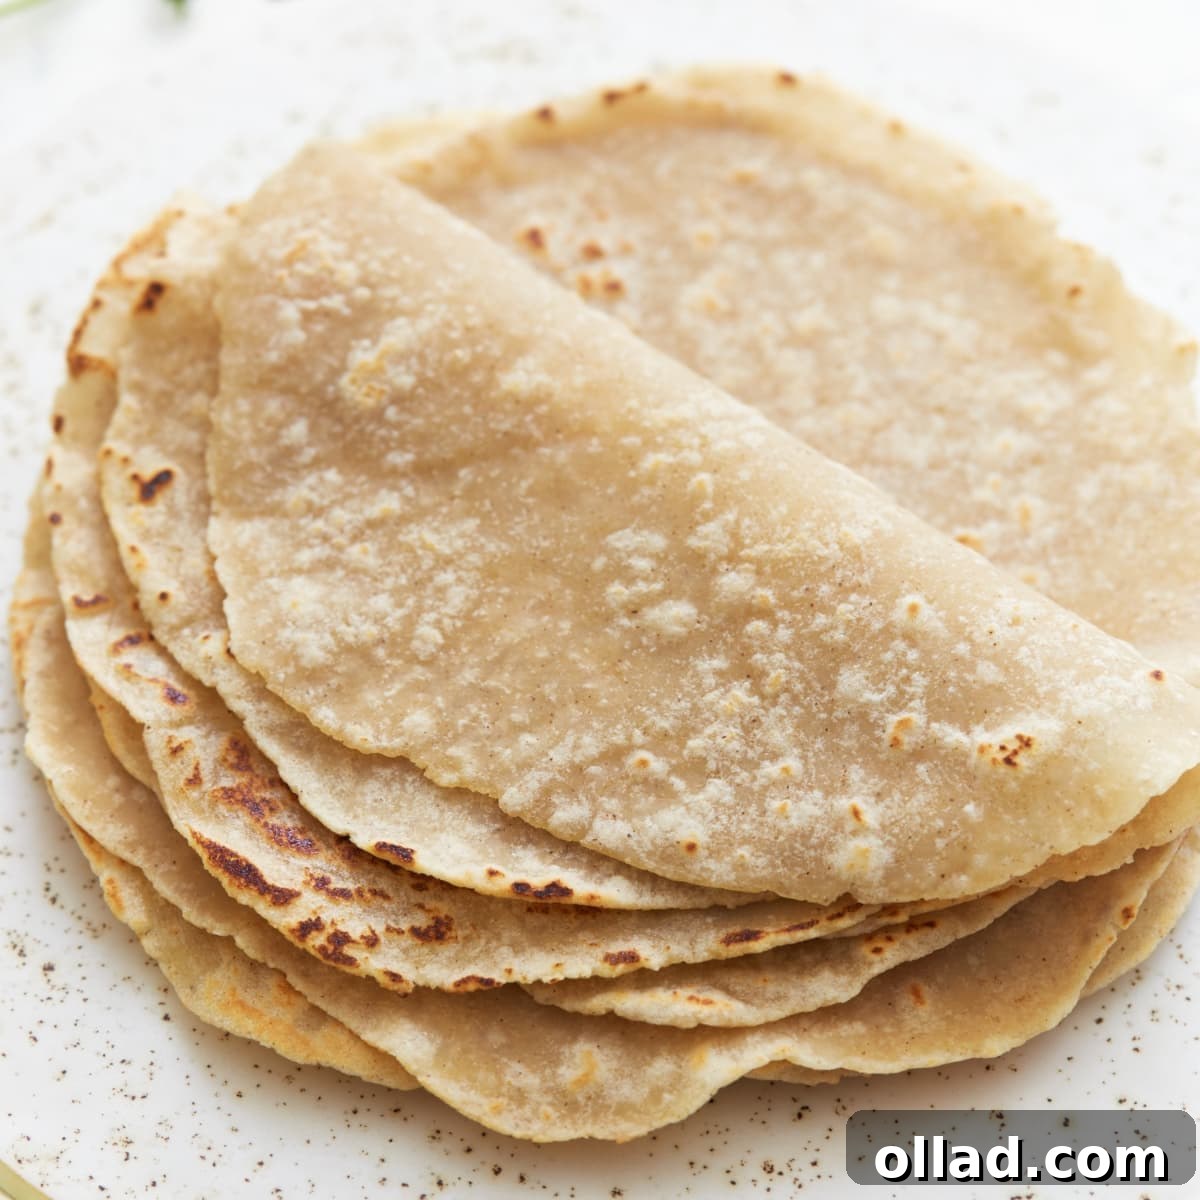
Craving fresh, soft, and unbelievably flexible tortillas but need them to be gluten-free? Look no further! This comprehensive guide will walk you through making the most delicious homemade gluten-free flour tortillas with surprising ease. Using just five simple, readily available ingredients, you’ll create tortillas that rival store-bought versions – if not surpass them entirely. Forget rigid, crumbly gluten-free options; our recipe ensures a pliable texture perfect for all your favorite Mexican dishes and beyond.
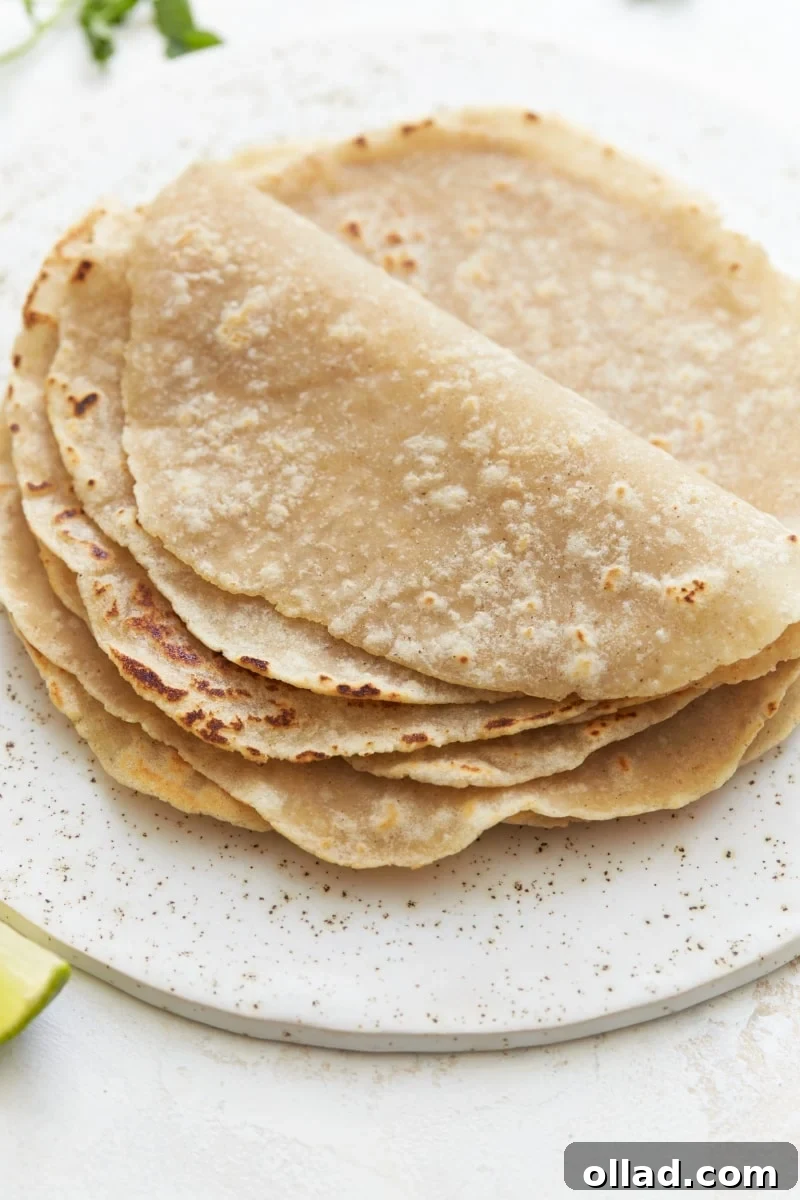
The Ultimate Guide to Homemade Soft & Flexible Gluten-Free Tortillas
Making gluten-free tortillas at home is not only incredibly satisfying but also surprisingly straightforward. This recipe simplifies the process, demonstrating how to achieve soft, flexible flour tortillas in a matter of minutes. Our carefully selected five ingredients—gluten-free flour, baking powder, salt, water, and vegetable oil—come together to form a dough that’s a dream to work with. What’s even better? These tortillas are naturally dairy-free, egg-free, and entirely vegan, making them suitable for a wide range of dietary preferences.
One of the greatest joys of this recipe is how manageable the gluten-free dough is. Unlike some gluten-free baking experiences that can be challenging, this dough consistently yields perfectly soft and pliable tortillas. You won’t even need a specialized tortilla press, as the dough rolls out with remarkable ease, allowing you to achieve thin, uniform circles every time. This accessibility makes it a fantastic recipe for beginners and seasoned gluten-free bakers alike.
These homemade gluten-free flour tortillas have become a cherished staple in my family’s kitchen. They consistently outperform their store-bought counterparts in both taste and texture. While they are a go-to for classic tacos, their versatility extends far beyond; they make incredible wrap sandwiches, quesadillas, and even homemade tortilla chips. I’ll share detailed technique notes, helpful tips, and step-by-step photos to guide you through every stage, ensuring your success in crafting the best gluten-free tortillas you’ve ever tasted.
Why Make Your Own Gluten-Free Tortillas?
The market for gluten-free products has expanded significantly, yet finding gluten-free tortillas that possess the perfect balance of softness, flexibility, and flavor can still be a challenge. Many store-bought options tend to be stiff, brittle, or have an undesirable texture. Making them yourself offers several distinct advantages:
- Superior Taste and Texture: Freshly made tortillas, especially gluten-free ones, boast an unparalleled taste and a soft, chewy texture that simply can’t be replicated by mass-produced varieties. You control the ingredients, ensuring optimal freshness and flavor.
- Cost-Effective: Buying specialty gluten-free products can be expensive. Making your own tortillas from scratch often proves to be much more economical, especially when you have a go-to recipe with simple ingredients.
- Dietary Control: If you have additional dietary needs beyond gluten-free, such as dairy-free or vegan, this recipe fits the bill perfectly. You know exactly what goes into your food, avoiding unwanted additives, preservatives, or allergens.
- Customization: Once you master the basic recipe, you can experiment with adding herbs, spices, or different flours to customize the flavor profile of your tortillas.
- Sense of Accomplishment: There’s immense satisfaction in creating delicious food from scratch. Homemade tortillas are a fantastic way to impress your family and friends with your culinary skills.
The Science Behind Soft & Flexible Gluten-Free Tortillas
Achieving soft and flexible gluten-free tortillas requires a specific approach, as gluten is the protein responsible for elasticity in traditional wheat-based doughs. Here’s how our recipe ensures success:
- Gluten-Free All-Purpose Flour with Xanthan Gum: Xanthan gum is crucial in gluten-free baking as it mimics the elasticity and binding properties of gluten, preventing the tortillas from becoming crumbly or stiff. It helps create a dough that holds together and remains pliable. The quality and blend of your gluten-free flour significantly impact the final texture, so choosing a reliable blend is key.
- Baking Powder: This leavening agent provides a slight lift, contributing to a lighter, softer texture in the tortillas. It creates tiny air pockets, preventing the tortillas from being dense.
- Warm Water: Using warm water (not boiling hot) is essential for hydrating the gluten-free flour properly. It helps the starches absorb moisture more effectively, leading to a smoother, more cohesive dough. Warm water also aids in activating the baking powder.
- Vegetable Oil: Oil plays a vital role in tenderizing the dough and adding flexibility. It interferes with starch formation, resulting in a softer tortilla that is less likely to crack or break when folded. Light-flavored oils are preferred to avoid altering the taste of the tortillas.
- Proper Hydration: The balance of water and flour is critical. Too little water, and the dough will be dry and crumbly; too much, and it will be too sticky to handle. Our recipe aims for a dough that is soft, slightly tacky, but still manageable for rolling.
Simple 5-Ingredient Gluten-Free Flour Tortillas Recipe
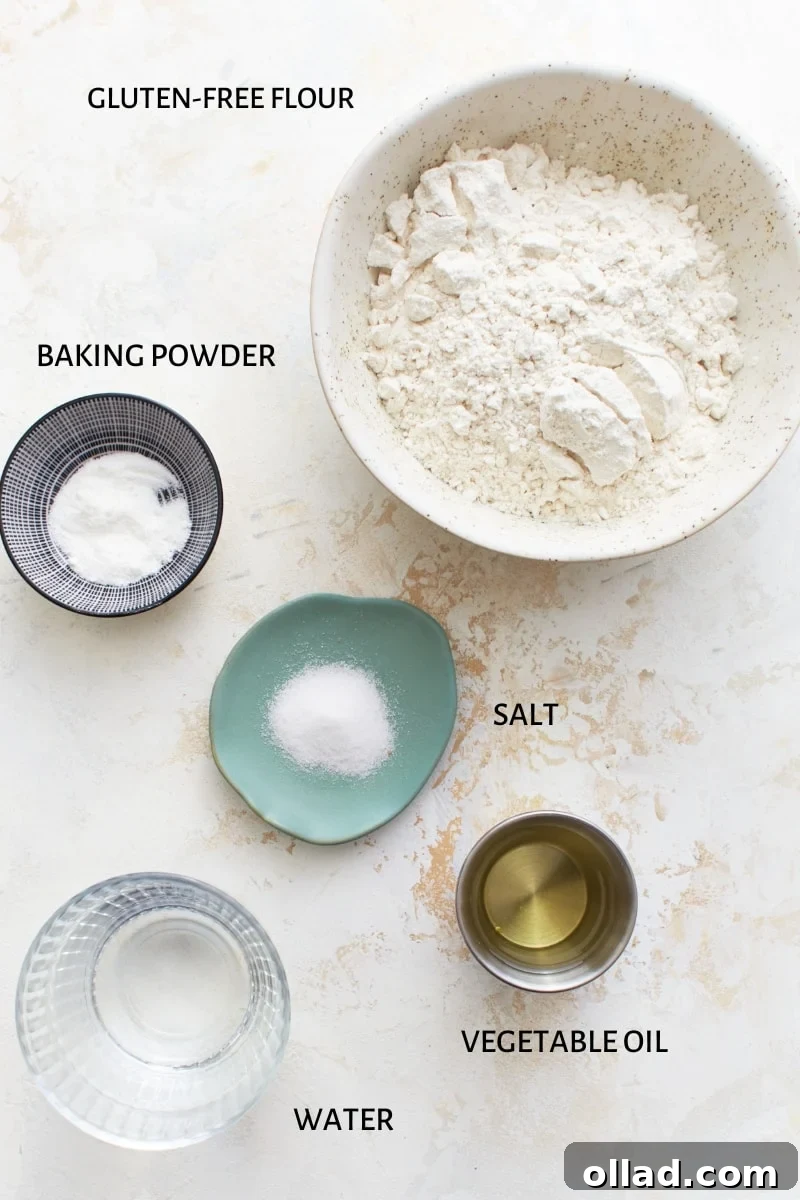
Ingredients You’ll Need
- Gluten-Free All-Purpose Flour with Xanthan Gum: For the best results, use a high-quality gluten-free all-purpose flour blend that already contains xanthan gum. My top recommendation for this recipe is Better Batter gluten-free flour, which consistently delivers superior softness and flexibility. I’ve also had good results testing with Bob’s Red Mill 1-to-1 Baking Flour, King Arthur Measure for Measure, and Pillsbury gluten-free flour. Please note that not all gluten-free flours are created equal, and results may vary significantly depending on the specific blend you choose.
- Baking Powder: A teaspoon of gluten-free baking powder provides the necessary lift, making your tortillas light and airy rather than dense.
- Salt: Just a half teaspoon of salt enhances the overall flavor of your tortillas, ensuring they are not bland.
- Vegetable Oil: Two tablespoons of a light-flavored oil, such as canola oil, are essential for achieving that desirable soft and flexible texture. You can use your favorite neutral-tasting vegetable oil.
- Water: ¾ cup of very warm water is crucial for properly hydrating the gluten-free flour. I recommend microwaving the water for about 20 seconds; it should be warm to the touch, but not boiling.
Step-by-Step Instructions
- In a large mixing bowl, combine the 1 1/2 cups of gluten-free flour, 1 teaspoon of baking powder, and 1/2 teaspoon of salt. Whisk these dry ingredients together thoroughly to ensure even distribution.
- Pour in the 3/4 cups of very warm water and 2 tablespoons of vegetable oil.
- Using a sturdy spoon or a rubber spatula, stir the wet and dry ingredients until they are mostly combined and a shaggy dough begins to form.
- Switch to using your hands to knead the dough directly in the bowl. Continue mixing and kneading until all the liquid has been absorbed and the dough comes together into a cohesive, soft ball. The dough should be soft and slightly tacky, but not overly sticky.
- While you prepare the dough for rolling, pre-heat your skillet. Turn your stove to medium-high heat and place a cast-iron skillet (or another heavy-bottomed pan) on it. Lightly grease the pan with a tablespoon of canola oil, then wipe away any excess with a paper towel. The goal is a lightly oiled, non-stick surface, not a pool of oil.
- Divide the dough into individual portions. Pinch off a piece of dough roughly the size of a golf ball and roll it smoothly between your palms to form a small ball. You should get approximately eight uniform dough balls from this recipe.
- As you work on rolling out each tortilla, keep the remaining dough balls covered with a clean kitchen towel. This prevents the dough from drying out, which can lead to stiff or crumbly tortillas.
- To roll out a tortilla, place one dough ball on a piece of parchment paper. Use the palm of your hand to gently flatten it into a disk shape.
- Place another piece of parchment paper or plastic cling wrap over the flattened dough disk. Using a rolling pin, roll out the dough from the center outwards, rotating frequently, until you achieve a thin, approximately 7-inch circle. The thinner you roll them, the more flexible they will be. Remove the top parchment or cling wrap.
- Carefully transfer the rolled tortilla to your pre-heated, lightly greased cast-iron pan. Cook for about 30 seconds to 1 minute on each side, or until lightly browned spots appear and a few bubbles form on the surface. Flip and cook the other side. Overcooking will make them stiff and less flexible, so watch them closely! They should remain soft and pliable when removed from the pan.
- As each tortilla finishes cooking, stack them on a plate and immediately cover them with a clean kitchen towel. This traps the steam, keeping the tortillas warm and exceptionally soft.
- Once the tortillas have completely cooled to room temperature, store them in an airtight plastic storage bag in the refrigerator.
Expert Tips and Suggestions for Perfect Gluten-Free Tortillas
- Oil Choice: Always opt for a light-flavored vegetable oil like canola oil to ensure the oil doesn’t overpower the subtle flavor of the tortillas.
- Water Temperature is Key: Use truly warm water for mixing the dough. Heating it briefly in the microwave (around 20 seconds) is ideal. It should be warm enough to comfortably touch, but not boiling, as boiling water can cook the flour.
- Flour Matters: As mentioned, Better Batter gluten-free flour consistently produced the softest, most flexible, and flavorful tortillas in my tests. If you use a different brand, be prepared for slight variations in texture. Some blends may require a tiny bit more or less water to achieve the perfect dough consistency.
- Measure Flour Accurately: For gluten-free baking, precise flour measurement is critical. Use the “spoon & level” method: spoon the flour into your measuring cup, then level off the excess with the back of a knife. Do not scoop flour directly with the measuring cup, as this compacts it and results in too much flour.
- Keep Dough Covered: Always cover the portion of dough you are not actively rolling out with a kitchen towel. This prevents the dough from drying and cracking, maintaining its pliability.
- Parchment Paper is Your Friend: Always use parchment paper when rolling out gluten-free dough. This prevents sticking without adding excess flour, which can make the tortillas tough or burn during cooking.
- Avoid Extra Flour on Rolling Pin: Do not flour your rolling pin directly. Any excess flour can adhere to the tortillas and burn in the hot pan, leaving an unpleasant taste and appearance. Instead, use a top layer of plastic wrap or parchment paper over the dough for easy rolling.
- Roll Thin and Evenly: The goal is to roll thin, uniform tortillas. Even thickness ensures even cooking and maximum flexibility. Practice makes perfect here!
- Proper Pan Greasing: Use a greased cast-iron pan. Add about a tablespoon of canola oil, then use a paper towel to spread it evenly and wipe away any excess. You want a very thin, almost invisible layer of oil. You may need to re-grease the pan lightly halfway through cooking all the tortillas.
- Optimal Cooking Temperature: I found a setting between 6-7 on my stovetop for a cast-iron pan works best. If you’re using a different type of pan, you might need to adjust the heat to medium. The pan should be hot enough to cook quickly and achieve light browning, but not so hot that the tortillas burn or become stiff before fully cooking.
- Stack and Cover to Keep Warm: Immediately stack cooked tortillas on a plate and cover them with a kitchen towel. The steam trapped under the towel keeps them soft and warm until ready to serve.
To Reheat
For best results, reheat your gluten-free tortillas quickly. You can warm them on the stovetop in a dry pan over medium heat for 15-30 seconds per side until heated through and pliable. Alternatively, for a quick microwave option, place a few tortillas between two slightly damp paper towels and microwave for 15 to 20 seconds, or until warm and flexible.
To Freeze
Gluten-free tortillas freeze beautifully! Once the tortillas have completely cooled to room temperature, stack them with small pieces of parchment paper in between to prevent sticking. Wrap the stack tightly in freezer-safe plastic wrap, then place them in a freezer bag or airtight container. They can be frozen for up to 3 months. To use, defrost them overnight in the refrigerator or gently warm them in the microwave until thawed. Reheat them using the stovetop or microwave methods mentioned above.
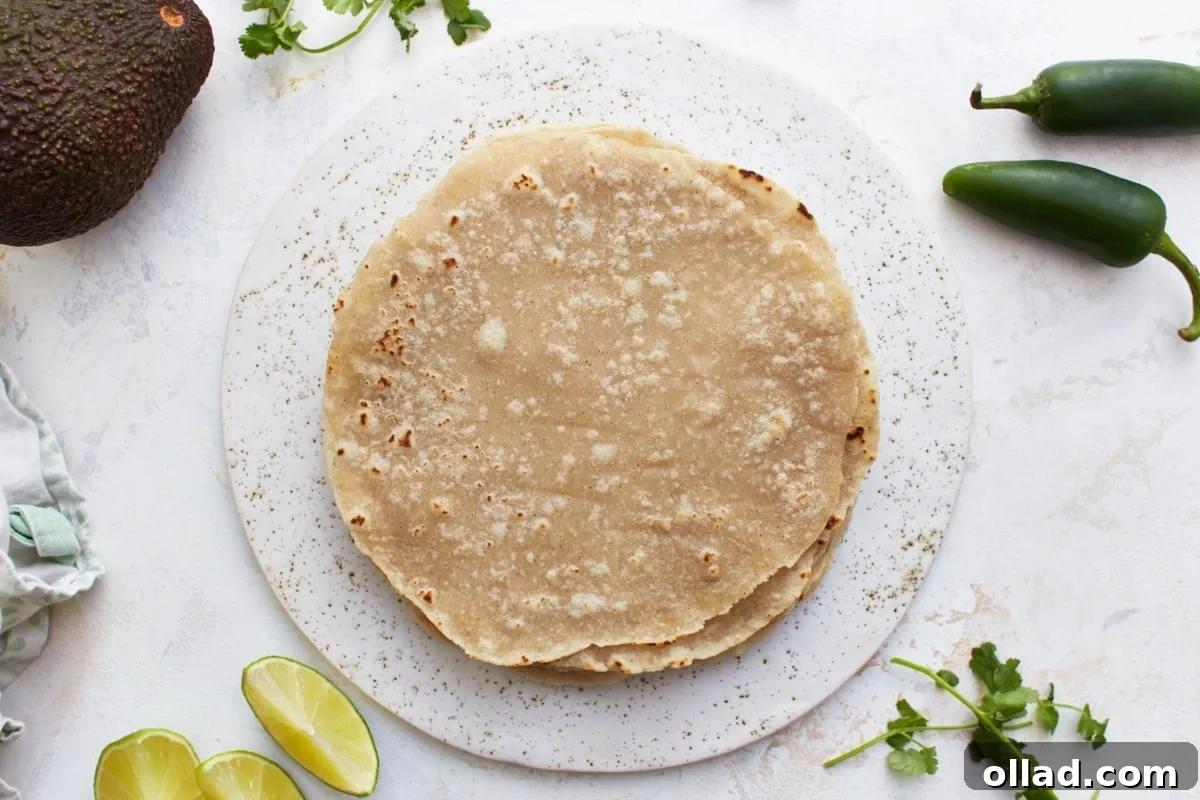
Troubleshooting Common Gluten-Free Tortilla Issues
Even with the best instructions, baking can sometimes present challenges. Here are solutions to common problems you might encounter with gluten-free tortillas:
- Tortillas are Stiff or Crumbly:
- Overcooked: This is the most common reason. Cook them just until lightly browned and bubbled, typically 30 seconds to 1 minute per side.
- Not enough moisture: Your dough might have been too dry. Ensure you’re using very warm water, and if the dough feels too stiff, add a teaspoon of water at a time until pliable.
- Too much flour during rolling: Excess flour makes the dough dry. Use parchment paper or plastic wrap instead of flouring your rolling pin or surface.
- Incorrect flour blend: Some gluten-free flour blends absorb liquid differently and may not be suitable for tortillas, or may require adjustments to the liquid amount.
- Dough is Too Sticky:
- Too much water: Gradually add a tablespoon of gluten-free flour at a time until the dough is soft but no longer excessively sticky.
- Not enough kneading: Ensure all liquid is fully absorbed and the dough forms a cohesive ball.
- Tortillas Aren’t Round (or tear easily):
- Uneven rolling: Practice makes perfect! Aim for even pressure with your rolling pin.
- Dough is too dry or too wet: Adjust consistency as noted above. Properly hydrated dough is more forgiving.
- Not using parchment or cling wrap: This helps in achieving smoother rolls.
- Tortillas Don’t Puff: While not strictly necessary for taste, a slight puff indicates good cooking. This is usually due to the pan not being hot enough or the dough being too thick. Ensure your pan is at medium-high heat.
Creative Ways to Enjoy Your Homemade Gluten-Free Tortillas
These versatile gluten-free tortillas are perfect for so much more than just tacos! Here are some ideas to inspire your next meal:
- Classic Tacos: Fill with your favorite seasoned meats, beans, fresh salsa, avocado, and a squeeze of lime.
- Burritos & Wraps: Ideal for wrapping up a hearty breakfast burrito, a healthy lunch wrap with hummus and veggies, or a substantial dinner burrito.
- Quesadillas: Layer with cheese, protein, and vegetables, then grill until melted and golden.
- Enchiladas: Roll them with fillings and bake them smothered in your favorite enchilada sauce.
- Homemade Tortilla Chips: Cut into wedges, brush with oil, sprinkle with salt, and bake or air fry until crispy.
- Mini Pizzas: Use as a quick gluten-free pizza base for individual servings.
- Breakfast Favorites: Try them with scrambled eggs, cheese, and hot sauce for a delicious breakfast.
- Dessert Wraps: Spread with Nutella and banana slices or cinnamon sugar and pan-fry for a sweet treat.
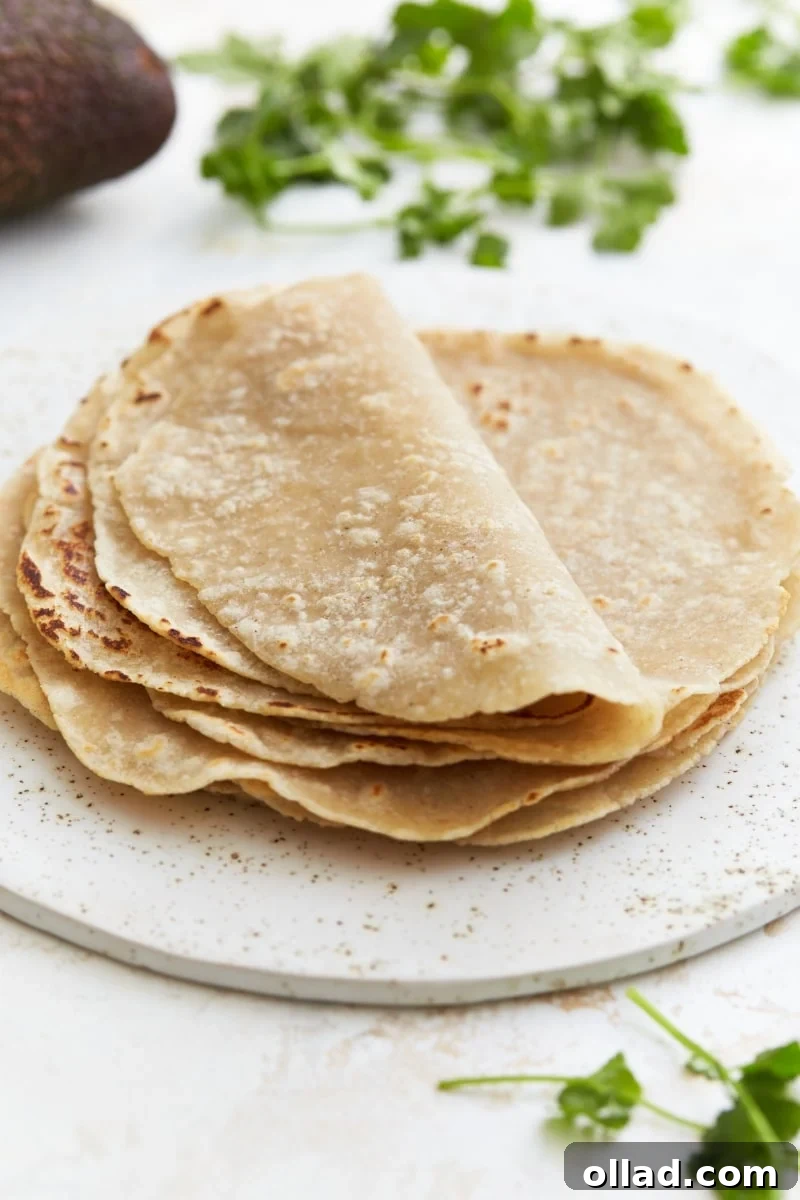
Don’t settle for mediocre store-bought gluten-free tortillas any longer! Making them from scratch is incredibly rewarding and easier than you might think. With this recipe, you’re guaranteed to produce soft, flexible, and delicious gluten-free flour tortillas perfect for any meal.
Frequently Asked Questions
Do I need a tortilla press for these gluten-free tortillas?
No, you do not need a tortilla press for this recipe! The dough is designed to be very easy to roll out by hand using a rolling pin and parchment paper or plastic wrap. This makes the recipe accessible even if you don’t have specialized equipment.
What is the best gluten-free flour blend to use?
For optimal softness and flexibility, I highly recommend using Better Batter gluten-free flour. It consistently performs best in this recipe. While other blends like Bob’s Red Mill 1-to-1, King Arthur Measure for Measure, and Pillsbury gluten-free can also work, results may vary. Always use an all-purpose gluten-free blend that contains xanthan gum for the best structure and elasticity.
Can I make the dough ahead of time?
While these tortillas are best enjoyed fresh, you can make the dough a few hours ahead of time. Store the dough ball wrapped tightly in plastic wrap in the refrigerator. Before rolling, let it come to room temperature for about 15-20 minutes to make it easier to work with.
Are these tortillas really dairy-free and vegan?
Yes, absolutely! This recipe is naturally dairy-free, egg-free, and vegan. It uses only plant-based ingredients: gluten-free flour, baking powder, salt, water, and vegetable oil. This makes them a fantastic option for anyone with allergies or specific dietary preferences.
Can I add flavorings to the dough?
Certainly! Feel free to experiment with flavor. You can add a pinch of garlic powder, onion powder, or a dash of chili powder to the dry ingredients for a savory twist. For a herbaceous note, finely chopped fresh herbs like cilantro or chives can also be incorporated into the dough.
More Delicious Gluten-Free Bread Recipes To Try!
- Easy Gluten-Free Bread
- Gluten-Free Sweet Cornbread
- Gluten-Free Bread Machine Bread
- Gluten-Free Dinner Rolls
Nutrition Information (Approximate Per Serving)
Serving: 1 tortilla
Calories: 105 kcal
Carbohydrates: 16 g
Protein: 2 g
Fat: 4 g
Saturated Fat: 3 g
Sodium: 199 mg
Fiber: 2 g
Sugar: 1 g
Calcium: 44 mg
Iron: 1 mg
Nutrition information is automatically calculated and should only be used as an approximation. Always check your labels.