
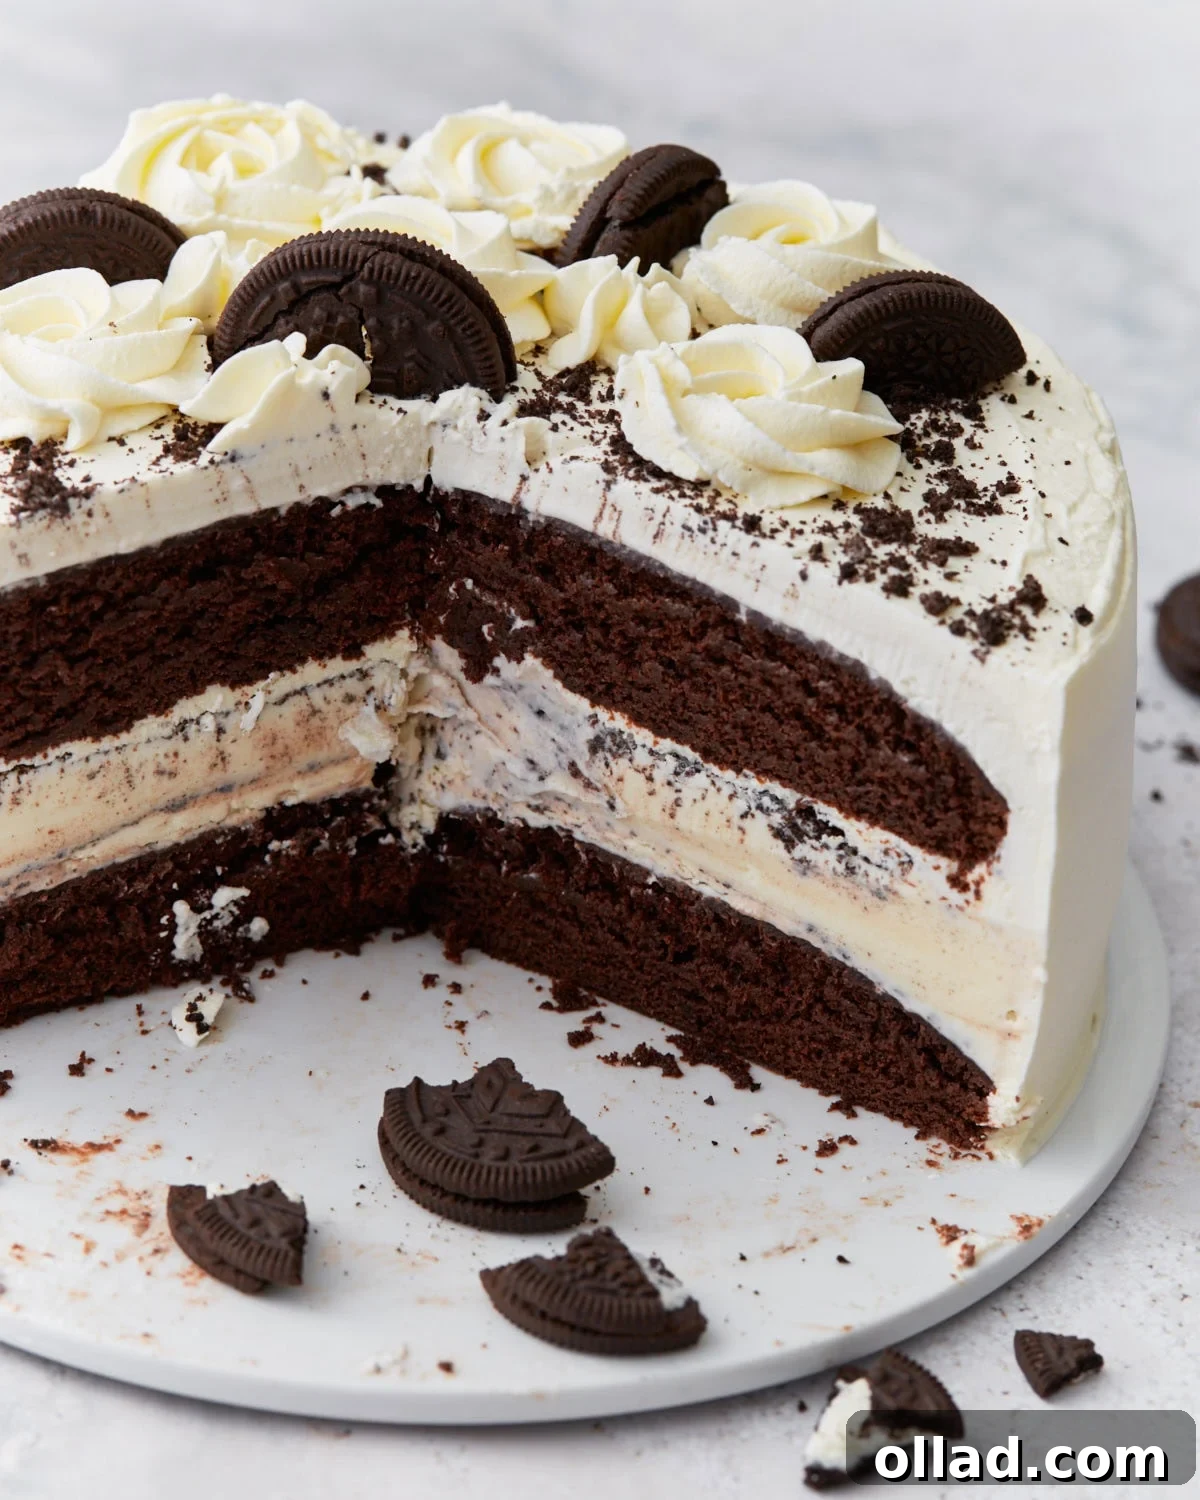
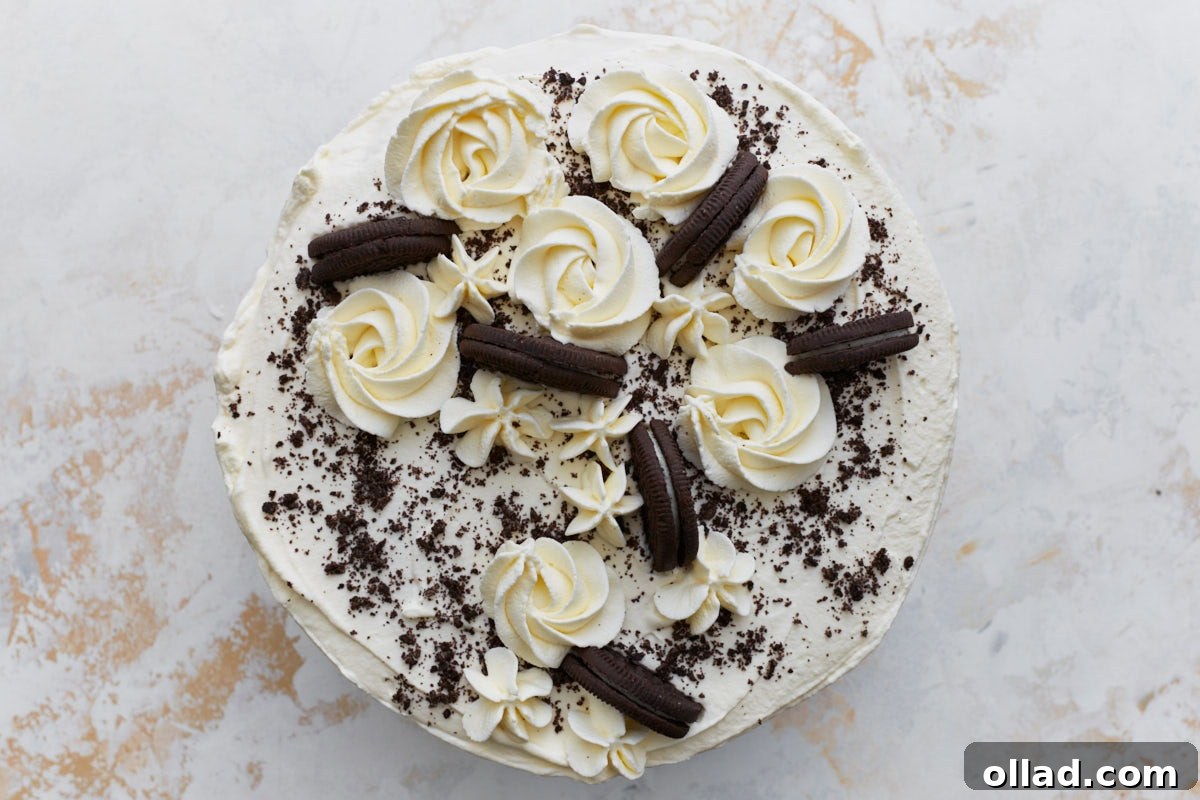
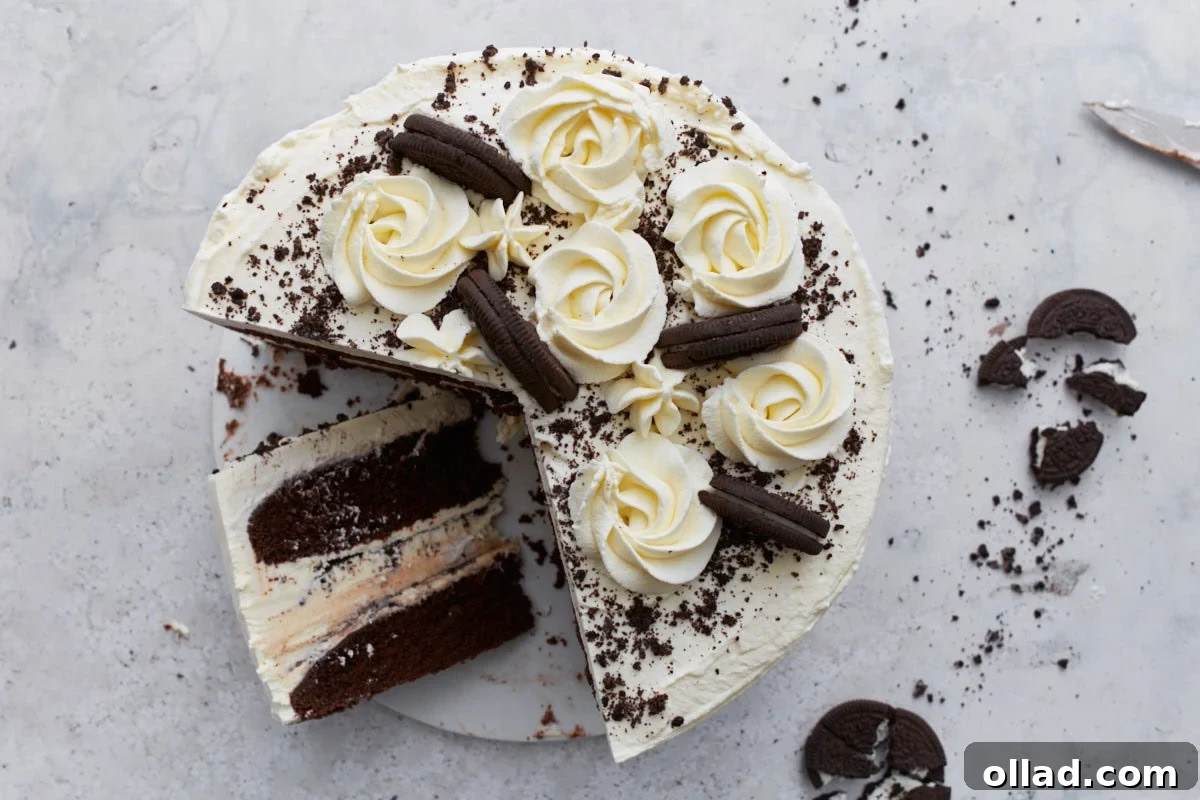
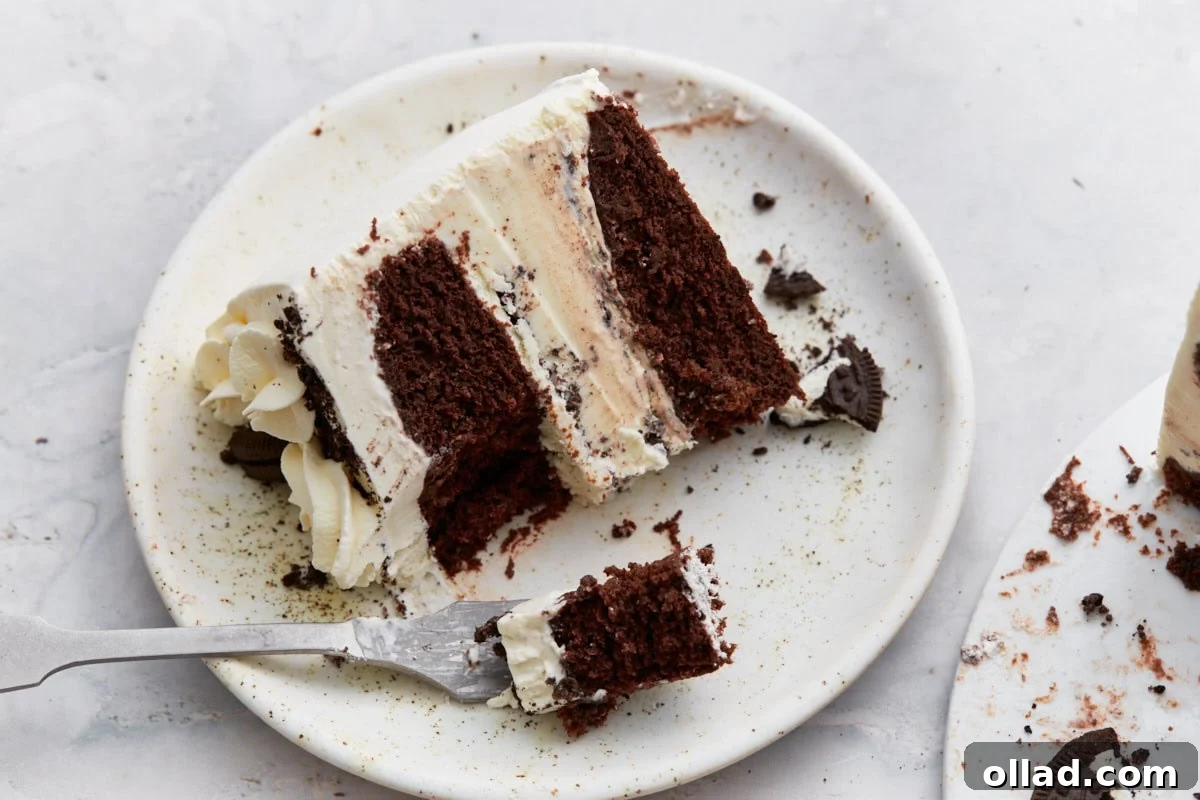
Step back in time to your favorite childhood memories with this incredibly easy and delicious gluten-free ice cream cake! Imagine two decadent layers of moist chocolate cake, perfectly complementing a generous filling of creamy vanilla ice cream. Each slice is a symphony of textures and flavors, crowned with a luscious homemade whipped cream frosting and delightful crumbled cookies. What’s even better? This entire recipe is designed to be completely gluten-free, and for those with dairy sensitivities, I’ve included a fantastic dairy-free option. This cake isn’t just for kids’ birthdays; it’s truly the ultimate frozen treat for those warm summer days, guaranteed to bring smiles all around!
This recipe is fantastic! The detailed instructions helped me put together a wonderful cake for my grandson. Have also made your gf vanilla cake and it is the best ever. Thanks for making gf taste like a traditional cake. Best ever!
– Luanne Alessandrini
Crafting the Perfect Gluten-Free Ice Cream Cake: A Nostalgic Treat
When my eldest son requested a gluten-free Oreo ice cream cake for his birthday, I knew that relying on standard store-bought options wouldn’t do. I wanted to create something truly special, a dessert that evoked the joyous, carefree days of my own childhood, but tailored to his dietary needs. This challenge inspired me to adapt my trusted gluten-free chocolate cake recipe, transforming it into the ultimate frozen delight.
The magic happened when I layered that rich chocolate cake with a generous helping of creamy vanilla ice cream, studded with crushed gluten-free chocolate sandwich cookies – just like Oreos! The finishing touch was a swirl of my homemade whipped cream frosting, or Cocowhip for a dairy-free alternative, and more cookie crumbles. The result was absolutely indistinguishable from the classic ice cream cakes I remembered. This recipe is not only incredibly easy to assemble but consistently earns rave reviews from my family and friends, proving that dietary restrictions don’t mean sacrificing flavor or fun.
Gluten-Free Ice Cream Cake Recipe
Audrey Roberts
16 servings
30 mins
30 mins
6 hrs
7 hrs 30 mins
Share by Email
Print Recipe
Find detailed step-by-step photos below the recipe card for visual guidance.
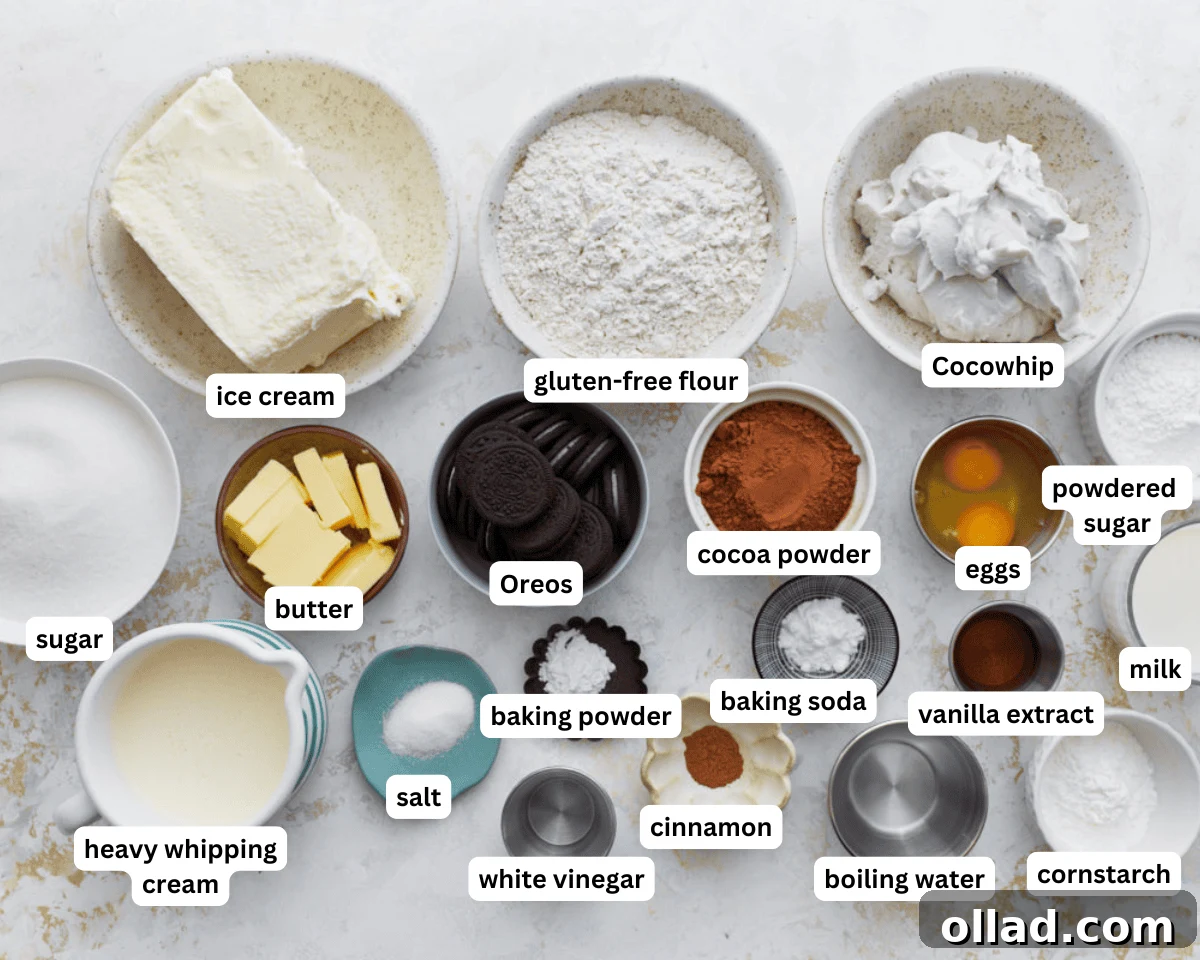
Ingredients
For the Cake
- 1 tablespoon white vinegar or lemon juice
- 1 cup milk, for dairy-free, use unsweetened almond milk.
- 2 cups all-purpose gluten-free flour with xanthan gum*, This recipe was developed with Pillsbury gluten-free flour. It is not suitable for almond, coconut, or oat flour.
- 1 teaspoon salt
- 1 teaspoon baking soda
- 1/2 teaspoon gluten-free baking powder
- 3/4 cup gluten-free cocoa powder
- 1/2 teaspoon ground cinnamon
- 9 tablespoons unsalted butter, softened (1/2 cup plus 1 tablespoon), for dairy-free, use Smart Balance butter.
- 2 cups granulated sugar
- 2 large eggs
- 1 teaspoon pure vanilla extract
- 3/4 cup boiling water
- 1 quart (48-ounces) gluten-free ice cream**
- 1 package gluten-free chocolate cookies, I recommend gluten-free Oreos, which are also dairy-free.
For the Whipped Cream Frosting (optional, you can also use Cool Whip or a dairy-free alternative)
- 2 cups heavy whipping cream
- 1 tablespoon pure vanilla extract
- 1/2 cup powdered sugar
- 1/4 cup corn starch
For Dairy-Free Frosting (Alternative)
- 9 oz. Cocowhip, one 9-ounce container. Alternatively, use this recipe from Go Dairy Free, adding cornstarch to stabilize.
Instructions
Preparing the Gluten-Free Chocolate Cake Layers
-
Preheat your oven to 350°F (177°C) to ensure it’s ready for baking.
-
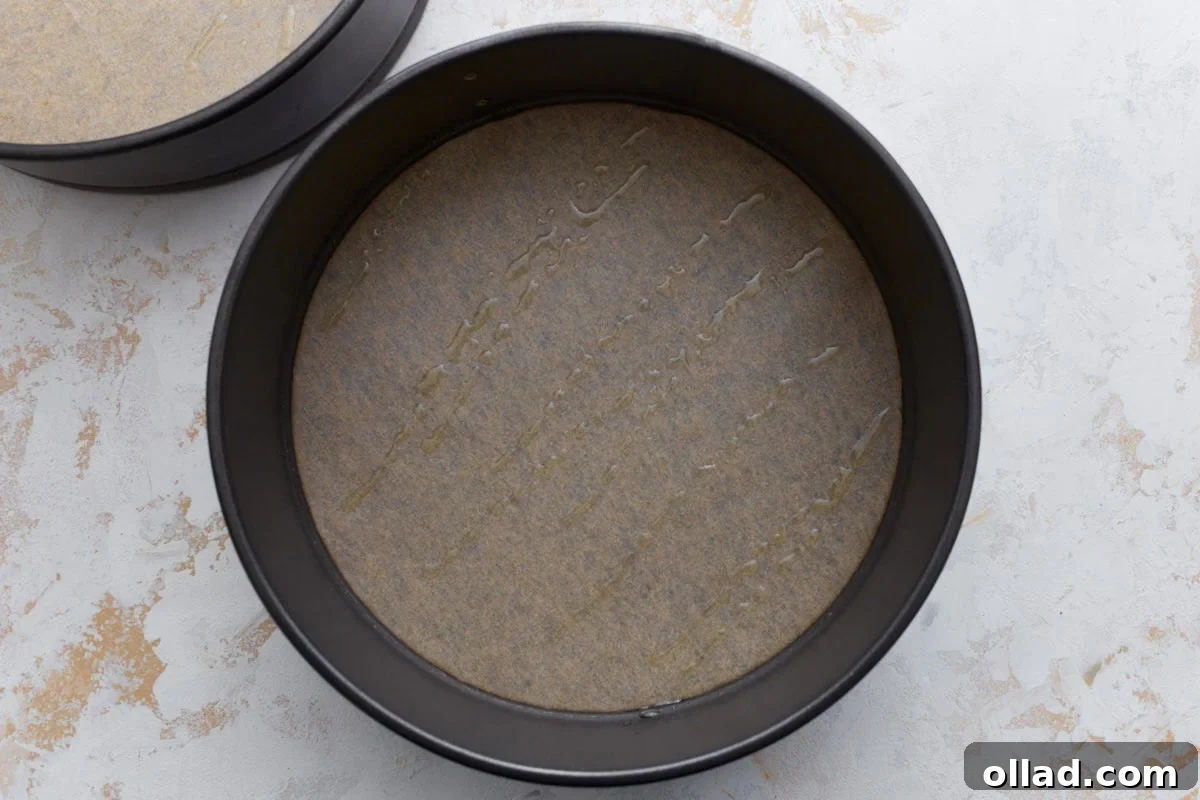
Prepare two 9-inch cake pans by lining the bottoms with parchment paper. Lightly spray the pans and paper with a gluten-free cooking spray (coconut oil spray works wonderfully).
-
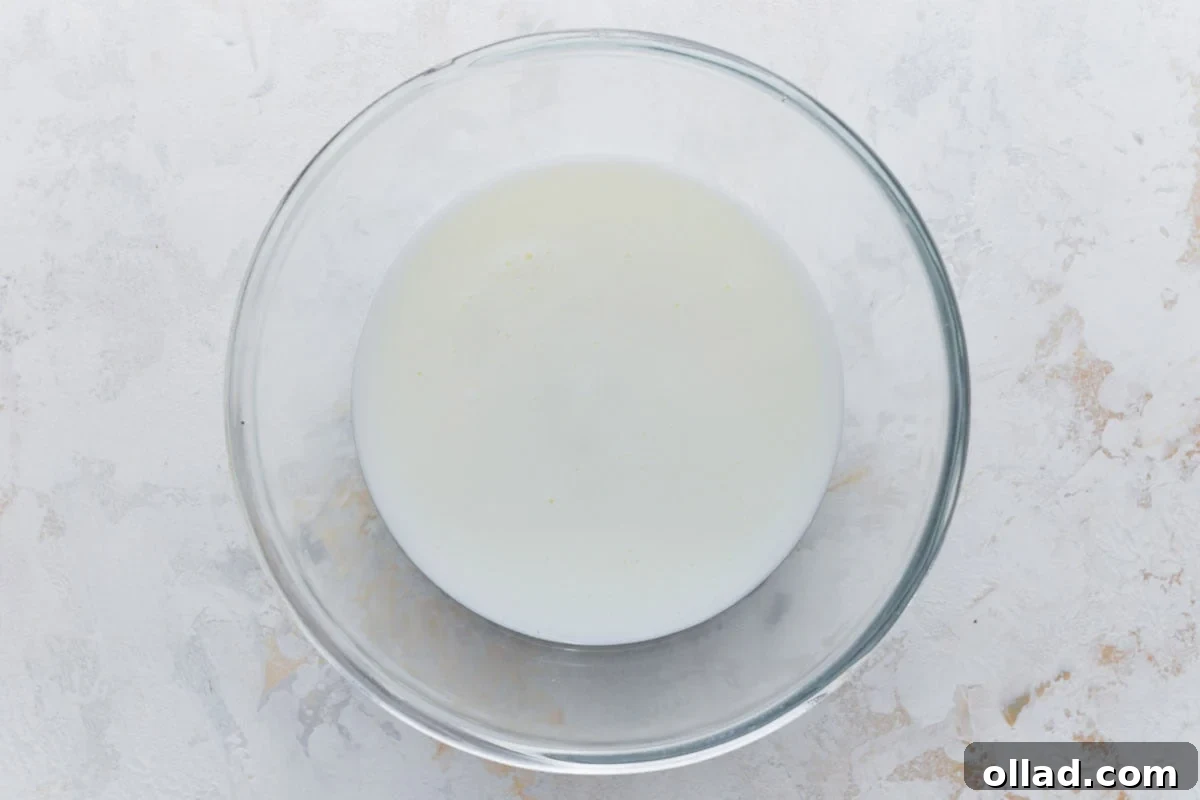
To create homemade buttermilk, combine 1 tablespoon of white vinegar or lemon juice with 1 cup of milk in a separate bowl. Let this mixture sit for a few minutes while you prepare other ingredients; it will slightly curdle, which is normal.
-
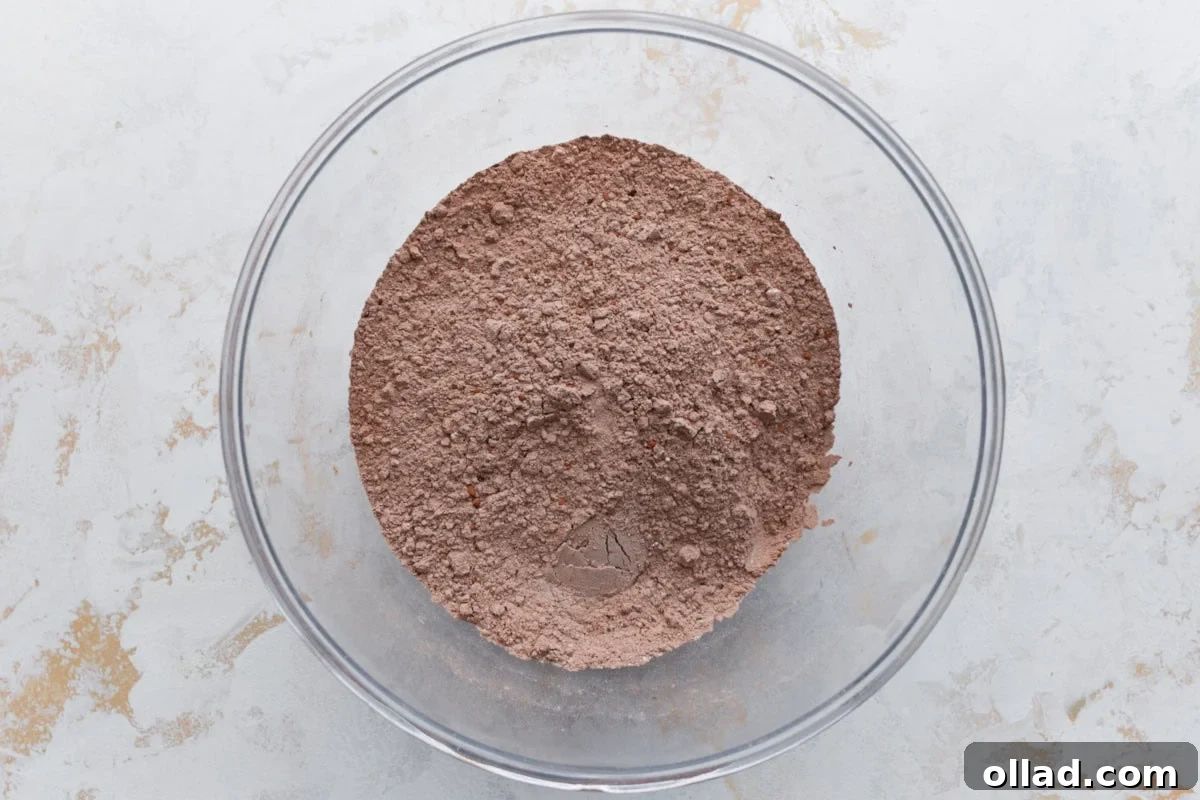
In a medium-sized bowl, whisk together the dry ingredients: 2 cups of gluten-free flour (with xanthan gum), 1 teaspoon of salt, 1 teaspoon of baking soda, ½ teaspoon of gluten-free baking powder, ¾ cup of cocoa powder, and ½ teaspoon of ground cinnamon. Ensure all ingredients are well combined.
-
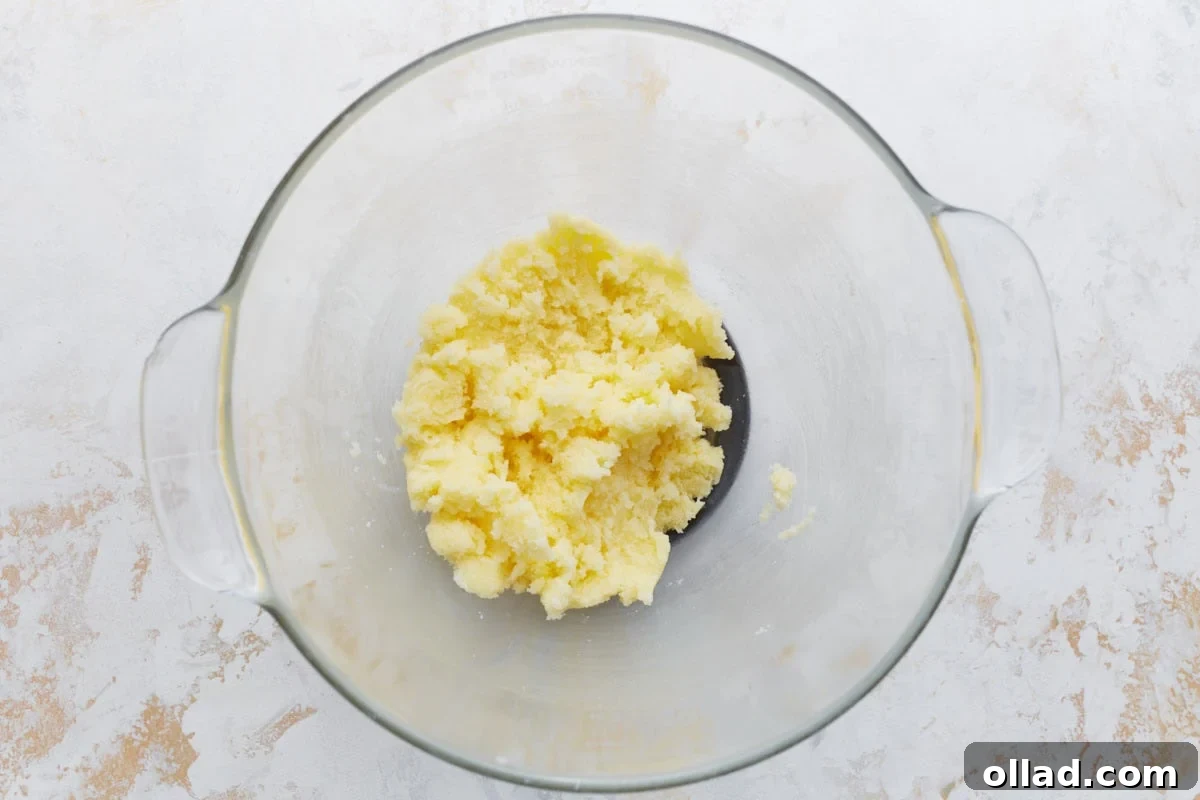
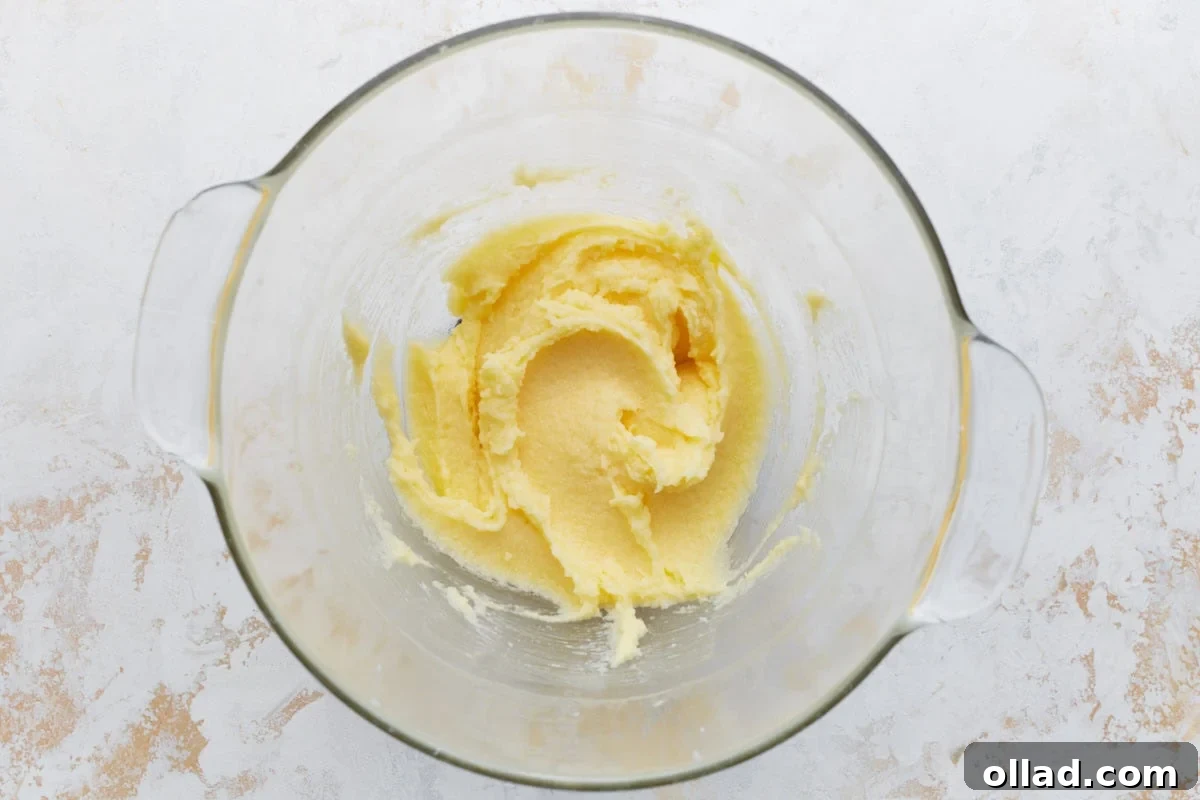
In a large mixing bowl, using an electric mixer (handheld or stand mixer), cream together 9 tablespoons of softened unsalted butter and 2 cups of granulated sugar until the mixture is light and fluffy. This usually takes 2-3 minutes.
-
Add the 2 large eggs and 1 teaspoon of pure vanilla extract to the butter mixture. Continue mixing until these ingredients are fully incorporated and the mixture is smooth.
-
Gradually add the prepared gluten-free flour mixture to the butter and sugar mixture. Mix on low speed until just combined, being careful not to overmix. Scrape down the sides of the bowl as needed to ensure everything is incorporated.
-
Pour the homemade buttermilk into the cake batter and mix until fully combined.
-
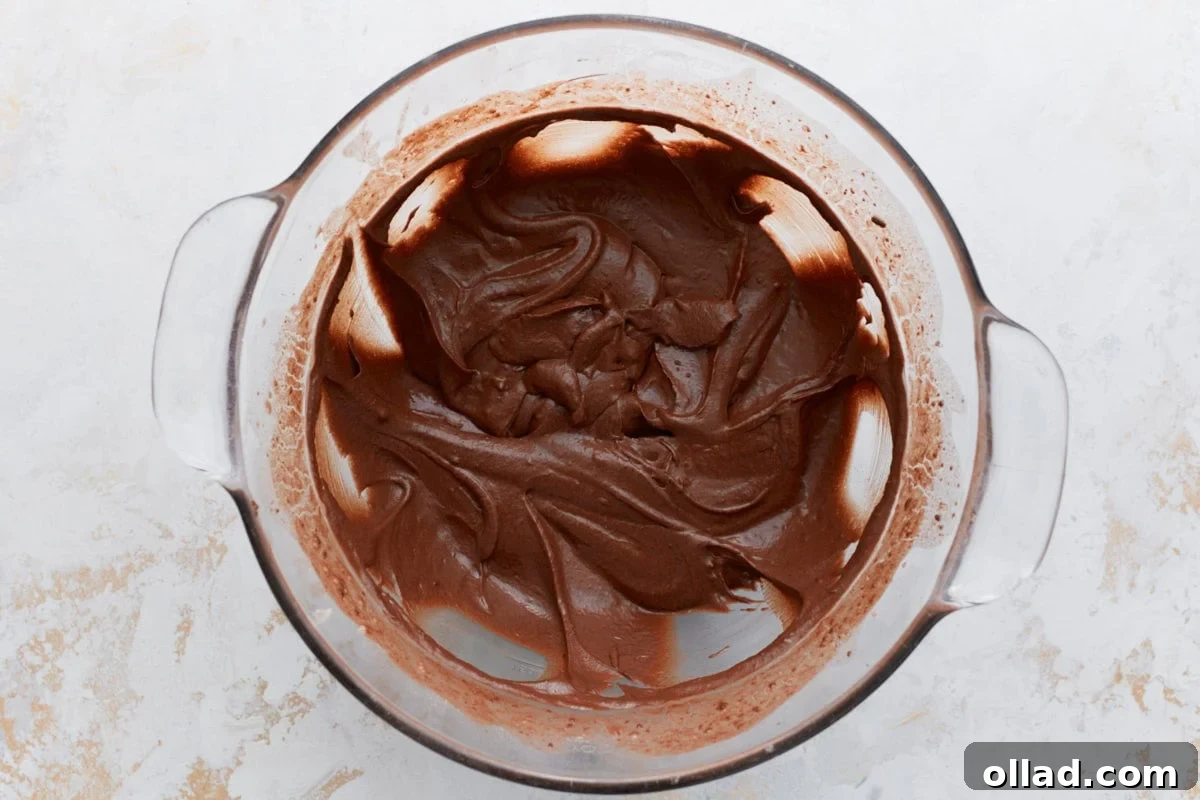
Carefully add ¾ cup of boiling water to the batter and mix until the batter is smooth and uniform. The batter will be thin, which is normal for this recipe.
-
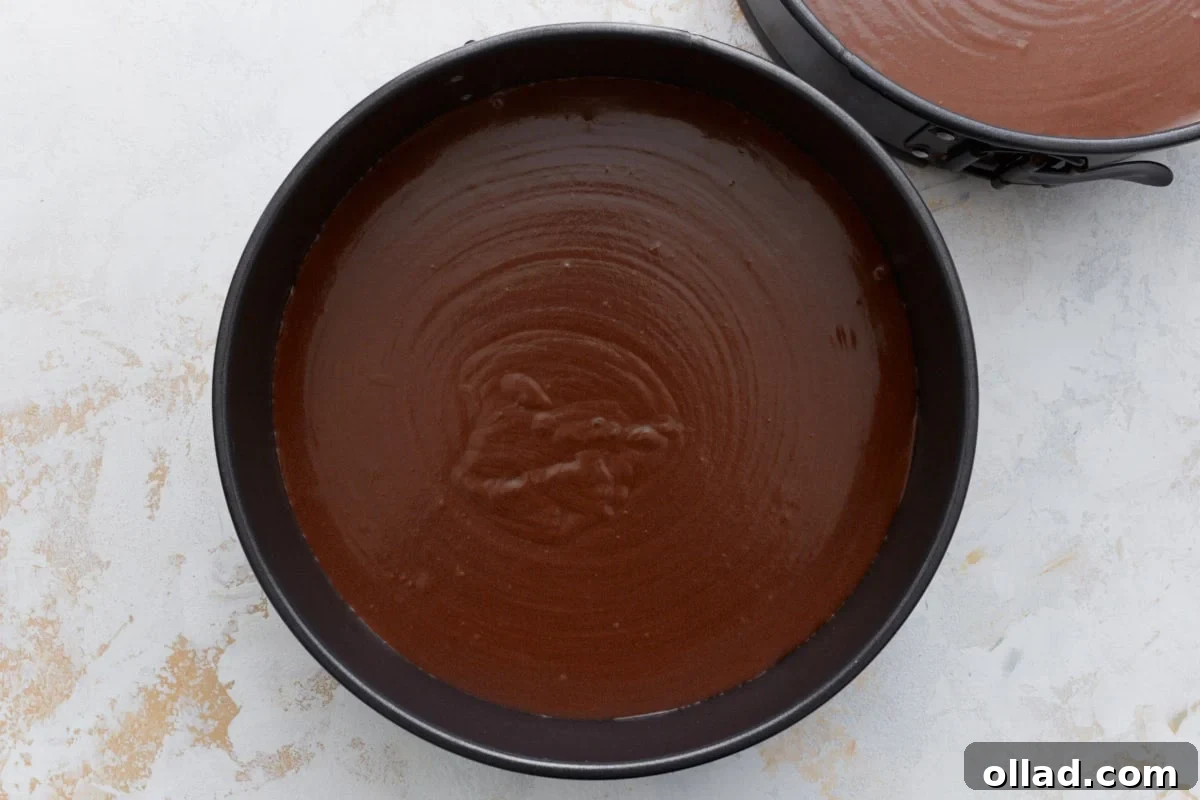
Evenly divide the cake batter between the two prepared 9-inch cake pans.
-
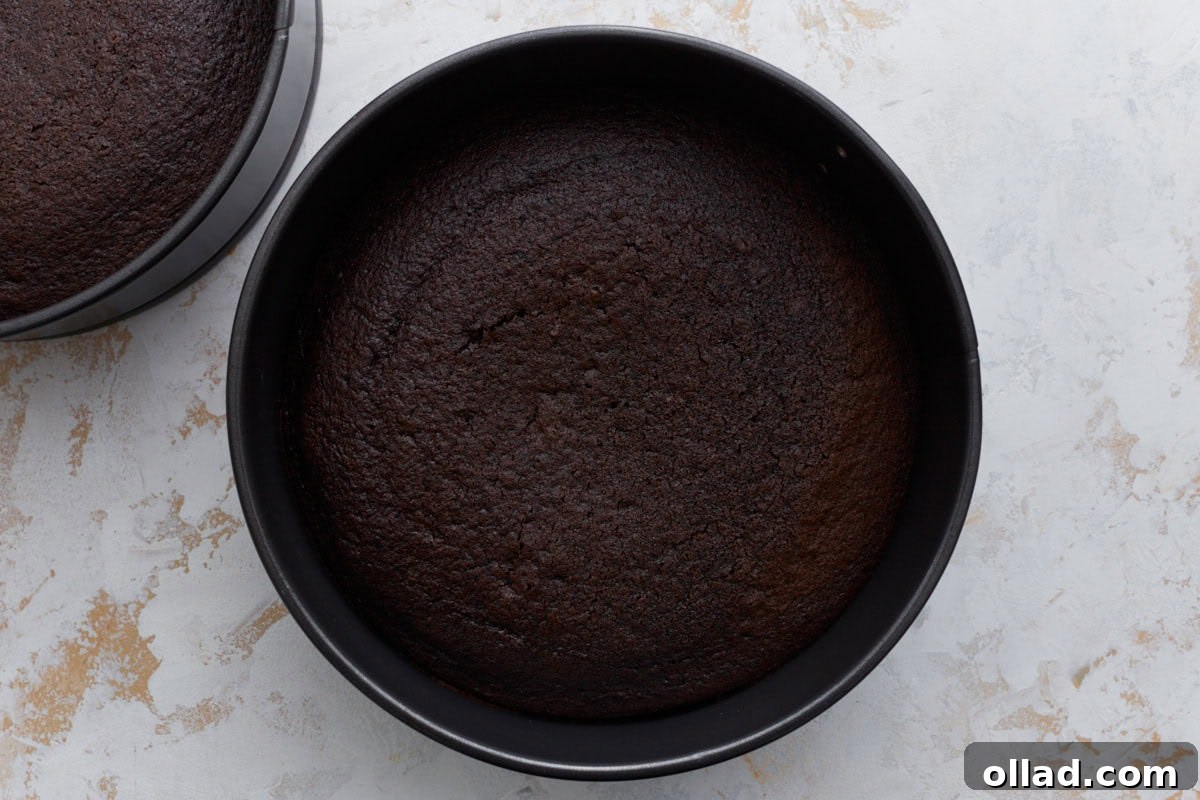
Bake the cakes on the middle rack of your preheated oven for 30-35 minutes. Baking times can vary depending on your oven, so keep an eye on them. You’ll know they’re done when a toothpick inserted into the center comes out clean, and the edges of the cake begin to pull slightly away from the sides of the pan.
-
Allow the baked cake layers to cool in their pans for 15 minutes before carefully removing them and transferring them to a wire rack to cool completely. This prevents them from breaking.
-
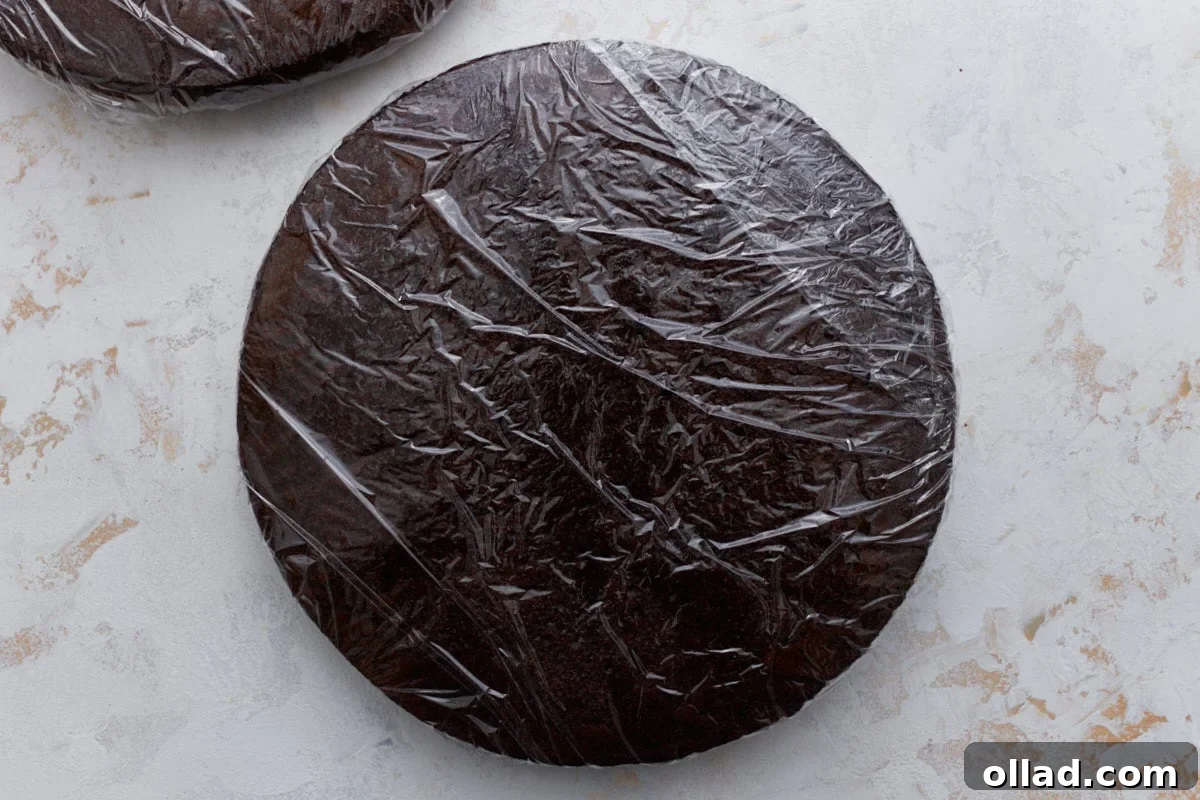
Once completely cool, wrap each cake layer tightly in plastic wrap or aluminum foil, then place them in a freezer-safe bag. Freeze the cake layers overnight, or for a minimum of 6 hours, to ensure they are firm enough for assembly.
Preparing the Ice Cream Layer
-
Remove the 1-quart (48-ounce) container of gluten-free ice cream from the freezer and let it soften at room temperature for about 5 minutes. It should be pliable but not melted.
-
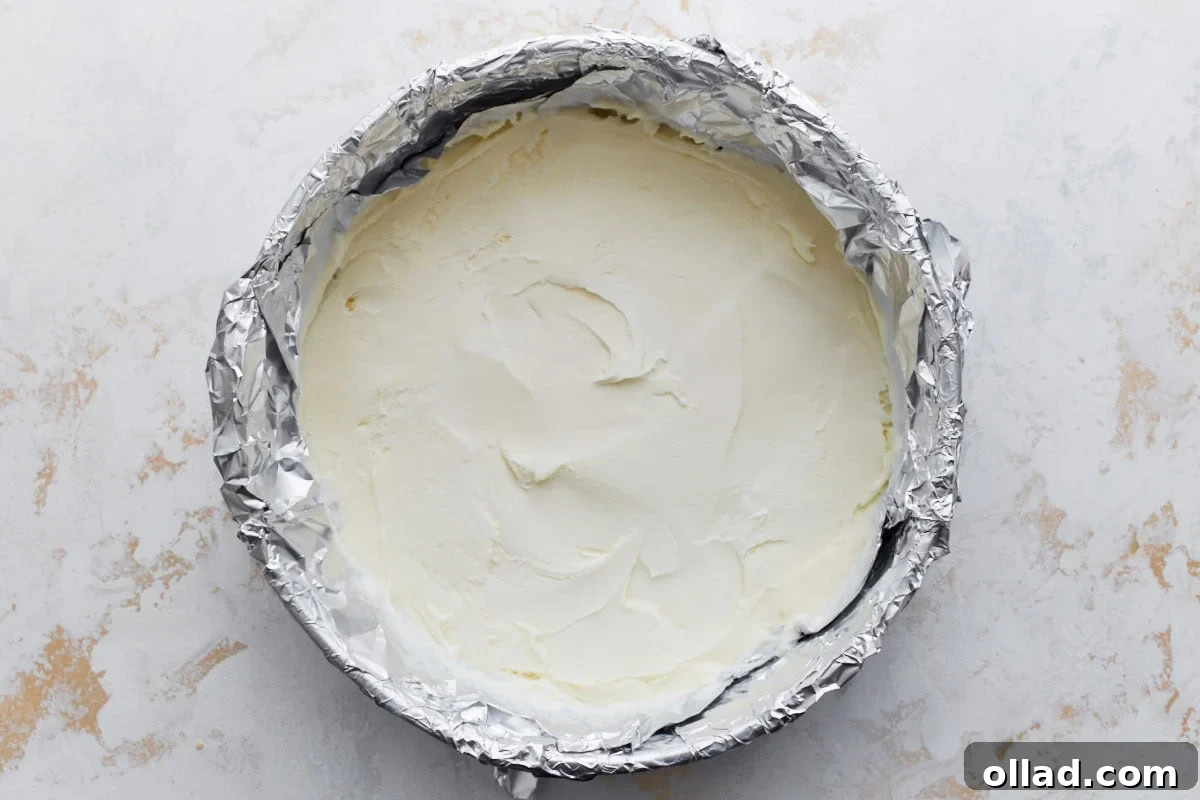
Line a clean 9-inch cake pan with aluminum foil or plastic wrap, ensuring there’s enough overhang to easily lift the ice cream layer out later. I prefer foil as it tends to stay in place better when pressing the ice cream.
-
Spoon the softened gluten-free ice cream into the foil-lined cake pan. Use a spatula to smooth the top surface evenly.
-
Cover the smoothed ice cream layer with another piece of foil or plastic wrap and return it to the freezer. Freeze overnight or for a minimum of 6 hours until it is completely firm.
Assembling Your Gluten-Free Ice Cream Cake
-
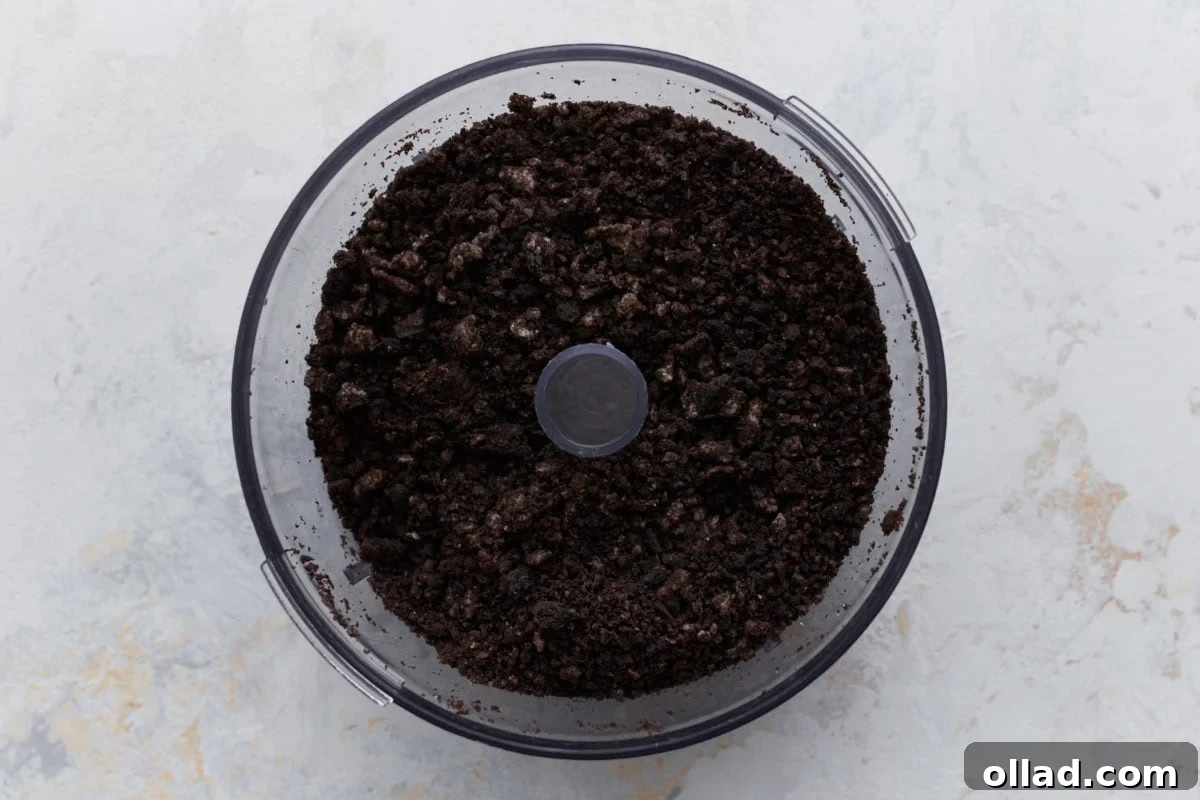
Crush the gluten-free chocolate cookies. You can do this quickly in a food processor or by placing them in a sturdy plastic storage bag and crushing them with a rolling pin until they are fine crumbs.
-
Prepare the homemade whipped cream frosting (instructions follow below) or have your dairy-free alternative ready.
-
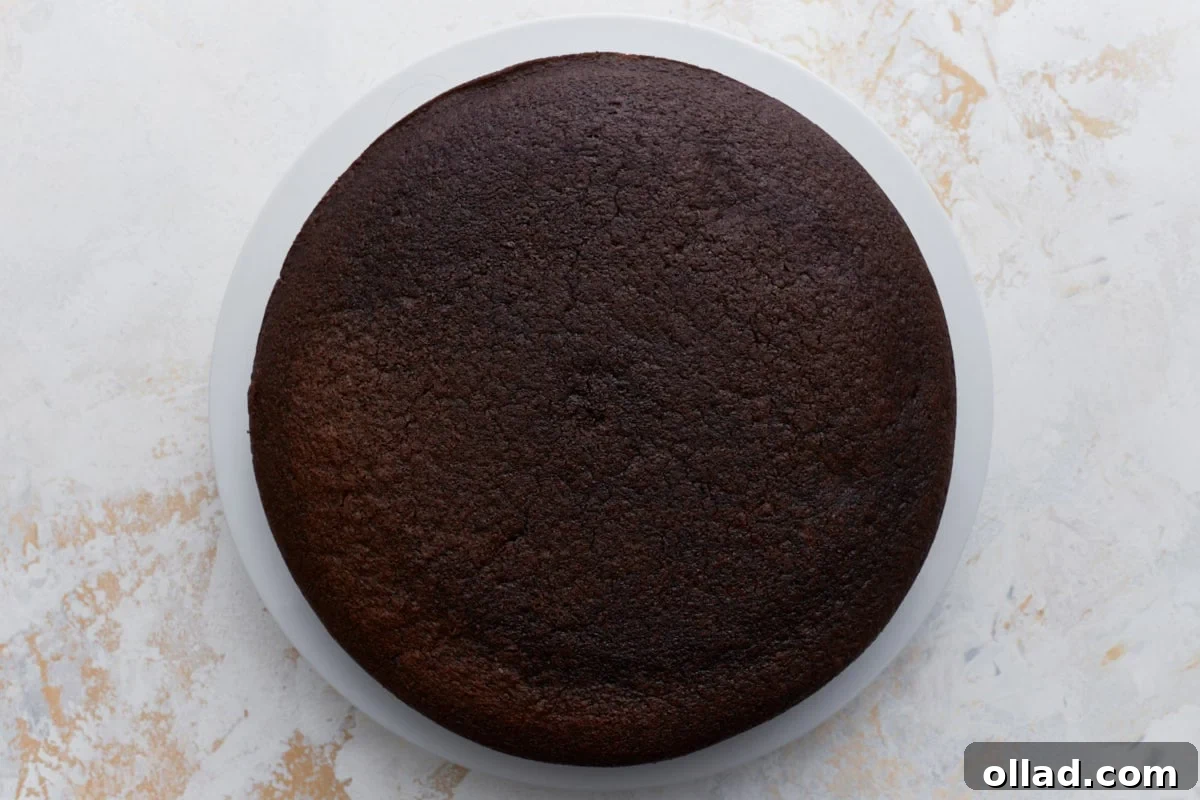
Place one of the frozen chocolate cake layers on your chosen cake platter or serving plate.
-
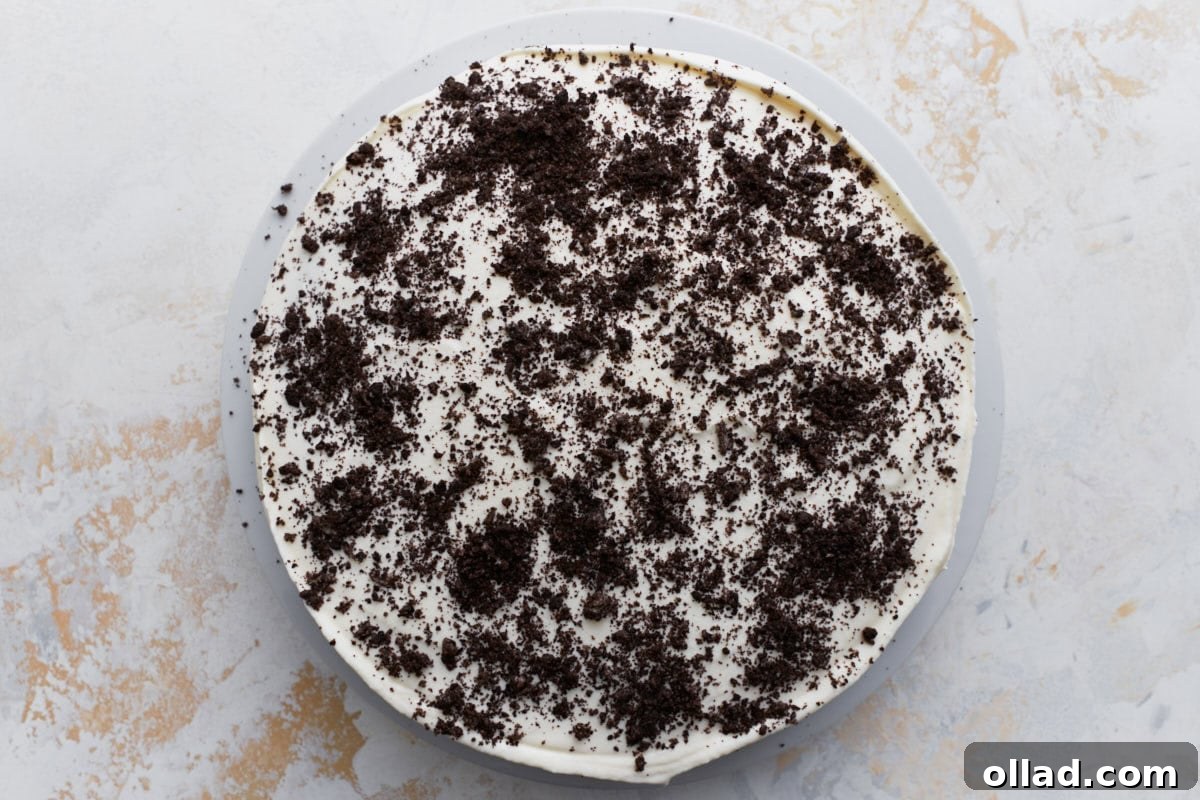
Spread a thin, even layer of whipped cream frosting over the top of the first cake layer. Sprinkle generously with some of the crushed gluten-free cookies.
-
Carefully remove the frozen ice cream layer from its foil lining and center it on top of the first cake layer. Gently press down to ensure it adheres.
-
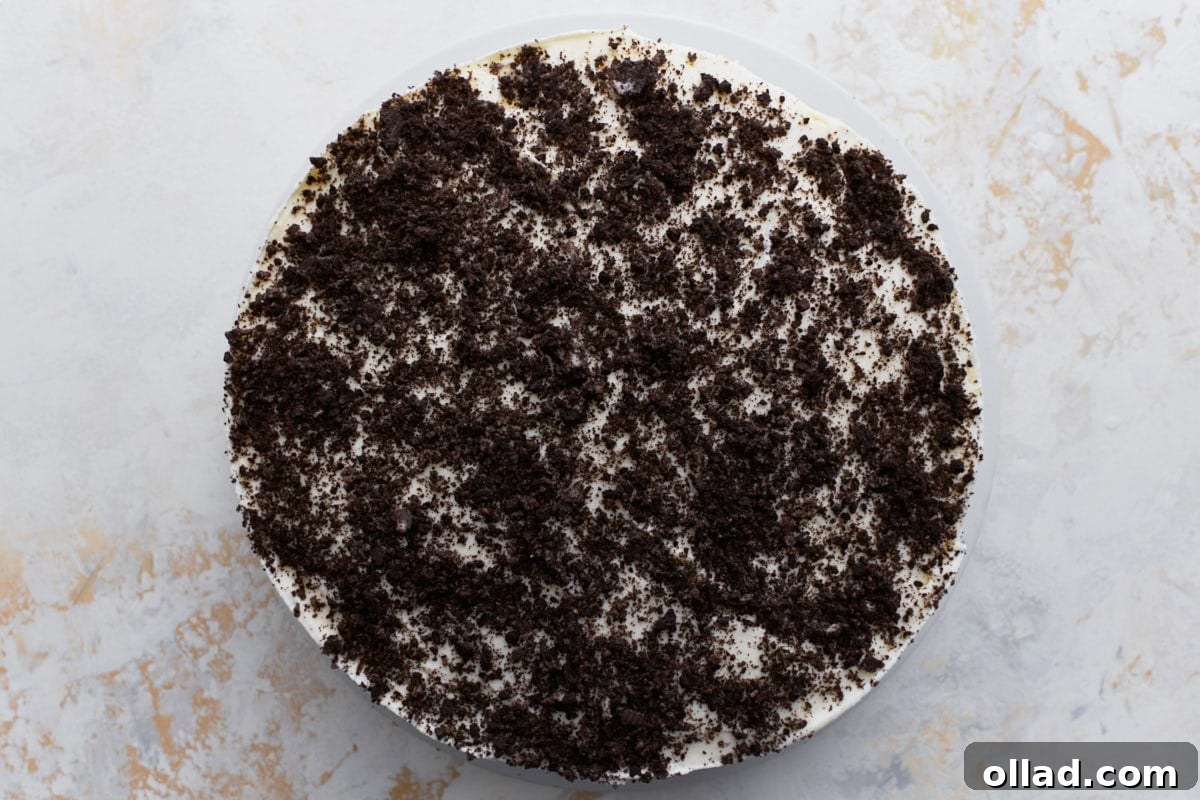
Sprinkle another layer of crushed gluten-free cookies evenly over the ice cream layer. This adds extra crunch and flavor.
-
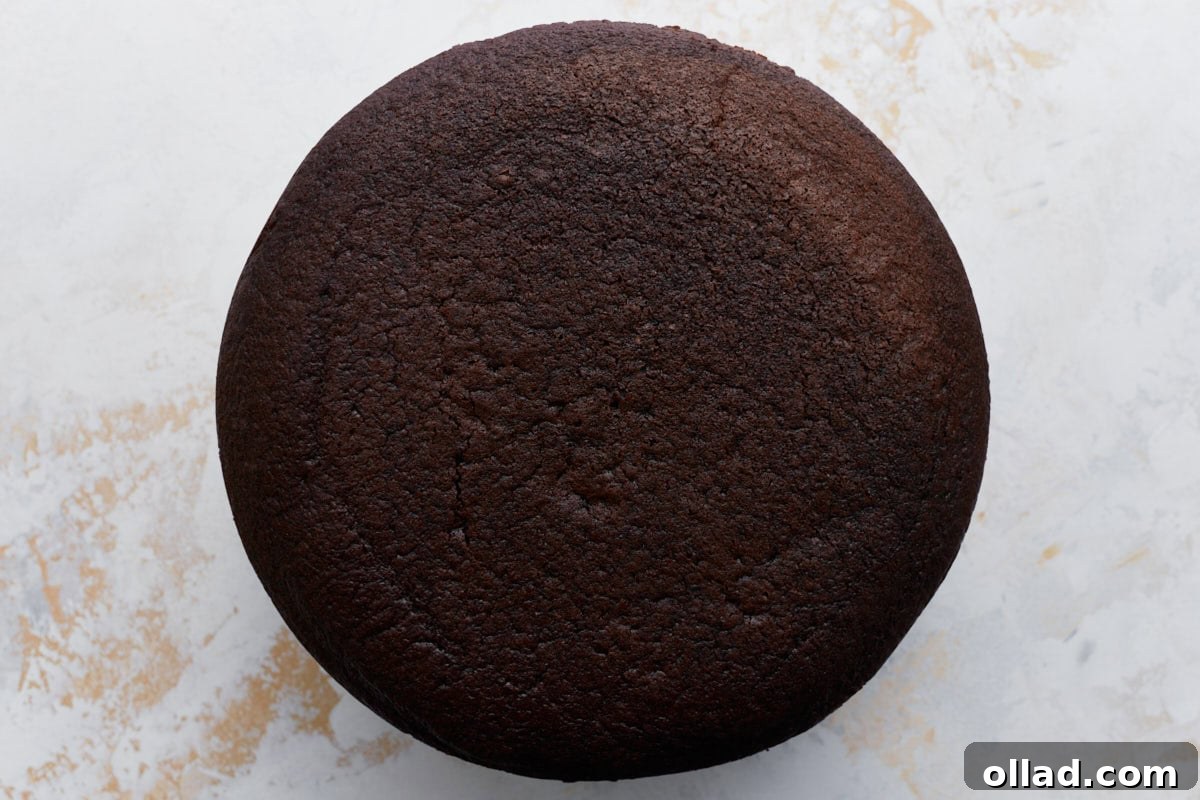
Place the second frozen cake layer directly on top of the ice cream and cookie layer.
-
Generously cover the entire assembled cake with the remaining whipped cream frosting. If you are using dairy-free Cocowhip, remember it tends to be softer than stabilized whipped cream, so you might prefer to only frost the top for easier handling.
-
For a decorative touch, use a star piping tip (like a Wilton 1M) to add rosettes or dollops of whipped cream around the top edge of the cake. Finish by scattering additional whole and crushed gluten-free cookies over the top for a festive presentation.
-
Serve your stunning ice cream cake immediately, or return it to the freezer until you are ready to enjoy it.
-
For effortless slicing, take the cake out of the freezer and let it sit in the refrigerator for about 30 minutes, or at room temperature for 15 minutes, before cutting. Use a sharp knife dipped in hot water and wiped clean between slices for the neatest cuts through the frozen layers.
-
Store any leftover slices in a freezer-safe, airtight container and place them back in the freezer to maintain their delightful texture.
Making the Homemade Whipped Cream Frosting
-
For the best results, place your mixing bowl (preferably metal) and whisk attachment in the refrigerator or freezer for at least 10-15 minutes to chill thoroughly.
-
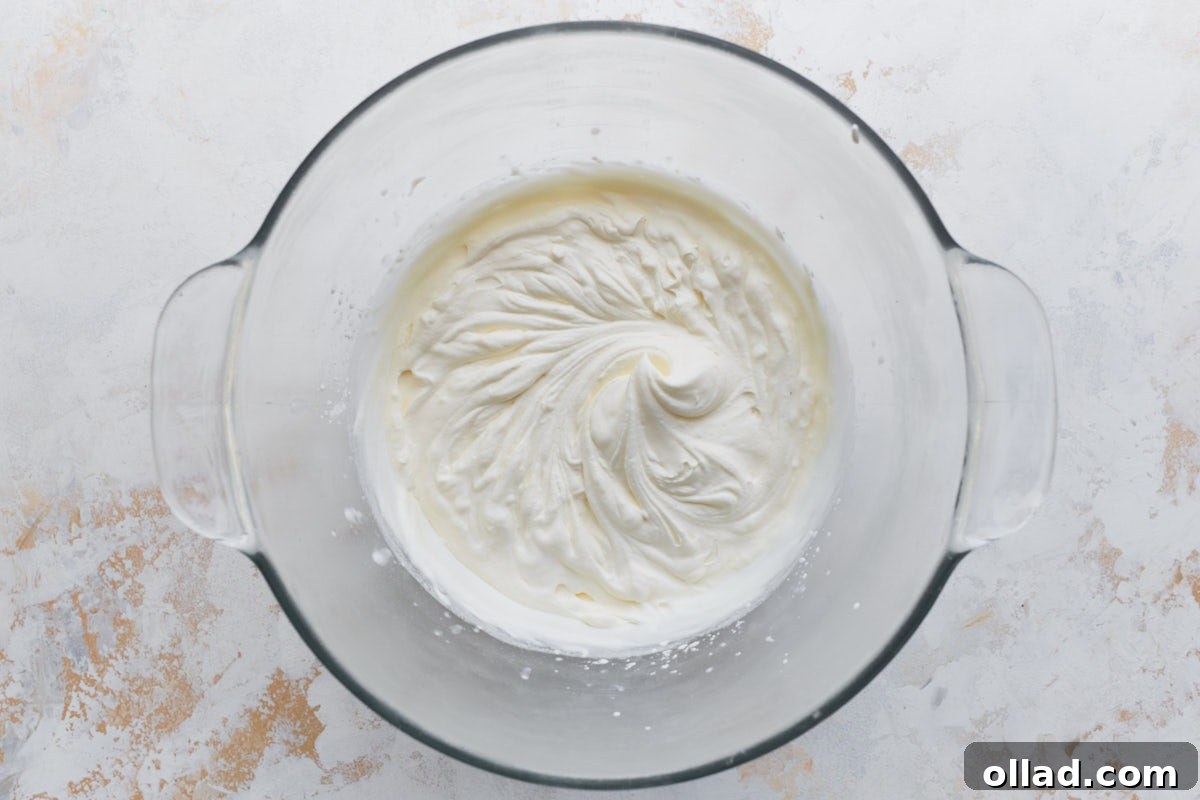
In the cold mixing bowl, pour in 2 cups of heavy whipping cream. Begin whipping on medium speed for about 15-30 seconds, or until the cream starts to look foamy.
-
Add 1 tablespoon of pure vanilla extract, ½ cup of powdered sugar, and ¼ cup of cornstarch (the cornstarch helps stabilize the whipped cream, preventing it from weeping). Continue mixing at medium-high speed until stiff peaks form and the frosting is firm and holds its shape.
-
Once prepared, refrigerate the whipped cream frosting immediately until you are ready to frost your cake.
Recipe Notes and Tips
**For a fantastic dairy-free option, I highly recommend Aldi’s Earth Grown Almond Milk Ice Cream. Other excellent brands that offer delicious gluten-free AND dairy-free ice cream flavors include Ben & Jerry’s and So Delicious. However, always be vigilant and double-check the labels, as not all flavors within these brands are guaranteed to be gluten-free or dairy-free. Brands frequently update ingredients, so it’s always best to verify!
***When opting for the dairy-free Cocowhip, please note that it is generally softer in consistency than traditional stabilized whipped topping. For this reason, for the dairy-free version of this cake, I typically only frost the top surface rather than attempting to cover the entire cake. This makes for easier handling and presentation.
Nutrition Facts (Approximate)
Calories: 480kcal
Carbohydrates: 60g
Protein: 7g
Fat: 26g
Saturated Fat: 16g
Polyunsaturated Fat: 1g
Monounsaturated Fat: 7g
Trans Fat: 0.3g
Cholesterol: 102mg
Sodium: 316mg
Potassium: 243mg
Fiber: 3g
Sugar: 44g
Vitamin A: 942IU
Vitamin C: 1mg
Calcium: 144mg
Iron: 1mg
Nutrition information is automatically calculated, so should only be used as an approximation.
Additional Information
Dessert
American
How To Make Gluten-Free Ice Cream Cake: A Visual Guide
Follow these detailed steps, complete with visual cues, to create your show-stopping gluten-free ice cream cake.
Why This Gluten-Free Ice Cream Cake is a Must-Try
This recipe isn’t just about making a delicious dessert; it’s about inclusivity and bringing joy to everyone, regardless of dietary restrictions. For those living gluten-free, finding a truly satisfying ice cream cake that doesn’t compromise on taste or texture can be a real challenge. This recipe ensures that everyone can indulge in a classic treat that tastes exactly like, if not better than, its traditional counterpart. It’s perfect for summer celebrations, birthday parties, or simply as a special family dessert. The combination of rich chocolate cake, cool ice cream, and sweet whipped frosting is universally appealing, and the added crunch of cookies makes it absolutely irresistible.
Furthermore, the dairy-free option means that even more people can enjoy this fantastic dessert. Using readily available dairy-free alternatives for milk, butter, and ice cream makes this recipe accessible and adaptable. It’s a testament to how creative baking can bridge dietary gaps, ensuring no one misses out on the fun of a decadent ice cream cake. Its make-ahead nature also makes it a stress-free option for entertaining, allowing you to enjoy your event without last-minute kitchen dashes.
Endless Flavor Variations to Delight Your Palate
The beauty of this gluten-free ice cream cake recipe lies in its incredible versatility! While the chocolate cake with vanilla ice cream and “Oreo” style cookies is a proven winner, don’t hesitate to unleash your creativity and experiment with different flavors. The possibilities are truly endless, allowing you to tailor this frozen masterpiece to any occasion or preference.
For example, I recently experimented with our light and fluffy gluten-free vanilla cake layers, filling them with sweet strawberry ice cream and topping them with crumbled gluten-free shortbread cookies. The result was a vibrant, fruity delight perfect for spring. Imagine combining the rich chocolate cake from this recipe with a cool and refreshing mint chocolate chip ice cream, or a peanut butter swirl ice cream for a truly indulgent experience. You could even use coffee ice cream for an adult-friendly twist! For the cookie component, consider crushed gluten-free graham crackers, sprinkles, chocolate chips, or even a drizzle of caramel or hot fudge for extra flair.
The key is to remember that nearly any flavor combination of gluten-free ice cream and cake will work beautifully. Just be sure to diligently check the labels of all your chosen ingredients to confirm they are indeed gluten-free and dairy-free if needed. This simple step ensures your delicious creation is safe and enjoyable for everyone!
Tips for the Perfect Gluten-Free Ice Cream Cake
- Ensure Cake Layers are Completely Frozen: Freezing the cake layers overnight is crucial. This makes them much easier to handle without breaking and prevents them from getting soggy when in contact with the ice cream.
- Soften Ice Cream Just Right: Don’t let your ice cream melt completely. It should be soft enough to spread easily but still firm enough to hold its shape when transferred to the pan. About 5-10 minutes at room temperature is usually sufficient.
- Chill Your Whipped Cream Tools: For the best, most stable whipped cream, always chill your mixing bowl and whisk attachment in the freezer for at least 10-15 minutes before whipping. This helps the cream whip up faster and maintain its volume.
- Use Quality Gluten-Free Flour: The success of your cake largely depends on the gluten-free flour blend. Use a reputable all-purpose gluten-free flour blend that contains xanthan gum for structure. As mentioned, this recipe works best with a blend like Pillsbury.
- Don’t Rush the Freezing Steps: Allow ample time for both the cake layers and the ice cream layer to freeze solid. Rushing this process can lead to a messy assembly and a cake that doesn’t hold its shape well.
- Warm Your Knife for Slicing: For perfectly clean slices, especially through the frozen ice cream layer, dip a sharp, thin knife into hot water and wipe it dry between each cut. This creates a smooth cut and prevents the ice cream from sticking.
- Plan Ahead for Dairy-Free: If making a dairy-free version, be mindful of the frosting. Cocowhip is delicious but softer. Consider freezing the cake after the ice cream layer is added, then frosting right before serving to minimize melting.
Storage Instructions
Proper storage is key to enjoying your gluten-free ice cream cake for as long as possible. Leftover slices can be easily stored in a freezer-safe, airtight container. To prevent freezer burn and maintain optimal freshness, ensure the container is tightly sealed. These slices will keep beautifully in the freezer for 1-2 months.
If you’re planning to make this show-stopping cake in advance for a special event, I recommend preparing the cake layers and the ice cream layer ahead of time. Wrap each component tightly in plastic wrap and store them (unfrosted) in the freezer for up to 3 months. When you’re ready to serve, simply assemble and frost the cake while it’s still frozen, then slice and enjoy! This method not only saves time on the day of your event but also ensures your cake is perfectly fresh.
Frequently Asked Questions (FAQ)
Can I make this ice cream cake ahead of time?
Absolutely! This cake is perfect for making ahead. You can prepare and freeze the cake layers and the ice cream layer up to 3 months in advance. Assemble and frost the day before or the day of serving.
What if my gluten-free flour doesn’t contain xanthan gum?
If your gluten-free all-purpose flour blend does not contain xanthan gum, you will need to add it separately. A good rule of thumb for cakes is to add about ½ teaspoon of xanthan gum per cup of gluten-free flour. For this recipe, that would be 1 teaspoon of xanthan gum.
Can I use different flavored ice cream or cake?
Yes, feel free to get creative! This recipe is incredibly versatile. You can swap the vanilla ice cream for strawberry, mint chocolate chip, coffee, or any other gluten-free flavor you enjoy. You can also use a gluten-free vanilla cake recipe instead of chocolate for a different base. Just remember to check all labels for gluten-free certification.
How do I prevent the cake from getting soggy?
The key to preventing sogginess is to ensure both your cake layers and ice cream layer are fully frozen before assembly. The swift freezing helps maintain the structure and prevents the ice cream from softening the cake prematurely.
More Delicious Gluten-Free Cake Recipes to Explore!
Gluten-Free Carrot Cake
Gluten-Free Vanilla Cupcakes
Gluten-Free Birthday Cake
Gluten-Free Strawberry Cake
Indulge in a Gluten-Free Celebration
This easy gluten-free ice cream cake is more than just a recipe; it’s an invitation to celebrate without compromise. Whether you’re navigating dietary needs or simply looking for an impressive yet straightforward dessert, this cake delivers on all fronts. With its moist chocolate cake layers, creamy ice cream, and luscious frosting, it’s a delightful journey back to beloved childhood treats, reimagined for modern tastes. So go ahead, whip up this amazing frozen dessert, customize it with your favorite flavors, and watch as it becomes a cherished centerpiece at your next gathering. Happy baking, and even happier eating!