
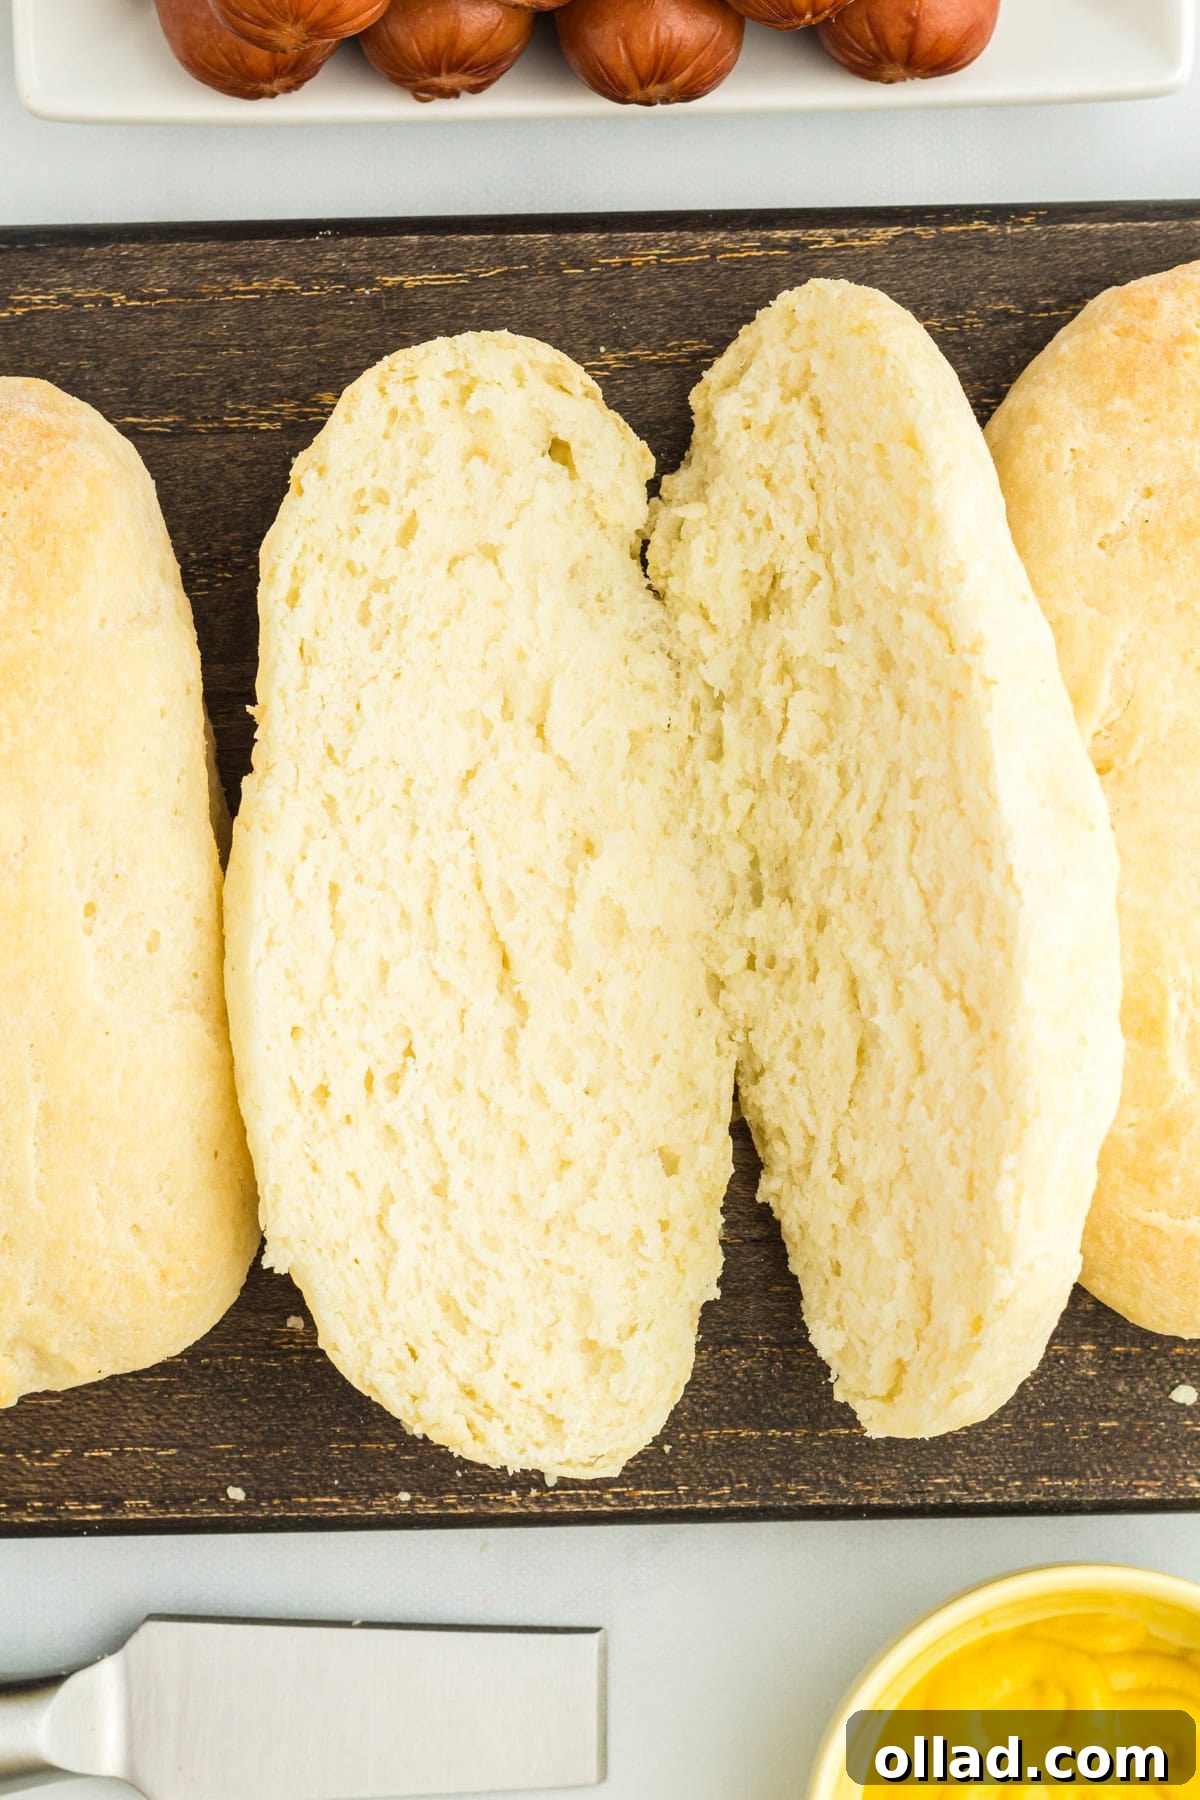
Are you tired of searching for good quality, flavorful gluten-free hot dog buns at the grocery store, only to be disappointed? Many commercially available gluten-free options can be dense, crumbly, or lack that authentic soft and fluffy texture essential for a perfect hot dog. The good news is, you don’t have to settle! This incredibly easy homemade gluten-free hot dog bun recipe is a game-changer. Designed to be surprisingly quick to make, taking less than an hour from start to finish, these buns will emerge from your oven light, airy, and bursting with delicious flavor, ready to elevate your grilling season to new heights. Say goodbye to dry, brittle buns and hello to perfectly soft, golden-brown perfection that cradles your favorite hot dogs, sausages, or even veggie dogs with grace.
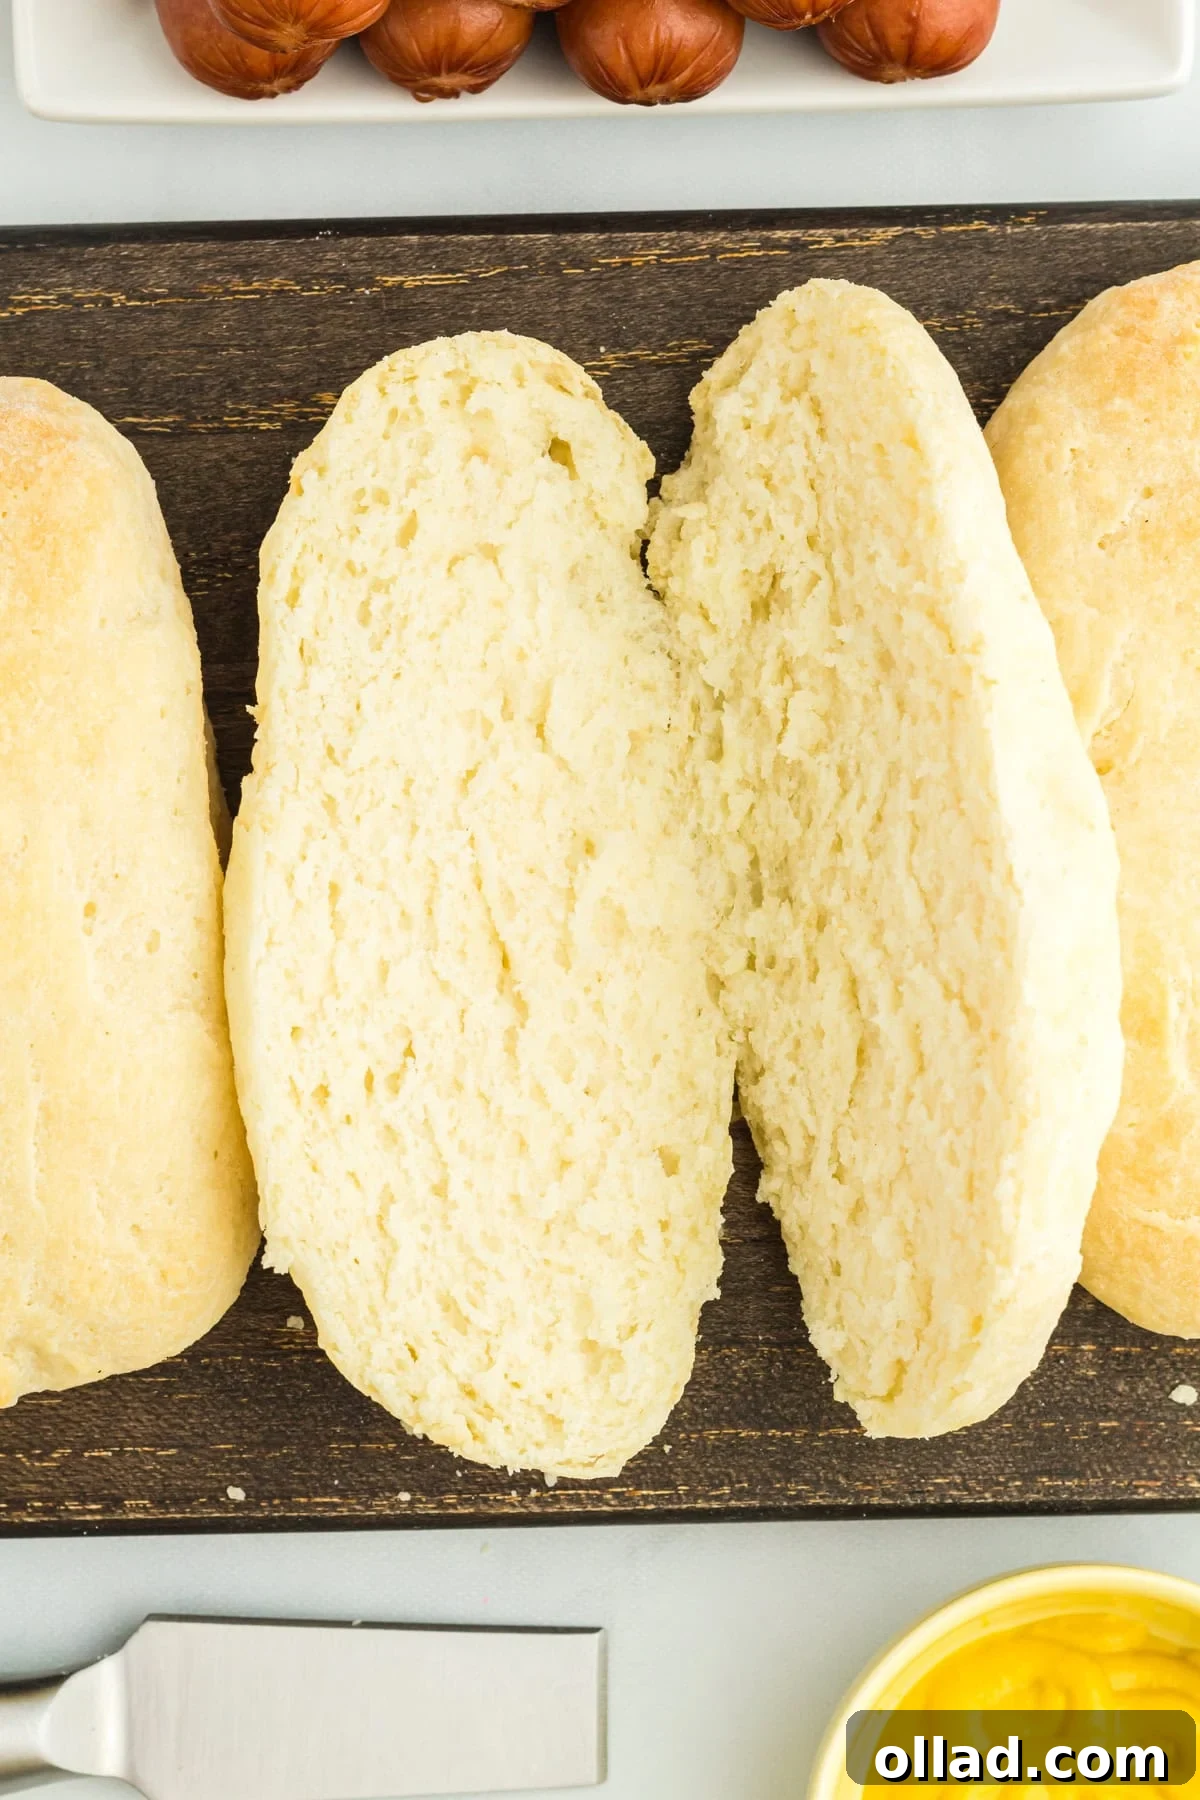
The Ultimate Gluten-Free Hot Dog Buns Recipe
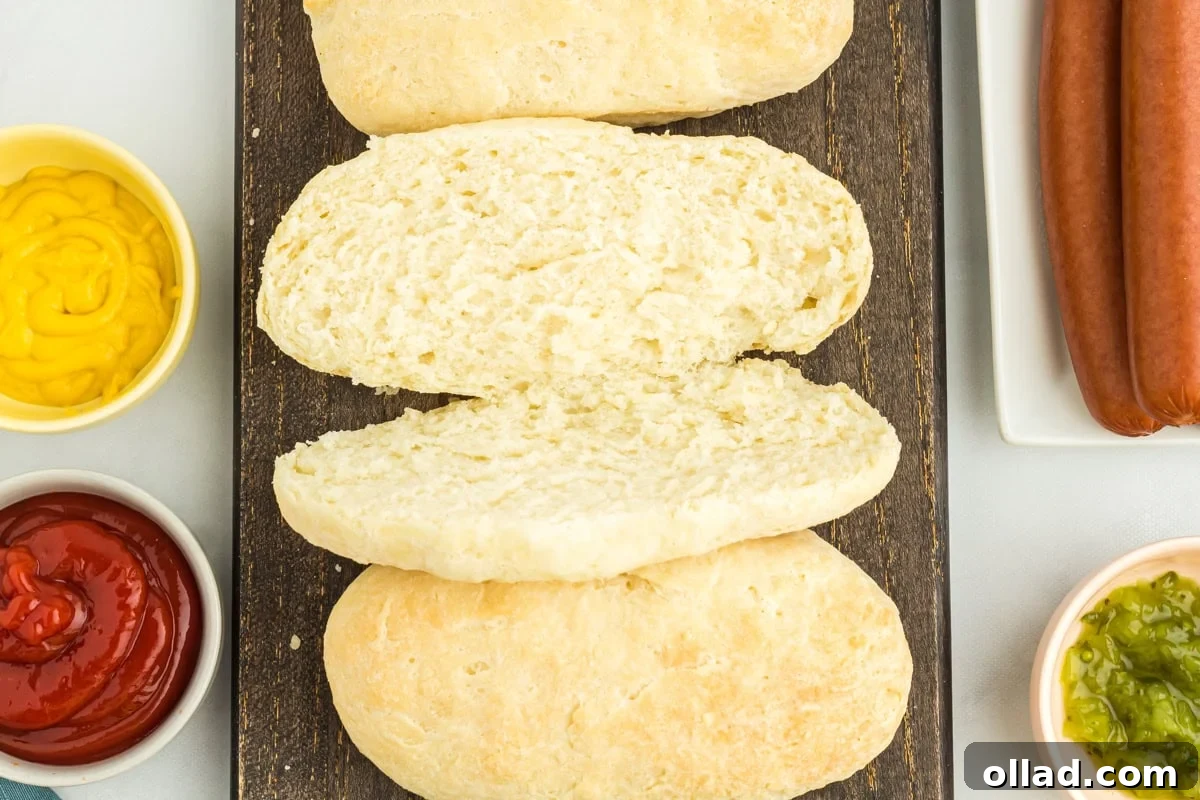
There’s nothing quite like the satisfaction of homemade bread, and these gluten-free hot dog buns are no exception. This recipe makes it incredibly simple to create irresistibly tasty, ultra-fluffy buns right in your own kitchen. Whether you’re planning a casual backyard barbecue, a picnic at the park, or simply enjoying a weeknight meal, these buns are sure to impress. Not only are they delightfully soft and tender, but they can also be easily adapted to be dairy-free, ensuring that everyone, regardless of their dietary needs, can partake in the joy of a perfectly dressed hot dog. And if you’re also a fan of juicy hamburgers, don’t miss our equally fantastic gluten-free hamburger buns recipe, guaranteeing no one goes hungry at your next cookout!
Making your own gluten-free hot dog buns isn’t just about avoiding gluten; it’s about achieving a superior taste and texture that store-bought varieties simply can’t match. You control the ingredients, ensuring freshness and quality, and the aroma of freshly baked bread filling your home is an added bonus. This recipe uses readily available ingredients and straightforward steps, making it accessible even for novice bakers. The result? Golden-brown, pillowy buns that are sturdy enough to hold all your favorite toppings yet soft enough to melt in your mouth.
Key Ingredients for Fluffy Gluten-Free Hot Dog Buns
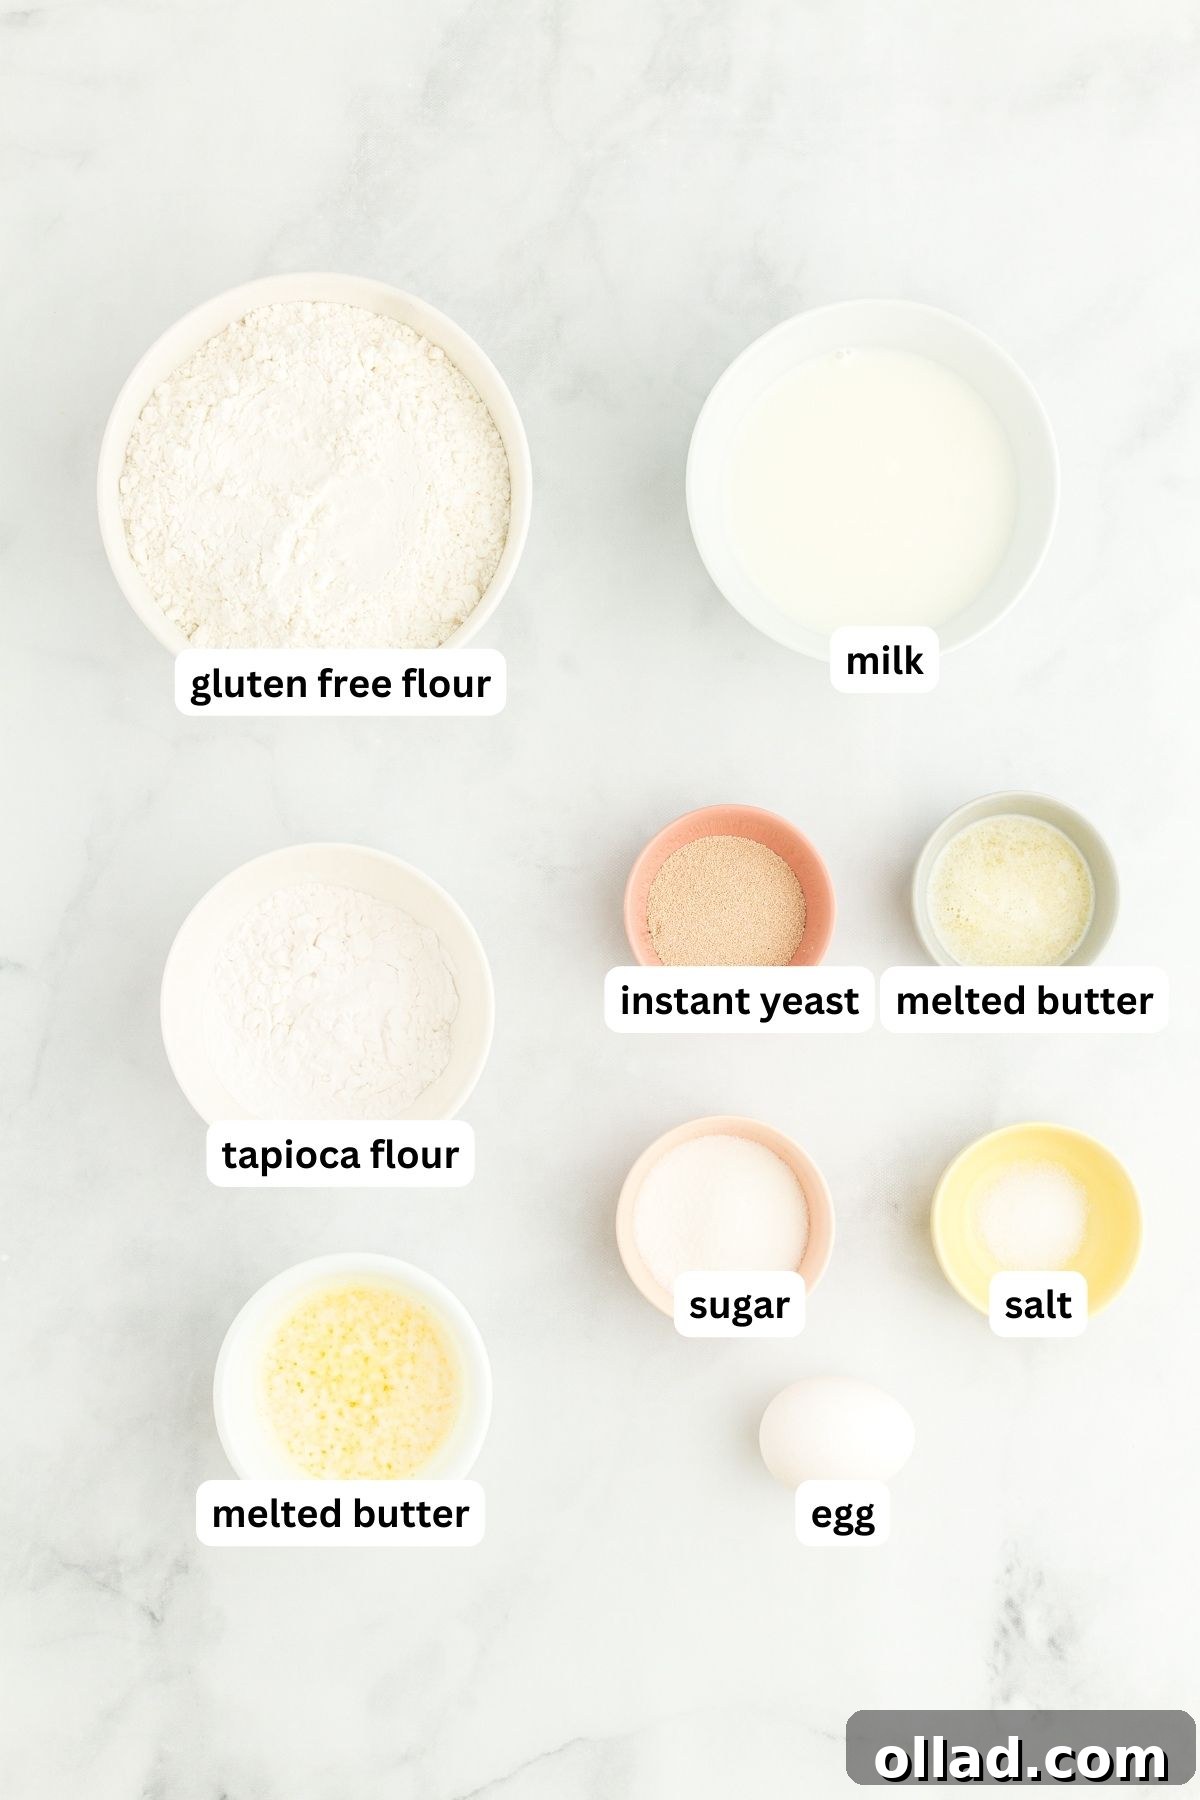
Creating truly exceptional gluten-free baked goods often comes down to understanding the role of each ingredient. Here’s a closer look at what makes these homemade gluten-free hot dog buns so successful:
- Gluten-Free All-Purpose Flour with Xanthan Gum: This is the foundation of our buns. It’s crucial to select a high-quality gluten-free all-purpose flour blend that is specifically recommended for yeast baking and already contains xanthan gum. Xanthan gum acts as a binder, mimicking the elasticity and structure that gluten provides, which is essential for yeast-risen breads. Different flour blends can yield varied results, so for consistency, I highly recommend proven brands like Pillsbury or Better Batter, known for their reliable performance in gluten-free yeast recipes.
- Tapioca Flour: Also known as tapioca starch, this ingredient is vital for several reasons. It helps to bind the dough, contributing to a more cohesive and less crumbly texture. Furthermore, tapioca flour aids in achieving a rich, golden-brown crust and a slightly chewy, shiny exterior that is highly desirable in a good bun.
- Granulated Sugar: Beyond just adding a touch of sweetness, granulated sugar plays a crucial role in activating and feeding the yeast. This metabolic process is what allows the dough to rise, creating those coveted light and fluffy hot dog buns we all love. Without sufficient sugar, the yeast may not activate properly, resulting in dense buns.
- Quick Rise Instant Yeast: For efficiency and optimal rise, quick rise instant yeast is preferred in this recipe. Unlike active dry yeast, instant yeast can be mixed directly with the dry ingredients and typically requires less proofing time, making this recipe surprisingly fast. It’s the powerhouse behind the buns’ beautiful volume and airy texture.
- Salt: A fundamental ingredient in almost all baking, salt doesn’t just enhance the overall flavor of the dough. It also helps to control the yeast’s activity, preventing it from rising too quickly and ensuring a more balanced and structured bun.
- Milk: Warm milk adds essential moisture to the dough, helping all the ingredients come together smoothly. Crucially, the milk needs to be within a specific temperature range (100-110°F or 43-46°C). This warmth is vital for encouraging the instant yeast to become active and perform its magic, leading to a successful rise.
- Butter: Unsalted butter contributes significantly to the richness and depth of flavor in these buns. It also helps in achieving a tender crumb and a beautiful golden-brown crust during baking. The fat in butter also helps keep the buns moist.
- Egg: A large egg enriches the dough, providing additional moisture, fat, and protein. This contributes to a softer texture, a richer flavor, and helps to build structure, ensuring the buns hold their shape well both before and after baking. Using a room temperature egg integrates better into the dough.
Mastering Homemade Gluten-Free Hot Dog Buns: Tips and Suggestions
Achieving bakery-quality gluten-free hot dog buns at home is entirely possible with a few key techniques. These tips will help you create perfectly fluffy, light, and delicious buns every time:
- Accurate Flour Measurement is Crucial: When working with gluten-free flours, precision is paramount. Always measure your flour using the spoon-and-level method. Spoon the flour into your measuring cup until it overflows, then level it off with a straight edge (like the back of a knife). Scooping flour directly from the bag can compact it, leading to too much flour. Too much flour will result in a dry, dense dough that won’t come together properly, while too little will leave you with an overly sticky, unmanageable dough.
- Choose the Right Yeast: This recipe specifically calls for quick rise instant yeast. It’s designed to activate faster and doesn’t require prior proofing in liquid. Do not substitute with active dry yeast without adjusting the quantity and method. Active dry yeast needs to be bloomed in warm liquid first and requires a slightly larger quantity (typically 25% more) and longer rising times.
- Optimal Milk Temperature is Key: Yeast is a living organism, and its activity is highly dependent on temperature. Ensure your milk is warm, ideally between 100-110°F (43-46°C). Milk that is too cold will hinder yeast activation, preventing your buns from rising sufficiently. Conversely, milk that is too hot can kill the yeast, rendering it inactive and leading to a flat, dense dough.
- Avoid Excessive Flour on Your Work Surface: When shaping the dough, it can be tempting to heavily flour your work surface to prevent sticking. However, with gluten-free dough, adding too much extra flour can significantly alter the dough’s hydration, making it dry and leading to cracks in the buns during baking. Instead, lightly oil your hands and work surface.
- Handling Sticky Dough: Gluten-free dough can sometimes be stickier than traditional wheat dough. If you find the dough adhering to your hands, lightly spray your hands with a non-stick cooking spray or apply a small amount of olive oil. Remember, a light touch is best; too much oil can also affect the dough’s consistency and final texture.
- Flour Blend Recommendations: As noted previously, not all gluten-free flour blends are created equal for yeast baking. Blends like Pillsbury or Better Batter are generally excellent choices. Some bakers also find success with gfJules All-Purpose Flour for bun recipes, known for its consistent results. Experimentation might be needed if you use a different brand.
- Controlled Rising Environment: The rising process (proofing) is critical. Do not allow the buns to rise in an overly hot location or in direct sunlight. Excessive heat can kill the yeast or cause over-proofing, which can lead to buns that collapse, don’t hold their shape, or have an undesirable texture after baking. A warm, draft-free spot is ideal.
- Monitor Rising Time Carefully: The exact time your buns need to rise will fluctuate based on the ambient temperature and humidity in your kitchen. In a warmer environment or during summer months, dough will rise faster. Begin checking your buns at around 20 minutes. You’re looking for a noticeable but moderate rise – the buns should appear approximately 50% larger than their initial size. Over-proofing is a common pitfall; if the buns rise too much, they can become airy but lose their structure, resulting in a less fluffy texture or a tendency to deflate during baking.
Dairy-Free Gluten-Free Hot Dog Buns: An Easy Adaptation
Absolutely! This recipe is wonderfully adaptable for those following a dairy-free diet. To make these delicious gluten-free hot dog buns dairy-free, simply substitute the conventional dairy milk with your favorite unsweetened dairy-free milk alternative (such as almond milk, soy milk, or oat milk). Similarly, replace unsalted butter with a high-quality dairy-free butter substitute. Ensure both your chosen milk and butter alternatives are suitable for baking and you’ll achieve the same fantastic results without the dairy.
Tapioca Flour Alternatives
Tapioca flour (or tapioca starch) is highly recommended for its unique properties in this recipe, contributing to both texture and crust. However, if you find yourself without it, the best substitute is superfine sweet rice flour, sometimes labeled as glutinous rice flour (despite its name, it is gluten-free). Sweet rice flour shares many similar binding and thickening qualities with tapioca flour. While it will work as a substitute, it’s important to note that the final results, particularly in terms of chewiness and browning, may not be exactly the same as with tapioca flour, but it will still produce delicious buns.
Using Active Dry Yeast in Place of Instant Yeast
While this recipe is optimized for quick rise instant yeast for speed and convenience, you can certainly use active dry yeast with a few modifications. If you choose to use active dry yeast, you will need to increase the quantity by 25% (so, use 1¼ tablespoons instead of 1 tablespoon). Additionally, active dry yeast requires activation before being combined with other ingredients. This means you’ll first need to dissolve it in the warm milk with a pinch of sugar and let it sit for about 5-10 minutes until it becomes foamy. This indicates the yeast is active. Be aware that the dough will likely require a longer rise time, potentially closer to an hour, to double in size compared to instant yeast.
Storage Instructions and Freezing Tips for Freshness
Proper storage is essential to maintain the freshness and texture of your homemade gluten-free hot dog buns. Like most homemade breads, these buns are best enjoyed fresh, but they can be stored for a few days or even frozen for longer enjoyment:
- Room Temperature Storage: Store any leftover gluten-free hot dog buns in an airtight container at room temperature for up to 3 days. Ensure the container is truly airtight to prevent the buns from drying out. While still delicious, they are at their peak freshness on the day they are baked.
- Freezing for Longer Shelf Life: For extended storage, these buns freeze beautifully. Once completely cooled, individually wrap each bun tightly in plastic wrap. Then, place the wrapped buns into a large freezer-safe zippered bag or an airtight freezer container. They can be stored in the freezer for up to 3 months without significant loss of quality.
- Thawing Frozen Buns: When you’re ready to enjoy a frozen bun, simply transfer it from the freezer to the refrigerator and let it thaw overnight. For a quicker thaw, you can carefully microwave a bun for a short burst (15-30 seconds) or place it in a warm oven for a few minutes to freshen it up.
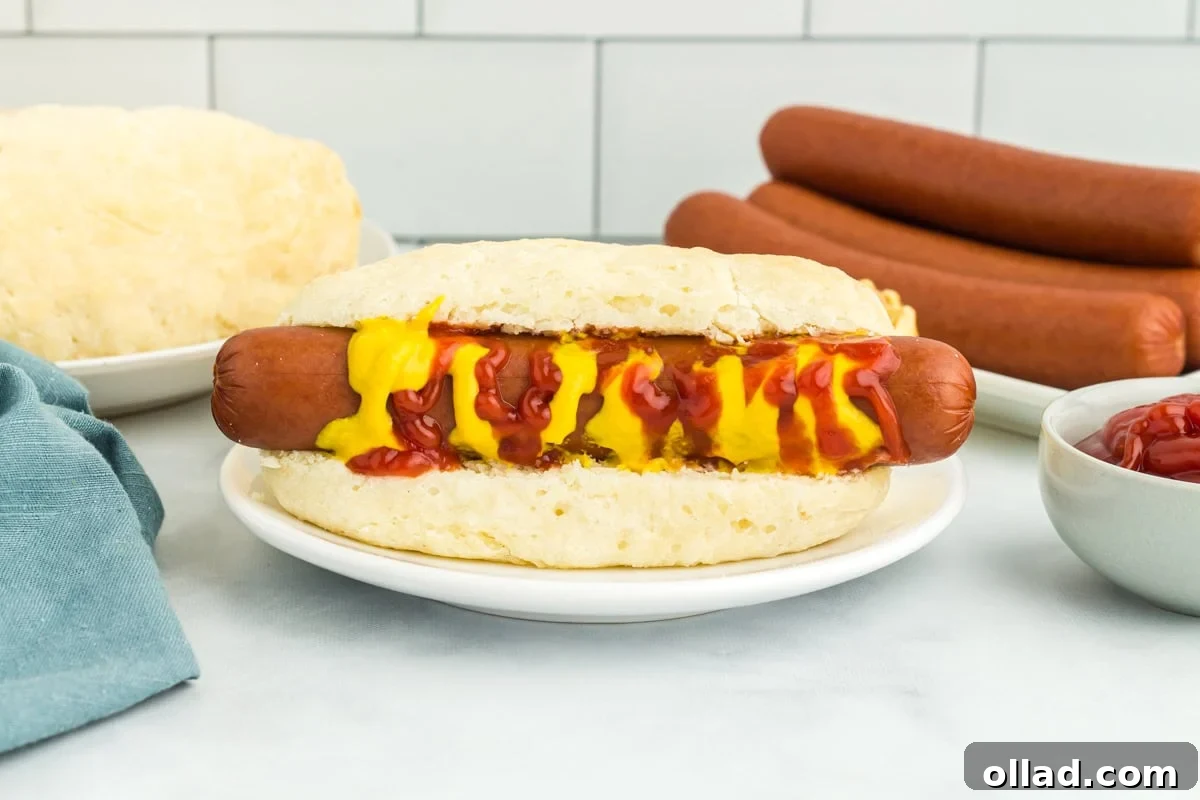
Serving Suggestions for Your Homemade Buns
These versatile gluten-free hot dog buns are perfect for so much more than just traditional hot dogs! Get creative with your culinary adventures:
- Classic Hot Dogs: Load them up with your favorite frankfurter, ketchup, mustard, relish, onions, or chili.
- Gourmet Sausages: Perfect for bratwurst, Italian sausages, or chicken apple sausages, topped with sautéed peppers and onions.
- Veggie Dogs: A fantastic base for plant-based hot dogs with all your preferred toppings.
- Mini Sandwiches: Slice them horizontally and fill with deli meat, cheese, lettuce, and tomato for quick and easy mini subs.
- Garlic Bread: Slice lengthwise, spread with garlic butter, and toast in the oven for a delicious side dish.
- Breakfast Sandwiches: Use them for a breakfast sausage patty, egg, and cheese sandwich.
Expand Your Gluten-Free Baking with More Bread Recipes!
If you’ve enjoyed the process of making these delightful gluten-free hot dog buns, you’re in for a treat! The world of gluten-free bread baking is vast and rewarding. Don’t limit yourself to just buns; explore these other fantastic gluten-free bread recipes to continue honing your skills and expanding your repertoire:
- Easy Gluten-Free Bread
- Gluten-Free Bread Machine Bread
- Gluten-Free Sourdough Bread
- Gluten-Free Naan Bread
- Gluten-Free Dinner Rolls
- Gluten-Free Focaccia
Gluten-Free Hot Dog Buns
Cheryl Johnson
6 buns
10 mins
20 mins
20 mins
50 mins
Share by Email
Print Recipe
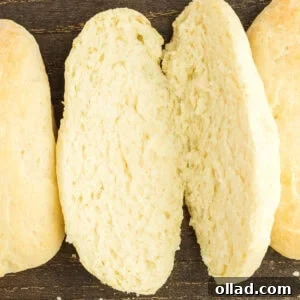
Ingredients
- 2¾ cups gluten-free all-purpose flour with xanthan gum, see note
- ¼ cup tapioca flour
- 2 tablespoons granulated sugar
- 1 tablespoon quick rise instant yeast
- ½ teaspoon salt
- 1 cup warm milk, 100-110°F (43-46°C)
- 6 tablespoons unsalted butter, melted, cooled, and divided (¼ cup + 2 tablespoons)
- 1 large egg, room temperature
Instructions
-
Line a large baking sheet with parchment paper. Set aside for now.
-
In a medium bowl, whisk together flour, tapioca flour, granulated sugar, yeast, and salt.
-
Add the warm milk, ¼ cup of melted butter (keep the other 2 tablespoons of butter set aside for later) and egg to the dry ingredients.
-
Using an electric mixer with a dough hook, mix the dough on low just until combined (1-2 minutes). Do not overmix.
-
Use a spatula to mix in any dry ingredients that may have settled at the bottom of the bowl.
-
Transfer the dough to a lightly oiled work surface (like a clean table or a silicone baking mat).
-
Separate the dough into 6 equal parts (this is about 136 grams per bun).
-
With very lightly oiled hands, lightly knead and shape each dough ball into a cylinder hot dog bun shape. Pinch any seams together to close them then roll out until smooth. The buns should each be about 5 inches long.
-
Place the shaped buns onto the prepared baking sheet and cover with food-safe plastic wrap.
-
Let the buns sit covered at room temperature for 20 to 60 minutes to rise. They are ready for baking when they are about 50% larger than when you first rolled them out. Don’t let the dough rise too much or the buns won’t hold their shape and they won’t bake up soft. Start checking the rising dough after 20 minutes.
-
Preheat the oven to 350°F (177°C).
-
Use the remaining 2 tablespoons of melted butter to lightly brush butter evenly over each bun.
-
Place the tray of buns into the oven to bake for 20-22 minutes. Buns are done when they are just starting to brown on top and the internal temperature of each bun is at least 190°F.
-
Let the buns cool before serving.
Notes
- Measure the flour using the spoon-and-level method. Too much flour will cause the dough to be too dry and it won’t stick together properly. Too little flour will leave the dough too sticky to work with.
- Be sure to use instant quick rise yeast, not active yeast. These two types of yeast do not work the same.
- Too cold milk and the yeast won’t activate properly. Too hot milk and it may kill the yeast.
- Do not sprinkle extra flour on your work surface to prevent dough from sticking. Too much flour will lead to the dough not coming together properly and the buns will crack when baking.
- If the dough is sticking to your hands, spray your hands very lightly with non-stick cooking spray or a small amount of olive oil. Again, not too much or you’ll add too much oil to the dough.
- Not all gluten-free flour blends are recommended for yeast baking. You may experience different baking results depending on the gluten-free flour blend you choose. I recommend Pillsbury or Better Batter.
- Don’t leave the buns to rise in a hot location or in direct sunlight. Too much heat will kill the yeast or will lead to over-proofing, and your buns won’t rise properly.
- The amount of time your buns need to rise will vary based on the temperature and humidity in your home. Buns will rise faster in a warmer home or during the summer months. Start checking the buns at about 20 minutes. You’re looking for a slight rise (buns about 50% larger than they started). Anything more than this will be too much rise and the buns won’t bake up with a nice fluffy texture or hold the bun shape.
- To store: Store buns in a sealed food-safe container at room temperature for up to 3 days. Like most homemade breads and buns, these are best eaten fresh.
- To freeze: Wrap buns individually in plastic wrap and place in a large zippered bag to store for up to 3 months.
Nutrition
Calories: 356kcal
Carbohydrates: 51g
Protein: 8g
Fat: 15g
Saturated Fat: 8g
Polyunsaturated Fat: 1g
Monounsaturated Fat: 4g
Trans Fat: 0.5g
Cholesterol: 66mg
Sodium: 237mg
Potassium: 85mg
Fiber: 6g
Sugar: 8g
Vitamin A: 461IU
Vitamin C: 0.002mg
Calcium: 95mg
Iron: 2mg
Nutrition information is automatically calculated, so should only be used as an approximation.
Additional Info
Baking
American
How to Make Gluten-Free Hot Dog Buns Step-by-Step with Visuals
Embarking on the journey of homemade gluten-free hot dog buns is simpler than you might think. Follow these detailed steps, complete with visuals, to achieve perfect results every time. This section guides you through the process, from combining the initial ingredients to the final bake, ensuring you understand each stage of creating these fluffy, flavorful buns.
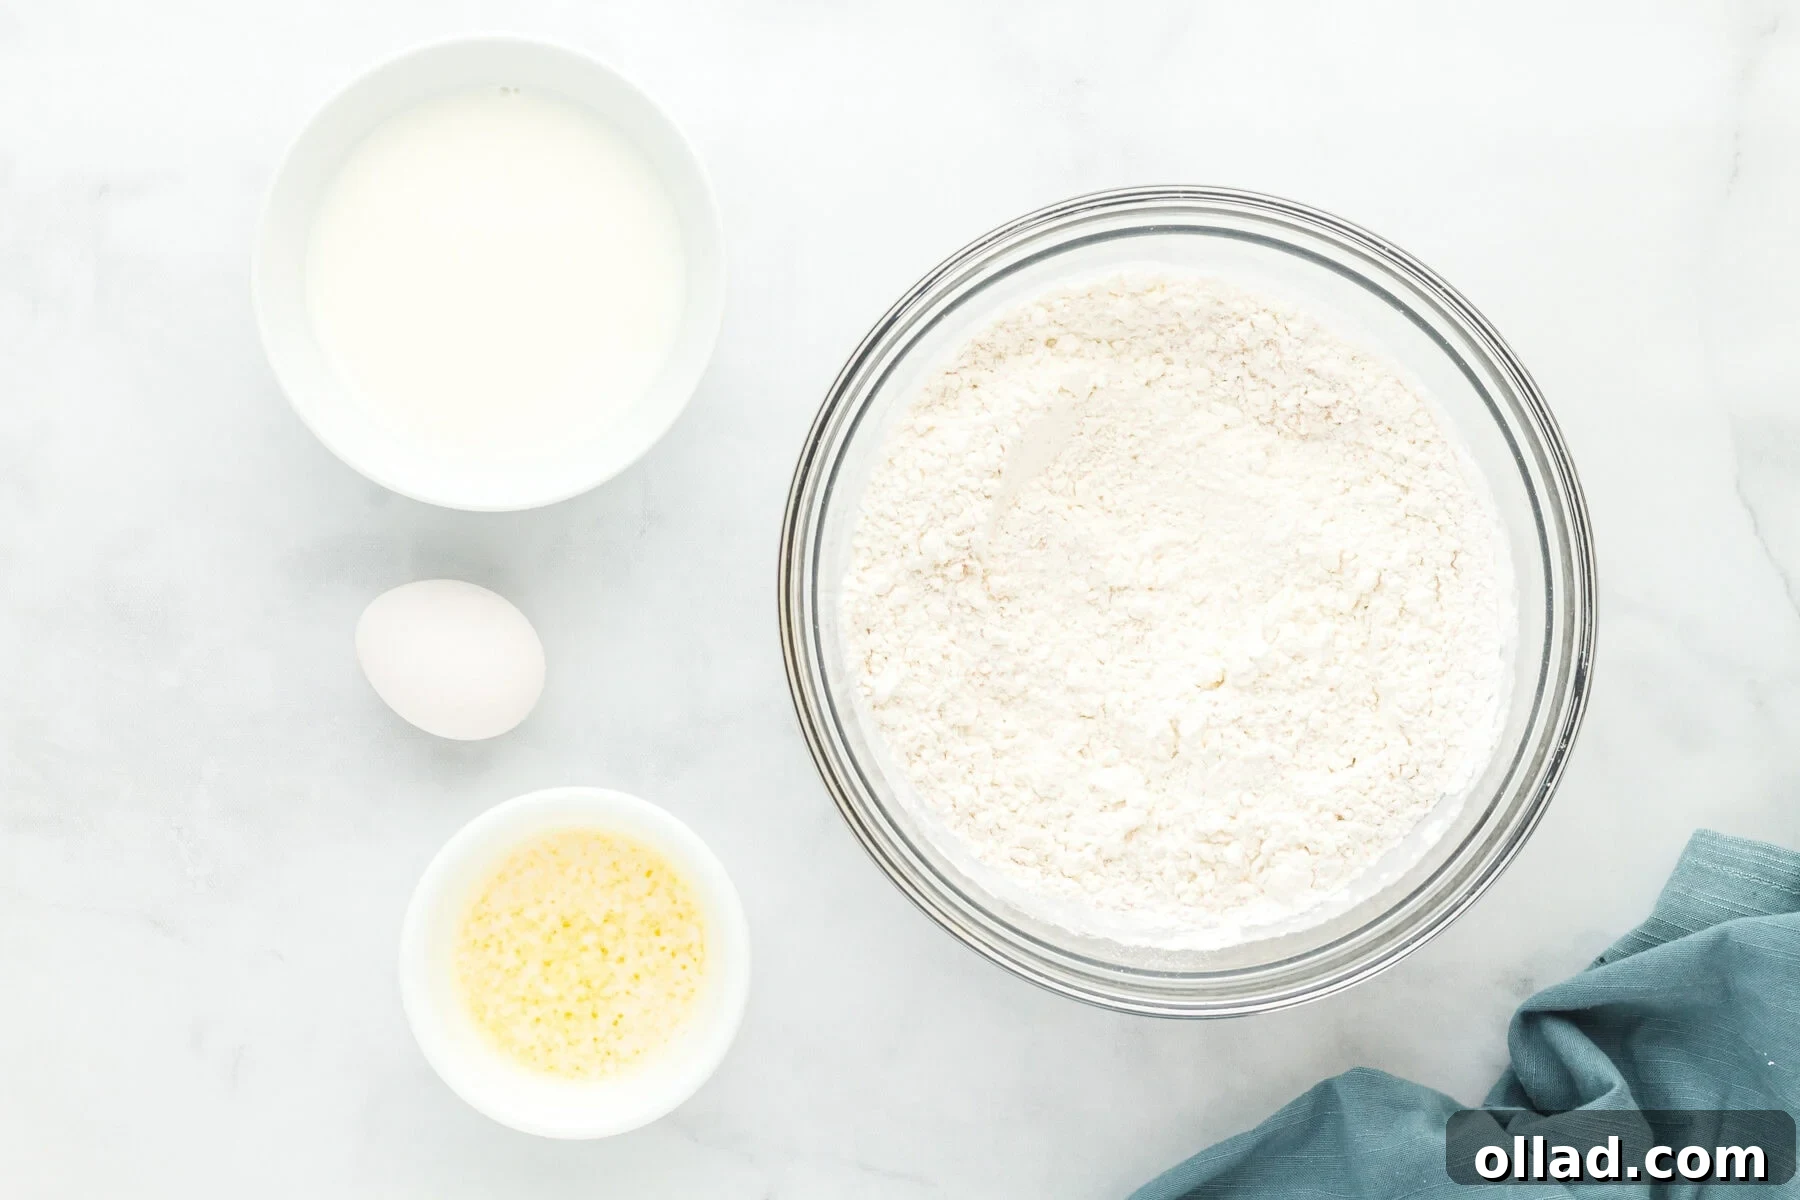
Begin by preparing your baking surface. Line a large baking sheet with a sheet of parchment paper. This non-stick surface is crucial for easy removal and prevents the buns from sticking. Once prepared, set the baking sheet aside.
Next, gather your dry ingredients. In a medium-sized mixing bowl, combine the 2¾ cups of gluten-free all-purpose flour (ensuring it contains xanthan gum), ¼ cup of tapioca flour, 2 tablespoons of granulated sugar, 1 tablespoon of quick rise instant yeast, and ½ teaspoon of salt. Whisk these dry ingredients together thoroughly until they are well combined. This ensures an even distribution of the yeast and flavors throughout the dough.
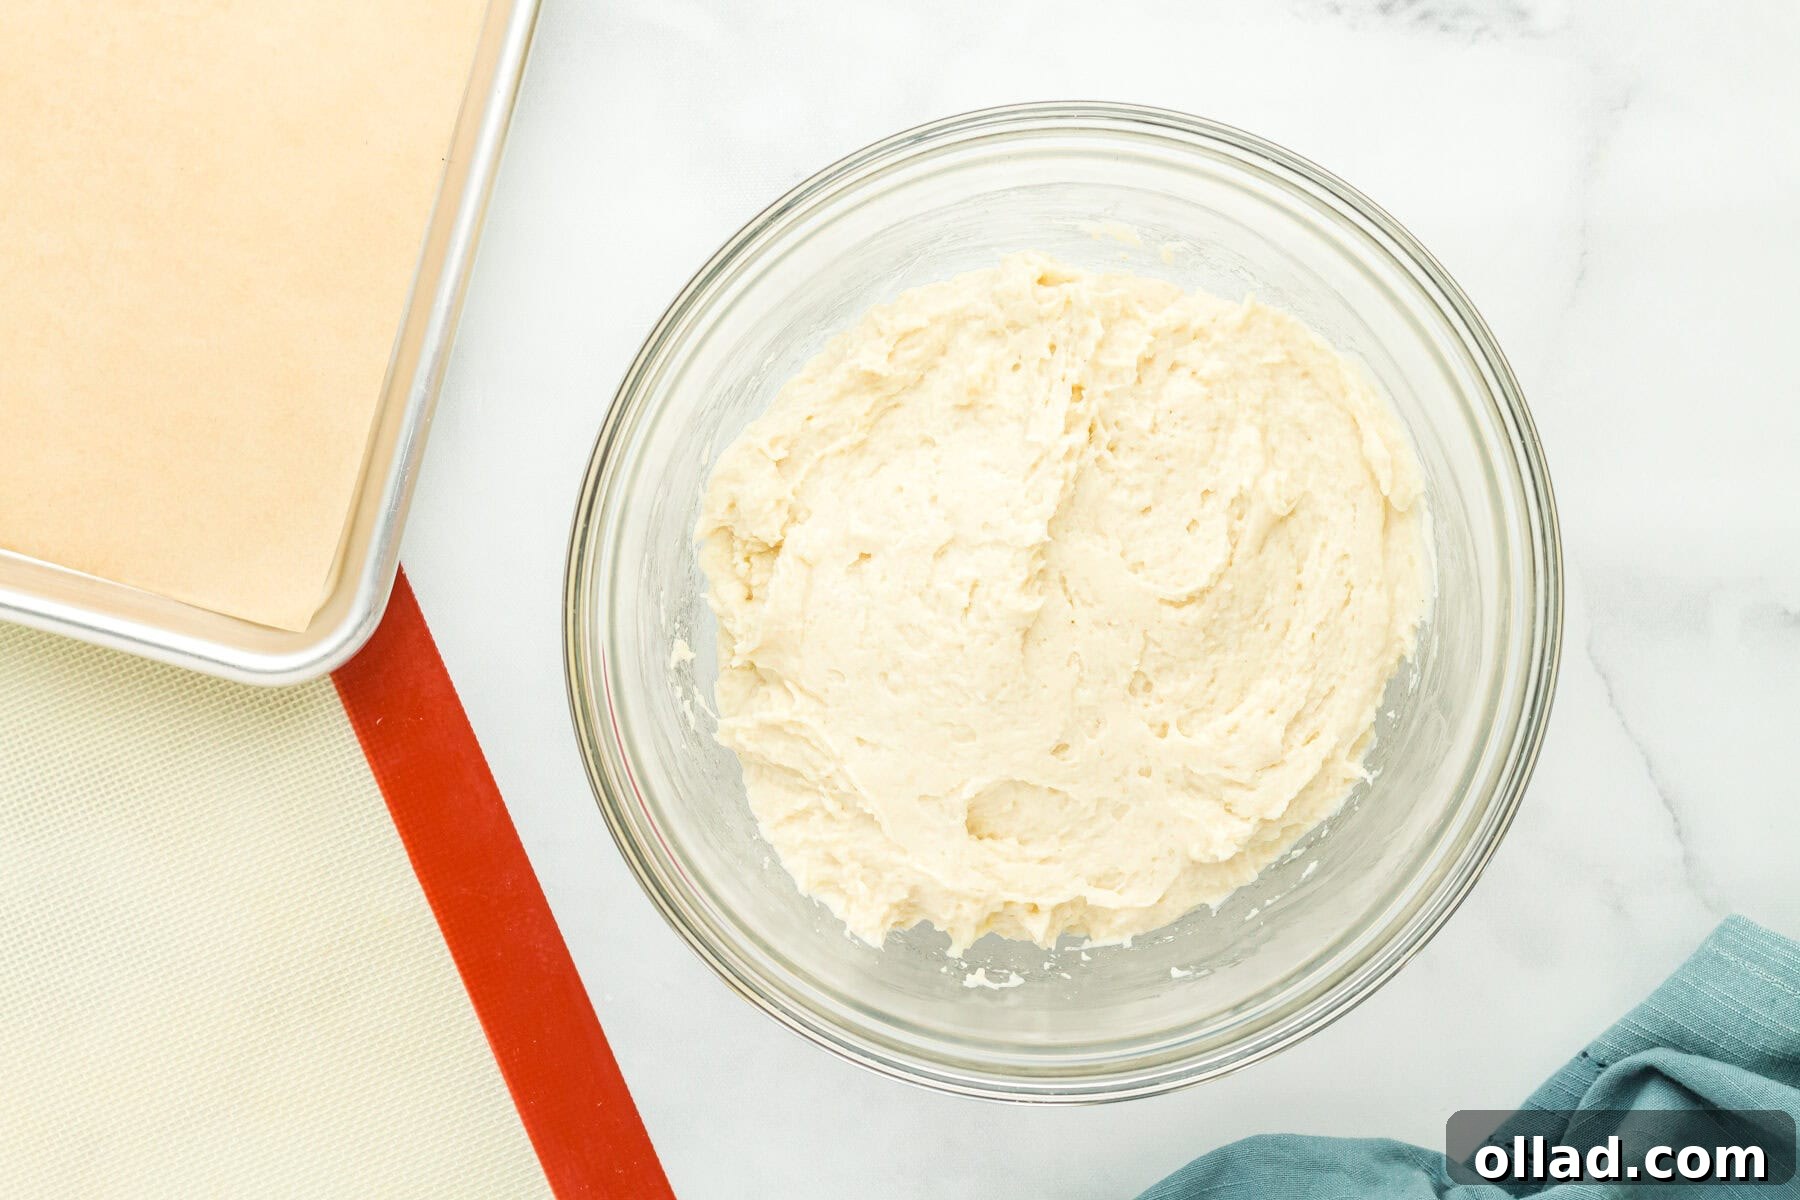
Now, it’s time to introduce the wet ingredients. Carefully add 1 cup of warm milk (ensure its temperature is between 100-110°F), ¼ cup of the melted butter (remember to reserve the remaining 2 tablespoons for later), and 1 large room-temperature egg to your bowl of dry ingredients.
Using an electric mixer fitted with a dough hook attachment, mix the dough on a low speed. Continue mixing just until all the ingredients are combined, which typically takes about 1-2 minutes. It’s important not to overmix gluten-free dough, as this can negatively impact its final texture. After mixing, use a spatula to scrape down the sides and bottom of the bowl, incorporating any dry ingredients that may have settled or been missed by the mixer.
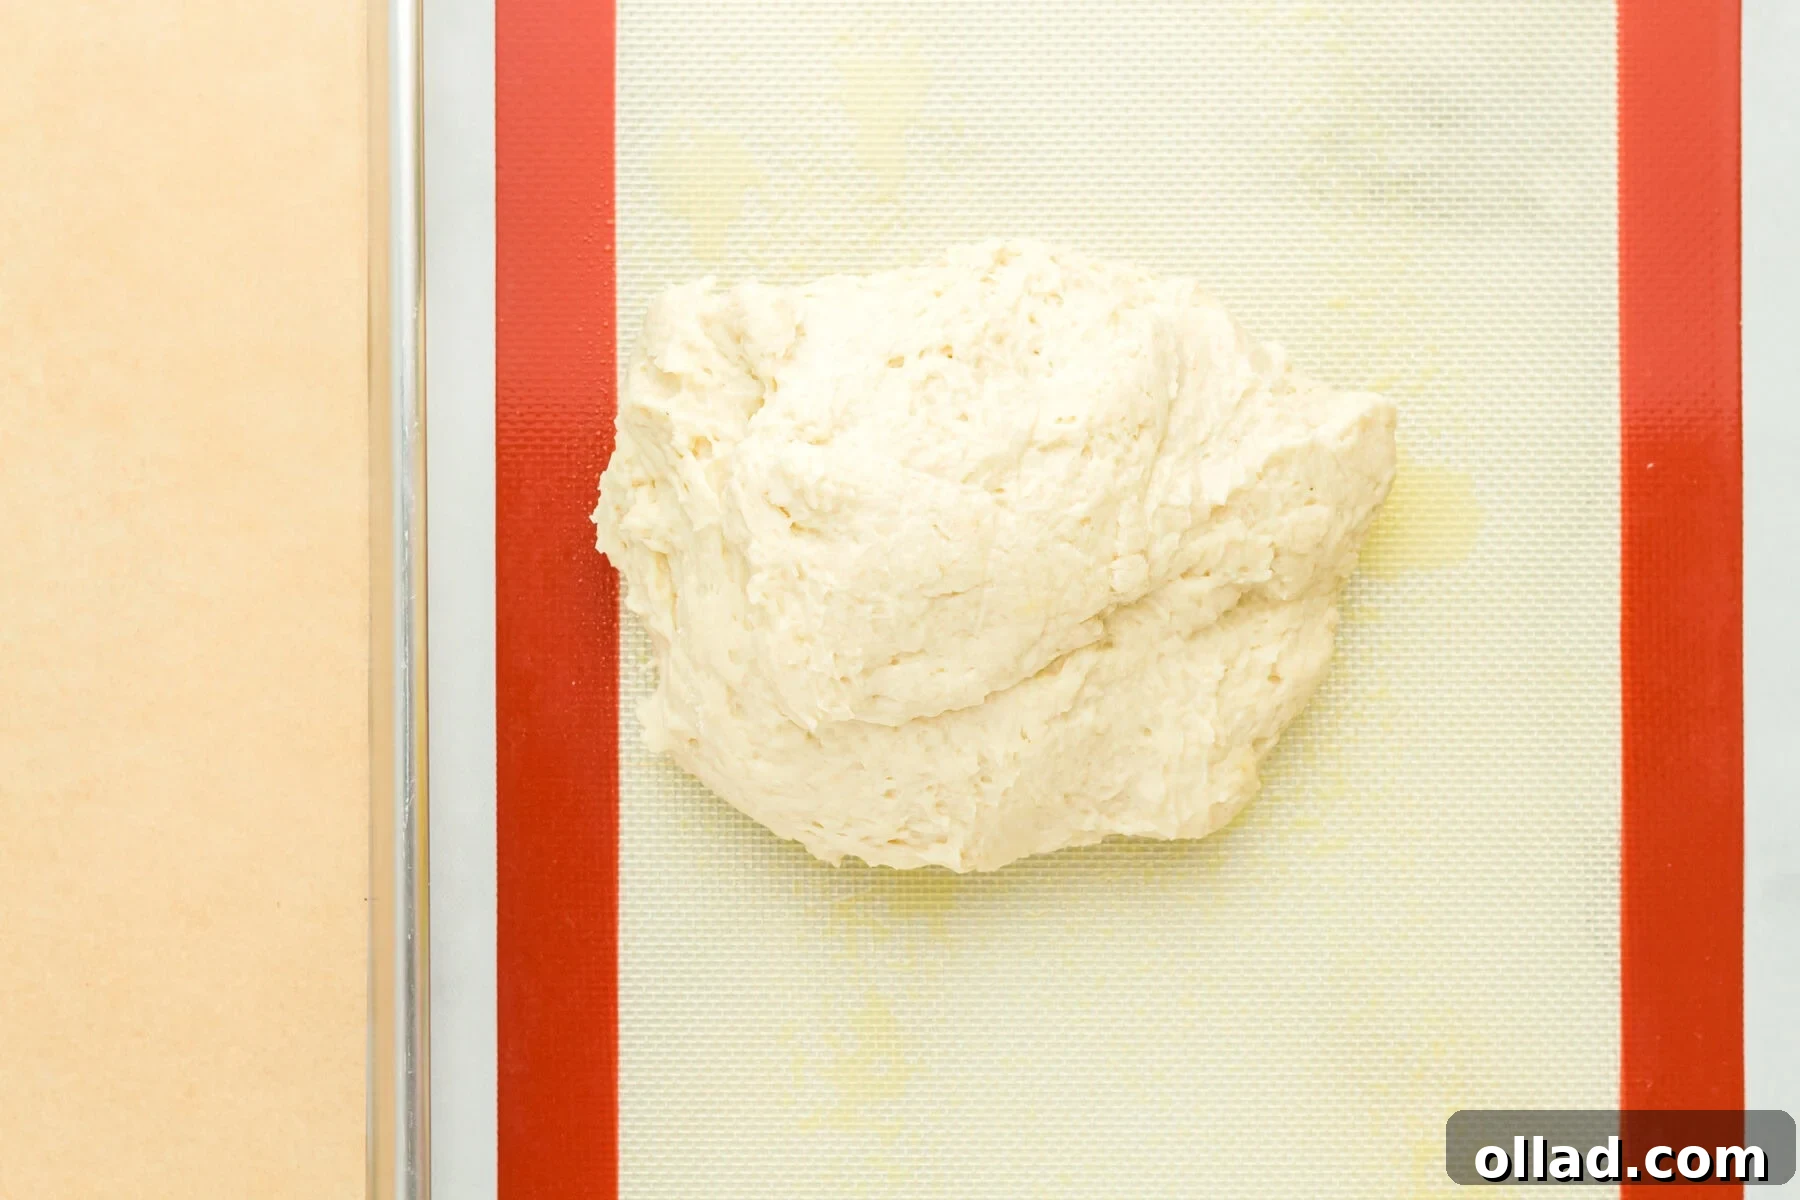
Once your dough is thoroughly mixed, transfer it to a lightly oiled work surface. This could be a clean countertop, a large cutting board, or even a silicone baking mat. The light oiling prevents the dough from sticking without adding excess flour.
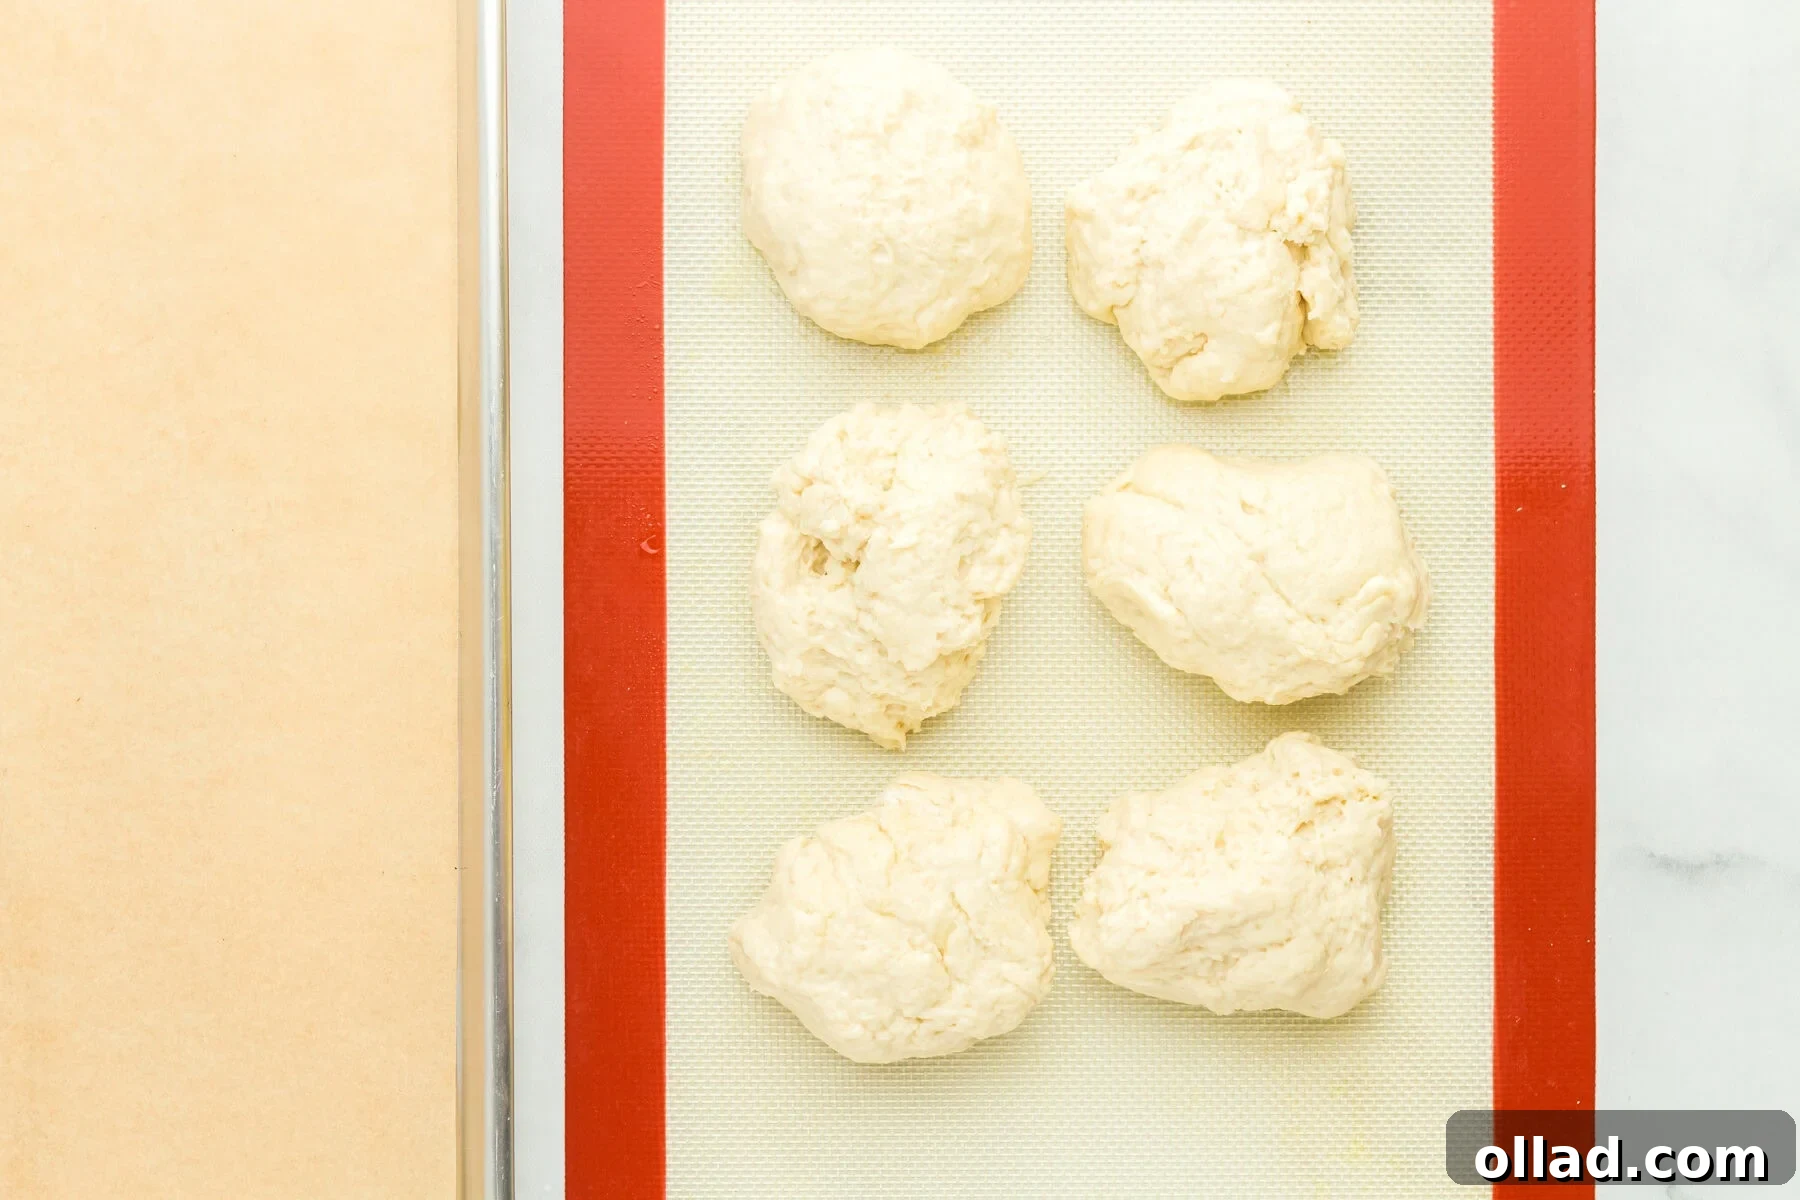
Divide the dough into 6 equal portions. For precision and consistency, each portion should weigh approximately 136 grams. This ensures that all your hot dog buns are uniformly sized and bake evenly.
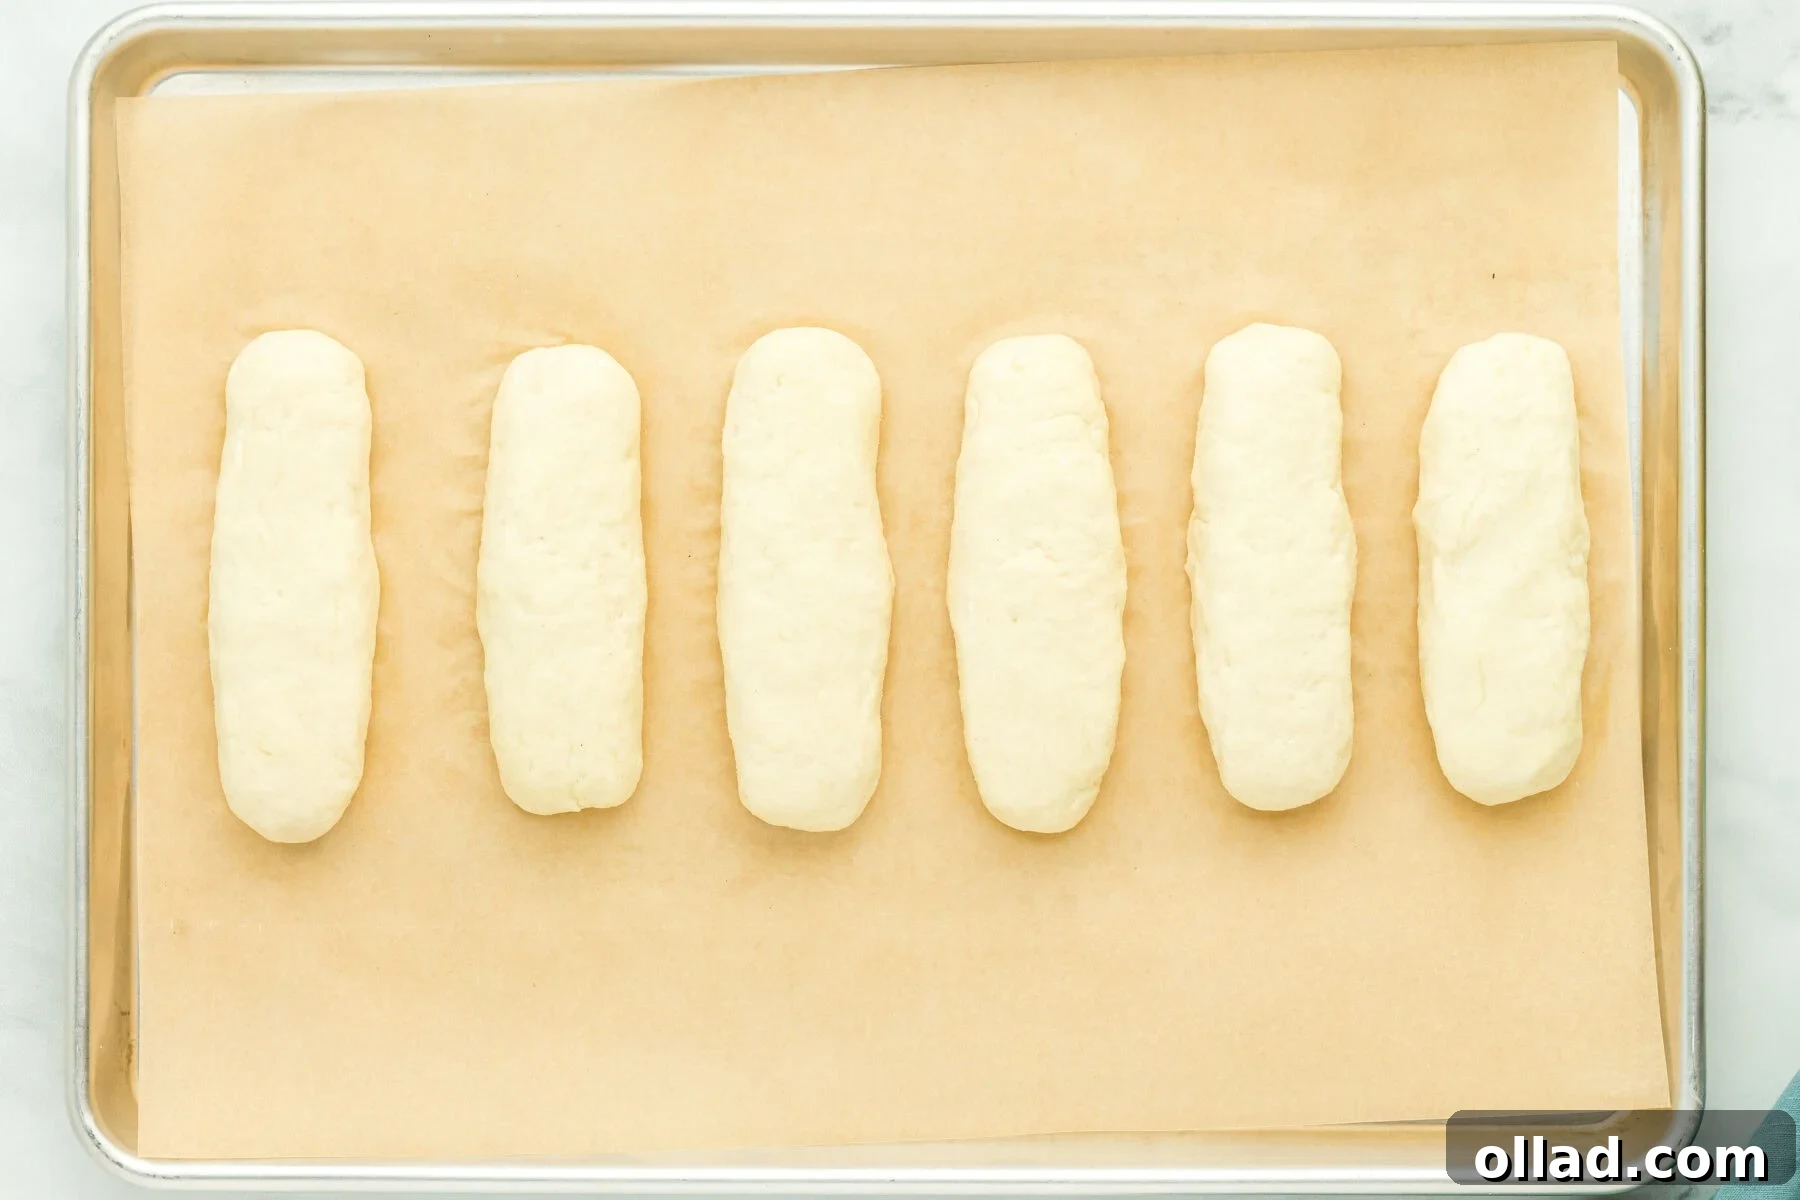
Lightly oil your hands to prevent sticking. Take each dough portion and gently knead it a few times before shaping it into a cylinder, mimicking the classic hot dog bun shape. Pinch any seams together firmly to ensure they are fully closed, then roll the dough lightly until the surface is smooth. Aim for each bun to be about 5 inches long.
Carefully place the shaped buns onto the prepared baking sheet, leaving some space between each one to allow for expansion during rising and baking. Once all buns are on the sheet, cover them loosely with food-safe plastic wrap. This helps create a humid environment, essential for proper rising.
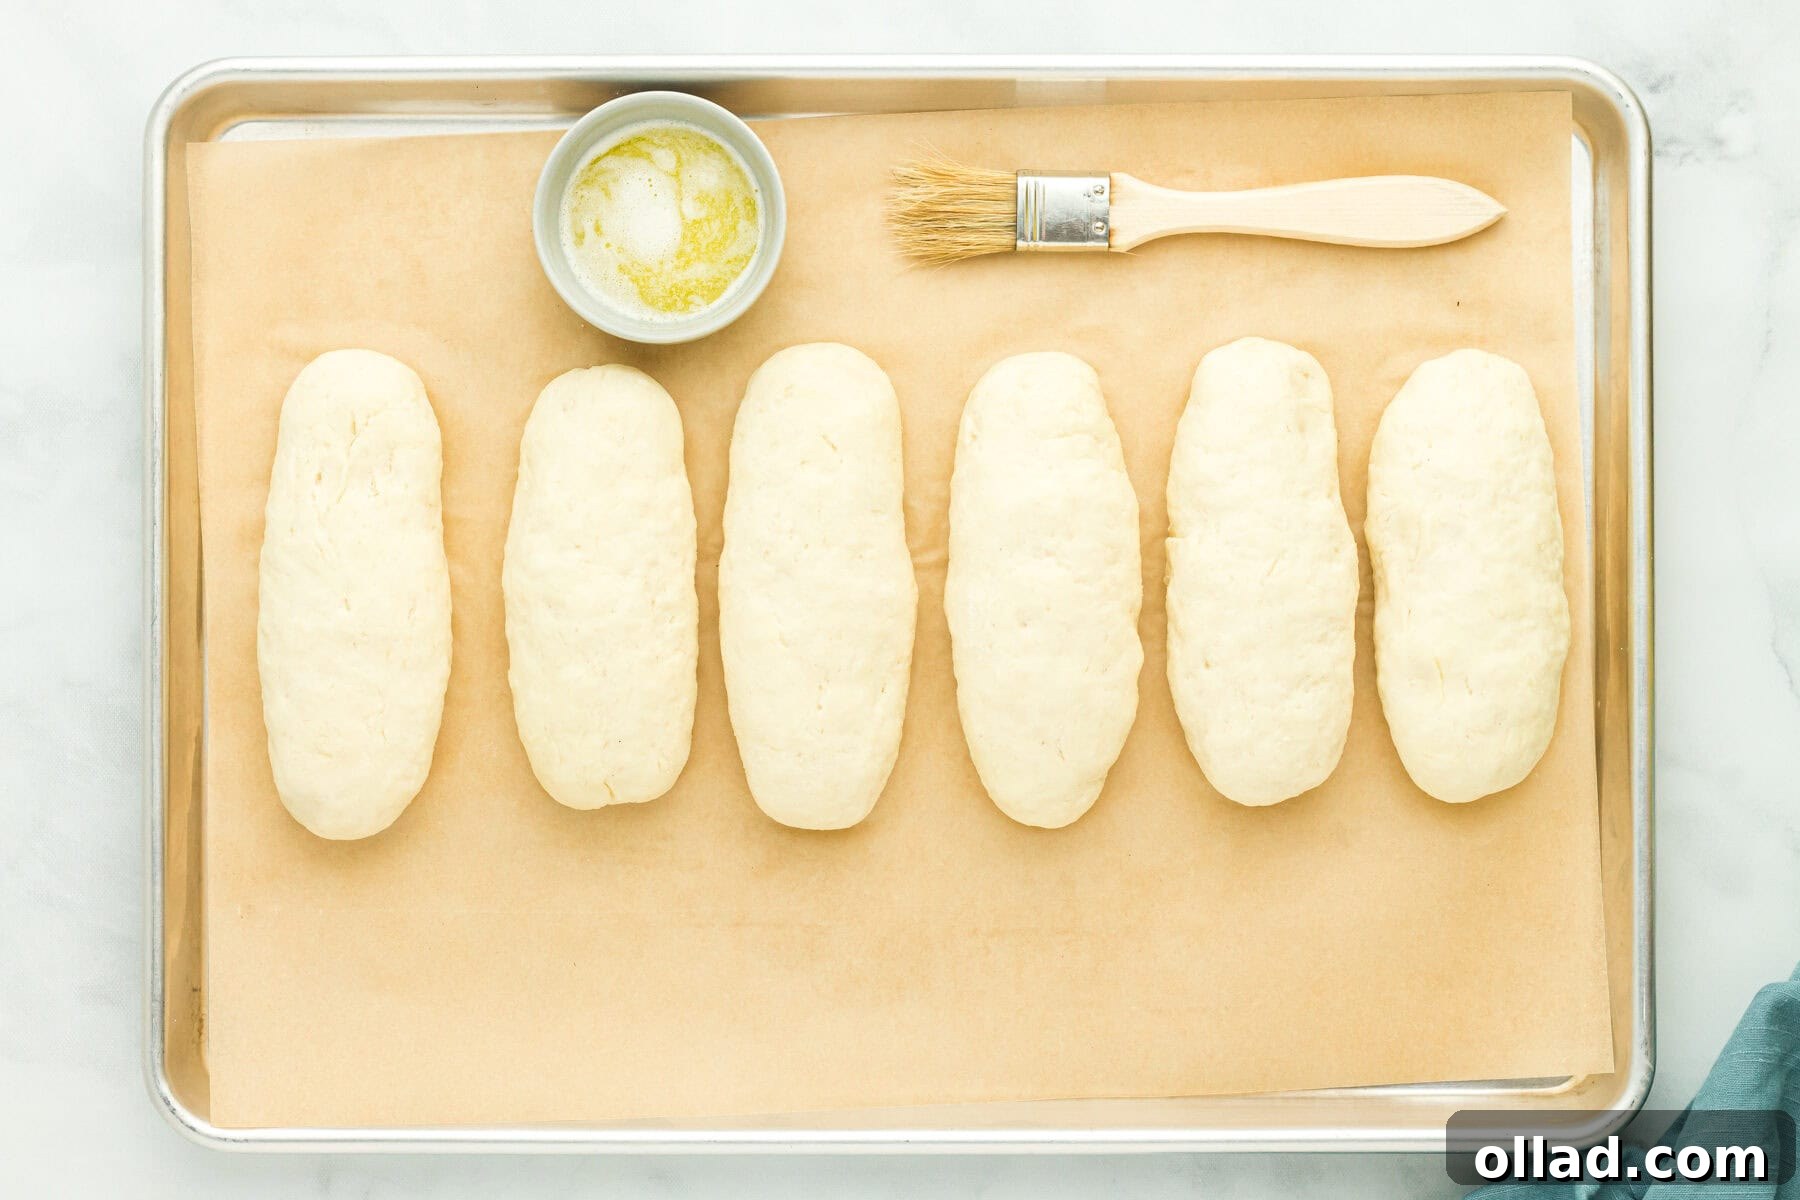
Allow the covered buns to sit at room temperature for 20 to 60 minutes to rise. The exact rising time will depend on the warmth and humidity of your kitchen. The buns are ready when they have visibly increased in size, becoming about 50% larger than their original rolled-out state. It’s crucial not to let them over-rise, as this can cause the buns to lose their structure and result in a less soft texture after baking. Begin checking the buns after 20 minutes to gauge their progress.
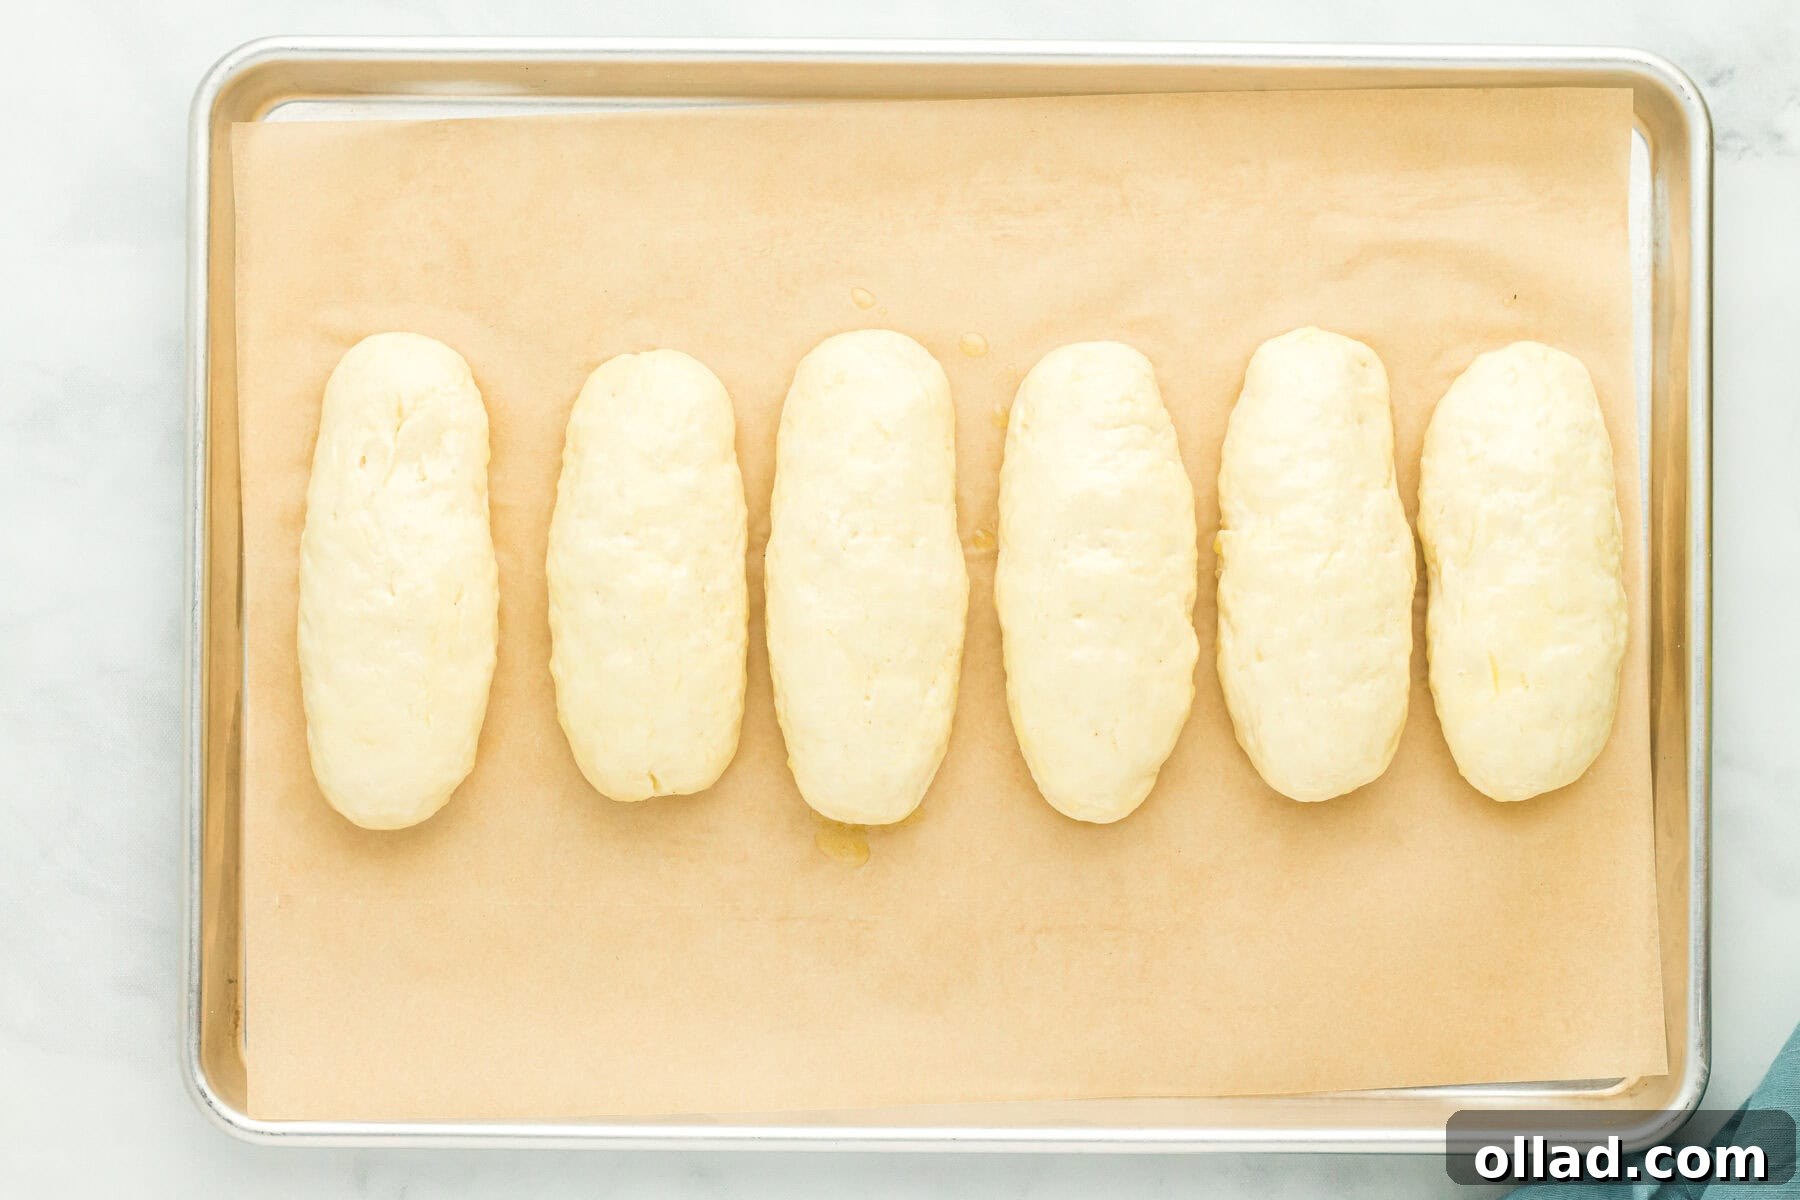
While the buns are rising, preheat your oven to 350°F (177°C). Once the buns have adequately risen and your oven is ready, take the remaining 2 tablespoons of melted butter. Using a pastry brush, lightly and evenly brush the melted butter over the top of each bun. This butter wash will contribute to a beautiful golden-brown crust and add a subtle richness to the final product.
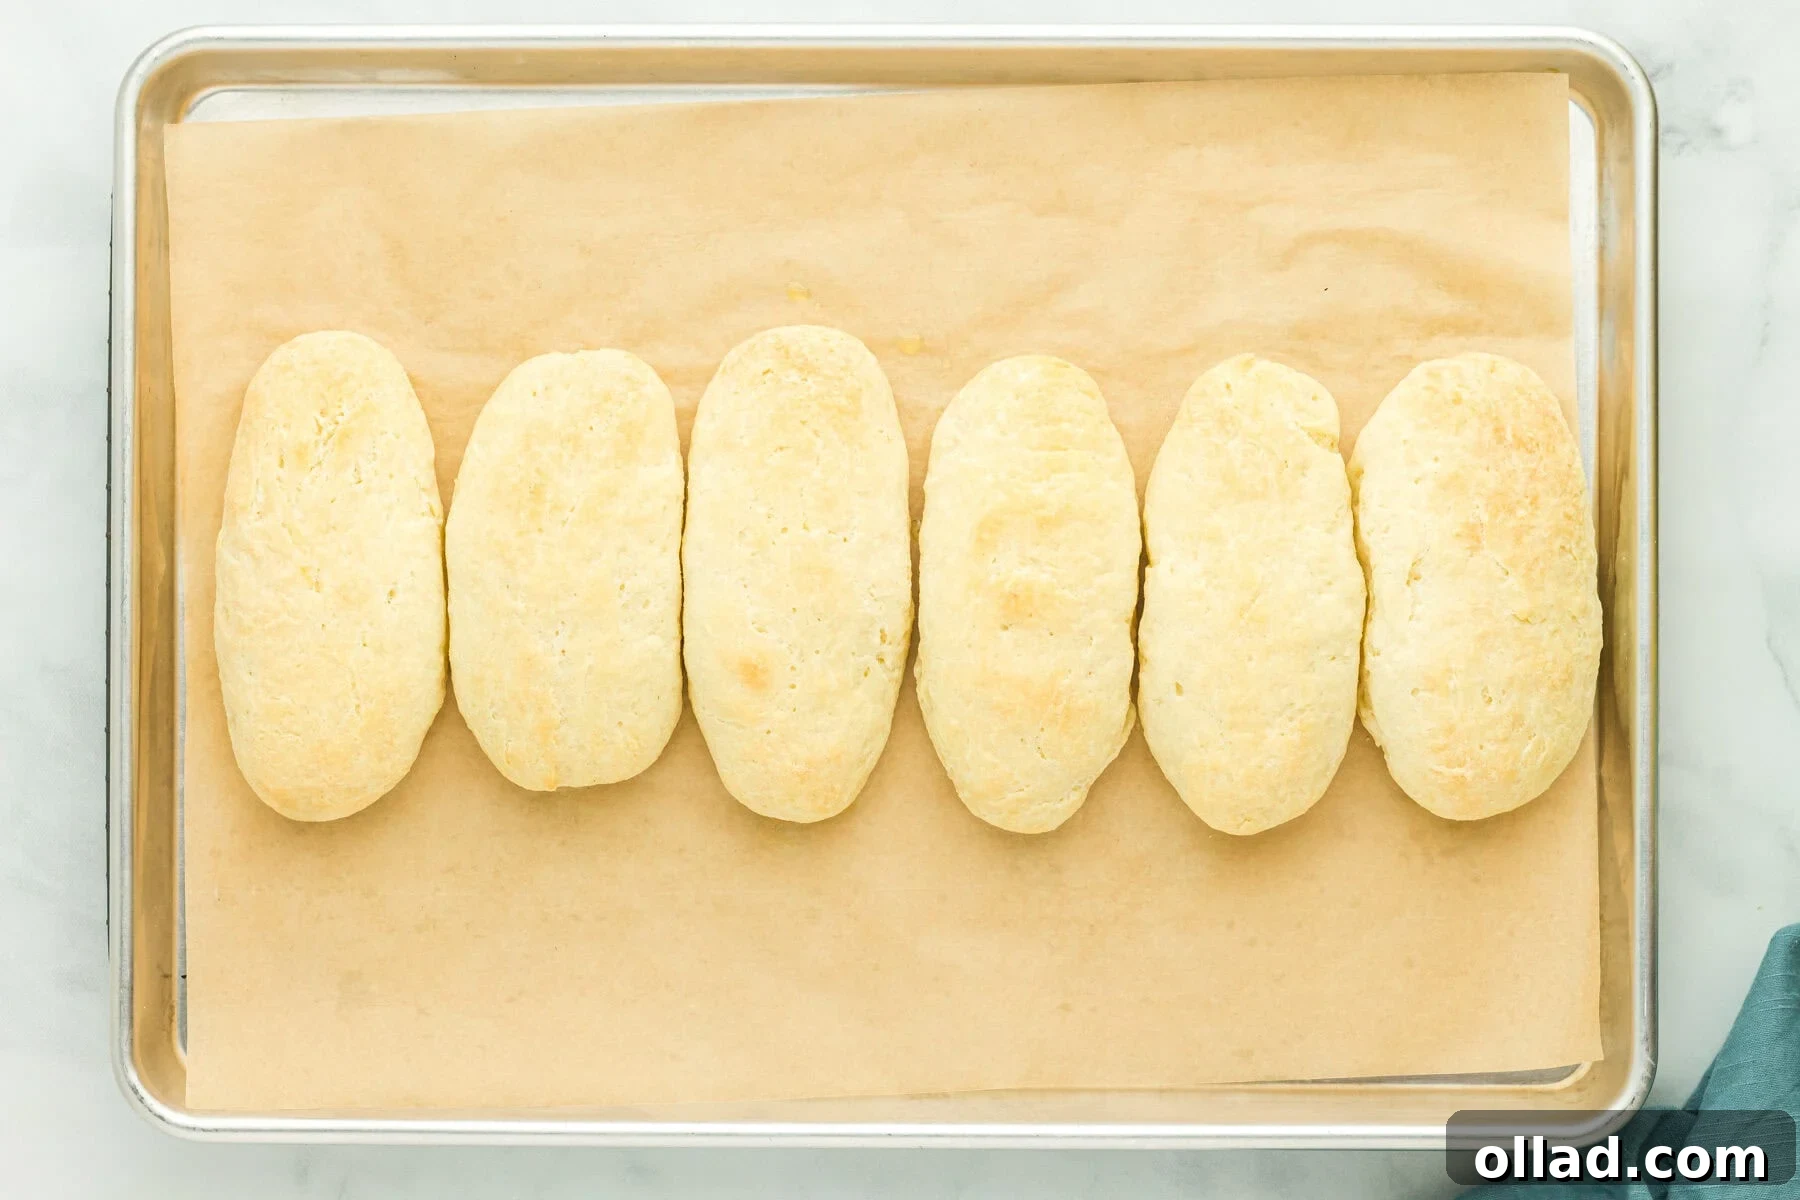
Carefully place the baking sheet with the brushed buns into the preheated oven. Bake for approximately 20-22 minutes. The buns are fully cooked when their tops are lightly browned and their internal temperature reaches at least 190°F (88°C) when checked with an instant-read thermometer. Once baked, remove the tray from the oven and let the buns cool completely on the baking sheet or a wire rack before serving. Cooling allows the internal structure to set, ensuring a perfect texture. Enjoy your perfectly homemade, fluffy gluten-free hot dog buns!