
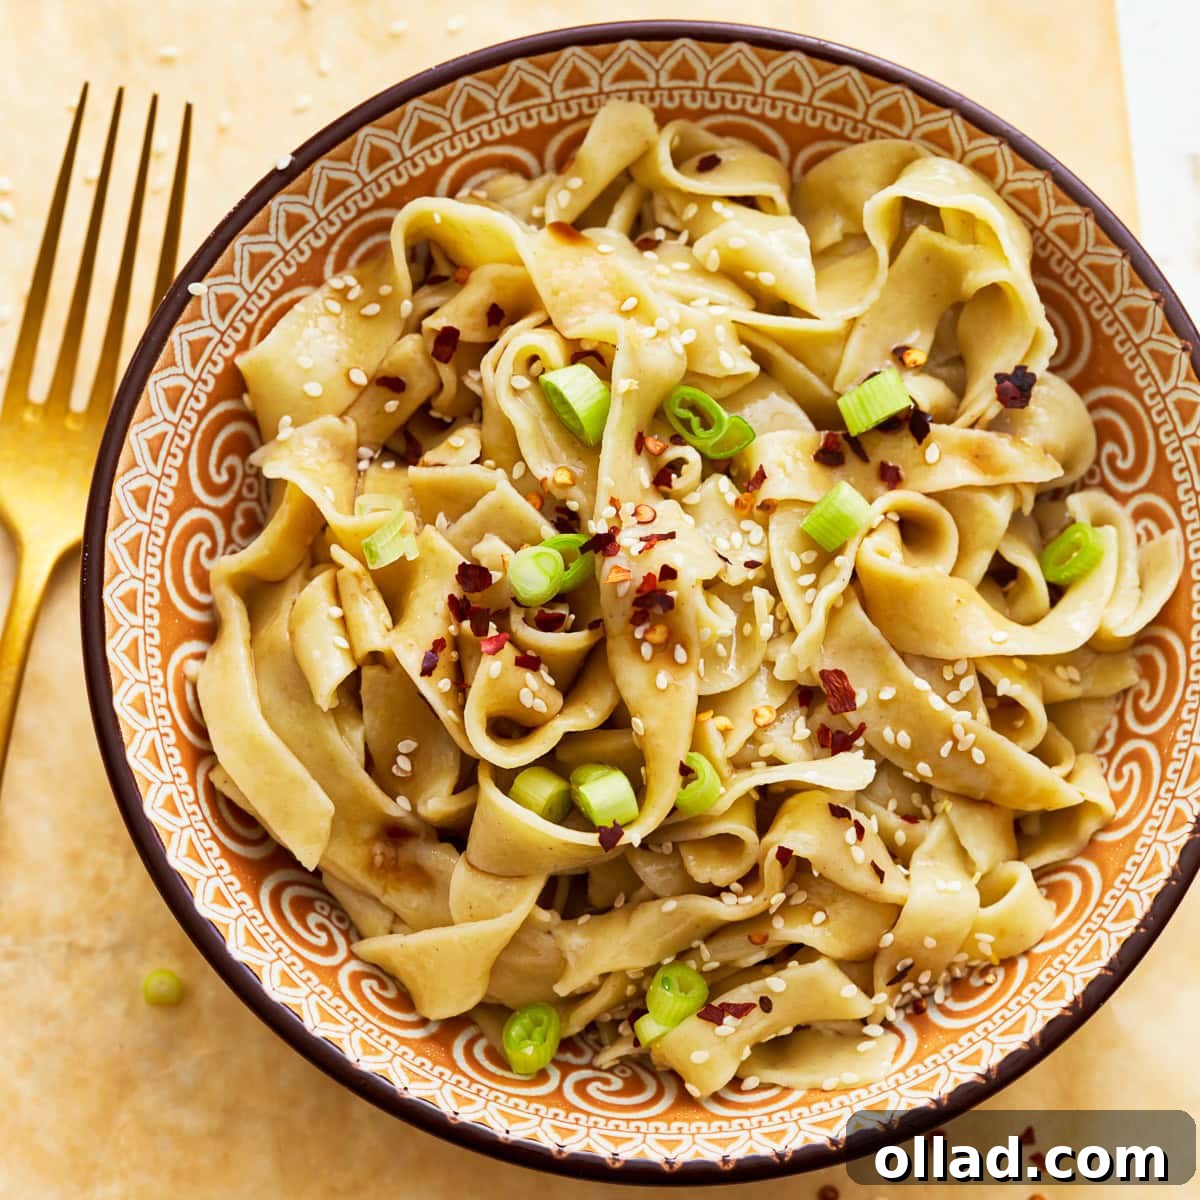
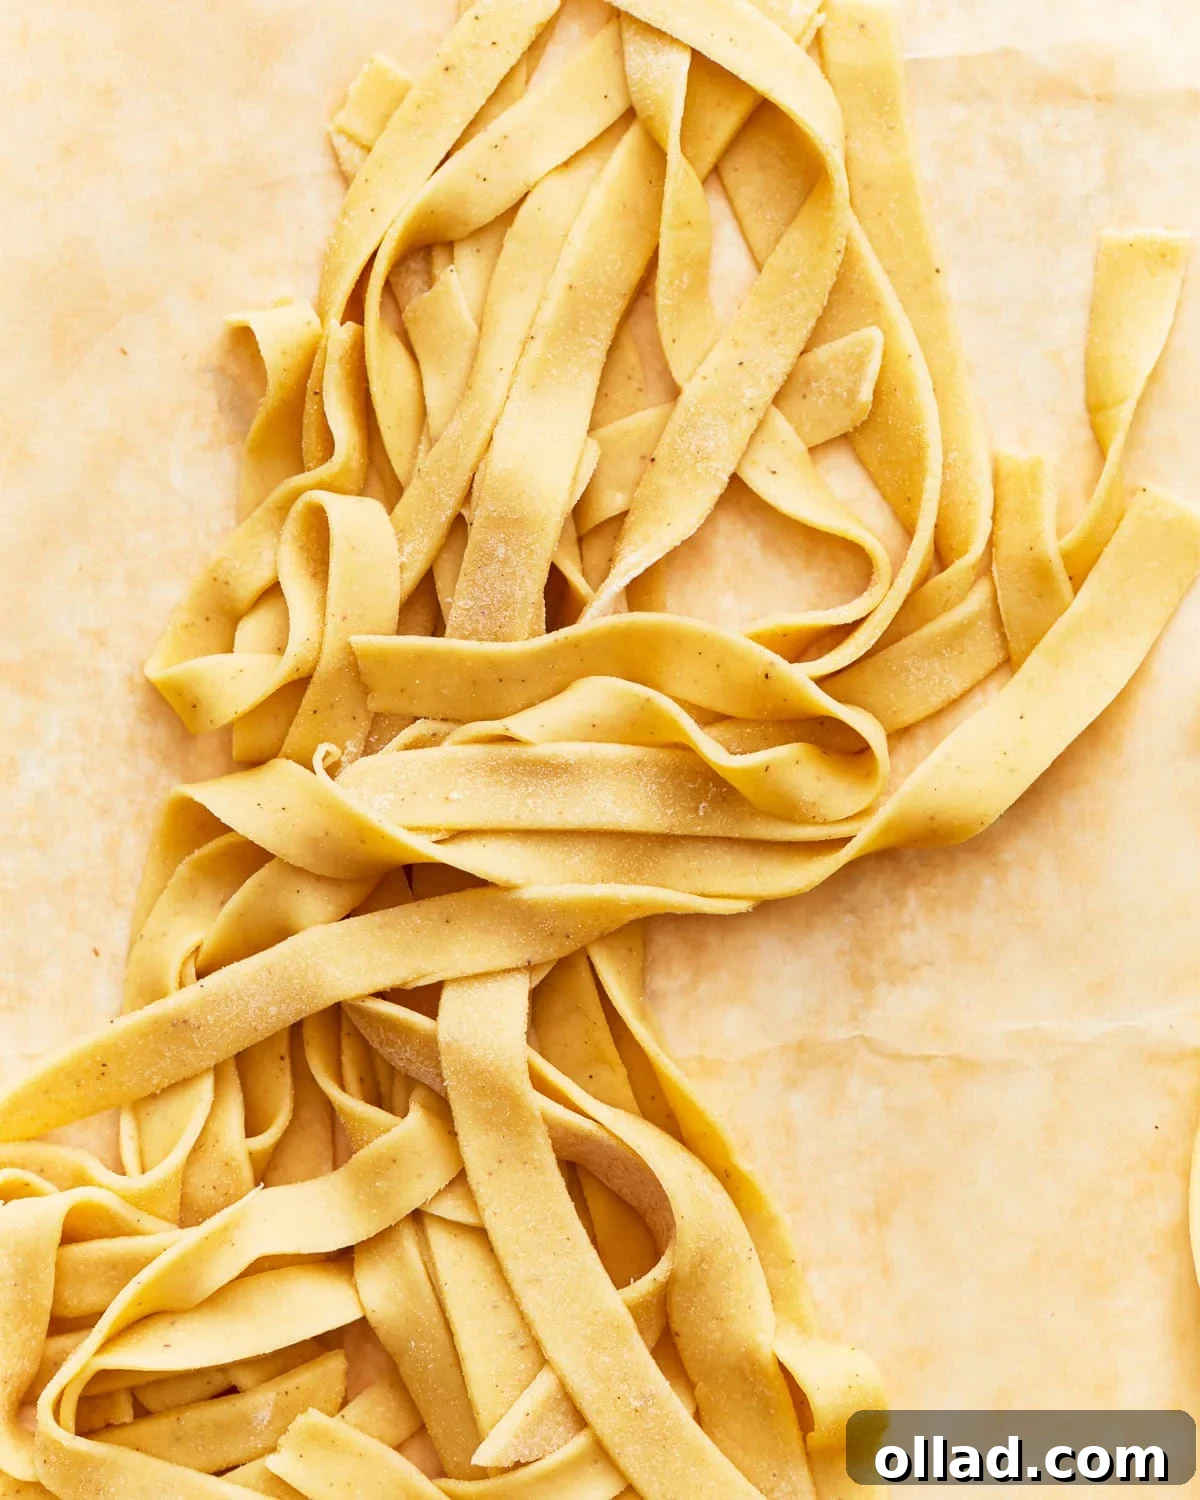
Unlock the secret to perfectly chewy, utterly delicious, and incredibly simple homemade gluten-free egg noodles! This game-changing recipe requires just a few basic ingredients – flour, starch, eggs, water, and salt – and remarkably, doesn’t even need a fancy pasta maker. You can effortlessly roll out the dough by hand, transforming simple components into a versatile foundation for all your favorite comfort meals. Imagine diving into a warm bowl of gluten-free chicken noodle soup, savoring a rich beef stroganoff, or creating any number of pasta dishes that were once off-limits. Egg noodles hold a special place in my heart as a timeless favorite, and this particular recipe has earned a permanent spot in my weekly rotation for its ease, flavor, and satisfying texture. Say goodbye to store-bought limitations and hello to fresh, homemade goodness!
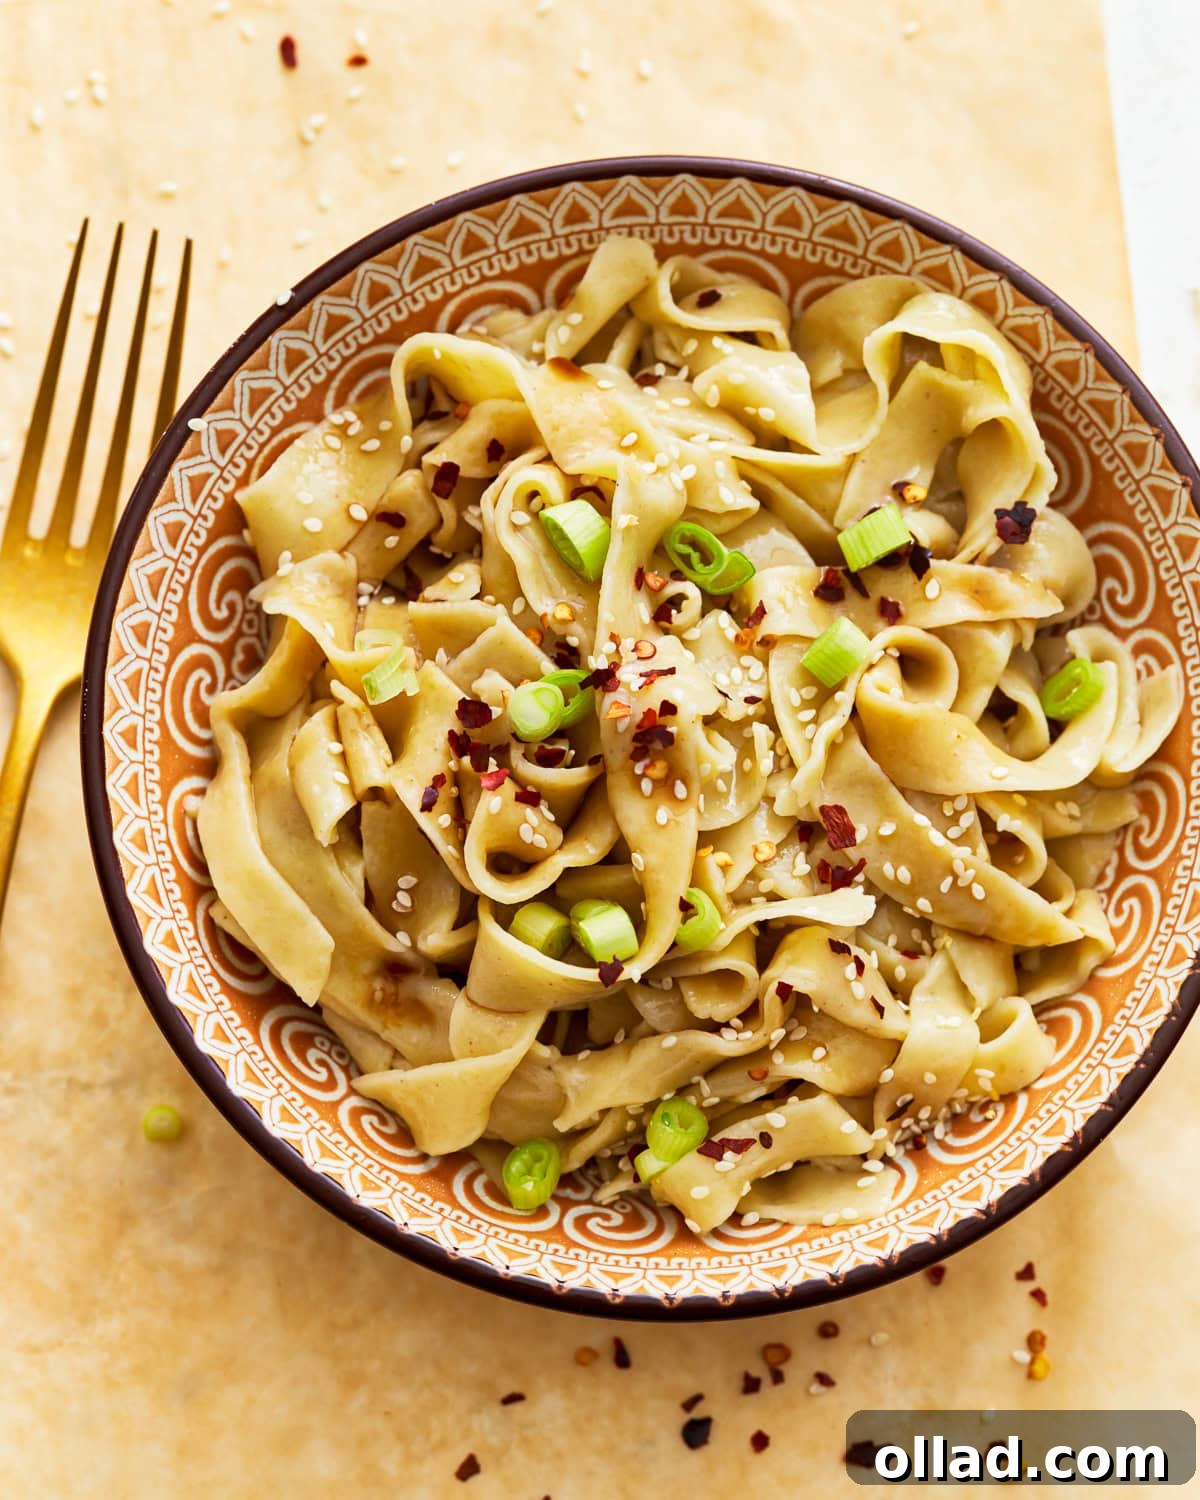
Mastering Homemade Gluten-Free Egg Noodles
Venturing into the world of homemade gluten-free pasta has been a delightful culinary journey for me. While I’ve successfully crafted various gluten-free pasta varieties from scratch, traditional egg noodles always seemed like a more complex challenge. However, after perfecting my recipe for gluten-free Pad Thai, I felt inspired to tackle this classic. Drawing inspiration from my existing gluten-free pasta recipe, I fine-tuned the ratios and ingredients to develop what I believe are the absolute best homemade gluten-free egg noodles. The magic lies in a simple yet effective blend: a high-quality gluten-free all-purpose flour, tapioca starch for elasticity, farm-fresh eggs for richness, and just enough water to bring it all together. This combination ensures a truly exceptional flavor and a wonderfully smooth, pliable dough that translates into perfectly chewy noodles. For optimal results, I highly recommend following this recipe precisely as written, as each ingredient plays a crucial role in achieving that ideal texture and taste you crave.
Why Opt for Homemade Gluten-Free Egg Noodles?
In a world increasingly conscious of dietary restrictions, gluten-free options have become more prevalent. However, when it comes to specialty items like egg noodles, finding high-quality, genuinely gluten-free alternatives can still be a struggle. Many store-bought varieties can be expensive, lack the desired texture, or contain a long list of unfamiliar ingredients. Making your own gluten-free egg noodles at home offers numerous advantages. Firstly, you have complete control over the ingredients, ensuring they are not only certified gluten-free but also fresh and wholesome. This is particularly important for those with severe gluten sensitivities or Celiac disease, where cross-contamination is a major concern. Secondly, the taste and texture of homemade noodles are simply superior. There’s an undeniable satisfaction in preparing a dish from scratch, and these noodles boast a remarkable chewiness and rich flavor that store-bought versions often can’t match. Finally, it’s a cost-effective solution, allowing you to enjoy this beloved comfort food regularly without breaking the bank. Embrace the joy of creating something truly special and delicious in your own kitchen!
Essential Ingredients for Gluten-Free Egg Noodles
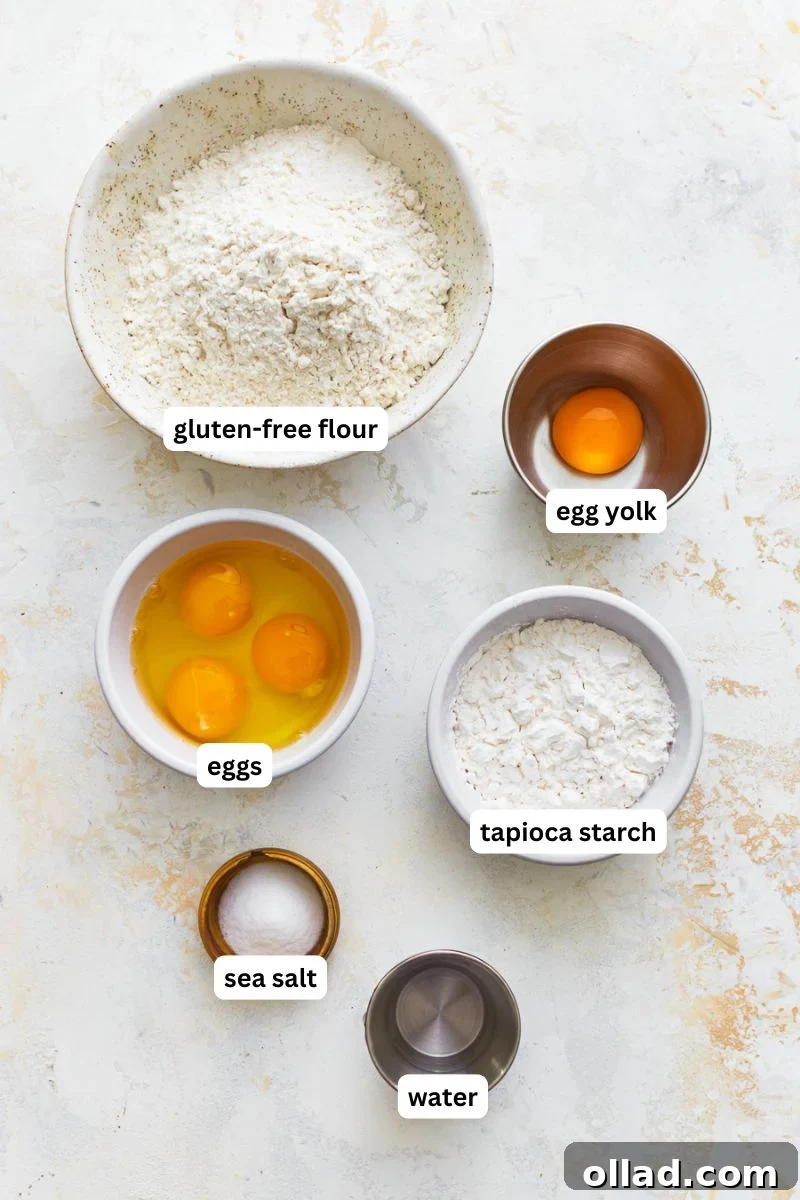
Crafting these delectable gluten-free egg noodles relies on a thoughtful selection of ingredients, each contributing to their unique texture and flavor. Here’s a detailed breakdown:
- All-Purpose Gluten-Free Flour: This forms the primary structure of our noodles. It’s crucial to understand that not all gluten-free flour blends are created equal. Different brands can have varying compositions of rice flour, potato starch, sorghum flour, and other gluten-free grains. These variations directly impact the dough’s hydration needs and final texture. Some blends might require slightly more or less water than specified in the recipe. Always use a high-quality, all-purpose blend, and be prepared to make minor adjustments to achieve the perfect dough consistency. Refer to my detailed tips below for guidance on working with different flour blends.
- Xanthan Gum: This powerful ingredient acts as a vital binding agent in gluten-free baking and cooking. In the absence of gluten, which typically provides elasticity and structure, xanthan gum helps mimic these properties, preventing the dough from becoming crumbly or falling apart during rolling and cooking. If your chosen gluten-free flour blend already contains xanthan gum, you can omit it from this recipe to avoid an overly gummy texture. Always check your flour’s ingredient list!
- Tapioca Starch: Essential for achieving that signature chewy texture in our egg noodles. Tapioca starch, also known as tapioca flour, is derived from the cassava root and is known for its incredible elasticity when hydrated. It provides the necessary stretch to the dough, making it easier to roll out and giving the cooked noodles a pleasant bite that closely resembles traditional wheat-based pasta. It’s the secret to avoiding brittle or overly soft gluten-free noodles.
- Eggs: The heart of these egg noodles, contributing significantly to their richness, color, and binding properties. This recipe calls for 3 large eggs plus an additional egg yolk. The extra egg yolk is key to enhancing the luxurious flavor and giving the noodles an even more tender and smooth texture. Don’t discard that leftover egg white! It can be saved for a quick breakfast scramble, an omelet, or even used to whip up a beautiful meringue.
- Salt: A small but mighty ingredient, a pinch of fine sea salt is added to the dough to elevate and enhance the overall flavor profile of the noodles. It brings out the subtle richness of the eggs and flours, ensuring your noodles aren’t bland.
- Water: The final component for achieving the perfect dough consistency. Water helps hydrate the flours and starches, allowing them to bind with the eggs and form a cohesive, pliable dough. The amount of water needed can sometimes vary based on your specific gluten-free flour blend and even ambient humidity, so be prepared to adjust slightly until your dough reaches the ideal smooth and elastic texture.
Expert Tips for Perfect Gluten-Free Egg Noodles
Achieving perfectly chewy and delicious gluten-free egg noodles is simple with a few insider tips. Here’s how to ensure success every time:
- Accurate Flour Measurement is Key: Unlike wheat flour, gluten-free flour blends can be dense and prone to compacting. I always recommend using the “spoon and level” method for measuring your gluten-free flour. Instead of scooping directly with your measuring cup, gently spoon the flour into the cup until it overflows, then use the back of a straight knife or a flat edge to level it off. This technique prevents over-measuring, which can lead to dry, crumbly dough.
- Adjusting Dough Consistency: Gluten-free flour blends vary significantly. Some absorb more moisture than others, meaning the exact amount of water needed can differ slightly. Your dough should be smooth, elastic, and not overly sticky.
- If the dough is too dry: It will look crumbly and won’t come together easily. Add water sparingly, about a teaspoon at a time, kneading after each addition until the dough reaches the desired smooth and elastic texture.
- If the dough is too sticky: It will cling to your hands and the work surface. Add a small sprinkle of gluten-free flour, about a tablespoon at a time, kneading it in until the stickiness disappears and the dough is manageable.
- The Importance of Resting Time: Don’t skip the resting period! Allowing the dough to rest for approximately 30 minutes, covered with plastic wrap, is crucial. During this time, the gluten-free flour absorbs the moisture more thoroughly, hydrating the starches and making the dough much easier to handle, roll out, and shape. It becomes smoother and more pliable, reducing the chances of tearing.
- Prevent Sticking During Rolling: Gluten-free dough can sometimes be more prone to sticking than traditional wheat dough. Ensure your work surface and rolling pin are generously but lightly dusted with extra gluten-free flour. This creates a barrier that prevents the dough from adhering, making the rolling process much smoother and less frustrating.
- Make Ahead Option: You can prepare the dough in advance! Simply wrap the kneaded dough tightly in plastic wrap and store it in the refrigerator for up to 24 hours. When you’re ready to make your noodles, remove the dough from the fridge and let it come to room temperature for about 30-60 minutes before rolling and cutting. This will make it pliable and easier to work with.
Are Traditional Egg Noodles Gluten-Free? Understanding the Difference
A common question for those new to a gluten-free diet is whether traditional egg noodles are inherently gluten-free. The straightforward answer is: not usually. Most conventional egg noodles are made with wheat flour, which contains gluten, making them unsuitable for individuals with Celiac disease, gluten sensitivity, or those following a gluten-free lifestyle. Gluten is the protein composite found in wheat, barley, and rye, responsible for the elasticity of dough and the chewy texture of baked goods and pasta. Without it, standard egg noodles are impossible to create. Therefore, if you’re avoiding gluten, you have two primary options: either diligently search for store-bought egg noodles explicitly labeled as “certified gluten-free” – which can be challenging to find and often comes with a higher price tag – or, far more satisfyingly, make your own at home using this easy and reliable gluten-free egg noodles recipe. Homemade versions not only guarantee gluten-free ingredients but also often offer superior taste and texture compared to mass-produced alternatives.
Achieving Your Preferred Noodle Thickness: A Guide
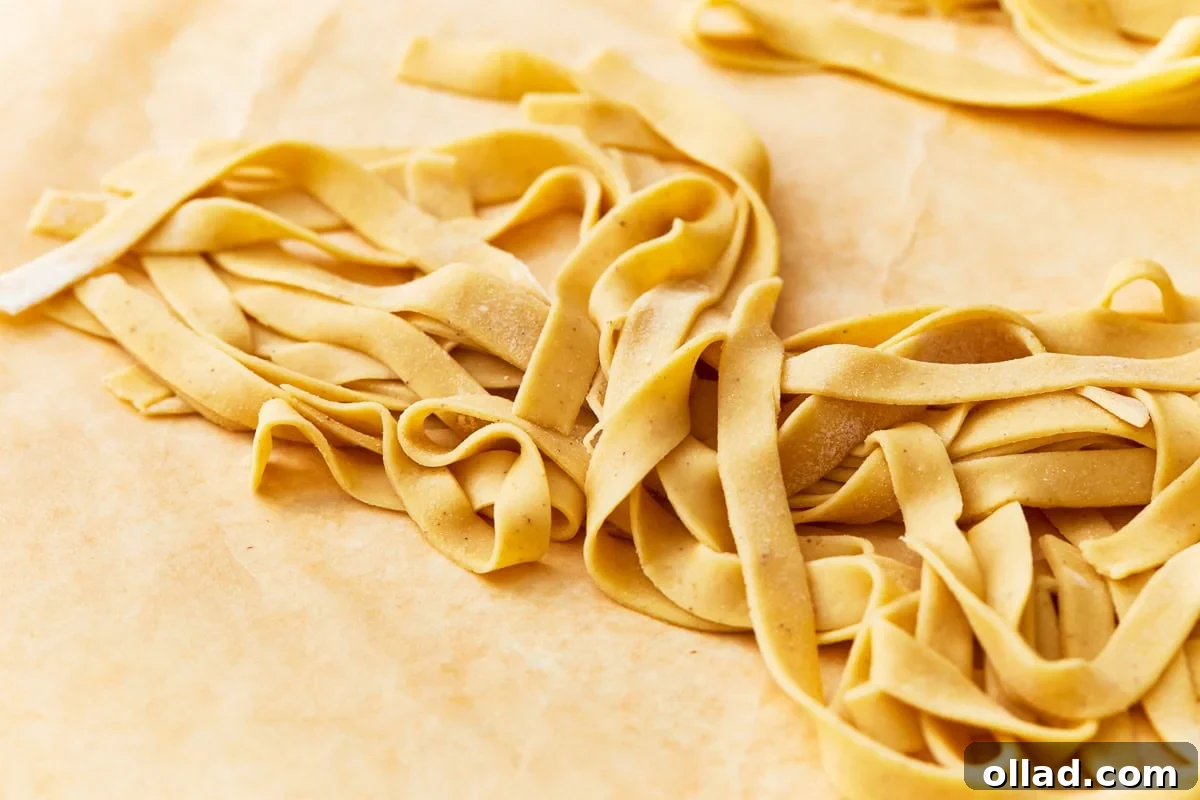
The beauty of making homemade pasta, especially gluten-free egg noodles, lies in the ability to customize them to your exact preference, including thickness. How thin or thick you roll out your dough significantly impacts the final texture and cooking time of your noodles. There’s no single “right” answer, as it truly depends on the dish you’re preparing and your personal taste:
- Thinner Noodles: Rolling the dough to a thinner consistency, around 1/16 inch thick (about the thickness of a thick credit card), will result in delicate noodles that cook very quickly. They offer a lighter mouthfeel and are excellent for delicate broths, quick stir-fries, or when you want the sauce to be the star. Be mindful that very thin gluten-free noodles can be a bit more fragile.
- Thicker Noodles: If you prefer a more substantial bite, roll your dough to about 1/8 inch thick. These thicker noodles will take a bit longer to cook but will yield a wonderfully chewy, robust texture, perfect for heartier stews, creamy sauces, or dishes where the noodle needs to stand up to other ingredients. They are also generally more forgiving to handle.
For a versatile and satisfying noodle that works well in most applications, I personally roll my noodle dough into thin sheets, aiming for approximately 1/16 to 1/8 inch thick. This strikes a perfect balance between quick cooking and a pleasing chewiness. Don’t be afraid to experiment with different thicknesses to discover your ideal noodle!
Delightful Serving Suggestions for Your Gluten-Free Egg Noodles
These homemade gluten-free egg noodles are incredibly versatile and can be used in any dish where you would typically use traditional egg noodles. Their rich flavor and satisfying chewiness make them a delicious addition to countless meals, from comforting soups to savory stir-fries and saucy main courses. Here are some fantastic serving suggestions to inspire your next culinary creation:
- Classic Pasta Dishes: Toss your freshly cooked noodles with your favorite gluten-free spaghetti sauce, a vibrant pesto, or a creamy dairy-free Alfredo sauce for a simple yet satisfying meal.
- Hearty Soups and Stews: These noodles are a natural fit for comforting soups. Add them to a rich gluten-free chicken noodle soup, a warming beef stew, or any vegetable broth for an extra layer of texture and flavor.
- Savory Stir-fries: Create a quick and flavorful stir-fry by mixing cooked noodles with an assortment of sautéed vegetables (like bell peppers, broccoli, carrots, and snap peas), your protein of choice (I highly recommend chicken, shrimp, or tofu), and a delicious gluten-free teriyaki sauce or peanut sauce.
- Beef Stroganoff: Elevate a classic beef stroganoff by serving it over these homemade gluten-free egg noodles. Their sturdiness holds up beautifully to the creamy, rich sauce.
- Simple Buttered Noodles: For the ultimate quick and comforting dinner, simply toss the hot, drained noodles with a generous knob of butter (dairy or dairy-free) and a sprinkle of grated Parmesan cheese (or nutritional yeast for a dairy-free option). A touch of freshly cracked black pepper completes this easy delight.
- Noodle Casseroles: Incorporate them into your favorite gluten-free baked casseroles, offering a delightful texture that absorbs flavors beautifully.
Storage Solutions for Your Gluten-Free Egg Noodles
Proper storage is essential to maintain the freshness and quality of your homemade gluten-free egg noodles, whether uncooked or cooked. Here’s a guide to help you store them effectively:
- Uncooked Dough (Refrigerated): If you’ve made the dough ahead of time but haven’t yet rolled and cut the noodles, ensure it’s wrapped tightly in plastic wrap to prevent it from drying out. Store the dough in the refrigerator for no longer than 24 hours. Before using, remember to let the dough come to room temperature for about 30-60 minutes; this will make it much more pliable and easier to roll and shape into noodles.
- Cooked Noodles (Refrigerated): Once your gluten-free egg noodles are cooked, it’s best to enjoy them fresh. However, any leftovers can be stored. Allow the cooked noodles to cool completely, then transfer them to an airtight container. Refrigerate for up to 3 days. To reheat, you can briefly toss them in a pan with a little butter or oil, or add them to simmering soup.
- Uncooked Noodles (Frozen): Freezing uncooked noodles is a fantastic way to prepare them in advance and have them ready for a quick meal.
- First, cut the noodles to your desired shape and length.
- Lay them flat in a single layer on a baking sheet lined with parchment paper. Ensure they are not touching to prevent them from sticking together.
- Place the baking sheet in the freezer until the noodles are completely solid, which usually takes about 30 minutes to an hour.
- Once frozen, transfer the solid noodles to a freezer-safe bag or an airtight container.
- Use frozen noodles within 2 months for the best texture and taste.
To cook frozen gluten-free egg noodles, there’s no need to thaw them! Simply add them directly to a large pot of boiling salted water. Since they are frozen, they will require a few extra minutes of cooking time compared to fresh noodles. Cook until they reach your preferred al dente texture.
Discover More Gluten-Free Noodle Creations
If you’ve enjoyed making these homemade gluten-free egg noodles, you’ll love exploring other delicious gluten-free noodle and pasta recipes. Expanding your repertoire means more variety and endless possibilities for your meal planning. Here are some of our other favorite gluten-free noodle-centric dishes that are sure to become staples in your kitchen:
- Gluten-Free Pad Thai: A vibrant and flavorful take on the classic Thai dish, proving that gluten-free can be just as authentic and delicious.
- Gluten-Free Ramen: Enjoy the rich, comforting broth and chewy noodles of a homemade ramen without any gluten. Perfect for a cozy night in.
- Gluten-Free Chicken Noodle Soup: The ultimate comfort food, reimagined with tender chicken, wholesome vegetables, and delicious gluten-free noodles.
- Almond Flour Pasta: A unique and versatile pasta option made with almond flour, offering a different flavor and texture profile for your pasta dishes.
Gluten-Free Egg Noodles
Ingredients
- 1 ½ cups all-purpose gluten-free flour
- 1 teaspoon xanthan gum, omit if your flour blend already contains it
- ½ cup tapioca starch
- ½ teaspoon fine sea salt
- 3 large eggs
- 1 large egg yolk
- 1 tablespoon water
Instructions
-
In a large mixing bowl, combine the gluten-free flour, xanthan gum (if required), tapioca starch, and fine sea salt. Mix thoroughly to ensure even distribution of the ingredients.
-
Create a well in the center of the flour mixture. Add the eggs, egg yolk, and water into the well.
-
Gradually incorporate the flour mixture into the wet ingredients using a fork or your fingers until a shaggy dough forms.
-
Transfer the dough to a clean, lightly floured surface once it begins to come together. Knead the dough for 5-7 minutes until it becomes smooth and elastic. Adjust the dough consistency by adding a little more water if too dry or a sprinkle of gluten-free flour if too sticky.
-
Shape the kneaded dough into a ball and cover it with plastic wrap. Allow it to rest at room temperature for about 30 minutes to hydrate the gluten-free flour and relax the dough.
-
After resting, divide the dough into 4 portions to make handling easier. Flatten each portion into a disk using your hands.
-
Lightly flour a parchment paper and rolling pin with gluten-free flour. Roll out each portion of dough into a thin rectangular sheet, approximately 1/16 to 1/8 inch thick.
-
Cut the rolled-out dough into strips and repeat the rolling and cutting process with the remaining dough portions.
-
To cook the gluten-free egg noodles, bring a large pot of salted water to a rolling boil. Add the noodles and cook for approximately 2 minutes, or until they reach al dente texture. Drain the cooked noodles and serve immediately with your preferred sauce or toppings.
Notes
- Use the spoon & level method to measure your gluten-free flour. Spoon the flour into your measuring cups and level it off with a knife. This stops the flour from packing down into the cup.
- Add more water if the dough is too dry, or add more flour if it’s too sticky.
- To Store: Cover uncooked noodle dough and refrigerate for up to 24 hours before using. Let the dough come to room temperature before shaping into noodles.
- To Freeze: Cut the noodles to shape and freeze them flat on a baking sheet. Once frozen, transfer to a freezer-safe bag or container for up to 2 months. Cook from frozen and add a few minutes extra to the cooking time.
- Mama says, “Check all of your labels!”
Nutrition
Calories: 271kcal
Carbohydrates: 47g
Protein: 10g
Fat: 6g
Saturated Fat: 2g
Polyunsaturated Fat: 1g
Monounsaturated Fat: 2g
Trans Fat: 0.01g
Cholesterol: 188mg
Sodium: 368mg
Potassium: 62mg
Fiber: 5g
Sugar: 2g
Vitamin A: 267IU
Calcium: 57mg
Iron: 3mg
Nutrition information is automatically calculated, so should only be used as an approximation.
Additional Info
How to Make Gluten-Free Egg Noodles: A Visual Step-by-Step Guide
Making homemade gluten-free egg noodles is a rewarding process, and these visual steps will guide you through each stage, ensuring you achieve perfect results. Follow along to create chewy, delicious noodles from scratch.
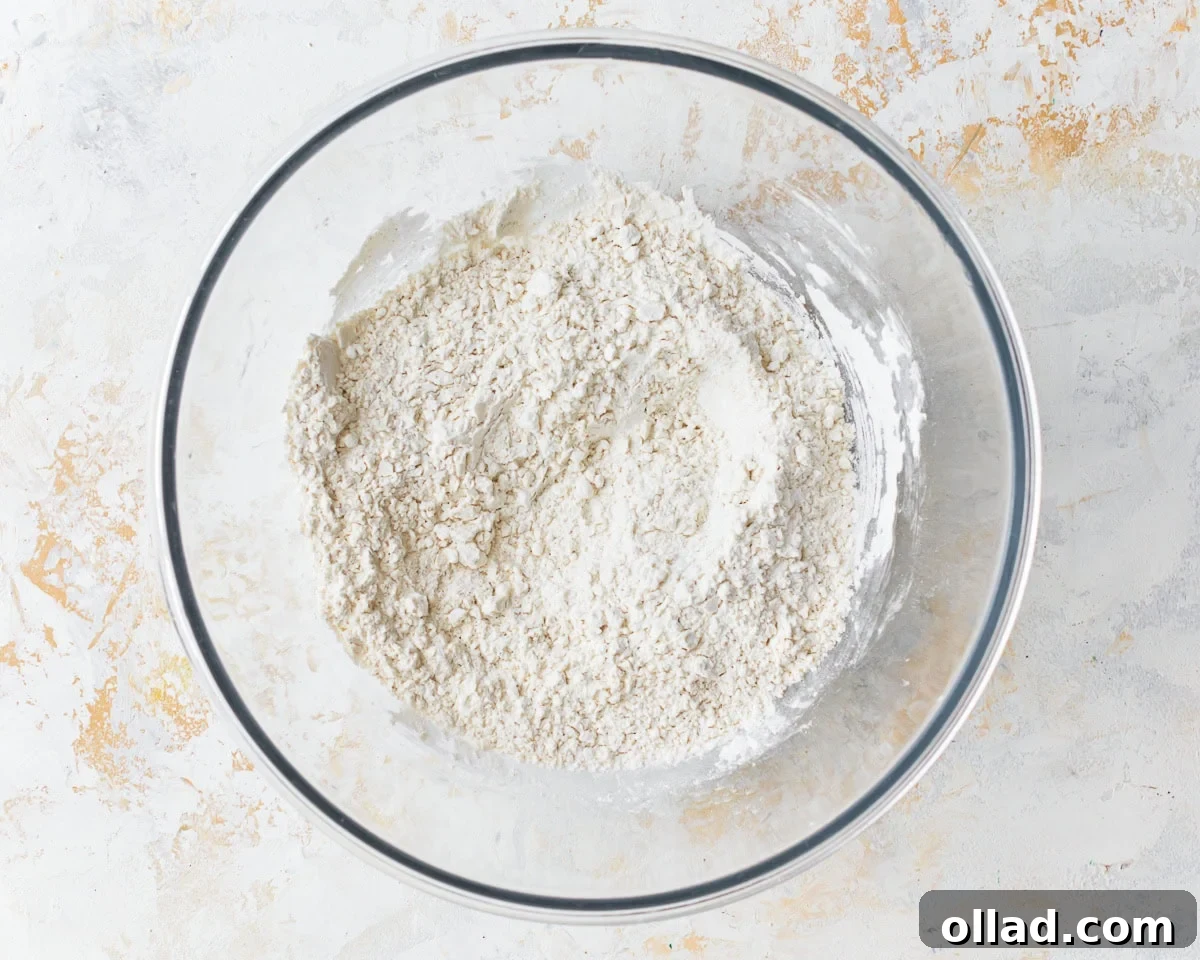
Step 1: Combine Dry Ingredients. In a spacious mixing bowl, carefully measure and combine 1 ½ cups of your chosen all-purpose gluten-free flour, 1 teaspoon of xanthan gum (remember to omit this if your flour blend already contains it), ½ cup of tapioca starch, and ½ teaspoon of fine sea salt. Whisk these dry ingredients thoroughly to ensure they are evenly distributed. This uniformity is crucial for a consistent dough texture.
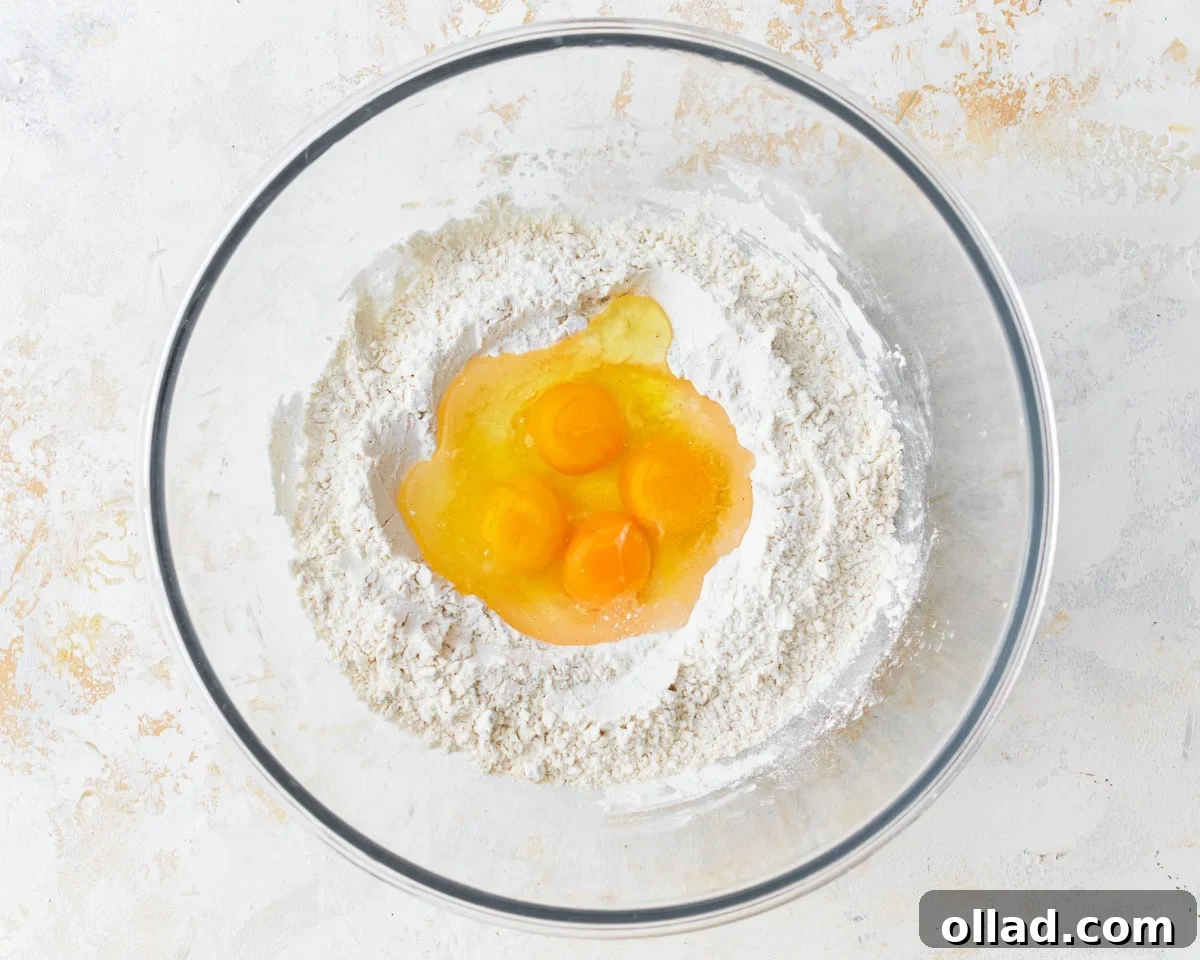
Step 2: Add Wet Ingredients. Create a clear, deep well in the very center of your dry flour mixture. Into this well, add 3 large eggs, an additional large egg yolk for extra richness, and 1 tablespoon of water. These wet ingredients will bind the flour mixture to form the dough.
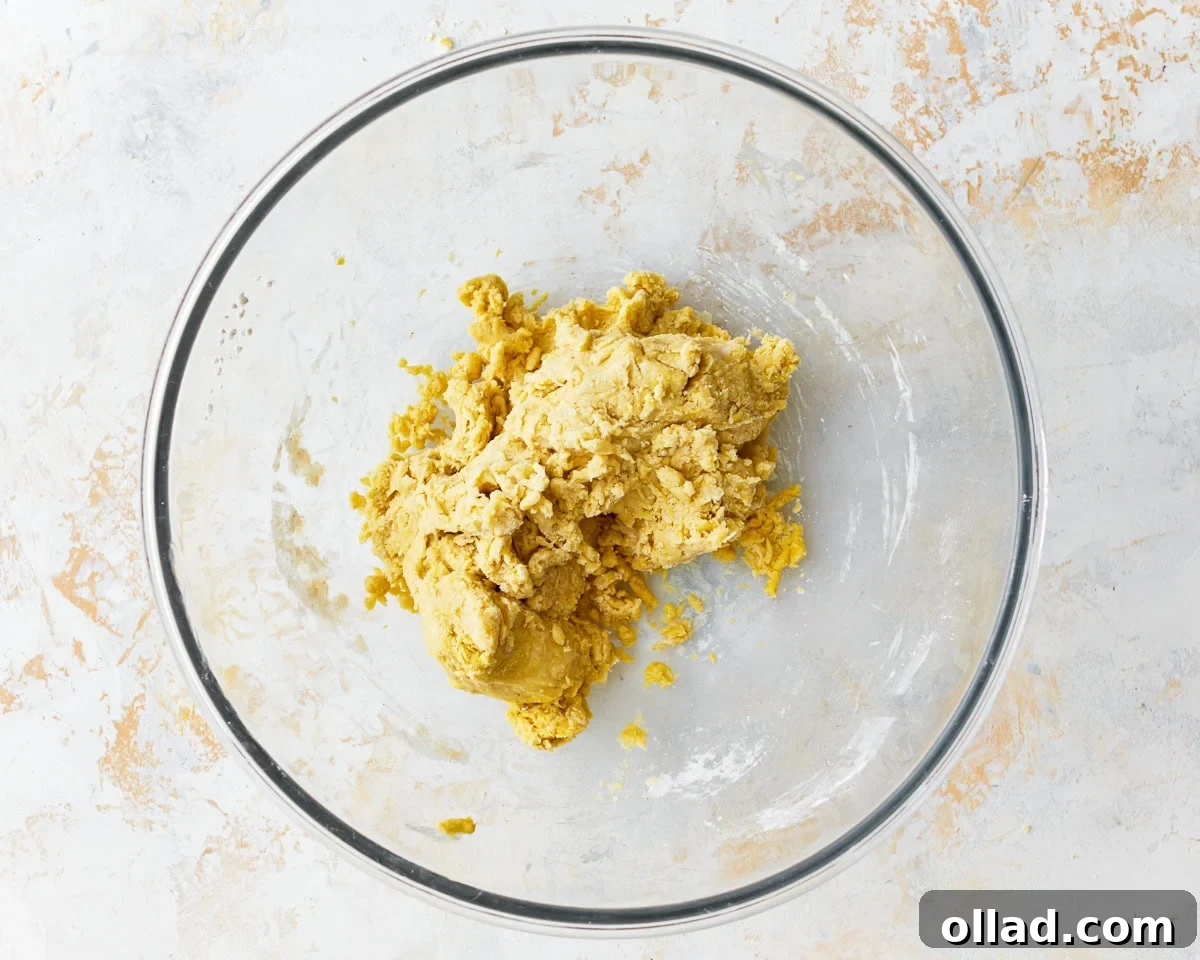
Step 3: Form a Shaggy Dough. Begin to gradually incorporate the dry flour mixture from the edges into the wet ingredients in the well. You can use a fork, your fingertips, or a dough scraper for this. Continue mixing until a rough, shaggy dough starts to form. It won’t be smooth yet, but it should just begin to come together.
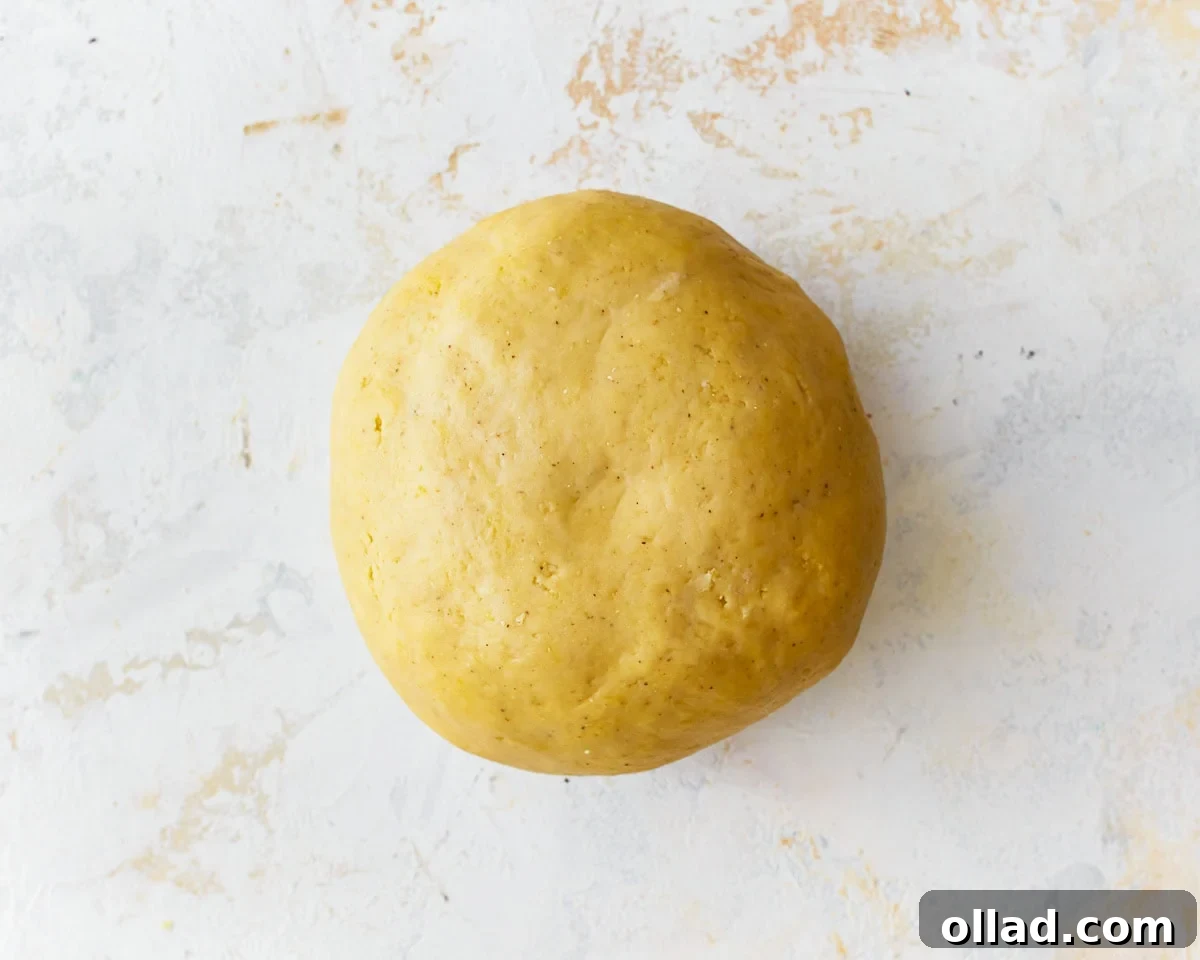
Step 4: Knead the Dough. Once the dough has gathered into a shaggy mass, transfer it to a clean, lightly floured work surface. Knead the dough vigorously for 5-7 minutes. This process develops the starches and xanthan gum, transforming the dough into a smooth, cohesive, and elastic ball. If the dough feels too dry and crumbly, add water a teaspoon at a time. If it’s too sticky, sprinkle a little more gluten-free flour. Aim for a dough that feels soft but not tacky.
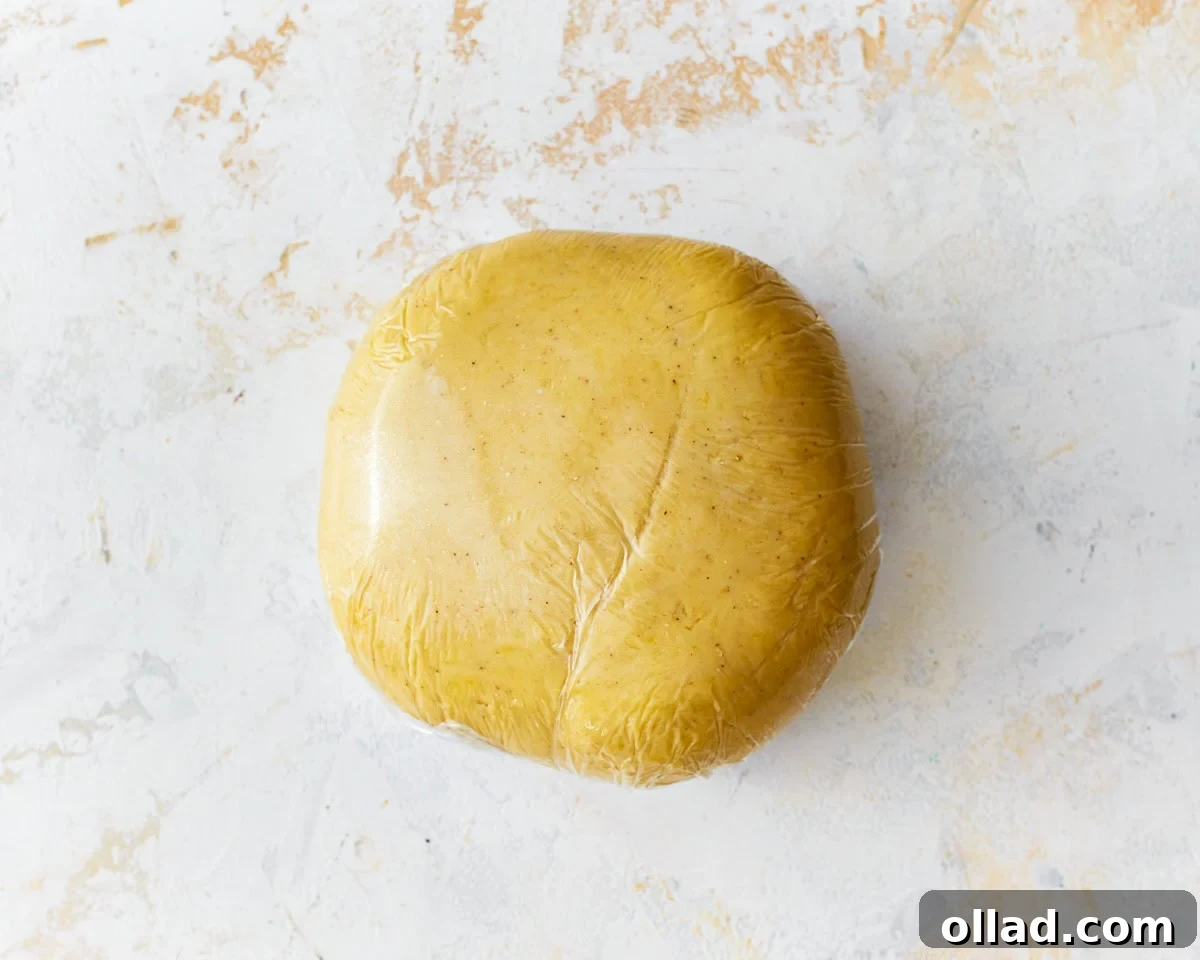
Step 5: Rest the Dough. Shape the thoroughly kneaded dough into a neat ball. Wrap it tightly in plastic wrap to prevent it from drying out. Allow the dough to rest at room temperature for at least 30 minutes. This resting period is vital, as it allows the gluten-free flours to fully hydrate and the dough to relax, making it much easier to roll out and preventing tearing.
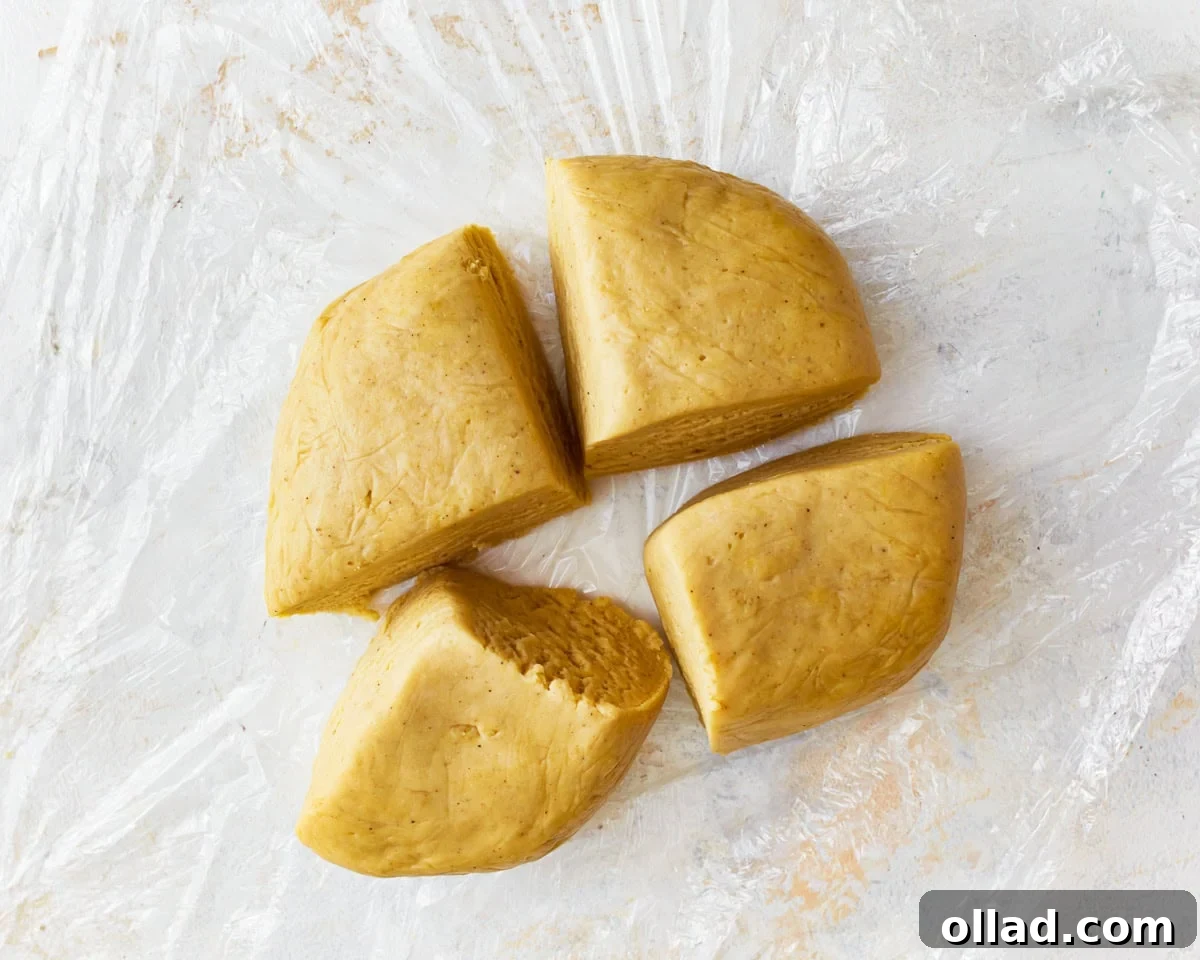
Step 6: Portion the Dough. After the dough has rested, unwrap it and divide it into 4 equal portions. This makes the rolling process much more manageable. Take each portion and gently flatten it into a disk using your hands. Keeping the remaining portions covered will help prevent them from drying out.
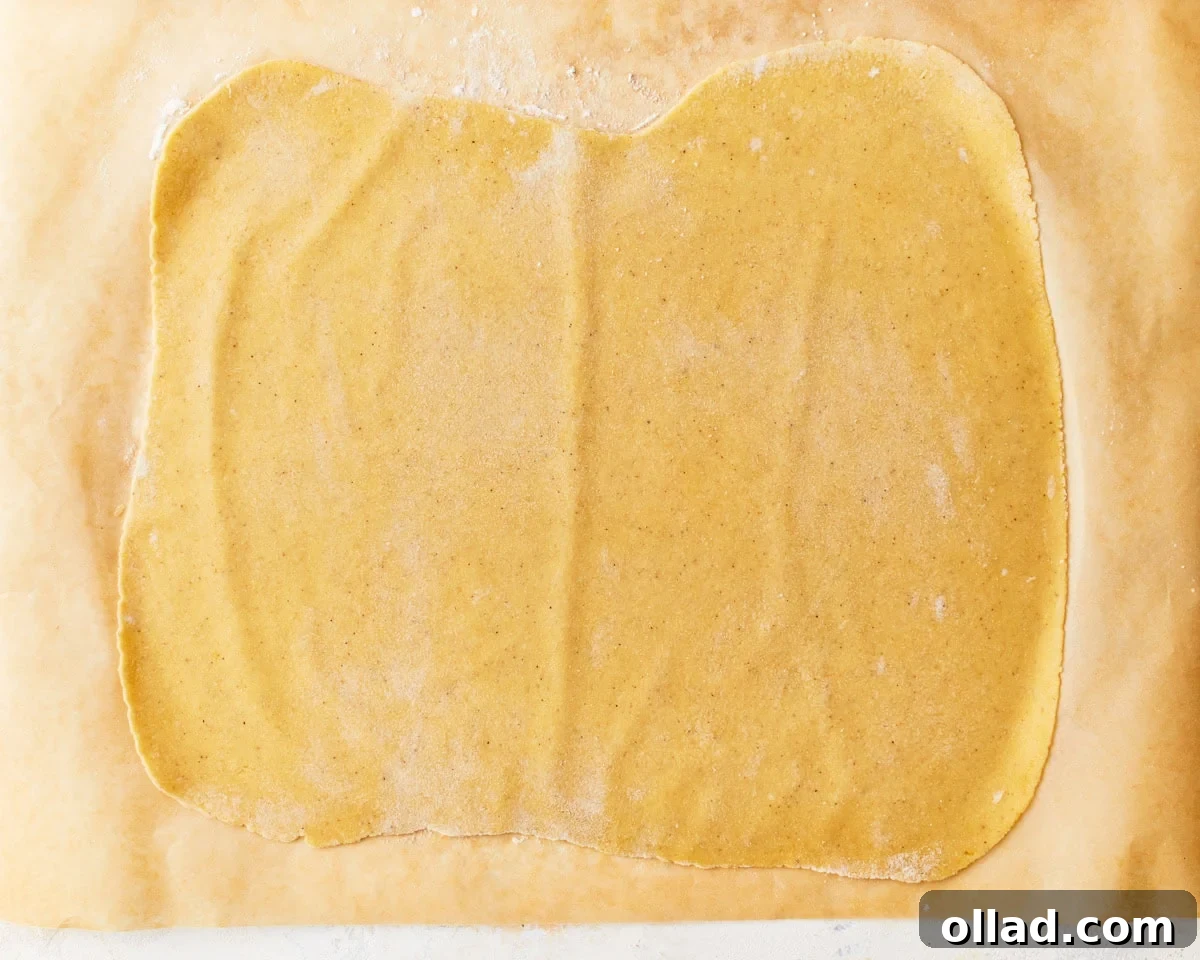
Step 7: Roll Out the Dough. Lightly flour a clean piece of parchment paper and your rolling pin with gluten-free flour. Take one dough portion and roll it out into a thin, even rectangular sheet. Aim for a thickness of approximately 1/16 to 1/8 inch, depending on your preferred noodle thickness. The parchment paper helps prevent sticking and makes it easy to handle.
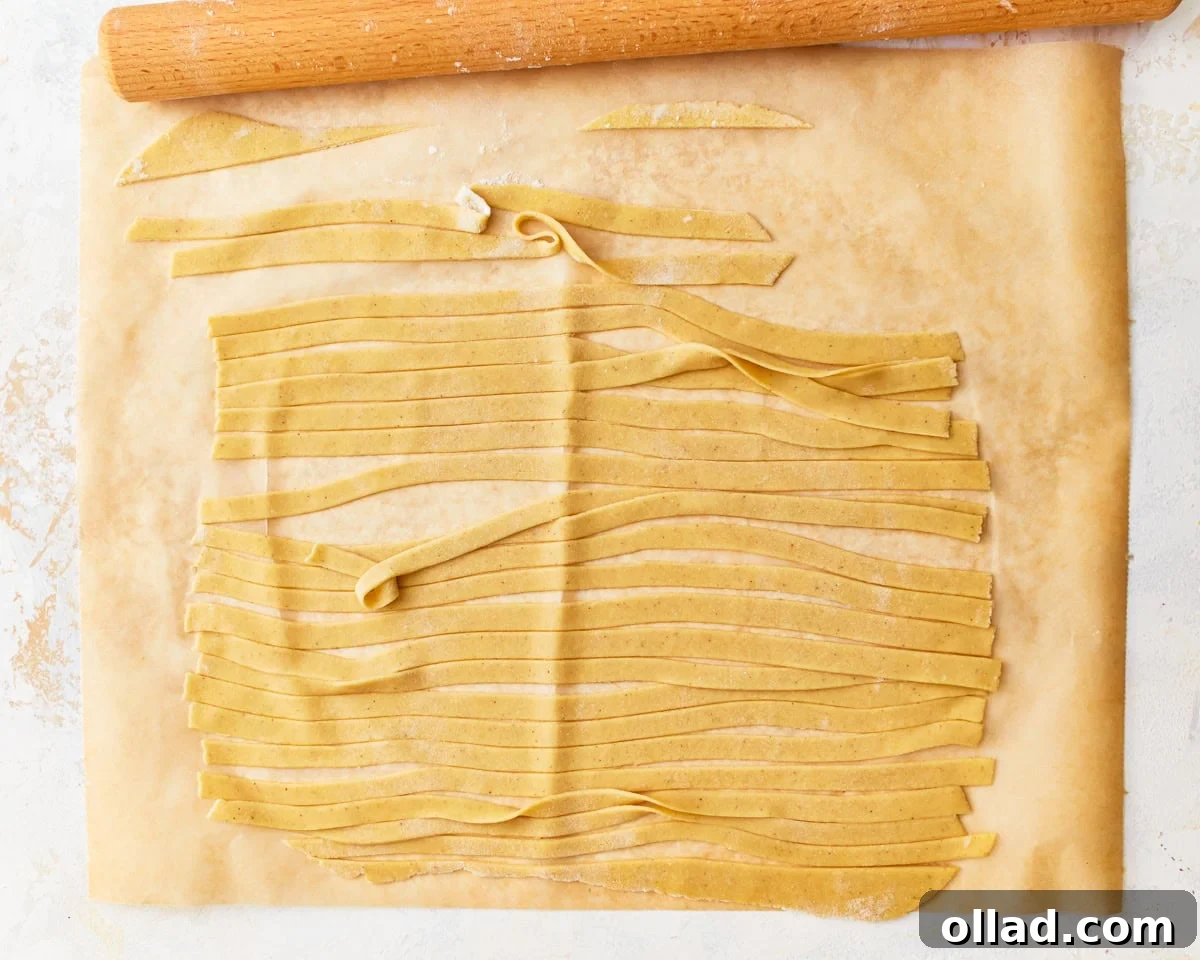
Step 8: Cut the Noodles. Once rolled, use a sharp knife or a pizza cutter to cut the dough sheet into strips of your desired width and length. Repeat the rolling and cutting process with the remaining dough portions until all the dough has been transformed into beautiful, fresh gluten-free egg noodles. Lightly dust the cut noodles with flour to prevent them from sticking together.
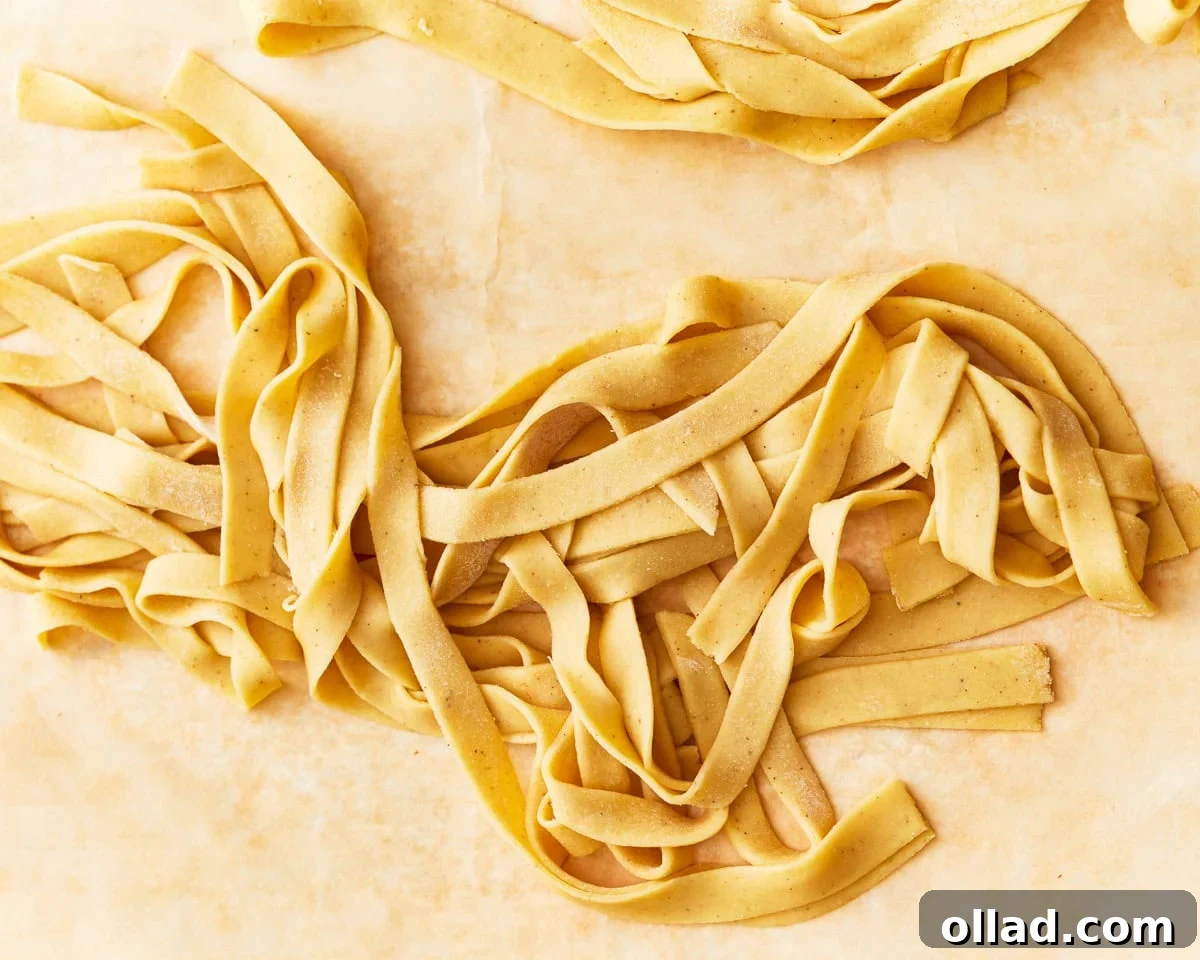
Step 9: Cook and Serve. To cook your homemade gluten-free egg noodles, bring a large pot of generously salted water to a rolling boil. Carefully add the noodles to the boiling water and cook for approximately 2 minutes, or until they reach an al dente texture – tender yet with a slight bite. Cooking time may vary based on thickness. Drain the cooked noodles immediately and serve them hot with your preferred sauce, broth, or toppings. Enjoy the fresh, homemade goodness!