
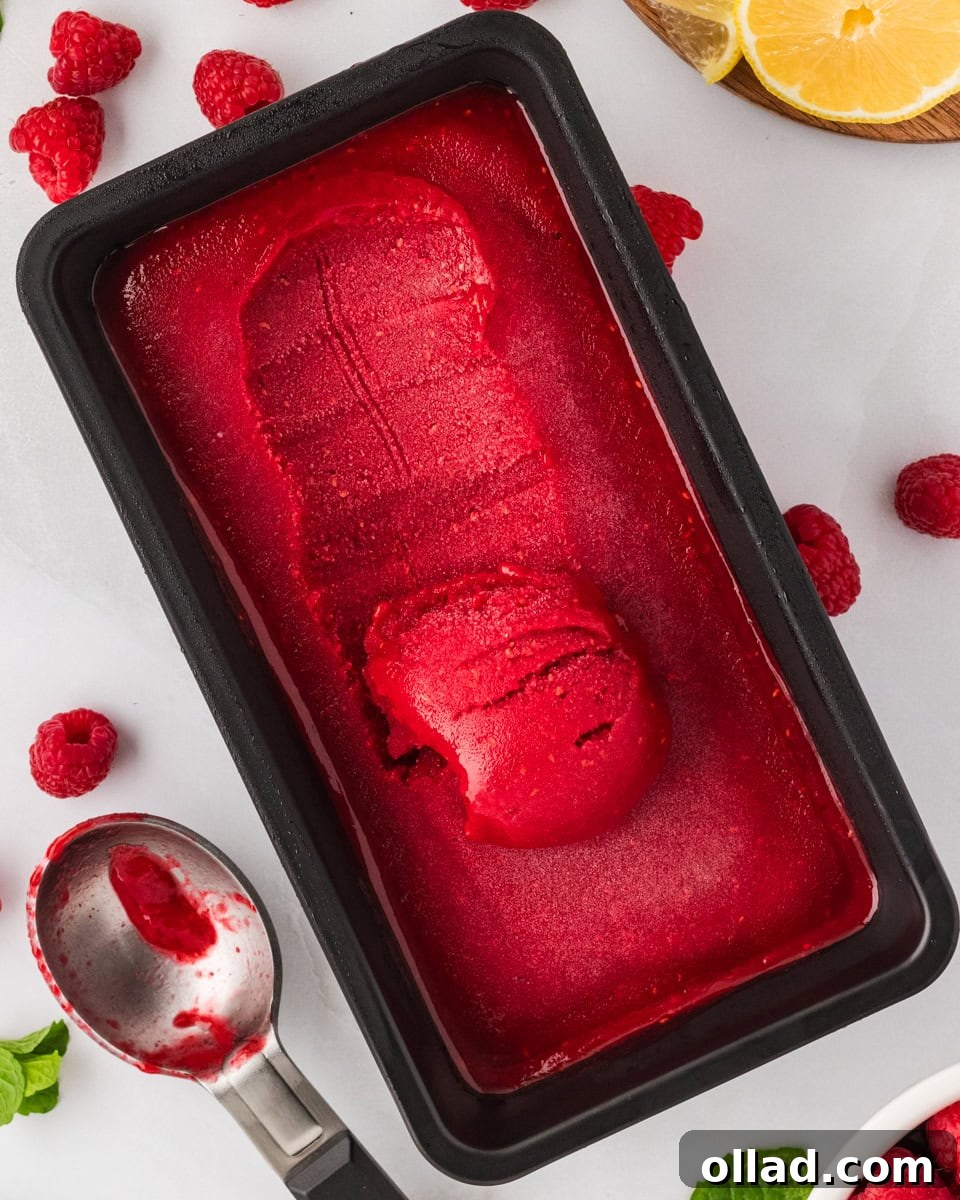
Homemade Raspberry Sorbet: Your Ultimate Guide to a Refreshing Summer Treat
Imagine a perfect summer day, sunshine warming your skin, and a cool, vibrant, fruit-packed dessert to complete the scene. This homemade raspberry sorbet isn’t just a treat; it’s an experience. Sweet, tangy, and incredibly refreshing, it’s exactly what you crave when temperatures rise. Best of all, this delightful sorbet is naturally dairy-free, gluten-free, and vegan, making it a universally enjoyable indulgence for everyone. Forget the complicated gadgets or fancy techniques; you won’t need an ice cream maker here. With just 4 simple ingredients, a blender, and a little patience while it freezes, you’ll create a bright, berry-packed frozen dessert that feels wonderfully indulgent yet couldn’t be easier to prepare.
Why You’ll Love This Raspberry Sorbet Recipe
Once I discovered the sheer simplicity and incredible flavor of homemade sorbet, especially without needing specialized equipment, I was completely won over. This recipe allows you to transform basic pantry staples—frozen raspberries (or your choice of berries), lemon, sugar, and water—into a gourmet-quality dessert. It’s truly that simple! I love how effortlessly this sorbet comes together, whether I’m planning to impress dinner guests or simply want to stash a secret supply in my freezer for those moments when only a vibrant, frosty treat will do. It feels elegant and invigorating, yet it’s genuinely a fuss-free dessert that you’ll always be glad to have on hand. It’s perfect for picnics, barbecues, or just a quiet evening on the porch.
- Effortlessly Delicious: Achieve incredible flavor with minimal effort and just four common ingredients.
- Dietary-Friendly: Naturally dairy-free, gluten-free, and vegan, catering to various dietary needs and preferences.
- No Special Equipment: No ice cream maker? No problem! A standard blender is all you need.
- Incredibly Refreshing: The perfect balance of sweet and tangy makes this sorbet an ideal coolant for hot days.
- Versatile: Easy to customize with different berries or flavor enhancers.
The Simple Secret to Perfect Homemade Sorbet
The magic of this raspberry sorbet lies in its straightforward ingredients and simple process. At its heart, sorbet is a mixture of fruit, sweetener, and water, churned or frozen until smooth. Our no-churn method bypasses the need for an ice cream machine by relying on the perfect ratio of sugar to liquid and the powerful blending capabilities of a high-speed blender. The sugar acts as an antifreeze, preventing the mixture from freezing into a solid block of ice, while the lemon juice brightens the flavors and adds that essential tangy counterpoint to the sweet raspberries. Using frozen fruit also helps achieve that desirable thick, icy texture right from the blender, cutting down on initial freezing time.
Essential Tips for Beginner Sorbet Makers
Making homemade sorbet is surprisingly simple, but a few expert tips can elevate your results from good to absolutely perfect. Pay attention to these details to ensure a smooth, scoopable, and intensely flavored raspberry sorbet every time.
- Achieving the Best Texture: The key to a luxurious sorbet that isn’t overly icy or too slushy lies in the precise balance of sugar. Too little sugar, and your sorbet will freeze hard as a rock, making it difficult to scoop and giving it an unpleasantly icy mouthfeel. Conversely, too much sugar can prevent it from freezing properly, resulting in a perpetually soft, slushy consistency. Always adhere to the sugar-to-liquid ratios specified in the recipe. For an even smoother, less icy texture, especially if you plan to store it for a while, consider adding a splash (about 1-2 tablespoons) of vodka or corn syrup to the mixture before freezing. Alcohol lowers the freezing point, while corn syrup interferes with ice crystal formation, both helping to keep your sorbet wonderfully creamy and scoopable. When it’s time to serve, let your sorbet rest at room temperature for 3–5 minutes. This brief softening period allows it to reach the ideal consistency for effortless scooping.
- For a Silky-Smooth Finish: Raspberries are delicious, but their tiny seeds can sometimes detract from the smooth texture of sorbet. If you prefer a truly silky-smooth sorbet, a few extra minutes are well worth the effort. After blending all the ingredients, pour the mixture through a fine-mesh sieve or a piece of cheesecloth into your freezing container. Gently press the pulp against the sieve to extract all the flavorful liquid, leaving the seeds behind. This step ensures an incredibly refined and pleasant mouthfeel, making your homemade sorbet feel truly gourmet.
- Taste Before You Freeze: One of the greatest advantages of making sorbet from scratch is the ability to customize its flavor to your exact preference. Before you transfer the blended mixture to the freezer, take a small spoonful and taste it. Does it hit that perfect sweet-tart balance? If it feels too tangy, add another teaspoon or two of sugar, blend briefly, and taste again. If it’s too sweet, a squeeze of fresh lemon juice will brighten it up and add the necessary acidity. Adjusting the flavor at this stage is crucial, as the cold temperature dulls sweetness, so you want it to taste slightly sweeter than you might expect when it’s still liquid.
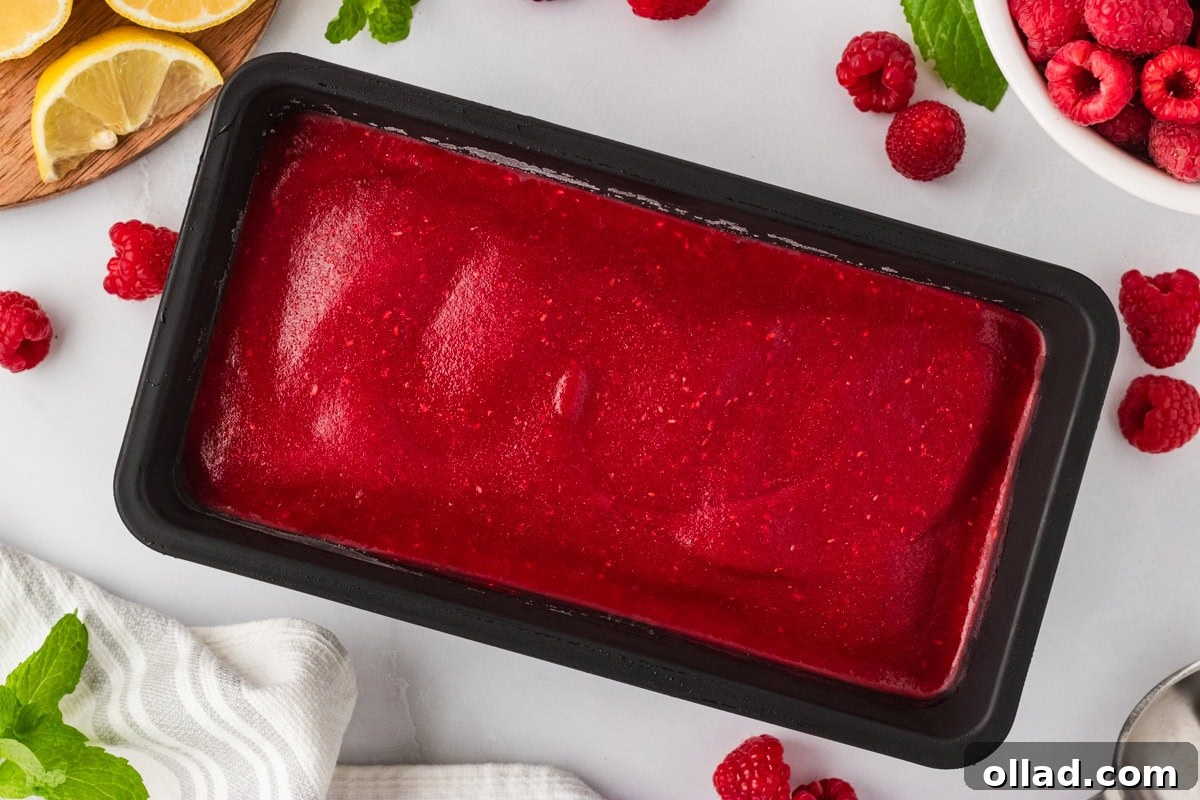
- Choosing the Right Container for Freezing: While any freezer-safe container will work, selecting the right one can significantly impact the freezing process and final texture. A shallow, airtight container is ideal. Shallow containers allow the sorbet to freeze more evenly and quickly, reducing the formation of large ice crystals. An airtight lid is essential to prevent freezer burn and keep unwanted odors from affecting the delicate berry flavor. Metal loaf pans or glass containers with tight-fitting lids are excellent choices. For easier scooping, ensure your container is well-chilled in the freezer before pouring in the sorbet mixture.
Raspberry Sorbet Recipe
By: Julia Elizabeth
Servings: 6 servings
Prep time: 5 minutes
Cook time: 8 minutes
Chill Time: 6 hours
Total Time: 6 hours 13 minutes
This raspberry sorbet is the quintessential summer treat: sweet, tangy, and incredibly refreshing. It’s naturally dairy-free, gluten-free, and vegan, making it a crowd-pleaser for all! Find step-by-step photos below the recipe for visual guidance.
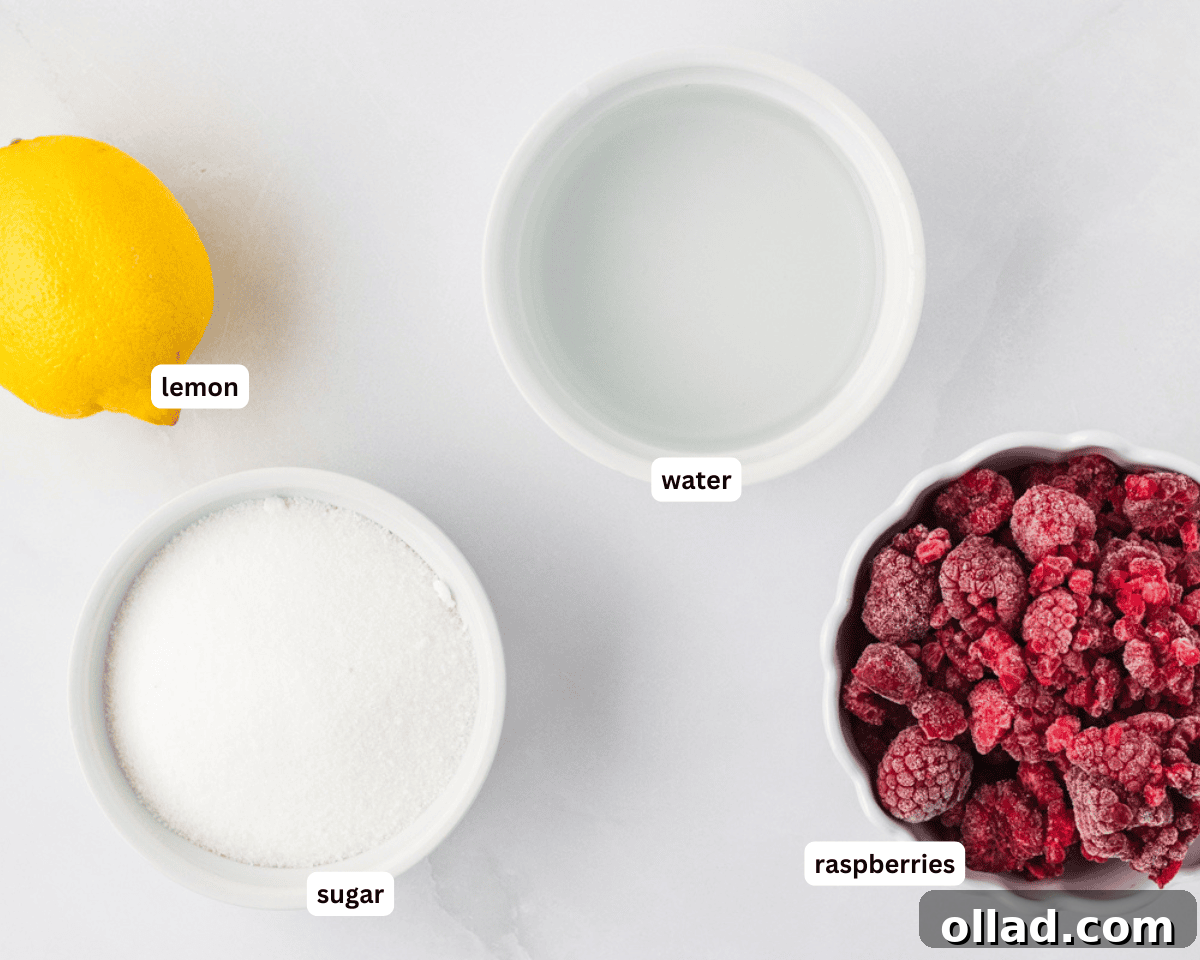
Ingredients
- ¾ cup water
- 1 cup sugar
- 4 cups frozen raspberries
- 2 tbsp fresh lemon juice (about 1 whole lemon)
Instructions
- Prepare Your Container: Begin by placing your chosen freezer-safe container (a loaf pan works perfectly) into the freezer. This ensures it’s thoroughly chilled and ready to receive your sorbet mixture, promoting faster and more even freezing.
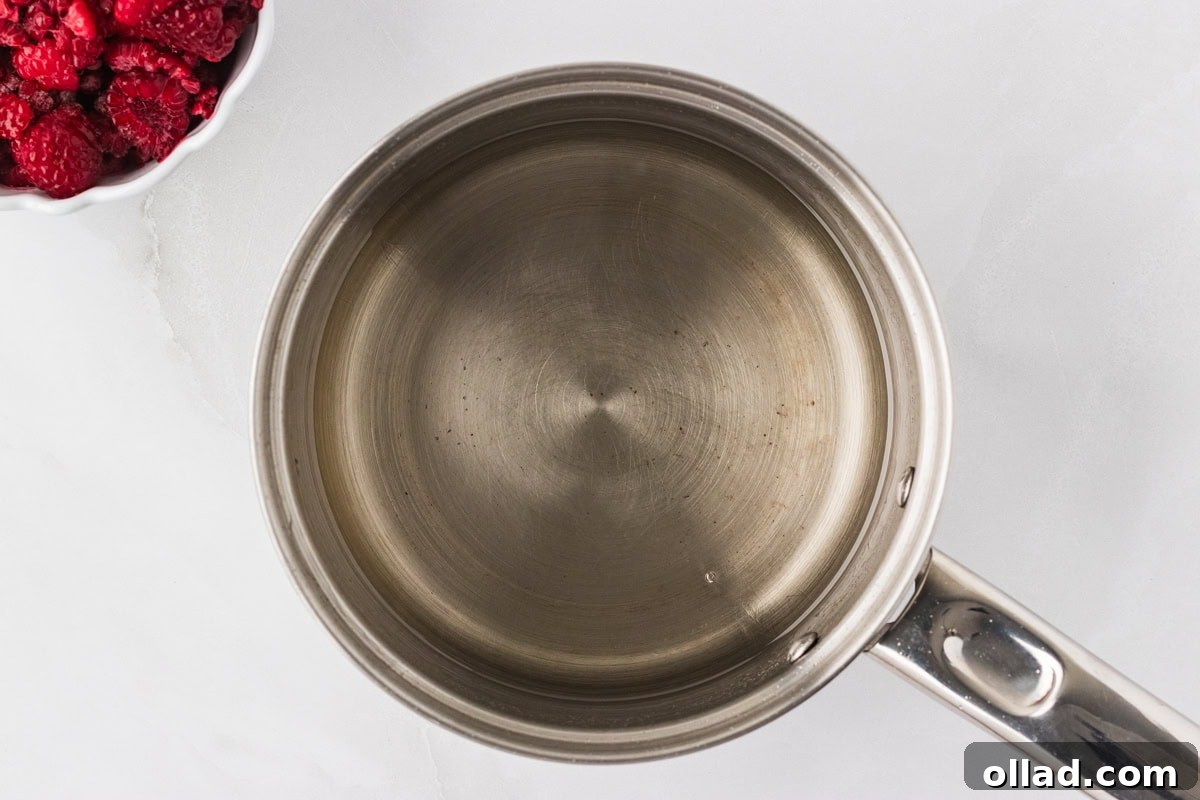
- Make the Simple Syrup: In a medium-sized saucepan, combine the ¾ cup of water and 1 cup of sugar. Place the saucepan over medium heat, stirring continuously until all the sugar has completely dissolved into the water. Bring this mixture to a gentle simmer and let it cook for approximately 5 minutes. This process creates a basic simple syrup, which is crucial for the smooth texture of your sorbet. Remove from heat and let it cool slightly.
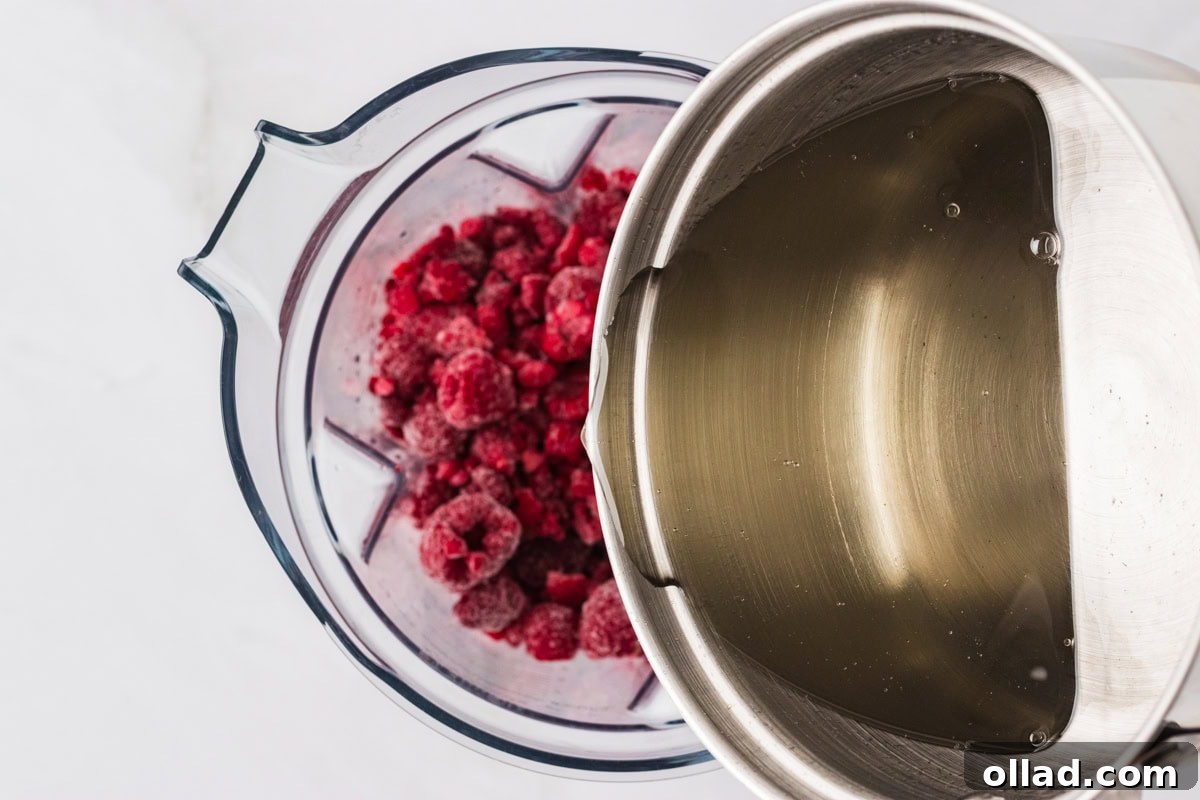
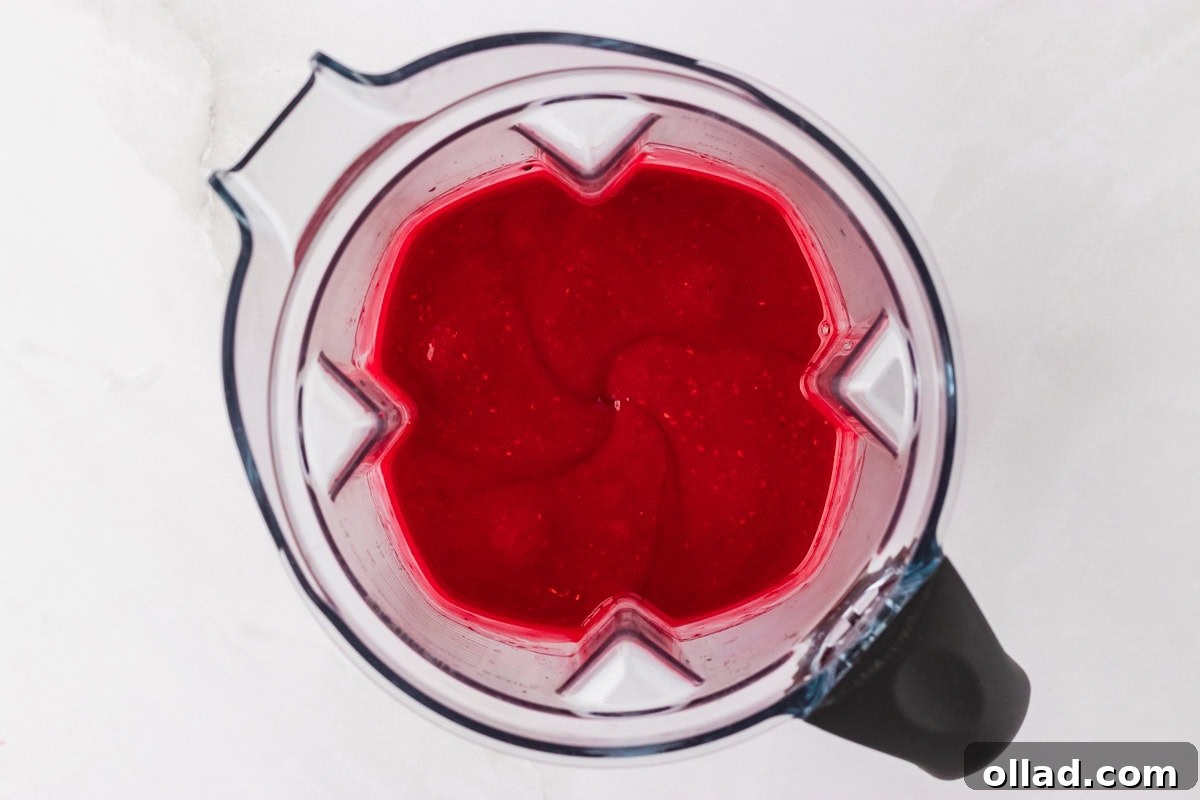
- Blend the Sorbet Base: Into a large, high-speed blender, add the 4 cups of frozen raspberries, the 2 tablespoons of fresh lemon juice, and your prepared simple syrup (ensure it’s not boiling hot). Blend the mixture on high speed until it becomes completely smooth and uniform.
- Optional Seed Removal: For an exceptionally silky sorbet, you can now pour the blended mixture through a fine-mesh sieve or a piece of cheesecloth. This step effectively removes any remaining raspberry seeds, resulting in a remarkably smooth and refined texture. Gently press the solids to extract all the liquid.
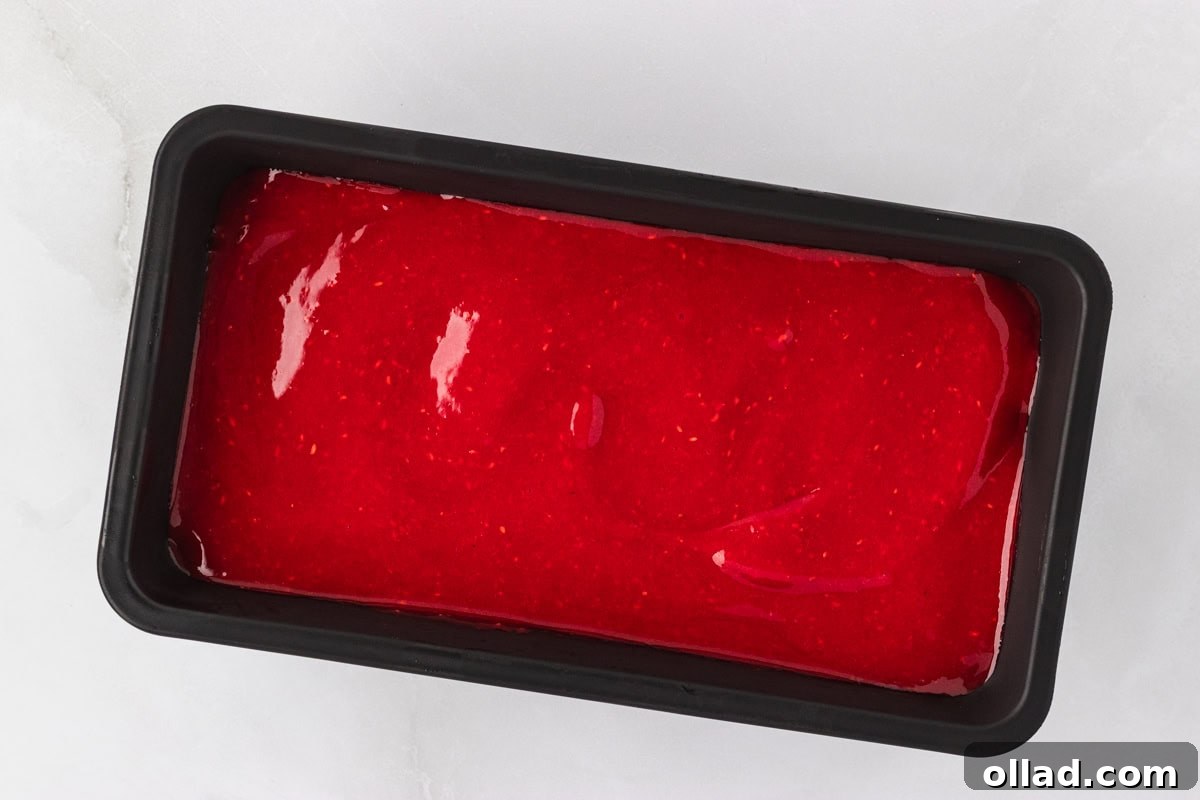
- Freeze the Sorbet: Pour the smooth raspberry mixture into your pre-chilled container. Cover it tightly with a lid or plastic wrap to prevent ice crystals from forming on the surface. Transfer the container to the freezer and allow it to freeze overnight, or until it is completely solid, which typically takes about 8 hours.
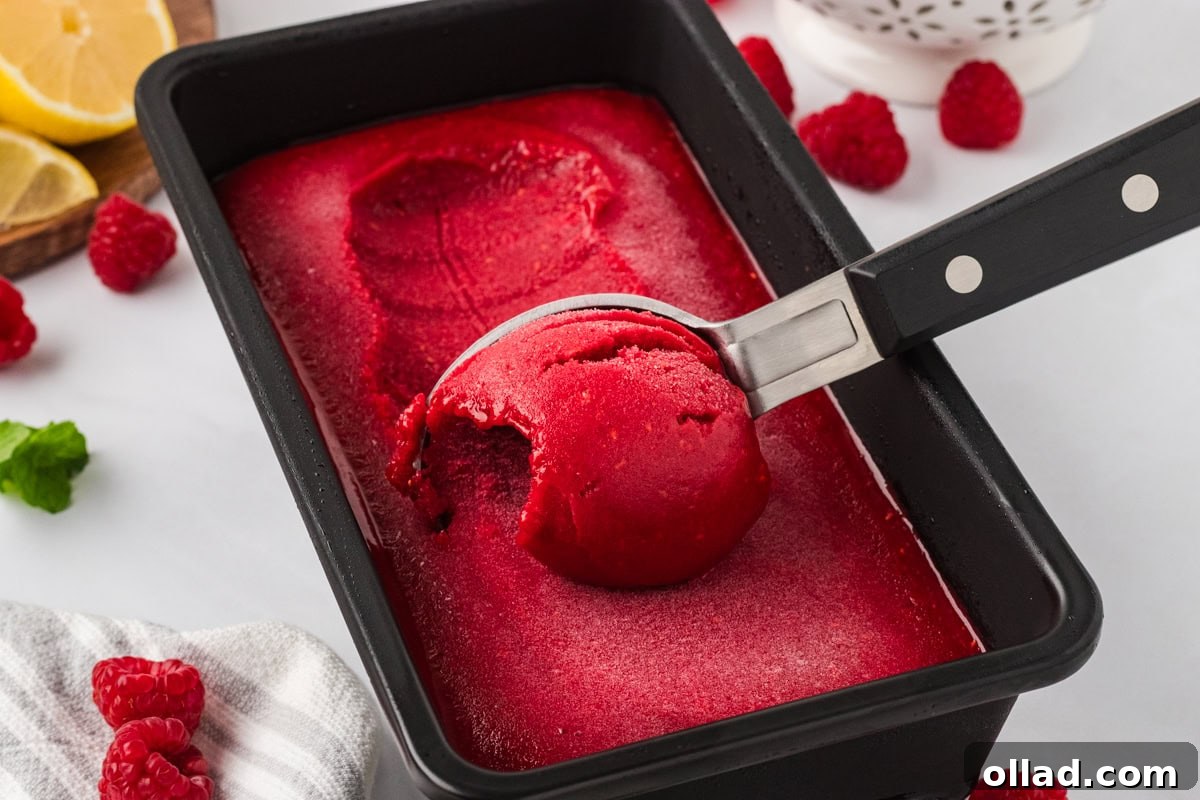
- Serve and Enjoy: Before serving, let the sorbet sit at room temperature for 3-5 minutes to soften slightly. This makes it easier to scoop and enhances its creamy texture. Scoop generously into bowls or cups and savor your homemade, refreshing raspberry sorbet!
Recipe Notes for Success
- Creamier Texture Tip: For a less icy, creamier sorbet that remains scoopable even after extended freezing, stir in a splash (about 1-2 tablespoons) of vodka or a tablespoon of corn syrup to the blended mixture before freezing. Neither will significantly alter the flavor, but they effectively interfere with ice crystal formation.
- Optimal Scooping: Always allow your sorbet to sit at room temperature for 3-5 minutes before attempting to scoop it. This brief softening period is essential for achieving the perfect consistency and preventing your scoop from bending!
- Seed-Free Preference: If you desire a perfectly smooth sorbet without any seeds, make sure to strain the blended mixture through a fine mesh sieve or cheesecloth before transferring it to your container for freezing.
- Flavor Balance is Key: Don’t skip tasting the mixture before it goes into the freezer. Cold temperatures can mute flavors, so ensure the sweet and tart balance is just right. Add a little more sugar if it’s too tart, or a squeeze of lemon juice if it’s too sweet.
- Storage for Longevity: Store your homemade sorbet in a shallow, airtight, freezer-safe container. This minimizes surface area exposed to air, which helps prevent ice crystal formation and maintains the sorbet’s quality for longer.
Nutrition Information (Approximate per serving)
- Serving Size: 1 serving
- Calories: 171 kcal
- Carbohydrates: 43g
- Protein: 1g
- Fat: 1g
- Saturated Fat: 0.02g
- Polyunsaturated Fat: 0.3g
- Monounsaturated Fat: 0.1g
- Sodium: 3mg
- Potassium: 127mg
- Fiber: 5g
- Sugar: 37g
- Vitamin A: 27 IU
- Vitamin C: 23mg
- Calcium: 22mg
- Iron: 1mg
Nutrition information is automatically calculated and should be used as an approximation only.
Additional Info
Course: Dessert
Cuisine: American
Tried this recipe? Mention @mamaknowsglutenfree or tag #mamaknowsglutenfree!
How to Make Raspberry Sorbet: Step by Step Visual Guide
Sometimes, seeing is believing, especially when it comes to creating something as delightful as homemade raspberry sorbet. Follow these visual steps to ensure your sorbet turns out perfectly every time. Each step is designed to be straightforward and easy to follow, even for first-time sorbet makers!
Creative Sorbet Variations to Try
While this classic raspberry sorbet recipe is a standalone star, it also serves as a fantastic base for culinary creativity. Don’t hesitate to experiment with different fruits and flavor enhancers to tailor this frozen treat to your unique tastes. Here are some inspiring variations to get you started:
- Berry Bonanza: Raspberries are wonderful, but feel free to swap them out entirely or combine them with other frozen berries. Try luscious strawberries for a sweeter profile, tangy blueberries for a deeper hue, or earthy blackberries for a more complex flavor. A mixed berry sorbet offers a delightful symphony of flavors.
- Zesty Citrus Twist: Elevate the brightness by experimenting with different citrus juices. Instead of lemon, use fresh lime juice for a sharper, more tropical zest, perfect for a hotter day. Alternatively, orange juice can provide a softer, sweeter citrus note, adding another layer of complexity without overpowering the fruit. You could even add a hint of zest for extra aroma.
- Herbaceous Infusion: For a sophisticated twist, infuse your simple syrup with fresh herbs. Add a few sprigs of fresh basil, mint, or even a sprig of thyme to the simple syrup as it simmers. Let the herbs steep in the hot syrup for about 10-15 minutes before straining them out prior to blending. This adds a subtle, aromatic layer that beautifully complements the fruit.
- Chocolate Lover’s Dream: For those who believe chocolate makes everything better, incorporate it into your sorbet! Before freezing, gently fold in mini chocolate chips for pockets of delightful crunch and flavor. Or, for a beautiful presentation, drizzle scoops of frozen sorbet with melted dark chocolate just before serving. The contrast of the cool, tart sorbet and rich chocolate is simply divine.
- Spiced Sorbet: Add a pinch of cinnamon or a tiny dash of ginger powder to your simple syrup for a warming spice note. This works particularly well with mixed berries or stone fruits like peaches.
- Tropical Paradise: Introduce tropical flavors by adding a tablespoon of coconut cream to the blender for a hint of richness, or blend in a slice of fresh mango or pineapple with the raspberries for an exotic fusion.
- Boozy Bliss (Adults Only): For a truly grown-up dessert, add a tablespoon of vodka, prosecco, or a raspberry liqueur to the mixture before freezing. As mentioned in our tips, alcohol helps prevent the sorbet from freezing rock-solid, contributing to a smoother texture, while also imparting a lovely subtle alcoholic kick.
Serving Suggestions for Every Occasion
This vibrant raspberry sorbet is undeniably delicious on its own, offering a pure burst of fruity refreshment. However, its versatility allows it to pair beautifully with a variety of other treats and presentations, transforming a simple scoop into an elegant dessert or a playful concoction. Here are some inspiring ways to serve your homemade sorbet:
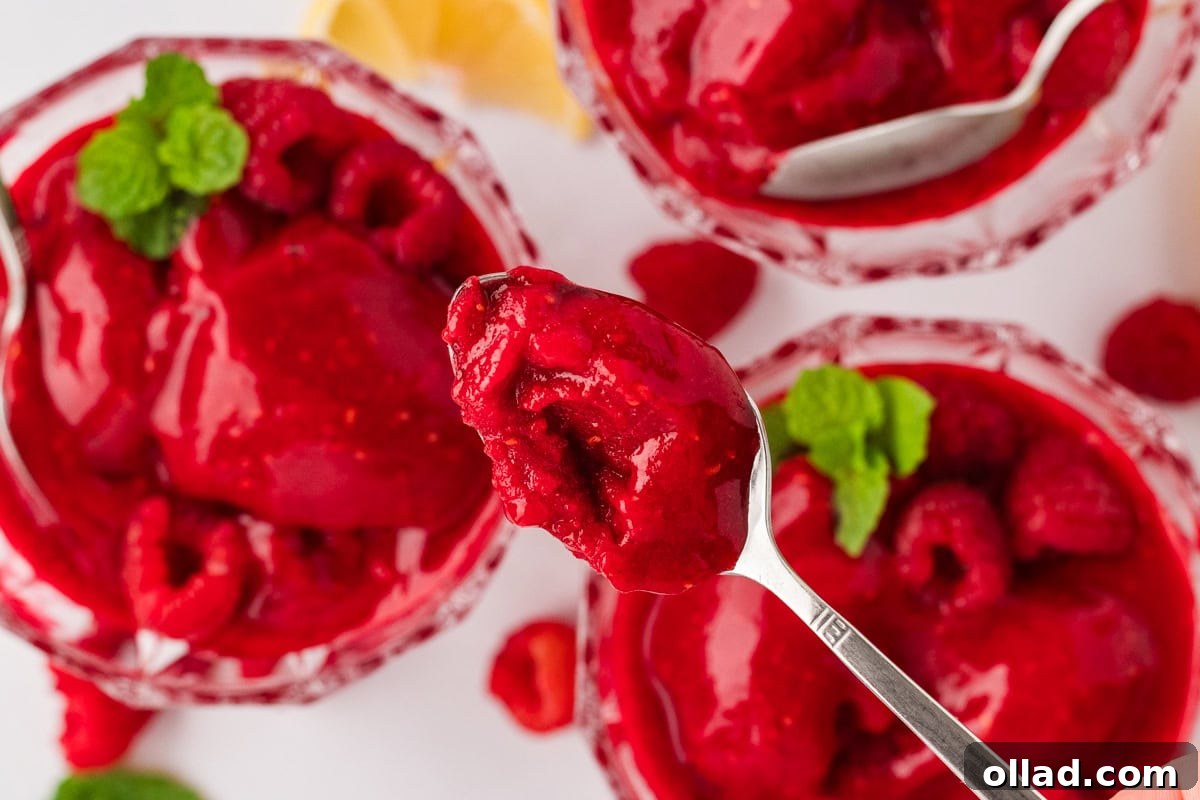
- Elegant Simplicity: For a refined presentation, scoop the sorbet into chilled cocktail glasses or small dessert bowls. Garnish with a fresh sprig of mint, a few whole raspberries, or a thin slice of lemon for a sophisticated and effortlessly chic dessert.
- Refreshing Floats: Elevate your beverage game by adding a scoop (or two!) of raspberry sorbet to sparkling lemonade, iced tea, or even a glass of crisp prosecco or sparkling wine for a delightful and festive sorbet float. The sorbet slowly melts, infusing the drink with fruity flavor and a beautiful color.
- Dessert Companion: This sorbet makes an excellent accompaniment to baked goods. Its tartness provides a wonderful contrast to richer flavors. Serve alongside buttery gluten-free shortbread cookies, a slice of moist lemon pound cake, or a warm, rich gluten-free chocolate lava cake for an indulgent yet balanced dessert experience.
- Fruit Salad Enhancer: A dollop of raspberry sorbet can brighten up any fresh fruit salad, adding a creamy, frozen element that perfectly complements fresh berries, melon, or stone fruits.
- Parfait Layers: Create stunning parfaits by layering sorbet with fresh fruit, granola, or a dairy-free whipped topping for a textured and visually appealing dessert.
Storage Best Practices for Homemade Sorbet
Proper storage is essential to maintain the exquisite texture and vibrant flavor of your homemade raspberry sorbet. Follow these guidelines to ensure every scoop is as delightful as the first:
- Choose the Right Container: Always store your sorbet in a shallow, airtight, freezer-safe container. Shallow containers help the sorbet freeze more evenly and reduce the chance of large ice crystals forming. An airtight seal is paramount to protect against freezer burn and prevent your sorbet from absorbing unwanted odors from other items in your freezer.
- Prevent Ice Crystals: For an extra layer of protection against ice crystal formation, press a piece of plastic wrap directly onto the surface of the sorbet before sealing the container with its lid. This creates an additional barrier against air.
- Optimal Storage Duration: For the freshest flavor and best texture, aim to enjoy your homemade raspberry sorbet within 2 months. While it will technically remain safe to eat for longer, its quality may start to diminish after this period.
- Ready to Serve: When you’re ready to indulge, remove the container from the freezer and let it sit at room temperature for 3–5 minutes. This brief tempering period allows the sorbet to soften slightly, making it much easier to scoop and ensuring a perfectly smooth, melt-in-your-mouth consistency. Avoid microwaving or aggressively thawing, as this can lead to an inconsistent texture.
Frequently Asked Questions About Raspberry Sorbet
New to making sorbet? Here are some common questions and helpful answers to ensure your raspberry sorbet-making experience is a success!
- Can I use fresh raspberries instead of frozen? While technically possible, using frozen raspberries is highly recommended. Frozen fruit provides the necessary chill and texture that allows the sorbet to come together quickly in the blender, creating an instant frosty treat. If you only have fresh raspberries, freeze them solid beforehand for at least 4 hours.
- Do I really need a blender? What if I don’t have one? A powerful blender is key to achieving the smooth, uniform consistency of this no-churn sorbet. Without it, you’d struggle to break down the frozen fruit and incorporate the simple syrup evenly. While a food processor could work, it might not produce as fine a texture.
- How long does homemade sorbet last in the freezer? When stored properly in an airtight container, homemade raspberry sorbet will maintain its best quality for up to 2 months. Beyond that, it’s still safe to eat, but the texture and flavor might start to degrade slightly.
- Is this recipe truly dairy-free, gluten-free, and vegan? Yes! This recipe uses only raspberries, sugar, water, and lemon juice, which are all naturally free from dairy, gluten, and animal products. It’s a fantastic option for those with dietary restrictions or anyone looking for a lighter, plant-based dessert.
- Why do I need to make a simple syrup? Can’t I just add sugar directly? Making a simple syrup (dissolving sugar in hot water) is crucial because it ensures the sugar is fully incorporated into the mixture. If you added granulated sugar directly to cold or frozen ingredients, it might not dissolve completely, leading to a grainy texture in your final sorbet. The syrup creates a smooth, consistent sweetness.
- My sorbet is too hard, what went wrong? If your sorbet freezes rock-solid, it likely means there wasn’t enough sugar in the mixture, or it was over-frozen. Sugar acts as an antifreeze. Ensure you’re following the recipe’s sugar ratio closely. For future batches, consider adding a tablespoon of vodka or corn syrup to the blend before freezing, as these ingredients help keep the sorbet softer and more scoopable. Always allow it to sit at room temperature for a few minutes before serving.
More Delicious Frozen Desserts to Explore
If you’ve enjoyed the refreshing simplicity of this raspberry sorbet, you’ll be delighted to discover other fantastic frozen dessert recipes that cater to various tastes and dietary needs. Expand your repertoire of chilled treats with these tempting options:
- Keto Ice Cream
- Almond Milk Ice Cream
- Avocado Ice Cream
- Gluten-Free Ice Cream Cake
- Gluten-Free Ice Cream Sandwiches
There you have it—your comprehensive guide to creating the most incredible homemade raspberry sorbet! This easy, vibrant, and utterly refreshing dessert is sure to become a staple in your summer repertoire. Its natural sweetness and tangy kick make it a perfect cool-down treat, and knowing it’s dairy-free, gluten-free, and vegan means everyone can enjoy a guilt-free scoop. So, gather your ingredients, fire up your blender, and prepare to savor the simple joy of homemade sorbet. Happy scooping!