
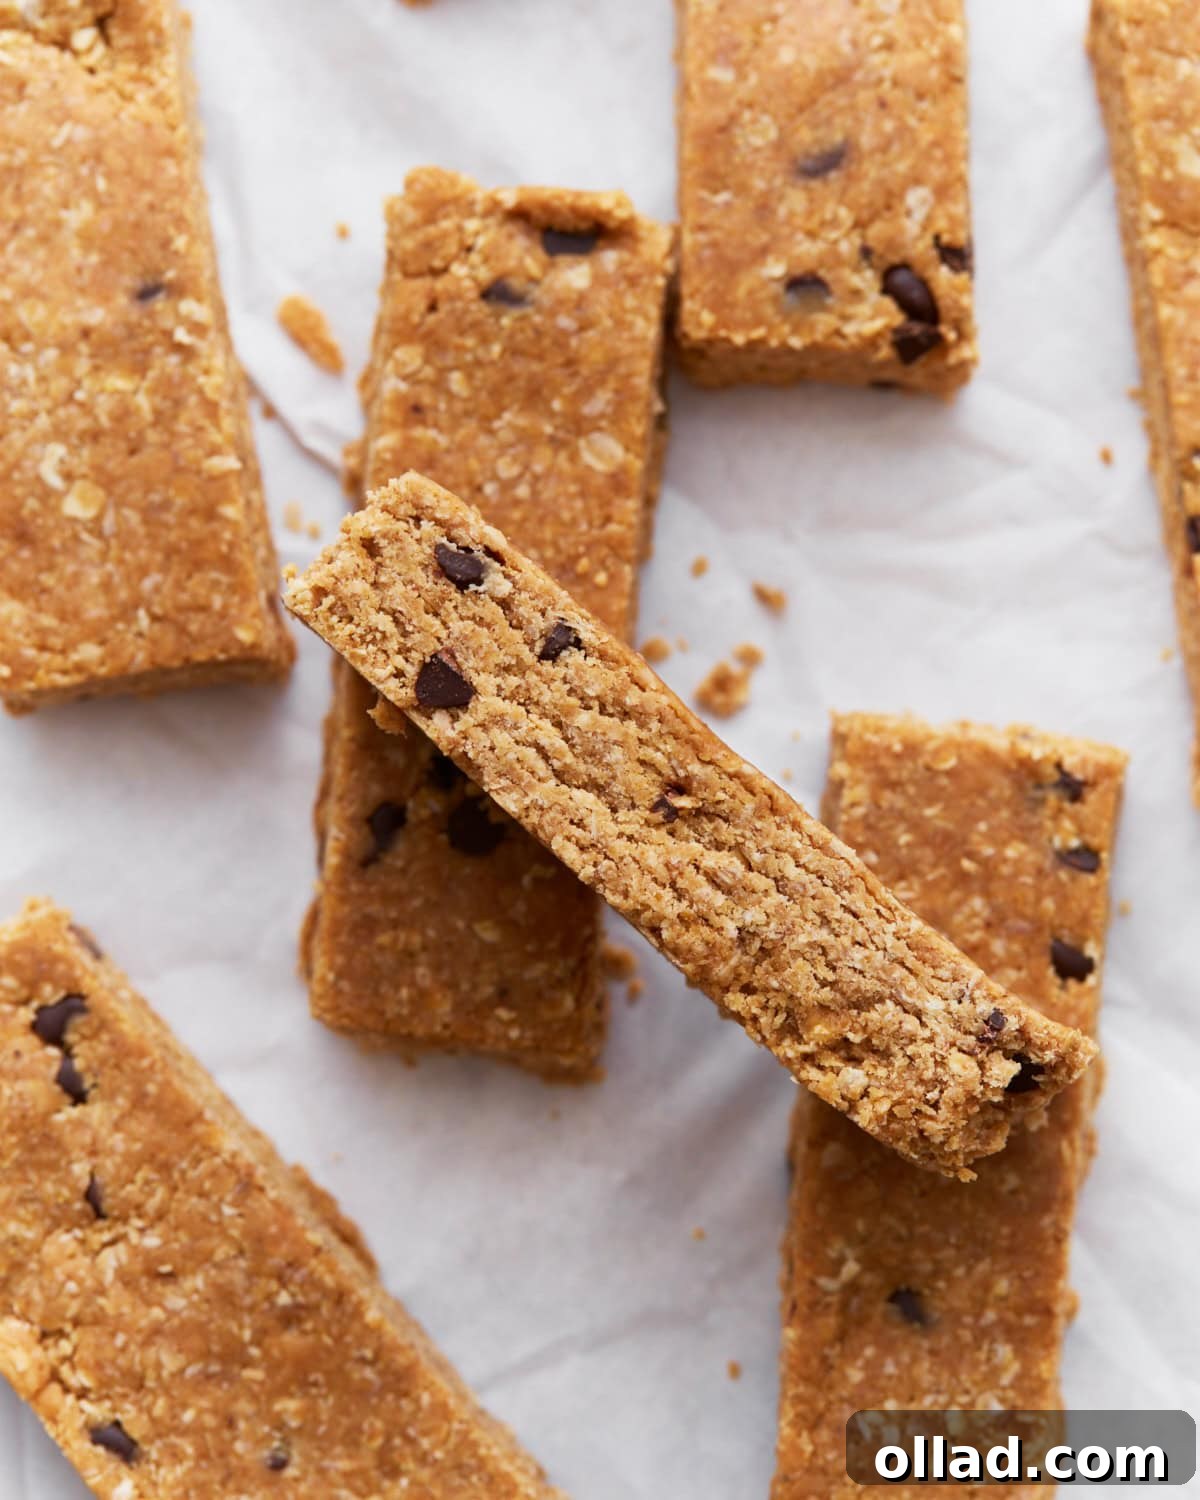
Welcome to your new favorite go-to snack: homemade gluten-free granola bars! These delightful bars are designed to be quick, incredibly easy, and undeniably delicious, making them a perfect addition to any busy lifestyle. Whether you’re packing lunches for school, need a quick energy boost, or simply craving a satisfying treat, these chewy and soft bars deliver every time. Kids absolutely adore them, and parents will appreciate giving their families a wholesome, allergy-friendly option that’s bursting with the comforting flavors of peanut butter and a touch of rich chocolate.
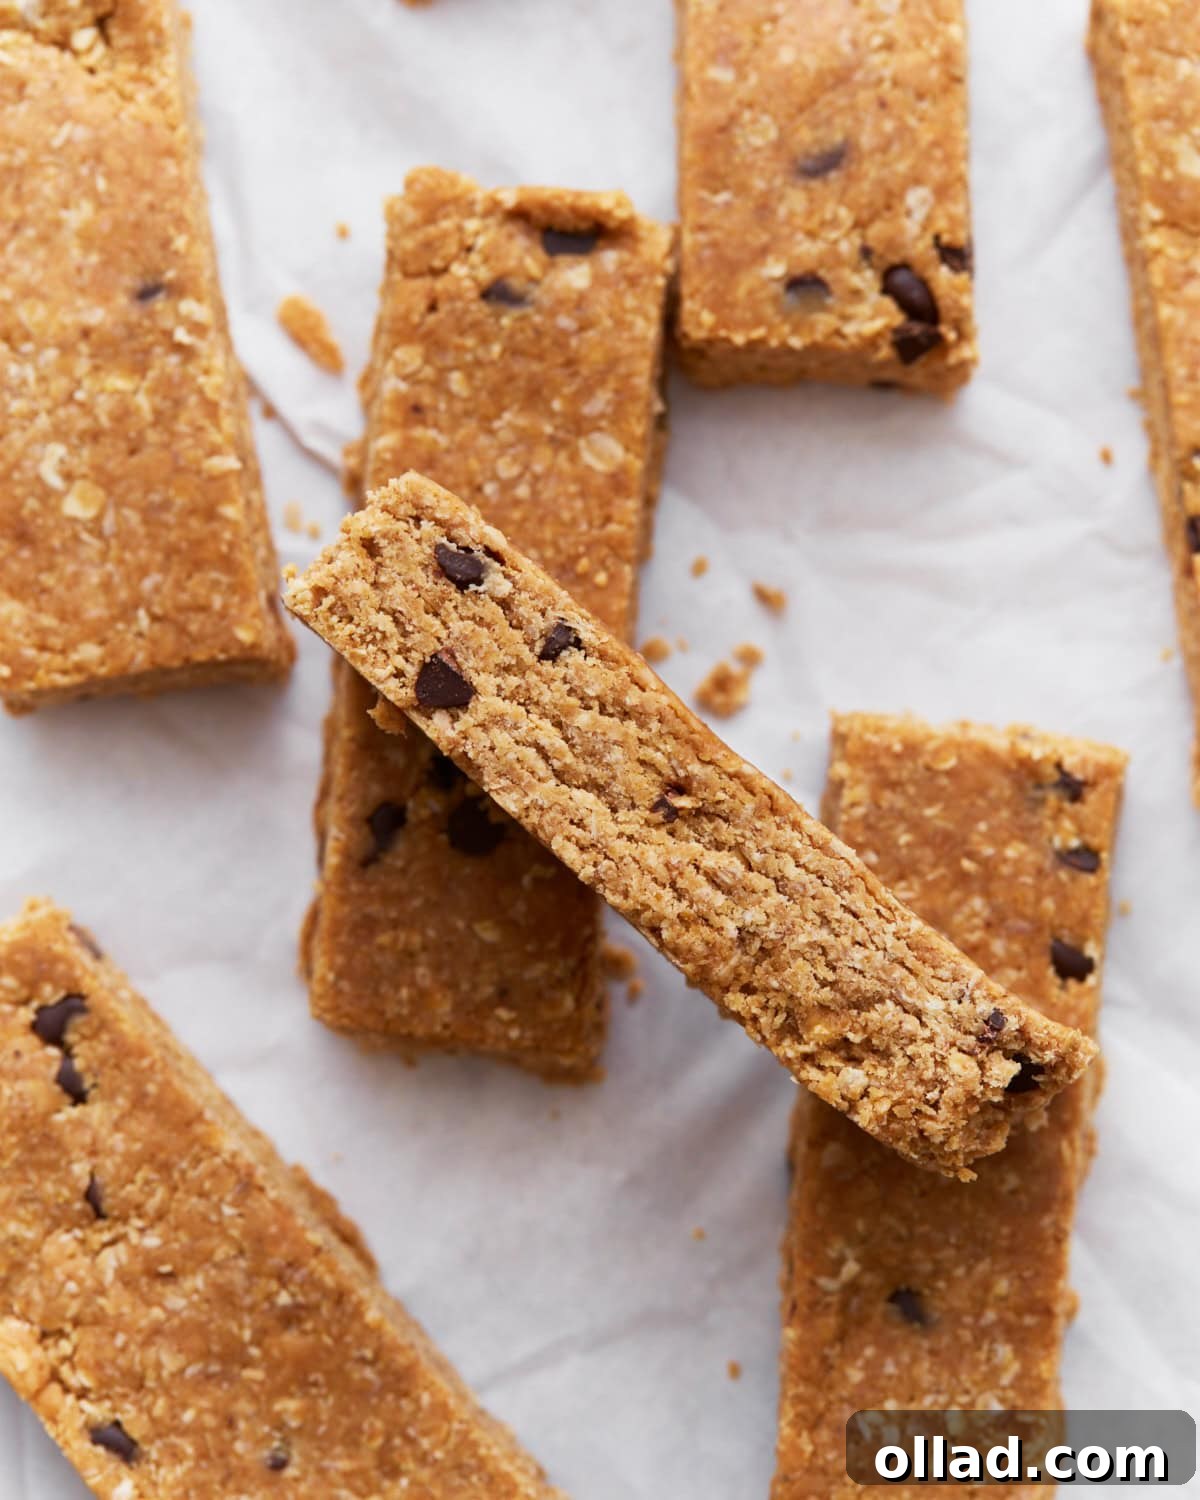
Why Homemade Granola Bars Are Your Ultimate Snack Solution
In today’s fast-paced world, finding convenient, healthy, and allergy-friendly snacks can be a challenge. That’s where homemade granola bars truly shine! Our recipe for gluten-free granola bars is not just easy to follow; it’s a game-changer for families managing dietary restrictions or simply seeking more wholesome options. These bars are a fantastic alternative to store-bought varieties, which often come with a hefty price tag and a list of questionable ingredients. By making them at home, you gain complete control over what goes into your family’s food, ensuring they are free from unwanted preservatives, artificial flavors, and common allergens.
Imagine packing a lunchbox with a snack you know is nourishing and delicious, or grabbing a quick energy bite before a workout. These bars are incredibly versatile, perfect for school snacks, afternoon pick-me-ups, or even a light breakfast on the go. Crafted with a few simple, natural ingredients, they offer a delightful chewy texture and a harmonious balance of sweet and savory notes. Beyond the classic peanut butter and chocolate, these bars are fully customizable. You can easily adapt them with your family’s favorite mix-ins, such as dried fruits, various nuts, or seeds, making them uniquely yours. They truly embody the ideal combination of health, convenience, and kid-approved deliciousness.
Essential Tips for Gluten-Free Granola Bar Success
Creating delicious gluten-free snacks requires a little understanding of ingredients, especially when it comes to oats. While oats are naturally gluten-free, their journey from field to pantry can sometimes lead to cross-contamination. Here’s what you need to know to ensure your homemade granola bars are safe and enjoyable for everyone:
- Understanding Gluten-Free Oats: Oats themselves do not contain gluten. However, they are frequently processed in facilities that also handle wheat, barley, and rye. This shared equipment can lead to cross-contamination, making the oats unsafe for individuals with celiac disease or severe gluten sensitivities. For this reason, it is crucial to use certified gluten-free oats. Furthermore, some brands go a step further with “purity protocol” oats, which are grown, harvested, and processed in dedicated gluten-free environments, offering the highest level of assurance against cross-contamination. Always check labels carefully to confirm they are certified gluten-free.
- Choosing the Right Chocolate Chips: The size of your chocolate chips can significantly impact the texture and integrity of your granola bars. Regular-sized chocolate chips can be too large, making the bars crumbly and difficult to hold together. Mini chocolate chips are ideal as they distribute more evenly throughout the mixture and help bind the ingredients without disrupting the bar’s structure. If you are also avoiding dairy, brands like Enjoy Life Mini Chocolate Chips are an excellent dairy-free option that melts beautifully and adds a wonderful chocolatey flavor without any allergens.
- Smooth Nut Butter is Key: This recipe thrives on smooth, creamy nut or seed butter. Overly dry or thick nut butters can make the mixture difficult to combine and may result in crumbly bars. Ensure your chosen butter is well-stirred and has a pliable consistency for optimal binding.
- Don’t Skimp on Chilling: The chilling process is not just a suggestion; it’s vital for setting these no-bake bars. Adequate refrigeration allows the binders to firm up, ensuring your granola bars hold their shape perfectly when sliced.
The Ultimate Homemade Gluten-Free Granola Bar Recipe
Email Recipe
Print Recipe
Ingredients
- 1 cup creamy peanut butter, or your preferred nut or seed butter
- 2/3 cup honey (or pure maple syrup for a vegan option)
- 2 teaspoon pure vanilla extract
- 1/2 teaspoon ground cinnamon
- 1/4 teaspoon salt
- 3½ cups certified gluten-free quick oats
- 1/4 cup gluten-free mini chocolate chips (use dairy-free for allergy needs, like Enjoy Life Mini Chocolate Chips)
Instructions
-
Line an 8-inch by an 8-inch baking pan with parchment paper, leaving an overhang on the sides for easy removal.
-
In a large mixing bowl, combine the creamy peanut butter, honey, pure vanilla extract, ground cinnamon, and salt. Stir vigorously until the mixture is completely smooth and well-combined.
-
Add the certified gluten-free quick oats and the mini chocolate chips to the wet mixture. Stir thoroughly until all the ingredients are fully incorporated. Initially, the mixture may appear dry and crumbly, but continue mixing until it comes together into a cohesive dough.
-
Transfer the granola bar mixture into the prepared baking pan. Press it down very firmly and evenly using your hands or a spatula. For a perfectly flat surface, you can use the back of a 1/4 measuring cup to help compact and smooth the mixture. Cover the pan tightly with plastic wrap and refrigerate for at least 1 hour, or until thoroughly chilled and firm. Do not shorten the chilling time, as this is crucial for the bars to set properly.
-
Once chilled, lift the granola block out of the pan using the parchment paper overhang. Place it on a cutting board and slice into 12 even-sized bars. Store the cut bars in an airtight container in the refrigerator to maintain freshness and texture.
-
These bars can also be frozen for up to 2 months. To enjoy, simply defrost at room temperature for about 30 minutes before eating.
Notes
- Use smooth nut butter. This recipe works best with creamy, smooth nut or seed butter. If your nut or seed butter is too dry or thick, it will not mix well with the other ingredients, and the bars may be crumbly. For best results, stir your nut butter well before measuring.
Nutrition
Nutrition information is automatically calculated, so should only be used as an approximation.
Additional Info
Step-by-Step Visual Guide to Granola Bar Perfection
Making these homemade gluten-free granola bars is an incredibly straightforward process, even for beginner bakers. Follow this visual guide to ensure every step is clear and your bars turn out perfectly chewy and delicious.
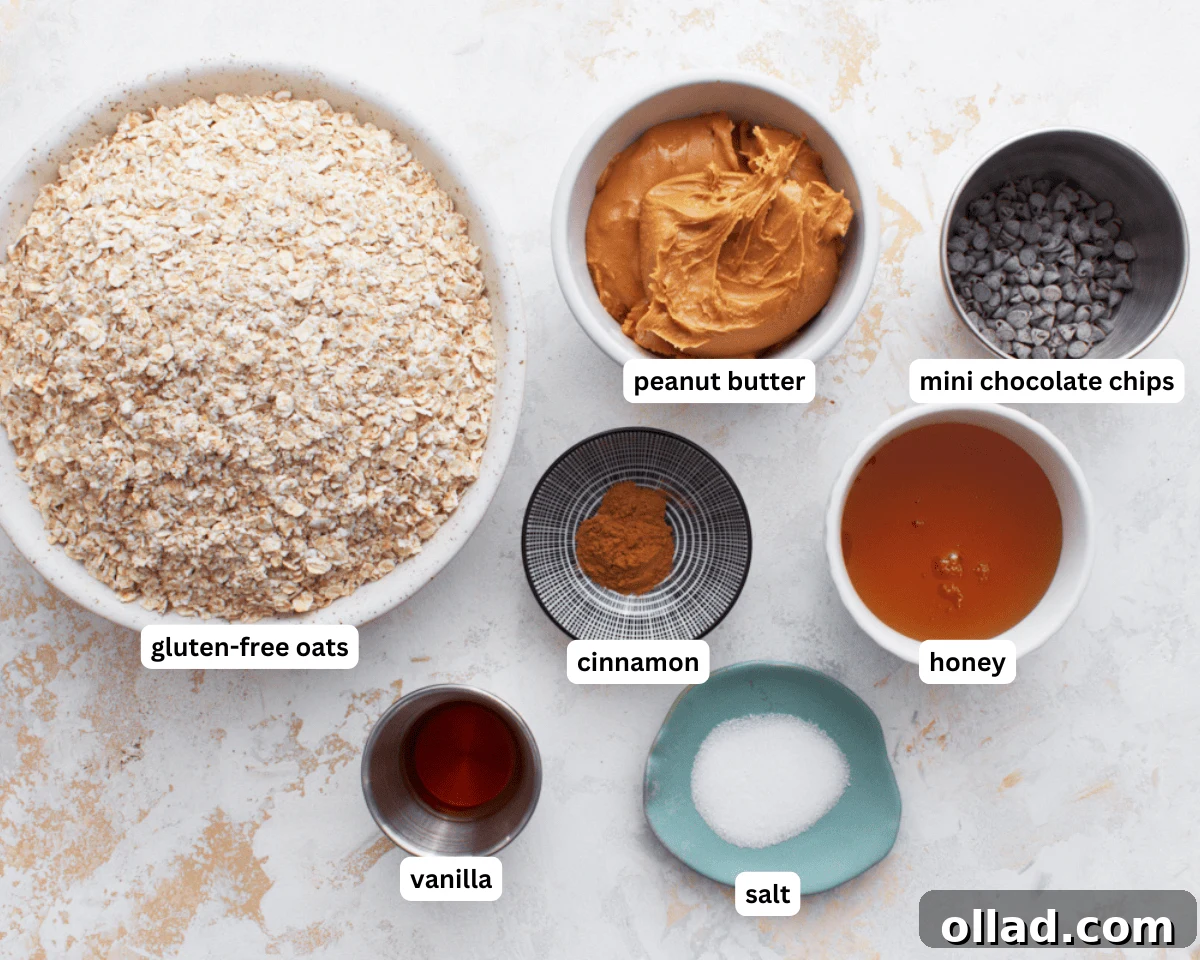
1. Gather Your Ingredients: Begin by laying out all your ingredients. This ensures you have everything on hand and makes the assembly process smooth and efficient. It also helps to ensure your nut butter is at room temperature for easier mixing.
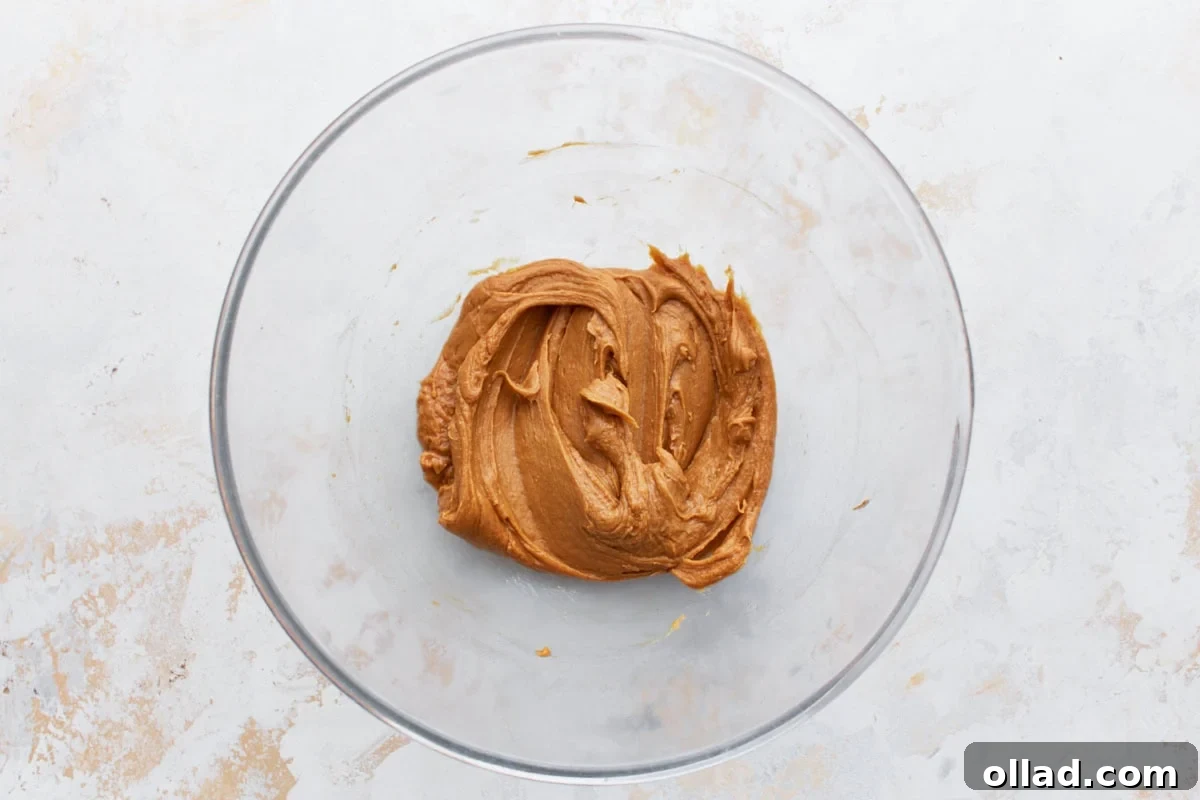
2. Prepare the Wet Mixture: Line an 8×8-inch baking pan with parchment paper, allowing some overhang on the sides. In a large mixing bowl, combine the creamy peanut butter, honey (or maple syrup), pure vanilla extract, ground cinnamon, and a pinch of salt. Stir these ingredients thoroughly until they form a smooth, uniform mixture. The consistency should be thick but pliable.
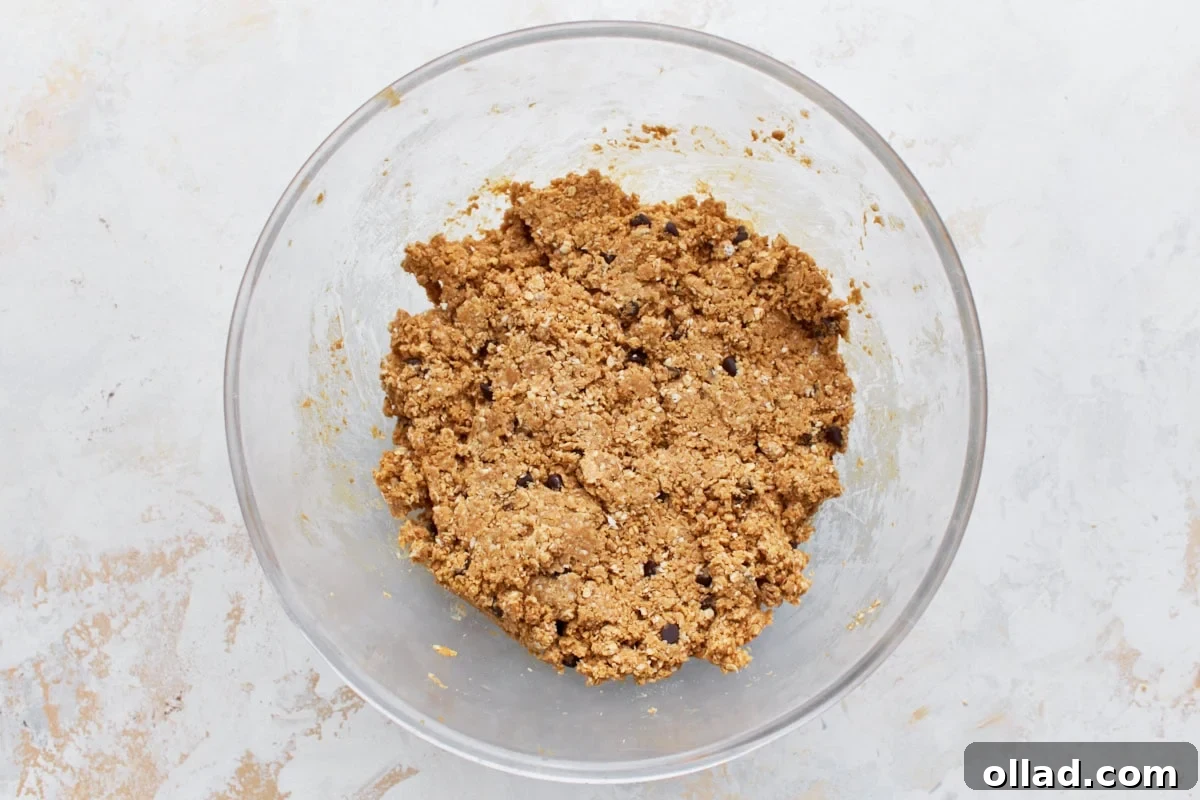
3. Combine Dry and Wet Ingredients: Next, pour in the certified gluten-free quick oats and the mini chocolate chips into the wet mixture. Stir everything vigorously. At first, the mixture might seem dry and crumbly, but keep mixing patiently. The nut butter and honey will gradually bind the oats and chocolate chips together, forming a cohesive dough. Ensure there are no dry pockets of oats.
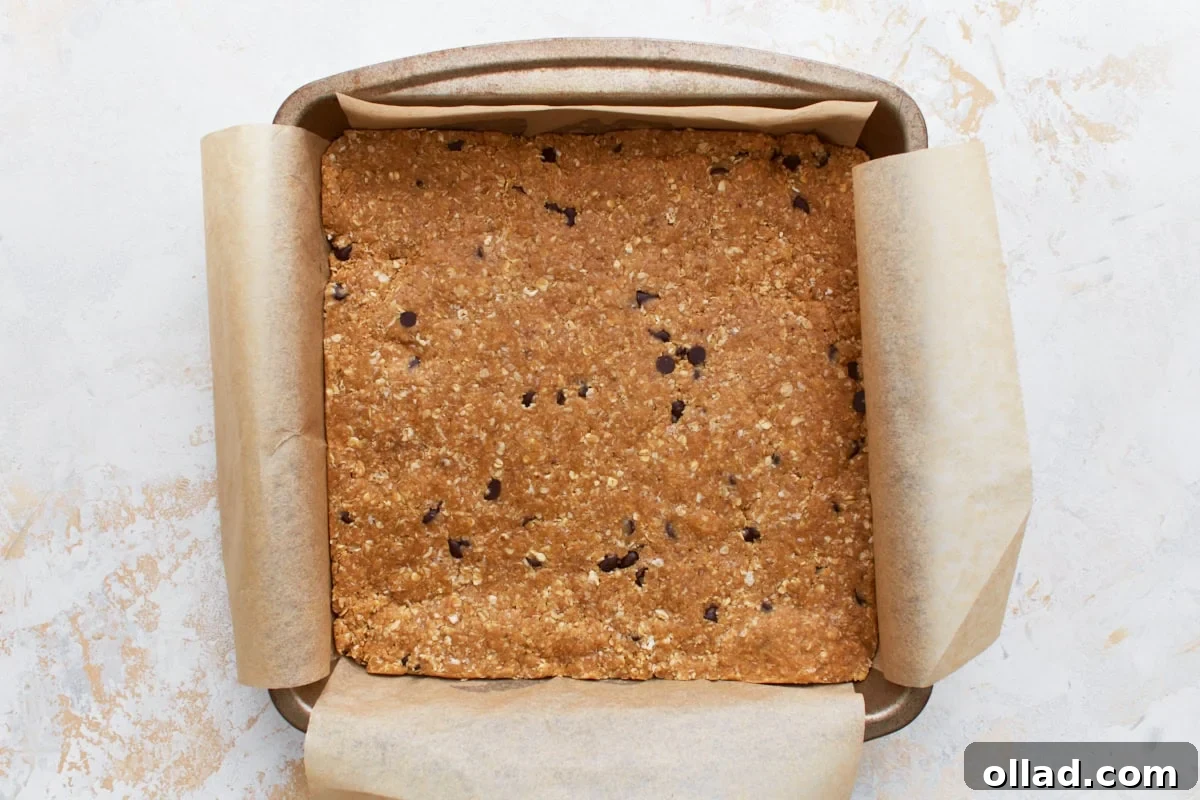
4. Press and Chill: Transfer the entire oat mixture into your prepared baking pan. Using your hands or a spatula, firmly press the mixture down to create an even, compact layer. For extra flatness and density, use the back of a 1/4 measuring cup to firmly press and smooth the top. This crucial step helps the bars hold their shape. Cover the pan with plastic wrap and refrigerate for at least 1 hour. This chilling time is essential for the bars to set and become firm enough to slice without crumbling.
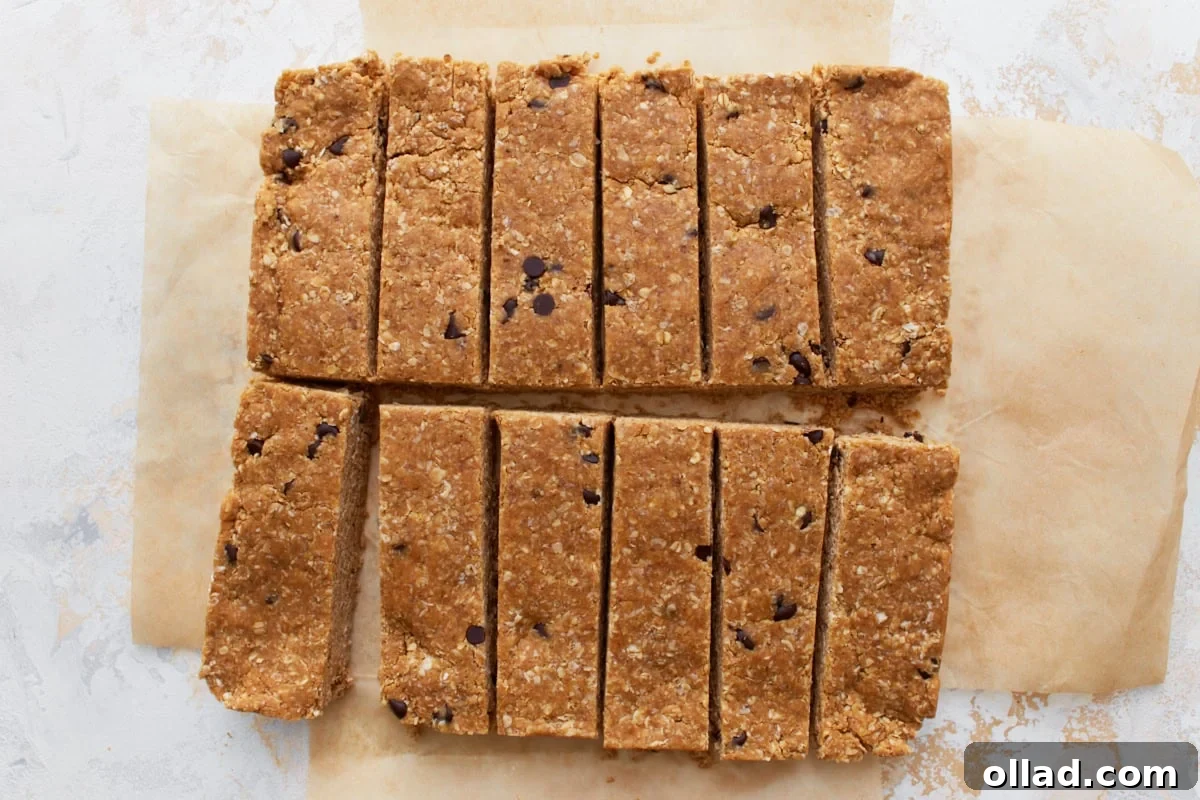
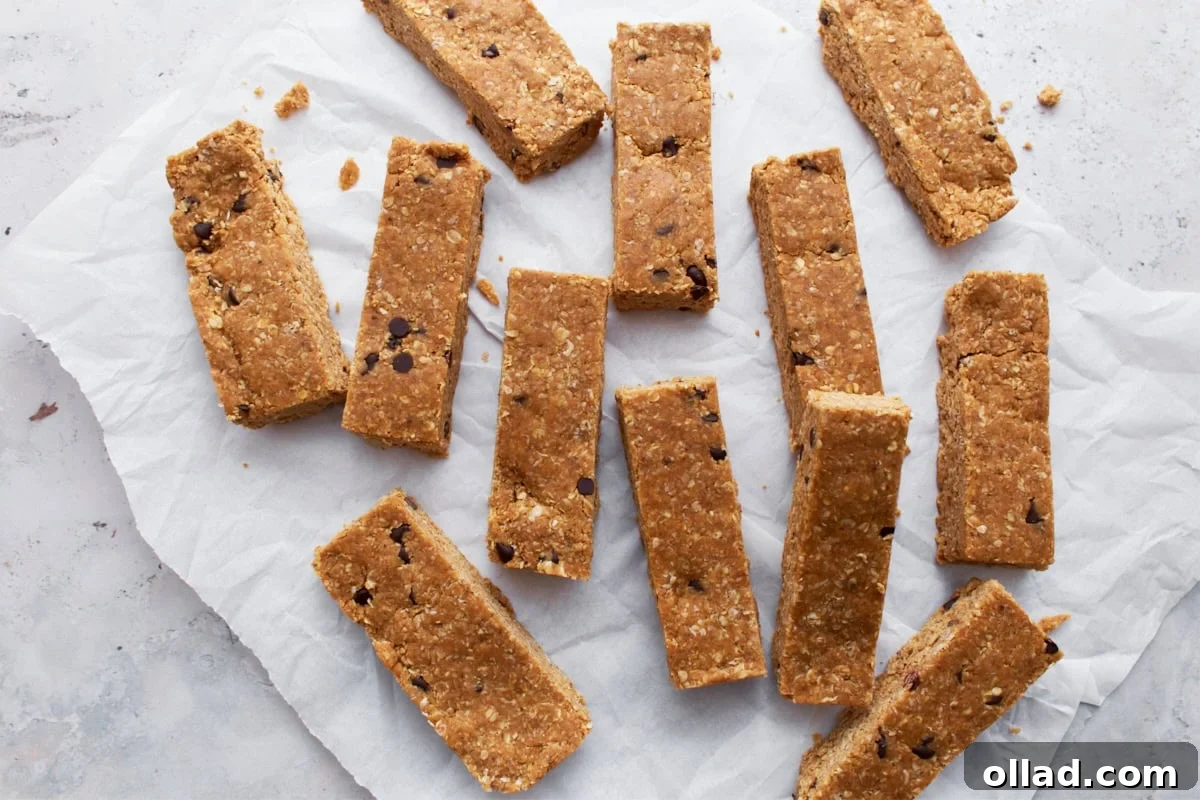
5. Slice and Serve: Once the bars are thoroughly chilled and firm, remove the pan from the refrigerator. Use the parchment paper overhang to lift the entire block out of the pan and place it on a cutting board. Slice the chilled oat mixture into 12 evenly sized bars. These bars are now ready to be enjoyed as a perfect, easy gluten-free snack!
Customization and Creative Twists for Your Granola Bars
One of the best aspects of these homemade gluten-free granola bars is how easily they can be customized to suit your taste preferences or dietary needs. Feel free to experiment with different ingredients to create your unique flavor combinations!
- Sweetener Alternatives: While honey provides a wonderful sticky texture and sweetness, you can also use pure maple syrup as a direct 1:1 substitute. This makes the recipe vegan-friendly when paired with dairy-free chocolate chips. Agave nectar can also work, but its sweetness level might differ slightly, so adjust to taste.
- Nut and Seed Butter Swaps: Any smooth, creamy nut or seed butter can be swapped for peanut butter. Great alternatives include almond butter, cashew butter, or for a nut-free option, sunflower seed butter (SunButter). Ensure whichever butter you choose is smooth and well-stirred to maintain the desired consistency for binding.
- Mix-in Mania: Unleash your creativity with additional mix-ins!
- Dried Fruits: Add 1/4 to 1/2 cup of finely chopped dried cranberries, raisins, apricots, cherries, or dates for extra chewiness and natural sweetness.
- Nuts & Seeds: Incorporate 1/4 cup of chopped almonds, walnuts, pecans, pumpkin seeds (pepitas), or chia seeds for added texture, protein, and healthy fats. If adding seeds, you might need a tiny bit more liquid binder if the mix seems too dry.
- Flavor Boosters: A sprinkle of shredded coconut, a dash of nutmeg, or even a few orange zest curls can elevate the flavor profile.
Storage and Freezing Instructions
Proper storage is key to keeping your homemade gluten-free granola bars fresh, delicious, and ready for snacking whenever a craving strikes.
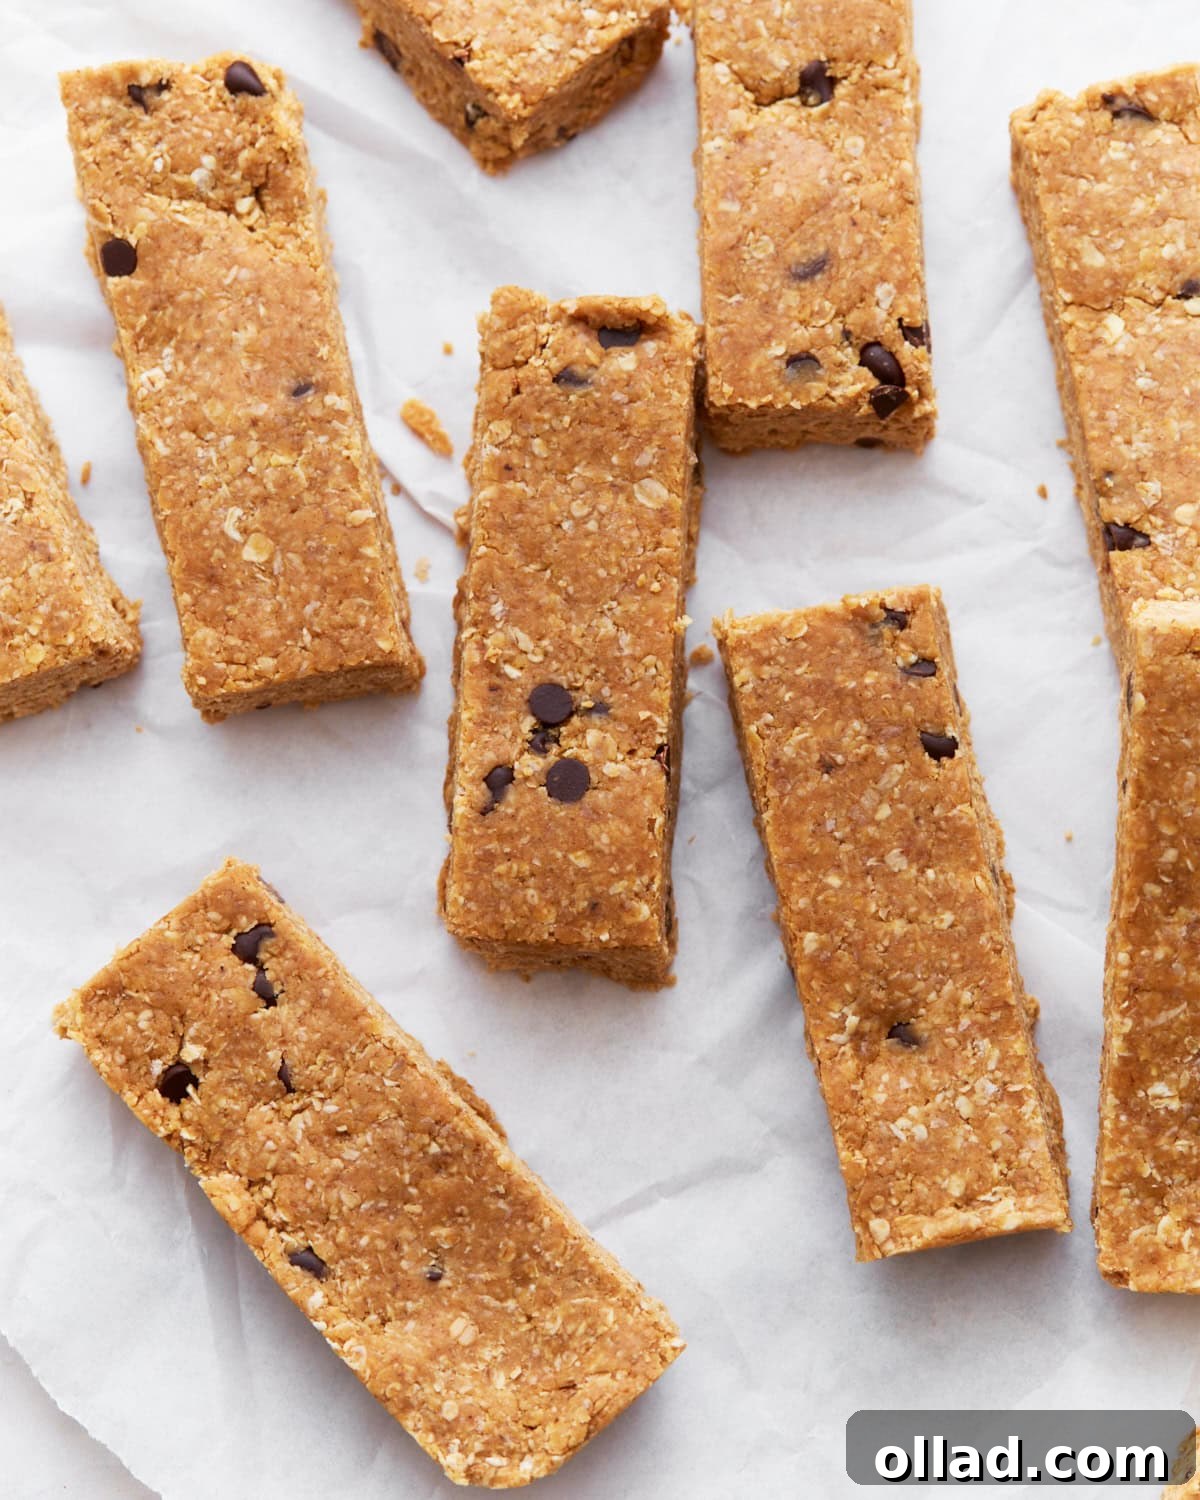
- Refrigeration: Leftover bars should be stored in an airtight container in the refrigerator for up to a week. Keeping them chilled helps maintain their firm, chewy texture and prevents them from becoming too soft or sticky, especially in warmer environments.
- Freezing for Longer Shelf Life: These granola bars are perfect for meal prep and freezing! I often make a large batch and freeze them so I always have healthy, quick snacks on hand for my kids and myself.
- How to Freeze: Once the bars are sliced, arrange them in a single layer on a parchment-lined baking sheet and freeze for about 30 minutes, or until firm. This prevents them from sticking together. Then, transfer the partially frozen bars to a plastic freezer-safe bag or an airtight container. If stacking multiple layers, place a piece of parchment paper between each layer to prevent sticking.
- Thawing: When you’re ready to enjoy a frozen bar, simply take it out of the freezer and let it defrost at room temperature for about 30 minutes. They thaw quickly and taste just as fresh as when they were first made.
Frequently Asked Questions About Gluten-Free Granola Bars
Here are some common questions about making and enjoying these gluten-free granola bars:
- Q: Can I make these granola bars nut-free?
A: Absolutely! To make these bars entirely nut-free, simply substitute the creamy peanut butter with a smooth, allergy-friendly seed butter, such as sunflower seed butter (SunButter) or tahini (sesame seed butter). Ensure all other ingredients, especially chocolate chips, are also certified nut-free. - Q: How can I make these granola bars vegan?
A: To make this recipe vegan, replace the honey with an equal amount of pure maple syrup or agave nectar. Additionally, make sure to use certified dairy-free and vegan mini chocolate chips. - Q: Why are my granola bars falling apart?
A: There are a few common reasons:- Insufficient Chilling: The chilling time is crucial for the bars to set. Ensure they refrigerate for at least 1 hour, or longer, until very firm.
- Dry Nut Butter: If your nut or seed butter was too dry or thick, it might not have provided enough binding. Ensure it’s creamy and well-stirred.
- Not Pressed Firmly Enough: When pressing the mixture into the pan, it’s important to compact it very firmly. Use a spatula or the back of a measuring cup to create a dense layer.
- Incorrect Oat Type: Quick oats absorb liquids differently than rolled oats. This recipe specifically calls for quick oats for the ideal texture and binding.
- Q: Can I use rolled oats instead of quick oats?
A: While quick oats are recommended for this recipe to achieve the desired chewy, soft texture and optimal binding, you can use rolled oats. However, rolled oats are thicker and will result in a chewier, slightly less cohesive bar. You might need to add an extra tablespoon or two of honey or nut butter to help bind them more effectively. - Q: Can I bake these granola bars?
A: This specific recipe is designed as a no-bake treat, relying on chilling to set. Baking it would significantly alter the texture and might cause the honey to caramelize too much or the bars to dry out. If you’re looking for a baked granola bar, you would need a different recipe formulated for baking.
Discover More Gluten-Free Oat Delights
If you’ve enjoyed making these delicious gluten-free granola bars, you’ll love exploring other recipes that feature the versatility and goodness of gluten-free oats. Oats are a fantastic ingredient for many gluten-free treats and meals. Here are some more of our favorite oat-based recipes:
- Gluten-Free Peanut Butter Oatmeal Cookies
- Gluten-Free Oatmeal Cookies
- Gluten-Free Apple Crisp
- Cranberry Oatmeal Bars
- How to Make Oat Flour
We hope these homemade gluten-free granola bars become a staple in your kitchen. They’re a testament to how easy and rewarding it can be to create delicious, healthy, and allergy-friendly snacks right at home. Enjoy the perfect balance of flavor and convenience!