
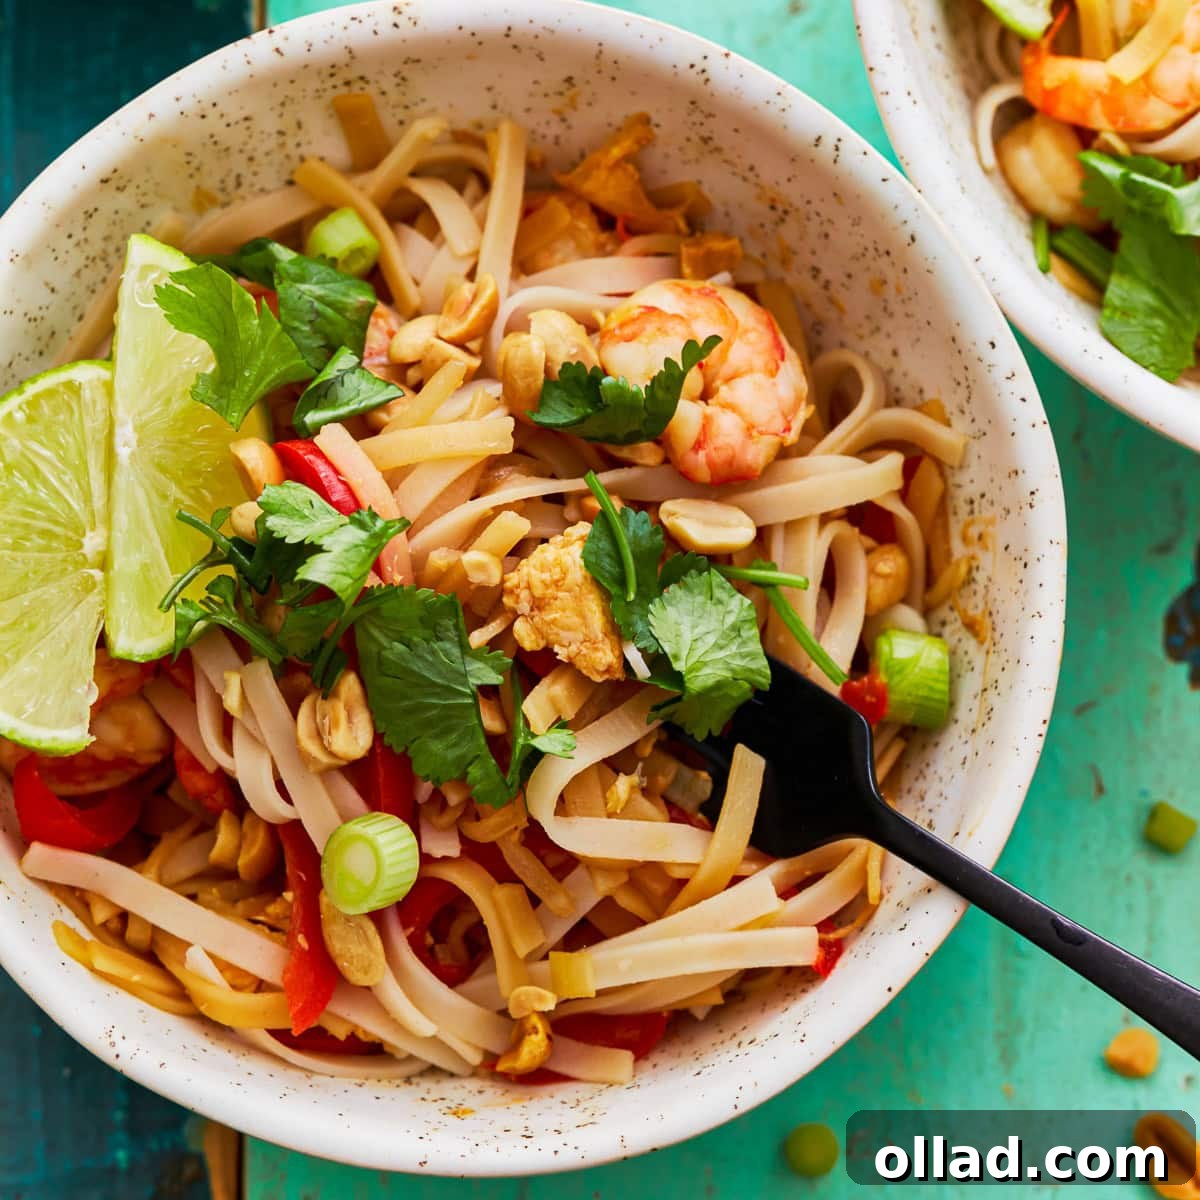
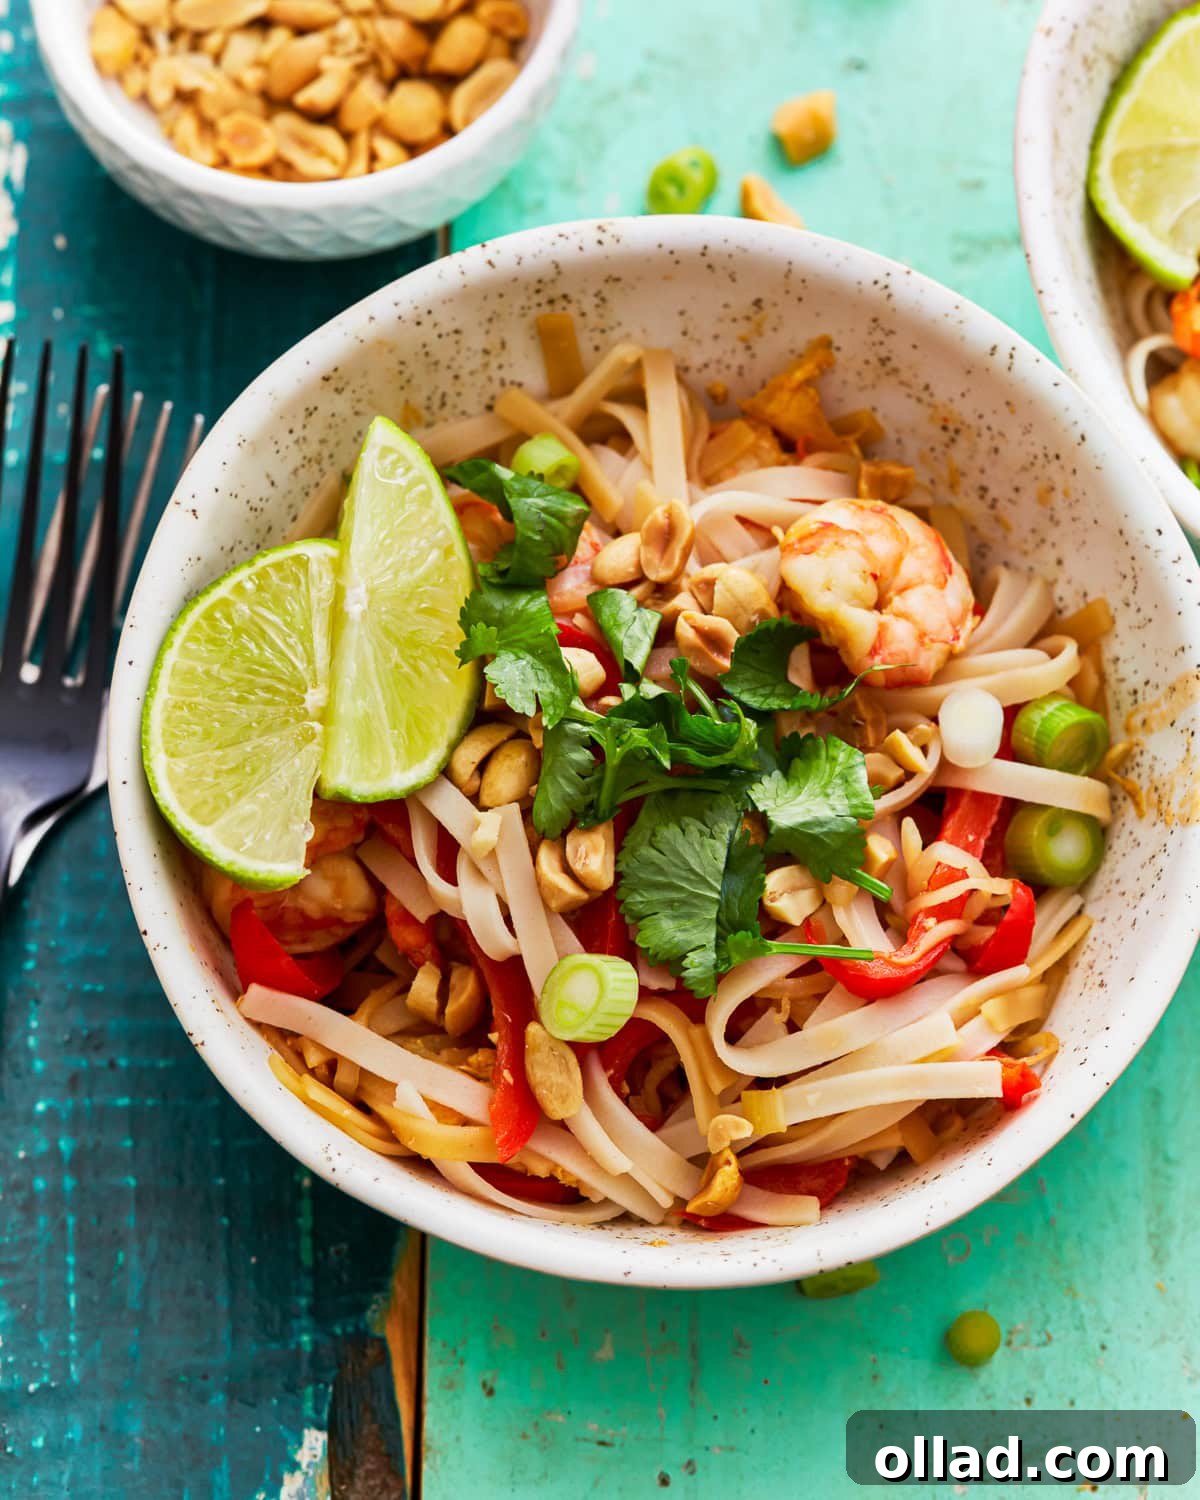
Craving the vibrant, complex flavors of Pad Thai but constrained by a gluten-free diet? Look no further! This comprehensive guide and recipe for homemade gluten-free Pad Thai is your passport to authentic Thai deliciousness, right from your kitchen. Say goodbye to the endless search for safe takeout options and hello to a customizable, satisfying “fakeaway” that’s not only gluten-free but also dairy-free and easily adaptable for a vegan lifestyle. Prepare to indulge in soft rice noodles generously coated in a rich, sweet, and tangy sauce, brimming with crisp fresh vegetables and succulent shrimp, all crowned with fresh cilantro and crunchy crushed peanuts. This recipe is designed to bring you the genuine taste of Thailand without compromising your dietary needs or flavor expectations.
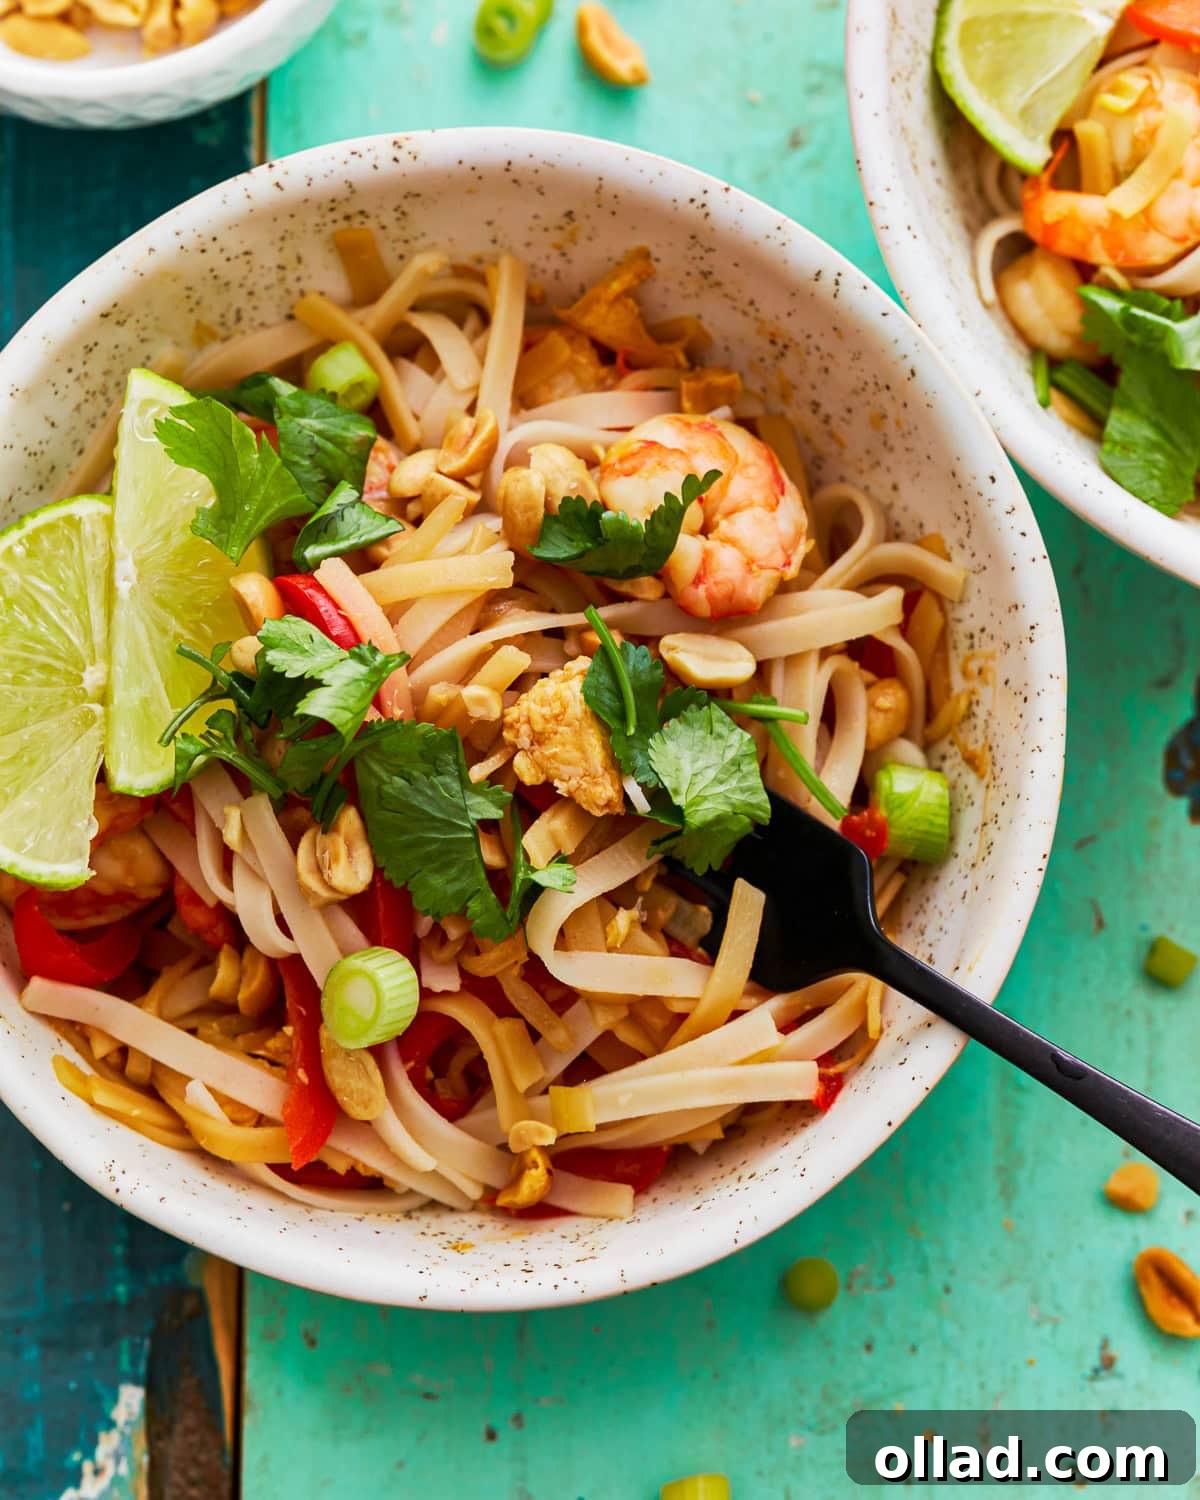
Mastering the Art of Gluten-Free Pad Thai: Your Ultimate Guide
Pad Thai stands as a culinary jewel in Thai cuisine, beloved worldwide for its harmonious blend of sweet, sour, salty, and spicy notes. Traditionally, it features stir-fried rice noodles, eggs, an array of fresh vegetables, and a protein such as shrimp or tofu, all brought together by a distinctive sauce. However, for those navigating a gluten-free diet, enjoying authentic Pad Thai from a restaurant can be a daunting challenge. The culprit? Often, it’s the soy sauce, a foundational ingredient in many traditional Pad Thai sauces, which typically contains wheat and, consequently, gluten. This dilemma often forces gluten-sensitive individuals to forgo one of their favorite dishes.
But fear not! My mission is to empower you to recreate this iconic dish safely and deliciously at home. Drawing inspiration from tried-and-true gluten-free Asian recipes, this homemade Pad Thai recipe mirrors the satisfying flavors of its traditional counterpart, guaranteeing a rich and authentic experience without any gluten worries. The secret lies in a meticulously crafted sauce, utilizing gluten-free tamari (a superb alternative to traditional soy sauce), rich brown sugar for sweetness, bright rice vinegar for tang, and a touch of chili oil for that irresistible kick. This combination creates a sauce that tastes just like the real deal, allowing you to savor every slurp of these delectable noodles.
Essential Ingredients for a Perfect Gluten-Free Pad Thai
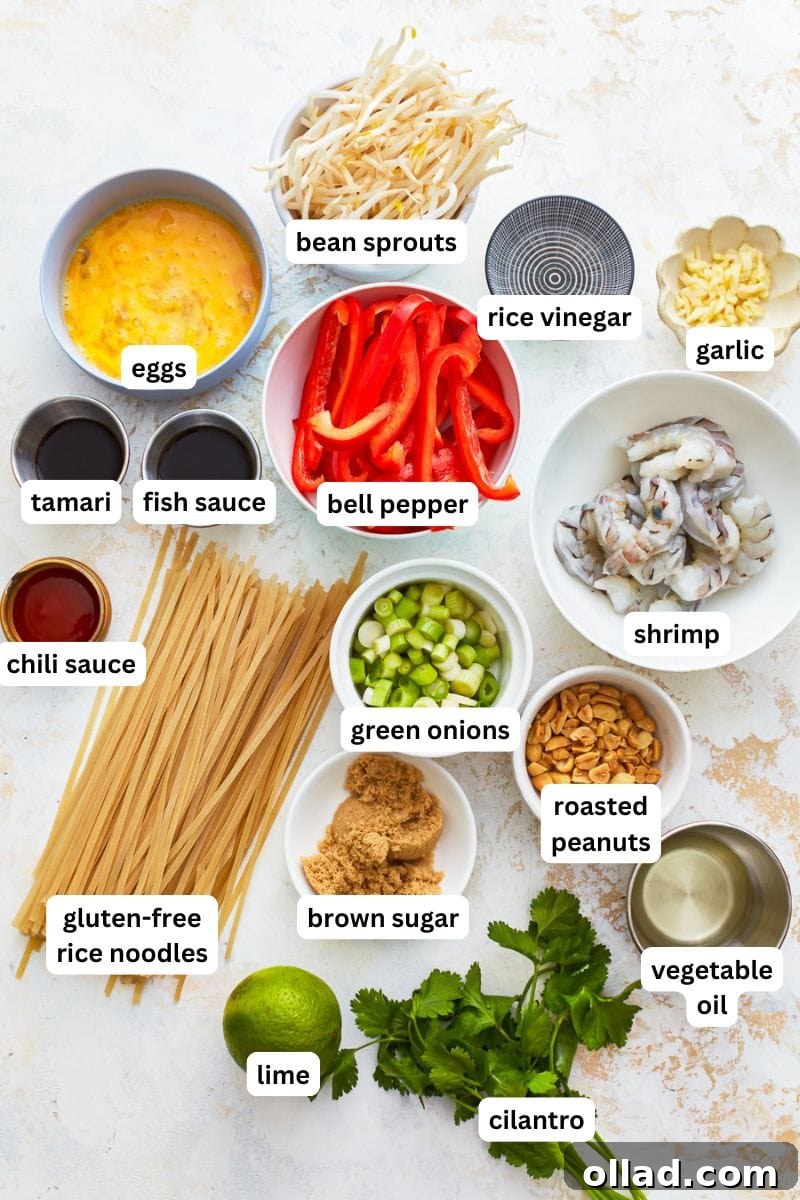
Creating a truly exceptional homemade Pad Thai begins with selecting the right ingredients. Each component plays a vital role in building the dish’s signature flavor and texture profile. Here’s a detailed look at what you’ll need and why each element is important, along with helpful tips for sourcing and potential substitutions.
- Gluten-Free Rice Noodles: These form the backbone of your Pad Thai. While various types of rice noodles work, the wide and flat varieties are often preferred for their classic texture and ability to soak up the sauce. Ensure they are explicitly labeled gluten-free. In a pinch, or for a different texture, glass noodles or even shirataki noodles make excellent gluten-free alternatives. If you’re feeling adventurous or simply don’t have rice noodles on hand, some gluten-free pasta varieties can be adapted, though the texture will differ.
- Fish Sauce: A cornerstone of Thai cuisine, fish sauce is indispensable for imparting a deep, savory umami flavor that cannot be replicated. It adds a crucial layer of authentic taste. It’s paramount to always check the label carefully, as some brands may contain hidden gluten ingredients or be subject to cross-contamination. Opt for a brand that is certified gluten-free to ensure safety.
- Tamari Sauce: Derived from fermented soybeans, tamari is a naturally gluten-free alternative to conventional soy sauce, offering a similar depth of flavor without the wheat. Make sure you choose a certified gluten-free tamari or a soy sauce specifically labeled as gluten-free. This is a critical swap to keep your Pad Thai truly gluten-free.
- Brown Sugar: This ingredient is key to balancing the vibrant tanginess of the sauce with a necessary sweetness. Brown sugar contributes a deeper, more caramelized flavor compared to white sugar, enhancing the overall complexity of the Pad Thai sauce.
- Rice Vinegar: While traditional Pad Thai recipes often feature tamarind paste for its unique sourness, it can sometimes be difficult to find. Rice vinegar serves as an excellent, readily available substitute, providing a clean, bright tang that perfectly complements the other flavors in the sauce.
- Chili Sauce (or Sriracha): For those who appreciate a bit of heat, chili sauce or sriracha is essential. It adds a spicy kick that awakens the palate and balances the sweet and sour notes. The beauty of homemade Pad Thai is that you can easily adjust the amount to suit your personal spice preference, from a mild warmth to an fiery sensation.
- Fresh Vegetables: A medley of fresh, crisp vegetables adds texture, nutrients, and visual appeal. My recipe includes crisp bean sprouts, vibrant red bell pepper, and aromatic green onions. However, the choice of vegetables is highly flexible. Feel free to incorporate thinly sliced carrots, shredded cabbage, tender broccoli florets, or earthy mushrooms. The key is to slice them thinly to ensure quick and even cooking in the wok or skillet, maintaining their delightful crunch.
- Vegetable Oil: Used for sautéing the vegetables and proteins, vegetable oil provides a neutral base that allows the other flavors to shine. Any high smoke point neutral oil like canola, grapeseed, or peanut oil would also work well.
- Garlic: Aromatic minced garlic is fundamental for building the flavor base of the dish, infusing the oil and other ingredients with its pungent, delicious essence. Never skimp on fresh garlic for the best flavor.
- Protein of Choice (Shrimp or Tofu): This recipe features succulent shrimp, a classic Pad Thai protein. However, you have complete flexibility to customize. Cubed chicken breast or thighs, thinly sliced beef, or firm tofu are all fantastic alternatives. If opting for chicken or beef, you might need to slightly adjust cooking times to ensure they are cooked through but remain tender. For tofu, press it first to remove excess water for a firmer texture.
- Eggs: Lightly scrambled eggs contribute extra protein and a lovely tender texture, integrated throughout the noodles. They are a signature component of authentic Pad Thai.
- For Serving: The finishing touches elevate Pad Thai from good to extraordinary. A generous sprinkle of crunchy chopped roasted peanuts adds texture and nutty depth. Fresh cilantro provides a burst of herbaceous freshness, and a squeeze of fresh lime juice right before eating brightens all the flavors, making every bite truly delightful.
Expert Tips for a Flawless Gluten-Free Pad Thai
Achieving restaurant-quality Pad Thai at home is entirely possible with a few key techniques. Follow these expert tips to ensure your dish is nothing short of perfect:
- Noodle Perfection: The texture of your rice noodles is crucial. Cook them only until they are al dente, meaning they still have a slight bite to them. They will continue to cook and soften further when added to the hot skillet with the sauce and other ingredients. Immediately after draining, rinse the noodles thoroughly under cold water. This stops the cooking process and prevents them from sticking together, ensuring individual, chewy strands.
- Always Check Labels: Even though rice noodles are inherently gluten-free, it is always a good practice to double-check product labels for any potential hidden gluten ingredients, processing on shared lines, or cross-contamination warnings. The same meticulous check applies to fish sauce, tamari, and any other packaged ingredients to ensure your meal remains safely gluten-free.
- Master the Stir-Fry: Pad Thai is a stir-fry, which means speed and constant motion are your allies. Have all your ingredients prepped and ready to go before you even turn on the heat. Work quickly and stir constantly to prevent the noodles and vegetables from burning or sticking to the pan. This rapid cooking preserves the crispness of the vegetables and ensures even distribution of flavors.
- Wok vs. Skillet: While a traditional wok is ideal for stir-frying due to its sloped sides and even heat distribution, a large, heavy-bottomed skillet or a deep frying pan will work perfectly well for this recipe. Ensure your cooking vessel is large enough to accommodate all ingredients without overcrowding, which can lead to steaming instead of stir-frying.
- Customize to Your Taste: This recipe is a fantastic starting point, but feel free to adjust it to suit your personal preferences. If you prefer a sweeter Pad Thai sauce, add a bit more brown sugar. For a tangier, more savory profile, reduce the sugar slightly or add a splash more rice vinegar or tamari. Don’t be afraid to experiment with the chili sauce level to achieve your desired spice intensity.
Making it Your Own: Vegan & Dairy-Free Adaptations
One of the many wonderful aspects of this gluten-free Pad Thai recipe is its inherent versatility and ease of adaptation to various dietary needs. It is naturally dairy-free, making it suitable for those avoiding dairy. For our vegan friends, making this recipe entirely plant-based is incredibly simple with just a few mindful substitutions:
- Eggs: To make the recipe vegan, simply omit the eggs. You can increase the amount of tofu or add more vegetables to compensate for the lost volume and protein.
- Shrimp: Replace the shrimp with extra firm tofu. Press the tofu thoroughly before cubing and frying until golden brown for the best texture. Marinating the tofu cubes in a little tamari before frying can also enhance its flavor. Alternatively, increase the quantity of vegetables to make a vegetable-centric Pad Thai.
- Fish Sauce: This is a key flavor enhancer, but it’s not vegan. Look for readily available vegan fish sauce alternatives made from ingredients like seaweed, mushrooms, or fermented soybeans. If a vegan fish sauce substitute isn’t available, you can omit it and slightly increase the amount of gluten-free tamari and a pinch of salt to maintain a savory depth, though the flavor profile will be slightly different.
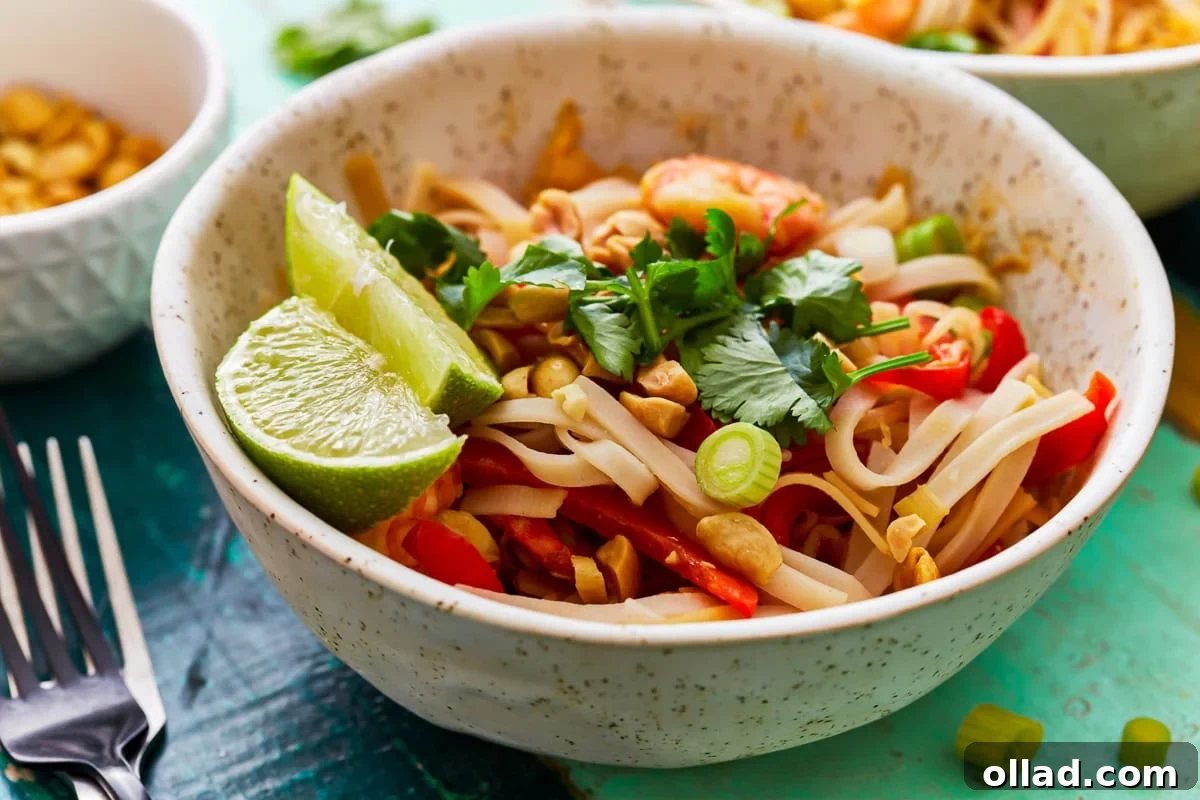
Is Traditional Pad Thai Gluten-Free? Understanding the Differences
It’s a common misconception that all Pad Thai is gluten-free simply because it’s made with rice noodles. While rice noodles themselves are indeed gluten-free, the reality is that traditional Pad Thai, especially when ordered from a restaurant, is often *not* gluten-free. The primary reason for this lies in the sauce.
Most authentic Pad Thai recipes and restaurant preparations utilize conventional soy sauce, which is a key source of gluten due to its wheat content. Furthermore, some brands of fish sauce, though generally made from fermented fish, can sometimes contain added gluten-containing thickeners or flavorings. Cross-contamination in restaurant kitchens, where shared woks and utensils are used for various dishes, also poses a significant risk for individuals with celiac disease or severe gluten sensitivity.
Therefore, unless a restaurant explicitly labels its Pad Thai as gluten-free and takes strict precautions, it’s generally best to assume it contains gluten. This homemade recipe eliminates all guesswork and risks. By consciously choosing certified gluten-free tamari (or gluten-free soy sauce) and carefully selecting a gluten-free fish sauce, alongside naturally gluten-free rice noodles, you can confidently enjoy all the rich, complex flavors of Pad Thai, knowing it’s completely safe for your dietary needs.
Storing and Reheating Your Delicious Gluten-Free Pad Thai
Enjoying leftovers of your homemade Pad Thai is a treat, and proper storage ensures its deliciousness for another meal. Here’s how to best store and reheat your dish:
Once cooled, transfer any leftover Pad Thai into an airtight container. Store it in the refrigerator for up to 2 days. While you can reheat it in the microwave, for the best texture and flavor, especially if your Pad Thai contains shrimp or any other meat, I highly recommend reheating it on the stovetop. This method helps prevent the proteins from overcooking and the noodles from becoming too soft or mushy. Simply add a little vegetable oil to a skillet or wok over medium-low heat, add your leftovers, and gently stir-fry until thoroughly heated through, usually just a few minutes. This process helps to revive the noodles and crisp up any remaining vegetables, bringing your Pad Thai back to life almost as good as fresh.
More Irresistible Gluten-Free Takeout Favorites to Explore!
If you love the satisfaction of recreating your favorite takeout dishes at home, especially when gluten-free, you’re in for a treat! Here are more delicious homemade gluten-free recipes inspired by popular Asian takeout options that you absolutely must try:
- Homemade Gluten-Free Teriyaki Sauce
- Zesty Gluten-Free Orange Chicken
- Crispy Gluten-Free Tempura Batter
- Sweet and Savory Gluten-Free Apricot Chicken
- Irresistible Gluten-Free Sticky Asian Wings
Step-by-Step Visual Guide: How to Make Gluten-Free Pad Thai
Follow along with these visual cues to guide you through the process of making this incredible gluten-free Pad Thai. For precise measurements and detailed instructions, please refer to the comprehensive recipe card below.
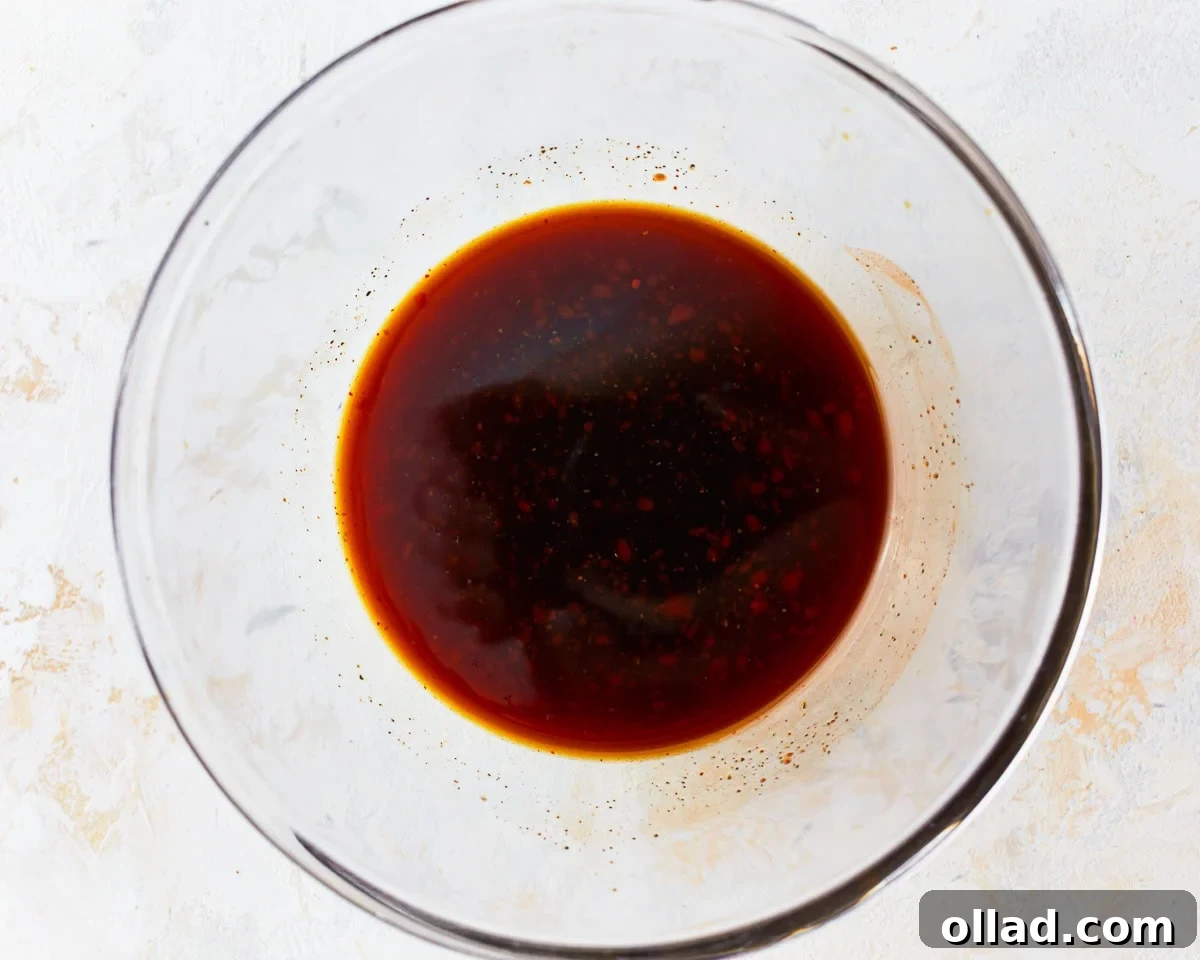
Begin by whisking together all the ingredients for the Pad Thai sauce in a small bowl until they are perfectly combined. This ensures all the flavors meld together beautifully before being added to the stir-fry.
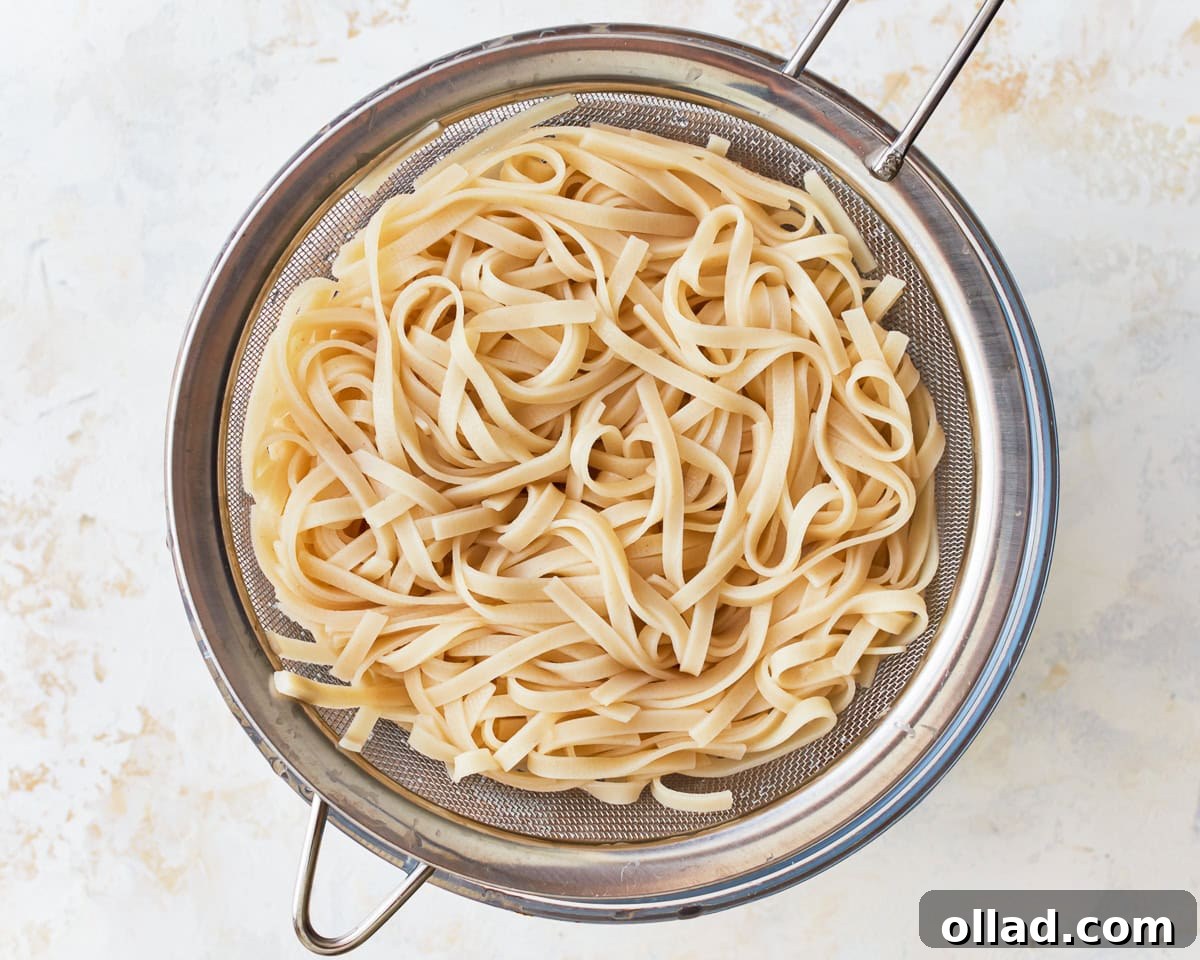
Cook the rice noodles according to their package instructions, aiming for an al dente texture. Immediately drain them and rinse under cold water to halt the cooking process and prevent them from sticking. Set them aside, ready for the wok.
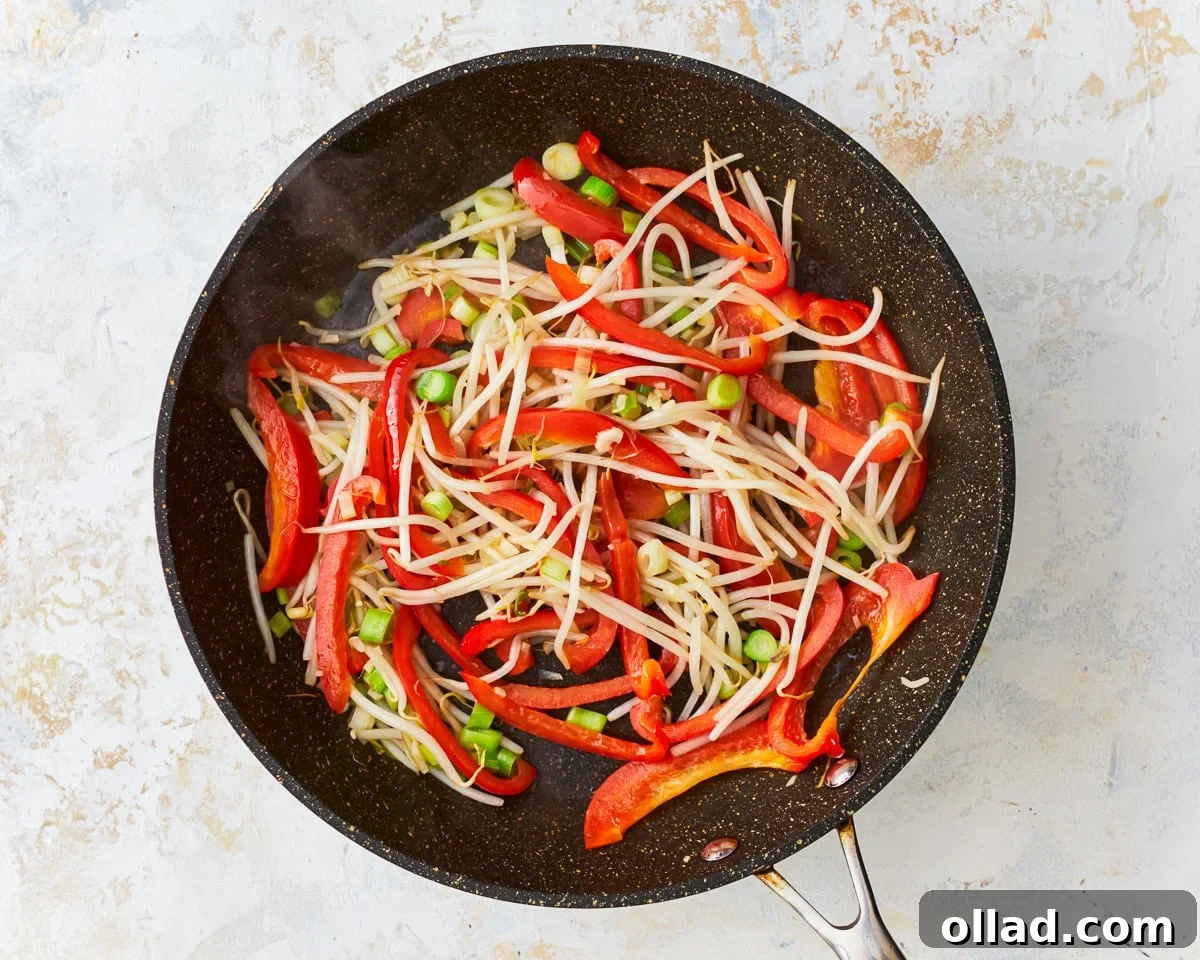
In a hot skillet or wok with vegetable oil, quickly stir-fry the bean sprouts, thinly sliced bell pepper, green onions, and minced garlic. Cook just until they become fragrant and slightly softened, typically 1-2 minutes, retaining their crispness.
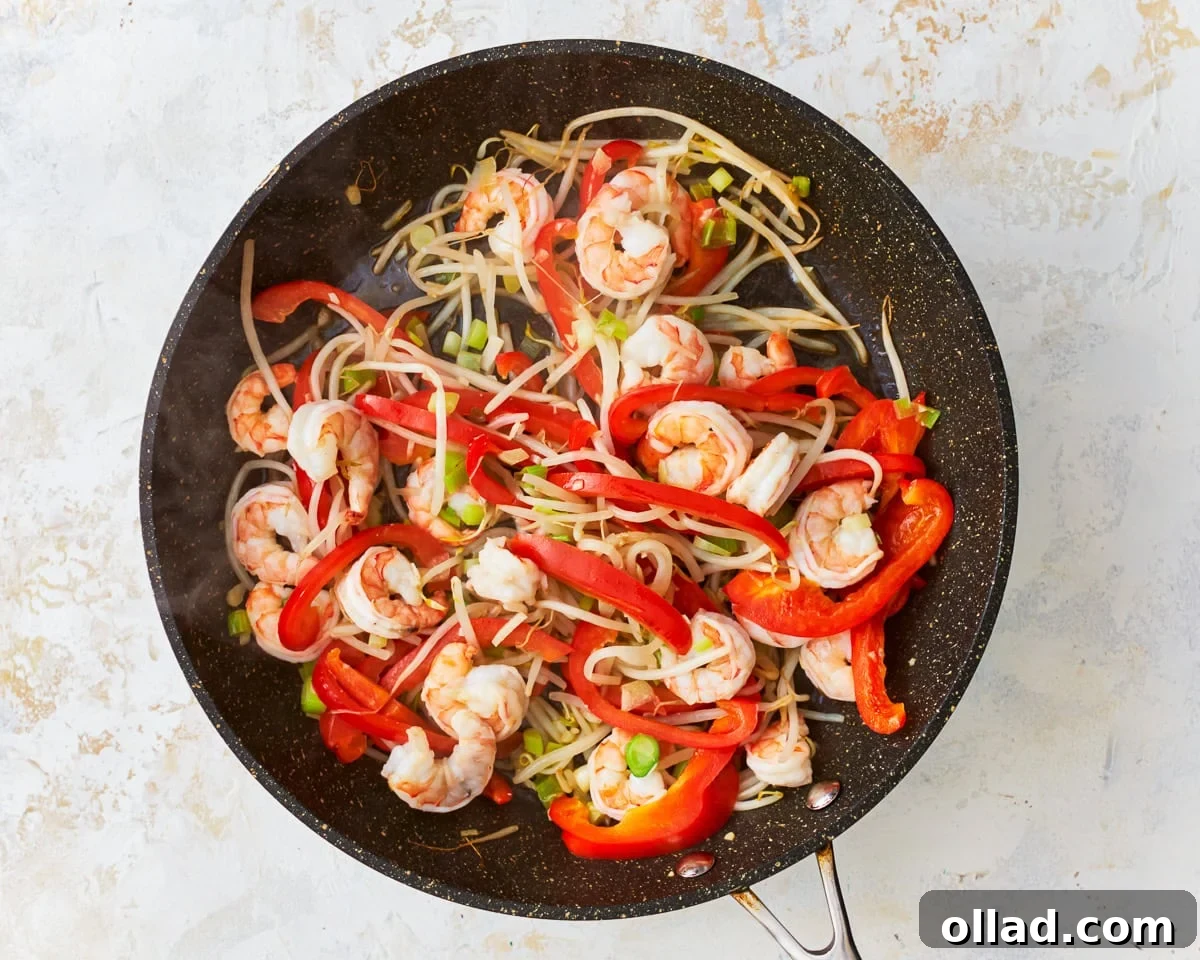
Add your chosen protein, such as shrimp or cubed tofu, to the skillet with the vegetables. Continue to stir-fry for 2-3 minutes, ensuring the shrimp turns pink and is cooked through, or the tofu is lightly golden.
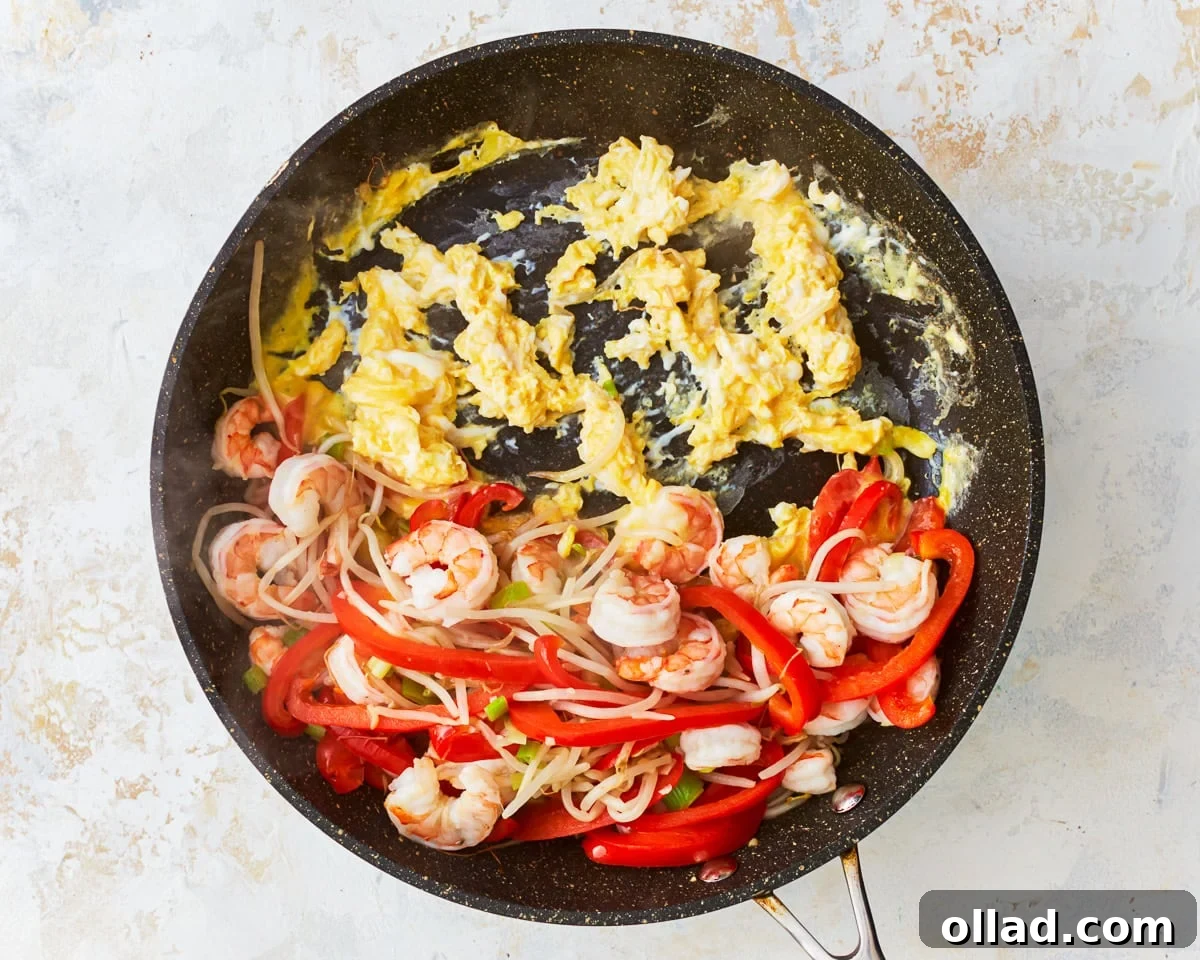
Carefully push the cooked vegetables and protein to one side of the skillet, creating an empty space. Pour the lightly beaten eggs into this cleared area and scramble them quickly until they are just cooked through but still tender.
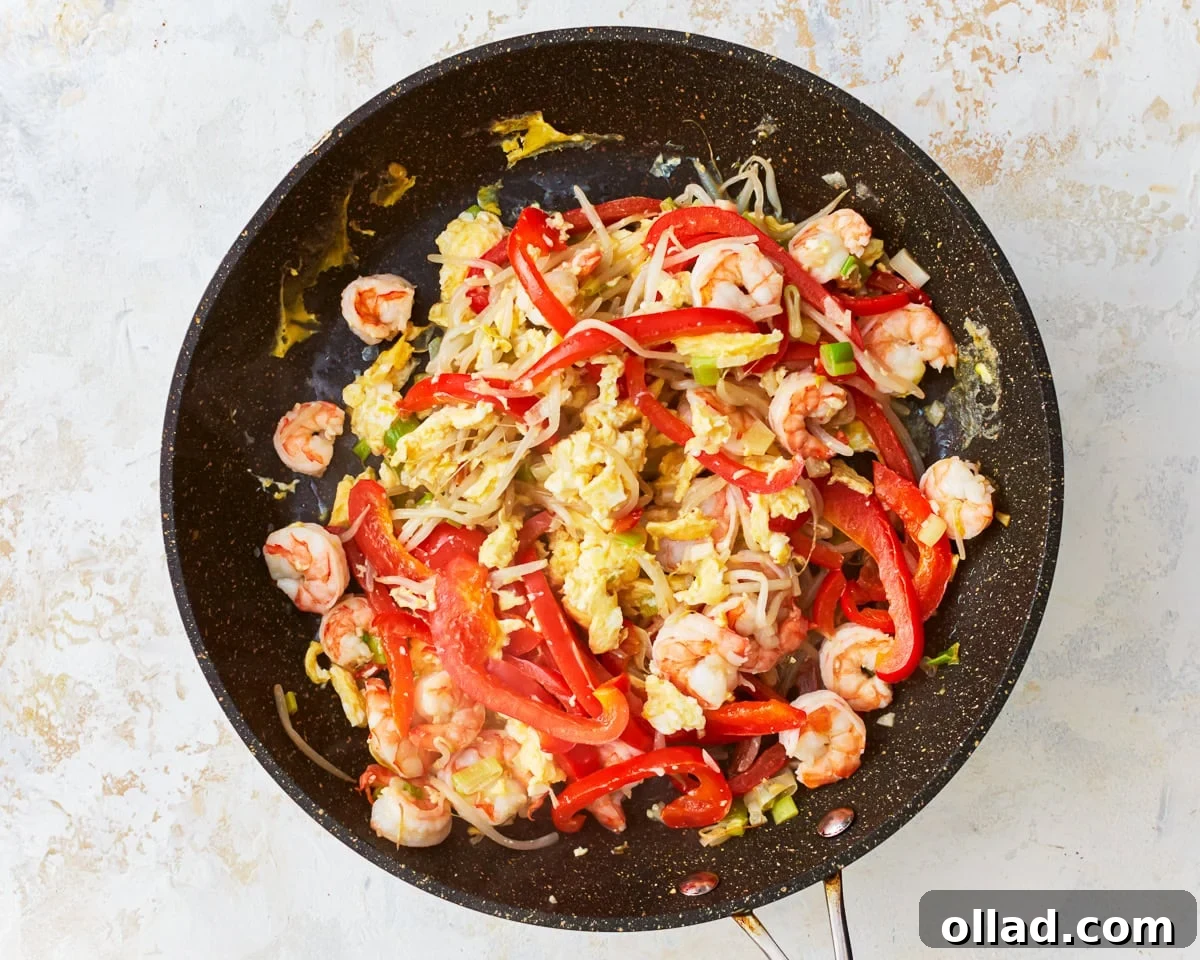
Once the eggs are scrambled, gently incorporate them with the cooked vegetables and protein, ensuring everything is well combined and ready for the noodles.
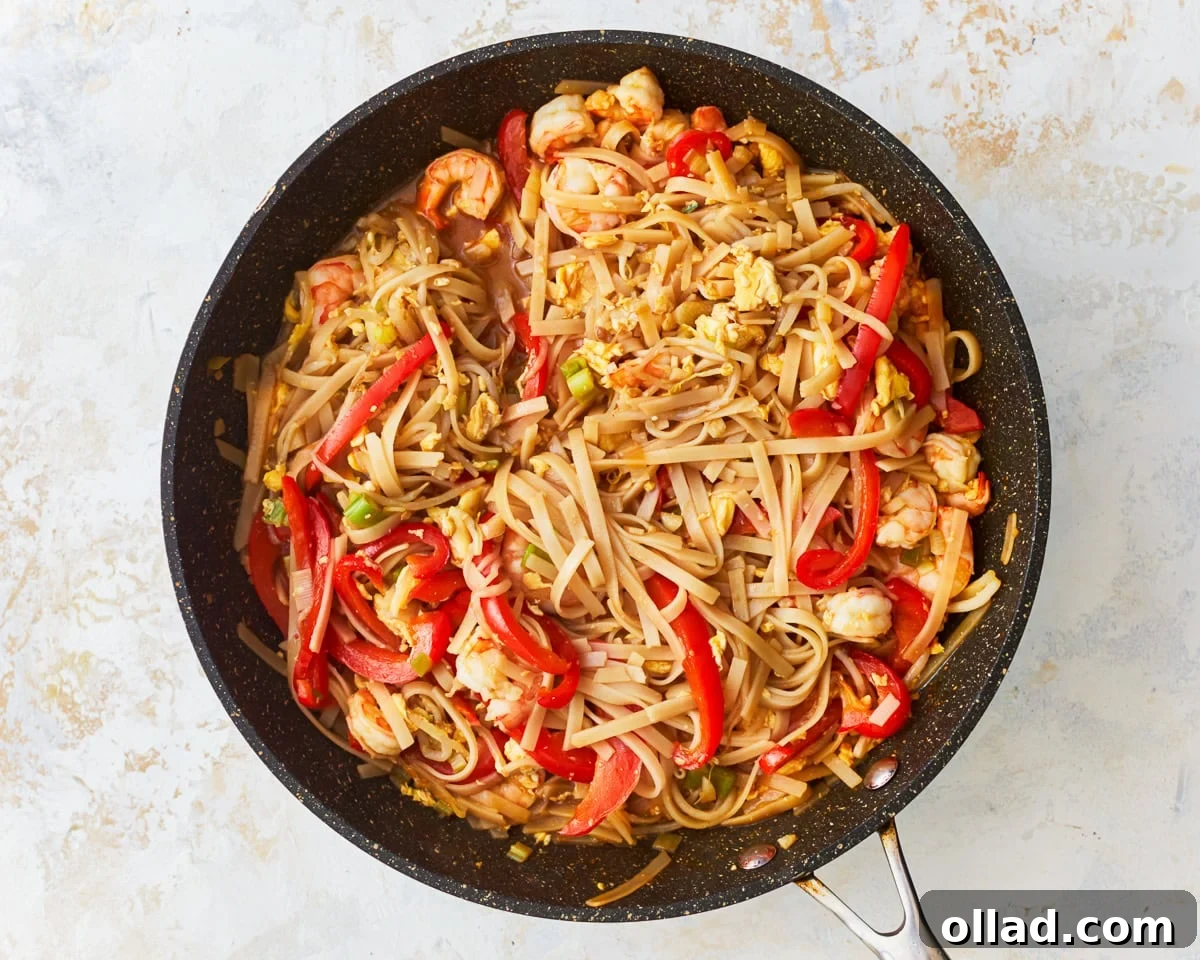
Finally, add the prepared rice noodles to the skillet. Pour the pre-mixed Pad Thai sauce evenly over all the ingredients. Toss everything together vigorously and constantly until the noodles, vegetables, and protein are uniformly coated with the rich, aromatic sauce. Continue to cook for another 2 minutes, allowing the flavors to meld and the dish to heat through. Serve immediately, garnished with chopped roasted peanuts, fresh cilantro, and a wedge of lime for squeezing. Enjoy your exquisite homemade gluten-free Pad Thai!
Gluten-Free Pad Thai
Share by Email
Print Recipe
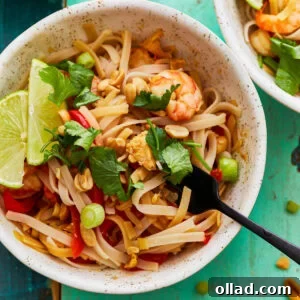
This gluten-free Pad Thai recipe is the answer to your takeaway cravings! It’s ready in just 35 minutes and is made with simple ingredients.
Ingredients
For the Pad Thai Sauce
- 3 tablespoons fish sauce
- 2 tablespoons gluten-free tamari or gluten-free soy sauce
- 2 tablespoons rice vinegar
- 3 tablespoons brown sugar
- ½ tablespoon chili sauce or sriracha, adjust to taste
For the Pad Thai
- 8 ounces gluten-free rice noodles
- 1 tablespoon vegetable oil
- 1 cup bean sprouts
- 1 red bell pepper, thinly sliced
- 4 green onions, thinly sliced
- 2 cloves garlic, minced
- 1 cup shrimp (or firm tofu), cubed
- 2 large eggs, lightly beaten
- ¼ cup roasted peanuts, chopped
- ¼ cup fresh cilantro, for serving
- lime wedges, for serving
Instructions
-
In a small bowl, whisk together the fish sauce, gluten-free tamari sauce, rice vinegar, brown sugar, and chili sauce until well combined. Set aside.
-
Cook the rice noodles according to the package instructions until they are al dente. Drain and rinse the noodles under cold water to stop the cooking process. Set aside.
-
Heat the vegetable oil in a large skillet or wok over medium-high heat. Add the bean sprouts, bell pepper, green onions, and minced garlic and cook for 1-2 minutes until fragrant.
-
Add the shrimp (or tofu) to the skillet and cook for 2-3 minutes.
-
Push the vegetables and shrimp to one side of the skillet, then add the lightly beaten eggs to the empty side. Scramble the eggs until cooked through, then mix them with the cooked vegetables and shrimp.
-
Add the cooked rice noodles to the skillet and pour the prepared sauce over the ingredients.
-
Toss everything together until the noodles and vegetables are evenly coated with the sauce. Cook for an additional 2 minutes until heated through.
-
Transfer the Pad Thai to serving plates or bowls. Sprinkle chopped roasted peanuts and fresh cilantro over the top. Serve with lime wedges on the side for squeezing over the noodles. Enjoy.
Notes
- Not all fish sauces are gluten-free. Always check the label before buying and using.
- Make this recipe vegan by omitting the eggs, adding tofu, and using a vegan fish sauce alternative.
- Add less chili sauce/sriracha to reduce the spice level.
- Adjust the amount of sugar used to suit your tastes.
- To Store: Keep in an airtight container in the fridge for up to 2 days.
- To Reheat: Warm on the stovetop over medium-low heat for best results.
- Mama says, “Check all of your labels!”
- The nutritional information is based on using shrimp and chili sauce.
Nutrition
Calories: 441kcal
Carbohydrates: 63g
Protein: 24g
Fat: 12g
Saturated Fat: 2g
Polyunsaturated Fat: 4g
Monounsaturated Fat: 4g
Trans Fat: 0.03g
Cholesterol: 177mg
Sodium: 1747mg
Potassium: 497mg
Fiber: 7g
Sugar: 14g
Vitamin A: 1266IU
Vitamin C: 50mg
Calcium: 98mg
Iron: 2mg
Nutrition information is automatically calculated, so should only be used as an approximation.