
Effortlessly Delicious: Your Guide to Easy Gluten-Free Cassava Bread (No Yeast Needed!)
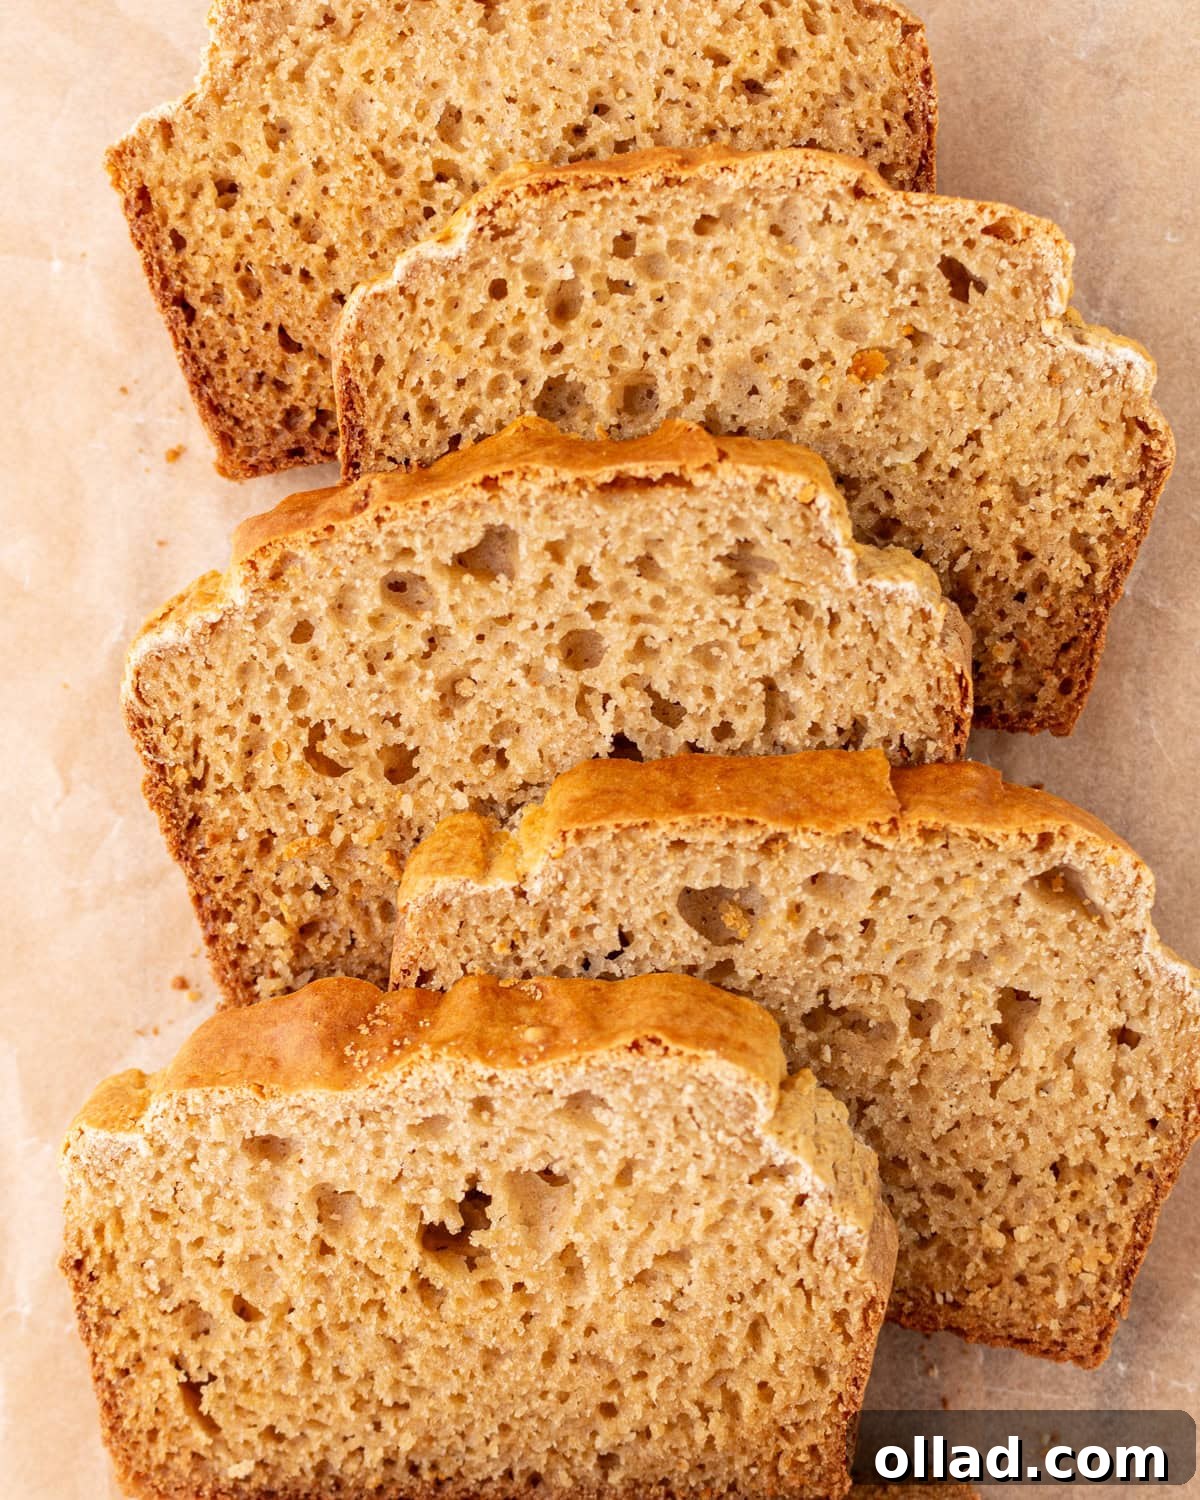
Are you searching for a genuinely simple, incredibly satisfying gluten-free and grain-free bread that doesn’t require yeast or endless rising times? Look no further! This easy cassava bread recipe is a true kitchen game-changer, quickly becoming a staple for anyone avoiding gluten or grains. Crafted with just a handful of common pantry ingredients, this loaf bakes up with a delightful texture—soft and chewy on the inside, yet wonderfully crisp around the edges. It’s perfect warm from the oven with a generous smear of butter, or sliced thin for versatile sandwiches and toast.
My journey into cassava flour baking began with the surprising success of my cassava flour tortillas, which quickly became a household favorite. That experience sparked an idea: what if I could translate that same simple, delicious concept into a loaf of bread? The result, thankfully, did not disappoint. This cassava bread boasts an irresistibly soft and slightly springy crumb, a characteristic achieved by combining cassava flour with a touch of tapioca flour. Cassava flour provides the essential structure and a pleasing chew, while tapioca flour contributes to its delicate, non-crumbly texture. To ensure maximum moisture and a wonderfully fluffy result, I incorporate buttermilk and Greek yogurt—two ingredients I always keep on hand. A hint of honey adds just the right amount of sweetness, and a modest amount of oil makes the bread tender without ever feeling heavy. Honestly, every time I bake a loaf, it vanishes within mere hours!
Why Cassava Flour is a Gluten-Free Baking Marvel
Cassava flour, derived from the versatile yuca root, has rapidly gained popularity in the gluten-free and grain-free baking communities, and for good reason. Unlike many alternative flours, cassava has a remarkably neutral flavor that won’t overpower your baked goods. Its fine texture and excellent binding properties make it an ideal substitute for wheat flour in many recipes, often yielding results that are surprisingly similar to their gluten-containing counterparts.
Beyond its culinary attributes, cassava flour offers several health benefits. It’s naturally free from common allergens like gluten, nuts, and grains, making it a safe choice for individuals with various dietary restrictions. Furthermore, it’s a good source of resistant starch, which acts as a prebiotic, feeding beneficial gut bacteria and potentially improving digestive health. When you choose cassava flour, you’re not just getting a great texture; you’re also incorporating a nutrient-rich ingredient into your diet. This makes it an excellent foundation for creating wholesome, delicious bread that everyone can enjoy.
The Science Behind the Perfect Cassava Bread Texture
Achieving the ideal texture in gluten-free baking can sometimes feel like a delicate balancing act, but this cassava bread recipe simplifies it beautifully. The combination of cassava and tapioca flours is key. Cassava flour, milled from the whole yuca root, provides the primary structure and volume for the loaf, giving it that satisfying chew reminiscent of traditional bread. However, using too much cassava flour alone can sometimes lead to a dry or overly dense result, which is where tapioca flour comes into play.
Tapioca flour, a pure starch also extracted from the cassava plant, acts as a tenderizer and provides elasticity. It helps create a lighter, more pliable crumb and prevents the bread from becoming crumbly or stiff. Together, these two flours create a harmonious blend that mimics the complex protein structures found in gluten-containing flours, giving our bread its desirable soft, slightly springy, and never-dry texture.
The addition of buttermilk and Greek yogurt further elevates the moisture and tenderness. Buttermilk, with its mild acidity, reacts with the baking soda to create a gentle leavening action, resulting in a lighter crumb. Its natural fats also contribute to a richer flavor and moistness. Greek yogurt, particularly thick, full-fat varieties, adds protein and extra richness, ensuring the bread remains soft and fresh for longer. It also contributes to the loaf’s rise and overall structure, preventing it from collapsing. Finally, the honey provides a subtle sweetness that balances the savory notes of the bread, while a good quality olive oil (or your preferred neutral oil) enhances tenderness without making the bread feel heavy or greasy.
Easy No-Yeast Cassava Bread (Gluten-Free & Grain-Free)
Ashley Barbey
10
slices (1 loaf)
10 minutes
35 minutes
45 minutes
This simple, no-yeast cassava bread is naturally gluten-free and grain-free, perfect for healthy and delicious baking. Enjoy a soft, chewy texture with crispy edges, made with everyday pantry staples.
Equipment
-
1 (4×8-inch or 5×9-inch) loaf pan
Ingredients
- 1 ½ cups cassava flour*
- 1/3 cup tapioca flour**
- 2 teaspoons baking powder
- 1 teaspoon baking soda
- ¾ teaspoons kosher salt
- 3 large eggs
- ½ cup buttermilk
- 1/3 cup Greek yogurt***, or sour cream
- 2 tablespoons olive oil, vegetable, canola, avocado or olive
- 1 ½ tablespoons honey
Instructions
-
Preheat the oven to 350°F (177°C). Line a 4×8 or 5×9 loaf pan with parchment paper, allowing it to hang over the sides for easy removal.****
-
In a medium bowl, thoroughly whisk together the cassava flour, tapioca flour, baking powder, baking soda, and salt. Set aside.
-
In a separate large measuring cup or mixing bowl, whisk together the eggs, buttermilk, Greek yogurt, oil, and honey until all ingredients are well combined and smooth.
-
Pour the prepared wet egg mixture into the bowl containing the dry flour mixture. Stir gently with a spoon or spatula just until everything is combined and no streaks or pockets of dry flour remain. Be careful not to overmix the batter, as excessive stirring can negatively impact the final rise and texture.
-
Evenly spread the bread batter into the parchment-lined loaf pan, smoothing the top with a spatula if needed.
-
Bake for 35-40 minutes. It’s crucial to monitor the center of the loaf during baking, as the top can often appear golden and done before the middle is fully cooked. Always perform the toothpick test: insert a toothpick into the very center of the bread; if it comes out clean, your bread is perfectly baked and ready.
-
Allow the bread to cool in the pan for approximately 10 to 15 minutes. This resting period helps the bread set. After this, carefully transfer the loaf out of the pan (using the parchment paper as handles) and place it on a wire rack to finish cooling completely. Cooling on a rack ensures air circulation, preventing the bottom from becoming soggy.
Notes for Success
*When measuring cassava flour, always use the spoon and level method rather than scooping directly from the bag. Cassava flour is very light and can compact easily, leading to too much flour in your batter. Too much cassava flour can result in a dry or crumbly loaf, so accuracy is key for that perfect soft texture.
**Remember, cassava flour and tapioca flour are not interchangeable. While both come from the yuca root, cassava flour uses the whole root, providing fiber and structure, while tapioca flour is pure starch, offering elasticity and tenderness. Swapping them will drastically change the texture of your bread.
***For the best results, always use thick Greek yogurt. Thin or non-Greek yogurt contains more water, which can throw off the consistency of the batter and make it too runny. Thick Greek yogurt contributes to the perfect texture and supports a good rise.
****This cassava bread has a tendency to stick to the pan, so do not skip lining your loaf pan with parchment paper. This simple step ensures easy removal of your beautifully baked bread without any sticking disasters, saving you frustration and your delicious loaf!
Nutrition Facts (per slice)
Serving Size:
1 slice
Calories:
141 kcal
Carbohydrates:
22g
Protein:
3g
Fat:
5g
Saturated Fat:
1g
Polyunsaturated Fat:
1g
Monounsaturated Fat:
3g
Trans Fat:
0.01g
Cholesterol:
51 mg
Sodium:
403 mg
Potassium:
50 mg
Fiber:
0.4g
Sugar:
4g
Vitamin A:
91 IU
Vitamin C:
1 mg
Calcium:
103 mg
Iron:
1 mg
Nutrition information is automatically calculated and should only be used as an approximation.
Additional Information
Baking, Bread
American
How to Make Easy Cassava Bread: A Step-by-Step Visual Guide
Making this delightful cassava bread is straightforward, even for novice bakers. Follow these simple steps for a perfect loaf every time.

1. Gather and Prepare: Begin by gathering all your ingredients and measuring them out precisely. This is a crucial step in gluten-free baking. Preheat your oven to 350°F (177°C). Prepare your loaf pan (either a 4×8-inch or 5×9-inch) by lining it generously with parchment paper. Make sure the paper extends over the sides—this will create handy “slings” to effortlessly lift your bread out after baking and prevent sticking.
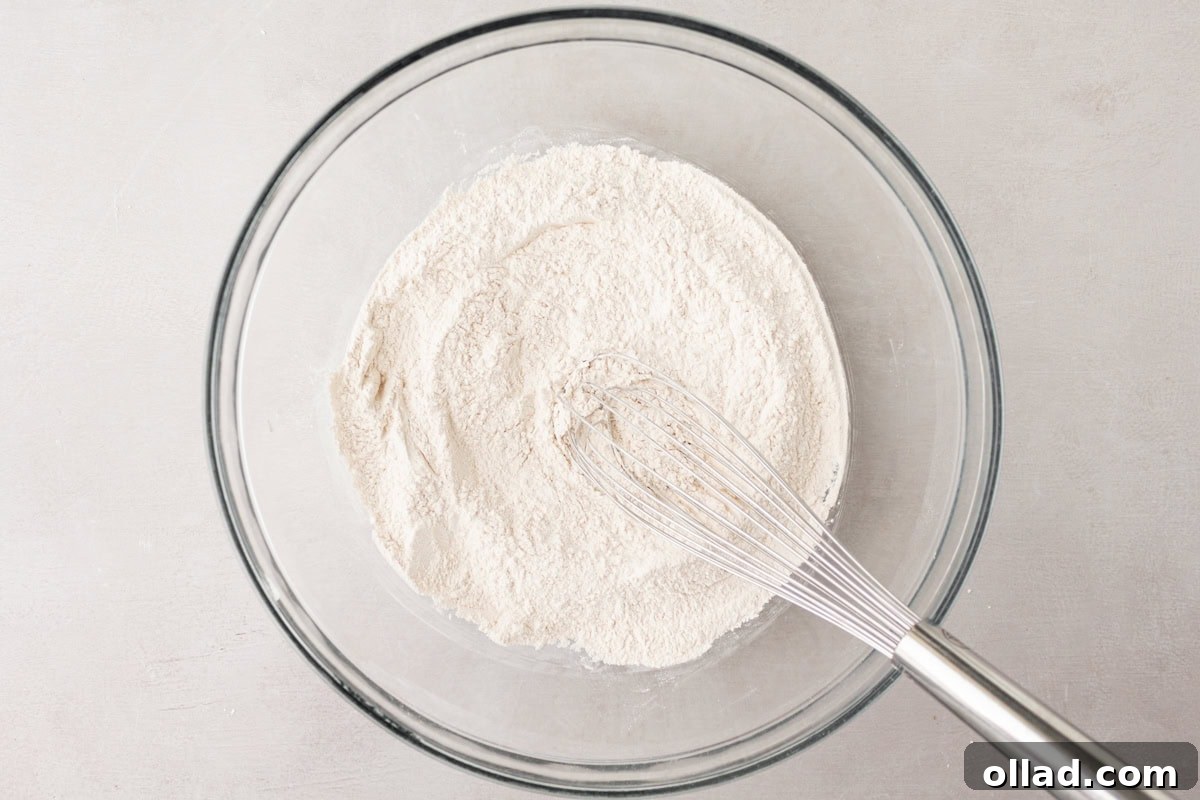
2. Whisk the Dry Ingredients: In a medium-sized mixing bowl, combine the 1½ cups of cassava flour, ⅓ cup of tapioca flour, 2 teaspoons of baking powder, 1 teaspoon of baking soda, and ¾ teaspoon of kosher salt. Whisk these ingredients together thoroughly until they are uniformly blended. This ensures that the leavening agents and salt are evenly distributed throughout the bread, promoting a consistent rise and flavor.
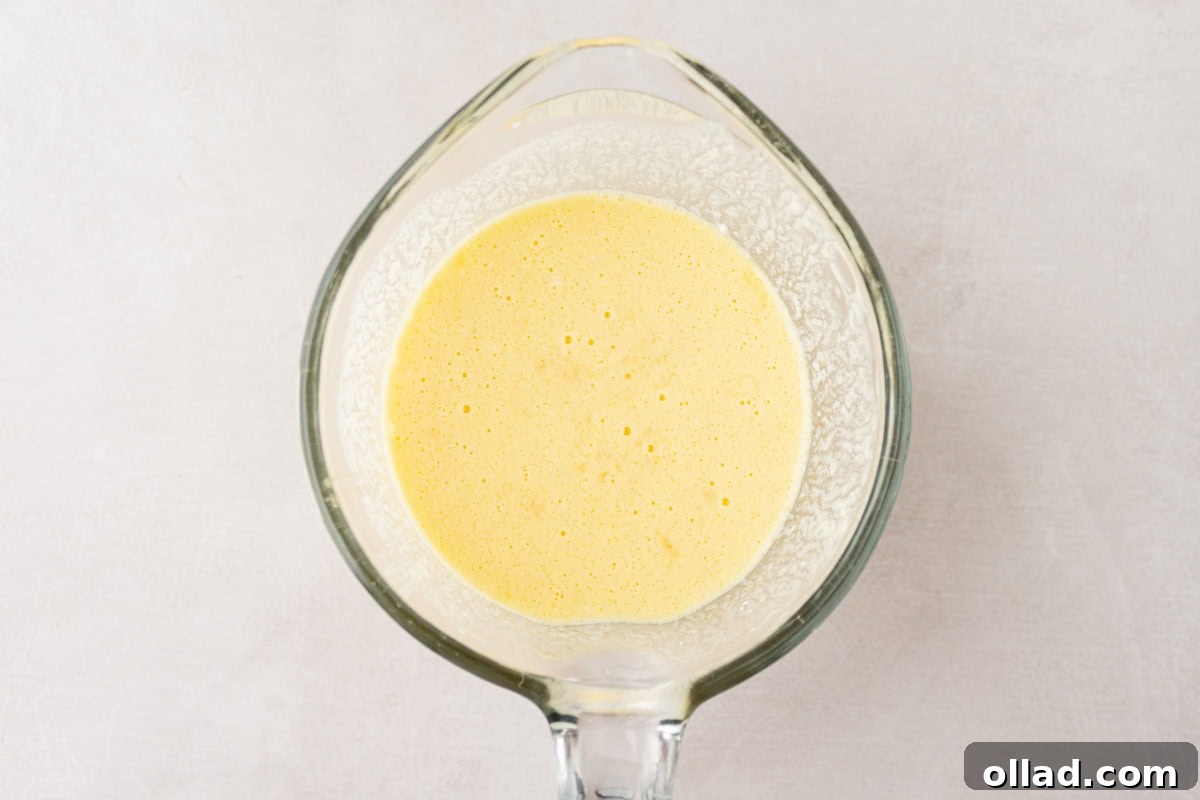
3. Blend the Wet Ingredients: In a separate, larger mixing bowl or a large liquid measuring cup, crack the 3 large eggs. Add ½ cup of buttermilk, ⅓ cup of thick Greek yogurt (or sour cream for an alternative), 2 tablespoons of your chosen oil (vegetable, canola, avocado, or olive oil all work well), and 1½ tablespoons of honey. Whisk vigorously until all these wet ingredients are completely smooth and well-incorporated. This creates a cohesive base for our batter.
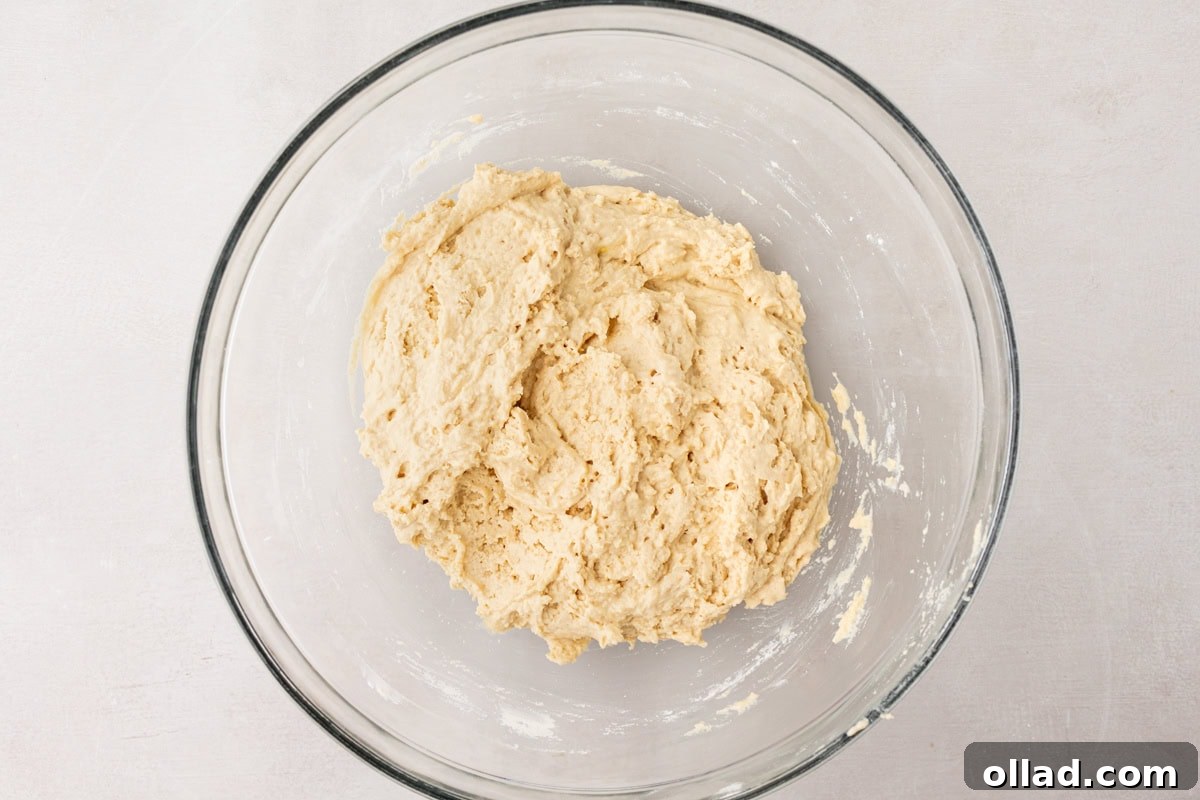
4. Combine Wet and Dry Mixtures: Carefully pour the whisked wet ingredients into the bowl containing your dry flour mixture. Using a spatula or spoon, stir the batter gently. The goal is to mix just until no pockets of dry flour are visible and the batter is uniform. Be mindful not to overmix, as this can develop toughness and negatively affect the bread’s texture. A slightly lumpy batter is often better than an overmixed one in gluten-free baking.
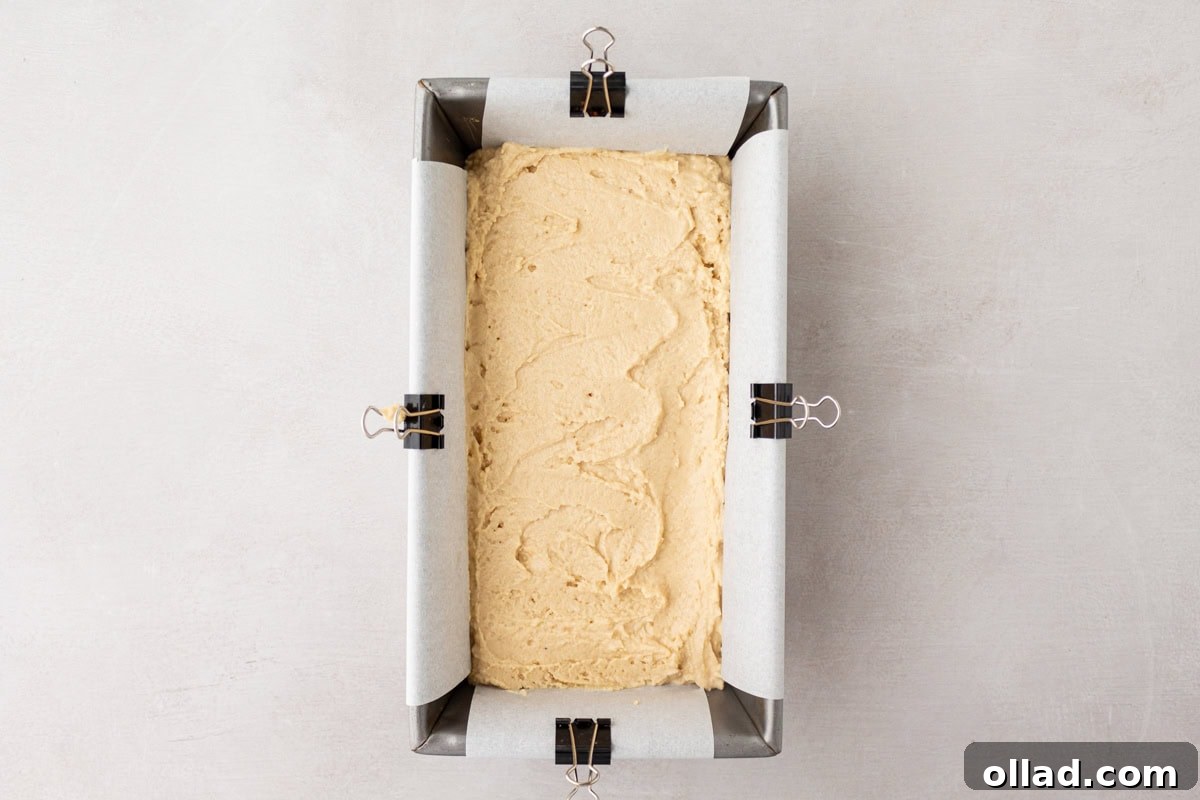
5. Fill the Loaf Pan: Transfer the prepared batter into your parchment-lined loaf pan. Use your spatula to spread the batter evenly, ensuring it fills the pan from corner to corner and the top is relatively smooth. This promotes even baking and a beautifully shaped loaf.
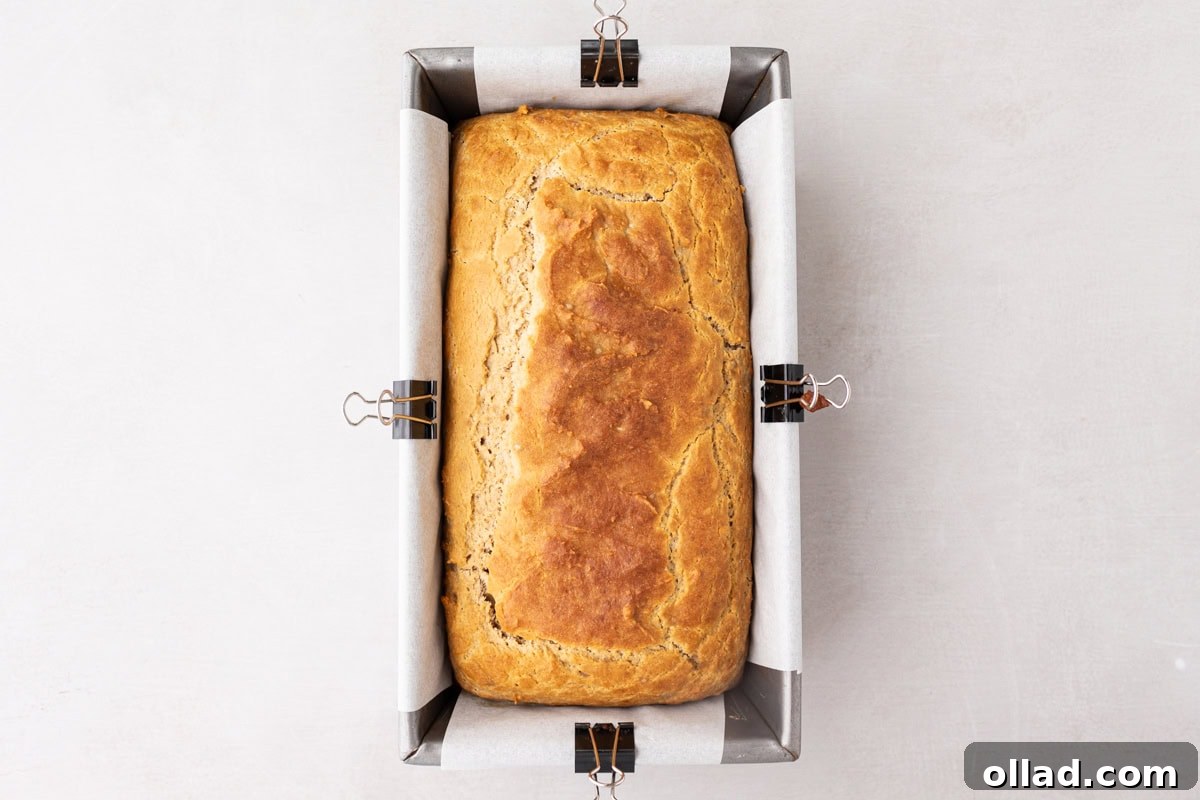
6. Bake to Golden Perfection: Place the loaf pan into your preheated oven and bake for 35 to 40 minutes. Baking times can vary slightly depending on your oven, so it’s essential to keep a close watch. While the top may appear golden and cooked, the center might still be raw. To check for doneness, insert a clean wooden toothpick or a thin skewer into the very middle of the loaf. If it comes out clean with no wet batter clinging to it, your cassava bread is perfectly baked. If not, continue baking in 5-minute increments until it passes the test.
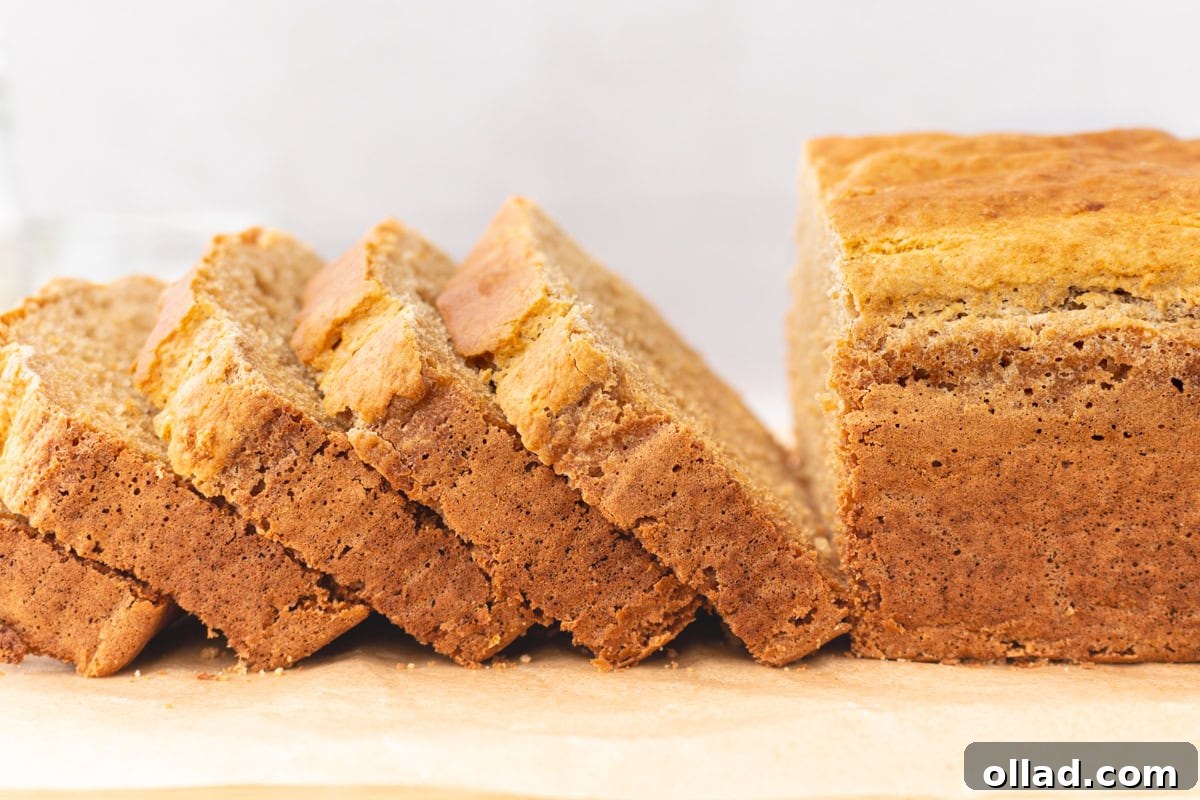
7. Cool and Slice: Once baked, remove the loaf from the oven. Let it cool in the pan for about 10 to 15 minutes. This cooling period in the pan is crucial for the bread to set and firm up, preventing it from crumbling when handled. After this initial cooling, use the parchment paper overhang to gently lift the loaf out of the pan and transfer it to a wire rack. Allow it to cool completely on the rack before attempting to slice. Slicing warm bread, especially gluten-free varieties, can lead to a gummy texture. Patience will be rewarded with the best possible texture and flavor. Once cooled, slice and enjoy!
Tips for Troubleshooting and Achieving the Best Results
While this cassava bread recipe is designed for simplicity, a few common pitfalls can be easily avoided with these expert tips:
- Accurate Flour Measurement is Critical: As highlighted in the recipe notes, cassava flour is light and can compact significantly. Always spoon your flour into the measuring cup and then level it off with a straight edge. Never scoop directly from the bag, as this can add up to 25% more flour, leading to a dry, dense, or crumbly loaf.
- Avoid Overmixing: Gluten-free batters, especially those with cassava flour, don’t benefit from extensive mixing like wheat flours do. Overmixing can incorporate too much air, which then escapes during baking, causing the bread to fall, or it can develop any potential elasticity into toughness. Mix only until the ingredients are just combined.
- Mind Your Yogurt Choice: The recommendation for thick Greek yogurt isn’t just a suggestion; it’s a structural component. Thinner yogurts or regular yogurt contain more water, which will alter the batter’s consistency and can result in a soggy or collapsed loaf. Stick to thick Greek yogurt for optimal moisture and structure.
- Don’t Skip the Parchment Paper: Cassava bread, like many gluten-free loaves, has a tendency to stick. Parchment paper creates a non-stick barrier and acts as a sling, making it effortless to remove the baked bread from the pan without breakage or leaving half the crust behind.
- Check Your Oven Temperature: Ovens can vary significantly. Consider using an oven thermometer to ensure your oven is truly at 350°F. An inaccurate temperature can impact baking time and the bread’s final texture. If your bread is browning too quickly on top, you can loosely tent it with aluminum foil for the last 10-15 minutes of baking.
- Patience During Cooling: It’s tempting to slice into a warm loaf, but for the best texture, patience is key. Gluten-free breads continue to set and firm up as they cool. Slicing too early can result in a gummy texture or cause the bread to fall apart. Allow it to cool completely on a wire rack for optimal results.
Creative Serving Suggestions for Your Cassava Bread
This versatile cassava bread is truly a blank canvas for culinary creativity. While undeniably delicious straight out of the oven, its uses extend far beyond a simple slice. Here are some ideas to inspire your next meal:
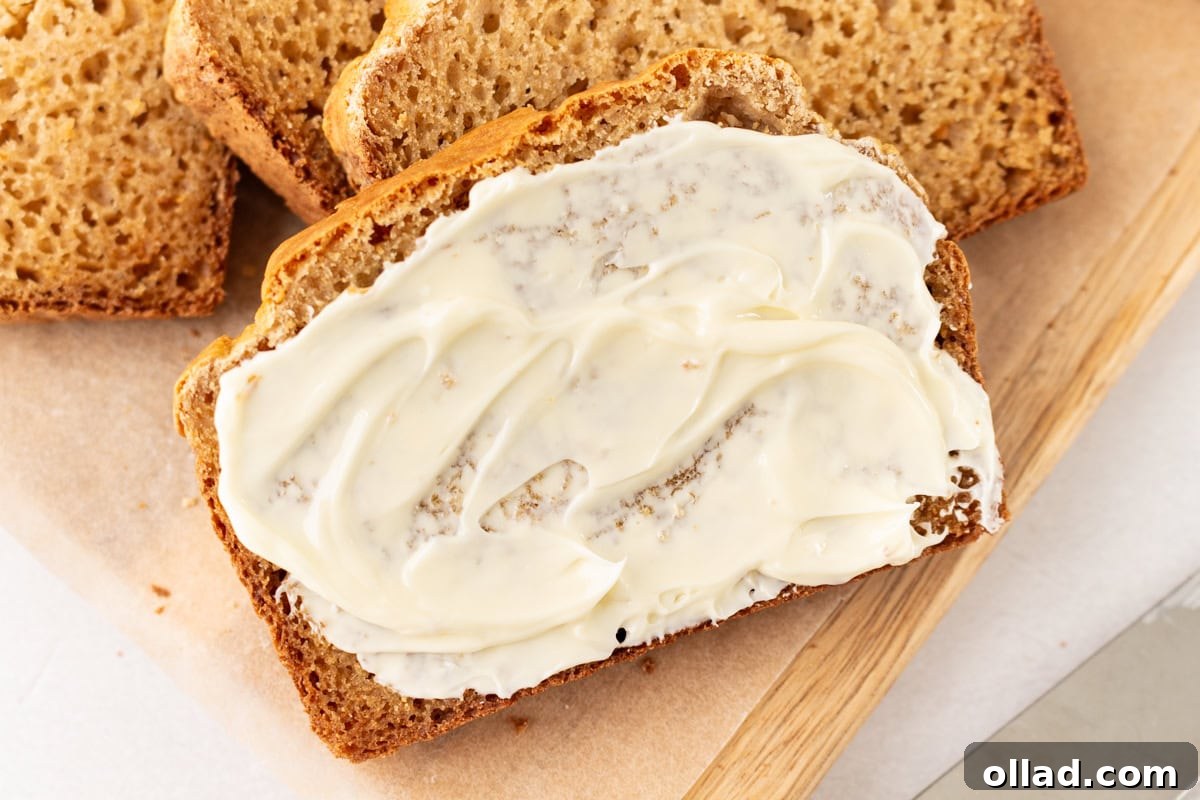
- Classic Comfort: Enjoy it warm, either fresh or lightly toasted, with a generous spread of butter. For a hint of sweetness, add a drizzle of honey or a sprinkle of cinnamon sugar.
- Savory Delights: This bread makes an excellent base for savory toppings. Try it with mashed avocado, a fried or poached egg, or a sprinkle of everything bagel seasoning. It’s also fantastic as a side for hearty dishes like gluten-free chili or used to soak up the last delicious drops of gluten-free tomato soup.
- Ultimate Sandwiches: Its sturdy yet soft texture makes it perfect for sandwiches. Build your favorite grilled cheese, or use it for classic deli meat and veggie combos. The bread holds up beautifully without becoming soggy.
- Breakfast Bliss: Beyond plain toast, consider making French toast with slices of this cassava bread for a delightful gluten-free breakfast treat.
- Garlic Bread Alternative: Slice it, brush with garlic butter, and toast for a quick and easy gluten-free garlic bread to accompany your pasta dishes.
However you choose to enjoy it, this is one of those versatile, delicious breads that tends to disappear surprisingly fast!
Storage Instructions for Maximum Freshness
To ensure your homemade cassava bread stays as delicious as possible, proper storage is essential. The good news is, it stores remarkably well!
- Room Temperature: Once the bread has completely cooled to room temperature (this is important to prevent condensation and sogginess), wrap the entire loaf tightly in plastic wrap or aluminum foil. Alternatively, store it in an airtight container or a large resealable bag. It will remain fresh and flavorful at room temperature for up to 2 days.
- Refrigeration: For extended freshness, transfer the tightly wrapped loaf to the refrigerator. It will keep well in the fridge for up to a week. Chilled slices also toast beautifully, regaining their pleasant texture and crisp edges.
- Freezing for Long-Term Storage: If you’ve baked a large batch or simply want to have gluten-free bread on hand whenever a craving strikes, freezing is an excellent option. For best results, slice the cooled loaf first. Then, either wrap individual slices in plastic wrap and place them in a freezer-safe bag, or lay them in a single layer in a freezer bag with parchment paper between slices to prevent sticking. Frozen slices can be stored for up to 3 months. When you’re ready to enjoy, simply pop a slice directly into the toaster or toaster oven from the freezer—no thawing required!
Explore More Gluten-Free Bread Recipes
If you’ve enjoyed baking this easy cassava bread, you might be ready to explore other delightful gluten-free bread options from our kitchen. Expand your gluten-free baking repertoire with these fantastic recipes:
- Hearty Buckwheat Bread
- Super Easy Gluten-Free Sandwich Bread
- Fluffy Gluten-Free Potato Bread
- Authentic Gluten-Free Sourdough Bread
- Flexible Cassava Flour Tortillas
Happy baking, and enjoy the wonderful world of gluten-free bread!