
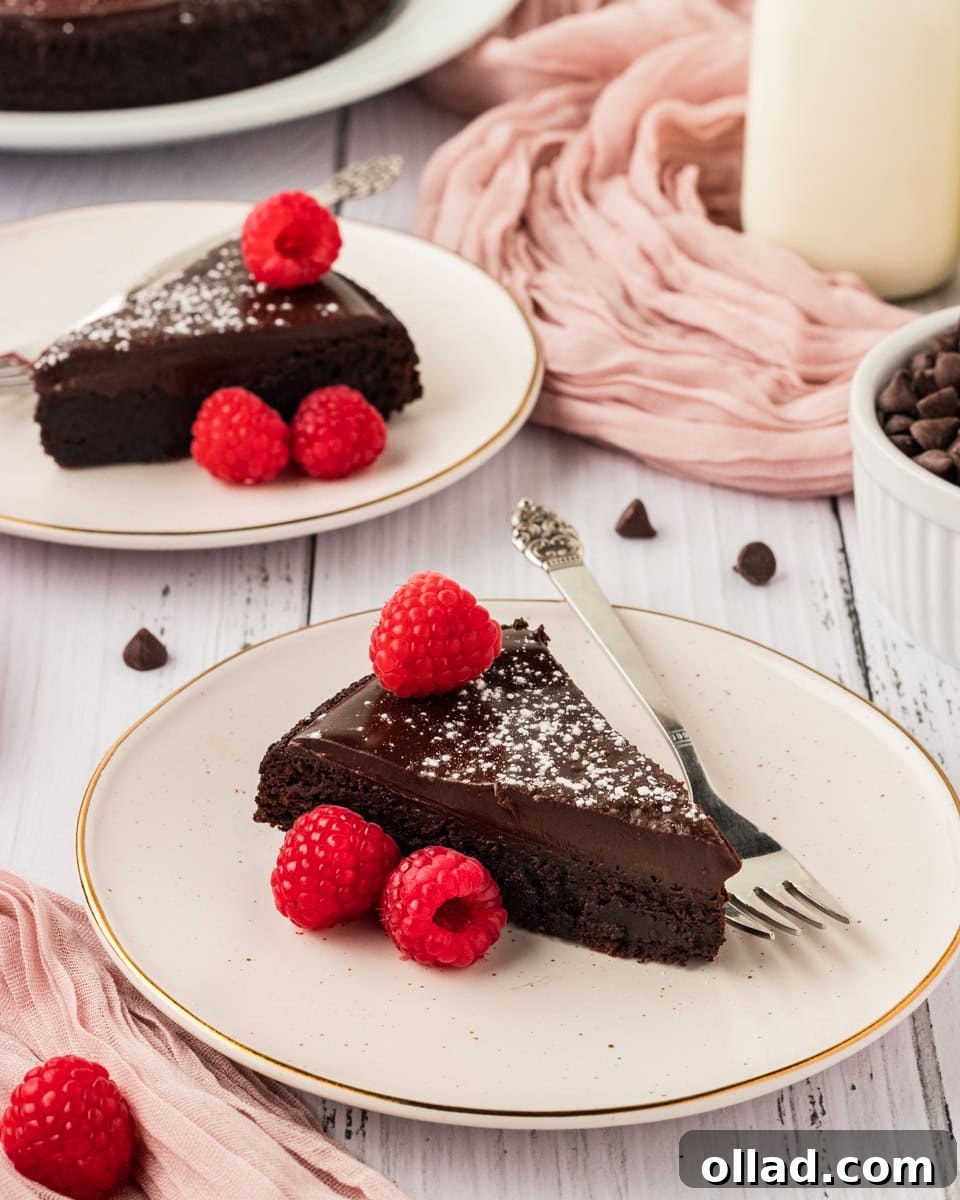
The Ultimate Flourless Chocolate Cake: A Decadent & Easy Gluten-Free Delight
Prepare to impress with this incredibly indulgent yet surprisingly simple Flourless Chocolate Cake. This recipe is your secret weapon for creating a dessert that truly shines, even if you’re short on time. Perfectly baked in just 25 minutes, this dense, fudgy, and intensely chocolatey cake is a naturally gluten-free masterpiece that caters to all palates. Crowned with a luxurious, glossy chocolate ganache, every slice promises a melt-in-your-mouth experience that earns universal praise. Forget complicated multi-layered confections; this single-layer wonder is pure chocolate bliss, offering an elegant dessert with minimal effort.
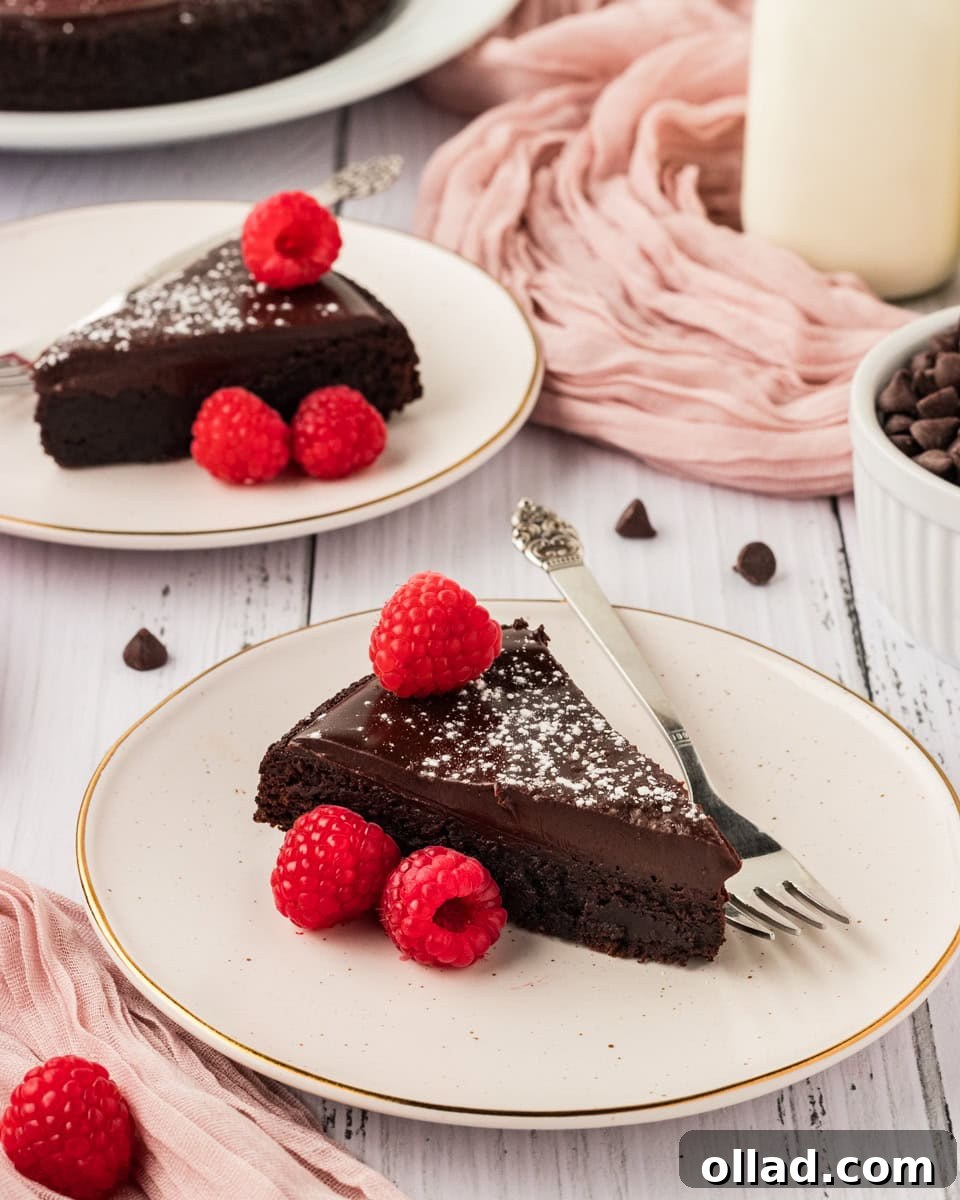
Why This Flourless Chocolate Cake Will Be Your New Favorite
This isn’t just another chocolate cake recipe; it’s a culinary revelation that simplifies dessert making without compromising on flavor or texture. What makes this particular flourless chocolate cake so exceptional is its perfect balance of richness and ease. Crafted with a handful of readily available ingredients and straightforward steps, it consistently delivers a result that tastes incredibly gourmet.
For those navigating a gluten-free lifestyle, or simply looking for a lighter yet intensely flavorful dessert, flourless cakes are a true blessing. They bypass the complexities of gluten-free flour blends, relying instead on the inherent structure of chocolate and eggs to create a remarkably dense and fudgy crumb. This specific recipe stands out for its speed and simplicity, baking to perfection in a mere 25 minutes. Unlike more intricate layered cakes, this single-layer beauty minimizes fuss, making it approachable for even the most hesitant bakers.
Imagine a deeply satisfying, fudgy interior enveloped in a smooth, glossy chocolate ganache. This cake promises that experience, turning an ordinary occasion into something special. It’s the kind of dessert that becomes a cherished staple, always ready to deliver comfort and indulgence. Your family and friends will undoubtedly fall in love with its rich flavor and luxuriously dense texture, making it a frequent request for gatherings and celebrations alike. It’s truly much easier to make than a traditional gluten-free chocolate cake, making it an excellent choice for a quick yet impressive treat.
Essential Ingredients for Your Decadent Cake
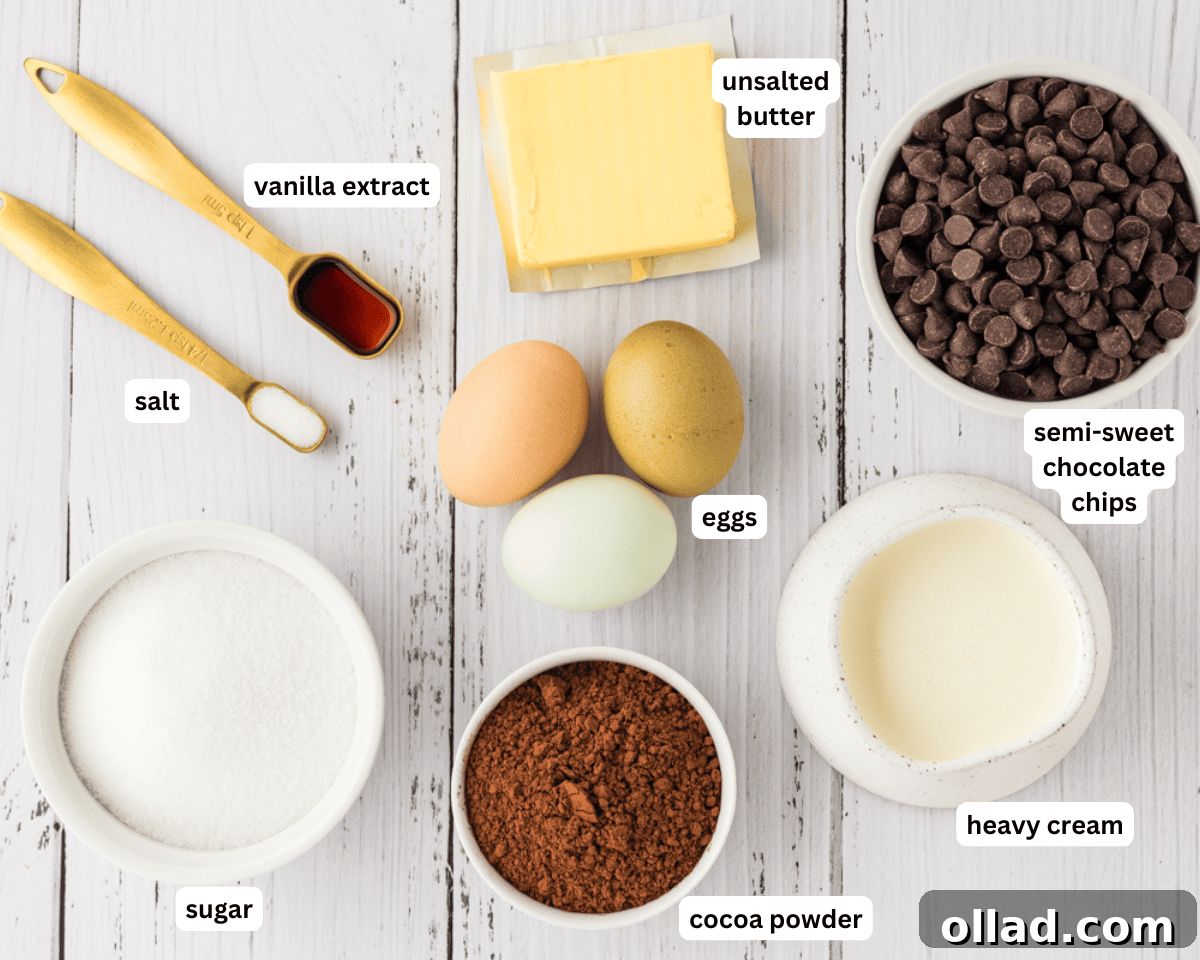
Crafting this exquisite flourless chocolate cake requires a short and sweet list of ingredients, each playing a vital role in achieving its signature rich flavor and dense, fudgy texture. Quality matters here, so choose the best you can find for truly spectacular results.
- Unsalted Butter: The foundation of this cake, unsalted butter contributes to its luxurious, smooth, and creamy texture. It melts seamlessly with the chocolate, creating a rich base that’s essential for a truly decadent cake.
- Semi-Sweet Chocolate Chips: These are the star of the show! Used in both the cake batter and the luscious ganache glaze, semi-sweet chocolate chips provide the deep, complex chocolate flavor we crave. Opt for a good quality brand for the best taste.
- Granulated Sugar: Beyond simply adding sweetness, sugar plays a crucial role in the cake’s structure and moisture. It helps create that desirable dense and moist crumb, ensuring the cake isn’t just sweet, but perfectly textured.
- Pure Vanilla Extract: A touch of pure vanilla extract elevates and deepens the chocolate flavor, adding a subtle warmth and aromatic complexity that makes the cake truly irresistible.
- Salt: Don’t underestimate the power of salt in a dessert! A pinch of salt brightens all the other flavors, particularly the chocolate, balancing the sweetness and making every bite more profound.
- Large Eggs: In the absence of flour, eggs are paramount. They act as the primary structural binder, providing the necessary lift and creating that unique, almost soufflé-like yet dense texture that defines a perfect flourless chocolate cake. Ensure they are at room temperature for optimal mixing.
- Dutch-Processed Cocoa Powder: For an incredibly rich, dark, and smooth chocolate flavor, Dutch-processed cocoa powder is highly recommended. Its mellow acidity allows the chocolate notes to truly shine without any bitterness. While regular cocoa powder can be used, Dutch-processed will yield a superior depth of flavor and a darker hue.
- Heavy Cream: This is the magic behind the glossy ganache. When combined with melted chocolate chips, heavy cream creates a silky, pourable glaze that sets beautifully, adding an extra layer of chocolate indulgence to your cake.
Expert Tips for a Flawless Flourless Chocolate Cake
Achieving the perfect texture and flavor in your flourless chocolate cake is simple when you follow a few key guidelines. These tips will help ensure your cake turns out beautifully dense, moist, and utterly delicious every time.
- Prepare Your Pan Meticulously: This step is crucial for easy release and a perfect presentation. Always grease your 8-inch round cake pan thoroughly with cooking oil spray. Then, cut a circle of parchment paper to precisely fit the bottom of the pan, press it into place, and spray it again with cooking oil. This double layer of protection ensures your delicate cake doesn’t stick and can be effortlessly inverted.
- The Cocoa Powder Choice: While regular cocoa powder works, opting for Dutch-processed cocoa powder truly elevates the cake’s flavor profile. Dutch-processing neutralizes cocoa’s acidity, resulting in a darker, richer, and smoother chocolate taste that is less bitter and more profound. It makes a noticeable difference in the final depth of flavor and appearance.
- Room Temperature Ingredients are Key: For optimal emulsion and a consistently smooth batter, ensure your eggs and butter are at room temperature. Cold ingredients don’t mix as evenly, which can affect the cake’s texture and lead to a less uniform crumb. Simply leave them out on the counter for about 30 minutes before you start baking.
- Invest in Quality Chocolate: Since chocolate is the primary flavor, the quality of your semi-sweet chocolate chips makes a significant impact. Look for brands with a cocoa content of 60-70% for a deep, complex chocolate flavor that isn’t overly sweet. Better chocolate means a better fudge cake and a more luxurious ganache.
- Avoid Overbaking: This is perhaps the most important tip for a moist, fudgy flourless cake. Bake only until the edges are just set and the center still has a slight, delicate jiggle when gently shaken. An instant-read thermometer should register around 200°F (93°C) in the center. The cake will continue to firm up as it cools, so pulling it out a little early is better than overbaking, which can result in a dry texture.
- Cool Completely Before Glazing: Patience is a virtue here! Allow the cake to cool completely on a wire rack before applying the ganache. A warm cake will melt the ganache, leading to a runny, messy glaze instead of a smooth, beautifully set finish.
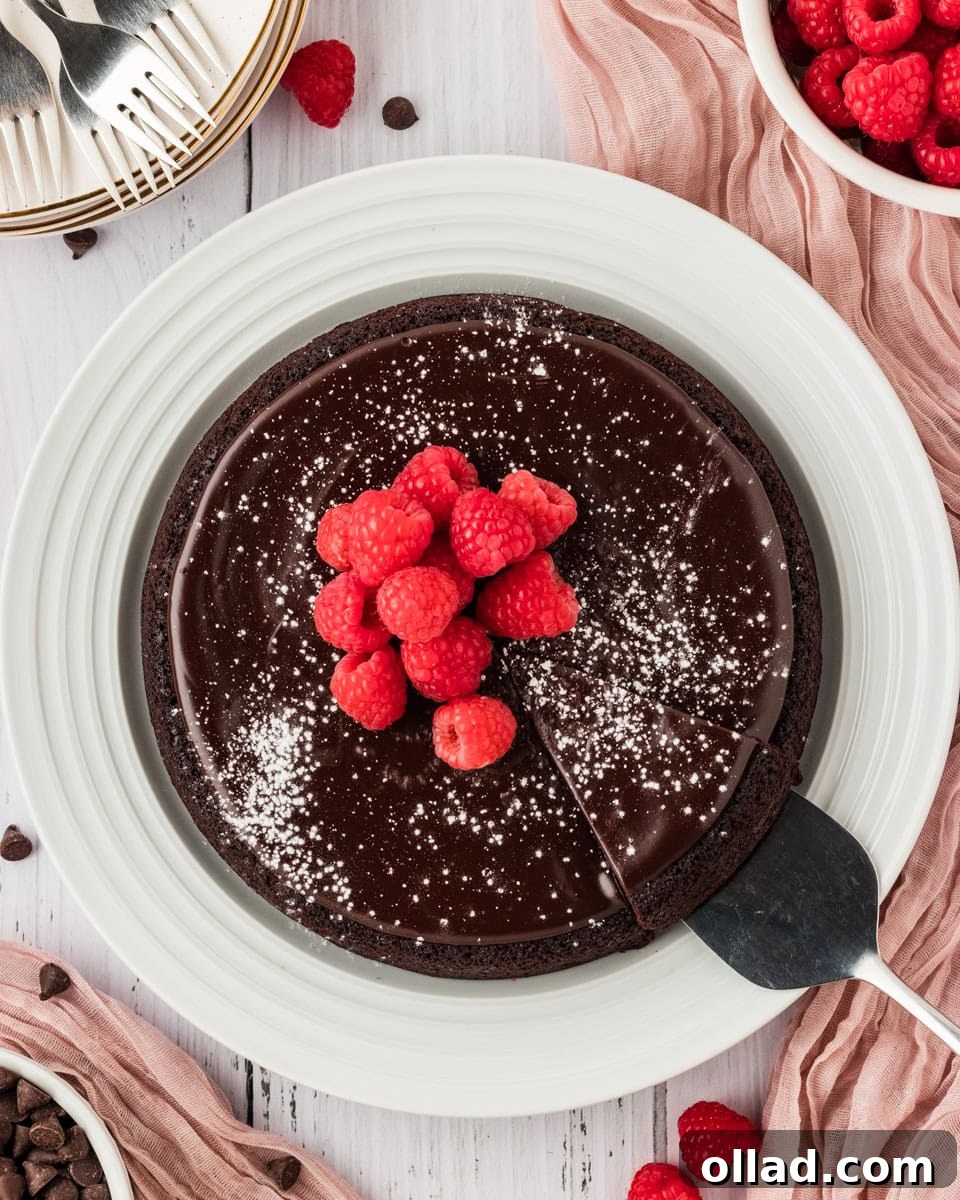
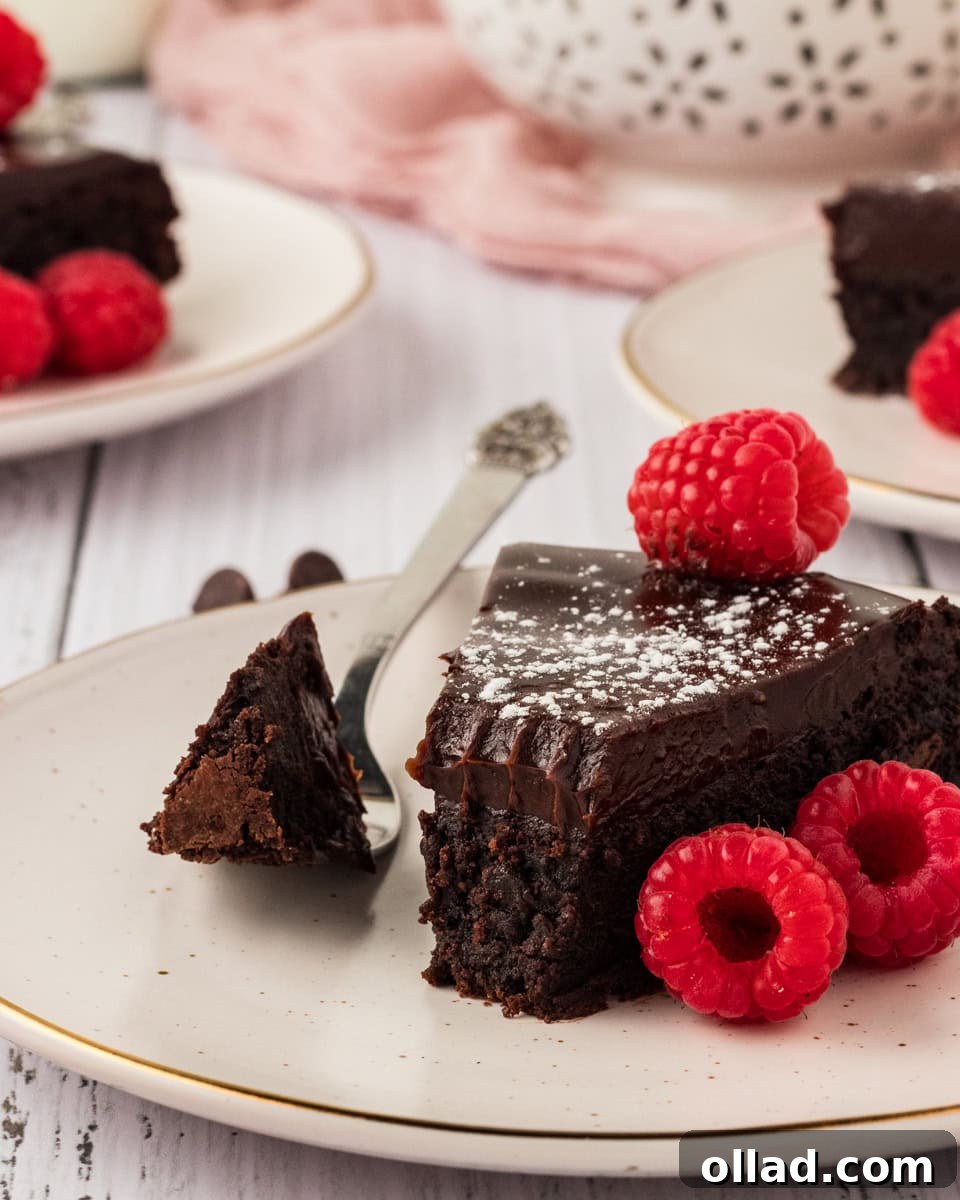
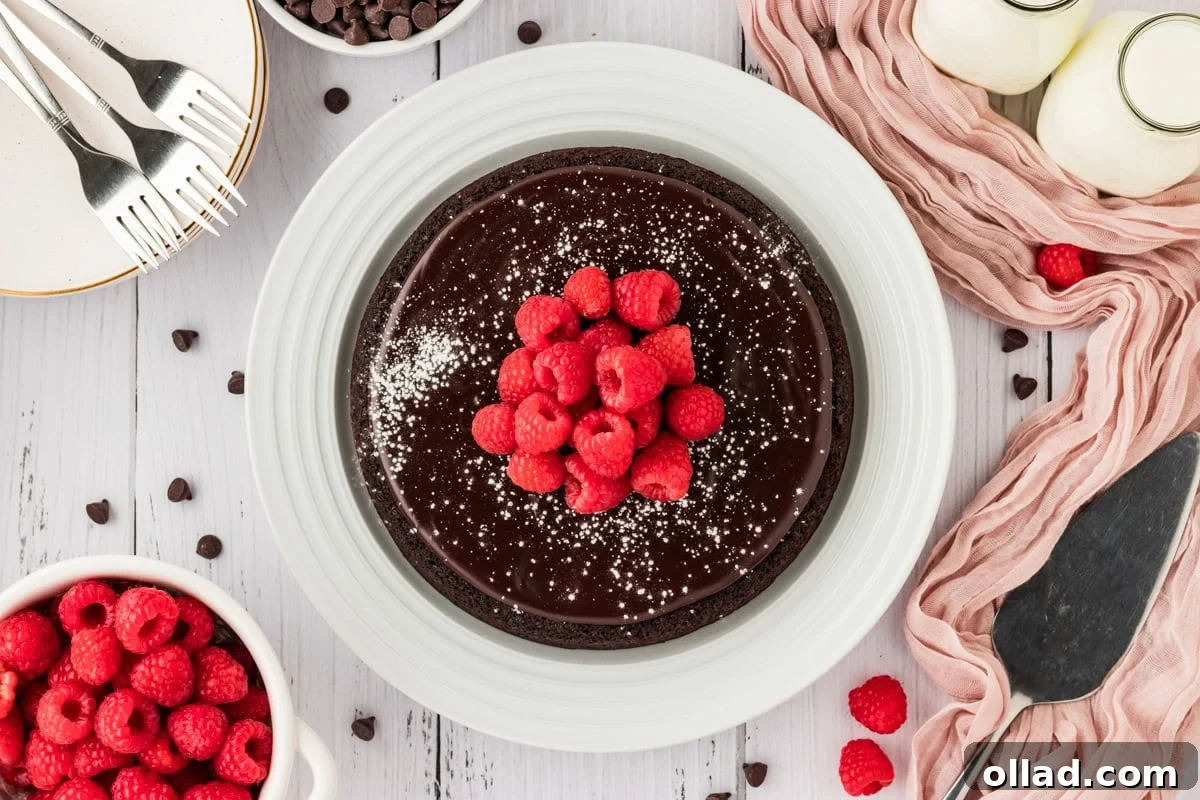
- Garnish for Elegance: Once your cake is set and ready to serve, a simple dusting of powdered sugar or a scattering of fresh raspberries adds both visual appeal and a delightful contrasting flavor and texture. These garnishes truly make the cake picture-perfect and enhance the eating experience.
Elevate Your Dessert: Serving Suggestions
While this flourless chocolate cake is magnificent on its own, a few simple additions can transform it into an even more memorable experience. For an effortless yet elegant presentation, a light dusting of powdered sugar or a sprinkle of unsweetened cocoa powder across the top provides a beautiful contrast to the dark ganache. This simple garnish hints at the richness within and adds a sophisticated touch.
To add a burst of freshness and color, consider seasonal fresh fruits. Bright red raspberries are a classic pairing, their tartness perfectly cutting through the chocolate’s richness. Sliced strawberries, blueberries, or even a handful of pomegranate seeds can also add a delightful fruity counterpoint. For an extra touch of indulgence, a dollop of freshly whipped cream or a scoop of vanilla bean ice cream complements the dense cake beautifully, adding a creamy texture that contrasts with the fudginess.
For adult palates, pairing this decadent gluten-free cake with a rich espresso or a bold glass of red wine, such as a Cabernet Sauvignon or Zinfandel, can create a truly sophisticated dessert experience. The coffee or wine notes beautifully echo the deep chocolate flavors, making each bite even more exquisite and turning dessert into a moment of pure enjoyment.
Proper Storage for Lasting Freshness
To enjoy your delicious flourless chocolate cake for days to come, proper storage is key. Once completely cooled, cover any leftover cake tightly with plastic wrap or transfer individual slices to an airtight container. Store the cake in the refrigerator for up to 3-4 days. This helps maintain its moist texture and rich flavor, preventing it from drying out.
For the best eating experience, always allow the cake to come to room temperature for about 30 minutes before serving. This softens the ganache and allows the chocolate’s complex flavors to fully emerge, ensuring every bite is as delightful and indulgent as the first. The cake can also be frozen for longer storage; wrap individual slices tightly in plastic wrap and then foil for up to 2 months. Thaw in the refrigerator overnight before bringing to room temperature to serve.
Explore More Delicious Gluten-Free Desserts!
If you’ve fallen in love with the ease and decadence of this flourless chocolate cake, you’re in for a treat! The world of gluten-free baking offers an array of equally delicious and simple desserts. Here are some more flourless and gluten-free recipes you might enjoy from our kitchen:
- Irresistible Flourless Brownies: Fudgy, rich, and intensely chocolatey, these brownies are a dream for any chocolate lover seeking a gluten-free option.
- Easy Flourless Peanut Butter Cookies: A classic, chewy cookie made with just a few ingredients and bursting with natural peanut butter flavor, perfect for a quick snack.
- Fun Gluten-Free Monster Cookies: Packed with oats, chocolate chips, and colorful M&Ms, these vibrant cookies are always a hit with kids and adults alike.
- Quick Gluten-Free No-Bake Cookies: Perfect for when you need a sweet treat fast, these require no oven time and are delightfully chewy, a nostalgic favorite!
Flourless Chocolate Cake
By: Audrey Roberts
Servings: 16 servings
Prep Time: 20 mins
Cook Time: 25 mins
Total Time: 45 mins
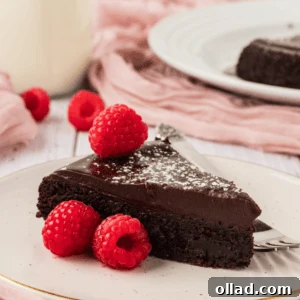
An easy recipe for flourless chocolate cake. A rich and dense chocolate cake topped with a luscious chocolate ganache. This cake is also naturally gluten-free.
Ingredients
For the Cake
- 1 cup semisweet chocolate chips
- ½ cup unsalted butter
- ¾ cup granulated sugar
- ¼ teaspoon salt
- 1 teaspoon pure vanilla extract
- 3 large eggs, whisked
- ½ cup Dutch process cocoa powder
For the Ganache
- 1 cup semisweet chocolate chips
- ½ cup heavy cream
Amounts are typically in US Customary units. For metric conversions, please use a reliable online tool.
Instructions
For the Cake
- Preheat the oven to 375°F (190°C). Grease an 8-Inch round cake pan with cooking oil spray. Cut a piece of parchment to fit the bottom of the pan. Place the piece of parchment in the bottom of the pan and spray it again with the cooking oil spray.
- Add the butter and chocolate chips to a large microwave-safe bowl. Heat the chocolate chips and butter in the microwave for 1 minute until the chocolate chips are melted and soft. Stir until the chocolate chips are fully melted and the mixture is smooth. If the mixture is not fully melted, microwave it for 10-20 seconds at a time and stir until smooth. You can also melt the chocolate chips and butter together in a saucepan over low heat.
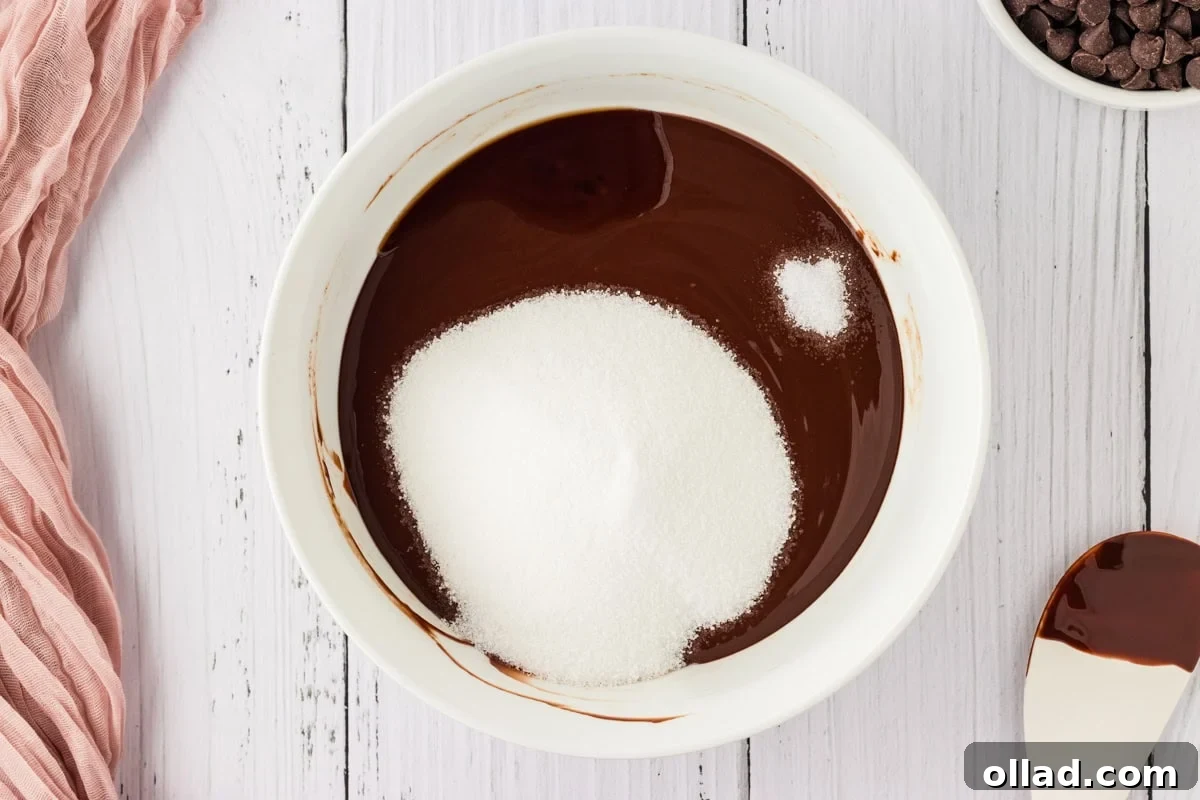
- Add the sugar, salt, and vanilla extract to the melted chocolate chip mixture and stir to combine.
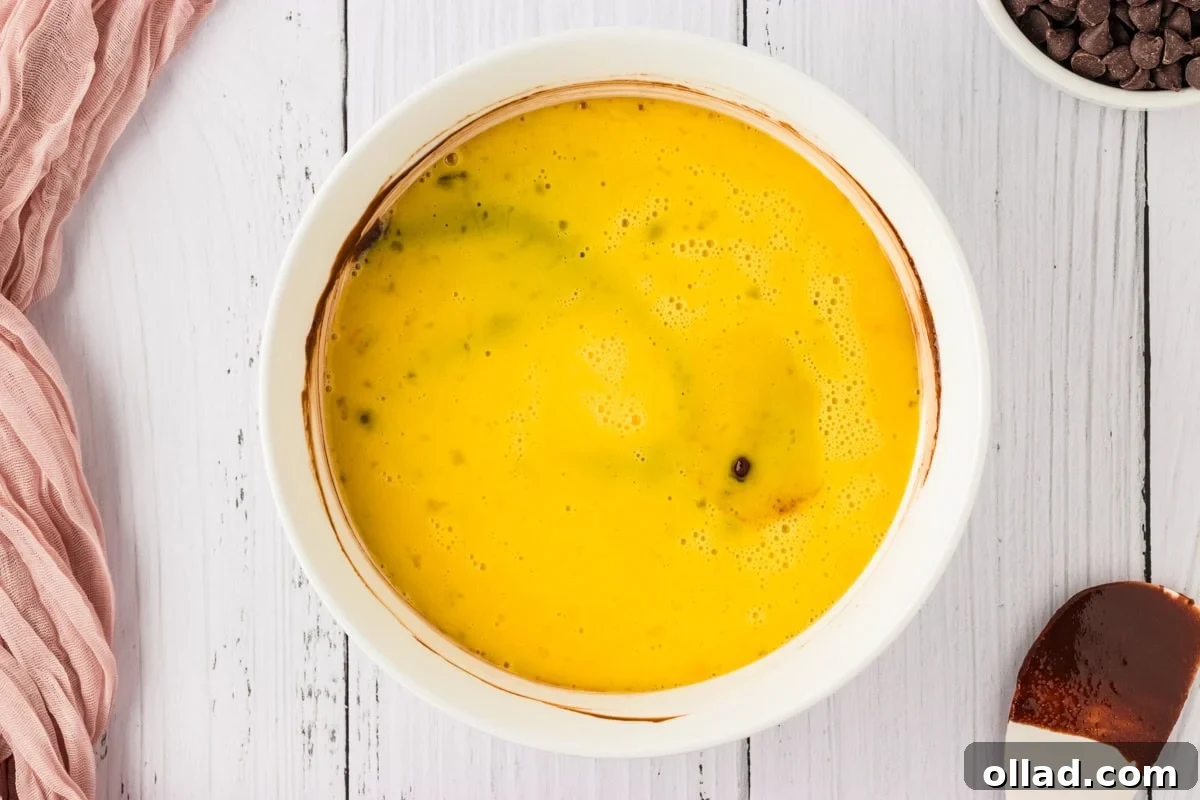
- Add the whisked eggs to the mixture and stir until smooth.
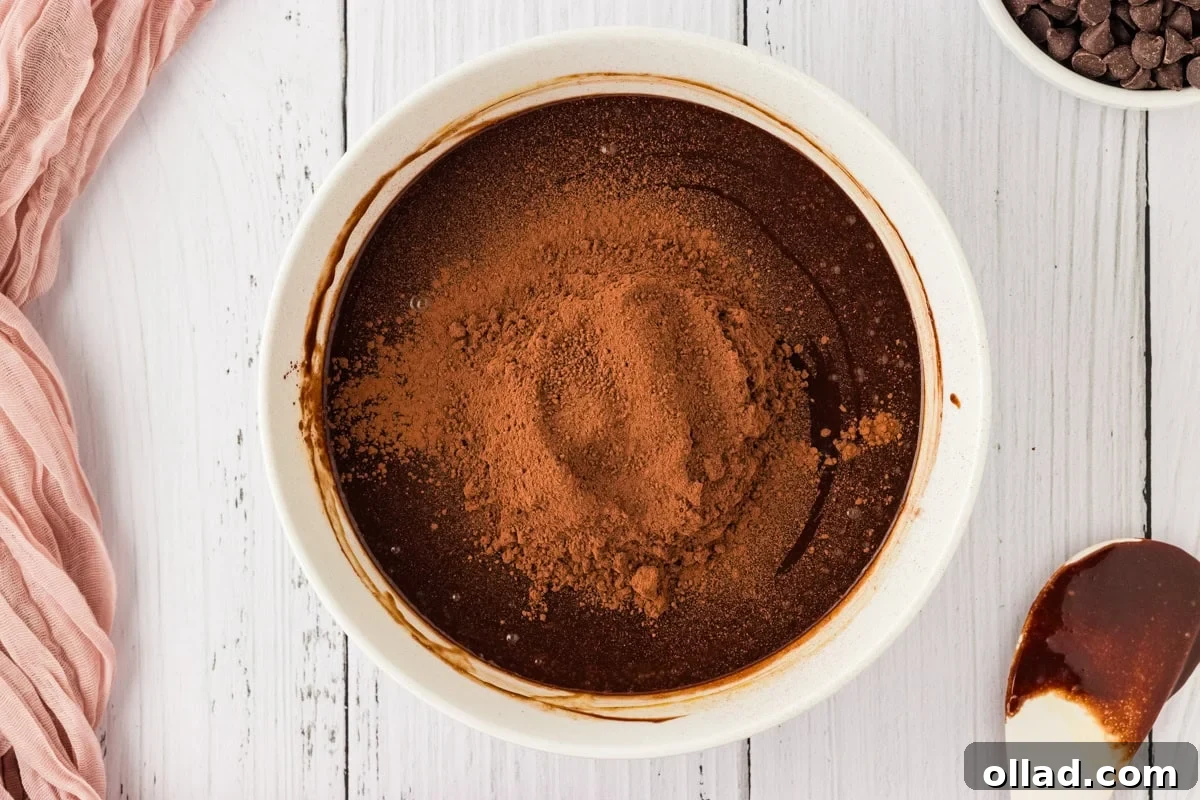
- Add the cocoa powder to the mixture and stir until combined. Do not over-mix.
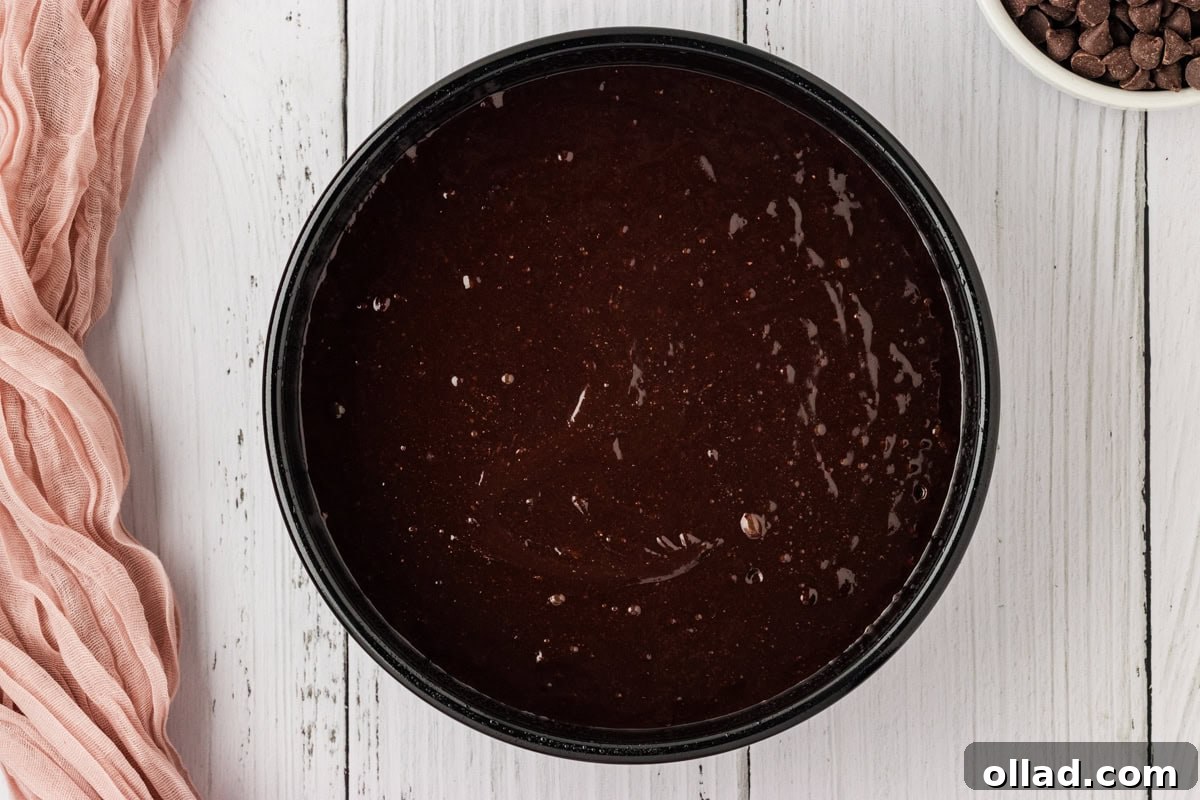
- Pour the cake batter into the prepared pan and bake the cake for 25 minutes or until the center of the cake registers 200°F (93°C) on an instant-read thermometer.
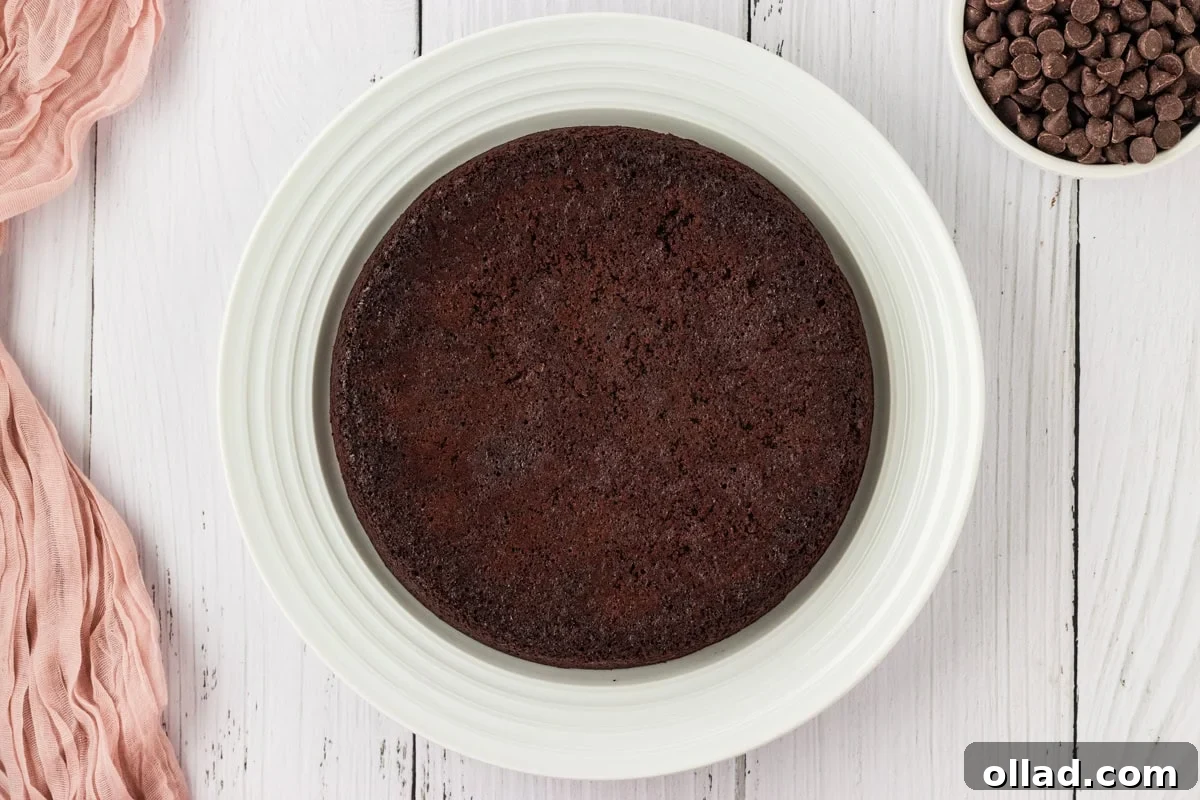
- Allow the cake to cool for 10 minutes. Loosen the edges of the pan with a knife and carefully turn the cake upside down onto a cake plate. The bottom of the cake will now be the top of the cake. Allow the cake cool completely.
For the Ganache
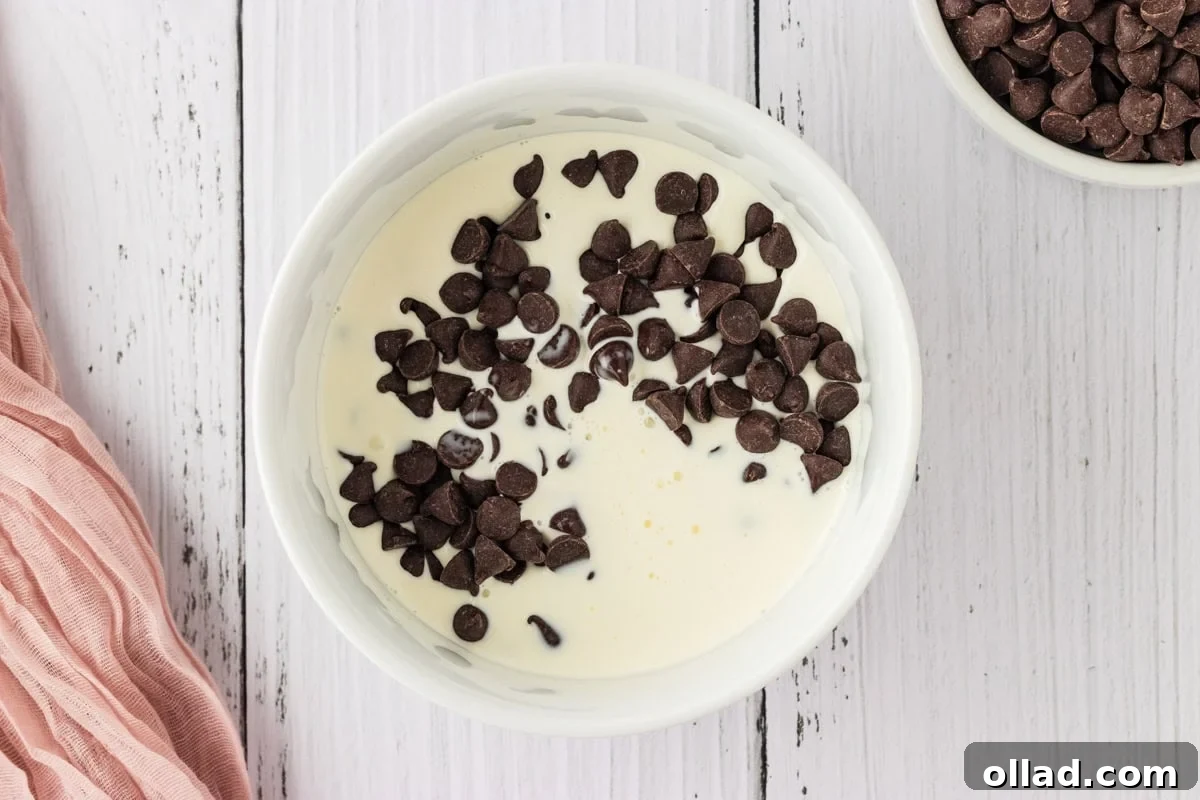
- While the cake is cooling, make the chocolate ganache. Add the chocolate chips and heavy cream in a medium microwave-safe bowl, and heat for 30 seconds or until the cream is hot. Stir until the chocolate chips melt and the mixture is smooth.
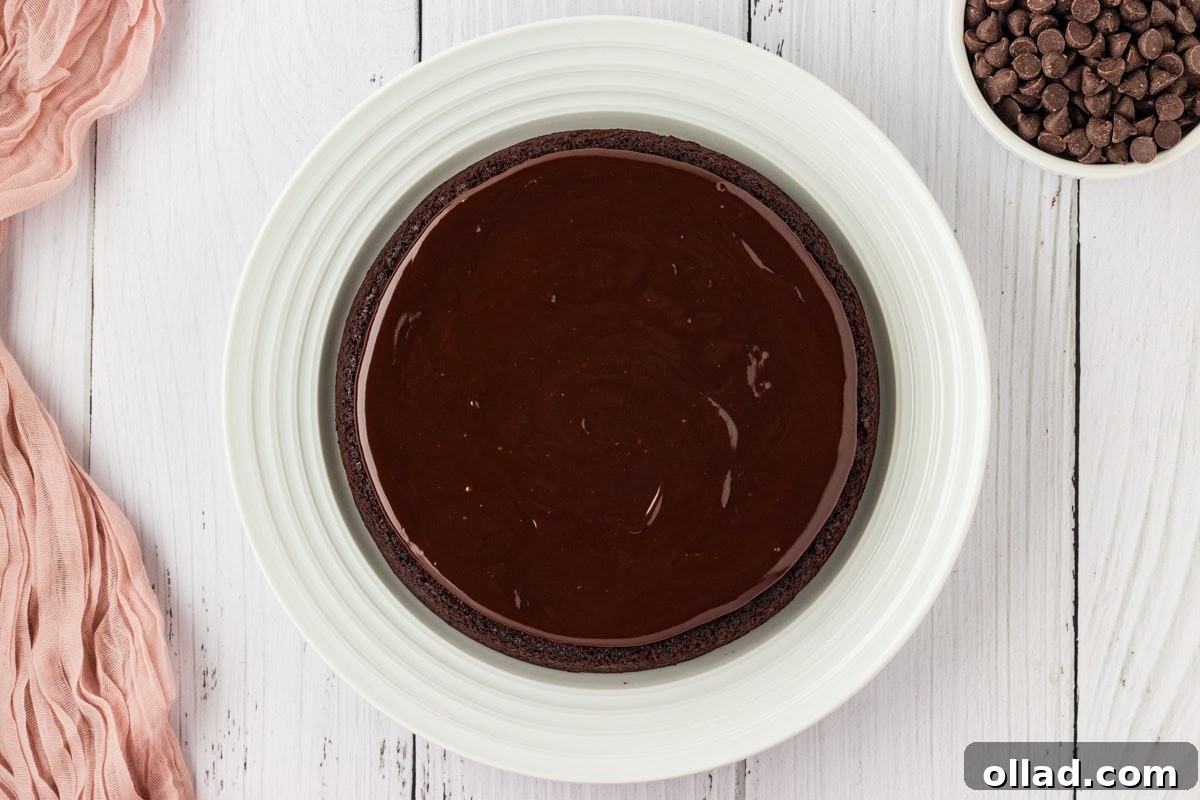
- Spread the chocolate ganache evenly over the cooled cake. Allow the ganache to cool and set for a few hours before cutting and serving the cake. Placing the cake in the refrigerator will speed up the setting process.
- Store leftovers in an air-tight container in the refrigerator.
Recipe Notes
- Do not skip the step of greasing the cake pan with cooking oil spray and putting the cut-out piece of parchment to fit the bottom of the pan. Place the cut-out piece of parchment in the bottom of the pan and spray it again with the cooking oil spray.
- Dutch processed cocoa powder does really make a difference and has a smoother flavor. But you can always use regular cocoa.
- Remember to use room temperature ingredients when baking. Just leave your ingredients on the counter for 5 minutes before mixing.
- Choose high-quality chocolate chips for the best fudge cake. We recommend 60-70% cocoa content.
- Bake just until the edges are set, and the center has a slight jiggle. Overbaking can lead to a dry texture. The cake will firm up as it cools.
- Once the cake is set, top it with powdered sugar and raspberries for an elegant finish.
- Store leftover cake in the refrigerator for 3-4 days in an airtight container. Leave the cake to come to room temperature before serving for optimal flavor and texture.
Nutrition Information
Nutrition information is automatically calculated and is an approximation. Values may vary based on specific ingredients and preparation methods.
- Serving Size: 1 slice
- Calories: 261 kcal
- Carbohydrates: 23 g
- Protein: 3 g
- Fat: 18 g
- Saturated Fat: 11 g
- Polyunsaturated Fat: 1 g
- Monounsaturated Fat: 5 g
- Trans Fat: 0.3 g
- Cholesterol: 56 mg
- Sodium: 54 mg
- Potassium: 189 mg
- Fiber: 3 g
- Sugar: 18 g
- Vitamin A: 342 IU
- Vitamin C: 0.04 mg
- Calcium: 29 mg
- Iron: 2 mg
Additional Info
Course: Dessert
Step-by-Step Guide: Crafting Your Flourless Chocolate Cake
Follow these detailed instructions, complete with visual aids, to create a perfect flourless chocolate cake that looks as impressive as it tastes. Each step is designed to be straightforward, ensuring even beginner bakers can achieve a professional-quality result.
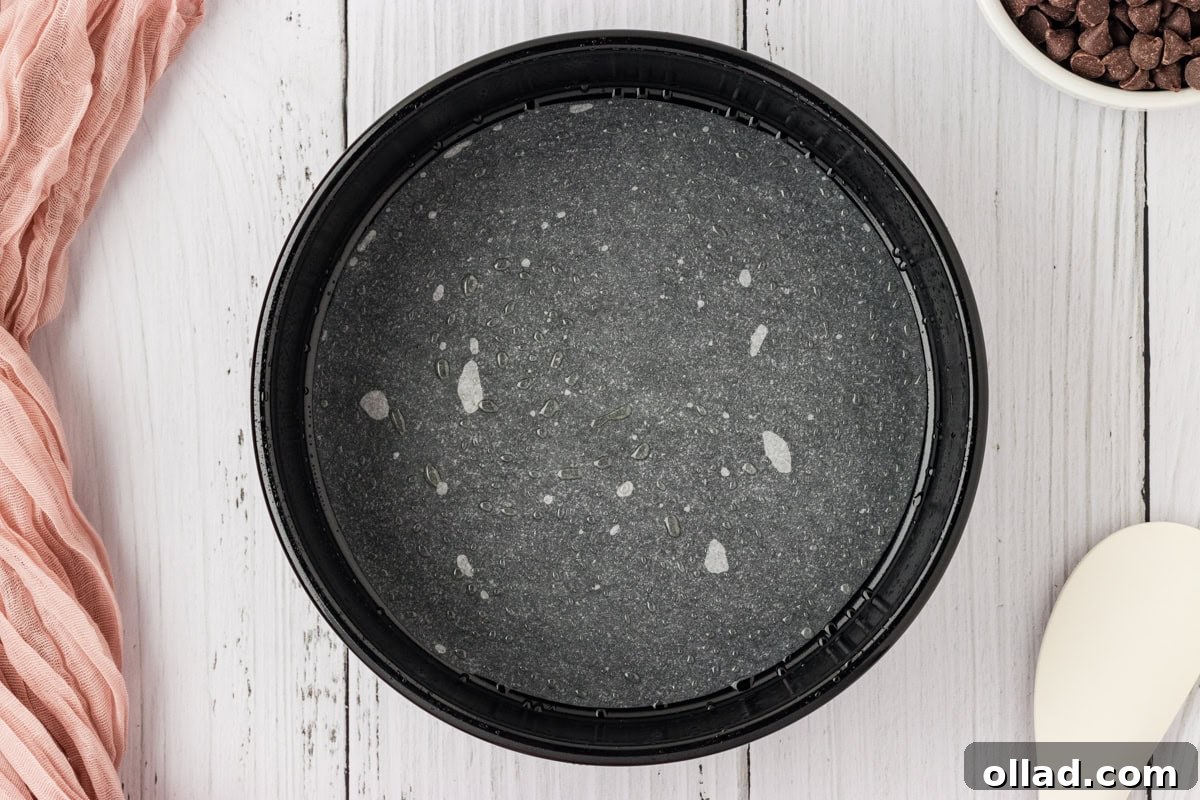
Step 1: Prepare Your Baking Pan
Begin by preheating your oven to 375°F (190°C). This ensures the oven is at the correct temperature when your batter is ready to go in, which is important for even baking. Next, take an 8-inch round cake pan and liberally coat the interior with cooking oil spray. This initial layer of grease is crucial for preventing the delicate cake from sticking. Then, cut a circle of parchment paper to precisely fit the bottom of the pan. Place this parchment circle snugly at the bottom of the greased pan and spray it again with cooking oil. This double-layer of preparation is vital for effortlessly removing your delicate flourless cake once baked, ensuring it comes out in one perfect piece.
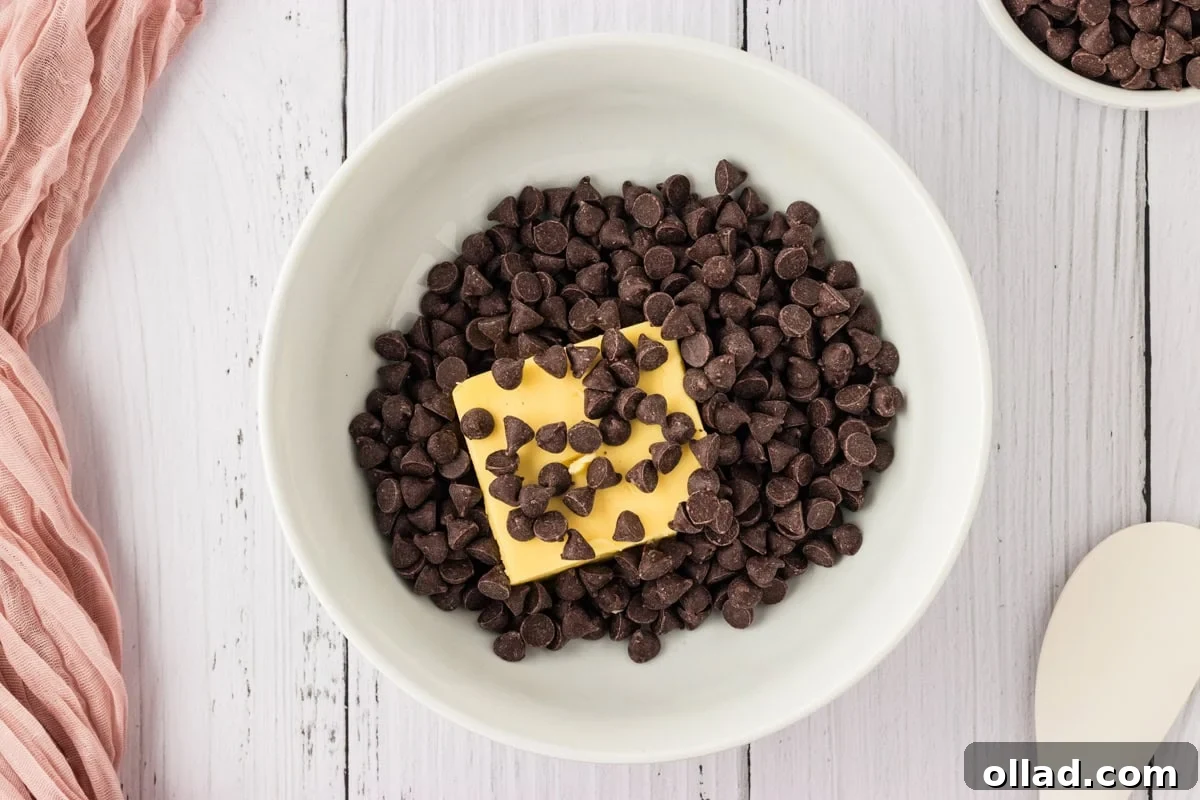
Step 2: Melt the Butter and Chocolate
In a large, microwave-safe bowl, combine ½ cup of unsalted butter (cut into pieces for faster melting) and 1 cup of semi-sweet chocolate chips. Microwave the mixture on high for approximately 1 minute. At this point, the chocolate chips should be soft and partially melted. Stir the mixture vigorously with a spatula or whisk until the chocolate is fully melted and you have a smooth, glossy, uniform chocolate-butter blend. If any small lumps remain, microwave in additional 10-20 second increments, stirring well after each, until perfectly smooth. Alternatively, you can achieve this by melting the butter and chocolate chips together in a saucepan over very low heat, stirring constantly to prevent scorching.
Step 3: Combine with Sugar, Salt, and Vanilla
To your warm, melted chocolate and butter mixture, add ¾ cup of granulated sugar, ¼ teaspoon of salt, and 1 teaspoon of pure vanilla extract. Stir these ingredients thoroughly until they are well combined. The sugar will begin to dissolve partially into the warm chocolate, contributing to the cake’s smooth texture and ensuring it isn’t grainy. The salt and vanilla are essential flavor enhancers, balancing the sweetness and deepening the overall chocolate flavor profile, making the cake more complex and irresistible.
Step 4: Incorporate the Eggs
In a separate small bowl, lightly whisk the 3 large eggs until just combined, ensuring they are at room temperature for better emulsion. Gradually add these whisked eggs into the chocolate and sugar mixture. Stir gently but thoroughly until the eggs are fully incorporated and the batter appears smooth and homogenous. It’s important not to over-mix at this stage; simply combine until no streaks of egg remain, as over-mixing can introduce too much air, which might affect the dense texture of a flourless cake.
Step 5: Fold in Cocoa Powder
Finally, add ½ cup of Dutch-processed cocoa powder to the chocolate batter. Gently fold the cocoa powder into the mixture using a spatula until it is just combined. Over-mixing gluten-free batters, even those without traditional flour, can sometimes lead to a tougher texture. So, stop mixing as soon as no dry streaks of cocoa powder are visible. The batter should be rich, uniform dark brown, and thick, indicating it’s ready for baking.
Step 6: Bake the Cake
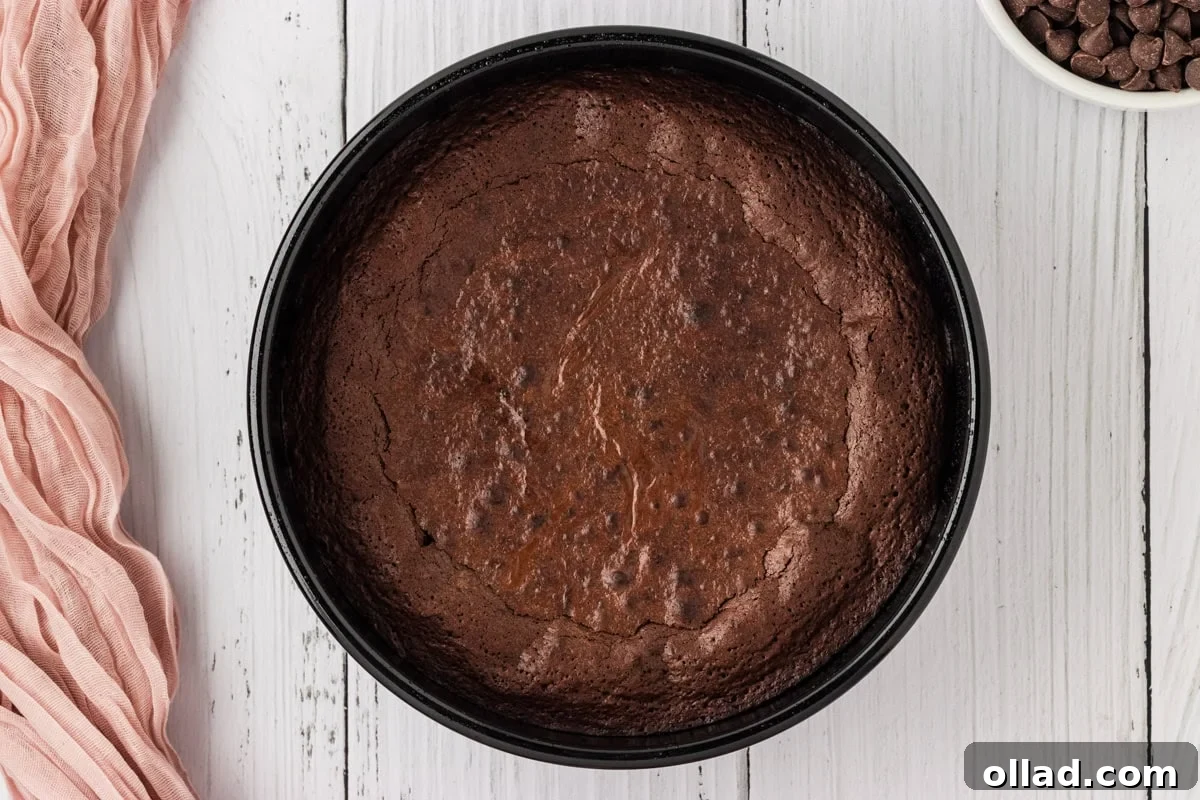
Carefully pour the prepared flourless chocolate cake batter into your meticulously greased and parchment-lined 8-inch cake pan. Smooth the top gently with a spatula if needed to ensure an even surface. Place the pan into the preheated 375°F (190°C) oven and bake for approximately 25 minutes. To ensure perfect doneness without overbaking, use an instant-read thermometer to check the center of the cake; it should register around 200°F (93°C). The edges will appear set and slightly puffed, but the center might still have a slight, delicate jiggle, which is exactly what you want for a moist, fudgy texture. Remember, it will firm up further as it cools.
Step 7: Cool and Invert the Cake
Once baked, remove the cake from the oven and allow it to cool in the pan for 10 minutes. This crucial resting period allows the cake to set slightly and pull away from the sides before handling, reducing the risk of it breaking. After 10 minutes, run a butter knife gently around the edges of the pan to loosen the cake completely. Carefully place a serving plate or a wire rack over the cake pan and, holding both firmly, invert the cake upside down onto the plate. The bottom of the baked cake, which will now be the top, will be perfectly flat and smooth. Allow the cake to cool completely to room temperature before proceeding with the ganache, ensuring a clean, even glaze application.
Step 8: Prepare the Chocolate Ganache
While your cake is cooling, it’s the perfect time to prepare the rich chocolate ganache. In a medium microwave-safe bowl, combine 1 cup of semi-sweet chocolate chips and ½ cup of heavy cream. Microwave for 30 seconds, or until the heavy cream is hot and steaming but not boiling. Immediately begin to stir the mixture continuously with a whisk or spatula until the chocolate chips are completely melted and the ganache is smooth, glossy, and free of any lumps. If needed, microwave for an additional 10-15 seconds, stirring well after each interval, until perfectly smooth. The ganache should be pourable but have a thick, luxurious consistency.
Step 9: Glaze the Cake with Ganache
Once the cake is completely cooled (this is very important to prevent the ganache from sliding off or melting!), gently pour the warm, smooth chocolate ganache evenly over the top of the cake. Use a spatula or the back of a spoon to spread the ganache right to the edges, allowing it to drip slightly and artfully down the sides for a professional and appealing finish. The ganache will look beautifully shiny and inviting, forming a perfect crown for your cake.
Step 10: Allow Ganache to Set and Garnish
Let the ganache cool and set completely before slicing and serving the cake. This can take a few hours at room temperature, or you can speed up the process by placing the cake in the refrigerator for 30-60 minutes, which will firm it up more quickly. Once set, the ganache will be firm enough to slice cleanly and maintain its glossy appearance. Before serving, dust the top generously with powdered sugar for a classic, elegant look and arrange fresh, vibrant raspberries for a beautiful color contrast and a delightful tart flavor that complements the rich chocolate perfectly. Slice, serve, and enjoy your impressive homemade flourless chocolate cake!
This exquisite flourless chocolate cake is a testament to how simple ingredients, when combined with care, can create an unforgettable dessert. It’s perfect for special occasions, holiday gatherings, or simply when you desire a deeply satisfying chocolate treat. Each rich, fudgy, and decadent bite is a pure delight, and the fact that it’s naturally gluten-free makes it a versatile choice for any dessert table. Enjoy every moment of making and savoring this magnificent creation!