
Delicious Gluten-Free Danish Pastries: A Taste of Bakery Perfection at Home
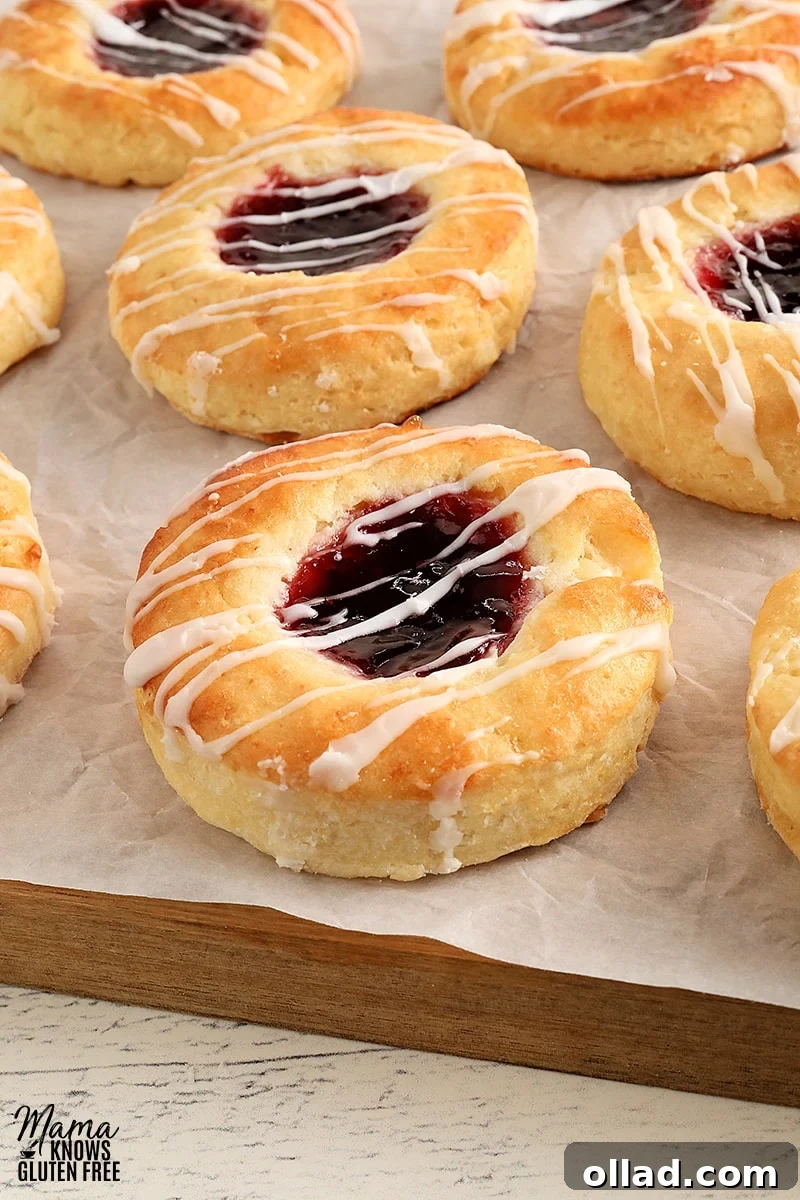
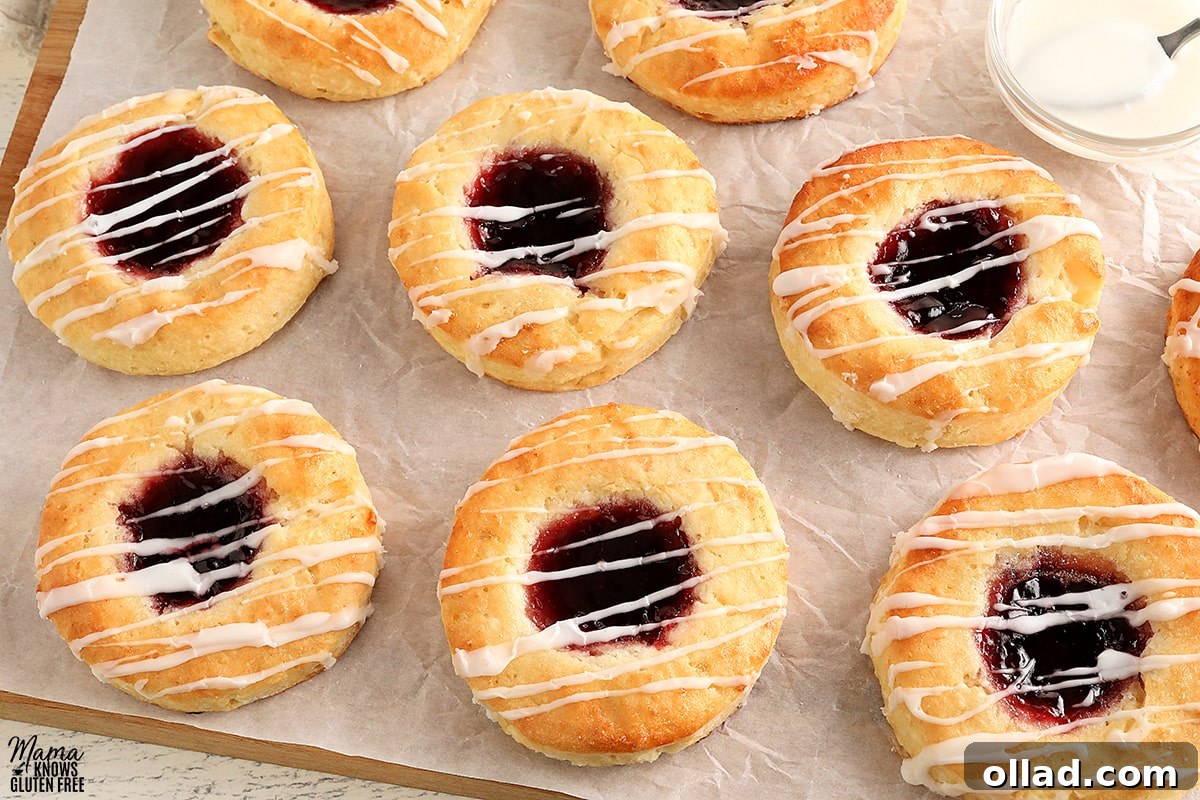
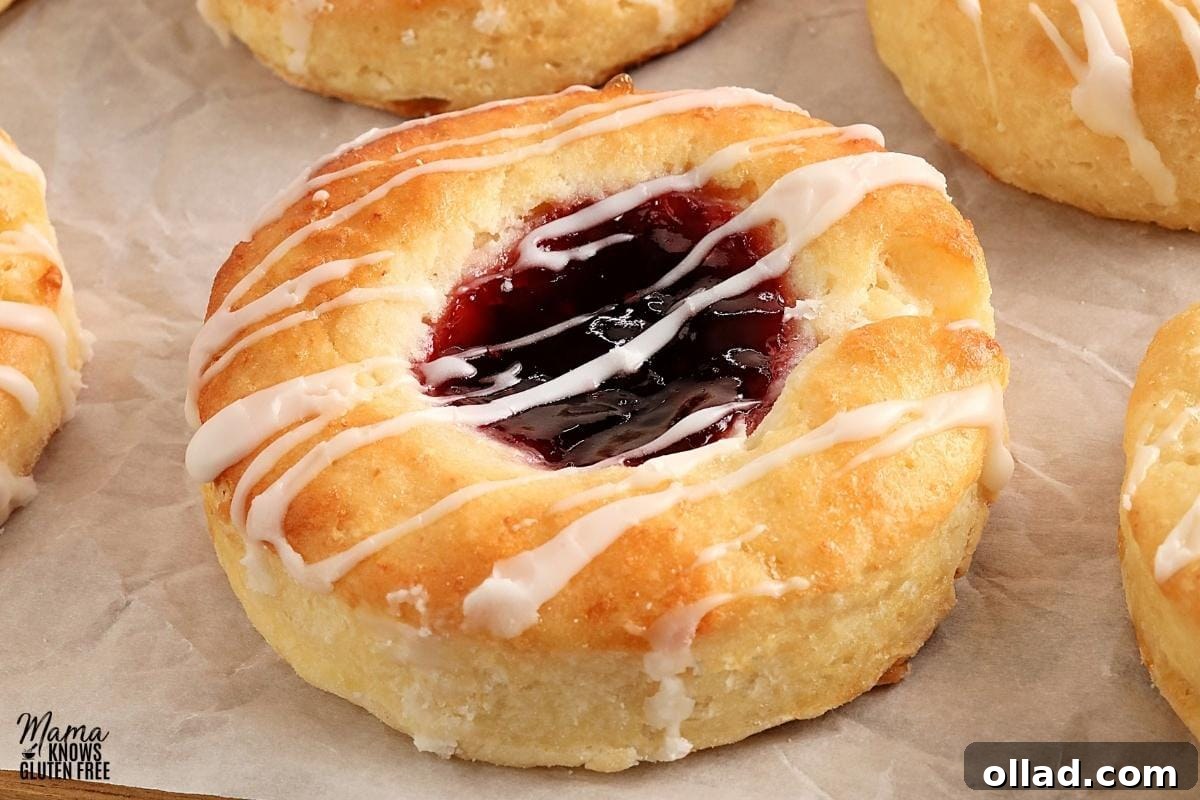
Imagine a soft, buttery, and flaky pastry, bursting with sweet fruit jam and drizzled with a delicate glaze. Now imagine it’s entirely gluten-free, yet tastes every bit as indulgent as a classic Danish from your favorite bakery. These homemade gluten-free Danish pastries are a true weekend delight and one of my absolute favorite recipes to bake. I spent countless hours perfecting this recipe, focusing on achieving that ideal tender, airy crumb and a perfectly balanced sweetness, without any of the challenging traditional lamination. The result is a pastry I return to again and again, whether for a special holiday brunch, a cozy morning treat with coffee, or simply when I crave something truly extraordinary that caters to a gluten-free lifestyle.
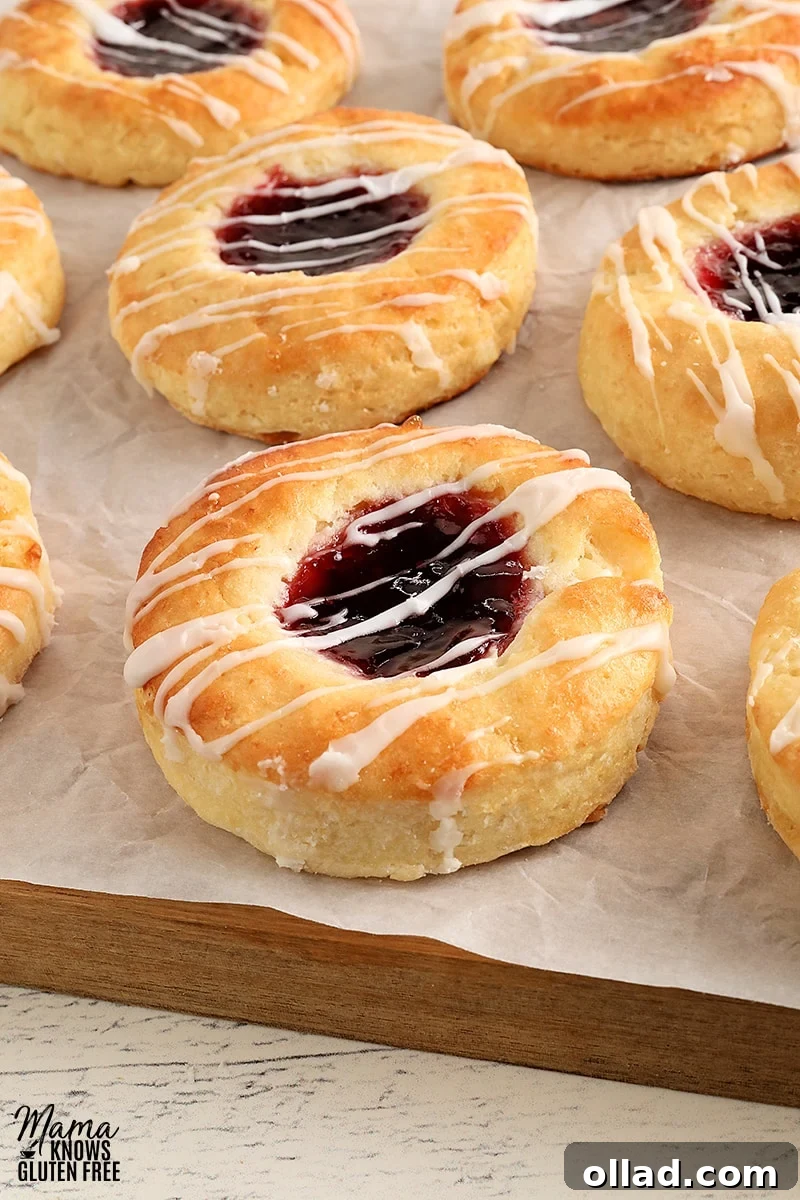
For many, the idea of making Danish pastries at home, especially gluten-free ones, might seem daunting. Visions of complex laminated doughs and endless folding sessions often deter even experienced bakers. But fear not! This recipe makes homemade gluten-free Danish pastries surprisingly accessible, even if you’re new to working with yeast doughs. I’ve incorporated clever shortcuts that streamline the process without compromising on the luxurious, buttery texture and signature flakiness you’d expect. Instead of the laborious traditional method of layering butter and dough through multiple folds and chills, this recipe adopts a simpler approach reminiscent of pie crust making. We cut cold butter directly into the gluten-free flour mixture, then give the dough a few quick, strategic folds. This clever technique develops those sought-after flaky layers with minimal effort, making the entire process quicker and far more beginner-friendly. Plus, the dough only requires a short 30-minute chill, getting you to bakery-quality Danish faster than you ever thought possible!
Why This Gluten-Free Danish Recipe Stands Out
Creating truly excellent gluten-free pastries can be a challenge. The absence of gluten, which provides elasticity and structure, often results in dense, crumbly, or dry baked goods. However, this recipe for gluten-free Danish has been meticulously developed to overcome these common hurdles. Our goal was to deliver a pastry that is not only gluten-free but genuinely delicious – light, tender, and irresistibly buttery. The key lies in selecting the right gluten-free flour blend and employing a unique preparation method.
The simplified technique of cutting butter into the flour, rather than traditional lamination, is a game-changer. It creates pockets of butter throughout the dough that, when baked, release steam and create those coveted flaky layers. This method significantly reduces the preparation time and complexity, making it achievable for any home baker. The result is a pastry that boasts a delicate crispness on the outside and a wonderfully soft, moist interior, perfectly complementing the sweet jam filling and optional glaze. This recipe proves that you don’t need gluten to achieve extraordinary texture and flavor in your homemade Danish.
Essential Tips for Success in Gluten-Free Baking
Achieving perfect gluten-free Danish pastries requires attention to a few crucial details. Following these tips will help ensure your pastries turn out beautifully flaky, tender, and utterly delicious:
- Choose the Right Gluten-Free Flour Blend: This is arguably the most critical factor. Not all gluten-free flours are created equal, especially when it comes to yeast baking. It is vital to use an all-purpose gluten-free flour blend that is specifically recommended for yeast-based recipes. Always check the brand’s website or the product packaging to confirm its suitability. For this particular recipe, I’ve had excellent results with Better Batter (both Original and Artisan blends) and Pillsbury gluten-free flour. Using a blend not formulated for yeast can lead to dense, crumbly, or flat pastries.
- Avoid Unsuitable Flour Blends: Steer clear of gluten-free flour blends that primarily contain almond flour, coconut flour, oat flour, or bean flours, as these can drastically alter the texture and moisture content, making them unsuitable for this type of yeast dough. Also, avoid any blends explicitly labeled as “not ideal for yeast recipes.”
- Master the Butter Temperature: The butter must be cool, yet slightly softened. This means it should be firm enough to hold its shape when cubed, but soft enough to be easily cut into the flour mixture using a pastry cutter or fork. If your butter is too warm or melty, it will integrate too fully into the flour, preventing the formation of those desirable flaky layers. If it’s too cold and hard, it will be difficult to cut in evenly.
- Ensure Fresh Yeast: Yeast is a living organism, and its activity is crucial for the dough’s rise and texture. Always use fresh instant yeast and double-check its expiration date. Old or inactive yeast will result in a dense, heavy pastry that fails to rise. If you’re unsure, you can proof a small amount of yeast in warm milk with a pinch of sugar before adding it to the main mixture to ensure it’s active.
- Do Not Skip the Egg Wash: The egg wash might seem like a minor step, but it plays a significant role in the final appearance and texture of your Danish. Brushing the pastries with a mixture of egg whites and water creates a beautiful golden-brown crust, adds a lovely sheen, and contributes to a slightly crisp exterior. It also helps the pastry maintain its shape during baking.
- Opt for Seedless Jam: While any jam can technically be used, a seedless variety provides a smoother, more refined texture and prevents any gritty mouthfeel from fruit seeds. Raspberry jam is a classic choice and works wonderfully here, but feel free to experiment with other smooth, fruit-only jams.
- Don’t Overwork the Dough: Gluten-free dough can be more delicate than traditional wheat dough. Mix until just combined to avoid developing a tough texture.
- Mind the Temperature for Rising: A warm, draft-free environment is essential for proper yeast activation and dough rising. If your kitchen is cool, consider using your oven’s proof setting or briefly warming the oven to 200°F (93°C), then turning it off before placing the dough inside.
Gluten-Free Danish Recipe
Rating: 3.89 out of 5 stars (based on 9 votes)
Gluten-Free Danish
By: Audrey Roberts
Servings: 8 servings
Prep Time: 15 mins
Cook Time: 18 mins
Rising time: 1 hr
Total Time: 1 hr 33 mins
An easy recipe for gluten-free Danish. A soft and buttery gluten-free pastry filled with jam and topped with a sweet glaze. This gluten-free Danish recipe also has a dairy-free option.
Ingredients
Gluten-Free Danish Dough
- 2 cups all-purpose gluten-free flour with xanthan gum (I test baked with Better Batter (original), Better Batter Artisan, and Pillsbury gluten-free flour. Not all gluten-free flours are created equal. You may experience different baking results depending on the gluten-free flour blend you choose. Not all brands of gluten-free flour are recommended for yeast baking.)
- 1/2 cup granulated sugar
- 1 packet instant yeast (Or 2 1/4 teaspoons of instant/rapid yeast.)
- 1/2 cup butter, softened and cubed (Use butter that is cool but slightly softened—firm enough to hold its shape when cubed, but soft enough to cut into the flour with a pastry cutter or fork. It should not be warm or melty. For dairy-free use Smart Balance buttery spread.)
- 3/4 cup milk (For dairy-free use unsweetened almond milk.)
- 1/4 teaspoon pure vanilla extract
- 1/4 teaspoon pure almond extract
- 1 teaspoon salt
- 2 large egg yolks
- 1/3 cup seedless raspberry jam (2 teaspoons of jam per Danish)
Egg Wash
- 2 large egg whites
- 1 tablespoon water
Glaze
- 1/2 cup powdered sugar
- 2 teaspoons water
Instructions
- In a large freezer-safe bowl, stir together the gluten-free flour, granulated sugar, and instant yeast until well combined.
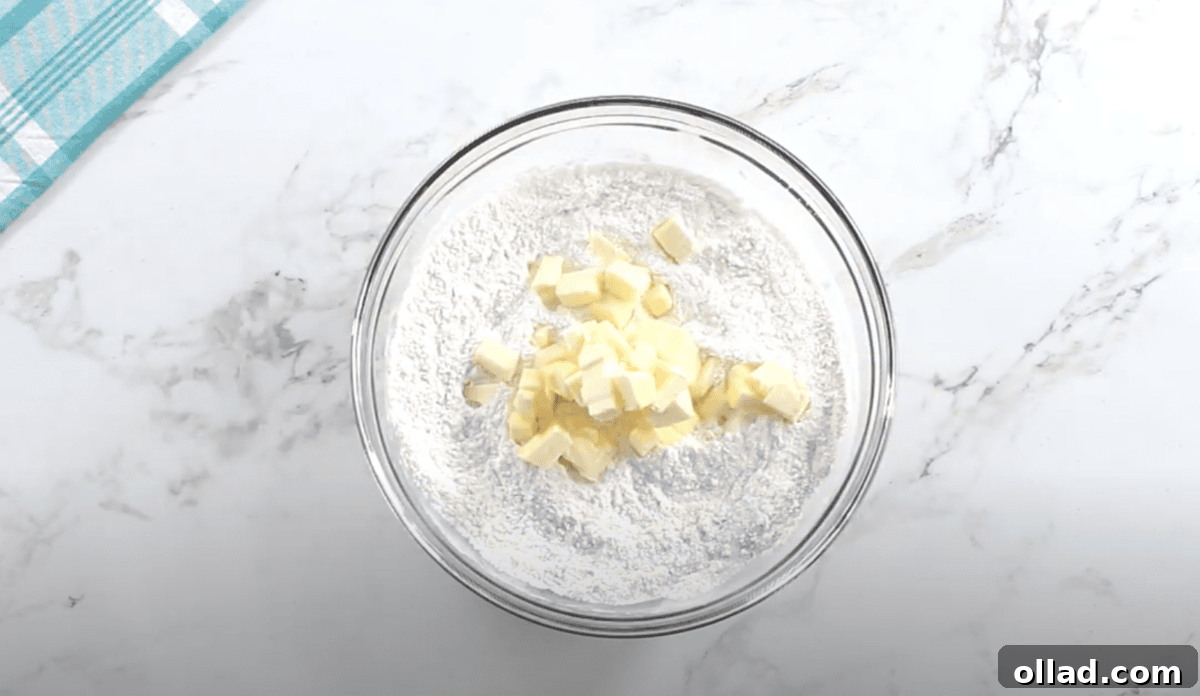
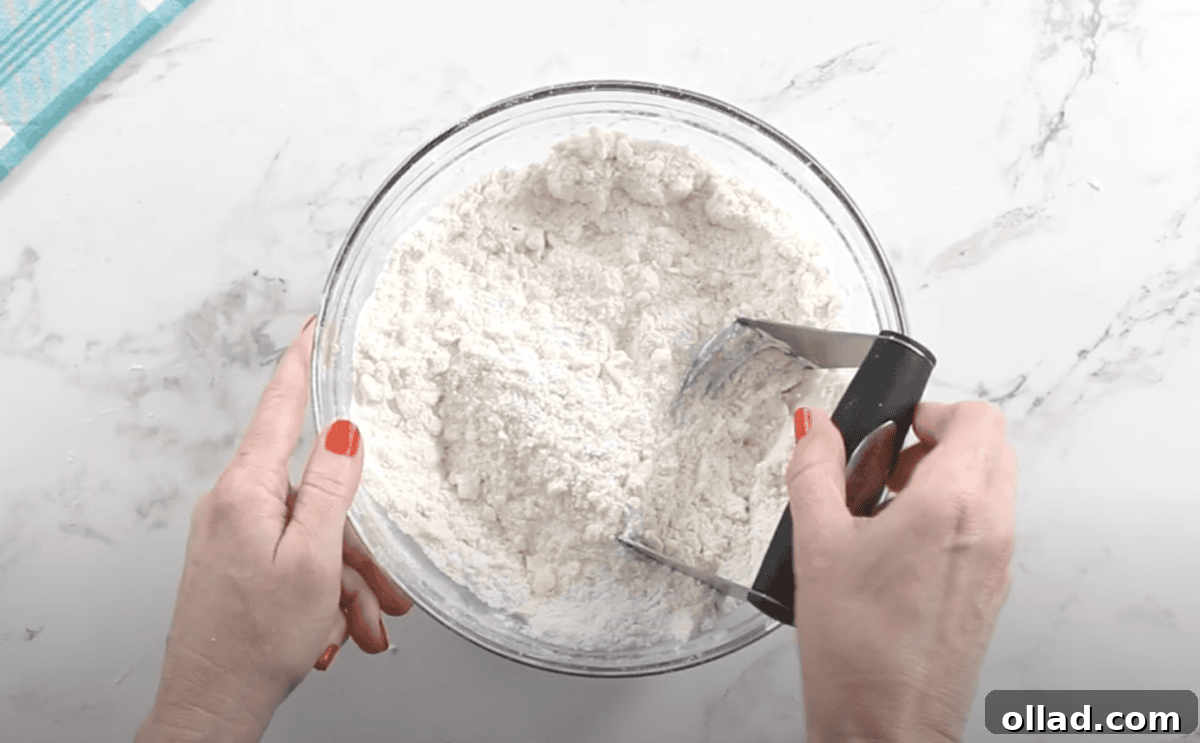
- Add the softened, cubed butter to the dry ingredients. Use a pastry cutter or fork to cut the butter into the flour mixture until it resembles small peas. Ensure the butter pieces are well distributed.
- Separate the egg yolks and whites into two small bowls. Cover the egg whites with plastic wrap and place them in the refrigerator; they will be used later for the egg wash.
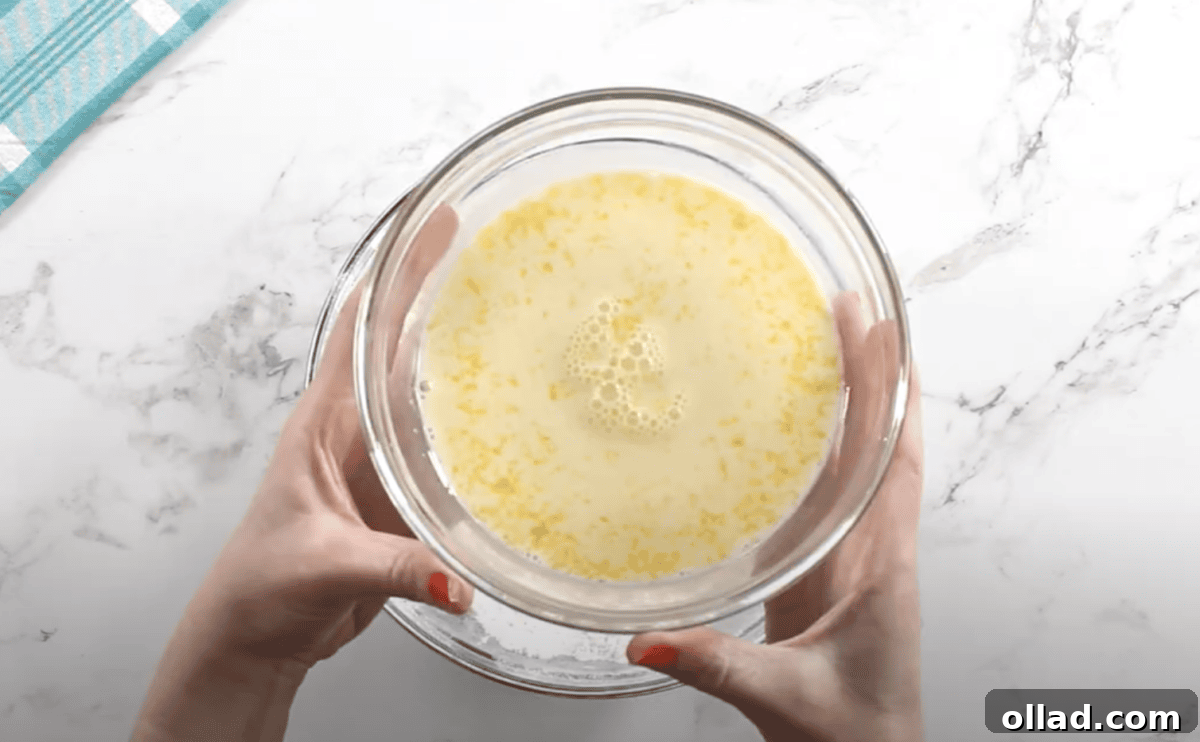
- In a separate medium-sized bowl, whisk together the milk, pure vanilla extract, pure almond extract, the 2 egg yolks, and salt until all ingredients are fully incorporated and smooth.
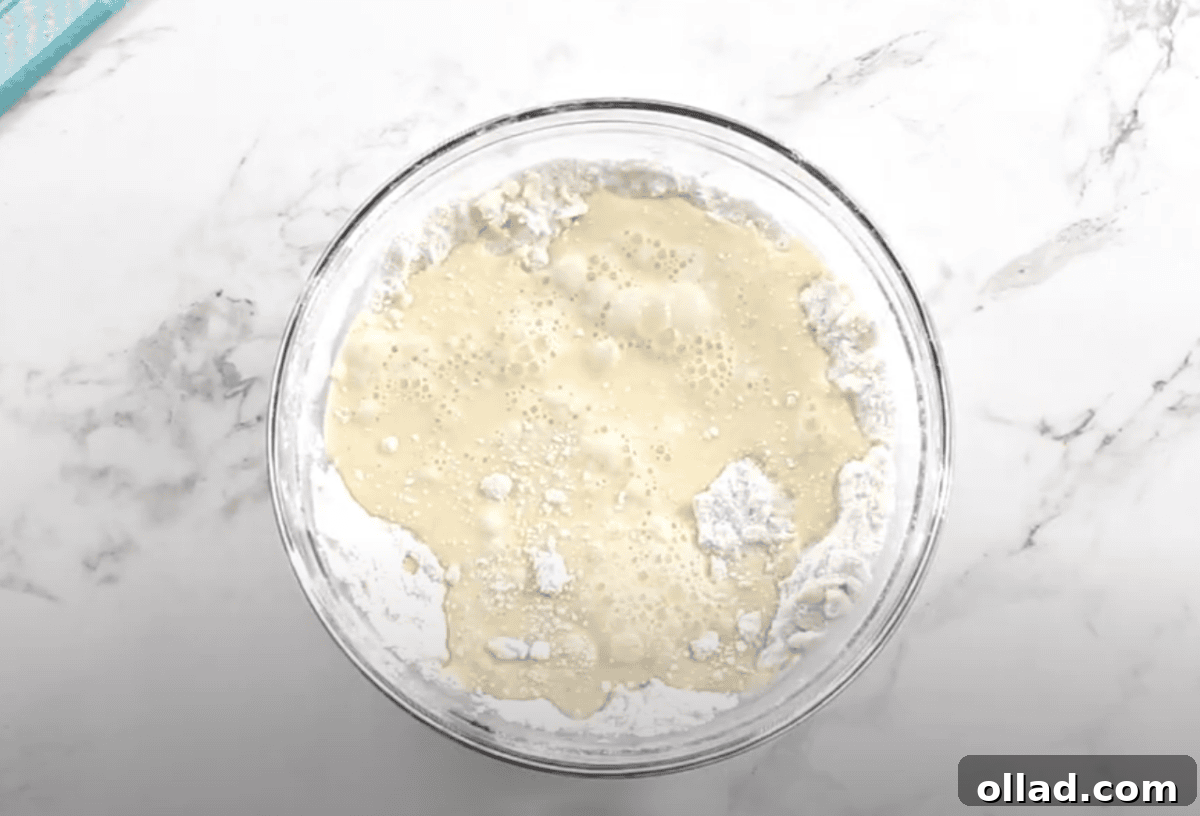
- Pour the whisked milk mixture into the flour and butter mixture. Stir until a sticky, cohesive dough is formed. The dough will be quite soft and tacky at this stage.
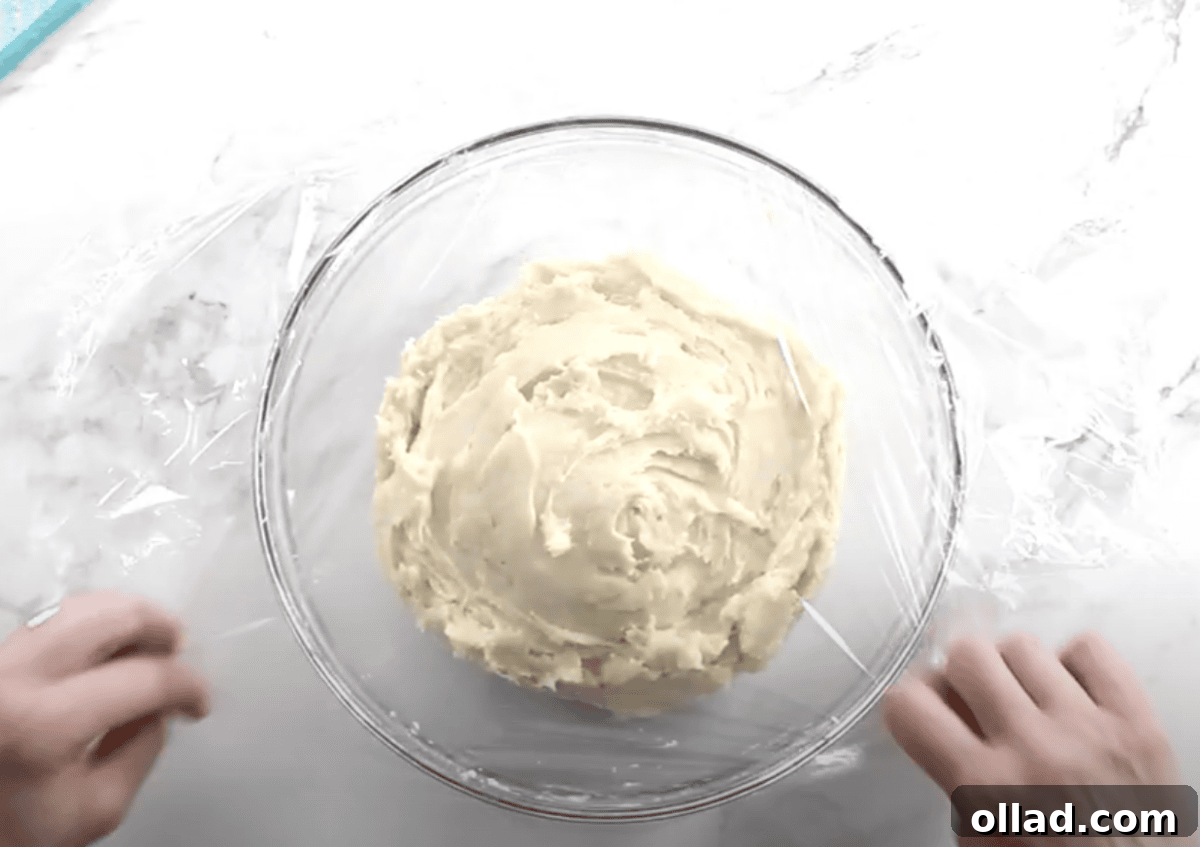
- Cover the bowl of dough tightly with plastic wrap and place it in the freezer for 30 minutes. This quick chill helps firm up the dough, making it easier to handle.
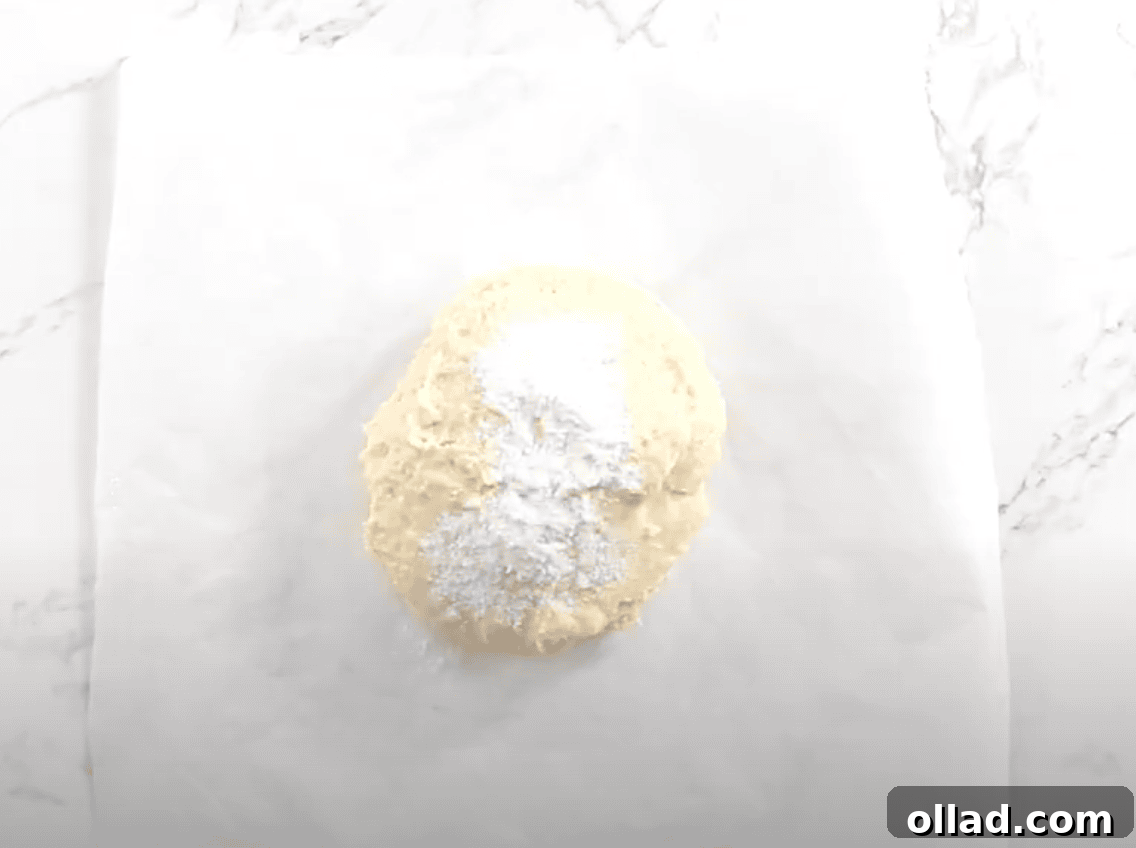
- After chilling, lightly flour a large piece of parchment paper with 1 tablespoon of gluten-free flour. Transfer the dough from the bowl onto the floured parchment paper.
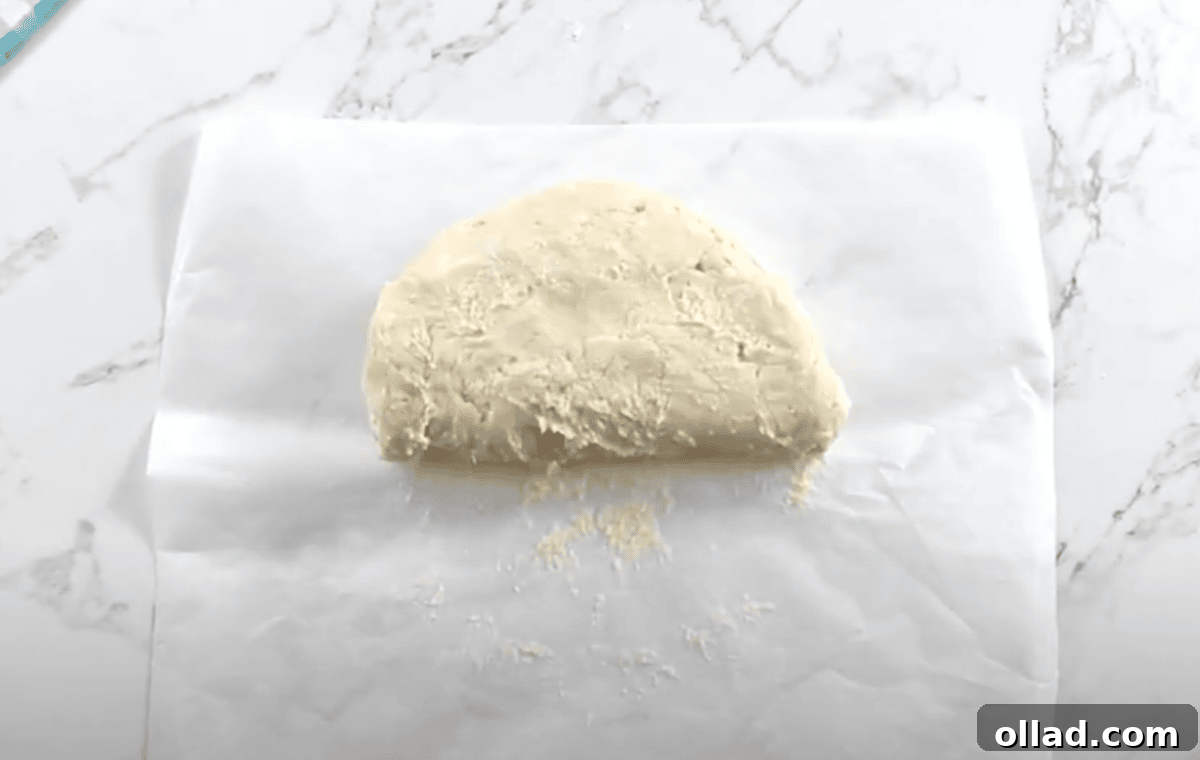
- Dust the top of the dough with an additional 1 tablespoon of flour. Gently fold the dough over on itself three times. This is done by folding the dough in half, then folding it in half again, and a third time, creating pseudo-layers without traditional lamination.
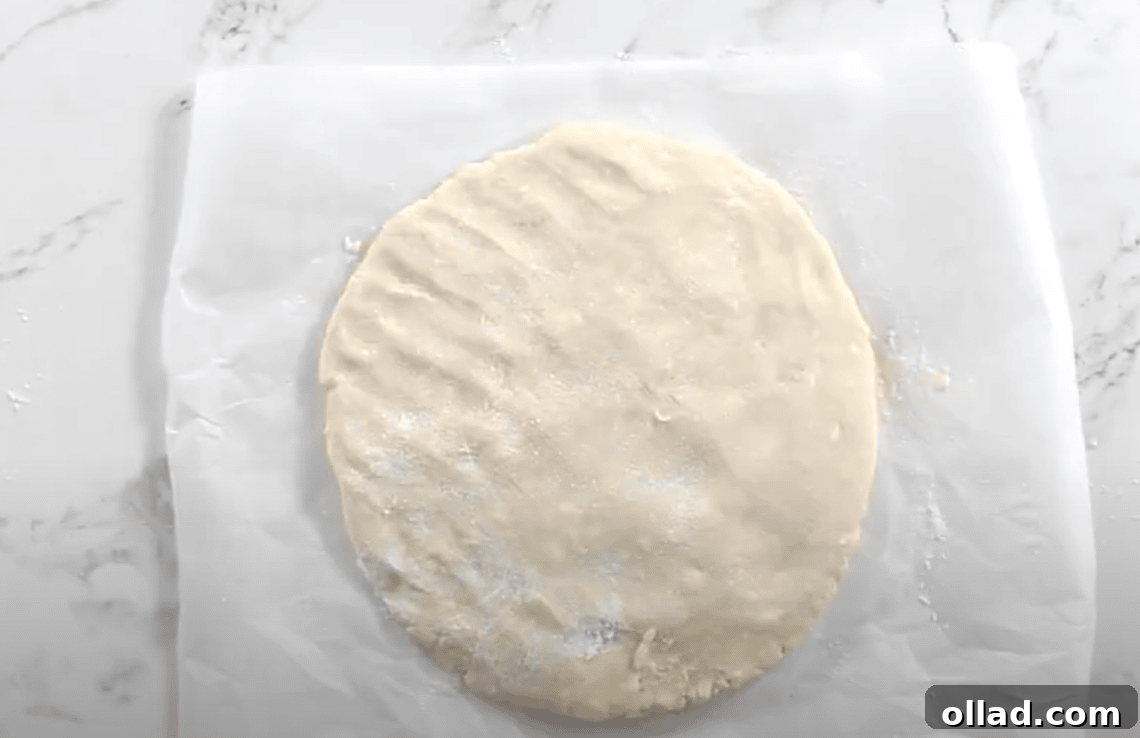
- Using your hands, gently form the dough into a round disk, approximately 7 inches in diameter and about 1 inch thick.
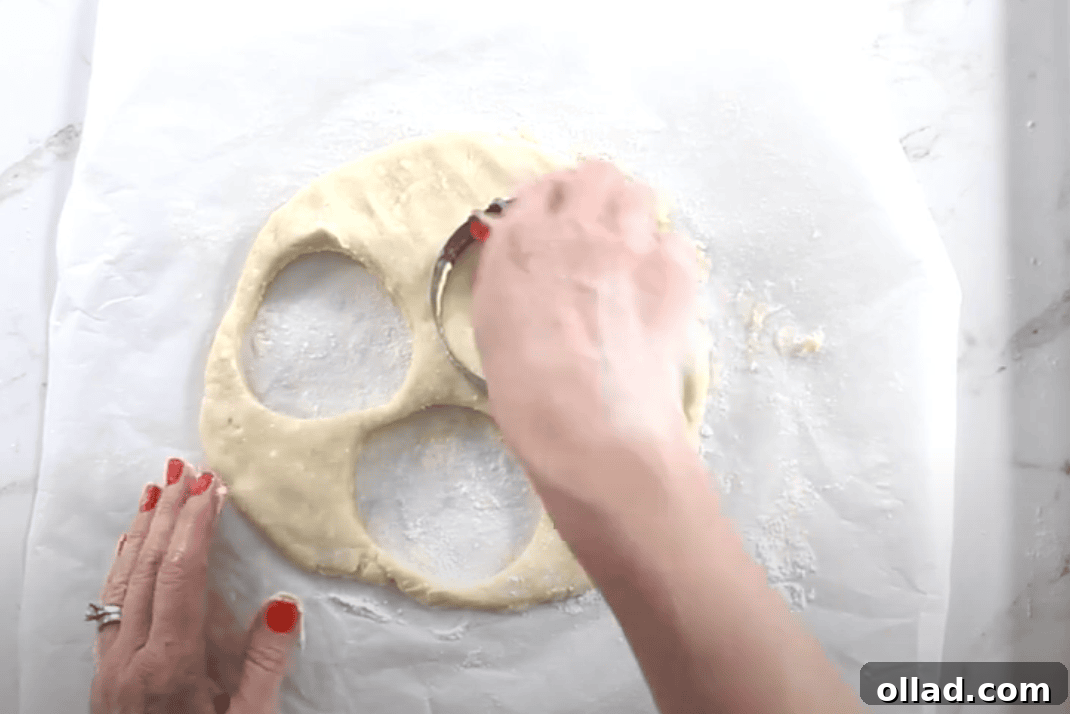
- Use a greased 3-inch biscuit cutter, the mouth of a large glass, or a mason jar lid to cut out individual dough rounds. Press the cutter straight down without twisting; twisting can crimp the edges and prevent the Danish from rising properly.
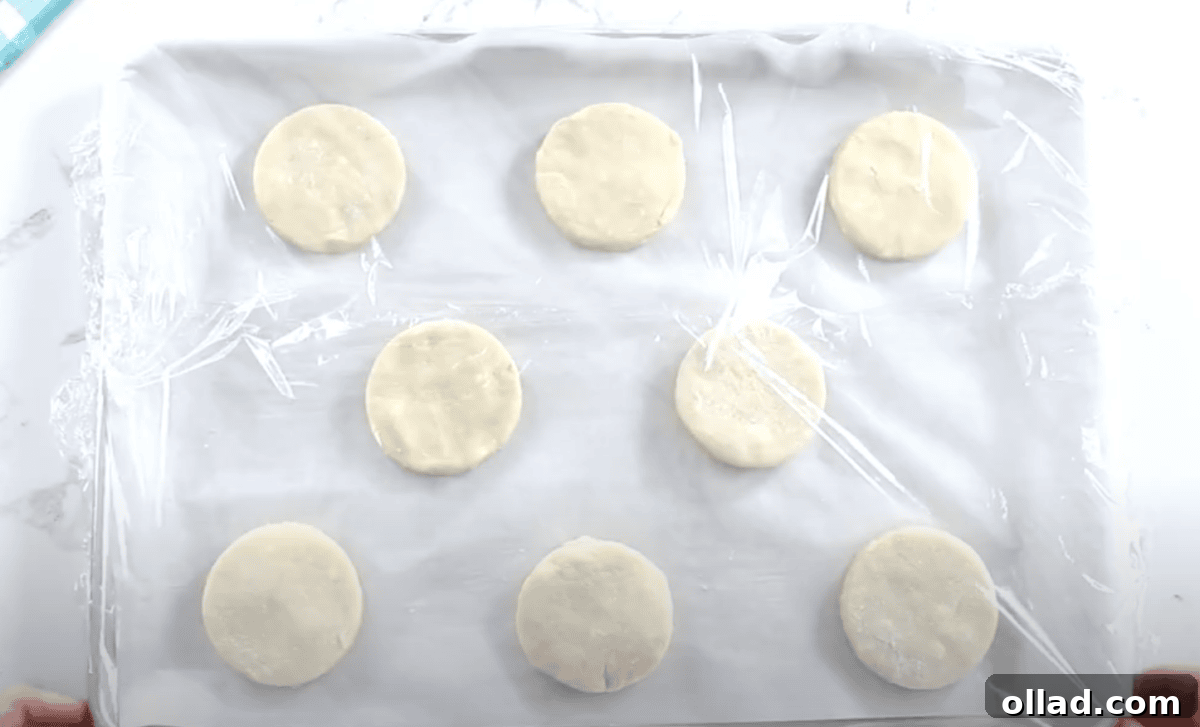
- Place the cut dough rounds onto a baking sheet lined with parchment paper. Cover the baking sheet loosely with plastic wrap, then drape a clean kitchen towel over it. Let the dough rounds rise in a warm, draft-free place for 30 minutes. A good spot is an oven with a proof setting, or an oven preheated to 200°F (93°C) and then turned off. Remember to remove the dough before preheating the oven for baking.
- Preheat your oven to 400°F (200°C) while the Danish finish rising.
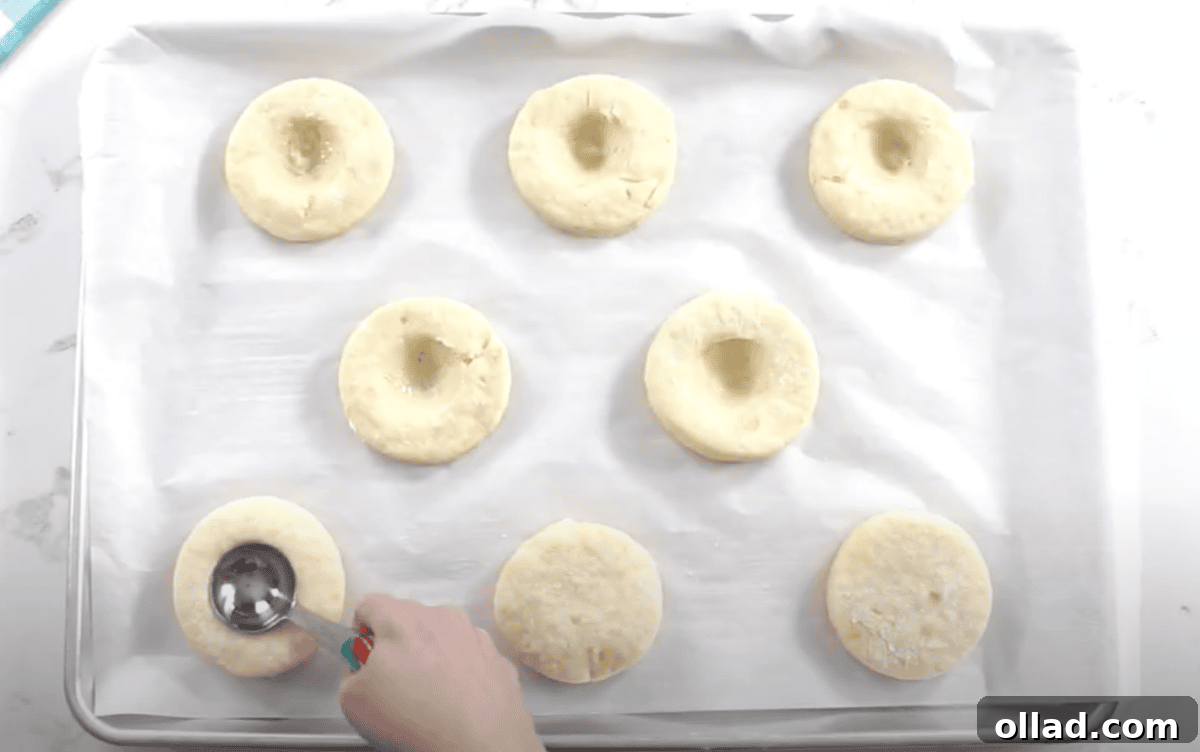
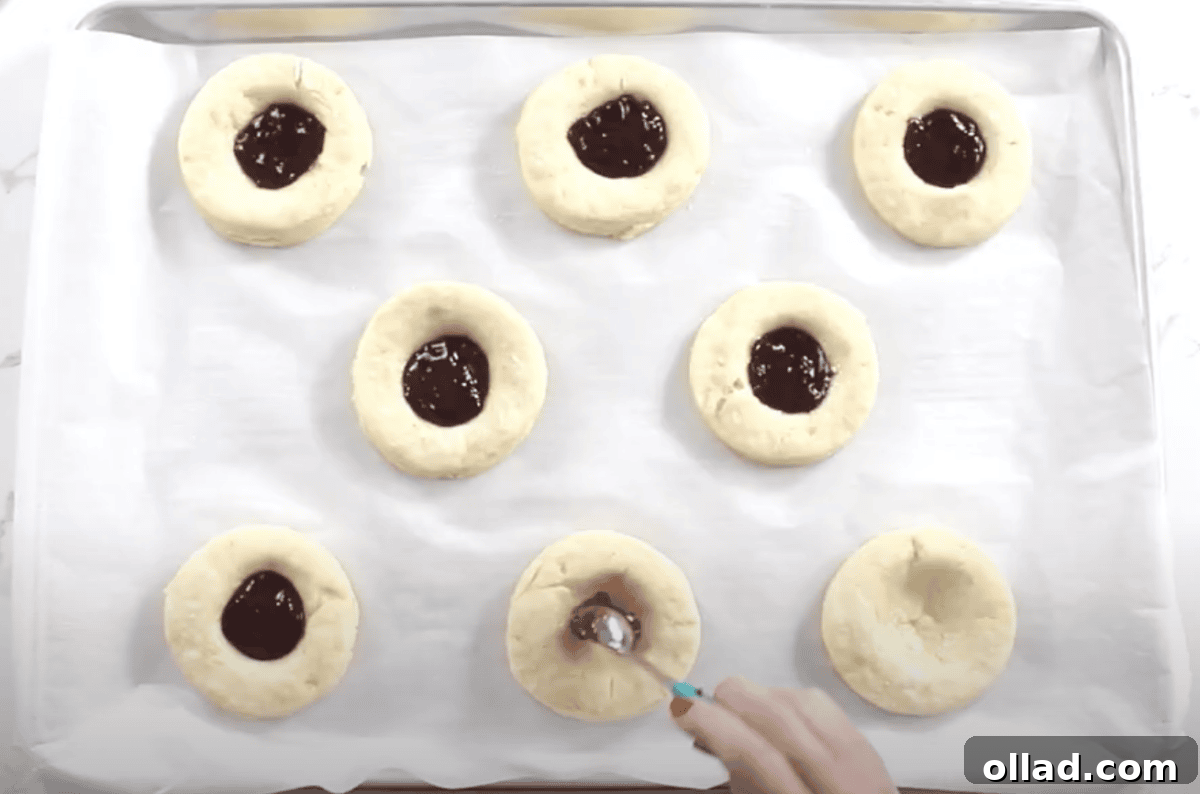
- Once risen, lightly grease the back of a rounded tablespoon (gluten-free coconut oil spray works well) and gently press down on the center of each dough round to create a small well for the jam filling.
- Stir the 1/3 cup of seedless raspberry jam to ensure it’s smooth. Spoon approximately 2 teaspoons of jam into the center of each indentation on the dough rounds.
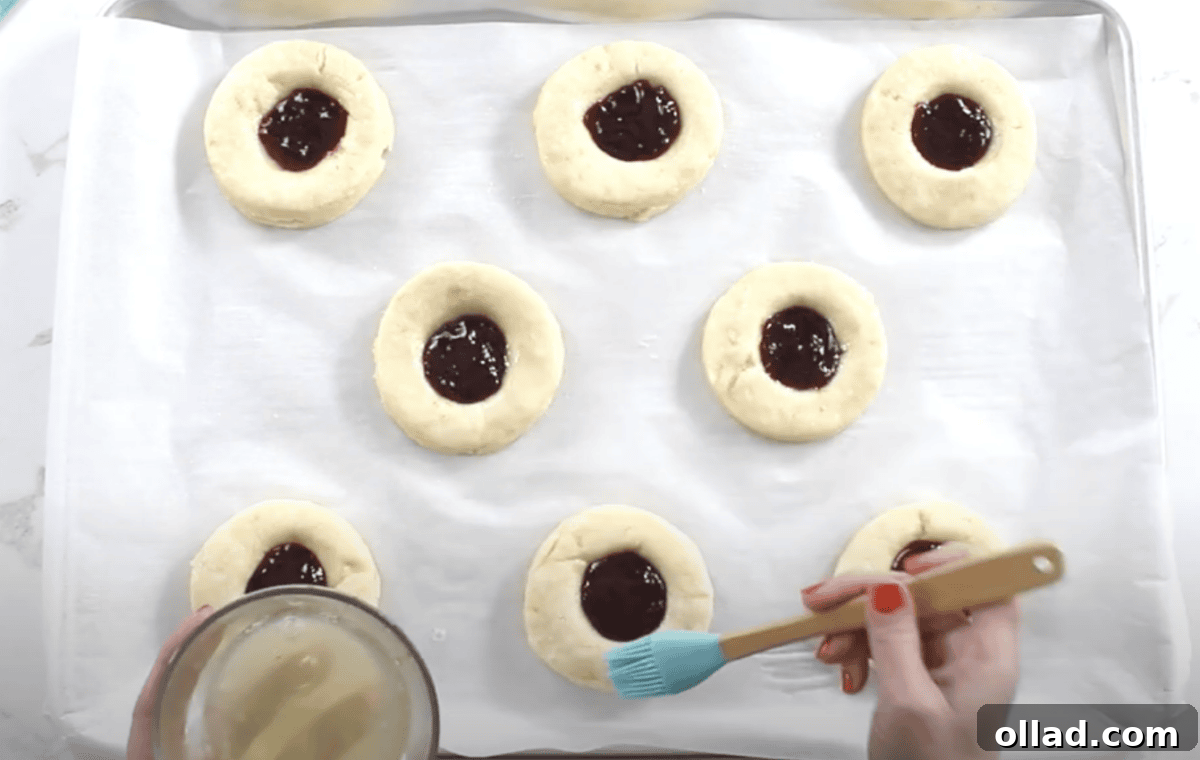
- In a small bowl, whisk together the reserved 2 egg whites with 1 tablespoon of water to create the egg wash. Using a pastry brush, gently brush the exposed dough edges of each Danish with the egg white mixture.
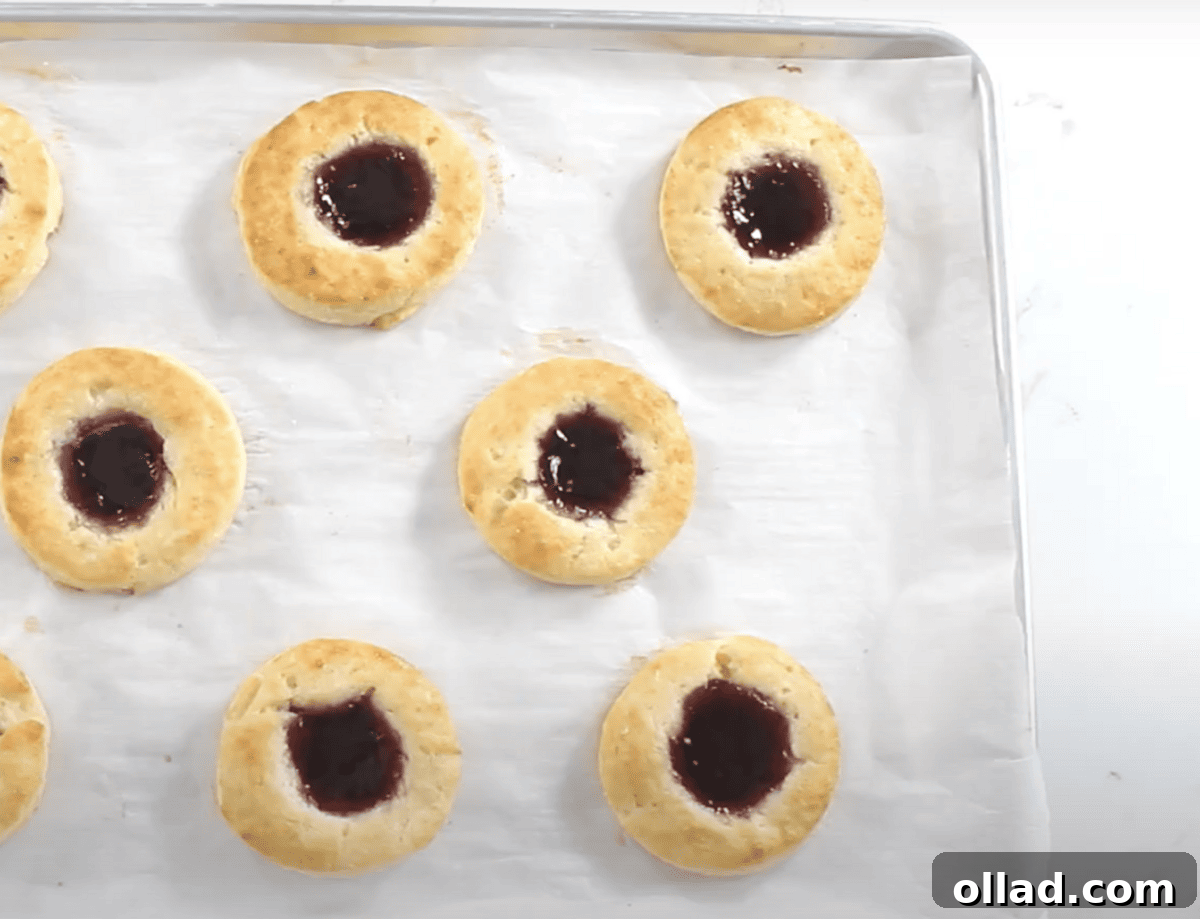
- Bake the Danish pastries in the preheated oven for 18-20 minutes, or until their tops are beautifully golden brown. Keep a close watch on them, as oven temperatures can vary.
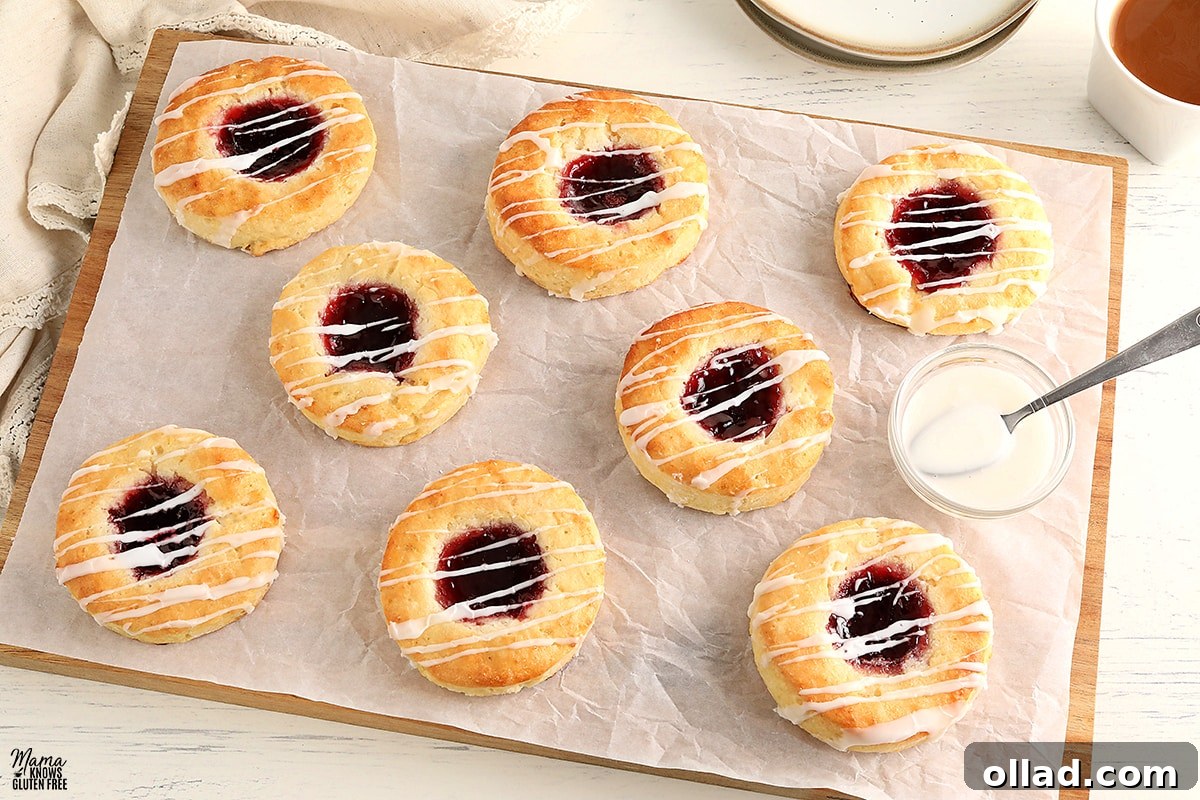
- While the Danish are baking or cooling, prepare the glaze. In a small bowl, whisk together 1/2 cup of powdered sugar and 2 teaspoons of water until smooth. Adjust water if needed for desired consistency.
- Allow the baked Danish to cool on the baking sheet for at least 20 minutes before glazing. This allows the jam to cool and set, and prevents the glaze from melting too quickly.
- Once cooled, drizzle the prepared glaze generously over the tops of the Danish pastries. Serve warm or at room temperature and enjoy!
- Store any leftover Danish in an airtight container at room temperature for optimal freshness.
Notes
- I personally prefer Pillsbury gluten-free flour for its reliable results in this recipe. Remember that all gluten-free flours behave differently. Your baking outcomes may vary depending on the specific blend you select. Always confirm that your chosen gluten-free flour blend is suitable for yeast baking.
- For a dairy-free version of these delicious Danish pastries, simply substitute the regular butter with Smart Balance buttery spread and use unsweetened almond milk in place of dairy milk.
- As always, “Mama says, check all of your labels!” to ensure all ingredients are truly gluten-free and meet your dietary needs.
Nutrition
Serving: 1 Danish
Calories: 354 kcal
Carbohydrates: 53g
Protein: 6g
Fat: 15g
Saturated Fat: 8g
Polyunsaturated Fat: 1g
Monounsaturated Fat: 4g
Trans Fat: 1g
Cholesterol: 79mg
Sodium: 412mg
Potassium: 76mg
Fiber: 3g
Sugar: 29g
Vitamin A: 453 IU
Vitamin C: 1mg
Calcium: 61mg
Iron: 1mg
Nutrition information is automatically calculated and should only be used as an approximation.
Additional Info
Course: Breakfast
Cuisine: American
Tried this recipe? Mention @mamaknowsglutenfree or tag #mamaknowsglutenfree!
How to Make Gluten-Free Danish Step-by-Step
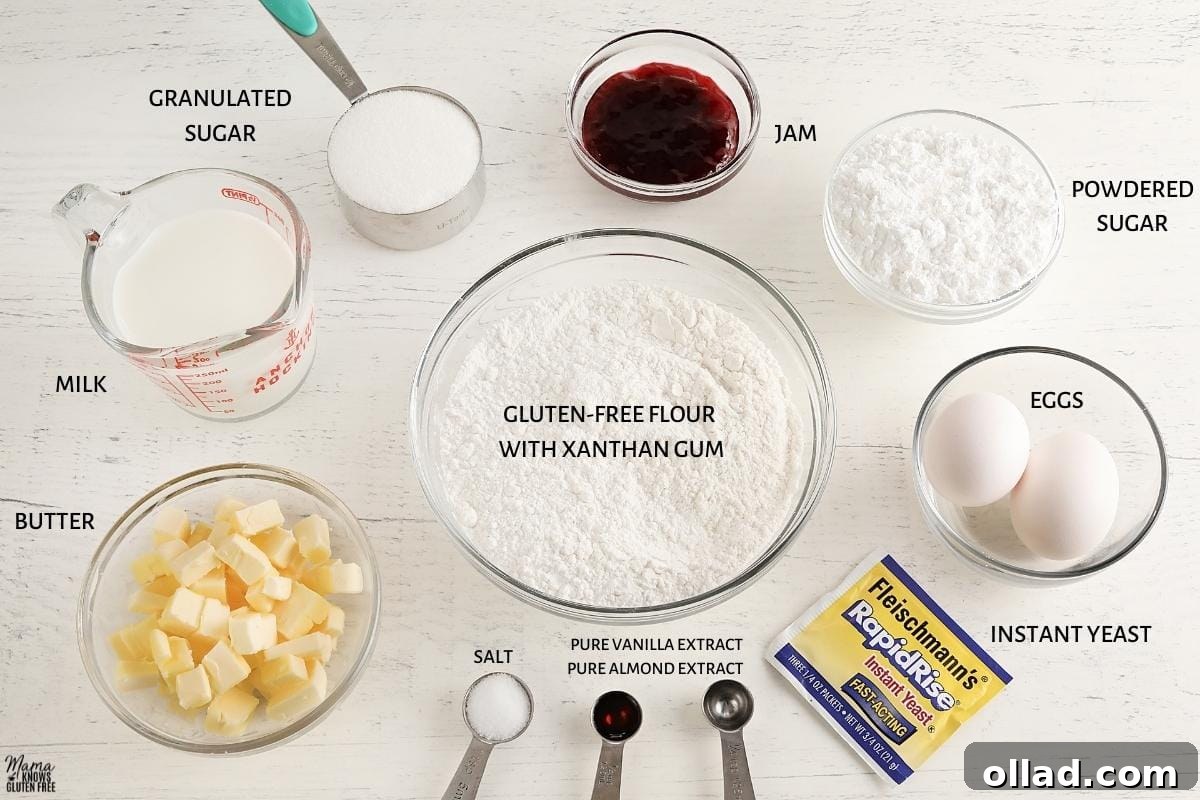
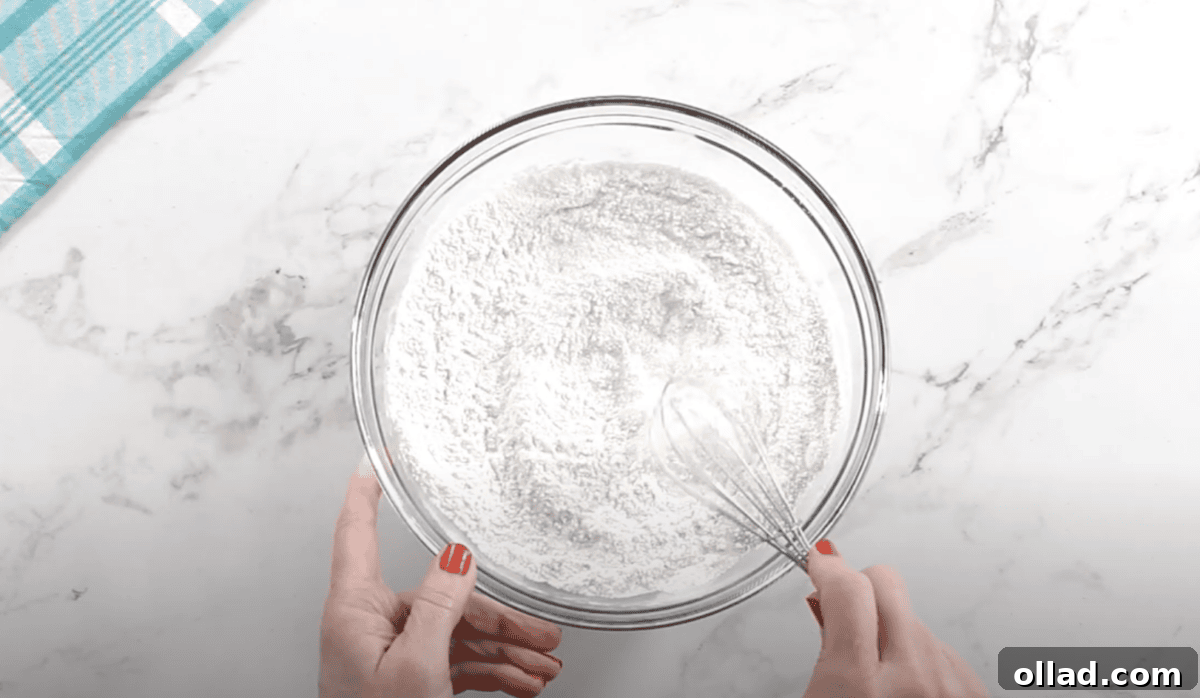
Separate the Eggs: Carefully separate two large eggs, placing the whites in one small bowl and the yolks in another. Cover the egg whites and refrigerate them; they’ll be essential for the egg wash later. The yolks will be used to enrich the dough.
Serving Suggestions & Perfect Pairings
These gluten-free Danish pastries are incredibly versatile and perfect for a variety of occasions. For a delightful weekend brunch or a special holiday breakfast, serve them fresh from the oven, perhaps with a side of fresh fruit salad for a balanced meal. The warm, buttery pastry pairs exquisitely with a freshly brewed cup of coffee, a frothy latte, or a comforting mug of hot tea. If you’re entertaining guests, arrange them elegantly on a platter and consider a final drizzle of glaze just before serving to add an extra touch of sophistication and visual appeal. They also make a wonderful contribution to potlucks or family gatherings, and no one will ever guess they’re gluten-free! Don’t forget, they’re also a fantastic make-ahead option; bake them the night before and gently warm them in the oven for a few minutes the next morning to recapture that “just baked” taste and aroma.
Storage Instructions for Gluten-Free Danish
To keep your delicious gluten-free Danish pastries fresh and flavorful, proper storage is key. Following these guidelines will ensure you can enjoy them for days to come:
- Room Temperature Storage: Any leftover Danish pastries should be stored in an airtight container at room temperature. They will remain fresh and delicious for up to 2 days. For best quality, consume within this timeframe.
- Refrigeration: If you need to store them for a longer period, transfer the Danish to an airtight container and refrigerate for up to 5 days. Chilling might slightly alter the texture, making them a bit firmer, but they will still be enjoyable, especially after a quick reheat.
Freezing for Future Enjoyment
These gluten-free Danish pastries are excellent for freezing, allowing you to prepare them in advance or save leftovers for a quick treat later. Here are instructions for freezing the dough, assembled pastries, and baked Danish:
Freezing the Unbaked Dough
You can freeze the gluten-free Danish pastry dough for up to 3 months. After the initial 30-minute freezer chill (step 6 in the instructions), shape the dough into a disk. Wrap the disk tightly in plastic wrap, then place it into a freezer-safe plastic bag. Label and freeze. When you’re ready to bake, thaw the dough overnight in the refrigerator. Once thawed, proceed with the recipe from step 7 (placing the dough on parchment paper and folding) as written.
Freezing the Assembled Pastries (Before Baking)
To freeze the Danish pastries after assembly but before baking, follow the recipe through step 14 (filling the pastries with jam). Place the baking sheet with the jam-filled Danish into the freezer until they are completely solid, which typically takes at least 2 hours. Once flash-frozen, transfer the individual pastries to an airtight freezer-safe container or a heavy-duty plastic freezer bag. They can be frozen for up to 1 month.
When you’re ready to bake, there’s no need to defrost! Simply brush the frozen pastries with the egg wash (prepared from step 15) and bake them in a preheated 400°F (200°C) oven. You will need to bake them for an additional 10 to 15 minutes beyond the normal baking time, approximately 28-35 minutes total, or until golden brown and cooked through.
Freezing the Baked Danish
To freeze already baked gluten-free Danish, ensure they have cooled completely to room temperature. Wrap each Danish tightly in plastic wrap, then place them in an airtight freezer-safe container or a plastic freezer bag. They can be stored in the freezer for up to 3 months.
To enjoy, thaw the frozen Danish in the refrigerator overnight. You can then reheat them in a preheated oven at 350°F (175°C) for 8 to 10 minutes to restore a warm, slightly crisp texture. Alternatively, they can be reheated quickly in the microwave for a softer result.
Variations and Customizations for Your Danish
While the classic raspberry jam Danish is delightful, don’t hesitate to get creative with your fillings and glazes! Here are a few ideas to customize your gluten-free Danish pastries:
- Different Jam Flavors: Experiment with other seedless fruit jams like apricot, strawberry, blueberry, or cherry. Each will offer a unique flavor profile.
- Cream Cheese Filling: For a richer Danish, mix 4 oz softened cream cheese with 2 tablespoons powdered sugar, 1 teaspoon vanilla extract, and a pinch of lemon zest. Spoon this into the well before baking, then add a small dollop of jam on top of the cream cheese for a two-toned filling.
- Nutty Toppings: After applying the egg wash, sprinkle the edges of the Danish with chopped almonds or pecans for added texture and flavor.
- Citrus Glaze: Replace the water in the glaze with lemon juice or orange juice for a bright, tangy finish that complements fruit fillings beautifully.
- Chocolate Drizzle: Instead of the powdered sugar glaze, melt some gluten-free chocolate chips and drizzle over the cooled pastries for a decadent twist.
Troubleshooting Common Gluten-Free Danish Issues
Even with a great recipe, gluten-free baking can sometimes present unique challenges. Here are solutions to common issues you might encounter:
- Dough is Too Sticky: Gluten-free doughs are naturally stickier than wheat doughs. If it’s overly sticky even after chilling, add a tiny bit more flour (half a tablespoon at a time) when handling it on the parchment paper, ensuring your hands are also lightly floured. The chill time is crucial for manageability.
- Danish Didn’t Rise Well: This is often due to inactive yeast or a too-cold rising environment. Double-check your yeast’s expiration date. Ensure your milk is lukewarm (not hot, which kills yeast, or cold, which inhibits it). Also, confirm your rising spot is warm and draft-free.
- Pastries Are Dense/Heavy: This can happen if the wrong type of gluten-free flour was used, if the yeast wasn’t active, or if the dough was overmixed. Overmixing can develop any elasticity present in GF flours, leading to a tougher texture.
- Pastries Spread Too Much: This could be a sign that your butter was too warm when incorporated, leading to less structure. Ensure the butter is cool and cut into distinct pieces. Also, check that your oven temperature is accurate.
More Gluten-Free Pastries to Delight In
If you loved these gluten-free Danish pastries, be sure to explore more delightful gluten-free treats from our collection:
- Gluten-Free Lemon Bars
- Gluten-Free Cannolis
- Gluten-Free Tiramisu
- Gluten-Free Mini Cheesecakes
- Gluten-Free Vanilla Cupcakes