
Irresistible Gluten-Free & Dairy-Free Pumpkin Bread: Your Ultimate Fall Baking Guide
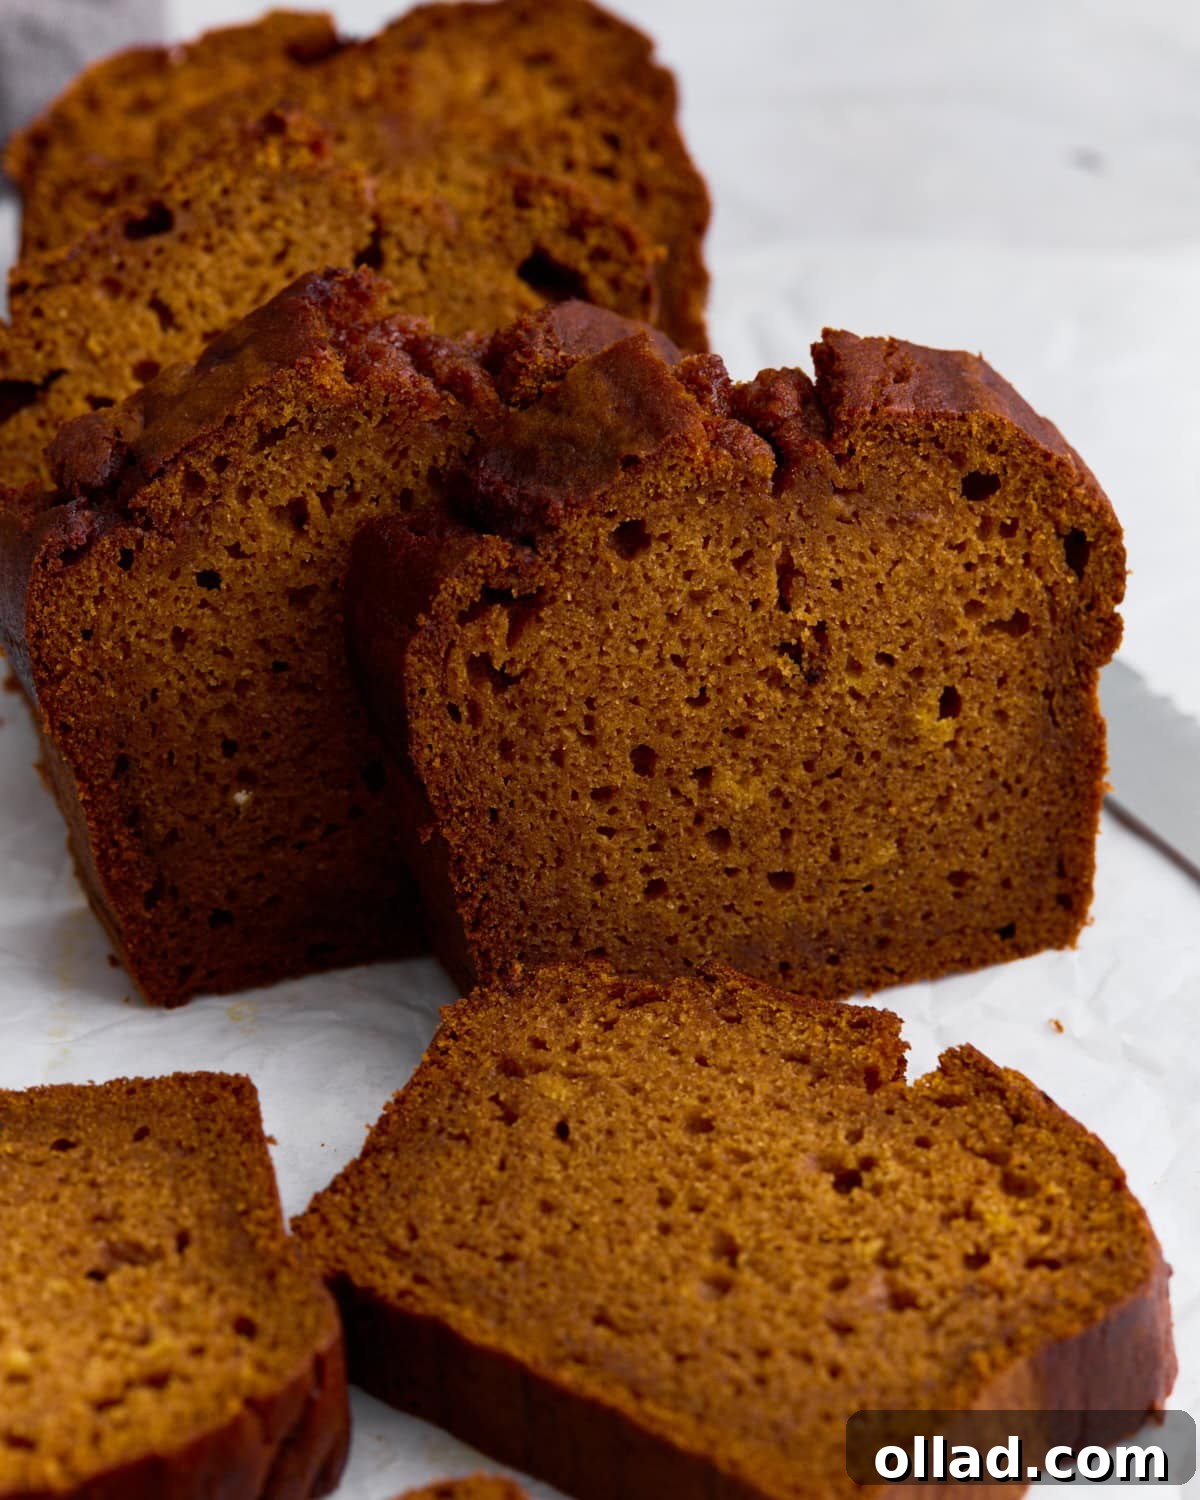
As the leaves begin to change and a crispness fills the air, my thoughts inevitably turn to one of my all-time favorite ingredients: pumpkin. Fall isn’t just a season; it’s an invitation to bake, and this gluten-free pumpkin bread perfectly encapsulates everything I cherish about autumn. It’s more than just a quick loaf; it’s a symphony of flavors and textures, promising a slice of pure comfort with every bite. Wonderfully moist and tender, it’s infused with the sweet, earthy essence of pumpkin and a generous embrace of warm, aromatic spices. What truly sets this recipe apart is its dedication to inclusivity – it’s completely dairy-free, making it accessible for even more to enjoy. Despite being free from gluten and dairy, it consistently rises to perfection, boasting a soft, inviting crumb that’s ideal for slicing and savoring. This is the kind of heartwarming bake I eagerly anticipate crafting and sharing year after year, a true autumnal tradition.
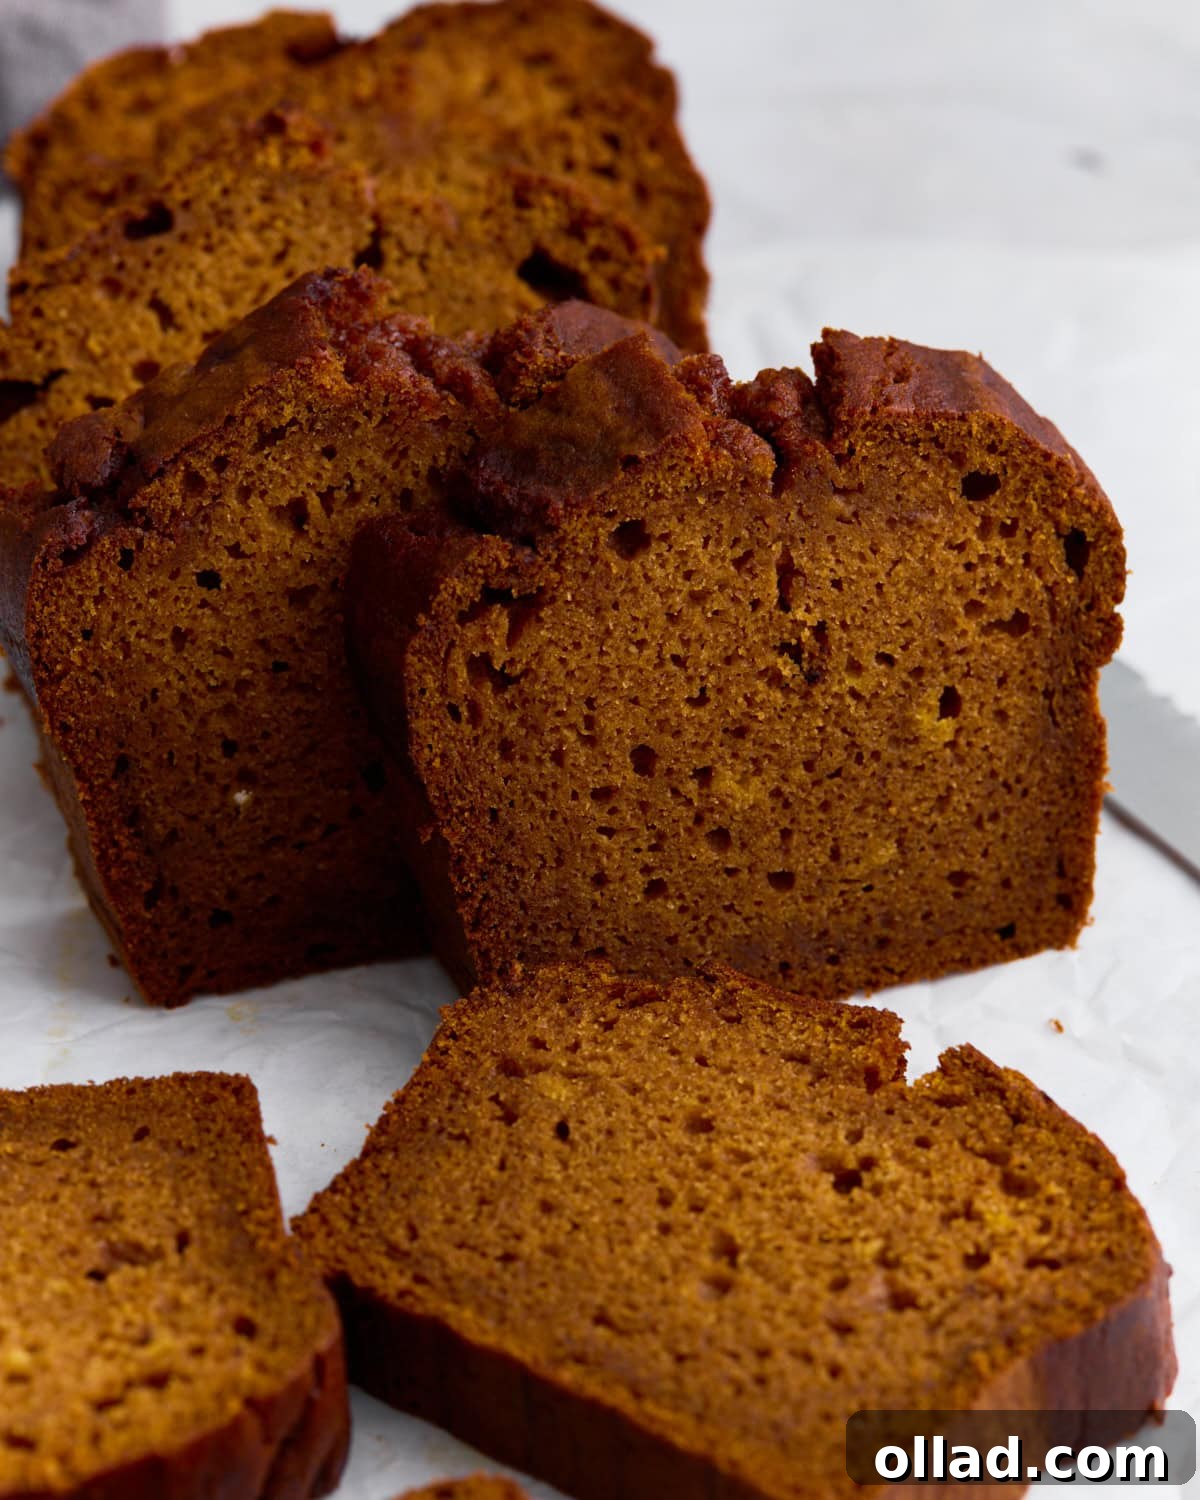
I do a lot of GF baking and I don’t give ratings often, but this one really rocks! I added more spice to my second one. I also baked the second one in an 8 x 8 pan and iced it with cream cheese whipped cream topping, amazing!
– Jennifer
Why This Gluten-Free Pumpkin Bread is a Must-Try
Pumpkin truly shines as a hero ingredient in the world of gluten-free baking. Its natural moisture and smooth texture are invaluable, helping to create loaves that are incredibly tender and moist – a quality often challenging to achieve without traditional gluten or dairy. This particular recipe stands out because it leverages pumpkin’s unique properties to deliver consistent perfection. Utilizing simple, readily available ingredients, it eliminates the guesswork and complexity often associated with specialized baking. Each time I prepare this bread, it emerges from the oven with an impeccable structure and delightful aroma. Whether enjoyed as a comforting accompaniment to my morning coffee, packed as a wholesome afternoon pick-me-up, or elegantly served at a festive holiday brunch, this pumpkin bread invariably feels special and garners enthusiastic praise from everyone who tries it.
The Magic of Pumpkin in Gluten-Free Baking
Pumpkin is much more than just a seasonal flavor; it’s a secret weapon for gluten-free bakers. Its high moisture content acts as a natural binder and humectant, meaning it helps to retain moisture in baked goods. This is crucial for gluten-free recipes, which can sometimes turn out dry or crumbly due to the absence of gluten’s elastic properties. Pumpkin also contributes a rich, velvety texture, and its vibrant color adds visual appeal. Furthermore, it can subtly enhance the flavor profile of spices like cinnamon and nutmeg, making the overall taste even more complex and satisfying. Incorporating pumpkin allows us to create a tender crumb and prevents that common “gummy” texture often found in less successful gluten-free bakes, proving that healthy and delicious can go hand in hand.
Essential Gluten-Free Baking Tips for Success
Gluten-free baking can be incredibly rewarding, but it often benefits from a few specific techniques. Mastering these tips will elevate your pumpkin bread from good to truly exceptional, ensuring a delightful experience every time.
- For that Perfect Domed Top: Achieving a beautifully domed loaf starts with proper pan filling. Aim for your loaf pan to be about 2/3 to 3/4 full. Overfilling can cause the bread to spill over or bake unevenly. Crucially, always ensure your oven is fully preheated to the correct temperature before introducing your batter. A cold oven can negatively impact the initial rise and structure. If you’re adapting this recipe for muffins, starting them at a slightly higher initial temperature for the first 5-7 minutes before lowering it can help them achieve those desirable tall, rounded tops.
- Troubleshooting Sinking Centers: If your loaf consistently sinks in the middle or appears underdone, there are a few factors to investigate. Firstly, precision in flour measurement is paramount in gluten-free baking; a kitchen scale offers the most accurate results, as volume measurements can vary significantly. Secondly, mix your batter gently and only until just combined. Overmixing can develop any existing gluten-like proteins in your flour blend (like rice flour proteins), leading to a heavy or dense texture. The size of your pan also matters; an improperly sized pan can affect bake time and rise. Sometimes, your bread simply needs an additional 5-10 minutes in the oven. To prevent the top from browning too quickly while the inside finishes baking, loosely tent the loaf with aluminum foil for the final portion of the baking time.
- Achieving a Fluffy, Not Gummy, Crumb: The freshness of your leavening agents, baking powder, and baking soda, is critical for a proper rise and light texture. Always check their expiration dates; old leaveners will result in flat, dense, or gummy bread. While it’s tempting to slice into a warm loaf straight from the oven, resist the urge! Allowing the bread to cool completely on a wire rack gives the internal structure time to set, resulting in a cleaner slice and a much better, less gummy, texture.
- Choosing the Right Gluten-Free Flour Blend: The success of gluten-free baking often hinges on the quality of your flour blend. Most commercial gluten-free all-purpose flour blends, such as Pillsbury gluten-free flour or Cup4Cup, already contain xanthan gum. This ingredient is a vital binder that provides structure and elasticity, mimicking the role of gluten. If your chosen blend does not include it, you’ll need to add it separately as specified in the recipe. For those who prefer single-ingredient flours, my Almond Flour Pumpkin Bread recipe offers an alternative approach. While xanthan gum is generally sufficient for sweet quick breads, experimenting with psyllium husk can add an even more bread-like chew and texture for a truly artisanal feel.
- Accurate Flour Measurement is Key: In gluten-free baking, precision is non-negotiable, especially when it comes to flour. Always use a dry measuring cup designed for solids, not a liquid measuring cup. My preferred method is the “spoon and level” technique: gently spoon the flour into the measuring cup until it overflows slightly, then use the back of a straight edge (like a knife or a bench scraper) to level off the excess without compacting the flour. Avoid scooping directly from the flour bag, as this can pack the flour down, resulting in up to 25% more flour than intended. Excess flour is one of the most common culprits behind dense, dry, or crumbly gluten-free baked goods.
- Room Temperature Ingredients: For optimal results, ensure your eggs and pumpkin puree are at room temperature. This allows them to emulsify more effectively with the other ingredients, leading to a smoother batter and a more uniform texture in the final bread.
- Avoid Overmixing the Batter: Once you’ve added the dry ingredients to the wet, mix just until no streaks of flour remain. Overmixing can lead to a tougher crumb, even in gluten-free recipes, as it can over-develop the starches and gums. A light hand will ensure your pumpkin bread stays tender and airy.
Gluten-Free Pumpkin Bread Recipe
By: Audrey Roberts
Servings: 12 servings | Prep Time: 10 mins | Cook Time: 50-60 mins | Total Time: Approximately 1 hr 5 mins to 1 hr 10 mins
Step-by-step photos can be seen below the recipe card.
Equipment
- 9 x 5-inch loaf pan (see notes for different sized pans)
- Large mixing bowls
- Whisk or electric mixer
- Dry measuring cups and spoons
Ingredients
- 1 cup canned pumpkin, not pumpkin pie filling
- 1 tsp baking soda
- ½ tsp gluten-free baking powder
- ¼ tsp salt
- ¾ cup granulated sugar
- ½ cup brown sugar, packed
- 2 tsp pure vanilla extract
- 3 large eggs
- ⅓ cup vegetable oil
- 1½ cups gluten-free all-purpose flour blend (with or without xanthan gum)
- ¼ tsp xanthan gum, leave out if your flour already has it in it
- 1 tsp cinnamon
- 1 tbsp pumpkin pie spice
Instructions
- Preheat your oven to 350°F (177°C). Prepare a 9×5-inch loaf pan by lightly greasing it with gluten-free cooking spray or lining it with parchment paper for easy removal.
- In a large mixing bowl, combine the canned pumpkin puree, baking soda, gluten-free baking powder, and salt. Stir these ingredients thoroughly until they are well integrated.
- Next, add the granulated sugar, packed brown sugar, and pure vanilla extract to the pumpkin mixture. Whisk vigorously until the entire mixture is smooth, creamy, and all the sugars have dissolved.
- Incorporate the large eggs and vegetable oil into the batter. Continue to mix until the batter is glossy and perfectly smooth, ensuring no lumps remain.
- Finally, add the gluten-free all-purpose flour, xanthan gum (remember to omit this if your flour blend already contains it), pumpkin pie spice, and cinnamon. Mix gently until all the dry ingredients are fully combined into the wet mixture and no streaks of flour are visible. The batter will be notably thick at this stage.
- Spoon the thick batter evenly into your prepared loaf pan. Bake for 50-60 minutes, or until a wooden skewer or toothpick inserted into the very center of the loaf comes out clean. Allow the bread to cool in the pan for 5-10 minutes. For optimal cooling and to prevent sogginess, gently remove the loaf from the pan after about 2 minutes and transfer it to a wire cooling rack or a clean cutting board to cool completely before slicing. Enjoy this delightful gluten-free treat!
Notes
- I extensively tested this gluten-free pumpkin loaf using three different pan sizes: a metal 8-inch by 4-inch loaf pan, a 9-inch by 4-inch metal loaf pan, and a 9-inch by 3-inch glass loaf pan. I am pleased to confirm that the pumpkin bread baked up beautifully and consistently in all three types of loaf pans, offering flexibility in your bakeware choices!
- Egg-free Option: To make this recipe egg-free, you can substitute each egg with 1 tablespoon of ground flaxseed meal mixed with 3 tablespoons of water. Allow this “flax egg” mixture to sit for 5-10 minutes until it thickens before adding it to the batter.
Nutrition Information
Nutrition information is automatically calculated and should only be used as an approximation. Per serving (based on 12 servings):
- Serving: 1 serving
- Calories: 217 kcal
- Carbohydrates: 35 g
- Protein: 4 g
- Fat: 8 g
- Saturated Fat: 5 g
- Cholesterol: 53 mg
- Sodium: 166 mg
- Potassium: 94 mg
- Fiber: 2 g
- Sugar: 23 g
- Vitamin A: 3254 IU
- Vitamin C: 1 mg
- Calcium: 43 mg
- Iron: 1 mg
Additional Information
- Course: Breakfast, Dessert
- Cuisine: American
How to Make Gluten-Free Pumpkin Bread: Step-by-Step Visual Guide
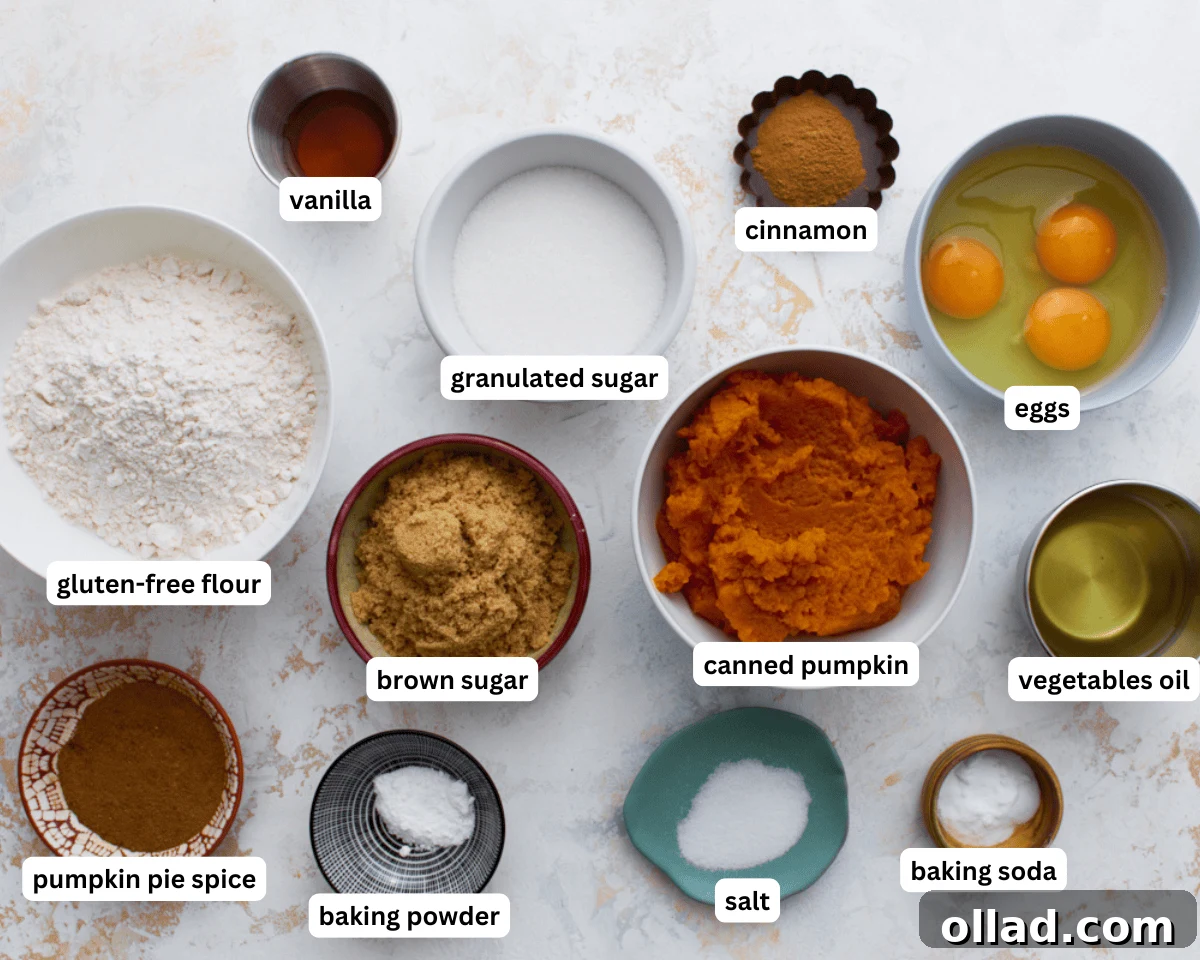
1. Gather the Ingredients: Start by gathering all your required ingredients. Preheat your oven to 350°F (177°C) and prepare a 9×5-inch loaf pan by lightly spraying it with gluten-free cooking spray or lining it with parchment paper.
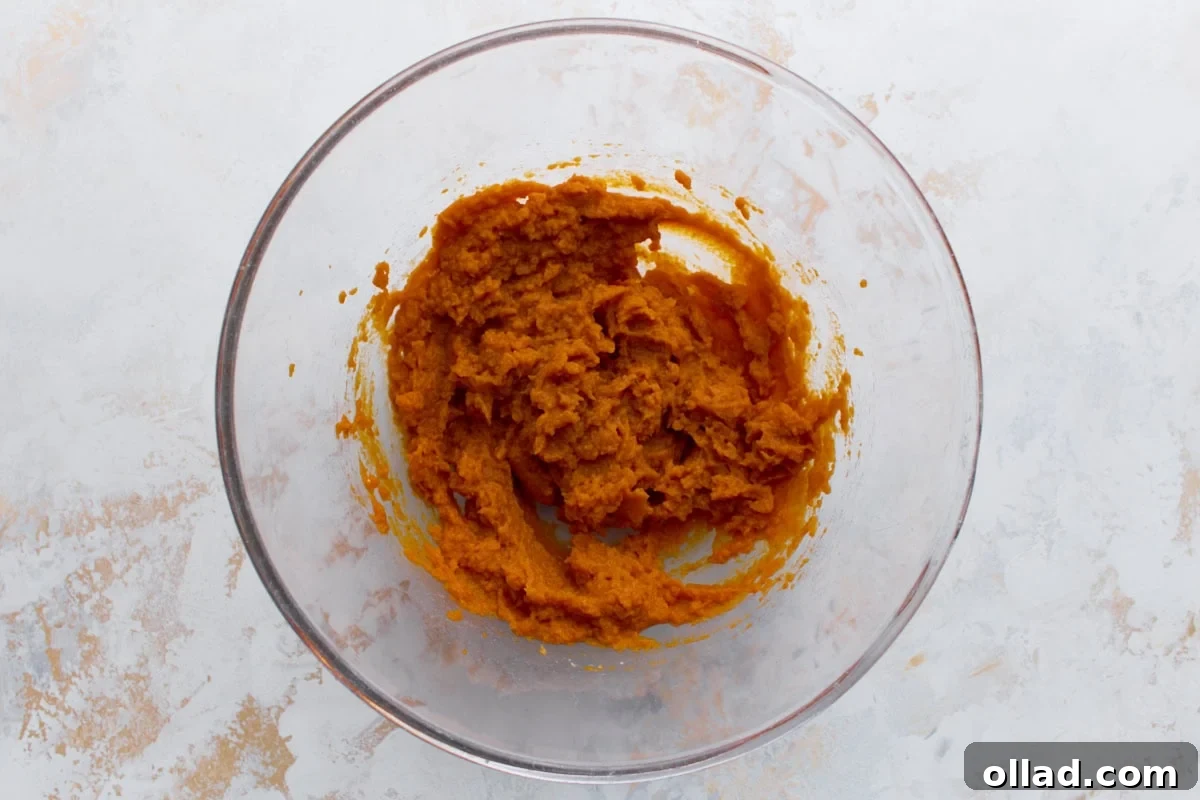
2. Mix the Pumpkin Base: In a spacious mixing bowl, combine 1 cup of canned pumpkin (ensure it’s pure pumpkin, not pie filling), 1 teaspoon of baking soda, ½ teaspoon of gluten-free baking powder, and ¼ teaspoon of salt. Whisk these together until they are thoroughly combined and uniform.
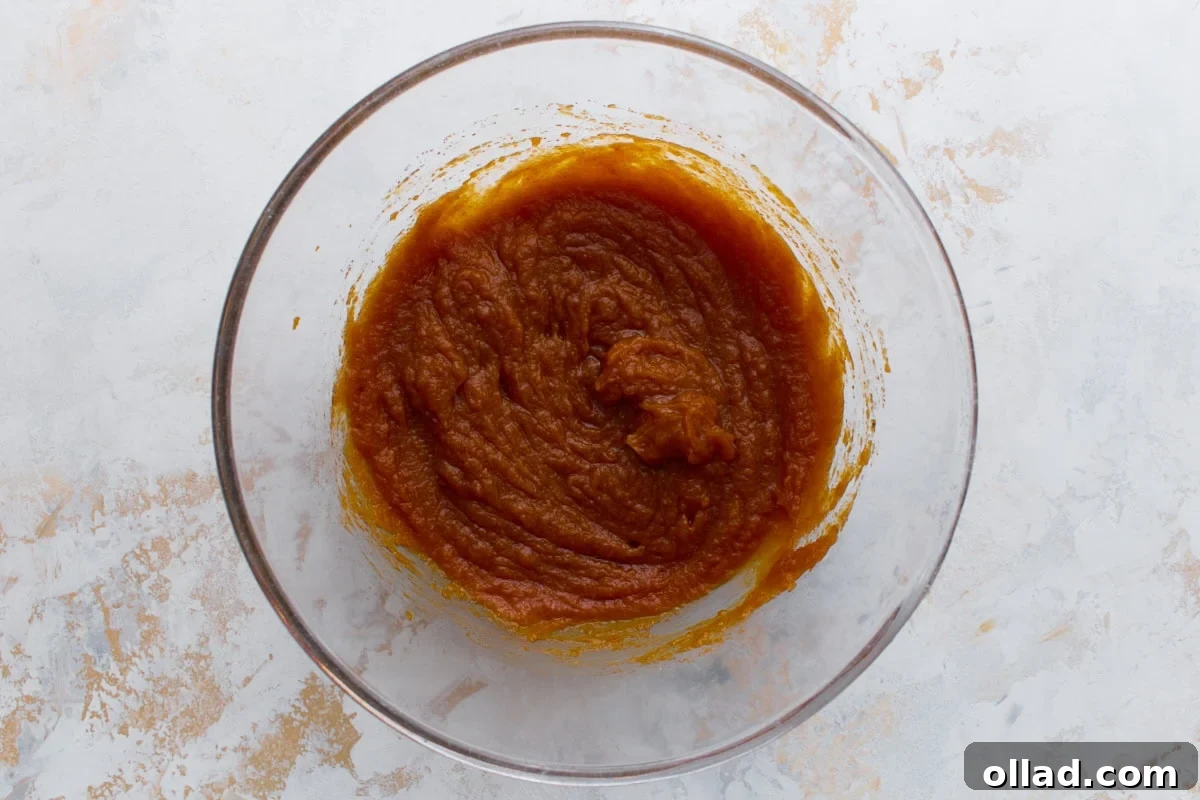
3. Sweeten and Flavor: To the pumpkin mixture, add ¾ cup of granulated sugar, ½ cup of packed brown sugar, and 2 teaspoons of pure vanilla extract. Continue whisking until the mixture becomes completely smooth and all the sugars are fully integrated.
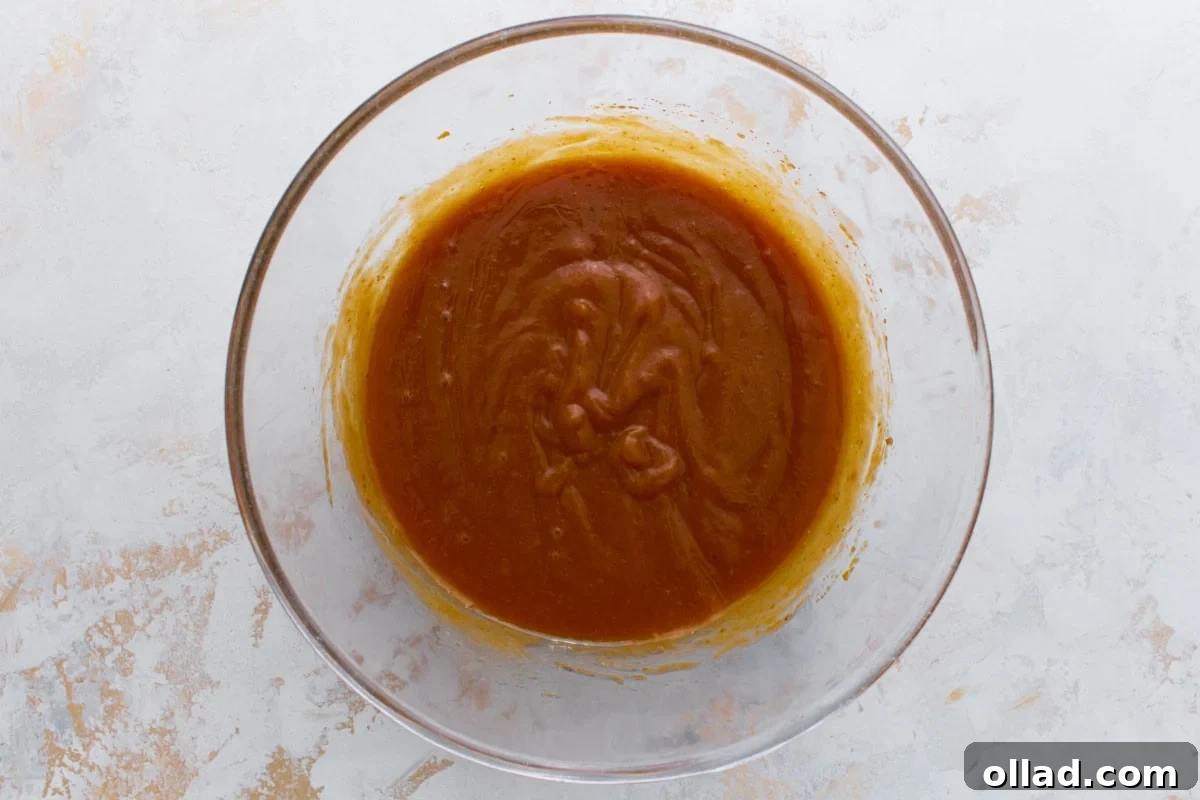
4. Add the Eggs and Oil: Gently beat in 3 large eggs and ⅓ cup of vegetable oil. Mix until the batter achieves a beautifully smooth and glossy consistency, indicating good emulsification.
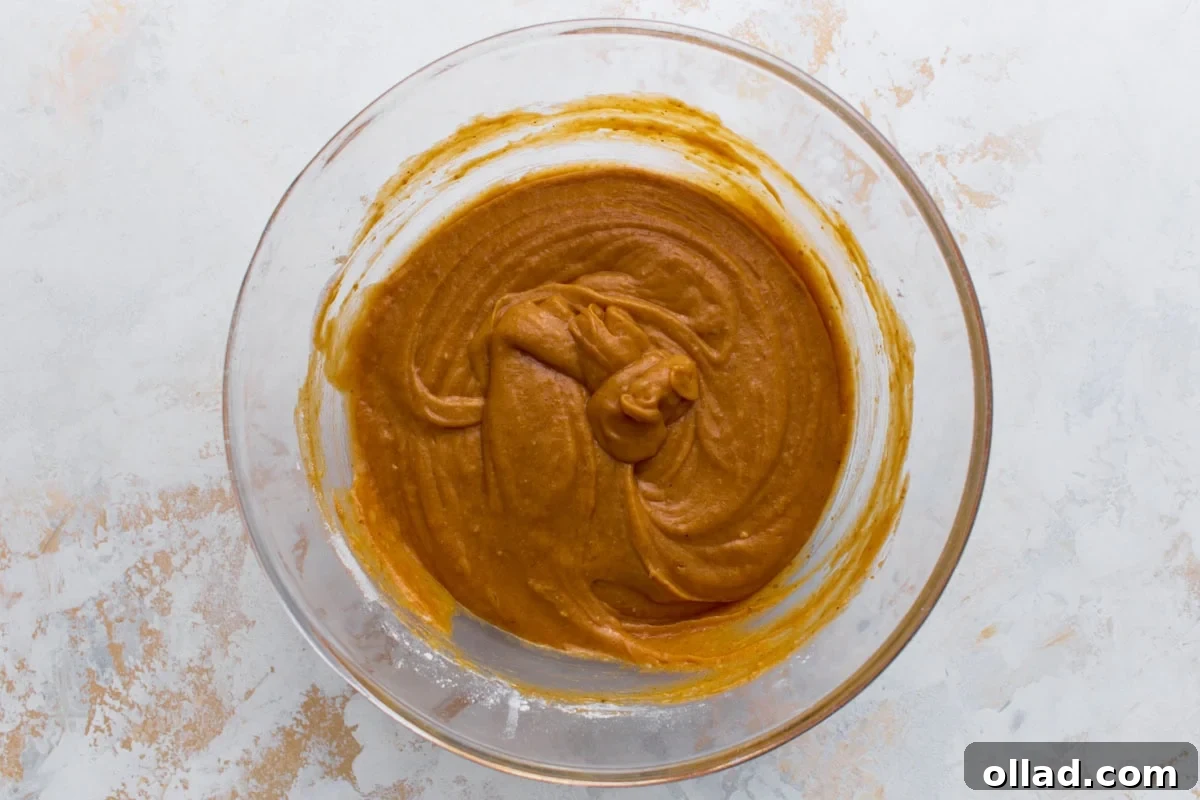
5. Incorporate Dry Ingredients: Carefully stir in 1½ cups of gluten-free all-purpose flour, ¼ teaspoon of xanthan gum (only if your flour blend doesn’t already contain it), 1 tablespoon of pumpkin pie spice, and 1 teaspoon of cinnamon. Mix until the batter is thick and no traces of dry flour remain. Avoid overmixing to keep the bread tender.
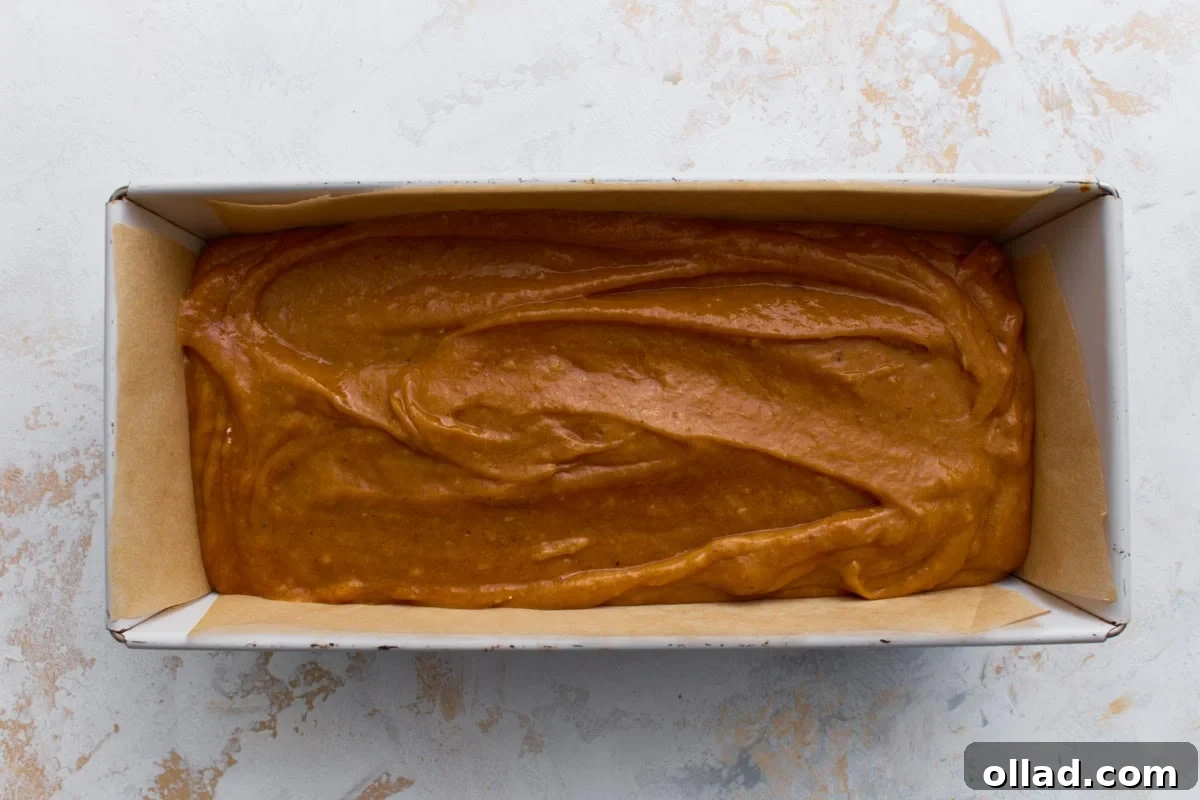
6. Fill the Pan: Spoon the rich, thick batter evenly into your prepared loaf pan. Use a spatula to gently smooth the top surface of the batter, preparing it for an even rise.
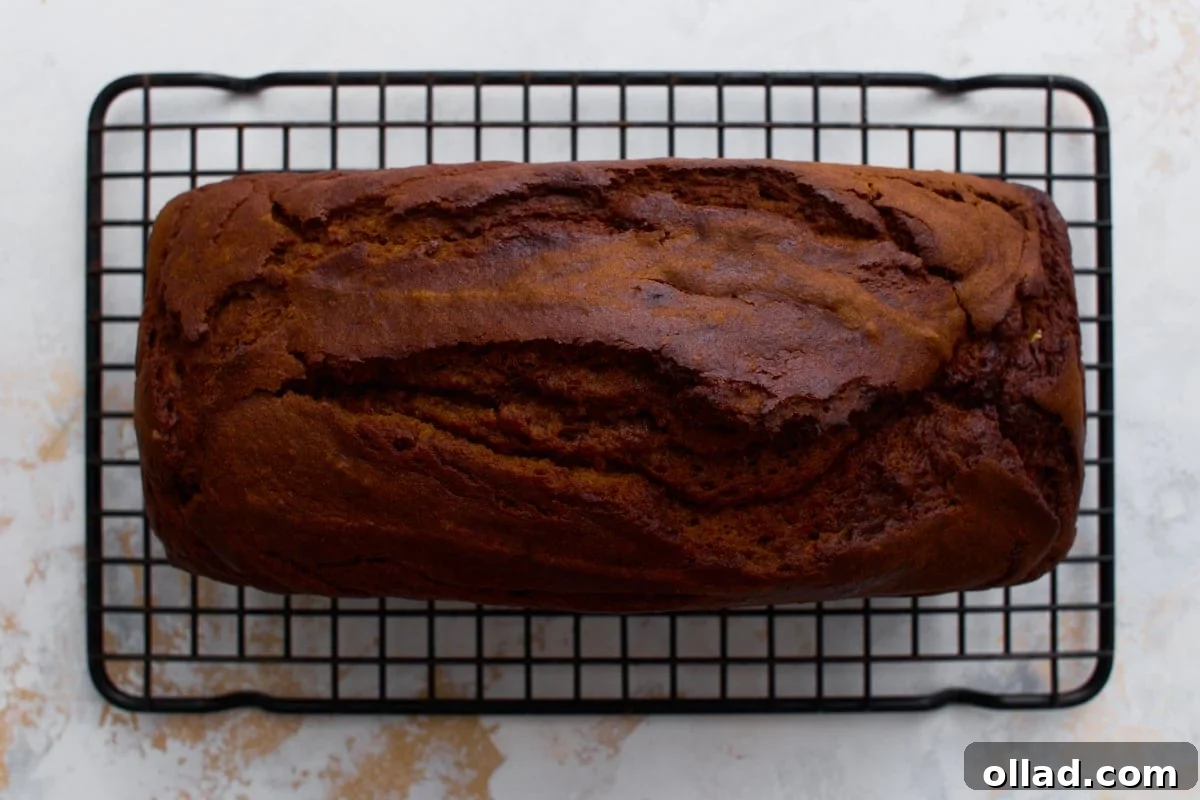
7. Bake and Cool: Bake for 50–60 minutes, or until a toothpick inserted into the center emerges clean. Allow the bread to cool in the pan for about 2 minutes to set. Then, carefully remove it from the pan and transfer it to a wire rack or cutting board. It’s crucial to let it cool for at least 10-30 minutes before slicing to ensure the perfect texture.
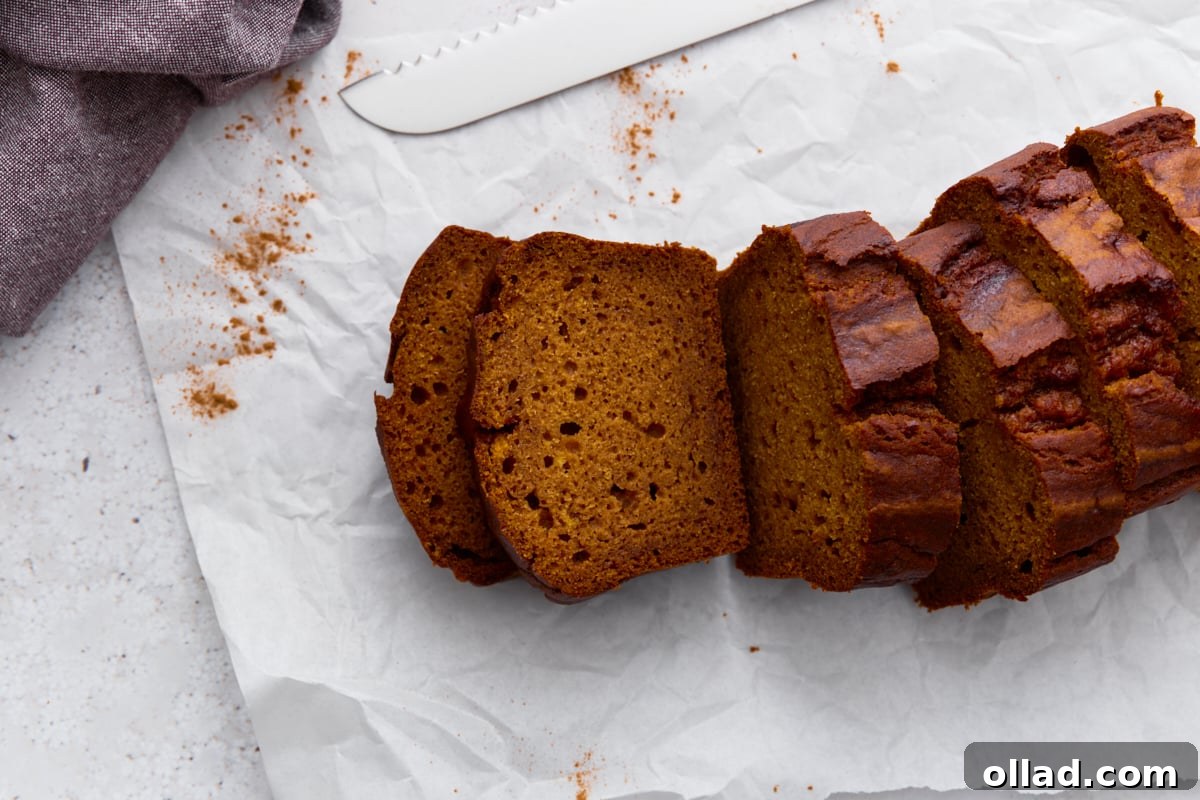
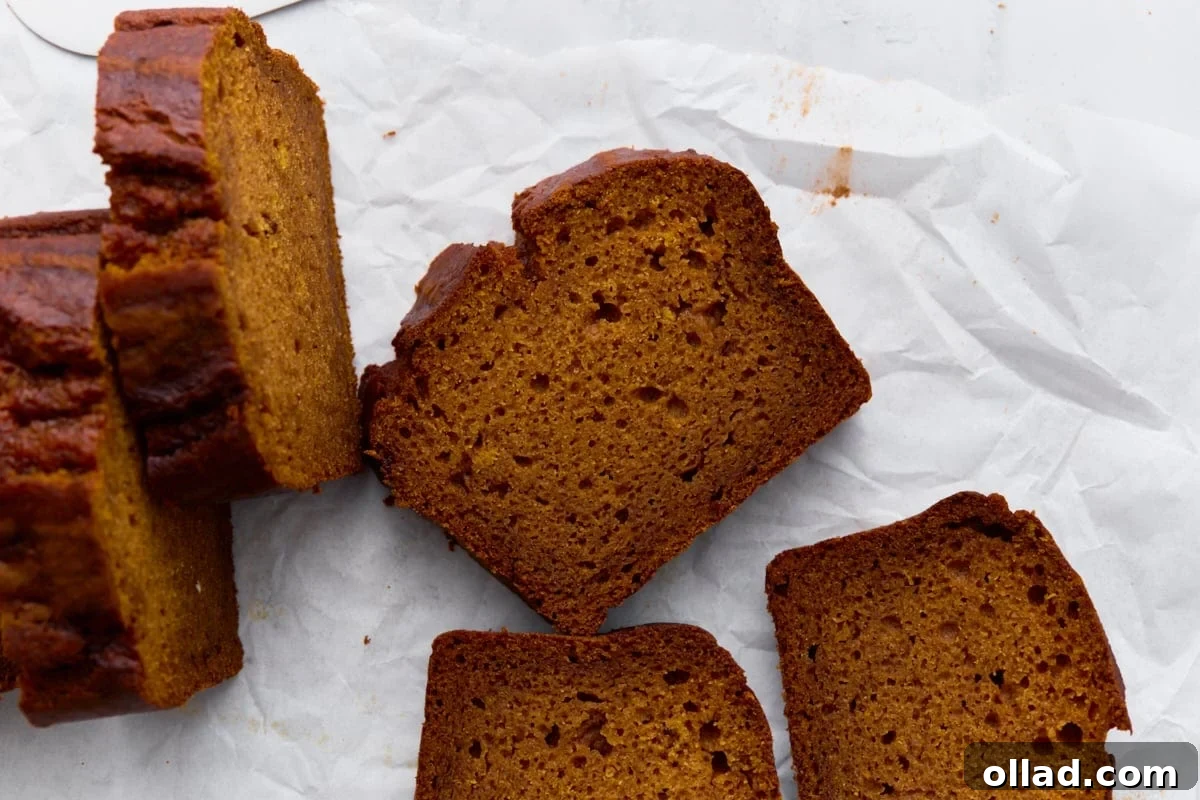
8. Slice and Enjoy: Once cooled, slice the loaf using a serrated knife. It’s wonderfully delicious on its own, or you can elevate it with a generous pat of butter. Enjoy the warm, comforting flavors!
Delicious Recipe Variations to Try
While this gluten-free pumpkin bread is undeniably delicious on its own, it also serves as a fantastic canvas for creative customization. Adding different ingredients can introduce new textures and flavor dimensions, allowing you to tailor each loaf to your personal preferences. To prevent any heavy add-ins from sinking to the bottom during baking, simply toss them with a tablespoon or two of gluten-free flour before folding them into the batter.
- Chocolate Chips: For a decadent twist, fold in a cup of your favorite chocolate chips (dairy-free if preferred). They melt into gooey pockets, transforming this quick bread into a sweet, dessert-style pumpkin loaf that’s perfect for a treat.
- Chopped Nuts: Introduce a delightful crunch and nutty depth by incorporating ½ to 1 cup of finely chopped walnuts, pecans, or even almonds. The nuts toast slightly during baking, releasing even more flavor.
- Dried Fruit: Add a pleasant tartness and chewy texture with ½ cup of dried cranberries or raisins. These burst with flavor and moisture, complementing the sweetness of the pumpkin.
- Streusel Topping: For an extra layer of texture and sweetness, prepare a simple streusel topping with gluten-free flour, brown sugar, a touch of cinnamon, and dairy-free butter. Sprinkle it over the batter before baking for a crumbly, buttery crust.
- Maple Glaze or Cream Cheese Frosting: Elevate your pumpkin bread to holiday-ready status with a luscious topping. A simple maple glaze (powdered sugar, maple syrup, and a splash of dairy-free milk) or a tangy dairy-free cream cheese frosting can turn it into a showstopper for special occasions.
- Seeds for Garnish: For a rustic and appealing finish, sprinkle pumpkin seeds (pepitas) or sunflower seeds on top of the batter before baking. They add a delicate crunch and visual interest.
- Spice Twist: Experiment with the spice profile! Swap out some of the pumpkin pie spice for chai spice blend for an exotic flair, or boost the warmth by adding extra ground ginger, nutmeg, or a pinch of cloves for a more intense spice experience.
Serving Suggestions for Every Occasion
This gluten-free pumpkin bread is a versatile treat that fits perfectly into any part of your day. While it’s utterly satisfying on its own, serving it warm with a few simple additions can elevate the experience. A generous pat of dairy-free butter, softening into the warm crumb, is always a classic choice. For an extra touch of indulgence, a smear of dairy-free cream cheese adds a wonderful tang that balances the bread’s sweetness. I particularly love to drizzle it with the maple glaze from my gluten-free pumpkin cookies recipe; its sweet, earthy notes complement the pumpkin bread beautifully. This bread is the quintessential companion for a hot cup of coffee, a soothing mug of tea, or a spiced latte on a cool morning. As an afternoon snack, it pairs wonderfully with a simple drizzle of honey or maple syrup for an extra touch of natural sweetness. For a light dessert, serve it alongside a scoop of vanilla dairy-free ice cream or a dollop of coconut whipped cream for an unforgettable autumn delight.
Storage Tips for Freshness
Proper storage is key to maintaining the delicious moisture and flavor of your gluten-free pumpkin bread. To keep it fresh for everyday enjoyment, store the cooled loaf in an airtight container at room temperature for up to 3 days. This prevents it from drying out and preserves its tender crumb. If your kitchen tends to be warmer or more humid, or if you prefer a longer shelf life, you can refrigerate the bread for up to 5 days. When refrigerating, ensure it’s wrapped tightly in plastic wrap or foil before placing it in an airtight container to prevent it from absorbing refrigerator odors or losing moisture.
For long-term storage, freezing is an excellent option. Once the loaf has completely cooled, wrap it securely in plastic wrap, followed by a layer of aluminum foil, then place it in a freezer-safe bag. Individual slices can also be wrapped similarly, making it easy to thaw just what you need. Frozen pumpkin bread will maintain its quality for up to 3 months. When you’re ready to enjoy it, simply thaw the loaf or slices at room temperature. For that irresistible fresh-from-the-oven taste, warm individual slices in a toaster oven or microwave for a few seconds. This reheating method helps to bring back its tender texture and aromatic spices.
More Gluten-Free Fall Baking Inspiration
- Crustless Apple Pie
- Gluten-Free Cranberry Bread
- Gluten-Free No-Bake Pumpkin Cheesecake
- Gluten-Free Pumpkin Pie
- Gluten-Free Pumpkin Muffins
Our Gluten-Free Pumpkin Bread recipe was originally published on 9/20/19. It was retested, reworked, and republished to be better than ever on 11/12/25.