
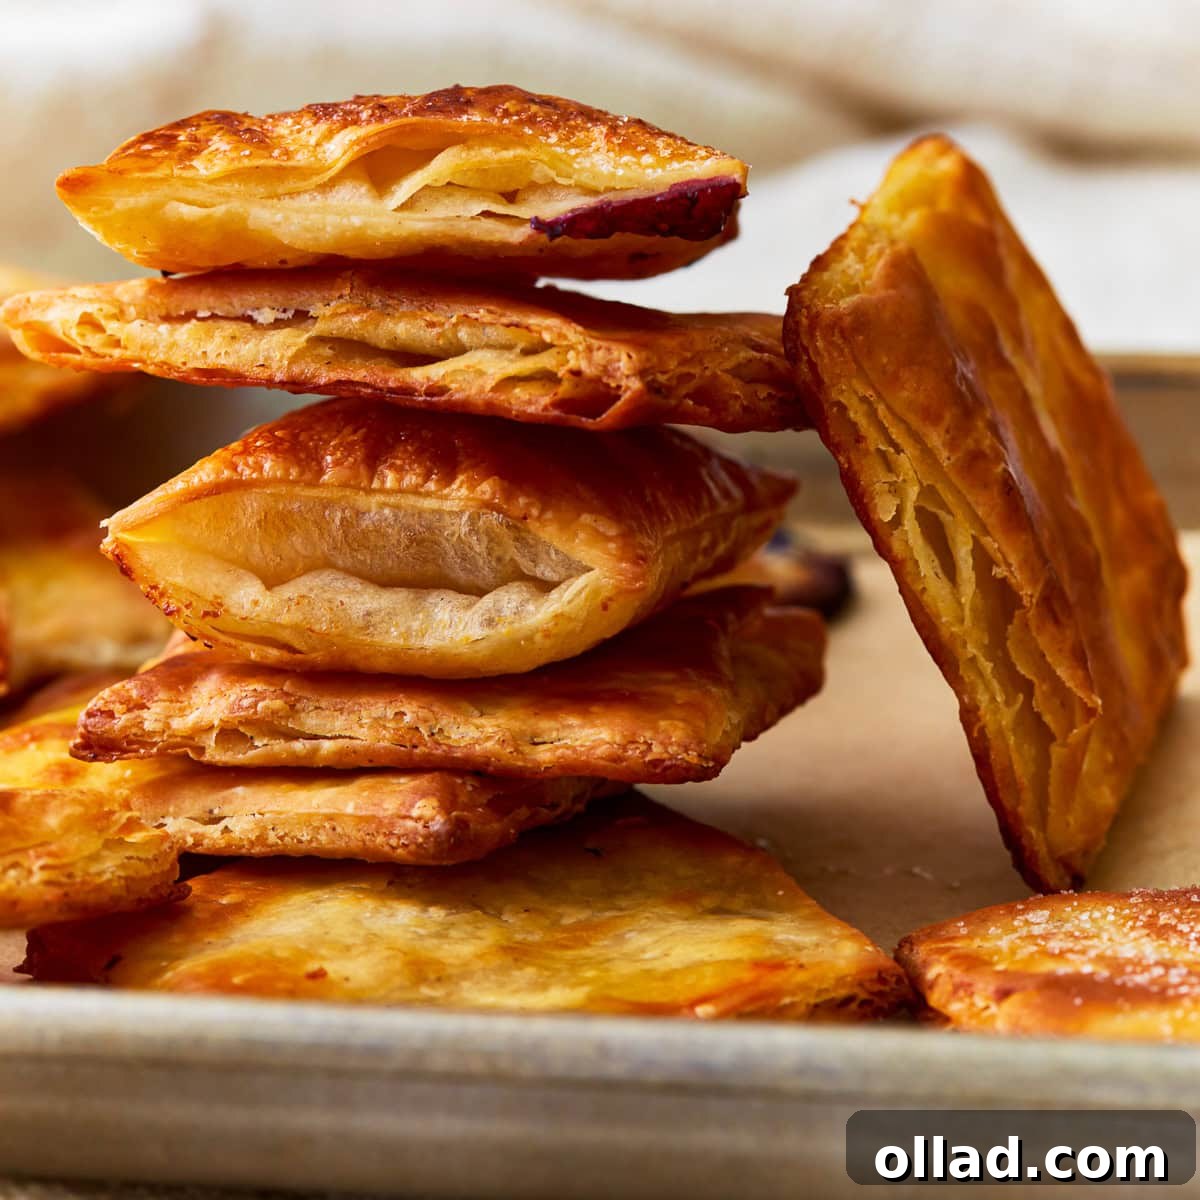
Unlock the secrets to crafting exceptional **gluten-free puff pastry** right in your own kitchen! This meticulously developed recipe guides you through creating a laminated, rough-puff dough that transforms into a wonderfully buttery, flaky, and golden pastry. Perfect for an array of sweet and savory applications, this homemade marvel uses just six essential gluten-free pantry staples. With minimal hands-on time—primarily focused on rolling and folding—your refrigerator handles the crucial chilling, allowing you to achieve impressive layers effortlessly. The key lies in maintaining the optimal cold temperature for your butter and using the precise amount of gluten-free flour to ensure every bite is divinely crisp and airy.
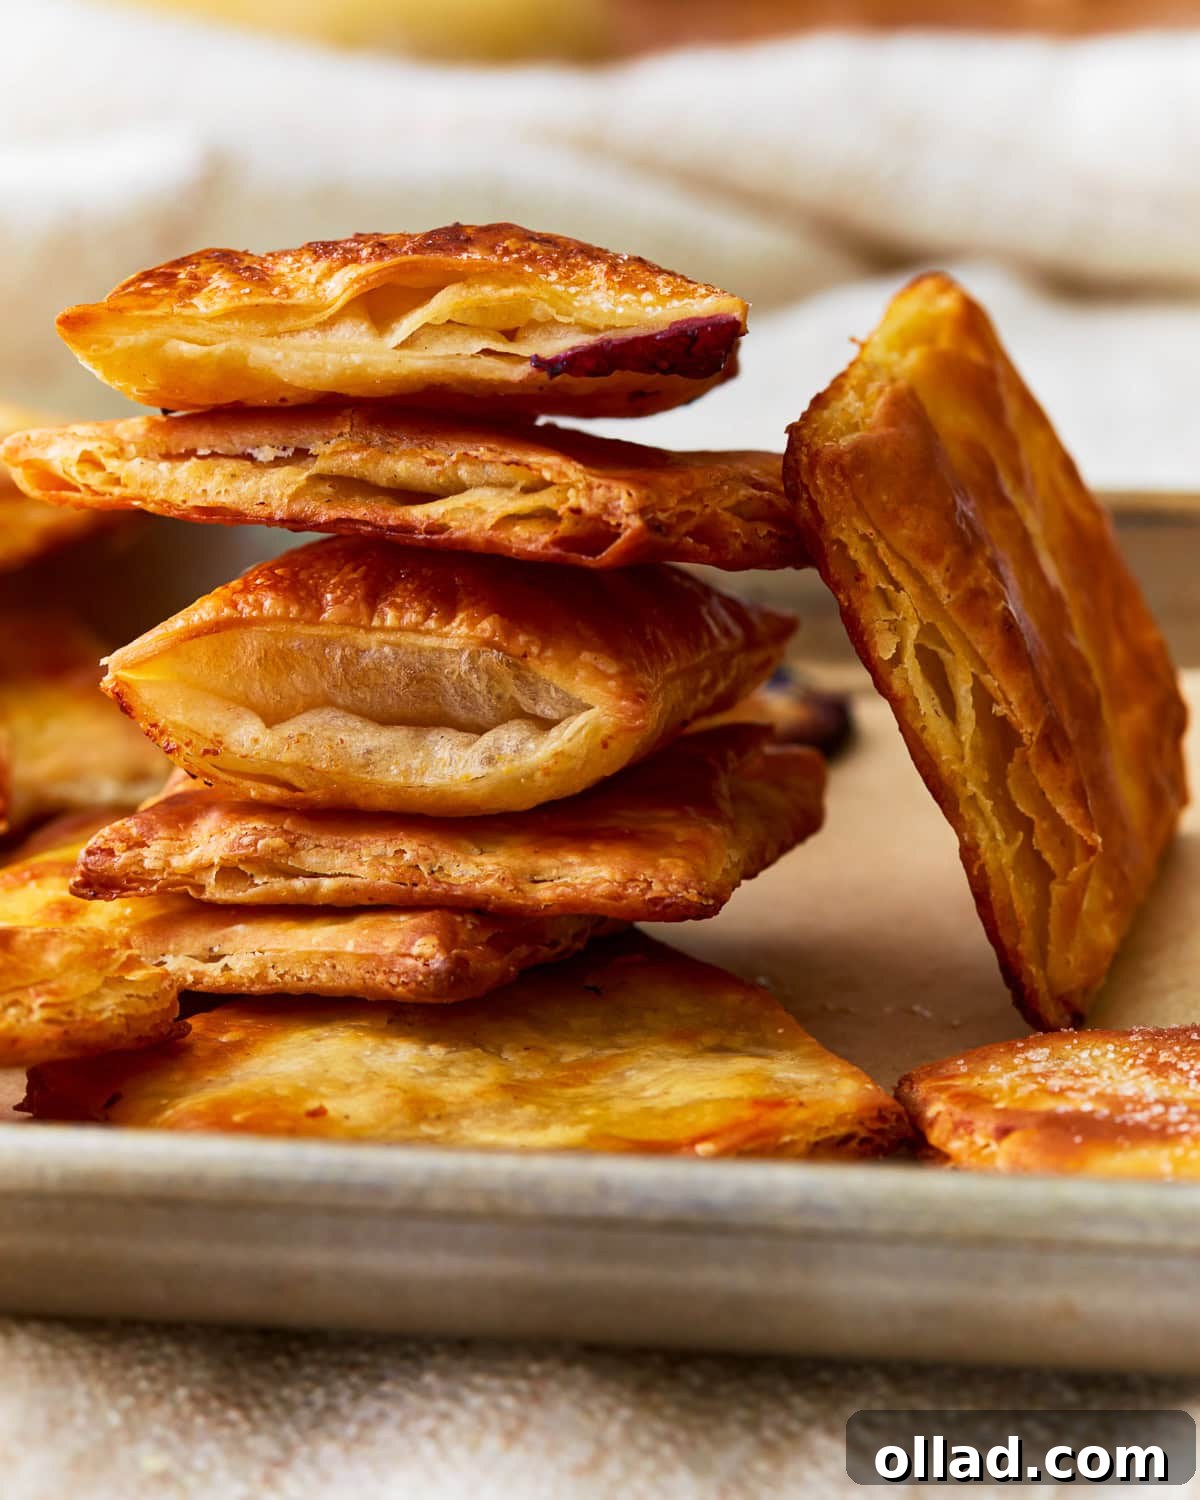
The Ultimate Gluten-Free Puff Pastry Recipe: Achieve Flaky Perfection
As a passionate baker, I thrive on the challenge of adapting beloved classic recipes into their equally delicious gluten-free counterparts. While I’ve successfully mastered gluten-free phyllo dough, the intricate nature of puff pastry always seemed a formidable task. However, I decided to tackle it head-on, and to my delight, discovered just how straightforward it can be using the “rough puff” method! This innovative technique, combined with the right balance of gluten-free flour and a touch of xanthan gum, yields a remarkably flexible and resilient dough. It rolls and folds beautifully without crumbling, a common concern in gluten-free baking. The secret to those characteristic flaky layers lies in using very cold unsalted butter, expertly cut into both small cubes and thin slices. When worked just right, this dough bakes up into a magnificent golden-brown pastry, boasting an irresistible texture that rivals its traditional counterpart.
This recipe demystifies the art of gluten-free rough puff pastry, making it accessible for every home baker. Below, you’ll find detailed, step-by-step instructions accompanied by illustrative photos to guide you through each stage of the process, ensuring your success from start to finish.
Essential Gluten-Free Baking Principles for Perfect Pastry
Achieving outstanding results in gluten-free baking, especially with delicate pastries like puff pastry, requires a keen understanding of a few fundamental principles. These tips are crucial for ensuring your dough develops the ideal texture and bakes into a spectacular, flaky treat:
- Dough Consistency is Key: When kneading your dough, aim for a smooth, cohesive ball that holds its shape when gently pressed. It should feel neither excessively sticky nor overly dry. Keep in mind that different brands of gluten-free flour blends can vary in their absorbency. Be prepared to make slight adjustments by adding a tiny bit more water if the dough seems too stiff and crumbly, or a sprinkle of additional flour if it’s too wet and difficult to handle. This adaptability is vital for gluten-free baking.
- Avoid Over-Kneading: Once your dough has just come together and appears smooth, stop kneading immediately. Overworking the dough, particularly with the warmth of your hands, can cause the crucial cold butter within to soften and melt. This premature melting is the enemy of flaky pastry, as the distinct layers of butter and dough need to remain separate to create that characteristic rise and texture during baking.
- Maintain Cold Temperatures: The success of puff pastry hinges on keeping all ingredients, especially the butter and dough, as cold as possible throughout the folding and rolling process. If at any point the butter begins to feel soft or the dough becomes overly pliable and sticky, don’t hesitate to wrap it tightly in plastic wrap and return it to the refrigerator for a 15-20 minute chill. You should be able to discern small flecks of butter visibly interspersed throughout the dough after each turn – these are the tiny pockets that will expand and create steam, leading to those wonderful layers when baked.
- Strategic Flour Dusting: Always liberally dust your work surface, rolling pin, and even your hands with gluten-free flour to prevent the dough from sticking. For an extra layer of non-stick security, I often lay down a large piece of plastic wrap on my counter before flouring it. This provides a clean, easy-to-clean surface and helps greatly with managing the dough during rolling and folding.
- Embrace the Rough Puff Method: This recipe utilizes the “rough puff” method of lamination, a simplified yet highly effective technique. Unlike traditional puff pastry, which involves encasing a solid block of butter and performing numerous precise folds with lengthy chilling times in between, the rough puff method incorporates larger, evenly distributed chunks of cold butter directly into the dough. This allows for fewer chilling intervals between folds, streamlining the process significantly. The result is still a beautifully flaky, homemade gluten-free puff pastry, but with substantially less time and effort required, making it ideal for the home baker without compromising on quality.
Rated 5 out of 5 stars by 2 users.
Gluten-Free Puff Pastry Recipe
Share by Email
Print Recipe
Ingredients
- 2 cups all-purpose gluten-free flour blend*, plus extra for flouring the work surface
- 1 teaspoon xanthan gum, omit if your blend already contains it
- 1 tablespoon granulated sugar
- 1 teaspoon salt
- 3 tablespoons cold unsalted butter**, cubed
- ½ cup cold water, from the refrigerator
- ⅔ cup cold unsalted butter, cut into thin slices
Instructions
-
In a large mixing bowl, combine the gluten-free flour, xanthan gum (if needed), sugar, and salt. Whisk these dry ingredients together thoroughly to ensure they are well-integrated before proceeding.
-
Add the cubed cold unsalted butter to the flour mixture. Using a pastry cutter, or working quickly with your fingertips, cut the butter into the flour until the mixture resembles coarse crumbs with some pea-sized pieces of butter still visible. This is crucial for creating flakiness.
-
Gradually incorporate the cold water into the mixture. Add it slowly, stirring with a fork, until the dough just begins to come together. Avoid adding all the water at once; you might need slightly less or more depending on your flour blend.
-
Turn the dough out onto a lightly floured work surface. Gently knead it for only a minute or two until it forms a smooth, cohesive ball. Be careful not to overwork it, as this can warm the butter and negatively impact the pastry’s texture.
-
Flatten the newly formed dough ball into a rough rectangle. Wrap it tightly in plastic wrap to prevent it from drying out, and refrigerate for at least 30 minutes. This chilling period allows the gluten-free flour to fully hydrate and the butter to firm up again.
-
Once the dough is adequately chilled, remove it from the refrigerator and place it on your well-floured work surface.
-
Using a rolling pin, roll the dough out evenly into a large rectangle, aiming for approximately 1/4 inch thickness. Ensure the edges are as straight as possible for neat folding.
-
Distribute the ⅔ cup of cold unsalted butter, cut into thin slices, evenly over two-thirds of the rolled-out dough rectangle. Leave the remaining one-third of the dough free of butter. This strategic placement is fundamental to the rough puff lamination process.
-
Carefully fold the unbuttered third of the dough over the middle third that is covered with butter. Press gently to seal.
-
Next, fold the remaining butter-covered third of the dough over the top of the folded sections. This creates a neat three-layered packet of dough and butter, known as a ‘turn’.
-
Rotate the dough packet 90 degrees (a quarter turn). This is crucial for creating even layers in subsequent rolling. Then, roll it out again into another large rectangle, maintaining the 1/4-inch thickness.
-
Repeat the folding process: fold one third of the dough over the middle section.
-
Finally, fold the remaining third of the dough over once again to complete the second set of three layers. This completes the lamination process for this recipe.
-
Roll out the dough into a large rectangle one final time, to your desired thickness for use.
-
Wrap the finished dough tightly in plastic wrap and refrigerate for at least 30 minutes before using it in your chosen recipe. This final chill allows the dough to relax and the butter to firm up, making it easier to work with and ensuring optimal puff. (For inspiration, I often slice mine into squares to make delightful small pastries).
Notes for Gluten-Free Puff Pastry Success
*The temperature of **your butter is paramount**. It absolutely must be cold. For the initial mixing, cut a portion of the butter into small cubes, and for the lamination process, slice the remaining butter thinly. Both forms of butter must be kept chilled in the refrigerator until you are ready to use them.
- **Do not overwork the dough.** Excessive handling or kneading will cause the butter to soften prematurely and integrate too much into the flour, hindering the creation of distinct layers and preventing the pastry from puffing up beautifully in the oven. Work quickly and efficiently, especially when rolling and folding.
Nutrition
Calories: 2242kcal
Carbohydrates: 188g
Protein: 26g
Fat: 165g
Saturated Fat: 99g
Polyunsaturated Fat: 7g
Monounsaturated Fat: 42g
Trans Fat: 6g
Cholesterol: 416mg
Sodium: 2439mg
Potassium: 57mg
Fiber: 27g
Sugar: 20g
Vitamin A: 4831IU
Calcium: 211mg
Iron: 9mg
Nutrition information is automatically calculated, so should only be used as an approximation.
Additional Info
Crafting Your Flaky Gluten-Free Puff Pastry: A Visual Step-by-Step Guide
Creating beautiful, flaky gluten-free puff pastry is an incredibly rewarding experience. Follow these detailed steps, accompanied by clear imagery, to achieve perfect results every time. Remember, patience and keeping your ingredients cold are your best allies!
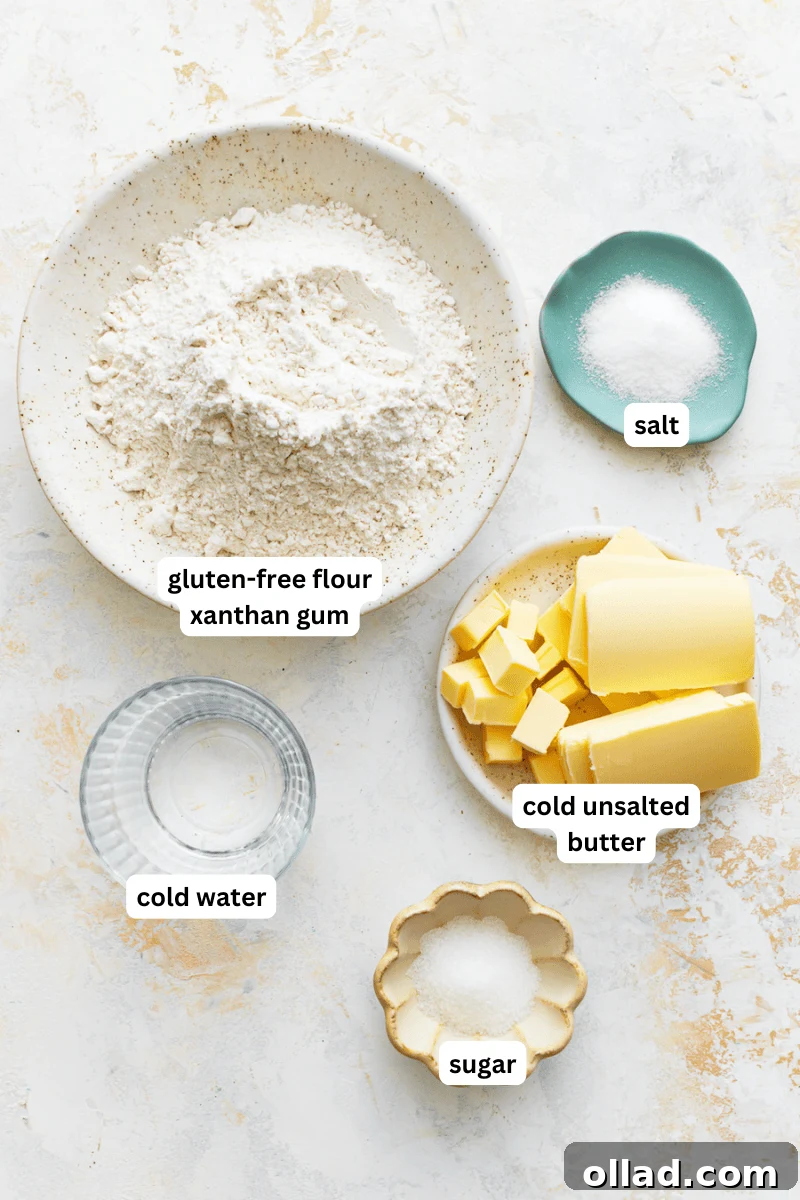
Step 1: Gather Your Ingredients. Begin by meticulously gathering all your required ingredients. Ensure your butter is thoroughly chilled and measured precisely. Having everything ready before you start will make the process much smoother and help maintain the critical cold temperature of your butter.
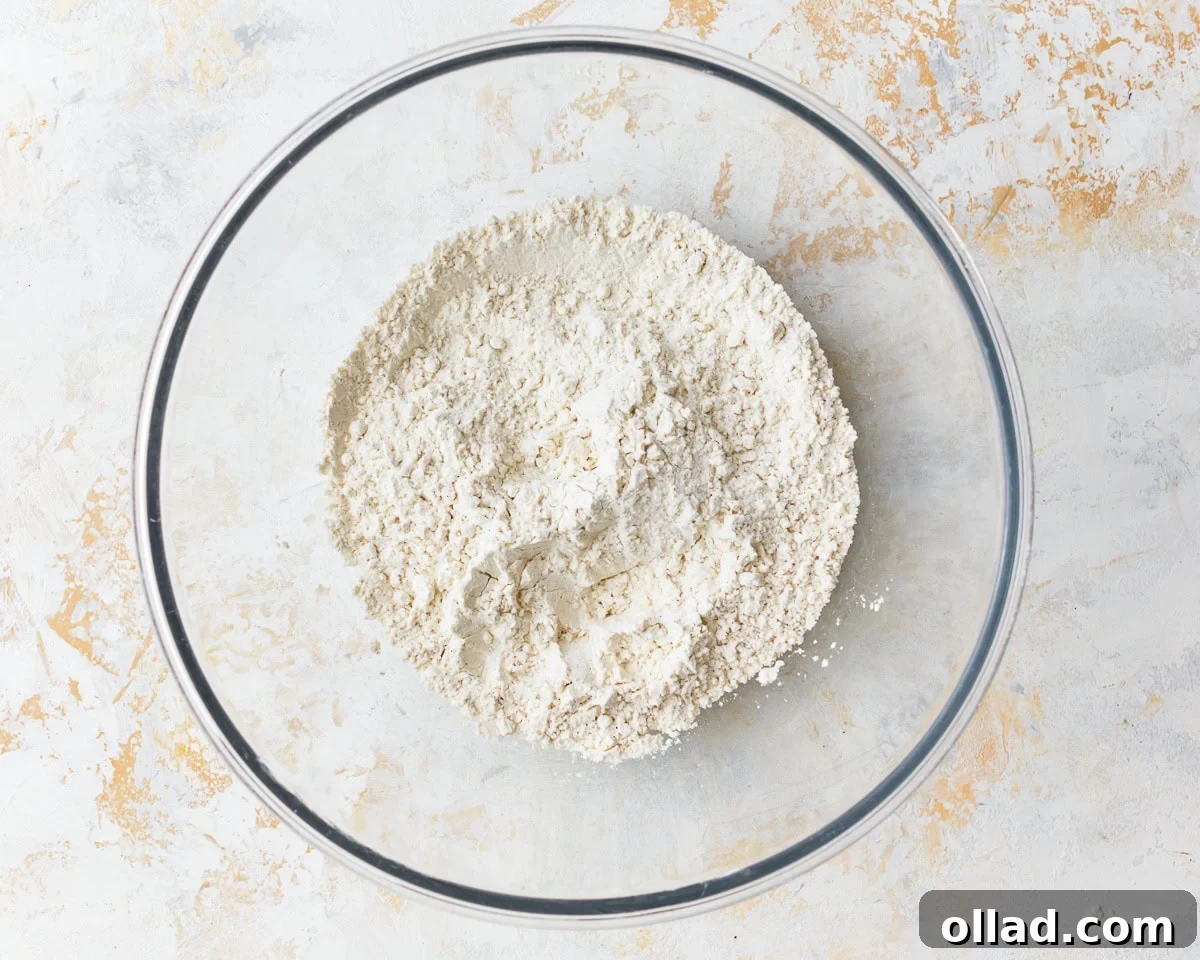
Step 2: Combine Dry Ingredients. In a large, spacious mixing bowl, accurately combine 2 cups of your chosen all-purpose gluten-free flour blend, 1 teaspoon of xanthan gum (if your blend doesn’t already include it), 1 tablespoon of granulated sugar, and 1 teaspoon of salt. Whisk these dry components together thoroughly to ensure an even distribution, which is essential for a consistent dough texture.
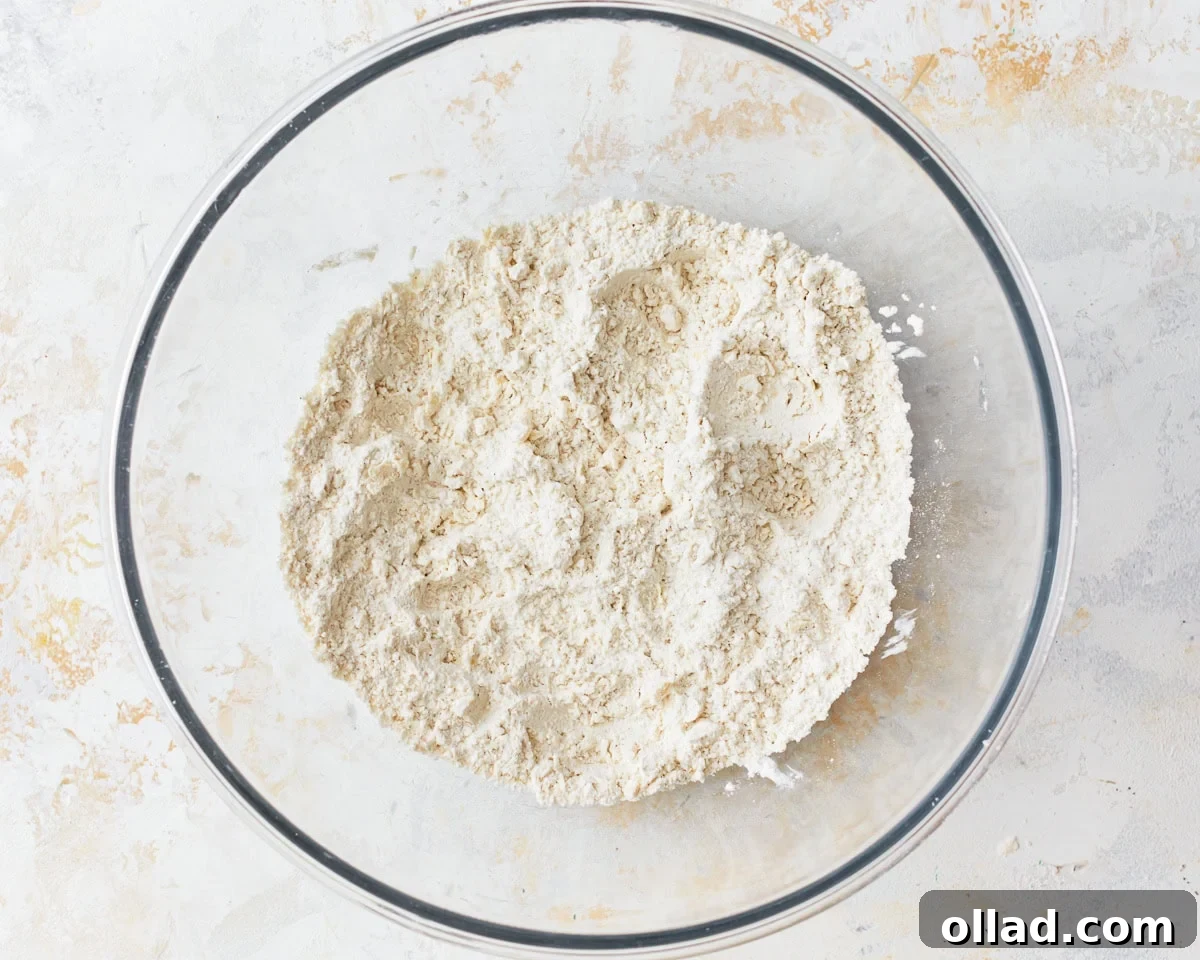
Step 3: Incorporate the Cubed Butter. Add 3 tablespoons of cold, unsalted butter, pre-cut into small cubes, to the dry flour mixture. Using a pastry cutter, or working quickly with the tips of your fingers, carefully cut the butter into the flour. Continue until the mixture resembles coarse crumbs, with some distinct pea-sized pieces of butter still visible. These butter pieces are vital for creating the distinct flaky layers in the final pastry.
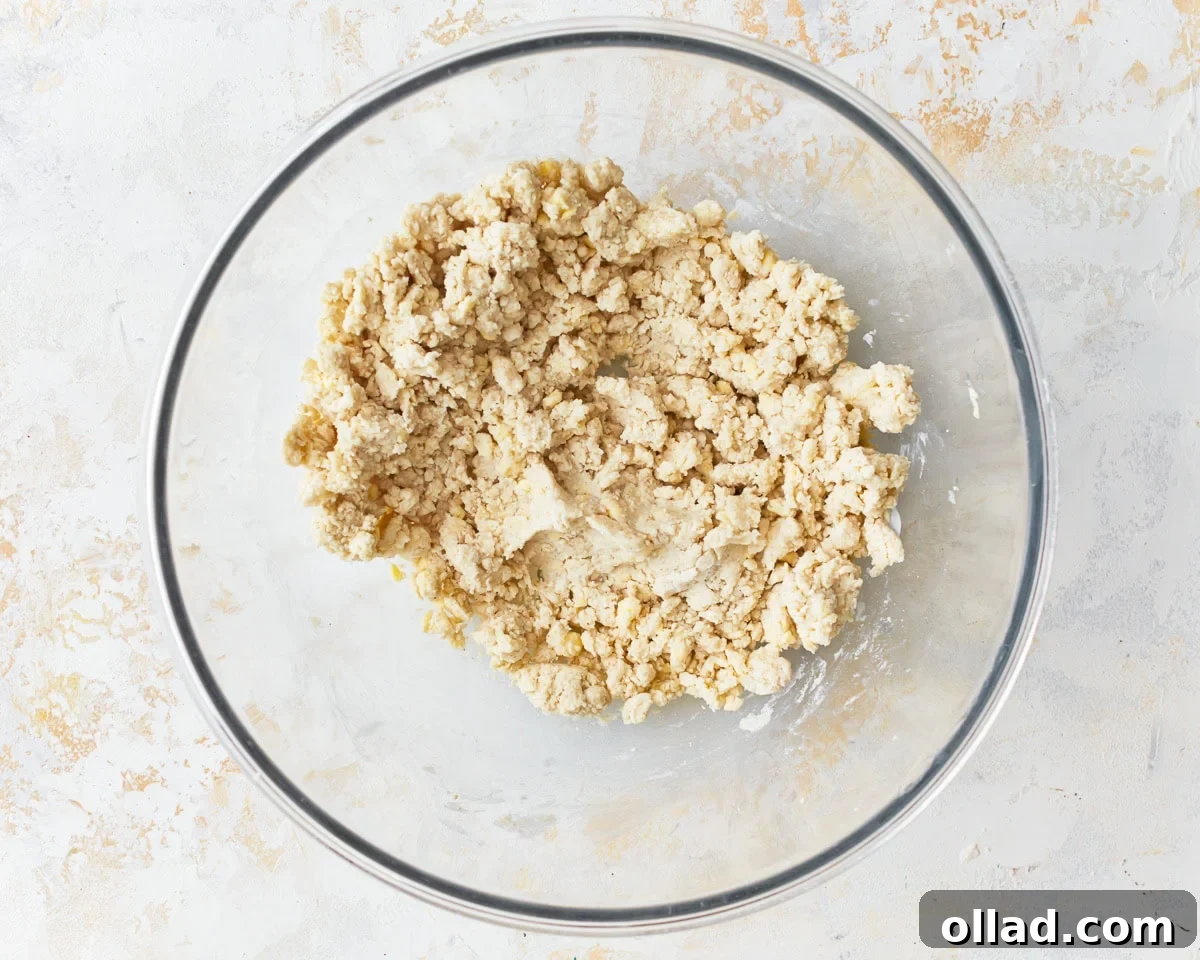
Step 4: Gradually Add Cold Water. Pour ½ cup of very cold water (straight from the refrigerator) into the flour-and-butter mixture gradually. Use a fork to stir the ingredients, carefully bringing the dough together. Be observant: the dough should just start to cohere. You might need a tiny bit less or a bit more water, depending on the specific gluten-free flour blend you are using.
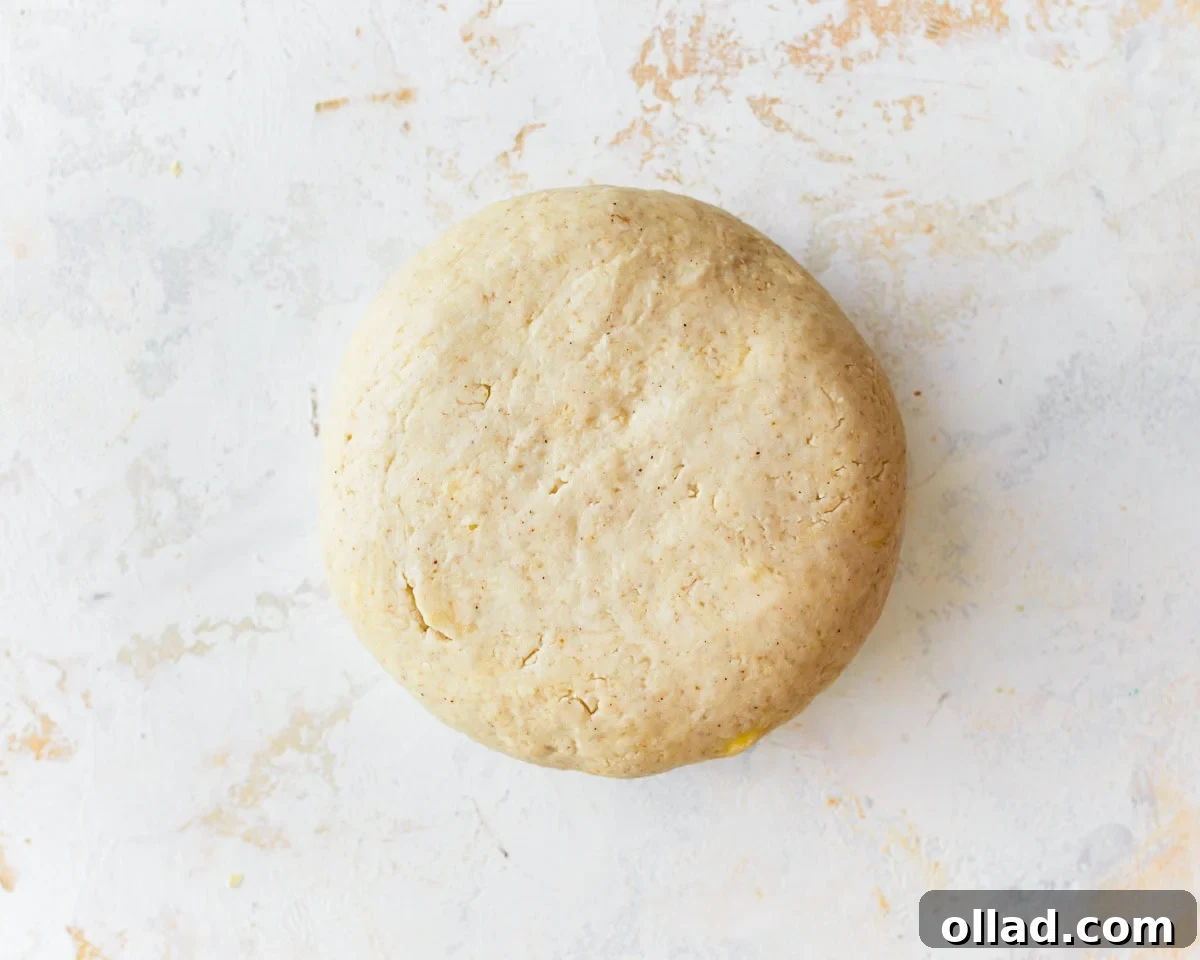
Step 5: Form a Smooth Dough Ball. Transfer the partially formed dough from the bowl onto a lightly floured work surface. With gentle hands, knead the dough briefly, for no more than one to two minutes, until it forms a smooth, pliable ball. The goal is cohesion, not elasticity, so avoid overworking the dough, which could melt the butter.
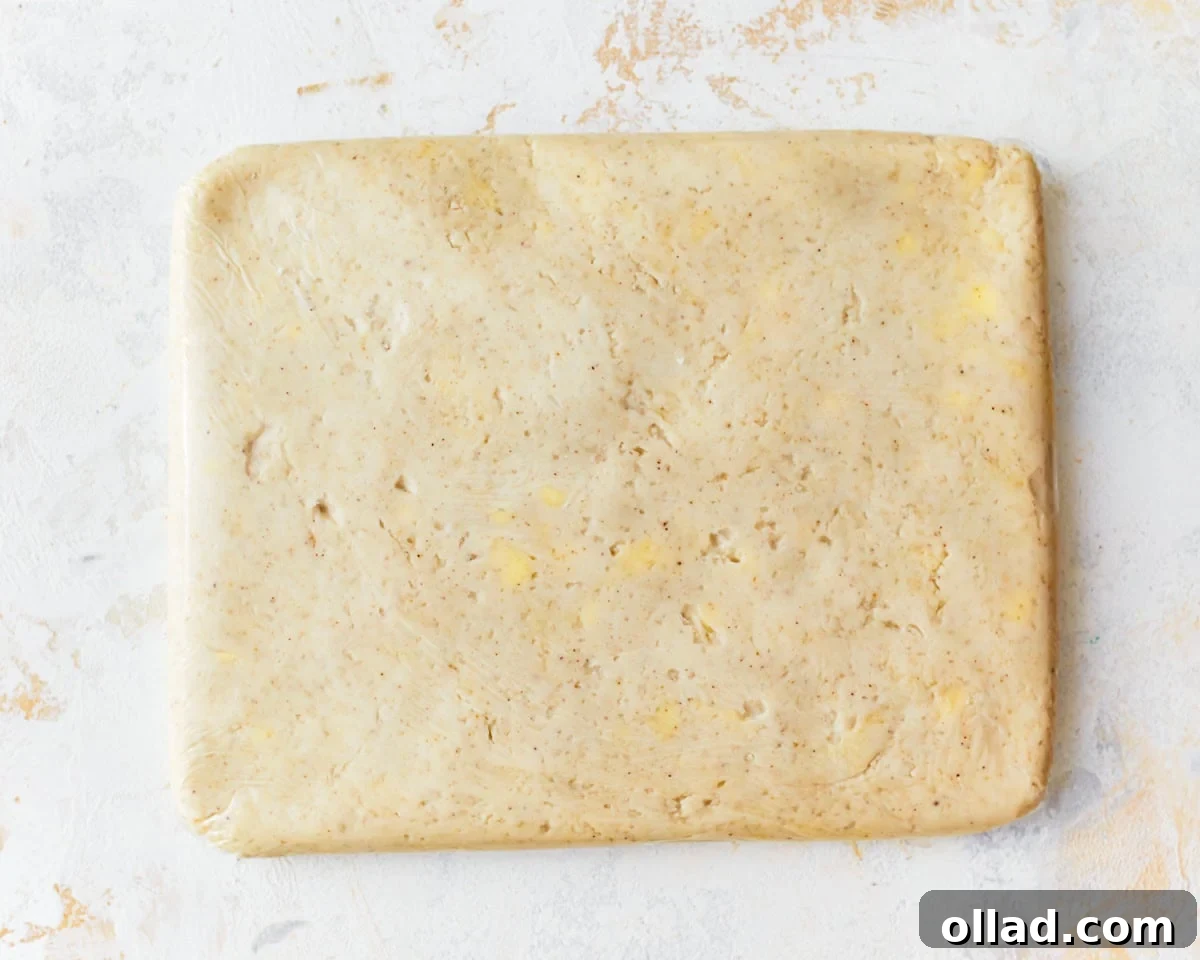
Step 6: Chill the Dough. Gently flatten the dough ball into a rough rectangular shape. This pre-shaping will make the subsequent rolling process easier. Wrap the dough tightly in plastic wrap to prevent it from drying out and place it in the refrigerator for a minimum of 30 minutes. This chilling period is essential for hydrating the flour and firming up the butter, preparing it for lamination.
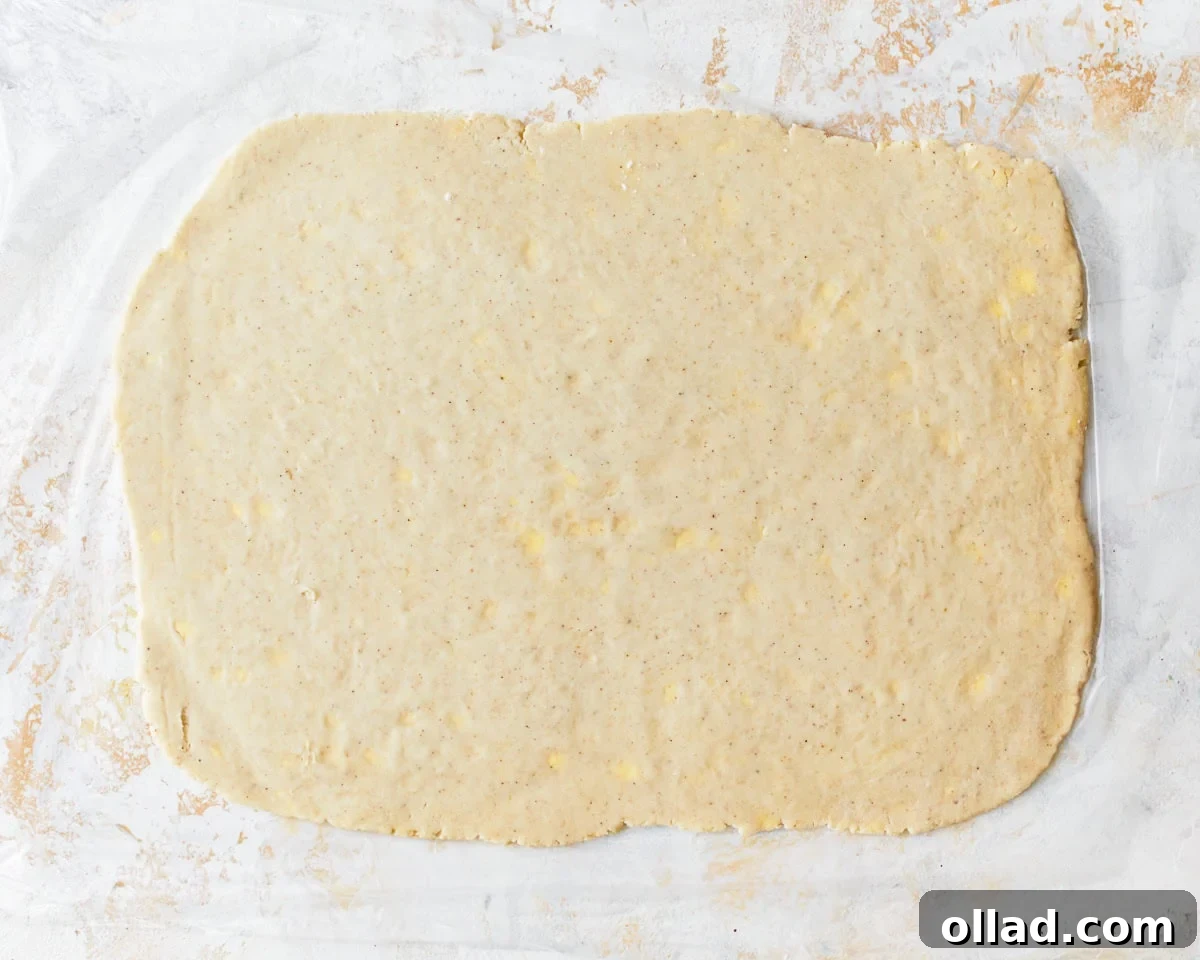
Step 7: Roll Out the Dough. Once the dough is thoroughly chilled, remove it from the refrigerator. Place it on a generously floured work surface. Using your rolling pin, carefully roll the dough out into a large, even rectangle, aiming for a thickness of about ¼ inch. Maintain consistent pressure to ensure even thickness across the entire sheet.
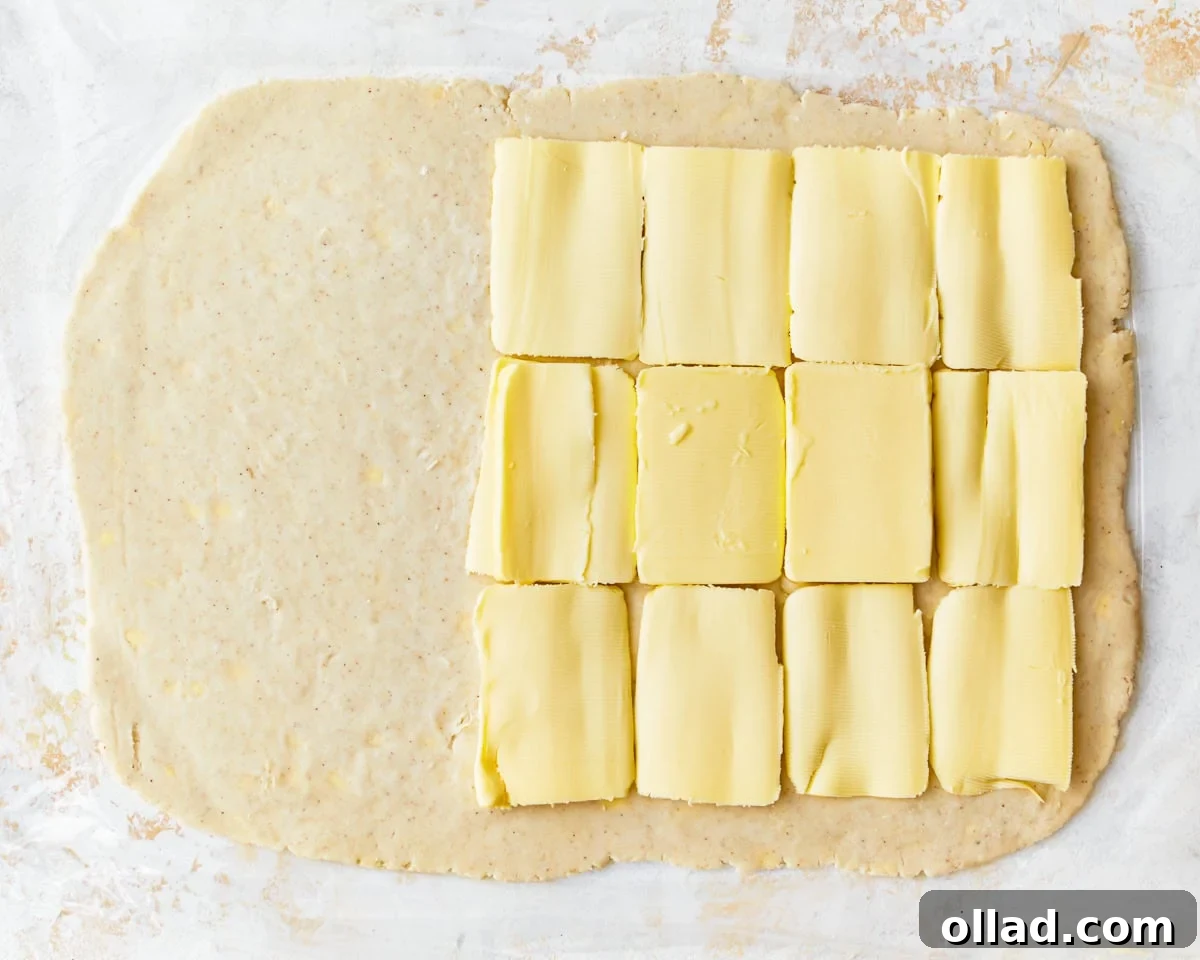
Step 8: Arrange Butter Slices. Take ⅔ cup of very cold, unsalted butter, which you have pre-cut into thin slices. Arrange these butter slices evenly over two-thirds of the rolled-out dough rectangle. Make sure to leave the remaining one-third of the dough completely free of butter. This specific arrangement is crucial for creating distinct butter layers during the folding process.
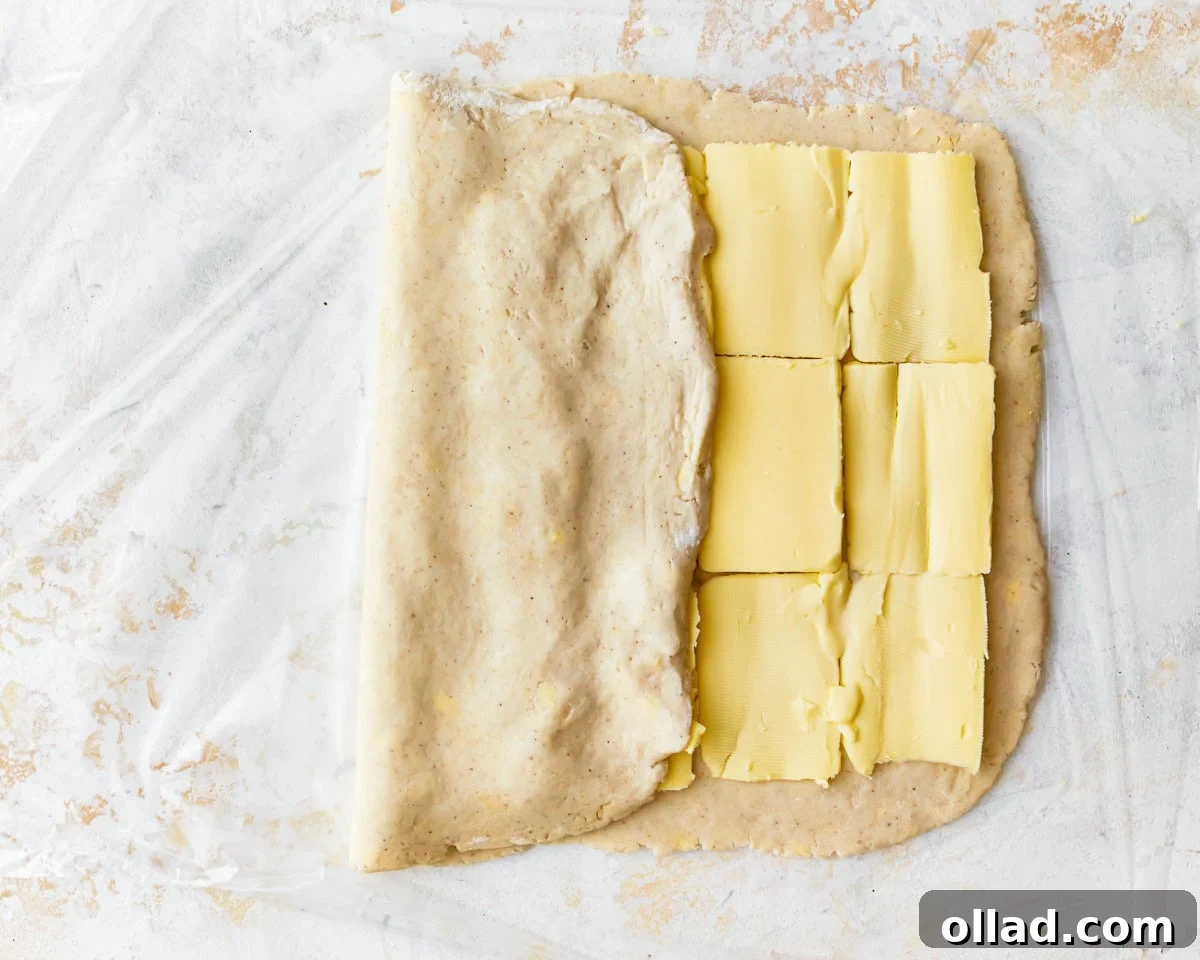
Step 9: First Fold – Unbuttered Over Middle. Carefully lift the unbuttered one-third section of the dough and fold it precisely over the middle third, which is covered with butter slices. Gently press down along the edges to seal the layers without compressing them too much. This creates the first layer of lamination.
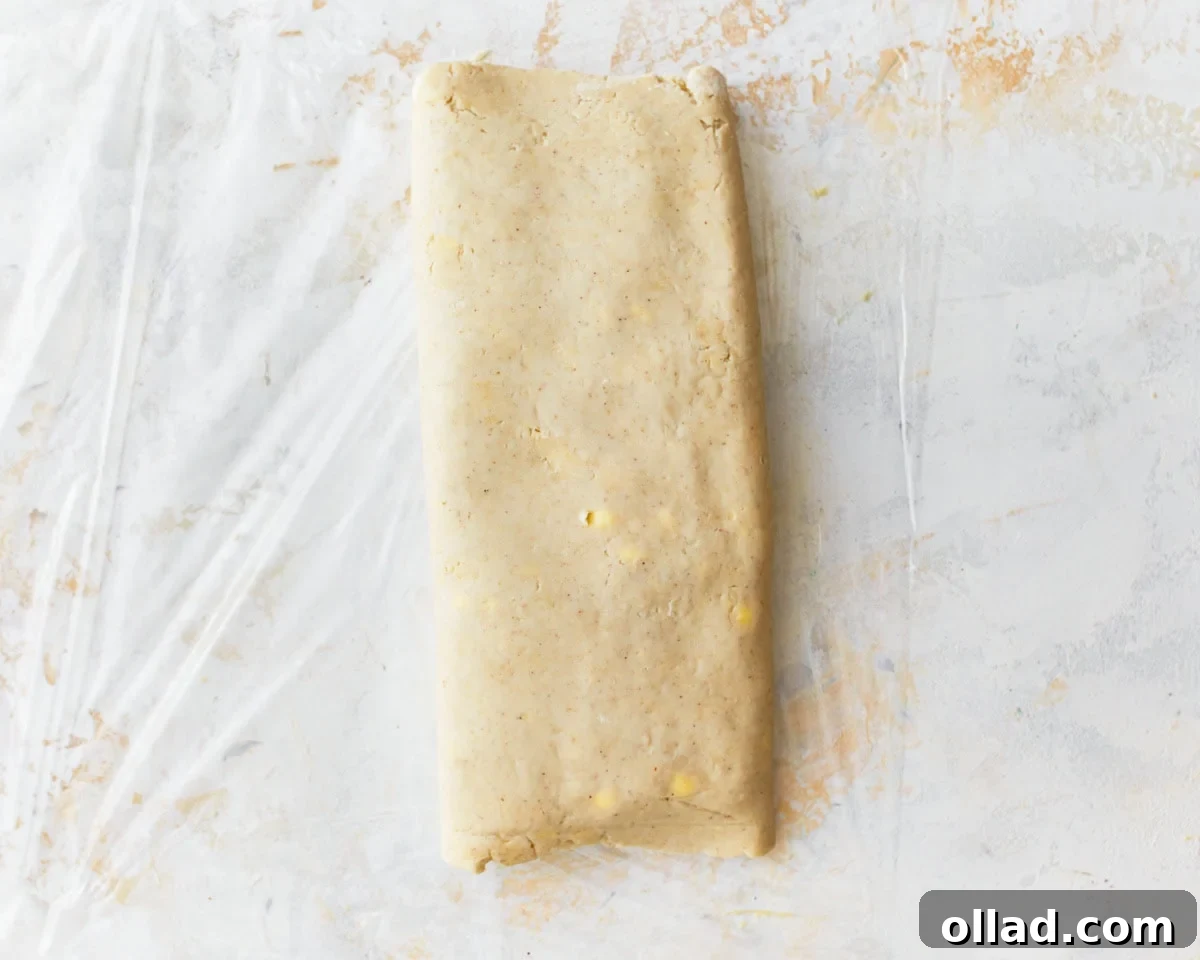
Step 10: Second Fold – Top Over All. Now, take the remaining buttered third of the dough and fold it over the top of the previously folded sections. You should now have a neat packet of dough consisting of three distinct layers of dough and butter. This completes one “turn” of your rough puff pastry.
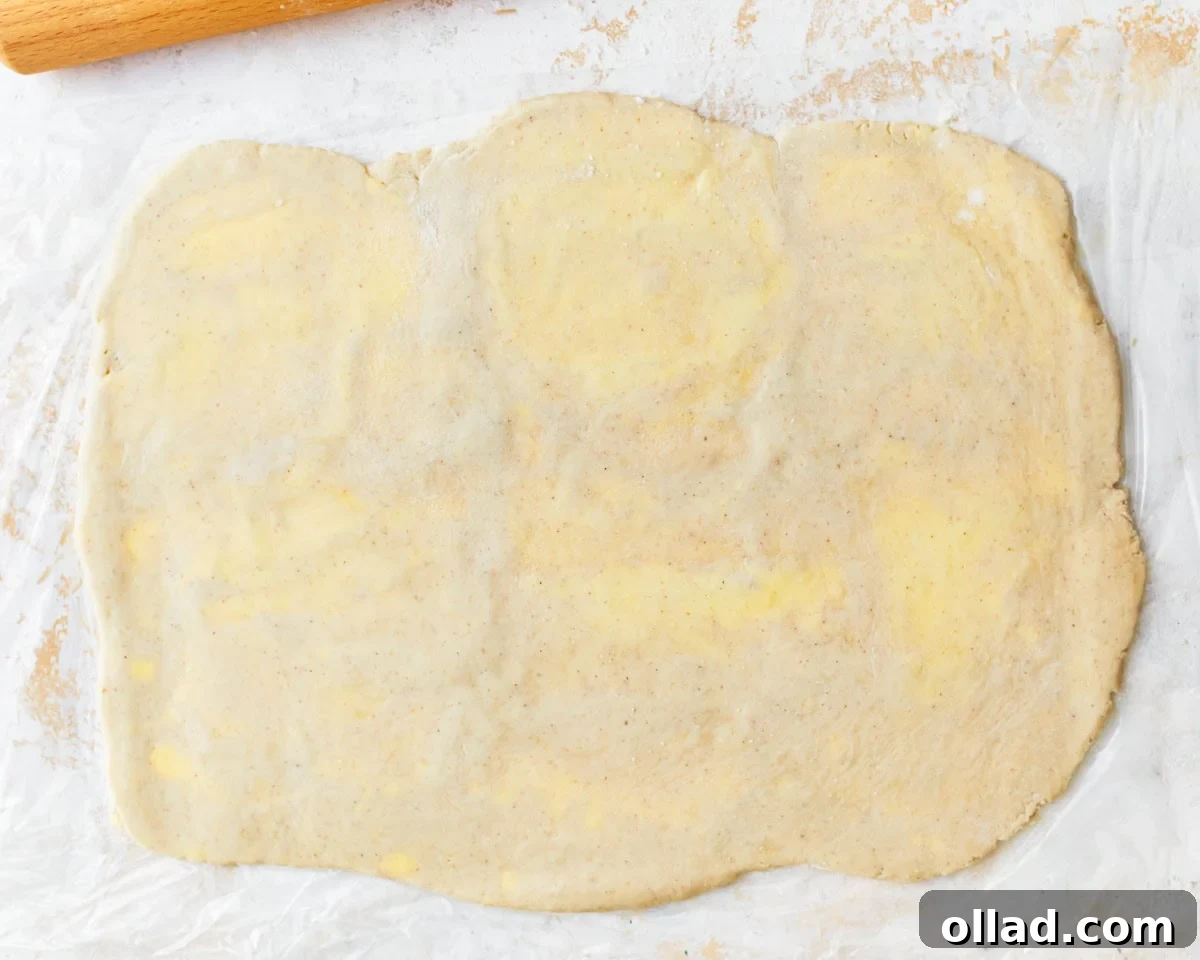
Step 11: Rotate and Roll Again. Rotate the dough packet 90 degrees (a quarter turn). This is crucial for building even layers in different directions. With your work surface still well-floured, roll the dough out once more into another large rectangle, maintaining the approximately ¼ inch thickness. You should still see visible flecks of butter, which will melt and create steam during baking, forming those desired flaky layers.
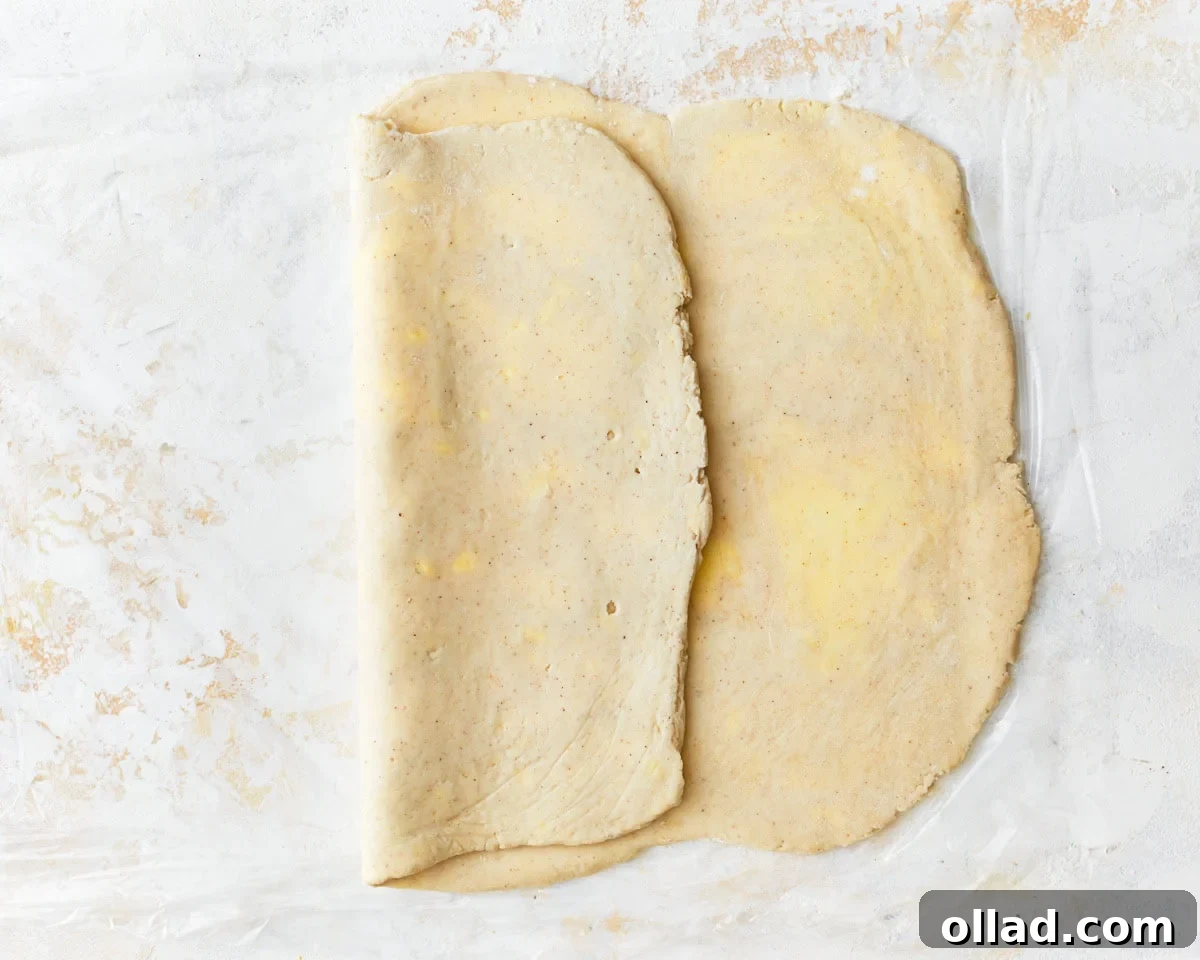
Step 12: Repeat the Folding Process. Just as before, begin the second set of folds. Carefully fold one-third of the dough over the middle section. Work quickly to keep the butter as cold as possible.
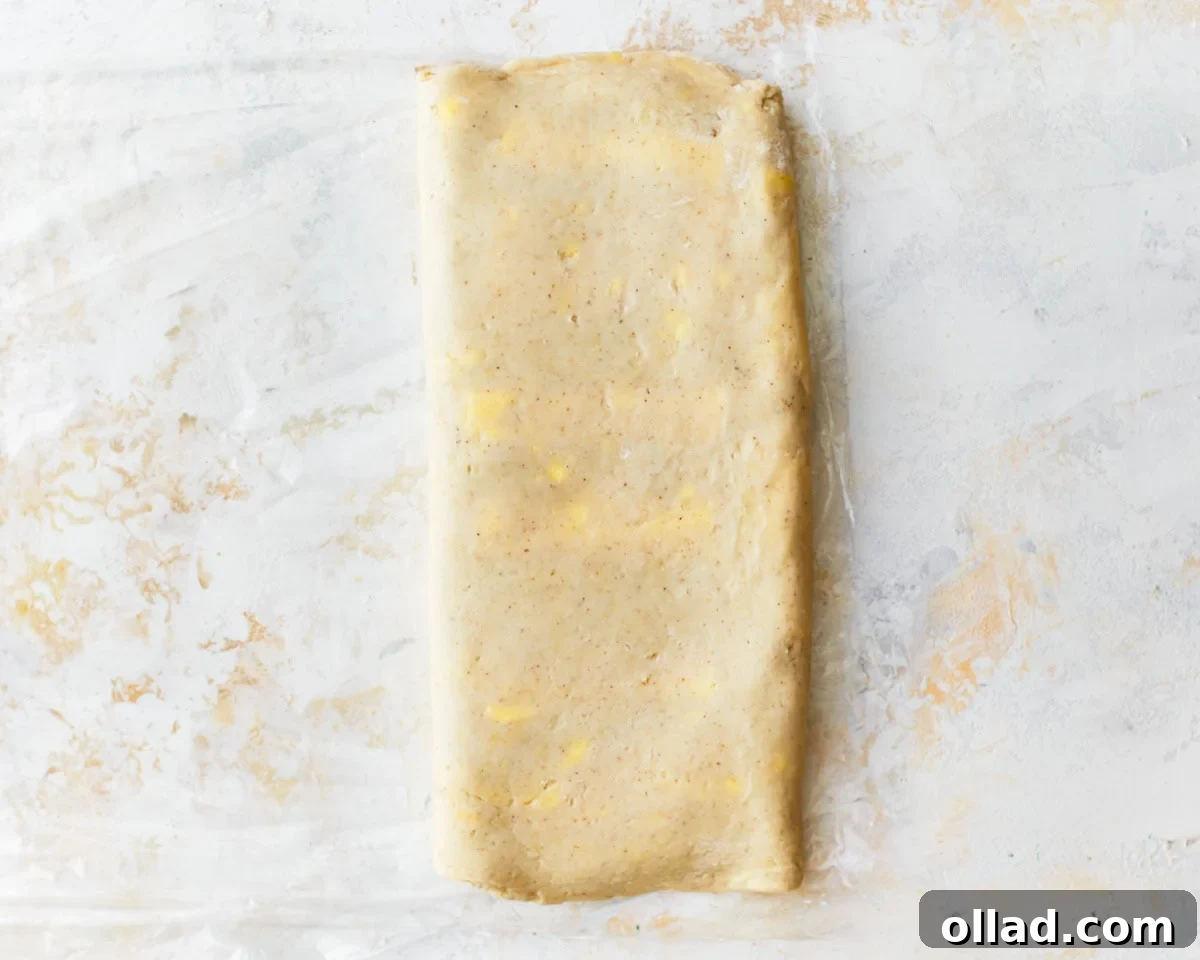
Step 13: Complete the Second Turn. Finally, fold the remaining third of the dough over once again, completing your second three-layered turn. This doubles the layers created in the previous step, enhancing the flakiness of your finished pastry.
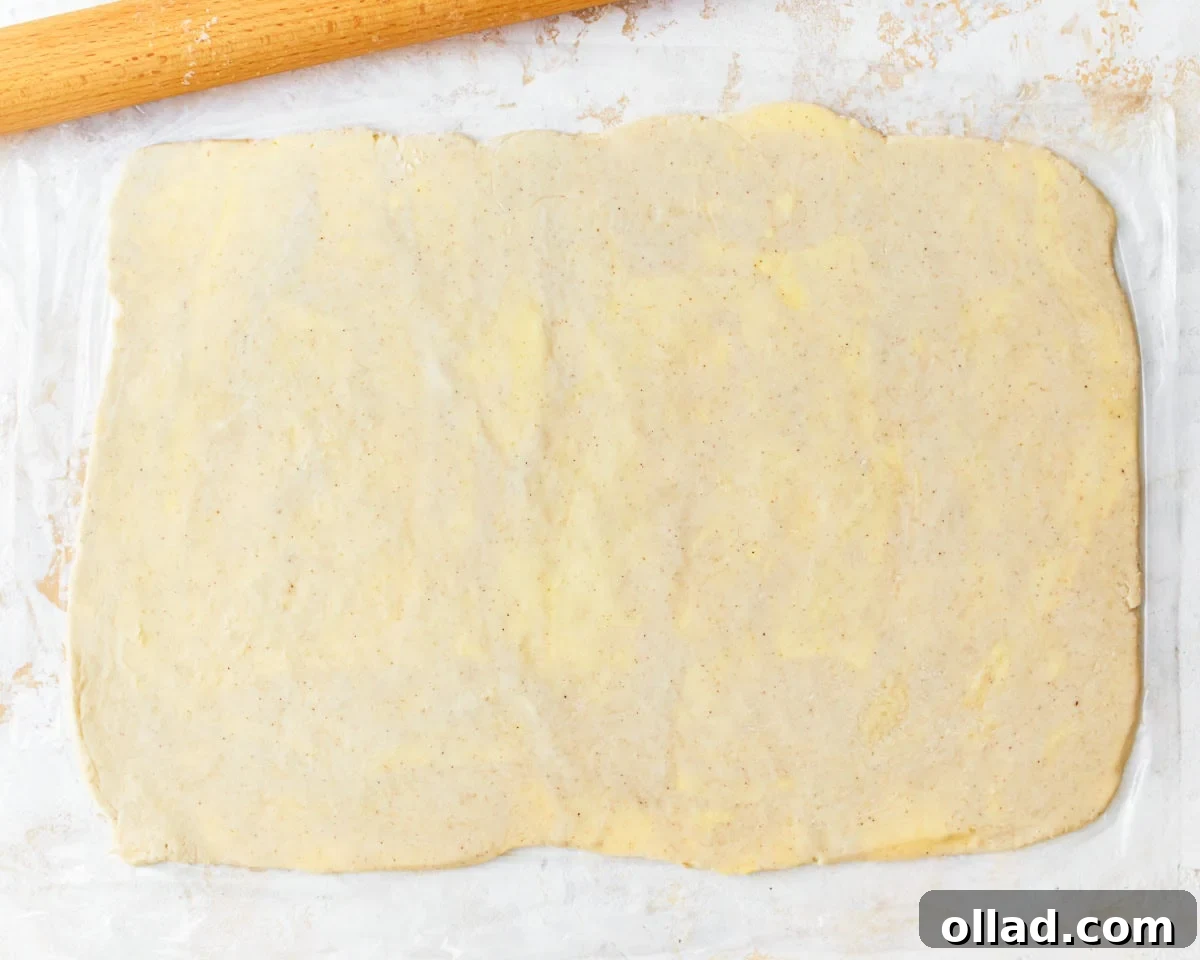
Step 14: Final Roll-Out. Give the dough one final roll out into a large rectangle. The size and shape will depend on what you plan to make with it. At this stage, the dough should feel smooth yet still retain those essential butter flecks.
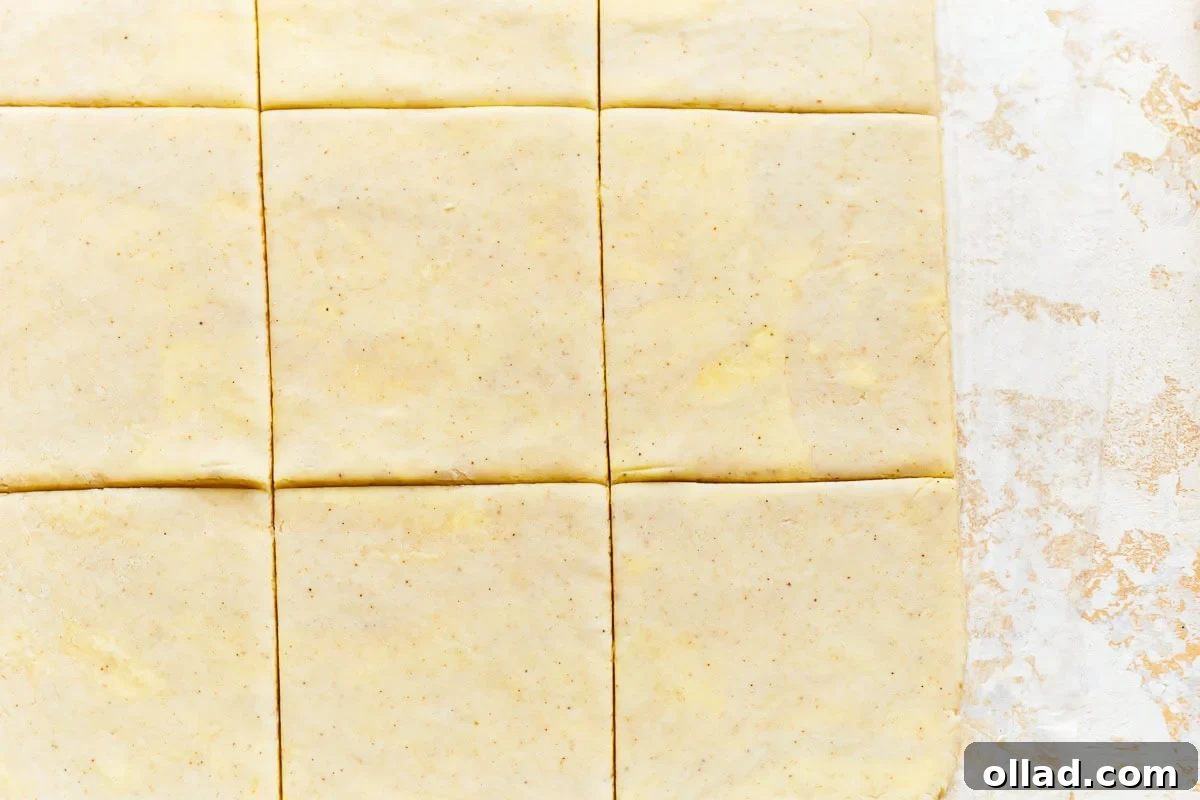
Step 15: Final Chill Before Use. Once rolled to your desired thickness, wrap the dough tightly in plastic wrap. Refrigerate it for at least 30 minutes before incorporating it into your chosen recipe. This allows the dough to rest, prevents shrinkage during baking, and ensures the butter is perfectly firm for maximum puff. For delicious little pastries, I often slice my dough into squares before this final chill. Your homemade gluten-free puff pastry is now ready for endless culinary possibilities!
Delightful Serving Suggestions for Your Gluten-Free Puff Pastry
The beauty of homemade gluten-free puff pastry lies in its incredible versatility. Once you’ve mastered this recipe, a world of culinary creations opens up, from simple indulgences to sophisticated dishes. Here are some inspiring ideas to make the most of your flaky pastry:
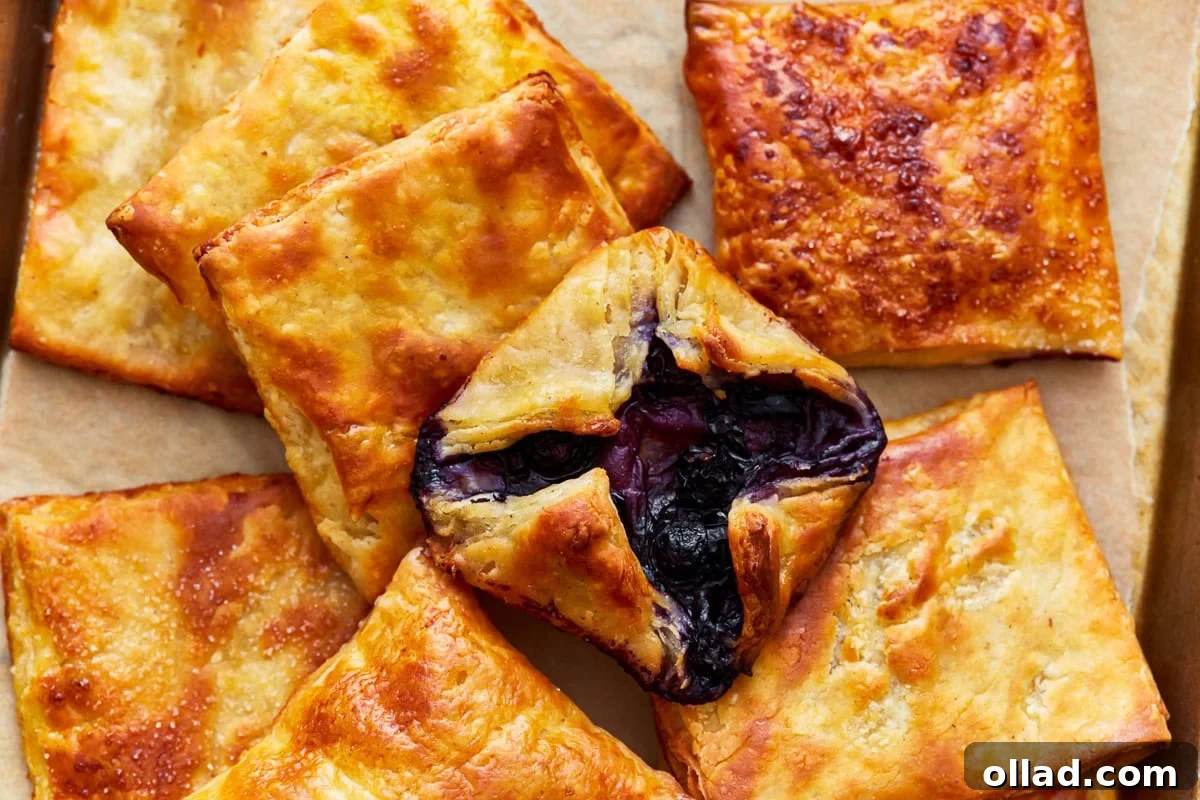
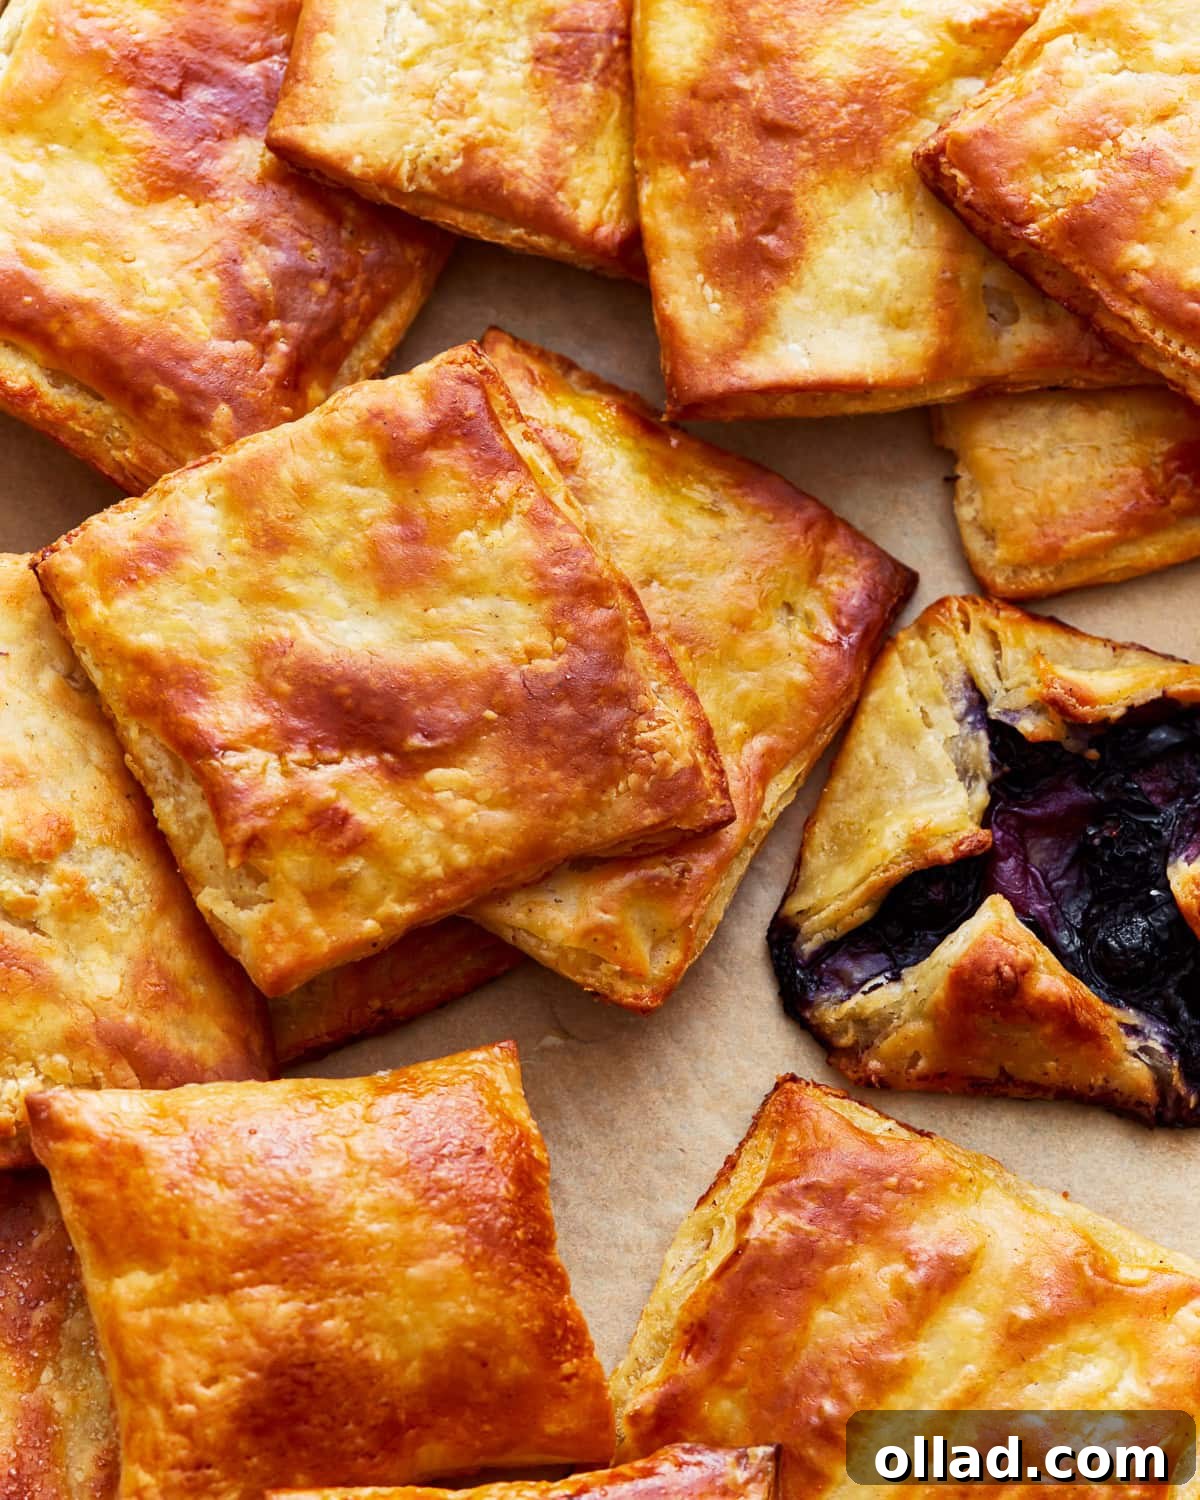
- Sweet Treats: Transform your breakfast or dessert with sweet fillings. Use it to make delightful gluten-free pop tarts, filling them with fruit preserves, chocolate, or a sweet cream cheese mixture. For an elegant brunch, create exquisite gluten-free Danish pastries by filling the pastry pockets with fruit compotes, sweetened cream cheese, or a combination of both. You can also make simple fruit tarts, turnover pastries, or even delicate palmiers dusted with cinnamon sugar.
- Savory Creations: This pastry excels in savory applications as well. It makes an excellent, buttery crust for a rich gluten-free quiche, holding up beautifully to a hearty egg and cheese filling. Consider using it as a base for savory tarts topped with roasted vegetables, caramelized onions, or goat cheese. For quick appetizers, fill small squares with pesto and mozzarella, or a savory meat mixture, folding them into flaky bites. It’s also fantastic as a topping for pot pies or individual beef wellingtons.
- Everyday Delights: Don’t overthink it! Even simple applications can be incredibly satisfying. Cut the pastry into strips, twist, and sprinkle with cheese for a quick cheesy breadstick. Or, for a light snack, bake small squares until golden and serve with a dollop of whipped cream and berries, or a savory dip.
Storing Your Homemade Gluten-Free Puff Pastry
One of the fantastic benefits of making your own gluten-free puff pastry is the ability to prepare it ahead of time, ensuring you always have a batch ready for spontaneous baking. Proper storage is key to maintaining its quality and flakiness:
- Refrigeration: If you plan to use your rolled-out gluten-free puff pastry dough within a day or two, refrigeration is the ideal method. To store, carefully layer individual sheets of dough between pieces of parchment paper. This prevents them from sticking together. Once layered, wrap the entire stack tightly in several layers of plastic wrap, ensuring no air can get in, as this can dry out the dough. Store in the coldest part of your refrigerator for up to 2 days.
- Freezing for Longer Storage: For longer-term storage, this recipe freezes exceptionally well, making it perfect for meal prep or having on hand for future culinary projects. After wrapping the dough tightly in plastic wrap (as described for refrigeration), place it inside a freezer-safe bag or an airtight container. This double layer of protection guards against freezer burn. Your gluten-free puff pastry can be frozen for up to 3 months without compromising its quality.
- Thawing Instructions: When you’re ready to use frozen pastry, transfer it from the freezer to the refrigerator and allow it to thaw overnight. This slow thawing process is crucial for preventing the butter layers from melting and running, which would result in a less flaky pastry. Avoid thawing at room temperature or in the microwave, as this can dramatically alter the texture. Once thawed, handle the dough gently and work quickly to ensure it stays cold before baking.
Explore More Gluten-Free Pastry Recipes to Try!
If you’ve enjoyed creating this gluten-free puff pastry, you’ll love venturing into other delicious gluten-free baking projects. Expand your repertoire with these equally satisfying pastry recipes:
- Gluten-Free Phyllo Dough / Filo Pastry: Master another delicate, tissue-thin pastry essential for Mediterranean and Middle Eastern desserts and savories.
- Gluten-Free Pie Crust: Learn to make a perfectly tender, flaky pie crust that forms the foundation for countless sweet and savory pies.
- Gluten-Free Crescent Rolls: Enjoy warm, buttery, and soft crescent rolls that are surprisingly easy to make and perfect for any meal.
- Gluten-Free Apple Pie: Combine your new puff pastry skills (or a traditional pie crust) with a classic, comforting apple pie recipe, complete with dairy-free and vegan options.