
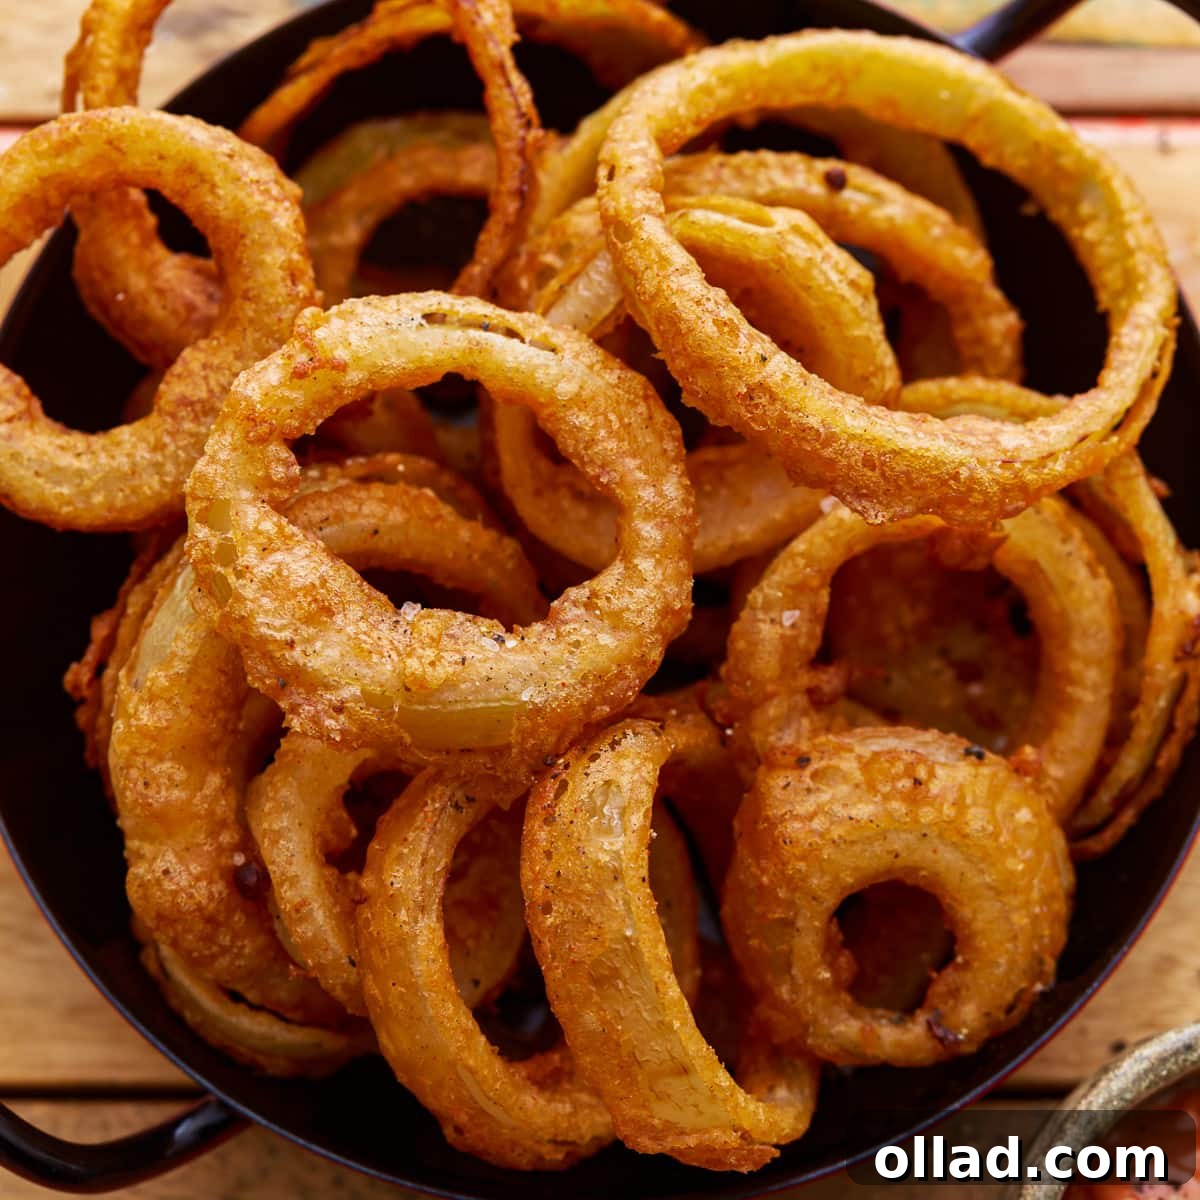
Prepare to experience the joy of truly phenomenal onion rings that are not only ultra-crispy and incredibly crunchy but also entirely gluten-free! This recipe consistently delivers outstanding results, boasting a perfectly seasoned batter that achieves an ideal texture – light enough to cling to the onion slices without becoming thick or heavy. By utilizing a clever combination of rice flour and gluten-free beer, this recipe naturally caters to multiple dietary needs, making it gluten-free, dairy-free, egg-free, and completely vegan. Whether you’re planning a game day feast, preparing an irresistible party appetizer, or simply seeking the perfect crunchy companion for your burgers and sandwiches, these homemade gluten-free onion rings are guaranteed to be a sensational hit!
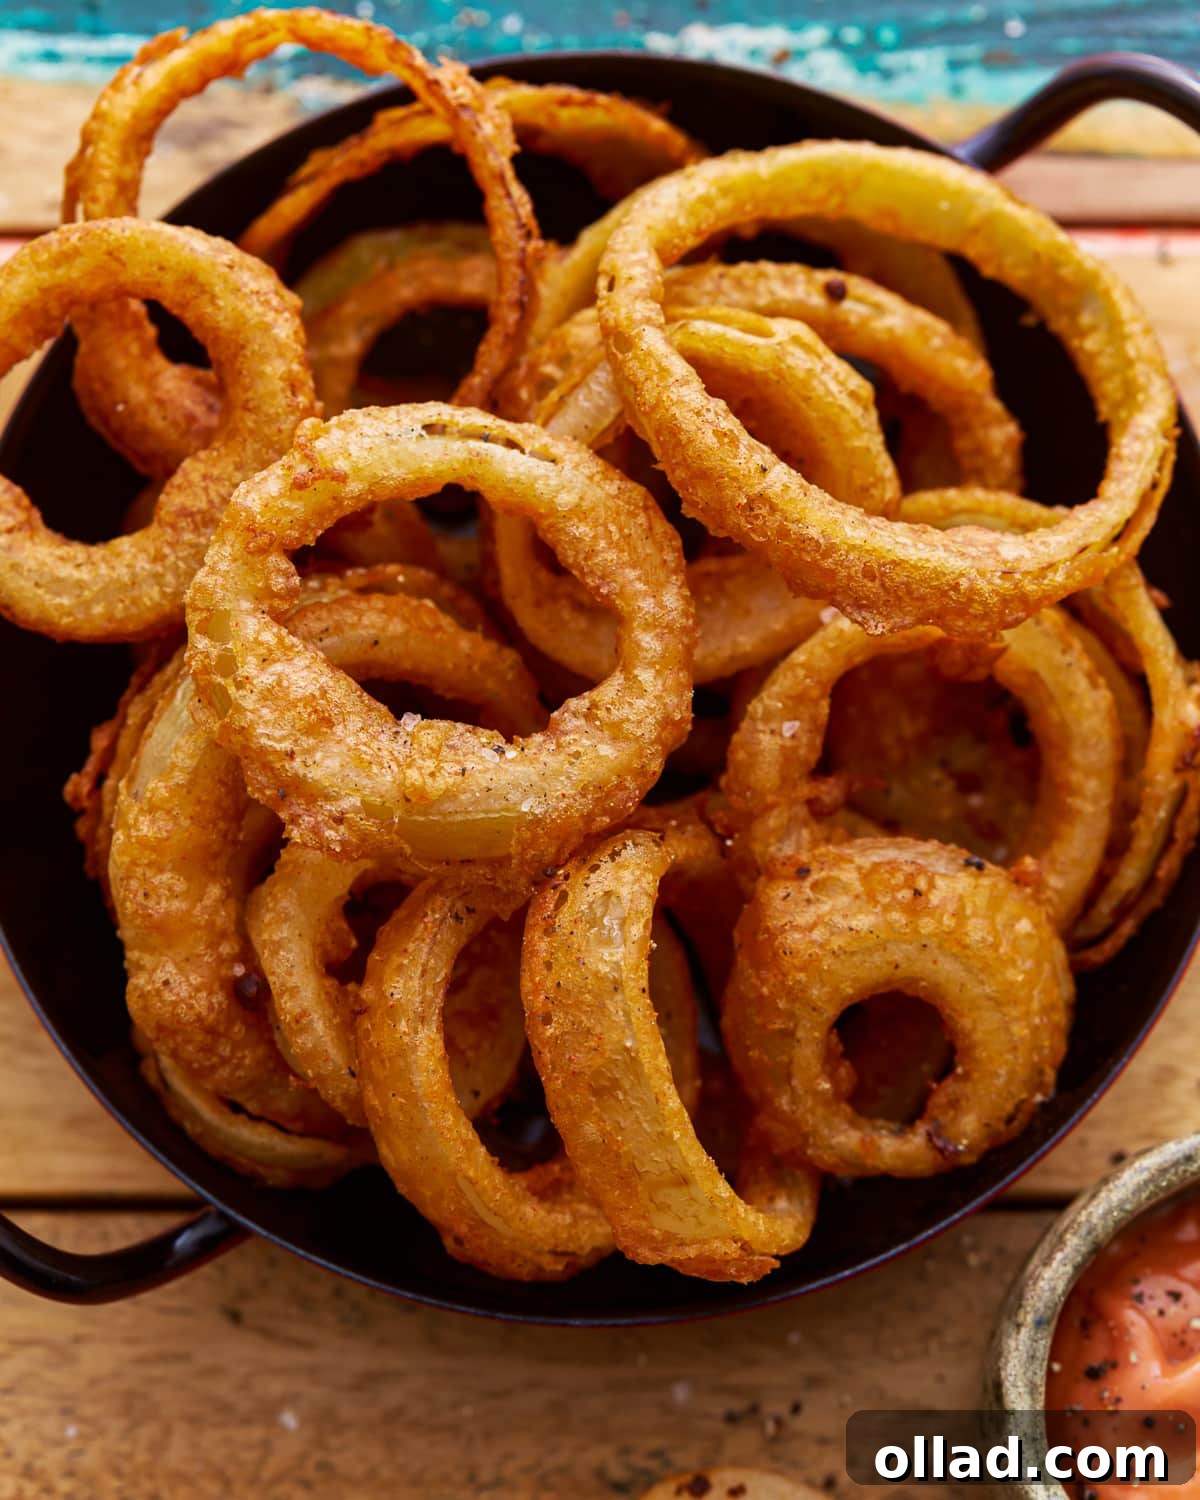
The Ultimate Gluten-Free Onion Rings Recipe: Crispy Perfection Achieved
For many, onion rings are more than just a side dish – they’re a craveable experience, especially when paired with a creamy dip like dairy-free ranch! The thought of achieving that perfect crispiness while adhering to a gluten-free diet might seem daunting, but we’re here to tell you it’s never been easier. This meticulously developed recipe takes all the guesswork out of making fantastic gluten-free onion rings right in your own kitchen.
Our secret to consistent crispiness and irresistible flavor lies in a thoughtfully crafted batter. We combine the unique properties of rice flour and tapioca flour with classic seasonings, and the unexpected magic of gluten-free beer. The carbonation in the beer is a key player; as it heats, it creates tiny, airy pockets within the batter, resulting in an exquisitely light texture that fries up beautifully golden and crunchy every single time. We’ve dedicated countless hours to testing and refining this recipe, ensuring that each batch delivers that sought-after crunch and savory taste. We are incredibly excited to share all our tried-and-true tips, tricks, and essential notes on alternative ingredients and various cooking methods (including baking and air frying) to guarantee your success and make these homemade gluten-free onion rings your new go-to favorite.
Why Homemade Gluten-Free Onion Rings Are a Game-Changer
Opting to make your own gluten-free onion rings at home offers a multitude of benefits that extend far beyond simply avoiding gluten. It gives you unparalleled control over every single ingredient, ensuring freshness, quality, and complete transparency about what you’re consuming. Many commercially prepared gluten-free products, while helpful, can still contain hidden allergens or be at risk of cross-contamination from shared cooking environments. By preparing them yourself, you eliminate these concerns, crafting a safe and delicious treat tailored to your specific dietary needs, whether you’re managing celiac disease, gluten sensitivity, or adhering to a vegan lifestyle.
Moreover, the flavor and texture of homemade onion rings are simply superior. You get to choose the freshest onions, customize the seasoning to your exact preference, and achieve a level of crispiness that often surpasses pre-packaged alternatives. The satisfaction of serving a platter of perfectly golden, crunchy onion rings that you made from scratch is immense, and your family and friends will undoubtedly appreciate the effort and delicious outcome. It’s a culinary triumph that’s both rewarding and incredibly tasty, proving that dietary restrictions don’t mean sacrificing flavor or indulgence.
Essential Ingredients for Perfectly Crispy Gluten-Free Onion Rings
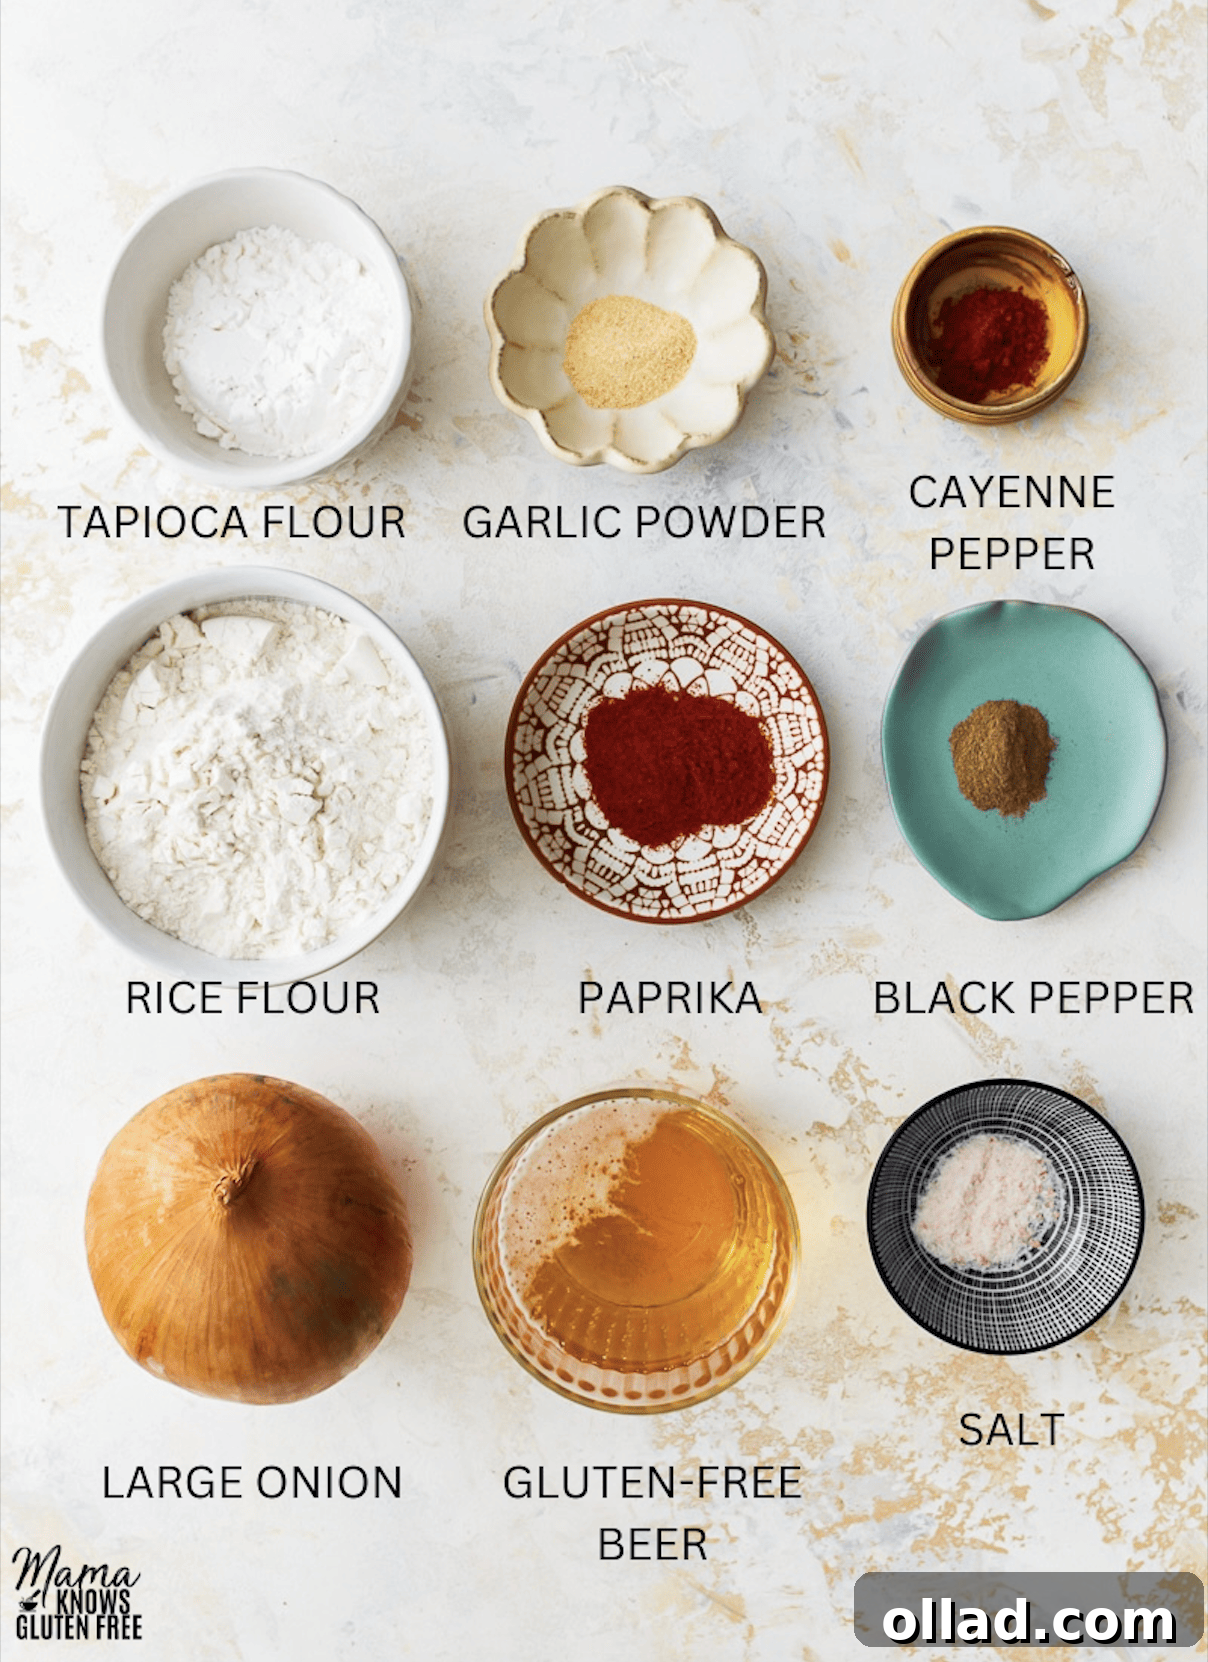
The foundation of truly exceptional gluten-free onion rings lies in a careful selection of ingredients. Each component plays a crucial role in developing the ideal batter consistency, achieving maximum crispiness, and delivering a rich, satisfying flavor profile.
- Gluten-Free Beer: This ingredient is much more than just a liquid component; it’s a secret weapon for achieving superior crispiness. The carbonation in gluten-free beer creates tiny air bubbles within the batter. As these bubbles heat up during frying, they expand, resulting in an incredibly light, airy texture that crisps up beautifully. It also contributes to a lovely golden-brown hue and a subtle depth of flavor. While a gluten-free lager or pale ale works wonderfully, any gluten-free beer you enjoy will be suitable. If you prefer to avoid alcohol, or simply don’t have beer on hand, chilled club soda or sparkling water are excellent substitutes. They provide the necessary carbonation for a light batter, ensuring your onion rings remain fantastically crispy. Even plain cold water can be used in a pinch, though carbonated liquids yield a noticeably lighter and more delicate texture.
- Onions: The star of the show! Both white and yellow onions are great choices for this recipe. White onions offer a sharper, more pungent flavor that mellows beautifully with cooking, while yellow onions are slightly sweeter and milder, creating a classic onion ring taste. The most important factor is choosing large onions, as these will yield substantial rings that are easier to handle, dip, and fry, providing a satisfying bite. Look for firm, unblemished onions with tight skins.
- Rice Flour: This naturally gluten-free flour is paramount to our recipe’s success. Rice flour fries up much crispier than traditional wheat flour, creating a wonderfully light and crunchy coating. Its fine texture also helps to create a less greasy final product by absorbing less oil during frying. This attribute makes it ideal for achieving that desirable light, shatteringly crisp exterior.
- Tapioca Flour: Often interchangeable with tapioca starch, this ingredient is a key player in enhancing the crispiness and ensuring the coating adheres perfectly. Tapioca flour contributes to a crispier, slightly chewy coating that impressively maintains its crunch long after frying. It acts as a binder, helping the batter cling to the slippery onion slices. If tapioca flour isn’t readily available, an equal amount of cornstarch (corn flour in some regions) can be used as an effective substitute, offering similar benefits in terms of crispness and adhesion.
- Spices: A thoughtful blend of seasonings transforms a simple batter into a flavor powerhouse. We use paprika for a warm, earthy note and a beautiful reddish tint, garlic powder for an aromatic, savory depth that perfectly complements the onion, and essential salt and black pepper to enhance all the flavors. For those who appreciate a little warmth and zest, a pinch of cayenne pepper is optional but highly recommended, adding a subtle kick that makes these onion rings truly addictive without overpowering the other flavors. Feel free to adjust the cayenne to match your preferred level of spice.
- Oil for Frying: The choice of frying oil is critical for both the taste and texture of your onion rings. You’ll need a high-smoke point oil capable of maintaining stable temperatures without breaking down or imparting undesirable flavors. Excellent choices include vegetable oil, canola oil, or peanut oil. Peanut oil, in particular, is known for creating exceptionally crispy fried foods. The quantity of oil will depend on your pot size, but aim for at least 2 inches of depth to ensure the onion rings are adequately submerged and cook evenly. Always confirm that your chosen oil is certified gluten-free, especially if you have severe sensitivities, as some processing facilities may pose a cross-contamination risk.
Expert Tips and Suggestions for Achieving Gluten-Free Onion Ring Perfection
Making truly exceptional gluten-free onion rings goes beyond just the ingredients; it involves a few key techniques and considerations. These tips will help you achieve that coveted restaurant-quality crispiness and flavor every time.
- Alternative Cooking Methods: Baked or Air Fried: While deep-frying often yields the crispiest results, it’s not the only way to enjoy these delicious onion rings. If you’re looking for a healthier alternative or simply prefer not to deep-fry, baking or air frying are excellent options:
- To Bake: Arrange the battered onion rings in a single layer on a baking sheet that has been generously sprayed with cooking oil. Bake in a preheated 450°F (232°C) oven for approximately 15-20 minutes, flipping them halfway through, until they turn golden brown and develop a satisfying crisp texture.
- To Air Fry: Lightly spray your air fryer basket with oil to prevent sticking. Place the battered onion rings in a single layer, ensuring not to overcrowd the basket. Air fry at 400°F (204°C) for 10-12 minutes, shaking the basket gently halfway through, until they are beautifully golden and crunchy.
- Mastering Oil Temperature: This is arguably the most crucial factor for preventing greasy, soggy onion rings and ensuring a perfectly crisp exterior. The oil should be precisely 350°F (177°C). If the oil is too cool, the batter will absorb too much oil, leading to a heavy, greasy result. If it’s too hot, the batter will burn before the onion inside has a chance to cook or before the exterior can fully crisp up. An instant-read thermometer is an indispensable tool here to monitor and maintain the ideal temperature throughout the frying process.
- Avoid Overcrowding the Pot: Patience is key when deep-frying. Resist the temptation to drop too many onion rings into the hot oil at once. Overcrowding causes a significant and immediate drop in the oil’s temperature, which leads to uneven cooking and, ultimately, soggy onion rings. Work in small batches, frying only a few rings at a time. This allows the oil to maintain its optimal temperature, ensuring each onion ring cooks evenly, achieves maximum crispiness, and boasts that beautiful golden-brown color.
- Season Immediately After Frying: The moment your golden, crispy onion rings emerge from the hot oil, transfer them to a paper towel-lined plate or wire rack and immediately sprinkle them with a little extra salt. The residual heat from the freshly fried batter helps the salt adhere perfectly, enhancing the overall flavor and making them truly pop. You can also experiment with a dash of garlic powder, onion powder, or a custom seasoning blend for an extra layer of flavor.
- Perfect Batter Consistency: Gluten-free flours can vary significantly in their absorbency. The goal is to achieve a batter that is thick enough to generously coat the onion rings without being overly gooey or too thin to stick. It should be pourable, similar to a thick pancake batter, and cling to the onion slices. When mixing your batter, gradually add the gluten-free beer or carbonated water, whisking continuously, until you reach this ideal consistency. If the batter seems too thick, add a tiny splash more liquid; if it’s too thin, a spoonful of rice flour can help. Allowing the batter to rest for 5-10 minutes also helps the flours fully hydrate, which often improves the batter’s viscosity and its ability to adhere better to the onions.
Common Questions for Making Gluten-Free Onion Rings
Can I Use Other Types of Flour Instead of Rice Flour?
Absolutely. While rice flour is our top recommendation for its unique ability to create a very crispy and light texture in fried foods, you can experiment with other gluten-free flour blends. If you use an all-purpose gluten-free flour blend, be prepared that the final texture might be slightly different – perhaps a bit denser or less airy than with rice and tapioca flour. It’s crucial to remember that different gluten-free flour blends have varying absorption rates. Therefore, you will need to carefully adjust the amount of liquid (gluten-free beer or carbonated water) as needed to achieve the desired pourable, slightly thick batter consistency. A bit of trial and error might be involved to find the perfect balance with your chosen blend.
How Do I Get the Batter to Stick to the Onions?
Ensuring the batter properly adheres to the smooth surface of onion rings is vital for a uniformly coated and ultimately crispy result. Here are effective strategies:
- Thoroughly Dry the Onion Rings: This is perhaps the most important step. After slicing your onions, pat them meticulously dry with paper towels. Any residual moisture on the onion slices will act as a barrier, preventing the batter from effectively clinging.
- Pre-Dust with Flour: For an extra layer of adhesion, lightly dredge the thoroughly dried onion rings in a small amount of plain rice flour (or your chosen gluten-free flour) before dipping them into the wet batter. This fine layer of flour creates a slightly rougher, more absorbent surface for the wet batter to grip onto.
- Allow the Batter to Rest: Once mixed, let your batter sit for about 5-10 minutes. This resting period allows the flours to fully hydrate, which often results in a slightly thicker, more viscous batter that adheres better to the onion rings.
Why Aren’t My Onion Rings Getting Crispy?
If your gluten-free onion rings aren’t achieving that irresistible crispness, several factors could be at play:
- Oil Temperature is Too Low: This is the most frequent reason. If your oil is below the ideal 350°F (177°C), the batter will simply soak up the oil rather than cooking quickly and crisping up, leading to a soggy, heavy texture. Always use an instant-read thermometer.
- Overcrowding the Frying Pot: Dropping too many onion rings into the oil at once causes the temperature to plummet. When the oil cools, the batter cooks slowly and absorbs excess oil, losing its potential for crispiness. Fry in small batches to keep the oil temperature consistent.
- Onions Are Not Dry Enough: As mentioned, moisture is the enemy of crispiness. If your onion rings are wet when dipped in batter, the batter won’t stick properly, resulting in a weak, soft coating.
- Incorrect Batter Consistency: A batter that is too thin won’t provide enough coating to crisp up effectively, while a batter that’s too thick can become dense and heavy, preventing it from achieving a light, airy crunch. Strive for that “slightly thick but pourable” sweet spot.
- Insufficient Frying Time: Even at the right temperature, onion rings need enough time to cook through and for the batter to become golden brown and fully crisp. Ensure they fry for the recommended 2 minutes, or until visibly golden and firm.
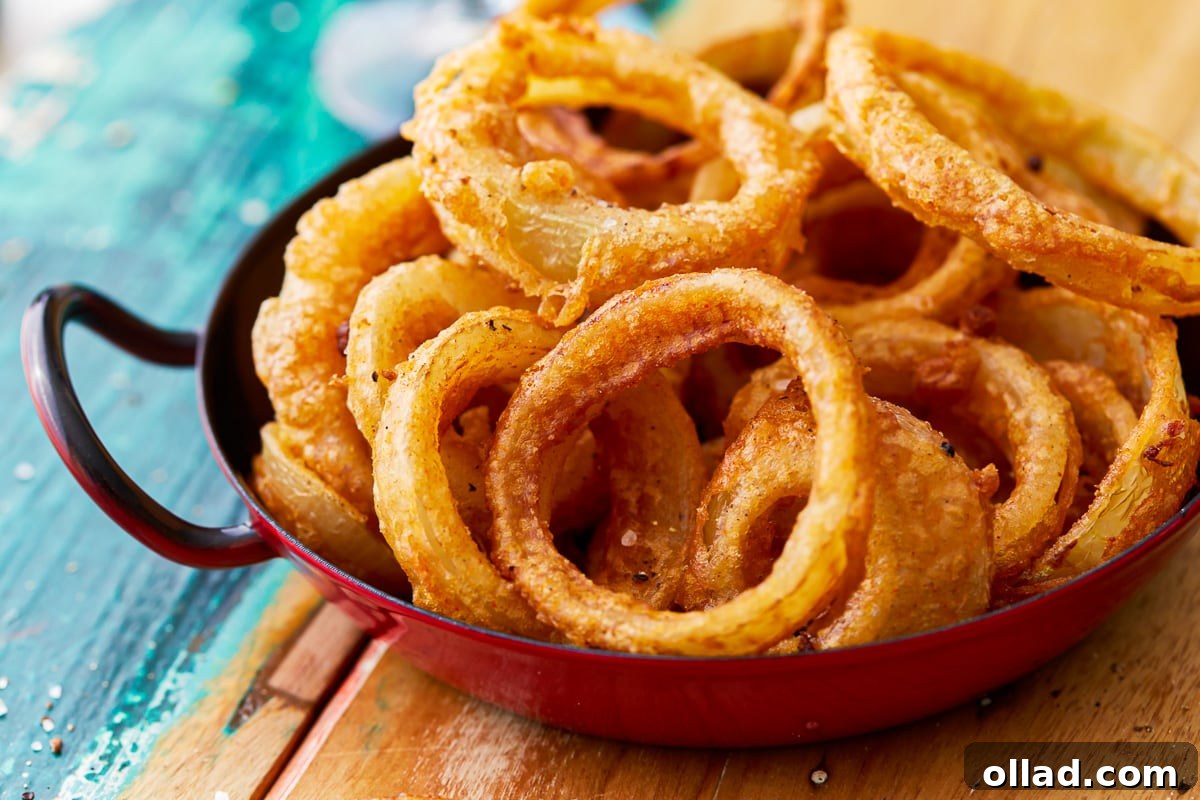
Storing and Reheating Tips for Retaining Crispness
While these gluten-free onion rings are undeniably best enjoyed fresh and hot, you can certainly store and reheat them successfully. The key is to employ proper methods to retain as much of their delicious crispness as possible.
- Storing Cooked Onion Rings: Once your onion rings have cooled completely to room temperature (this is important to prevent condensation and sogginess), transfer them to an airtight container. They will keep well in the refrigerator for up to 2 days. For longer-term storage, you can freeze them for up to 3 months. To freeze, first arrange the cooked and cooled onion rings in a single layer on a baking sheet and freeze until solid. Once frozen, transfer them to a freezer-safe airtight container or bag, which prevents them from sticking together.
- Reheating for Optimal Crispness: To revive their glorious crunch, avoid using a microwave, as it will inevitably lead to a soggy texture. Instead, opt for dry heat. If frozen, thaw the onion rings overnight in the refrigerator first. Then, preheat your oven to 350°F (177°C) or your air fryer to 400°F (204°C). Reheat the onion rings in a single layer for 4-8 minutes in the oven, or 3-6 minutes in the air fryer, until they are thoroughly warmed through and have regained their desired crispy texture. Always keep a close eye on them during reheating to prevent burning.
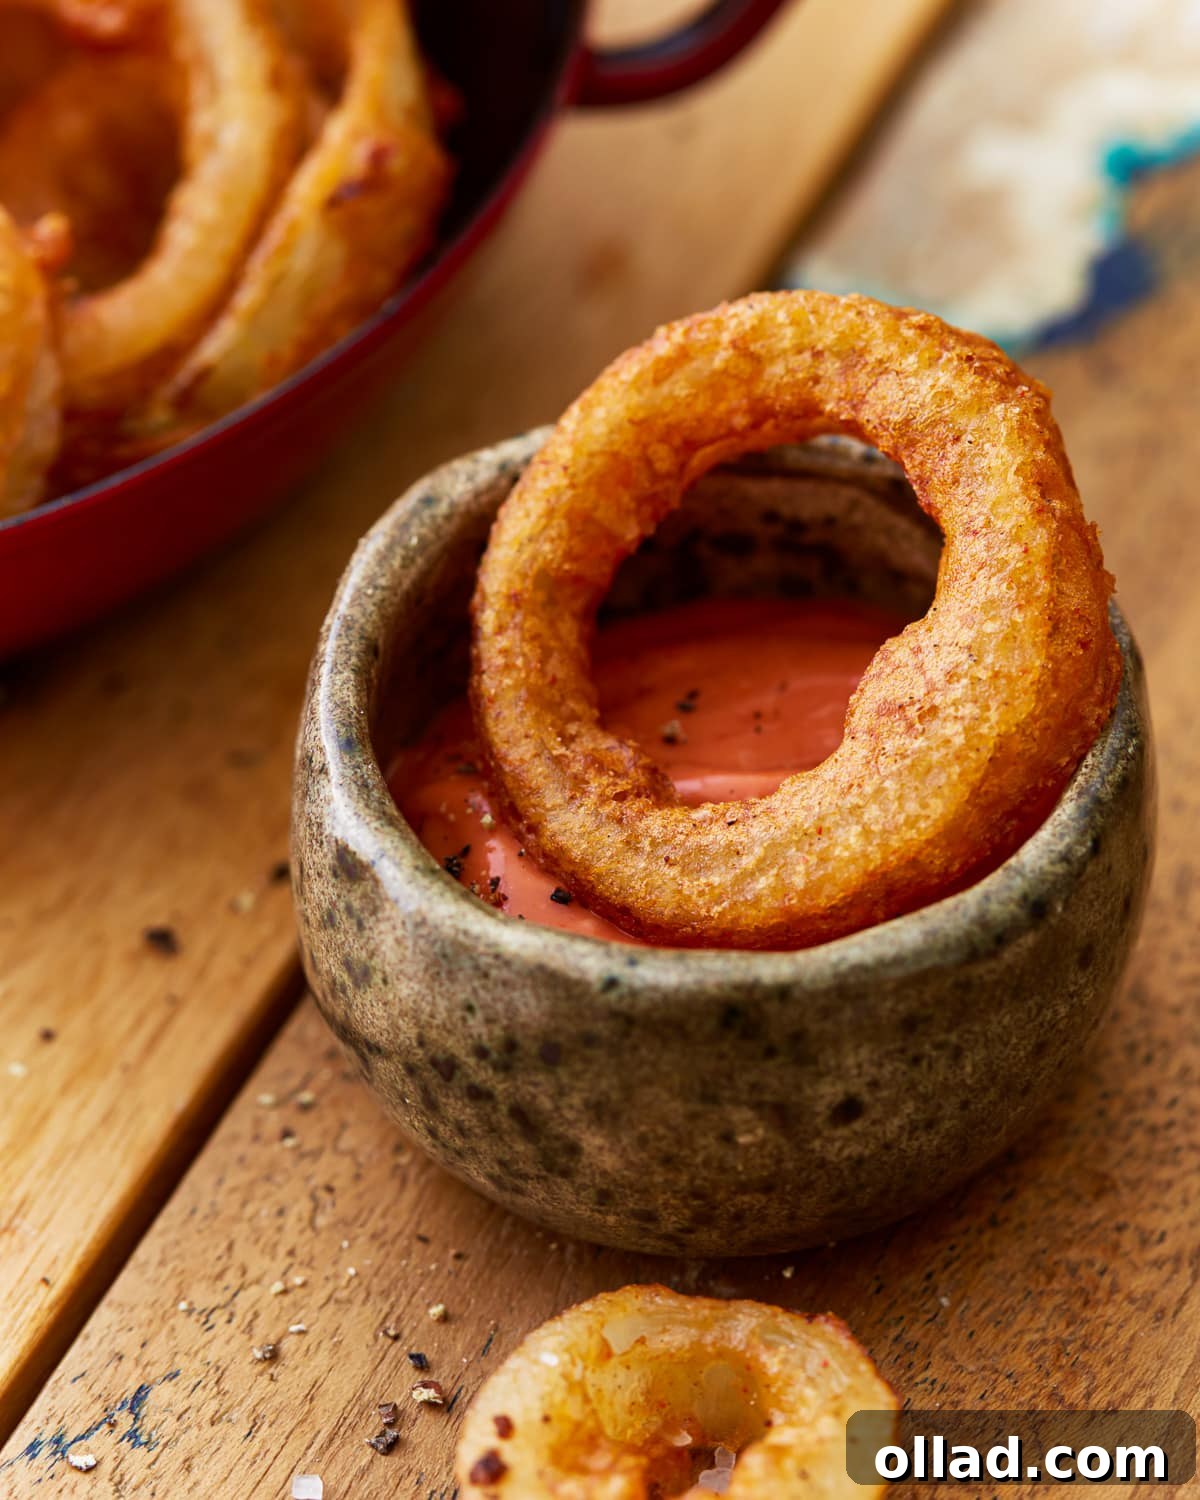
Gluten-Free Onion Rings: Full Recipe Card
Gluten-Free Onion Rings
By: Sabine Venier
Servings: 4 servings
Prep Time: 15 minutes
Cook Time: 10 minutes
Total Time: 25 minutes
This gluten-free onion rings recipe consistently yields ultra-crisp, satisfying results, featuring a flavorful batter made from rice flour and gluten-free beer. It’s an easy-to-follow and utterly delicious crowd-pleaser!
Pin Recipe
|
Share by Email
|
Print Recipe
Ingredients
- 1-2 large onions (white or yellow)
- 1 cup rice flour
- ¼ cup tapioca flour (or cornstarch)
- 1 teaspoon paprika
- ½ teaspoon garlic powder
- ½ teaspoon salt
- ¼ teaspoon ground black pepper
- ¼ teaspoon cayenne pepper (optional, for a subtle kick)
- 1¼ cups chilled gluten-free beer (or carbonated water)
For Frying
- Canola or vegetable oil (enough to provide 2 inches of depth in your pot)
Instructions
- Prepare Onions: Begin by peeling your chosen large onions. Slice them crosswise into uniform ½-inch thick rings. Gently separate each ring and set them aside. Ensure the onion rings are thoroughly patted dry with paper towels to help the batter adhere.
- Mix Dry Batter: In a large mixing bowl, whisk together the rice flour, tapioca flour, paprika, garlic powder, salt, ground black pepper, and cayenne pepper (if using). Whisk until all the dry ingredients are thoroughly combined and evenly distributed.
- Create Wet Batter: Gradually pour the chilled gluten-free beer or carbonated water into the dry flour mixture, whisking continuously. Continue whisking until you achieve a smooth, pourable batter that is slightly thick. The consistency should be similar to a thin pancake batter – it should coat the back of a spoon without being too thin or clumpy. Adjust liquid as needed, as flour absorbency can vary. Allow the batter to rest for 5-10 minutes.
- Heat Oil: Heat your chosen high-smoke point oil in a large, heavy-bottomed pot over medium-high heat. Use an instant-read thermometer to heat the oil to precisely 350°F (177°C). Ensure there is at least 2 inches of oil depth for proper frying.
- Batter and Fry: Working in small batches (to prevent overcrowding and maintain oil temperature), take each individual onion ring and fully dredge it in the prepared batter, ensuring it’s evenly and thoroughly coated on all sides. Carefully lower each battered onion ring into the hot oil.
- Cook to Golden Perfection: Fry the onion rings for approximately 2 minutes per batch, or until they turn a beautiful golden brown and are wonderfully crisp. Use a slotted spoon or spider skimmer to gently turn them if needed for even browning.
- Drain and Season: Once golden and crispy, remove the fried onion rings from the oil using a slotted spoon or spider. Transfer them to a plate lined with paper towels or a wire rack set over a baking sheet to drain any excess oil. Immediately sprinkle with a pinch of extra salt or your preferred seasoning while they are still hot.
- Serve and Enjoy: Serve your homemade, crispy gluten-free onion rings immediately while they are at their peak freshness and warmth. Enjoy with your favorite dips!
Notes
- Always ensure your frying oil is heated to precisely 350°F (177°C) to guarantee a crispy, non-greasy result.
- To Bake: Arrange battered onions on an oil-sprayed baking sheet. Bake in a preheated 450°F (232°C) oven for 15-20 minutes, flipping halfway, until golden and crispy.
- To Air Fry: Place battered onions in a single layer in an oil-sprayed air fryer basket. Air fry at 400°F (204°C) for 10-12 minutes, shaking the basket once, until golden and crunchy.
- To Store: Place leftover, completely cooled gluten-free onion rings in an airtight container and refrigerate for up to 2 days.
- To Freeze: For longer storage, freeze cooled onion rings in an airtight, freezer-safe container for up to 3 months. Thaw overnight in the refrigerator before reheating.
- Like Mama always says, “Check your labels!” Always double-check ingredient labels for gluten-free certification.
Nutrition (Approximate per serving)
- Serving: 1 serving
- Calories: 345 kcal
- Carbohydrates: 45 g
- Protein: 3 g
- Fat: 15 g
- Saturated Fat: 1 g
- Polyunsaturated Fat: 4 g
- Monounsaturated Fat: 9 g
- Trans Fat: 0.1 g
- Sodium: 296 mg
- Potassium: 127 mg
- Fiber: 2 g
- Sugar: 2 g
- Vitamin A: 300 IU
- Vitamin C: 3 mg
- Calcium: 18 mg
- Iron: 0.5 mg
Nutrition information is automatically calculated and should be used only as an approximation, as ingredient brands and cooking methods can affect values.
Additional Info
Course: Appetizer, Side Dish
Cuisine: American
Tried this recipe?
We’d love to see your delicious creations! Mention @mamaknowsglutenfree or tag #mamaknowsglutenfree on Instagram to share your success!
How to Make Gluten-Free Onion Rings: A Step-by-Step Visual Guide
For those who benefit from seeing the process unfold, this visual guide breaks down each step to ensure your gluten-free onion rings turn out perfectly crispy and delicious. Follow along with these images to master the art of homemade onion rings.
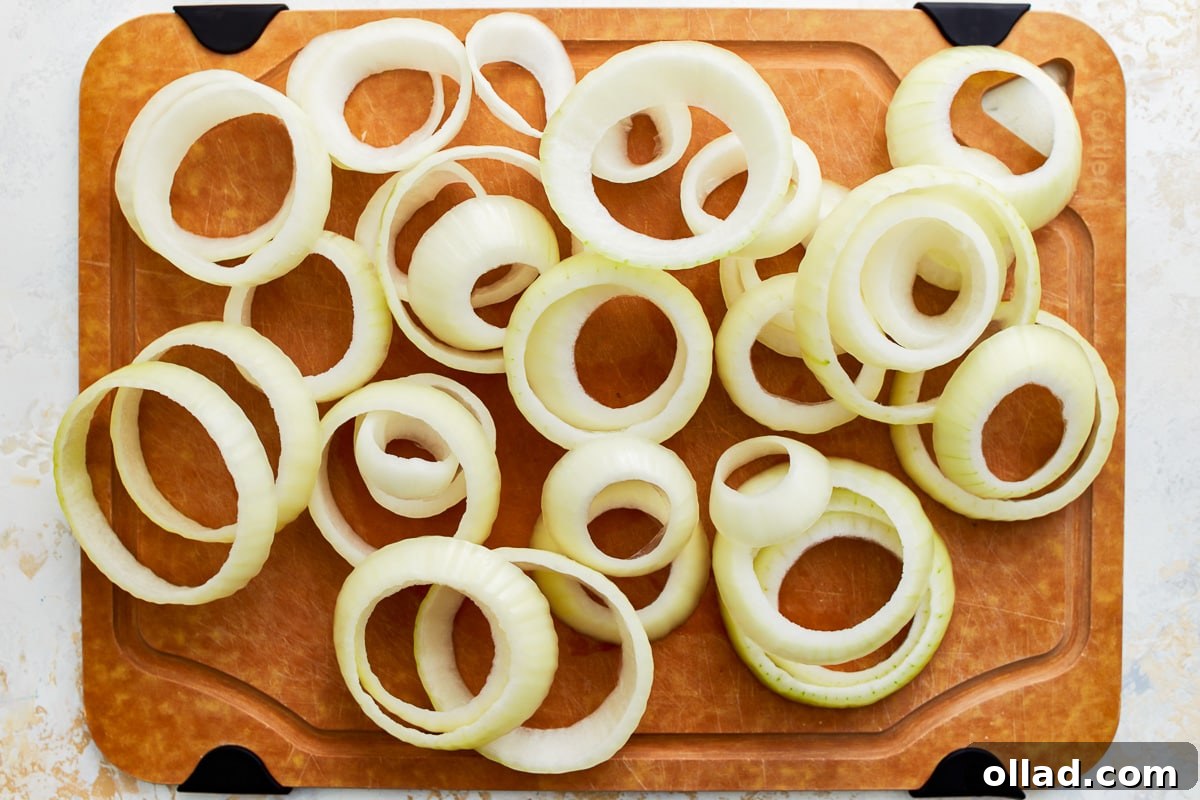
Begin your onion ring journey by selecting 1-2 large, firm onions. Carefully peel away their outer skins and slice them crosswise into consistent ½-inch thick rings. Precision in slicing helps ensure even cooking. Once sliced, gently separate the individual rings. It’s crucial at this stage to thoroughly pat each ring dry with paper towels to remove any excess moisture, which is key for the batter to adhere properly.
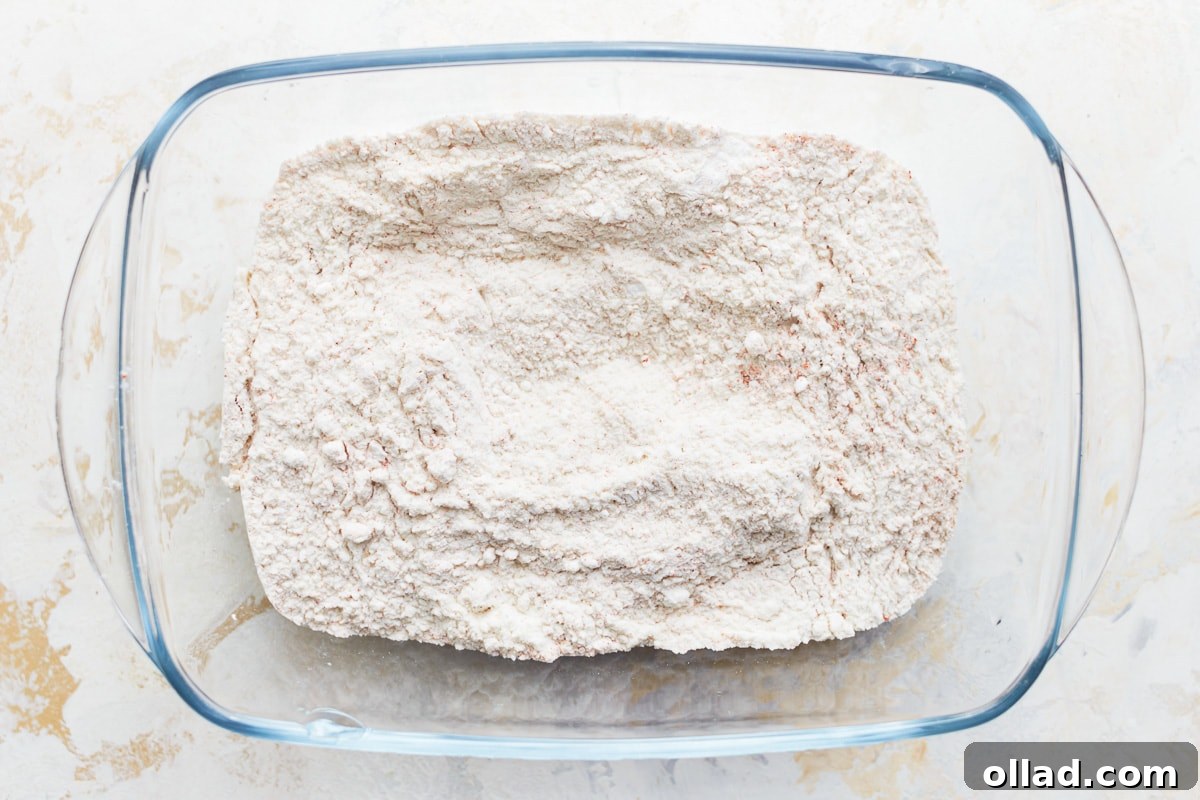
In a spacious mixing bowl, combine all your dry batter ingredients. Add 1 cup of rice flour, ¼ cup of tapioca flour (or cornstarch), 1 teaspoon of paprika, ½ teaspoon of garlic powder, ½ teaspoon of salt, ¼ teaspoon of ground black pepper, and if you desire a hint of heat, ¼ teaspoon of cayenne pepper. Whisk these ingredients together vigorously until they are perfectly integrated, forming a uniform and fragrant dry mixture. This forms the base for your incredibly crispy coating.
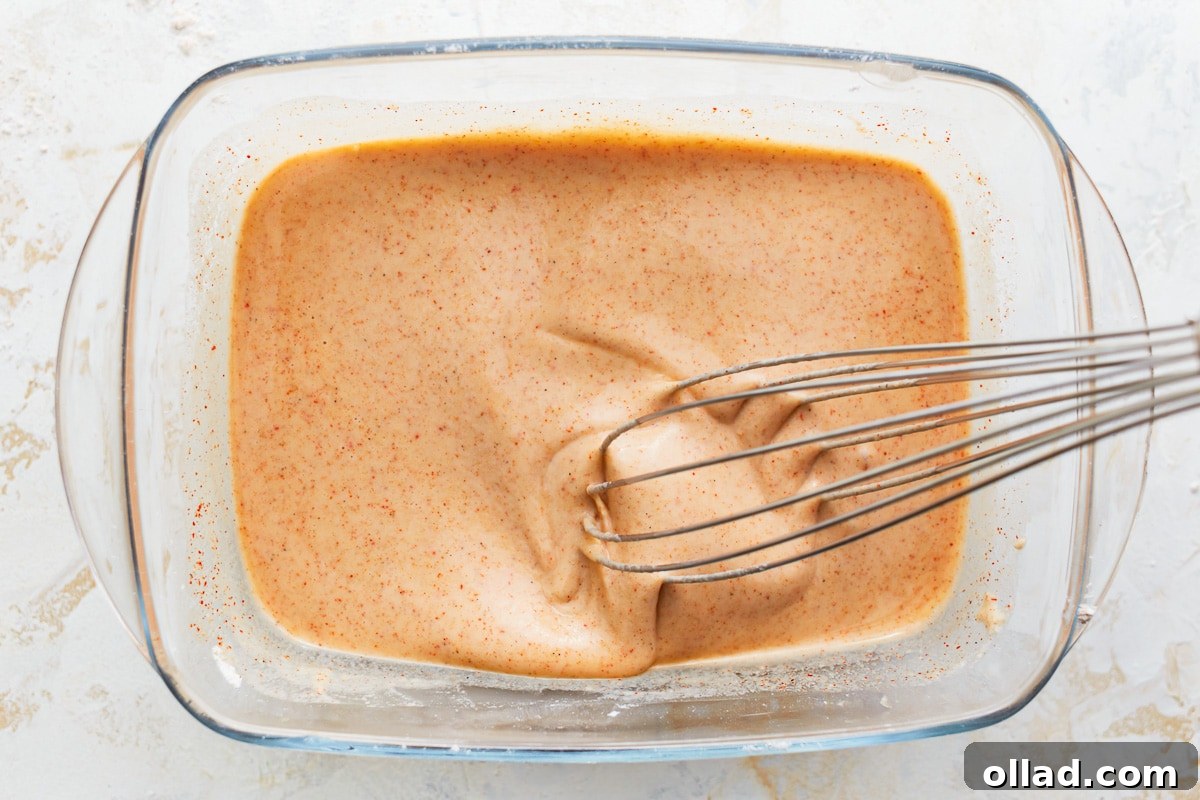
Now, it’s time to bring the batter to life. Gradually pour 1¼ cups of chilled gluten-free beer or carbonated water into your dry mixture. As you pour, continuously whisk the ingredients together. Your goal is to achieve a smooth, pourable batter that is just slightly thick – imagine the consistency of a good pancake batter. It should coat the back of a spoon without dripping off too quickly. Remember that gluten-free flours vary in absorbency, so be prepared to adjust the liquid amount slightly. Once mixed, let the batter rest for 5-10 minutes; this allows the flours to fully hydrate, resulting in a superior texture and better adhesion to the onions.
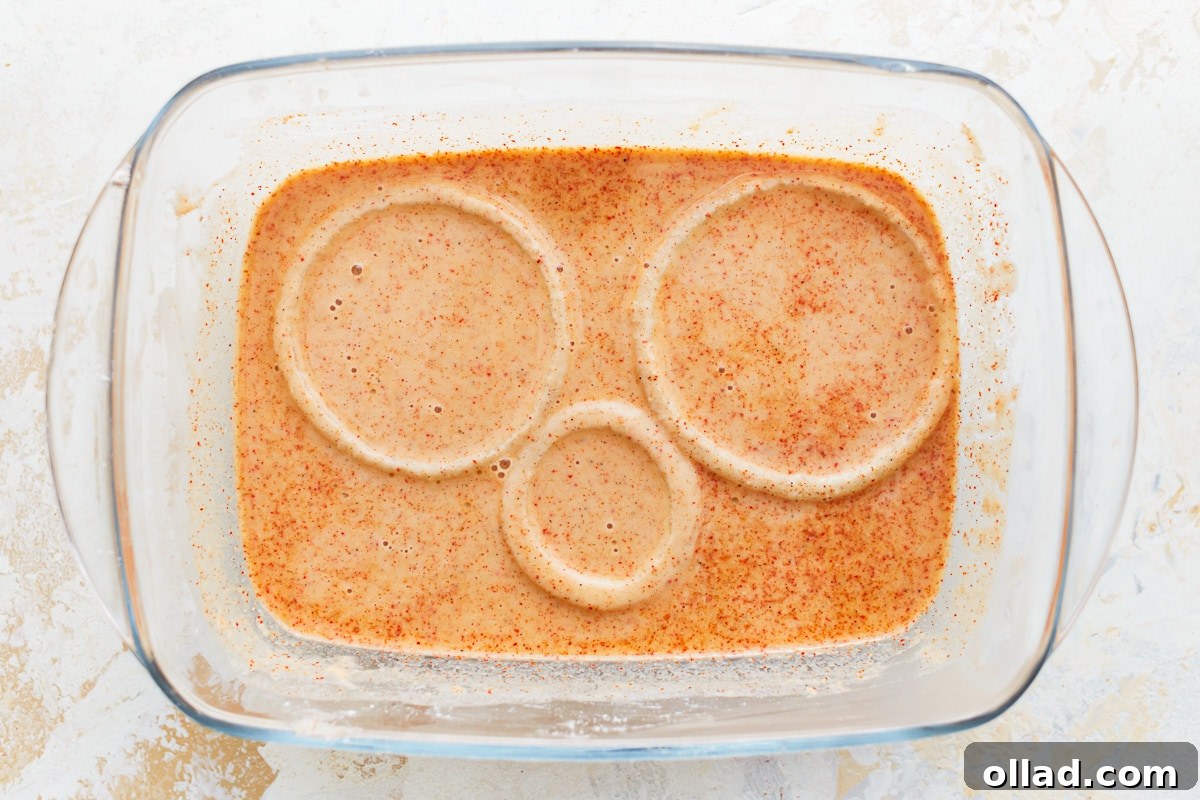
Before you begin dipping, ensure your high-smoke point frying oil is heated to the precise temperature of 350°F (177°C) in a large, heavy-bottomed pot, with at least 2 inches of oil depth. With your oil ready, take each separated onion ring and fully submerge it into your prepared batter. Swirl it around gently to ensure every inch of the onion is coated evenly and generously. A consistent coating is paramount for achieving that desirable all-over crispiness.
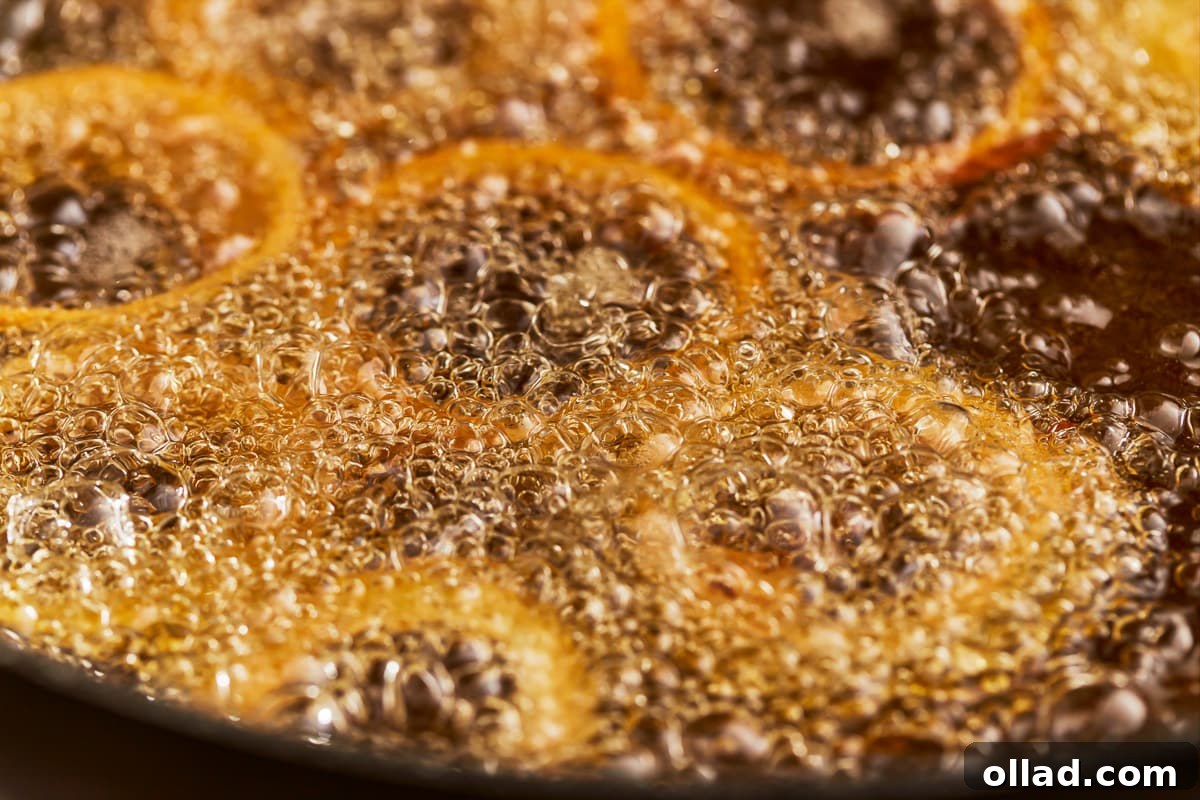
Once your onion rings are perfectly coated and your oil is at the optimal temperature, it’s time for the magic to happen! Gently and carefully drop the battered onion rings into the hot oil. It is crucial to work in small batches to avoid overcrowding the pot. Overcrowding will cause the oil temperature to drop significantly, leading to soggy and less-than-crispy results. Allow each batch to fry undisturbed for about a minute before gently turning them with a slotted spoon to ensure even cooking and a consistent golden-brown finish.
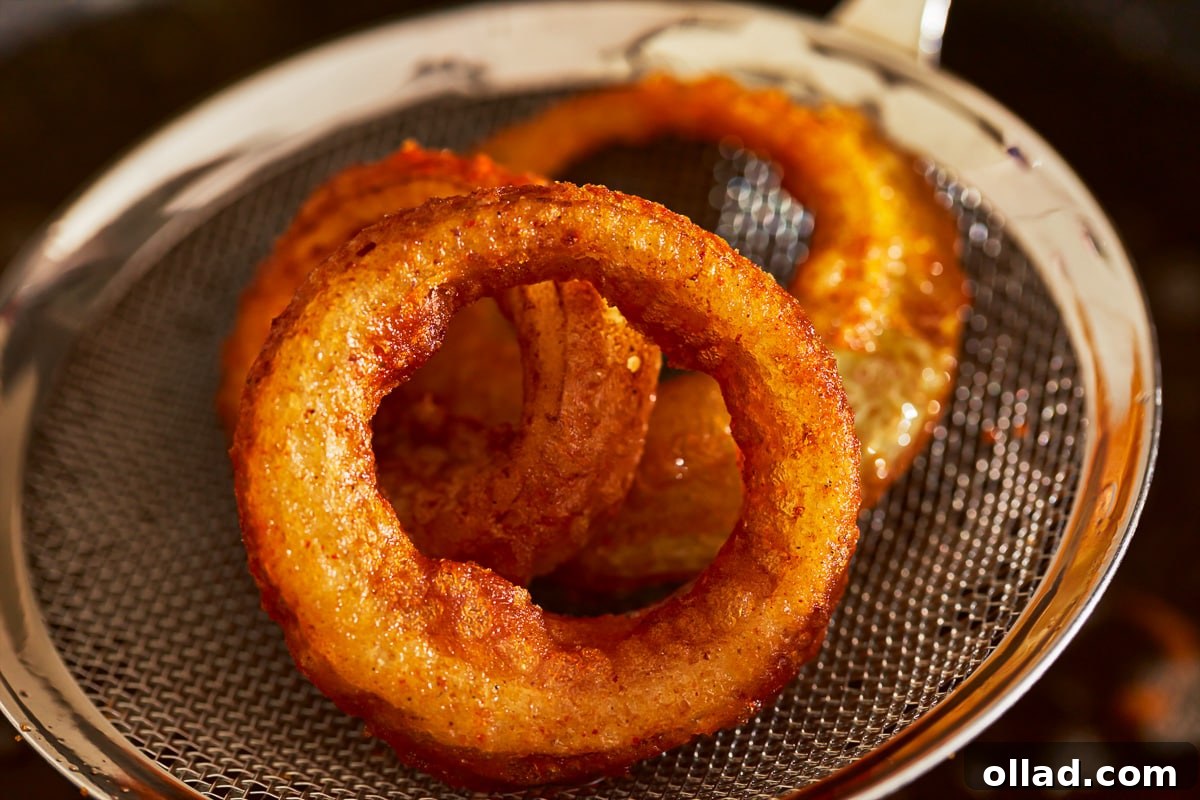
Continue to fry each batch of onion rings until they achieve a magnificent golden-brown color and are audibly crispy. This typically takes around 2 minutes per batch, though timing can vary based on your oil temperature and the thickness of your onion rings. Use a slotted spoon or a spider skimmer to carefully lift the fried onion rings from the hot oil. Gently shake off any excess oil as you remove them to prevent them from becoming greasy.
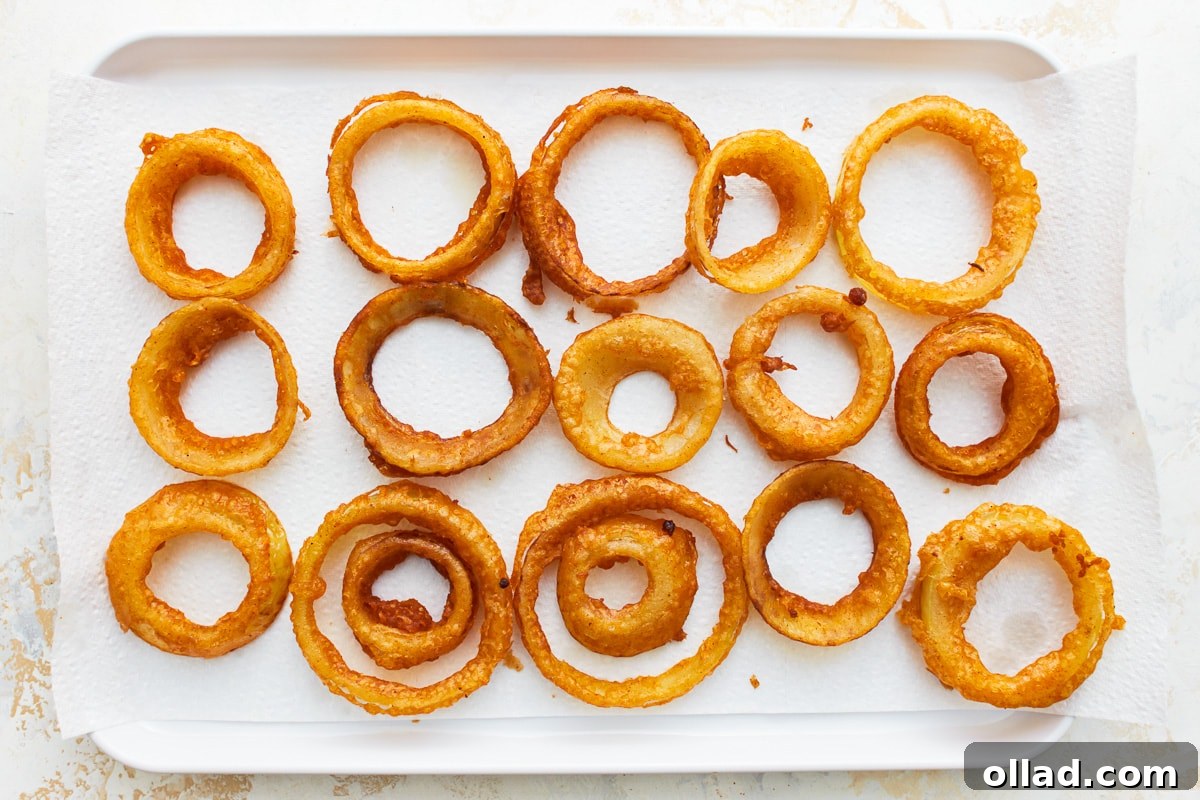
Immediately after removing your crispy gluten-free onion rings from the oil, transfer them to a plate lined with several layers of paper towels or a wire rack placed over a baking sheet. This allows any residual oil to drain away, ensuring they remain wonderfully crisp. For an extra burst of flavor, sprinkle them with a little additional salt or your favorite seasoning while they are still hot. Serve these delectable homemade treats immediately and savor every satisfying, crunchy bite!
Perfect Pairings and Serving Suggestions
These ultra-crispy gluten-free onion rings are incredibly versatile and can elevate any meal or gathering. While they are famously good on their own or with a simple dip, here are some ideas for perfect pairings:
- Classic Combo: Elevate your home dining experience by serving them alongside our homemade gluten-free chicken nuggets for the ultimate gluten-free “fast food” experience right in your kitchen. They also make an excellent, indulgent companion to juicy burgers (on gluten-free buns, of course!) and savory sandwiches, adding that satisfying crunch.
- Dipping Delights: A creamy dairy-free ranch dressing is an absolute classic and a fantastic choice, but don’t hesitate to explore other options! Consider a spicy sriracha mayo, a tangy barbecue sauce, a sweet and sour sauce, or even a classic ketchup. For an extra kick, mix a little hot sauce into your favorite dip to create a custom flavor explosion.
- Party Appetizer Powerhouse: Arrange these golden rings on a large platter with a variety of dipping sauces for a crowd-pleasing appetizer that caters to everyone’s tastes and dietary needs. They are perfect for game day celebrations, casual get-togethers, or any festive occasion where delicious, easy-to-eat finger foods are desired.
- Beyond the Plate: Creative Toppings: Get creative and use these crispy rings as a flavorful topping! They add an unexpected textural crunch and savory boost when placed atop a bowl of gluten-free chili, a loaded baked potato, a creamy casserole (like green bean casserole for a twist), or even crumbled into a fresh salad for a unique crouton alternative.
More Irresistible Gluten-Free Appetizer Recipes to Try!
If you thoroughly enjoyed making and devouring these crispy gluten-free onion rings, you’re in for a treat! We have a treasure trove of fantastic gluten-free appetizer recipes waiting for you to explore. Each one is designed to be delicious, easy to make, and perfect for sharing. Get ready to discover new family favorites and impress your guests with these delectable gluten-free delights:
- Gluten-Free Corn Dogs
- Gluten-Free Falafel
- Gluten-Free Tempura Batter
- Gluten-Free Pizza Bites
- Gluten-Free Mozzarella Sticks