
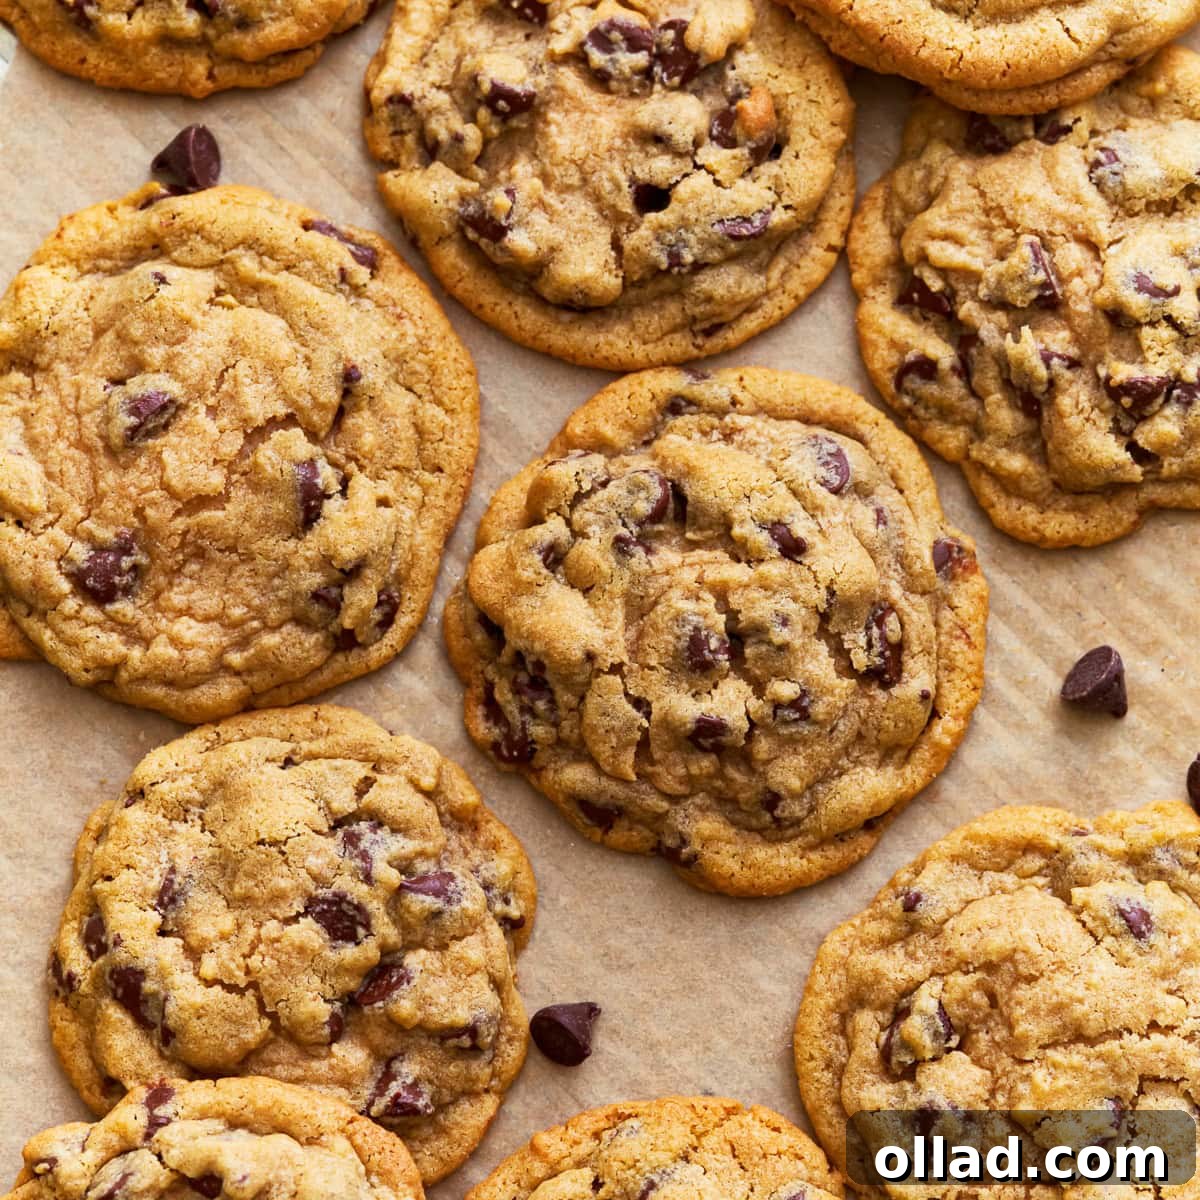
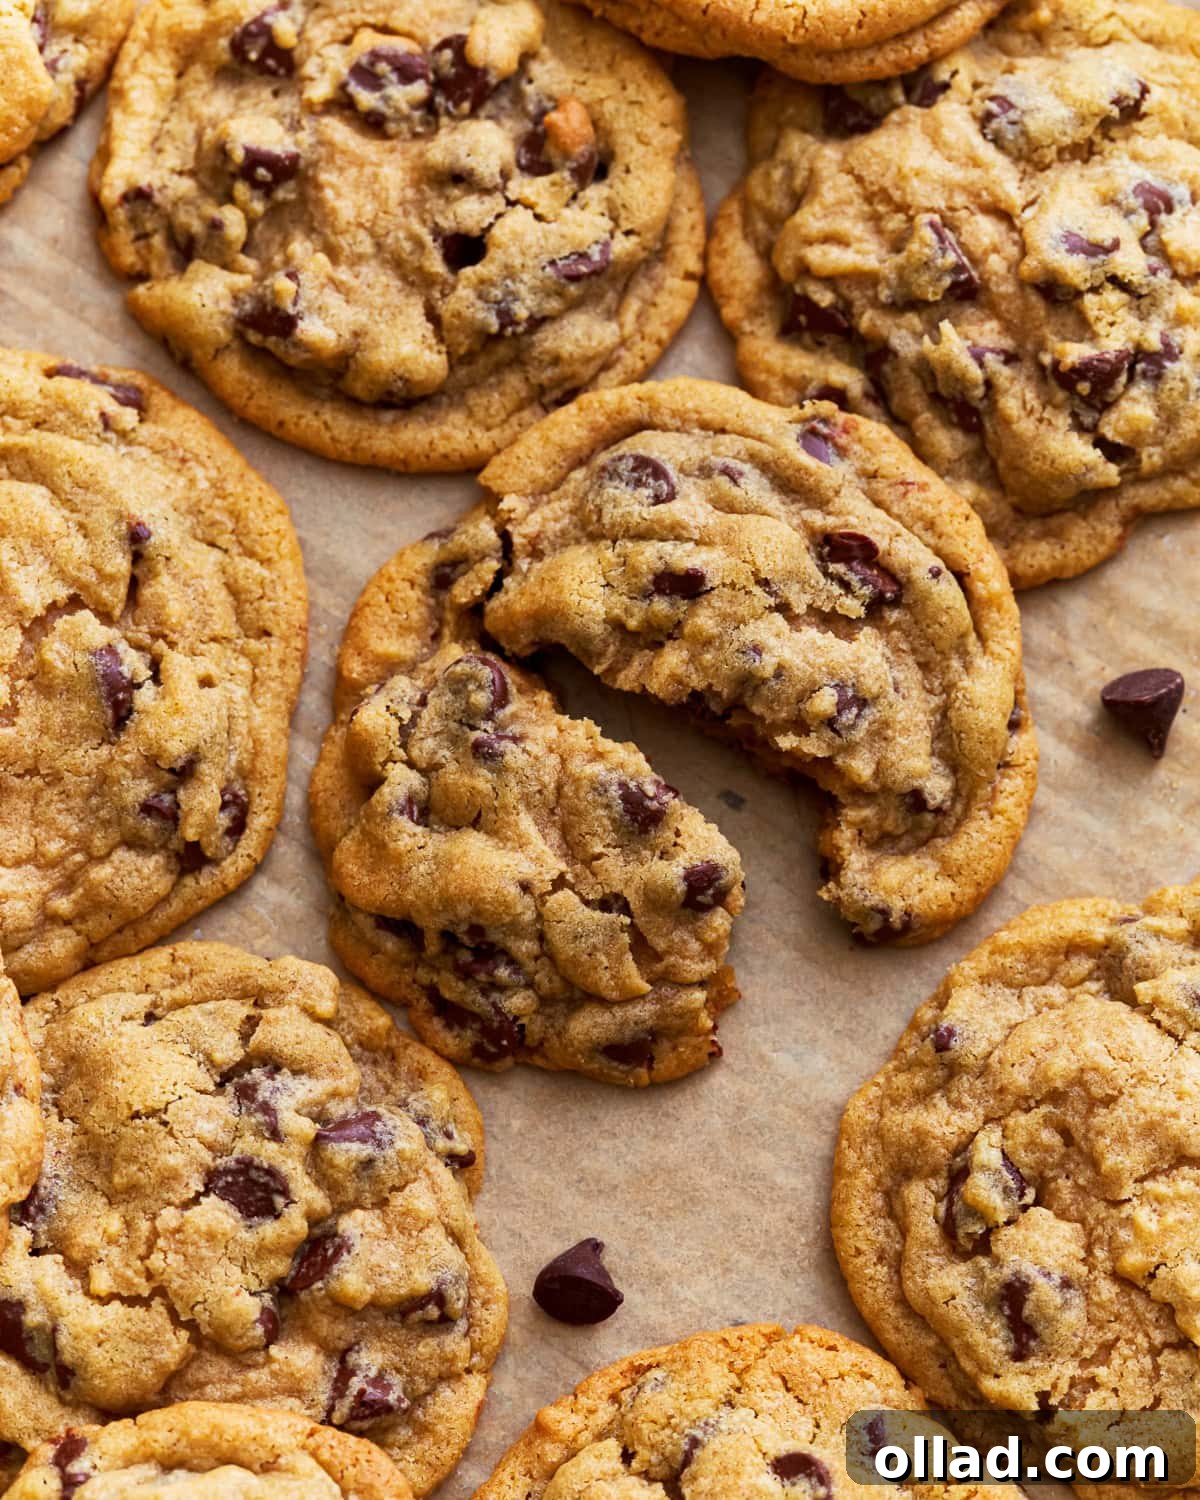
Welcome to the ultimate guide for crafting the most irresistible gluten-free chocolate chip cookies you’ll ever taste! This isn’t just another cookie recipe; it’s a culinary journey designed to deliver perfection with every bite. Imagine a cookie that’s wonderfully chewy in the center, boasts a delicately crisp edge, and is generously studded with pockets of melted, gooey chocolate. Sounds like a dream, right? Prepare to turn that dream into a delicious reality, because these cookies are so remarkably good, no one will guess they’re gluten-free! And for those with additional dietary needs, we’ve thoughtfully included clear dairy-free and vegan options. Loved by my entire family, this recipe is celebrated not only for its incredible flavor and texture but also for its remarkable simplicity: it comes together quickly in a single bowl and requires absolutely no chilling time, making it perfect for those spontaneous cookie cravings.
The Quest for the Ultimate Gluten-Free Chocolate Chip Cookie
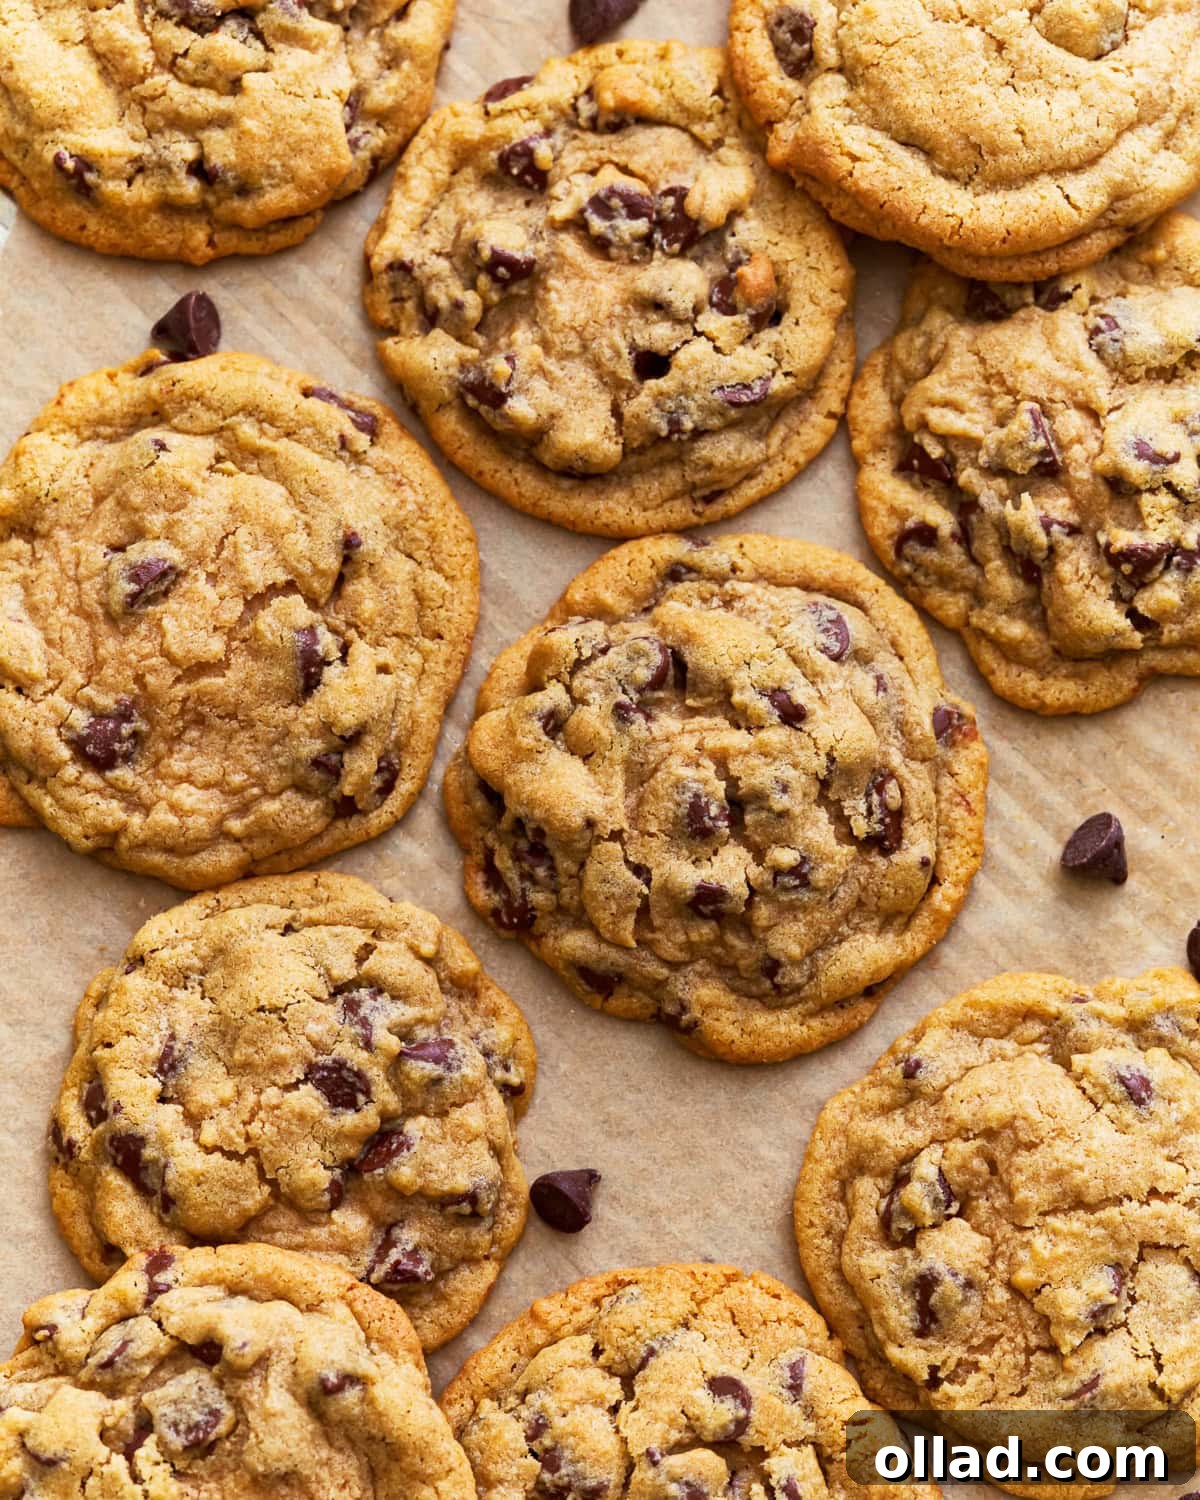
When I first transitioned to a gluten-free lifestyle, one of my biggest culinary losses was the classic Nestle Toll House cookie. That iconic combination of crunchy edges and a soft, chewy center seemed impossible to replicate without gluten. I embarked on countless trials, experimenting with various recipes and store-bought options, only to be met with disappointment. My kitchen became a testing ground filled with crumbly cookies, burnt edges, and flat, sad discs that bore little resemblance to the beloved original. The absence of gluten, a protein responsible for the elasticity and structure in traditional baked goods, presented a unique challenge. Achieving that perfect chewiness and structural integrity required a meticulous balance of ingredients and precise techniques.
Through persistent experimentation and a dedication to understanding the science of gluten-free baking, I finally cracked the code. The result is a recipe that consistently delivers the *best* gluten-free chocolate chip cookies, exceeding even my fondest memories. Each bite is an explosion of harmonious flavors – the rich, bittersweet notes from the chocolate chips, the comforting warmth of pure vanilla extract, and the deep, caramelized sweetness provided by a thoughtful blend of molasses and sugars. This recipe eliminates the guesswork, ensuring your cookies turn out perfectly delightful every single time, without the need for extensive experience or specialized equipment. It’s a testament to the fact that going gluten-free doesn’t mean sacrificing flavor or texture when it comes to your favorite treats.
Essential Ingredients for Gluten-Free Chocolate Chip Cookies
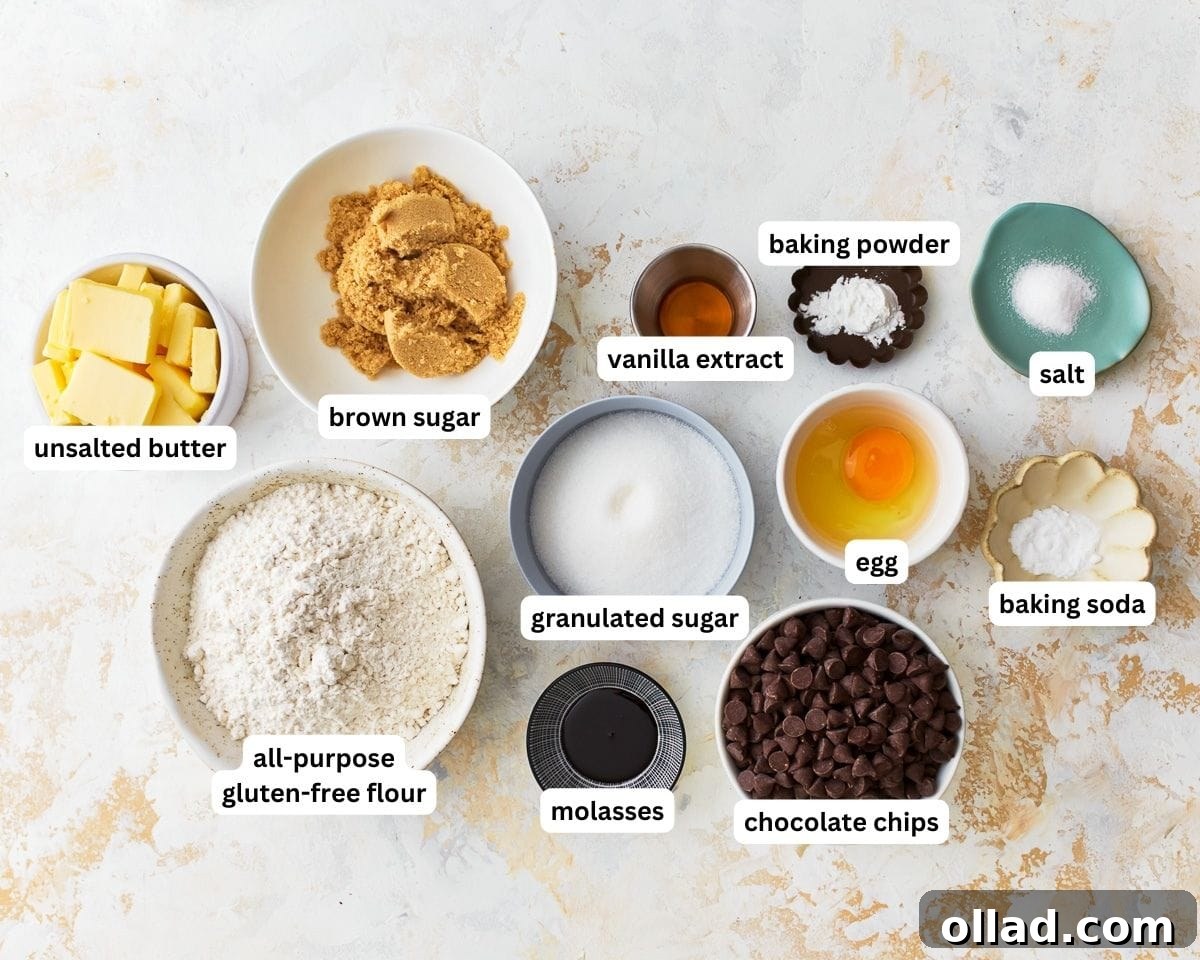
Crafting exceptional gluten-free chocolate chip cookies starts with understanding the role of each ingredient. Here’s a detailed look at what makes this recipe shine:
- All-Purpose Gluten-Free Flour with Xanthan Gum: The foundation of our cookies. I highly recommend Pillsbury gluten-free flour because it already contains xanthan gum. Xanthan gum is a vital ingredient in gluten-free baking; it mimics the elasticity and binding properties of gluten, preventing your cookies from being crumbly. If your chosen gluten-free flour blend does not include xanthan gum, you’ll need to add approximately ½ teaspoon for every cup of flour used. Please note that results may vary with different flour blends, and this recipe is not compatible with almond or coconut flour, which have very different absorption and structural properties.
- Unsalted Butter: This ingredient is crucial for developing the rich, buttery flavor and tender texture that define a classic chocolate chip cookie. It contributes to the cookie’s spread and helps create those coveted crisp edges. For a dairy-free alternative, Smart Balance butter or any high-quality vegan butter substitute works beautifully, ensuring the same delicious richness without the dairy.
- Granulated Sugar and Brown Sugar: The magic is in the mix! Combining both types of sugar is key to achieving the ideal balance of sweetness and texture. Granulated sugar contributes to the crispness around the edges, while brown sugar, with its molasses content, adds moisture, chewiness, and a deeper, more complex flavor profile. This duo ensures a cookie that’s neither too brittle nor too soft.
- Molasses: Often overlooked, molasses is a secret weapon in this recipe. I use Grandma’s® Molasses (Original) for its distinct flavor and its ability to enhance moisture retention, leading to a chewier cookie. While you can technically omit it if absolutely necessary, I strongly recommend including it for the depth of flavor and superior texture it imparts. It’s a subtle addition that makes a significant difference.
- Pure Vanilla Extract: A staple in almost any dessert, pure vanilla extract elevates the overall flavor of the cookie dough, adding a warm, aromatic sweetness that complements the chocolate and sugars perfectly. Don’t skimp on quality here; pure vanilla makes a difference.
- Egg: The egg acts as a binder, holding all the ingredients together, and contributes significantly to the cookie’s structure and richness. For those following an egg-free or vegan diet, Bob’s Red Mill Gluten-Free Egg Replacer is an excellent substitute, effectively binding the dough without compromising texture.
- Baking Soda: This leavening agent reacts with the acidic brown sugar and molasses to produce carbon dioxide gas, which gives the cookies a gentle lift and promotes spreading, contributing to their signature flat yet chewy shape.
- Baking Powder: Working in conjunction with baking soda, gluten-free baking powder provides an additional lift, ensuring a slightly thicker cookie with a tender crumb and a subtle crispness at the edges. Always ensure your baking powder is certified gluten-free.
- Salt: A pinch of salt is vital for balancing the sweetness of the sugars and chocolate, enhancing all the other flavors in the cookie. It truly makes the chocolate taste richer and the vanilla more vibrant.
- Chocolate Chips: The star of the show! Choose your favorite brand and type of chocolate chips. Semi-sweet chocolate chips are my personal go-to for their classic flavor balance, but dark chocolate or milk chocolate chips also work wonderfully. For an extra touch, consider chopping a high-quality chocolate bar into chunks for varied textures. For dairy-free and vegan cookies, Nestle Simply Delicious or Enjoy Life mini chocolate chips are fantastic options that melt beautifully.
Expert Tips for Gluten-Free Chocolate Chip Cookies
Achieving gluten-free cookie perfection is easy when you follow these insider tips:
- Softened Butter is Key: Don’t skip this crucial step! Properly softened butter (not melted!) creams beautifully with sugar, creating an airy base that contributes to a tender, chewy cookie. Take your butter out of the refrigerator 15-30 minutes before you plan to bake. It should be pliable enough to leave an indentation when pressed, but not oily. If you’re using dairy-free or vegan butter, it usually has a softer consistency and often doesn’t require pre-softening.
- Choose Your Flour Wisely: As mentioned, not all gluten-free flours are created equal. My preferred choice for this recipe is Pillsbury gluten-free flour, which is a reliable cup-for-cup blend that already contains xanthan gum. Using a different blend can significantly alter the outcome, potentially affecting texture, spread, and moisture. This recipe has been specifically developed for a rice flour-based all-purpose blend and will not yield desirable results with single-ingredient flours like almond or coconut flour, which behave very differently in baking.
- Accurate Flour Measurement (Spoon & Level Method): This is perhaps one of the most critical tips for gluten-free baking. To measure your gluten-free flour correctly, use the “spoon & level” method: gently spoon the flour into your measuring cup until it overflows, then use the back of a knife or a straight edge to level off the excess. Scooping the measuring cup directly into the flour bag compacts the flour, resulting in up to 25% more flour than required, which can lead to dry, crumbly, or dense cookies.
- Uniform Cookie Size with a Scoop: For consistently baked cookies, I always use a greased cookie scoop. A 1 ½ tablespoon cookie scoop is ideal for this recipe, ensuring each cookie is the same size, which means they’ll all bake evenly and finish at the same time. This also helps in achieving uniform texture throughout the batch.
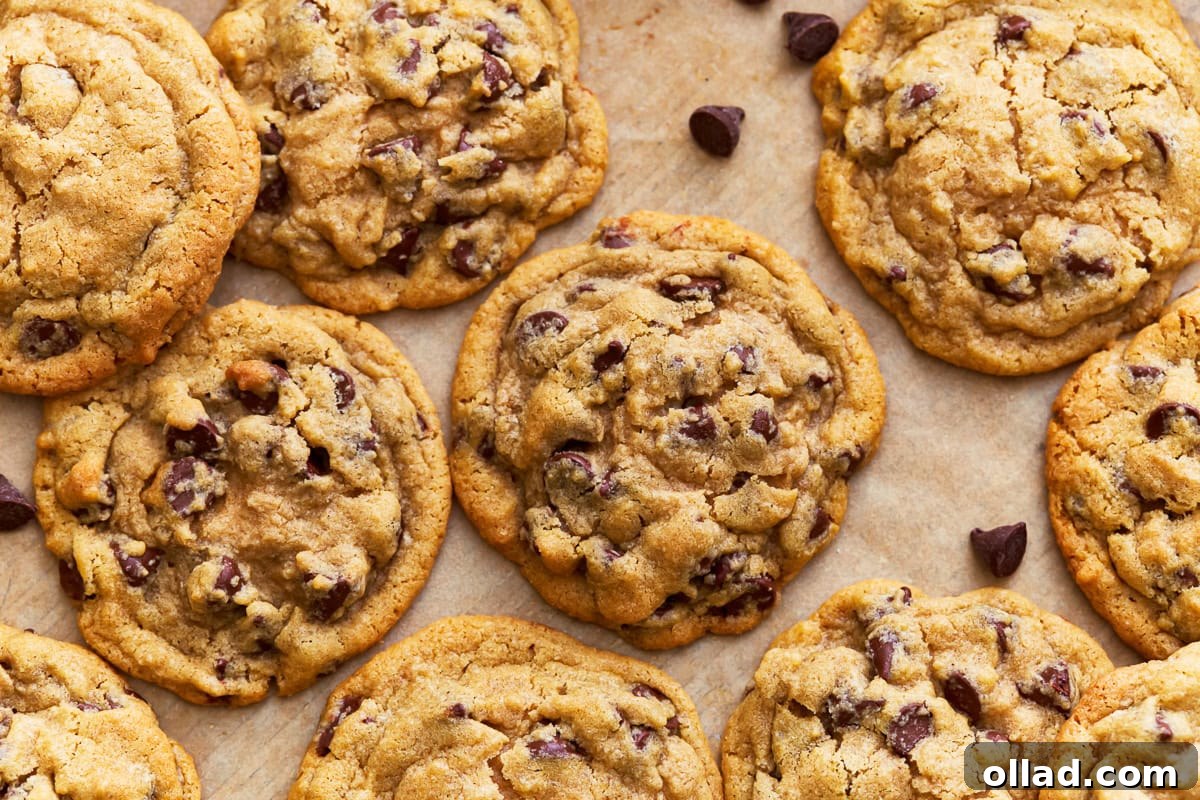
- The Secret to Gooey Cookies: Don’t Over-bake! If you dream of cookies with a soft, gooey center, the trick is to pull them from the oven when their edges are just set and lightly golden brown, but their centers still look slightly underdone and soft. For this recipe, that typically means baking for exactly 8 minutes. Remember, cookies continue to cook for a few minutes after they’re removed from the hot oven.
- For Fluffier Cookies, Chill the Dough: While this recipe is designed to be made without chilling, if you prefer a thicker, slightly fluffier cookie with less spread, I recommend chilling the cookie dough for at least 30 minutes. Chilling allows the butter to solidify, preventing excessive spread and concentrating the flavors. You can even chill it for longer, up to several days, for a deeper flavor development.
Freezing and Storage Solutions for Gluten-Free Cookies
One of the best things about homemade cookies is their versatility when it comes to storage, and gluten-free cookies are no exception! Whether you want to prepare ahead or save leftovers, these methods ensure freshness.
Can I Freeze the Cookie Dough? Absolutely!
Freezing cookie dough is an excellent way to have fresh-baked cookies on demand with minimal effort. Here’s how to do it:
- Portion and Flash-Freeze: Once your dough is mixed, scoop out individual cookie dough balls using your preferred cookie scoop and place them onto a parchment-lined baking sheet. Ensure they aren’t touching.
- Initial Freeze: Transfer the baking sheet to the freezer and flash-freeze the dough balls for about 10-15 minutes, or until they are firm enough to handle without losing their shape. This prevents them from sticking together.
- Store: Once flash-frozen, transfer the cookie dough portions into a freezer-safe, airtight bag or container. Label it with the date. Frozen raw cookie dough can be stored in the freezer for up to 3 months.
- Baking from Frozen: No need to thaw! Simply place the frozen dough balls on a parchment-lined baking sheet and bake as directed. You may need to add an extra minute or two to the baking time, so keep a close eye on your cookies to achieve that perfect golden brown edge and soft center.
Storage Instructions for Baked Cookies
Proper storage is essential to maintain the deliciousness and texture of your baked gluten-free chocolate chip cookies:
- Room Temperature Storage: Once completely cooled, store your homemade gluten-free chocolate chip cookies in an airtight container at room temperature. They will remain fresh and delightfully chewy for up to a week. To retain maximum freshness, you can place a slice of bread in the container with the cookies; the bread will absorb moisture and keep the cookies softer.
- Freezing Baked Cookies: For longer storage, baked cookies can also be frozen. Arrange cooled cookies in a single layer on a baking sheet to freeze for an hour or two until solid. Then, transfer them to a freezer-safe container or bag, separating layers with parchment paper to prevent sticking. They can be stored for up to 3 months.
- Reheating Frozen Cookies: To enjoy that “fresh from the oven” taste, thaw frozen cookies at room temperature for an hour or two. For a quick treat, you can also reheat them in the microwave for 10-15 seconds, or in a preheated oven at 300°F (150°C) for 5-7 minutes, until warmed through and gooey.
Sugar Alternatives and Dietary Variations
Exploring dietary alternatives allows more people to enjoy these delightful cookies:
Can I Use Sugar Alternatives?
While I haven’t personally tested this specific recipe with sugar alternatives, many readers have successfully experimented with them. If you’re looking to reduce sugar, you can try using a sugar-free substitute for both granulated and brown sugar. Popular options include Lakanto Monkfruit Sweetener or Swerve Brown Sugar Substitute. Another creative approach is to swap brown sugar for maple syrup, using ¾ cup of maple syrup for every 1 cup of brown sugar, and adding a little extra flour to balance the liquid content. It’s important to remember that using sugar alternatives may impact the texture and taste of the cookies, as these substitutes can behave differently than traditional sugars in baking. I cannot guarantee identical results to the original recipe, but with a little adjustment, you can certainly find a version that works for you.
Dairy-Free and Vegan Options
This recipe is incredibly adaptable for dairy-free and vegan diets. For dairy-free cookies, simply substitute unsalted butter with a high-quality dairy-free butter alternative like Smart Balance or Earth Balance. For the chocolate chips, choose brands like Nestle Simply Delicious or Enjoy Life mini chocolate chips, which are specifically designed to be dairy-free. To make the recipe completely vegan, in addition to the dairy-free butter and chocolate chips, use Bob’s Red Mill Gluten-Free Egg Replacer instead of a large egg. These simple swaps ensure that everyone can enjoy these fantastic gluten-free chocolate chip cookies!
Troubleshooting Common Gluten-Free Cookie Issues
Even with the best recipes, sometimes things don’t go exactly as planned. Here are solutions to common gluten-free cookie problems:
- My Cookies Are Flat and Spread Too Much:
- Butter Temperature: If your butter was too warm or melted, it will cause excessive spreading. Ensure it’s softened, but still cool to the touch.
- Leavening Agents: Old or inactive baking soda/powder can lead to flat cookies. Always check expiration dates.
- Measuring Flour: Too little flour (often from not using the spoon & level method) can make cookies spread excessively.
- Oven Temperature: An oven that’s not hot enough can also contribute to spreading before the cookies set. Use an oven thermometer to verify accuracy.
- My Cookies Are Crumbly or Dry:
- Over-baking: This is the most common culprit. Even a minute too long can dry out gluten-free cookies. Remove them when the edges are set and the centers are still slightly soft.
- Too Much Flour: Measuring flour incorrectly (scooping directly) can add too much dry ingredient, leading to a dry dough.
- Wrong Flour Blend: Using a flour blend without xanthan gum, or a blend not suited for cookies (like almond flour), can result in a crumbly texture.
- My Cookies Are Too Cakey:
- Too Much Leavening: An excess of baking soda or baking powder can create a cake-like texture rather than chewy.
- Not Enough Fat or Sugar: These ingredients contribute to moisture and chewiness. Ensure accurate measurements.
- Dough Temperature: If the dough is too cold, it may not spread properly, leading to a thicker, cakey texture.
Frequently Asked Questions About Gluten-Free Chocolate Chip Cookies
Here are answers to some common questions you might have:
Q: What is the best gluten-free flour to make cookies?
A: For this recipe, I highly recommend using an all-purpose gluten-free flour blend that already contains xanthan gum. Pillsbury gluten-free flour is my top choice, as it’s a rice flour-based cup-for-cup blend designed to substitute traditional flour in most recipes. The xanthan gum is crucial for replacing the elasticity that gluten provides, giving your cookies a chewy texture. Avoid using single-ingredient flours like almond or coconut flour, as they have vastly different absorption rates and will not yield the desired results without significant recipe adjustments.
Q: Can I use almond flour or coconut flour in this recipe?
A: No, this recipe is specifically formulated for a multi-purpose gluten-free flour blend. Almond flour and coconut flour have unique properties and absorb liquids very differently from all-purpose gluten-free blends. Substituting them directly will result in a completely different texture, usually very dry or crumbly, and potentially flat cookies. It’s best to stick to the recommended type of flour for optimal results.
Q: How long do these gluten-free chocolate chip cookies last?
A: When stored in an airtight container at room temperature, these cookies will stay fresh and delicious for up to 5-7 days. For longer storage, they can be frozen for up to 3 months.
Q: Do I need to chill the dough?
A: This recipe is designed to be made without chilling, offering quick and easy baking. However, if you prefer a slightly thicker, chewier cookie with less spread and a more developed flavor, you can chill the dough for at least 30 minutes or up to 2 days before baking.
Q: Why is molasses important in this recipe?
A: Molasses contributes a deeper, richer flavor profile that enhances the overall taste of the chocolate chip cookies. More importantly, it adds moisture and contributes to the soft, chewy texture, making the cookies more tender and preventing them from drying out too quickly.
Q: Can I add other mix-ins to the cookies?
A: Absolutely! Feel free to customize your cookies with other delicious additions. Walnuts, pecans, sprinkles, white chocolate chips, or even a dash of espresso powder for a mocha twist would be wonderful. Just ensure the total amount of mix-ins doesn’t significantly exceed the chocolate chip quantity to maintain the dough’s consistency.
Gluten-Free Chocolate Chip Cookies
Share by Email
Print Recipe

Ingredients
- 1 cup unsalted butter, softened, For dairy-free use Smart Balance butter, or vegan butter.
- 3/4 cup granulated sugar
- 3/4 cup brown sugar, packed
- 1 teaspoon molasses
- 1 teaspoon pure vanilla extract
- 1 large egg , For egg-free/vegan use Bob’s Red Mill Gluten-Free Egg Replacer.
- 1/2 teaspoon baking soda
- 1/2 teaspoon gluten-free baking powder
- 1/2 teaspoon salt
- 2 1/2 cups all-purpose gluten-free flour with xanthan gum, I like Pillsbury gluten-free flour. Not all gluten-free flours are created equal. You may experience different baking results depending on the gluten-free flour blend you choose.
- 2 cups chocolate chips, For dairy-free/vegan use Nestle Simply Delicious or Enjoy Life mini chocolate chips.
Instructions
-
Preheat oven to 375°F (190°C).
-
In a large bowl beat the softened butter, granulated sugar, and brown sugar until creamy.
-
Add the egg (or egg replacer), molasses, and pure vanilla extract to the butter mixture and mix until fully combined.
-
Add the gluten-free flour, baking soda, baking powder, and salt to the butter mixture and mix until fully combined.
-
Either stir in the chocolate chips with a spoon or use your mixer on low to mix the chocolate chips into the cookie batter.
-
Drop by rounded tablespoon or use a greased cookie scoop. (I used a 1 1/2 tablespoon cookie scoop). Place the cookies 2 inches apart on a parchment-lined cookie sheet.
-
Bake for 8-10 minutes until they start to turn golden brown (the centers of the cookies will be soft). Please watch your oven because all ovens are different.
-
Cool and store leftovers in an air-tight container. Enjoy!
Notes
- My preferred gluten-free flour is Pillsbury gluten-free flour. Not all gluten-free flours are created equal. You may experience different baking results depending on the gluten-free flour blend you choose. This recipe will not work with almond or coconut flour.
- Measure the flour using the ”spoon & level” method.
- I always use a greased cookie scoop. I use a 1 ½ tablespoon cookie scoop.
- For the dairy-free option, I used Smart Balance butter and Nestle Simply Delicious Morsels. I also like Enjoy Life Mini Chocolate Chips.
- For the vegan (egg-free) option use Earth Balance butter, Nestle Simply Delicious Morsels, or Enjoy Life Mini Chocolate Chips (or your favorite vegan butter and chocolate chips) and Bob’s Red Mill Gluten-Free Egg Replacer.
- Store leftovers in an air-tight container for up to a week.
- The cookie dough can be frozen for up to 3 months.
- Mama says, “Check all of your labels!”
Nutrition
Calories: 118kcal
Carbohydrates: 16g
Protein: 1g
Fat: 5g
Saturated Fat: 3g
Cholesterol: 11mg
Sodium: 76mg
Potassium: 12mg
Sugar: 11g
Vitamin A: 135IU
Vitamin C: 0.1mg
Calcium: 19mg
Iron: 0.3mg
Nutrition information is automatically calculated, so should only be used as an approximation.
Additional Info
How to Make Gluten-Free Chocolate Chip Cookies Step-by-Step
Follow these visual steps to bake perfect gluten-free chocolate chip cookies:
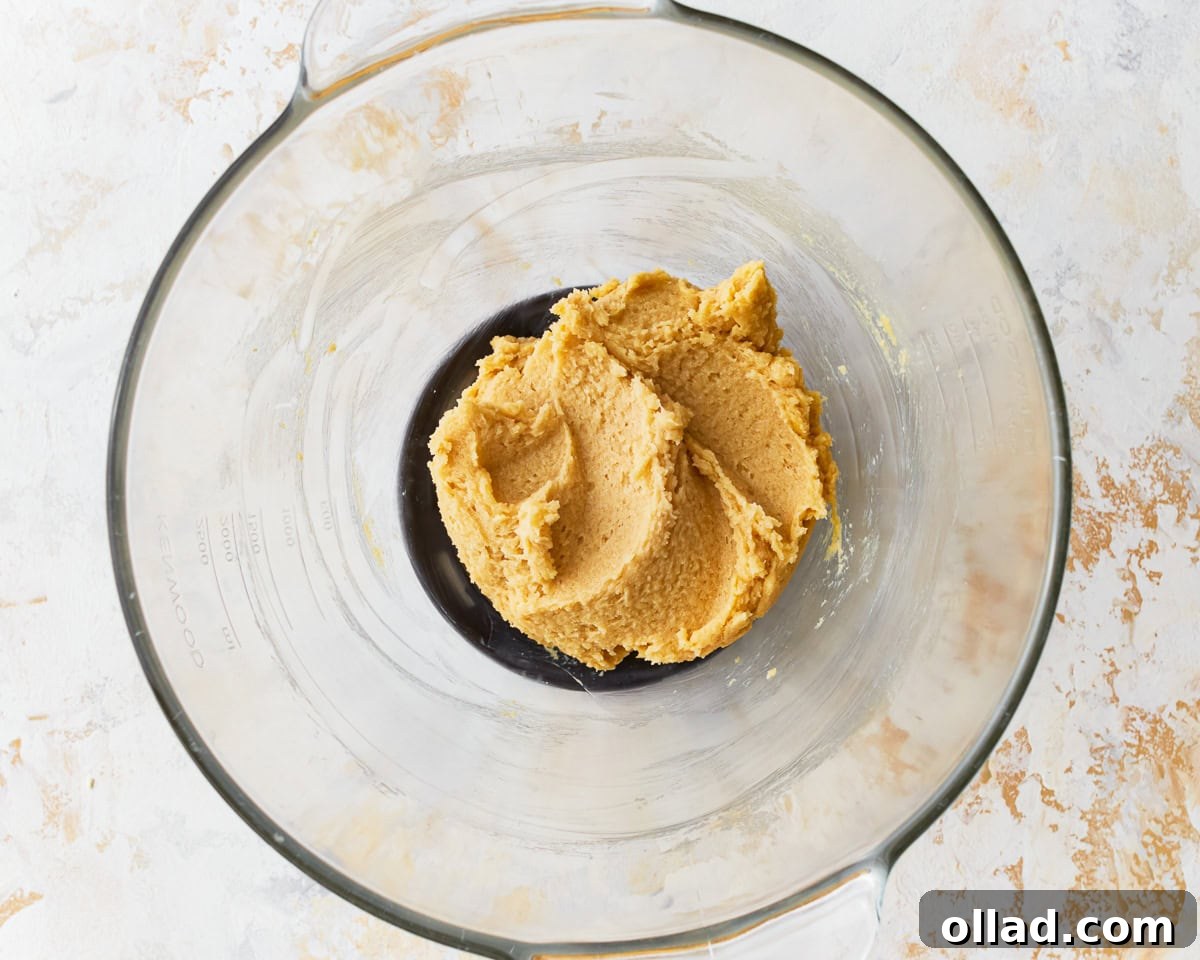
Preheat your oven to 375°F (190°C). In a large mixing bowl, combine 1 cup of softened unsalted butter with ¾ cup of granulated sugar and ¾ cup of packed brown sugar. Beat these ingredients together until the mixture is light, fluffy, and creamy, which usually takes 2-3 minutes. This aeration process is key to a tender cookie.
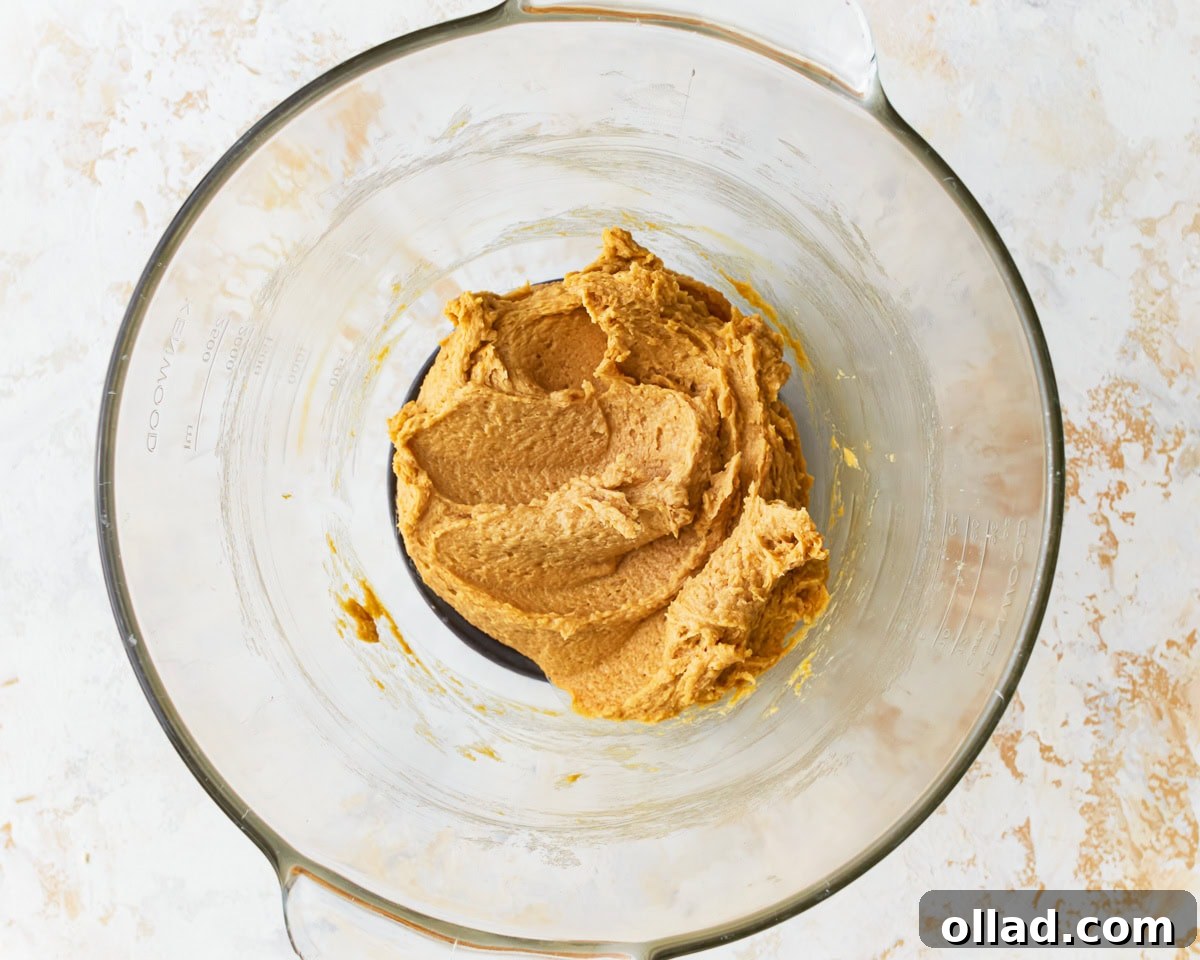
Next, crack in 1 large egg (or add your prepared Bob’s Red Mill Gluten-Free Egg Replacer if making the vegan version). Stir in 1 teaspoon of rich molasses and 1 teaspoon of pure vanilla extract. Continue to mix on medium speed until all the wet ingredients are thoroughly incorporated and the mixture is smooth and well-blended, scraping down the sides of the bowl as needed.
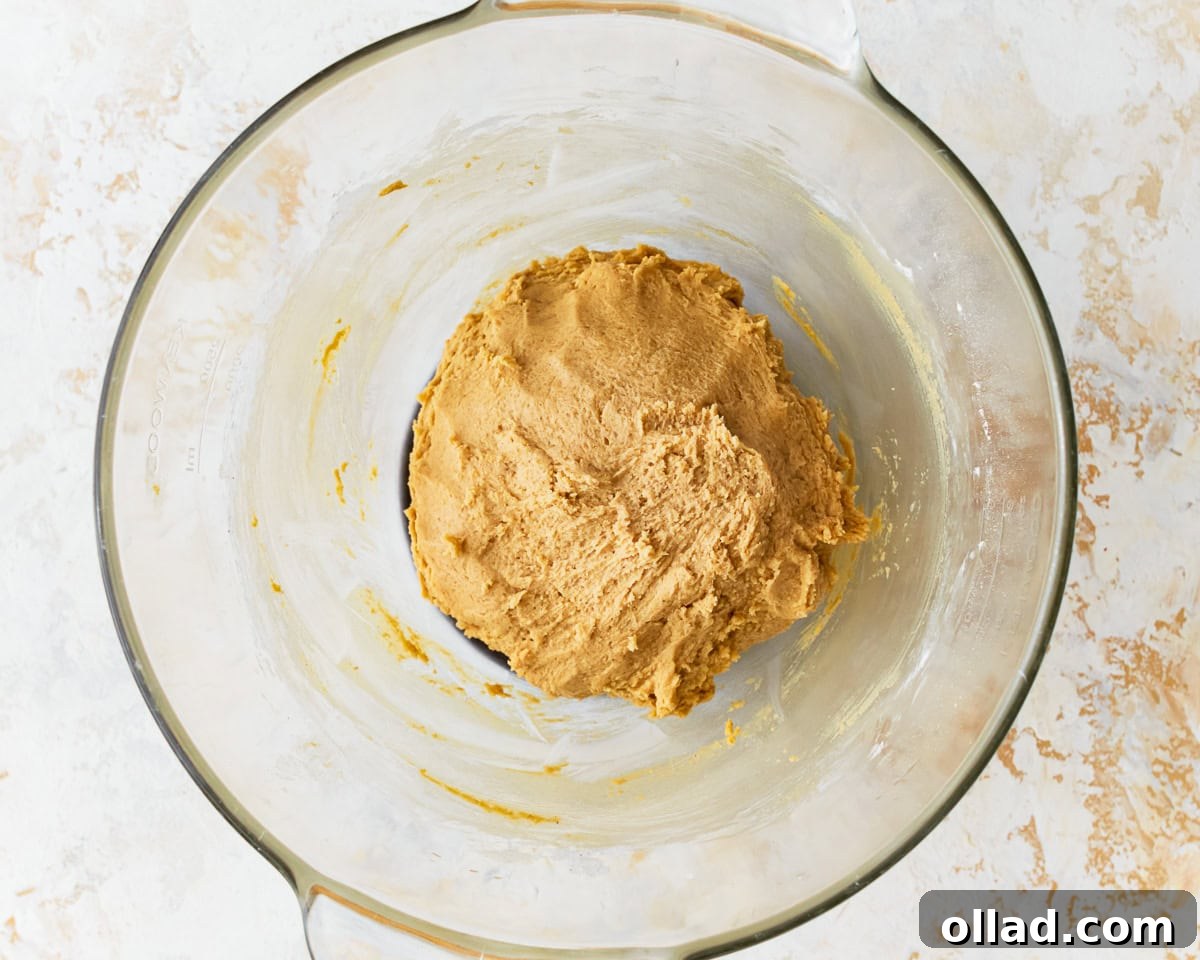
Now, it’s time for the dry ingredients. Add 2 ½ cups of all-purpose gluten-free flour (remember to measure using the spoon & level method), ½ teaspoon of gluten-free baking powder, ½ teaspoon of baking soda, and ½ teaspoon of salt to the wet mixture. Mix on low speed until the dry ingredients are just combined with the wet, being careful not to overmix. Overmixing can lead to tough cookies.
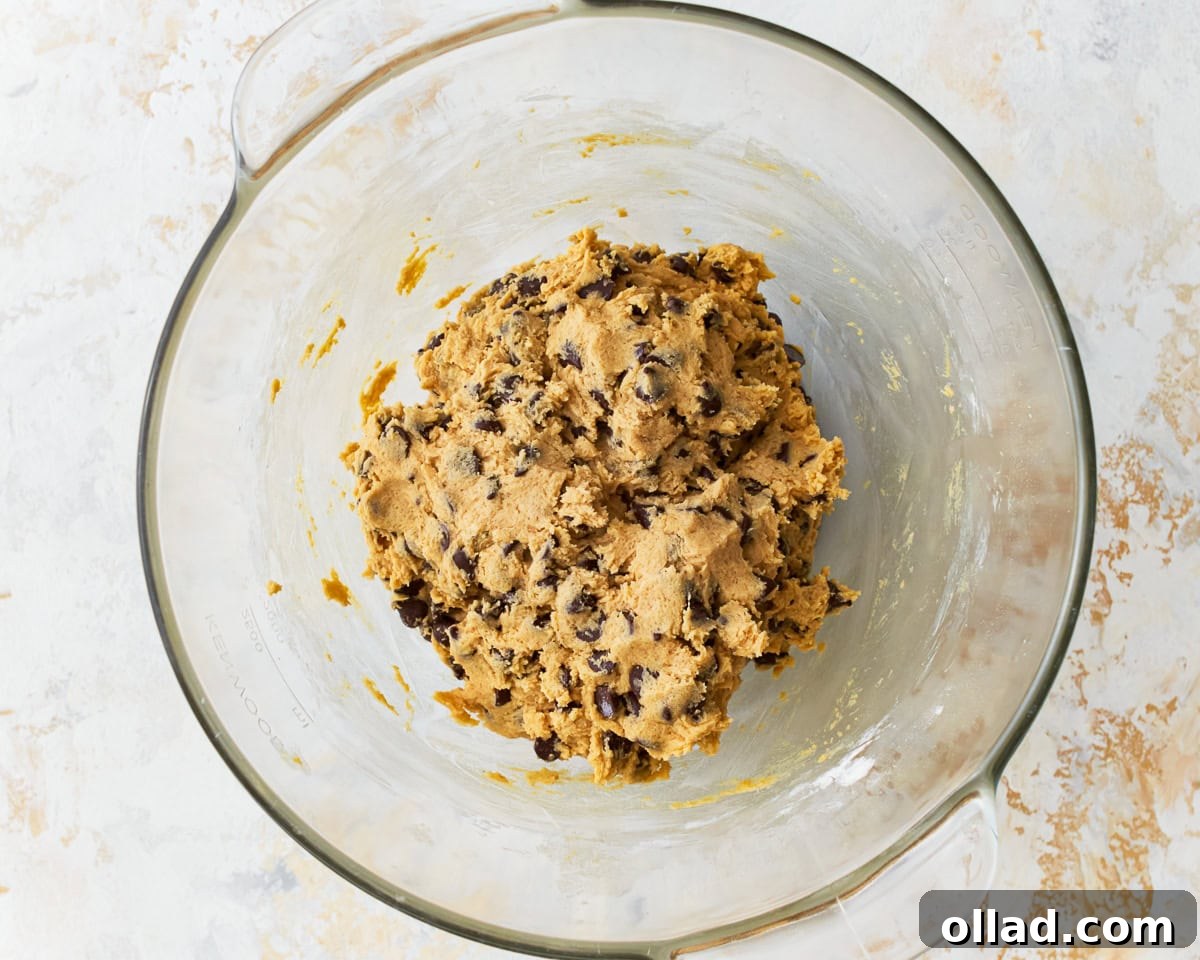
Finally, incorporate the star of the show: the chocolate chips! Gently fold in 2 cups of your favorite chocolate chips (or dairy-free alternatives) into the cookie batter. You can do this by hand with a sturdy spoon or use your stand mixer on the lowest speed for just a few seconds until the chips are evenly distributed throughout the dough.
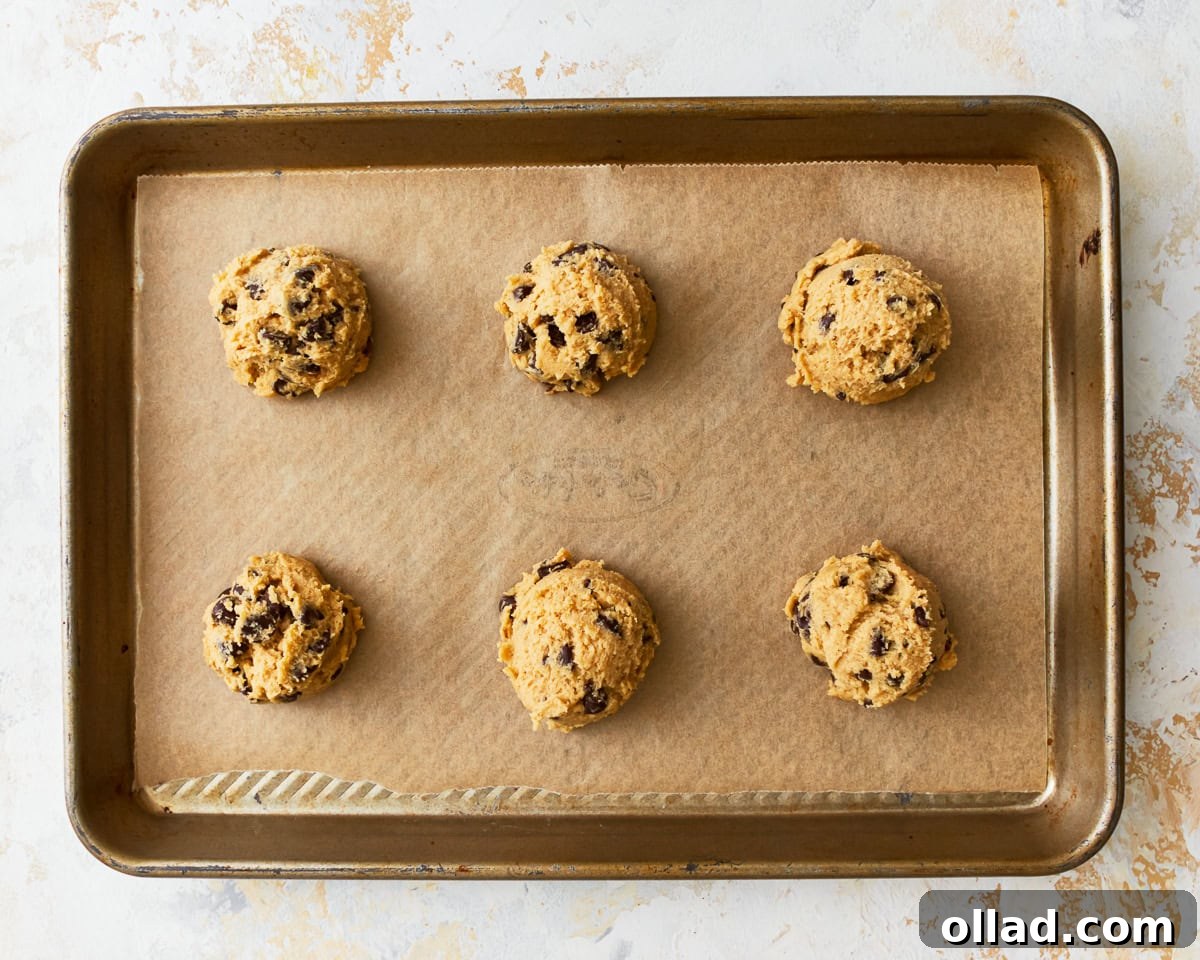
Using a greased 1 ½ tablespoon cookie scoop, or simply a rounded tablespoon, drop portions of the dough onto a parchment-lined baking sheet. Ensure there is about 2 inches of space between each cookie to allow for proper spreading during baking. This recipe yields approximately 48 cookies, so you will need to bake them in multiple batches.
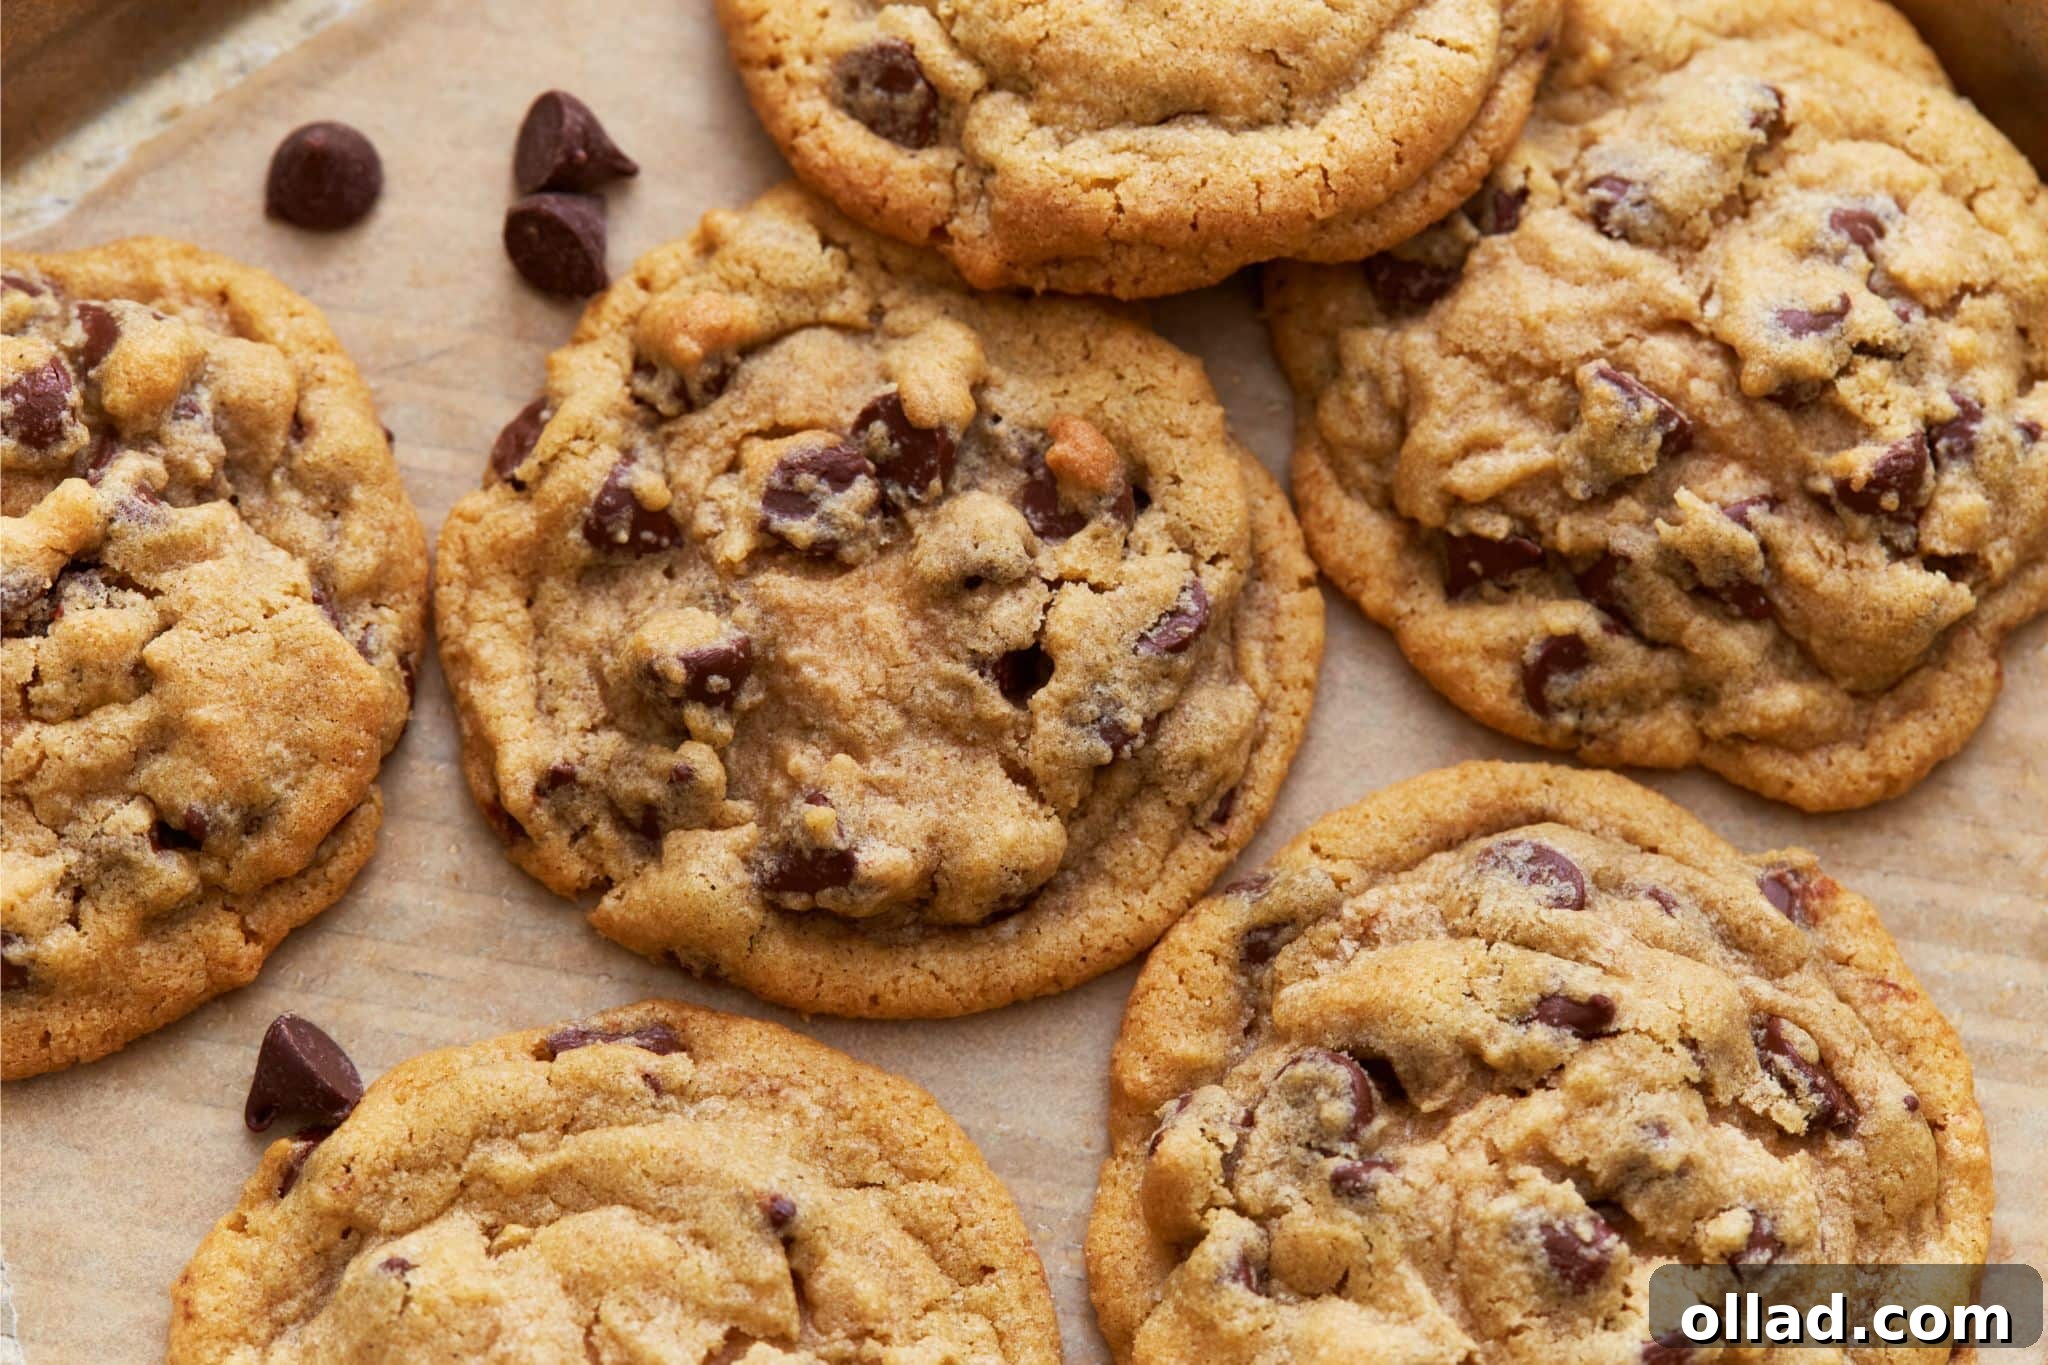
Bake your gluten-free chocolate chip cookies in the preheated oven for 8-10 minutes. The key to a chewy cookie is to pull them out when the edges are set and just starting to turn golden brown, while the centers still appear slightly soft and underbaked. They will continue to set as they cool. Remember that oven temperatures can vary significantly, so monitor your cookies closely; yours might take a little more or less time. Allow the cookies to cool on the baking sheet for a few minutes before transferring them to a wire rack to cool completely. Enjoy your perfect gluten-free treats!
More Gluten-Free Cookie Recipes to Try!
- Gluten-Free Monster Cookies
- Gluten-Free Snickerdoodle Cookies
- Gluten-Free Oatmeal Cookies
- Gluten-Free Red Velvet Chocolate Chip Cookies